
OVERVIEW
Students will look at artwork of cats and photographs. They’ll make some realistic drawings and cartoon cat drawings too, discussing the features that make them look like cats. A drawing will be used to glue yarn onto, creating a yarn-drawing print block that can be used the following week.Grades K – 2
Week of November 17 – 21
1 Hour & 30 Minutes
Lesson At A Glance
A brief overview of each step. Buttons jump to each section for detailed information.
15 Min – Draw a cat step-by-step
10 Min – Draw cat face on cardboard
18 Min – Glue along lines & add yarn
15 Min – Air dry clay cat if time
2 Min – Leave yarn & clay to dry
SCROLL & TEACH
LESSONPLAN
Each section is a different color. Read over once and then you can SCROLL & TEACH using any device you like. It’s designed to work best with your phone.
LEARNING TARGETS

Students learn to express themselves through creating from their imagination.
M A T E R I A L S
- 11″ x 17″ Copy Paper
- 4B pencil
- Eraser
- Markers and/or oil pastels
- Blenders (stumps)
- Paper Towels
1.1 greet
Greet students as they come in and help them choose a chair.
Kneel down so that you are on their level. Bending over emphasizes the differences in your height, while kneeling makes them feel more important. Have tape and marker ready so you can stick some tape on the table by each student and write their name on it as they sit down.
1.2 choose
Encourage students to work with one piece of paper for a while. If someone uses the phrase, “free draw”, explain that artists’ choice is something only artists can do, while free-draw is something anyone can do. You want to use the phrase to elevate the students’ expectations of their work.
Everyone should take their time with the work and make a finished piece of art. Limiting the paper can also help kids focus on the work. If someone finishes in super-fast time, ask them what more they can do to the existing paper. Ask again several times – unless they appear overly frustrated; then you can allow them to move on to a new work.
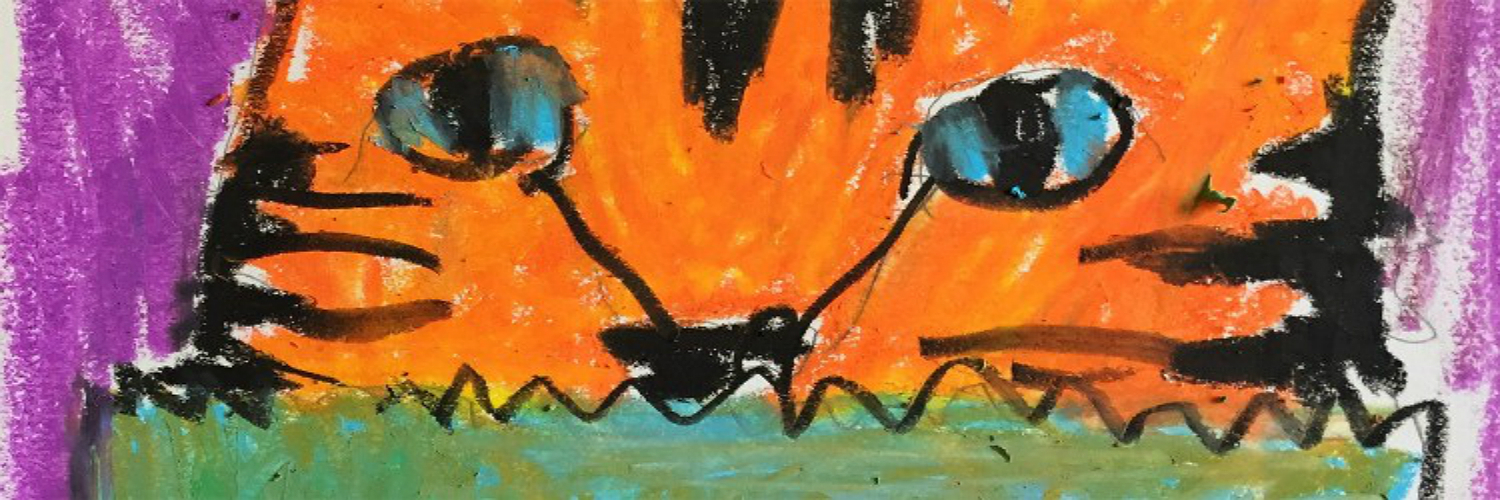
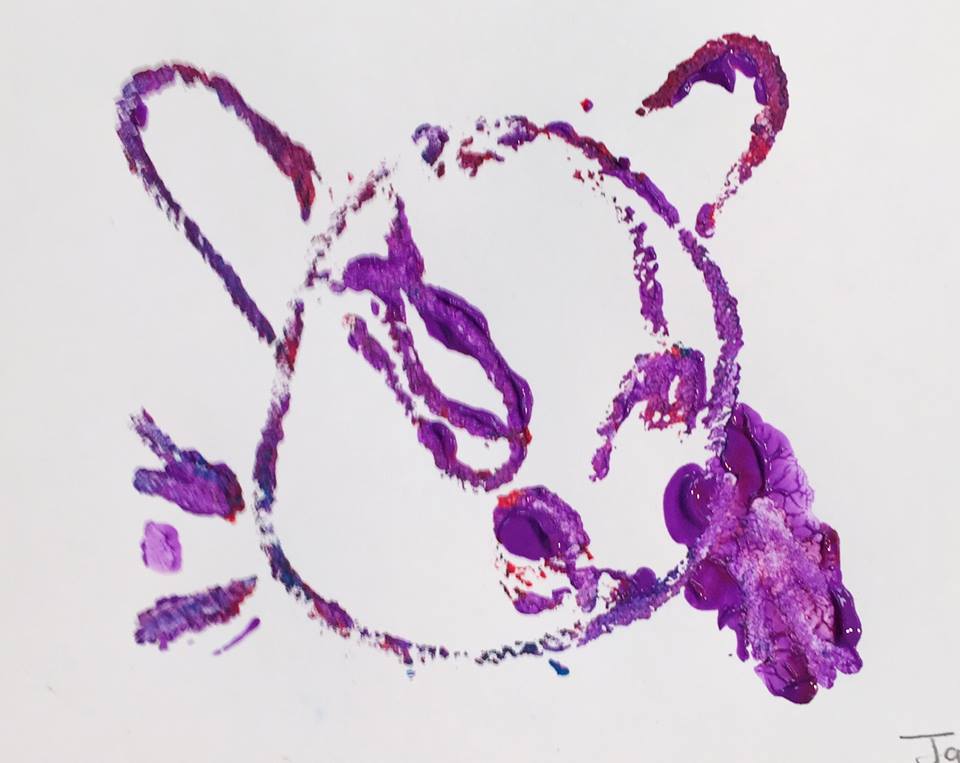
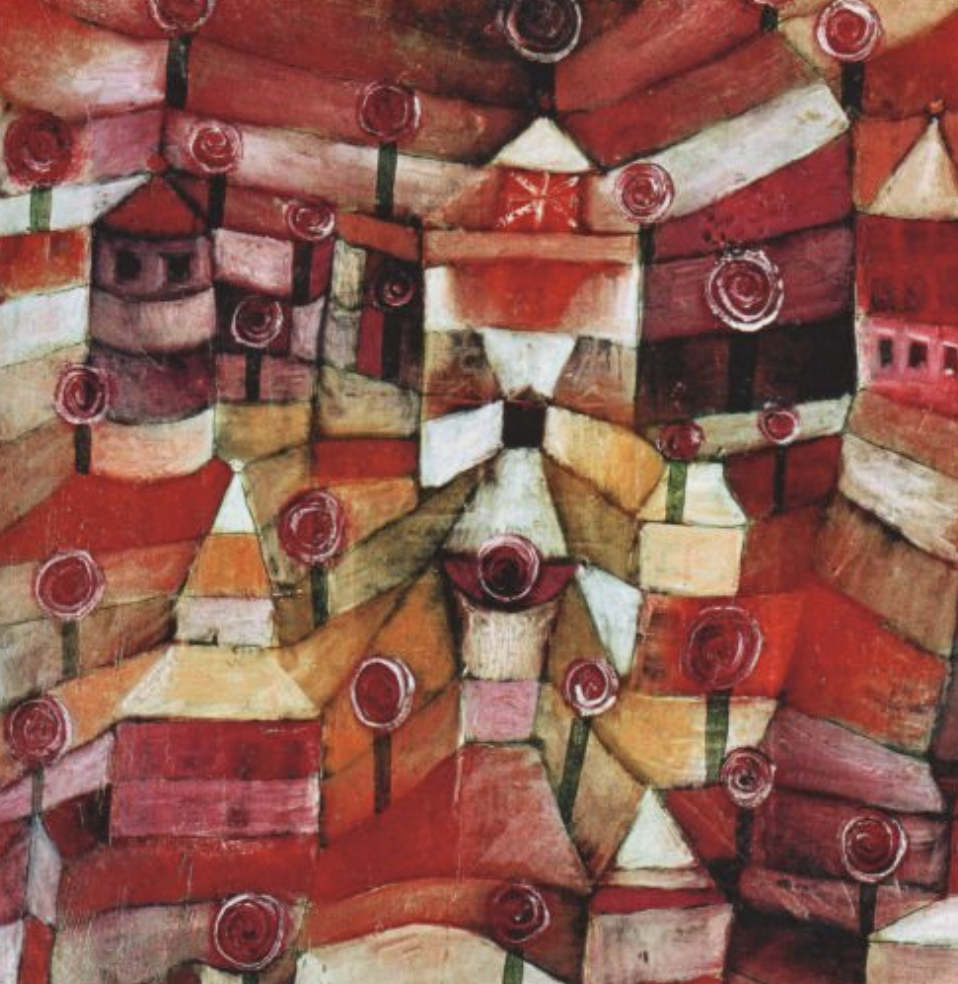
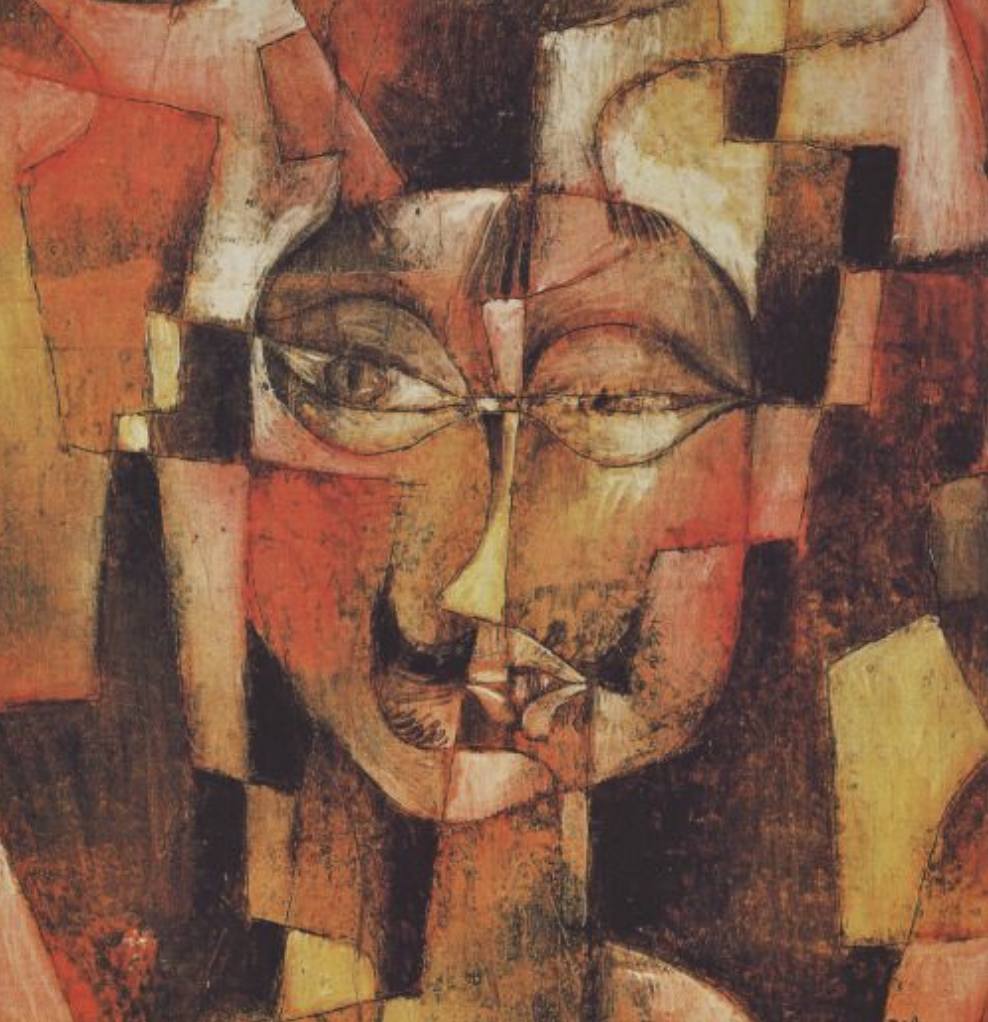
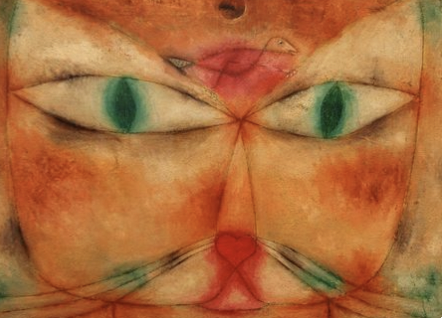
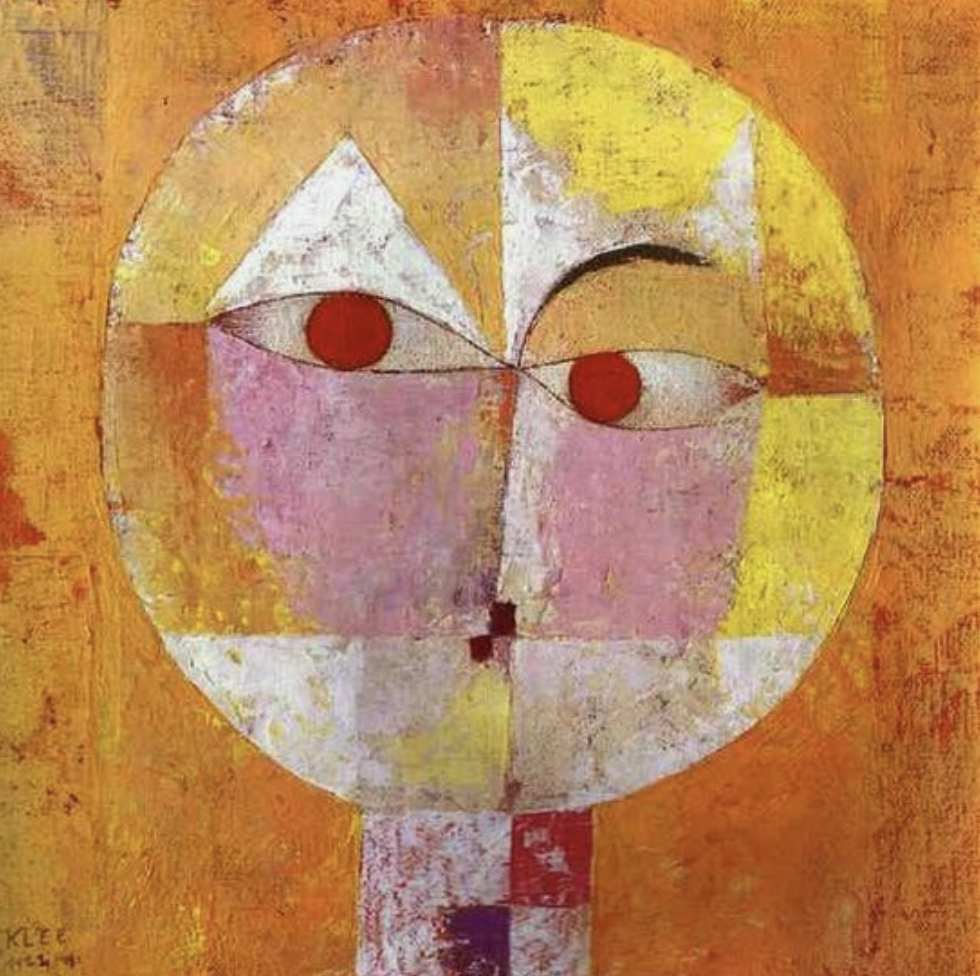
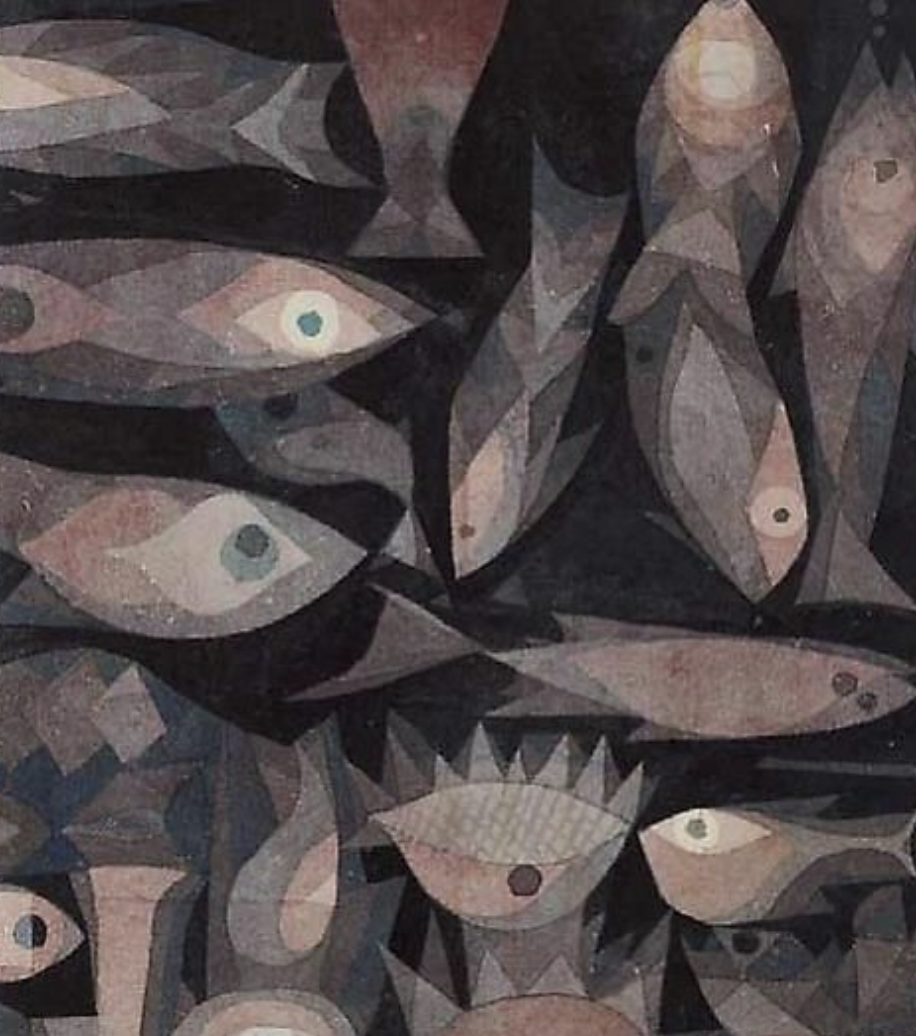
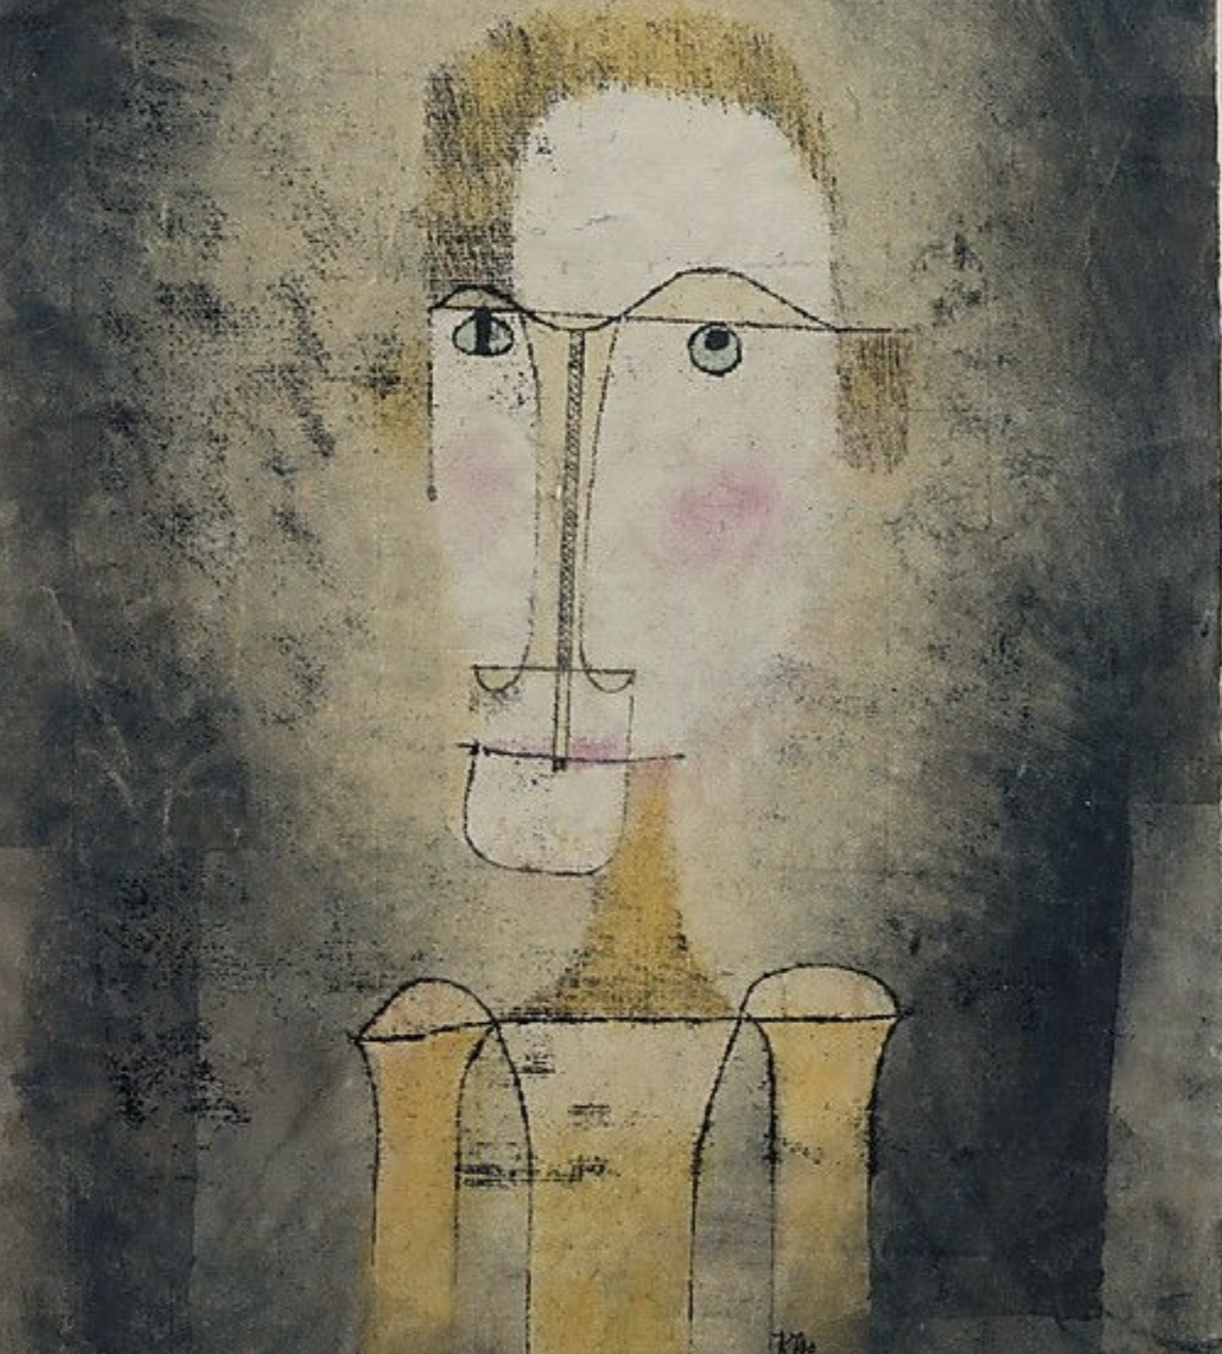
While students are drawing for artist choice, open the Pinterest page on Paul Klee.
Show images of his cat painting and other cartoon like paintings.
Begin a short discussion with the students about cartoon and stylized paintings.
Paul Klee (tap any image to open viewer)

Use this button to jump down to the preparation section.
LEARNING TARGETS
Students know how to draw a cat using knowledge of their physical characteristics.
M A T E R I A L S
- 11″ x 17″ Card stock Paper
- Light colored marker*
- Black marker
- Cat shapes PDF
* A light colored marker should be as light as possible.
- Light Pink
- Yellow
- Beige
These will be used to make simple Big Shapes, and introduce or reinforce the idea of making guide lines before realistic lines. Try to use “pretend lines” at first, and then introduce “guide lines” as another way to say it. It is hard for students to understand making lines that are not artwork.
2.1 Print
reference
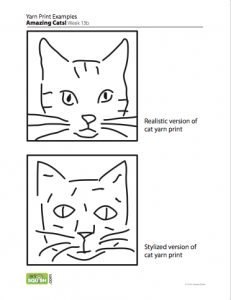
Cat Face Shapes
Print enough for each student to have one of their own to use.
1 Page – Opens in new window
2.2 draw
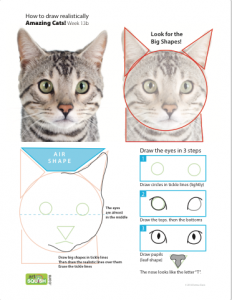
Have students practice the shapes that make a cat look cat-like by using the reference printout.
Be sure they are referencing their cat photograph as they draw. Discuss each facial feature one at a time, having your class follow along. Make sure they understand that you need to wait after each part, because we have to do this one step at a time to learn cool new things.
Have everyone pick up their light marker and read the following verbatim.
We are going to create several different cats today! You are going to follow along as we make our first one. This one will only be a head, so you’ll want to draw the head large enough to fill your page but not right up to the edges.
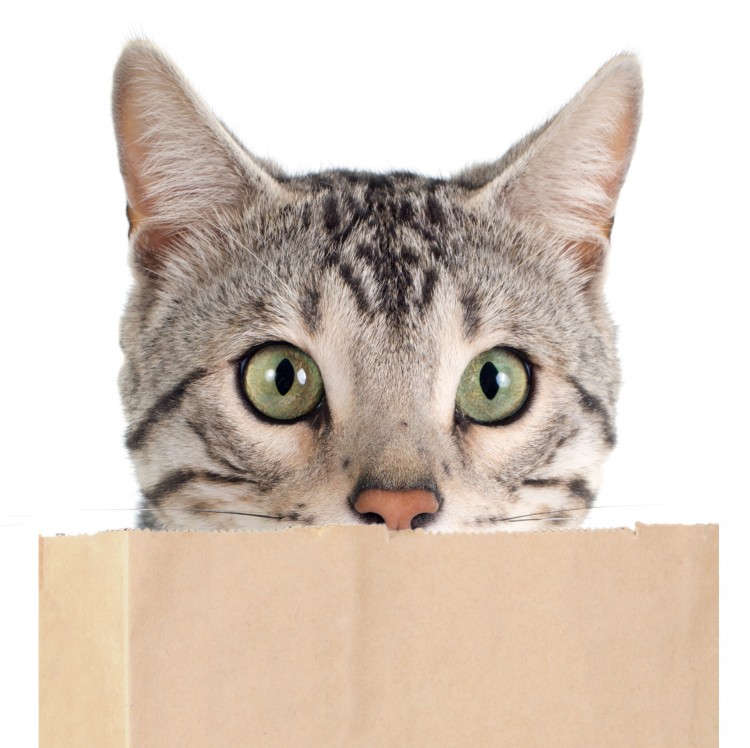
It’s a cat in a bag! Let’s get started. Pick up your light marker.
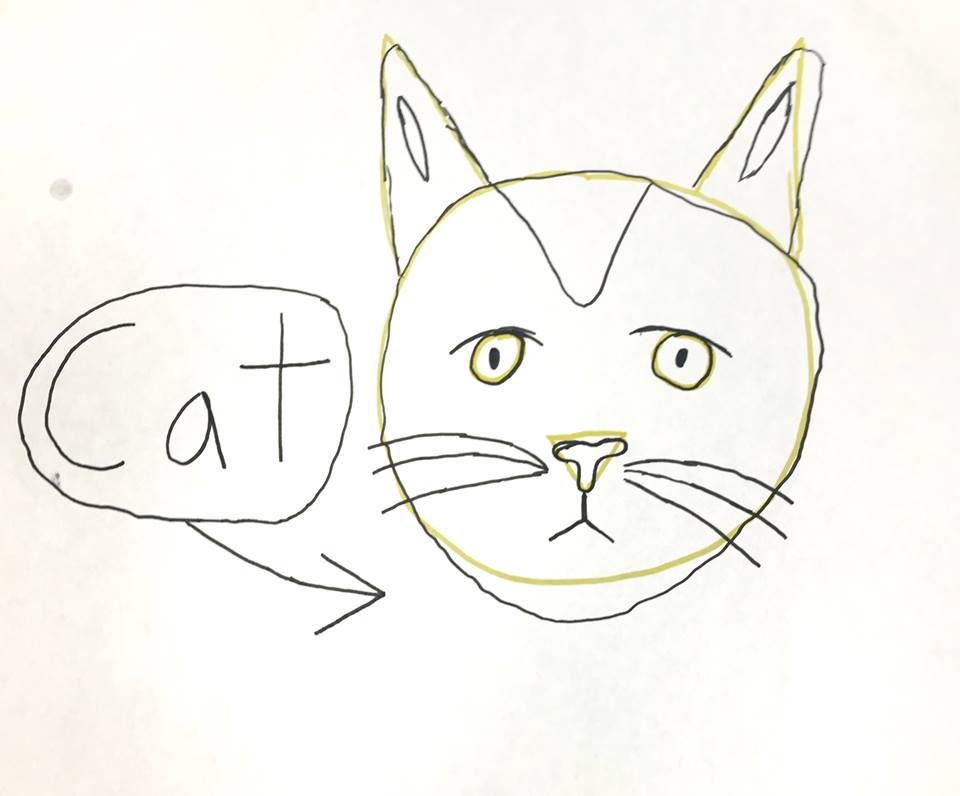
HEAD: Begin with the Biggest shape, which is basically a circle. Leaving some room for the ears, draw the circle using your light marker. The light color is like a pretend line or what artists call a guide line. You’re not drawing the cat yet. The circle is just to help you know where the head will go. Don’t draw anything else just yet. Only a circle for where the head will be.
EARS: Make cat ears. These are just triangle shapes. Look at pictures and draw the triangles using the light marker. They don’t go out to the side like people ears. They are mostly up on top. You can also remember to look at the air shape in between the ears as you draw. That air shape looks a little bit like a big salad bowl, doesn’t it? The bag is easy. It’s just a rectangle shape.
After you make the pretend lines, then you will pick up your black marker and draw the real lines. Hold on though! We are going to draw this realistically. The simple shapes we drew just help us know where to draw and how big to draw things.
Make sure to look more closely at the details in the edges. Don’t just draw another circle and two triangles. Take your time to really make this cat look more realistic. Realistic lines are drawn slowly – in slow motion.
Take your time and draw the cat head as closely to the picture as you can.
EYES: Now we will make our cat eyes, but before you start drawing, put down your black marker, and look at the cat eyes in the photo on your reference paper. Then look at the 3 steps for drawing eyes. Start your drawing by switching back to your light marker. Notice that there is a lot of room above the eyes for the cat’s forehead, so eyes are not up at the top of the head like we sometimes draw them in cartoons.
Pick up your LIGHT marker again, and make 2 circles where the eyes should be. Now switch to your black marker. You can draw the tops of the eyes and then the bottoms, as shown in the 3 little steps on your paper. Draw the pupils in the center. They should look like a leaf shape.
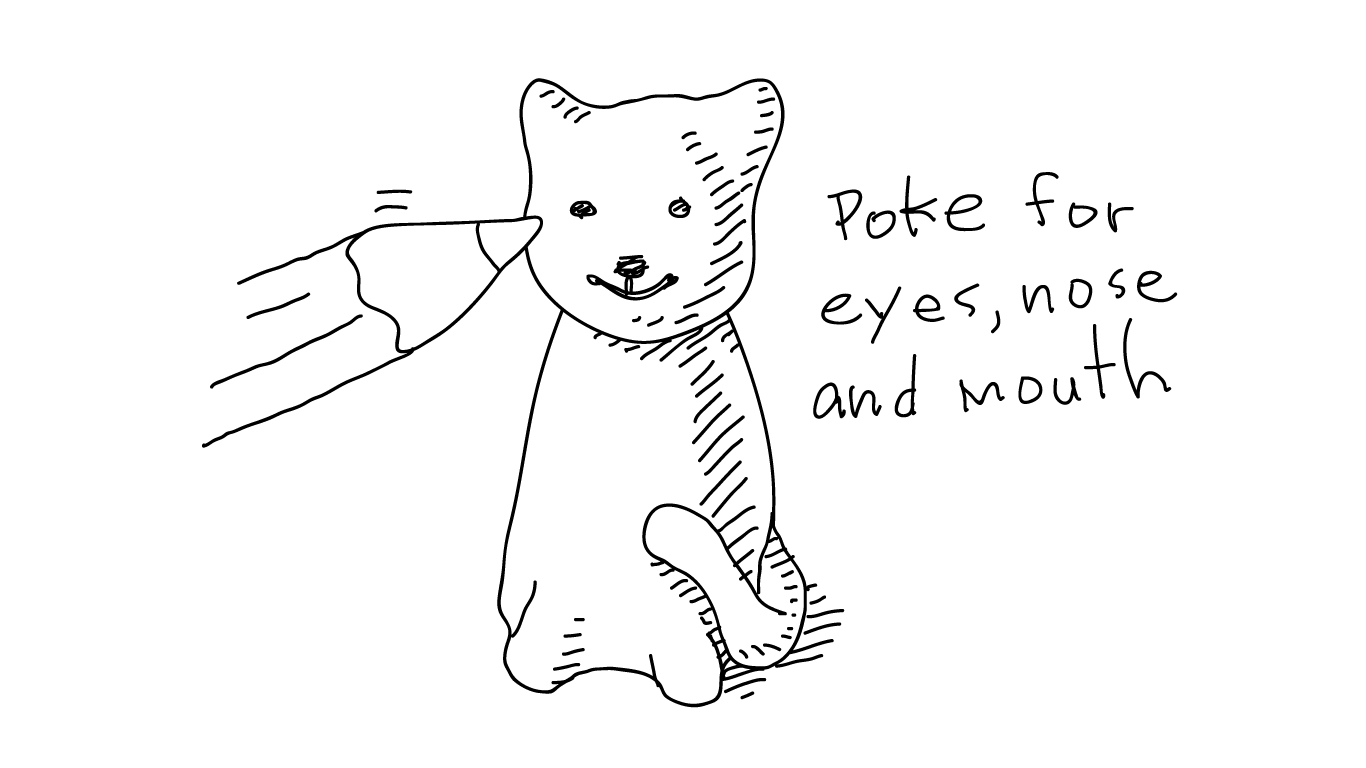
NOSE: The nose looks like a fat letter “T”. So first use your light marker and draw the Big Shape, which is a triangle. Then pick up your black marker and draw that weird nose shaped like a T inside the triangle as shown on your reference paper.
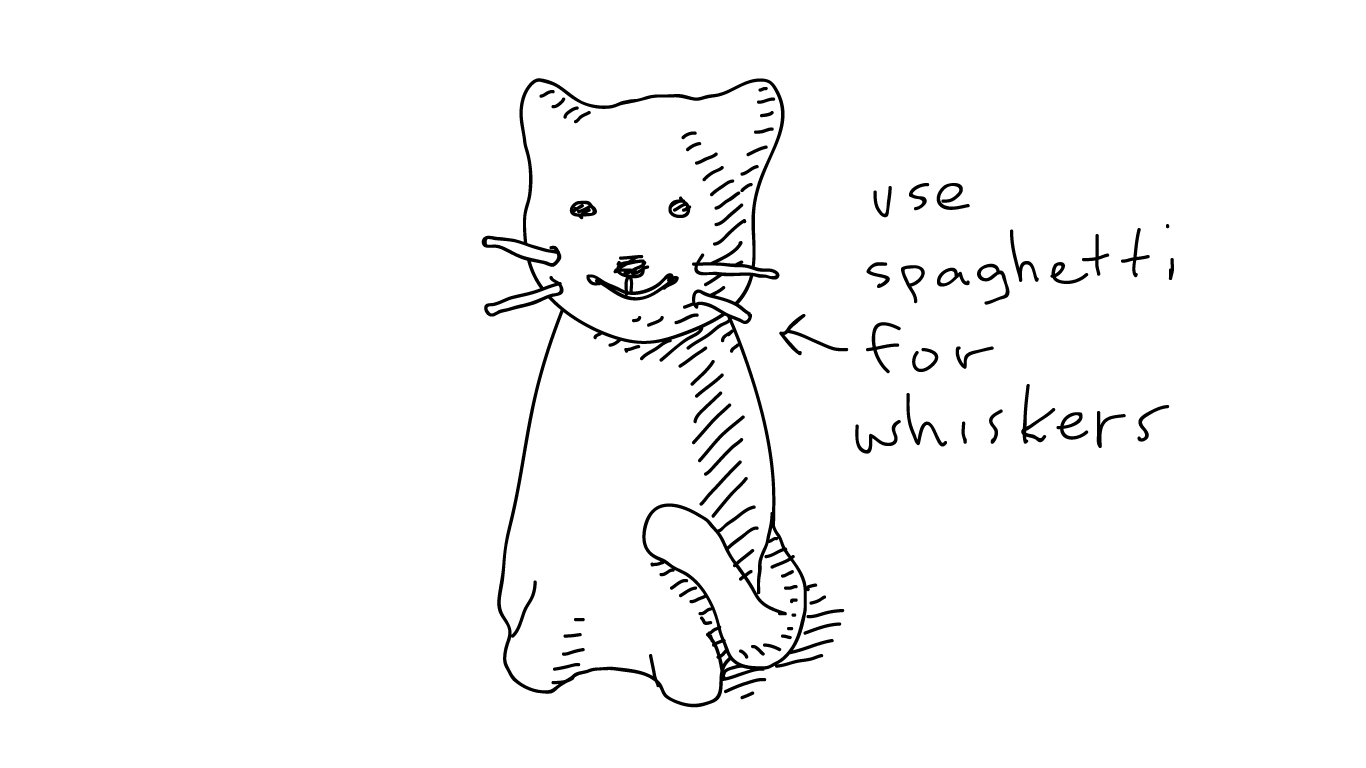
WHISKERS: Look at the whiskers in the photo. Put a few whiskers on each side of the face to finish.
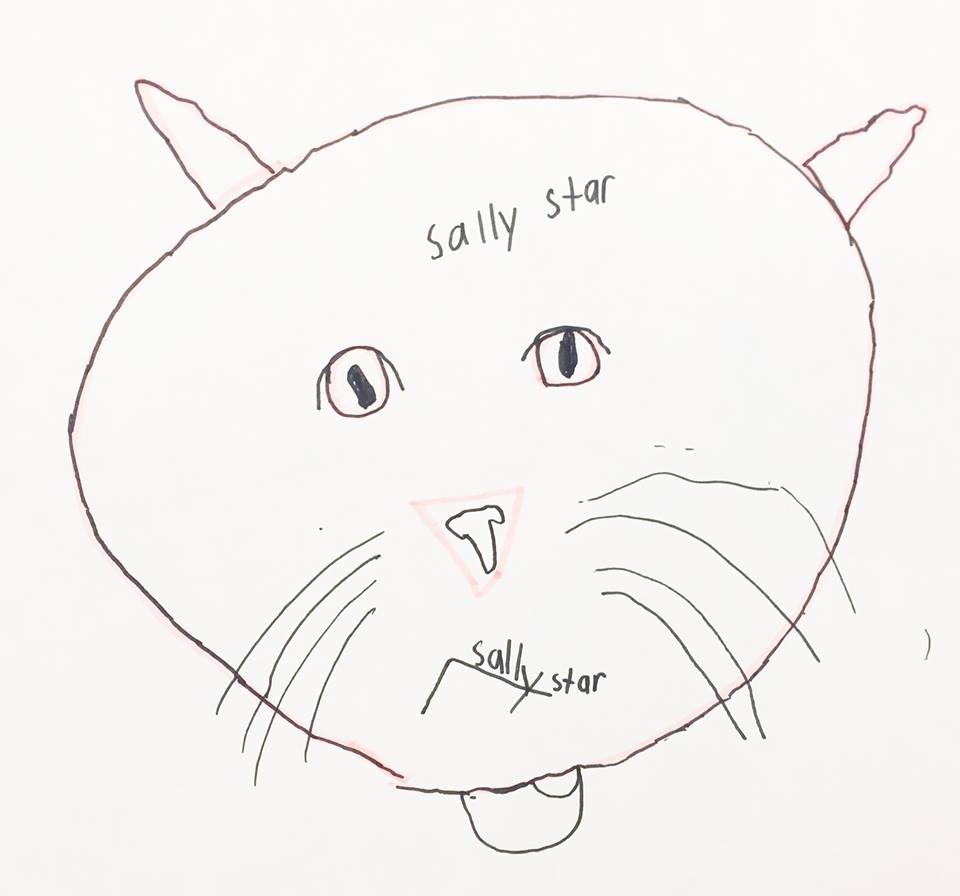
“You’ve made a cat drawing! How do you know this drawing you just made is a cat? (let students respond) Well, yes, the ears are shaped like cat ears, and they are also right where we know cat ears go -up on top of the head, just like these. All those things tell our brains that these are cat ears. Our brain also sees other things it knows belong to a cat, like the whiskers. If you make the ears really long, and didn’t add whiskers, your brain might think you drew a rabbit.
This is your first cat of the day. What are you going to name it?”
Use this button to jump down to the preparation section.
LEARNING TARGETS
Students know how to use oil pastels.
M A T E R I A L S
- The students’ cat drawing from STEP 2
- Oil Pastels
- Blending sticks (stumps)
- Cat in a bag photo
3.1 observe
Using the picture of a cat from the handout, have students use oil pastels to color and blend their work.
Display the photo (and sample artwork if you want), on a large screen, noting the big shapes. Leave the photo up so they can view it as well as use the handout from the last step.
Early finishers can draw another cat in the same way using pencil on a new sheet of paper.
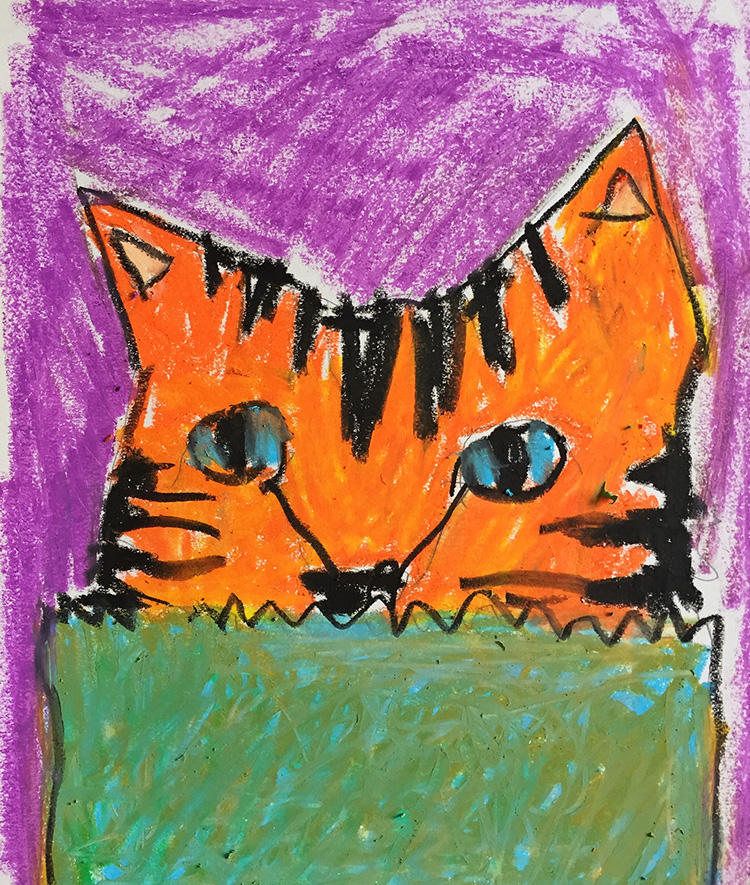
“Use your oil pastels to blend and fill all of the picture with lots of colors. You can use realistic colors like the picture, or you can use your own ideas for colors, like Mr. Klee did.
When the colors are all finished, then you can use a black pastel to outline and make any black areas. Always wait until you are finished before using the black so it doesn’t mix into all the other colors.
(keep the black put away until the end)
Remember to mix several colors together and blend them for each area, so your pastels look like paint.”
Use this button to jump down to the preparation section.
LEARNING TARGETS
Students know how to design a print
M A T E R I A L S
- 6″ – 8″ Square of corrugated cardboard
- Light marker
- Black marker like a sharpie
4.1 prints
iNFORMATION
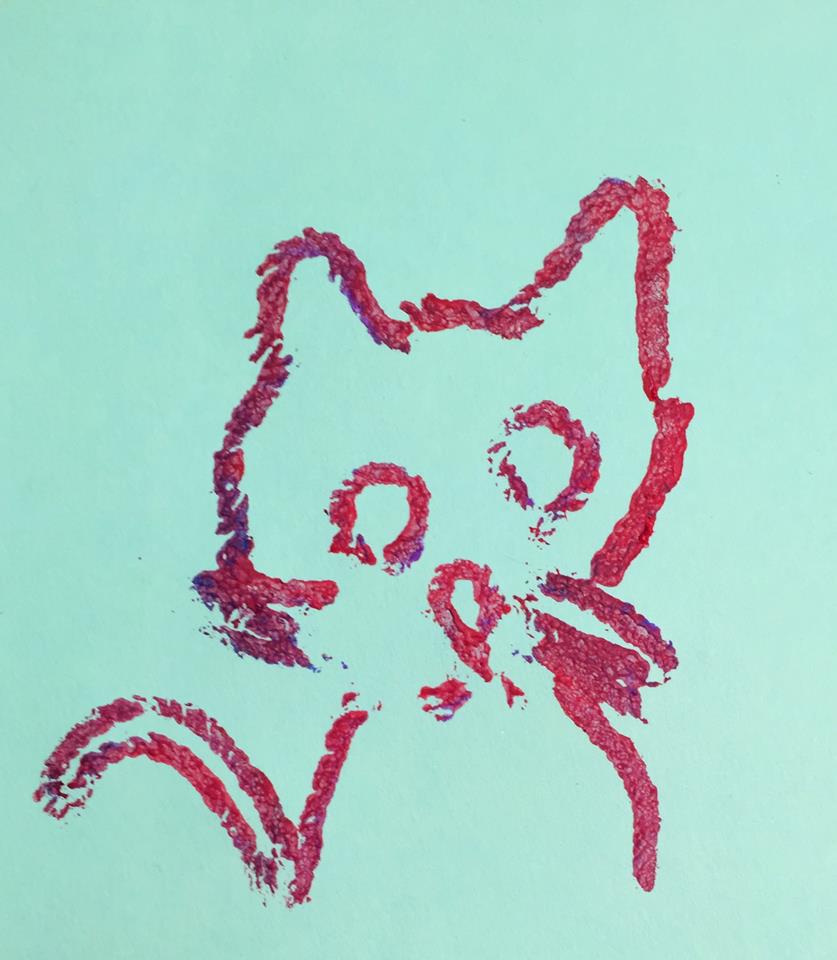
Cat Yarn Print
How to make a cat print
1 Page – Opens in new window
4.2 design
Students will design a cat print on their cardboard squares.
Provide squares of cardboard. Have everyone draw their cat face in light marker on the board. This will be made into a yarn printing block, so it needs to be very, very simple.
Go over the lines in black marker so they show up and allow the students to modify their lines and/or make them simpler.
Use this button to jump down to the preparation section.
LEARNING TARGETS
Students know how to create a printing plate.
M A T E R I A L S
- 4″ Cat drawings
- Yarn
- Glue
- Plastic bags
- Scissors
- Paper towels
5.1 glue
Help students glue small pieces of yarn onto their drawings.
Use regular or tacky white glue to secure yarn onto the lines. Regular glue draws a little faster and can be put into baggies. Glue should be in good, clean-tipped bottles, to redraw the lines, but if you have badly tipped bottles (who has good clean bottles? I’d like to meet them), then you can use a baggie with a teensy tiny corner snipped off. You can squeeze the glue like cake piping. Just put the glue in the un-snipped corner first, and squeeze out the air. When we say teensy tiny, that’s exactly what we mean.
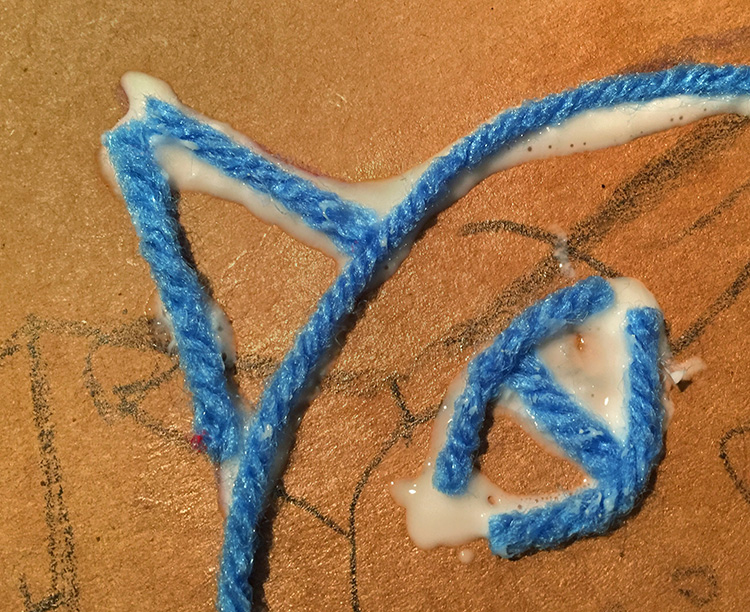
It’s important to cut the yarn pieces the right length before applying the glue. When gluing down the yarn, begin with the whiskers. This will insure that there isn’t any overlapping of the yarn. Never overlap yarn! All the yarn must be exactly the same width so you’ll get good prints next week.
- Cut a piece of yarn a little longer than you expect you’ll need for a line.
- Set the yarn on the line and arrange in place over the drawing.
- Use scissors to trim off any yarn that is past the ends of the line so the yarn is the same length.
- Take the yarn off, and “draw” a glue line
- Set the yarn back into place on the drawn line
- Gently press the yarn down into the glue. (Don’t mash flat, but make sure there is good connection.)
We’ll name these next week when we make prints. Be thinking of an awesome name!
Make double sure every yarn-board has a student’s name on it. Set these aside to dry for making prints next week. You might want to make an extra or two for any students who miss this week but come next time.
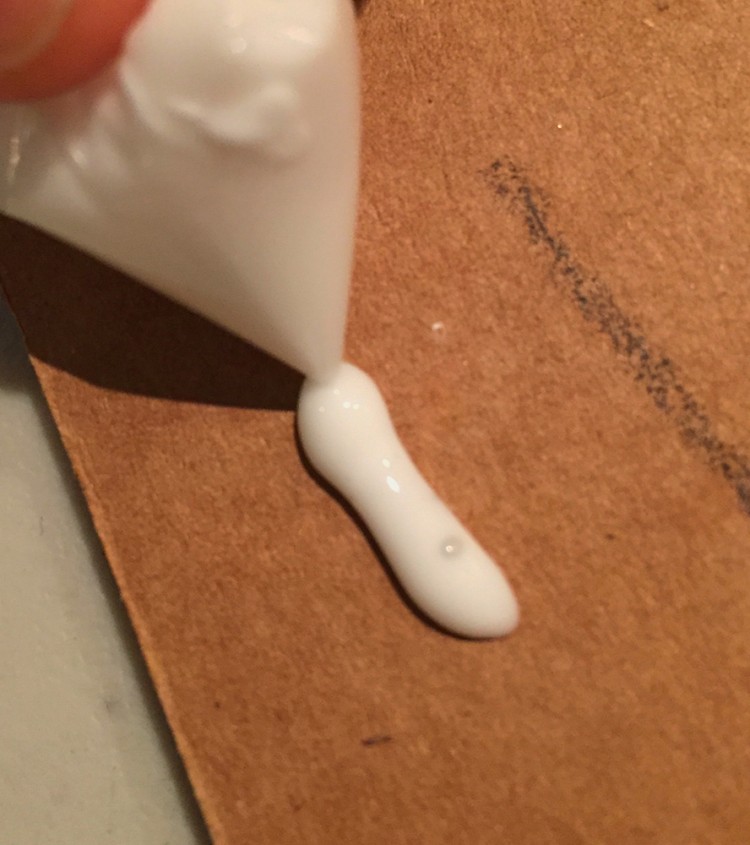
yarn glue 1
A sandwich bag works great for making glue lines. cut a tiny corner off so you can squeeze lines out.
yarn glue 2
Press the yarn into the glue gently. Also, short pieces are much easier to handle and make better corners.
Use this button to jump down to the preparation section.
LEARNING TARGETS
Students know how to make a clay figurine.
M A T E R I A L S
- AirDry Clay
- Any kind of pencil (for sculpting tool)
- Water containers
- Paper towels
- Smocks
All materials are suggestions and may be modified as you see fit. We have tried many items, and these seem to allow the most versatility for the cost.
Air dry clay can be bought in larger quantities if you have a lot of students. Crayola brand is our favorite. It’s fairly inexpensive, easy to manipulate, and you stick pieces together using water as “glue”.
They are more fragile than other clay figures when dry, so handle with care.
ALWAYS use water to join pieces.
6.1 WORD
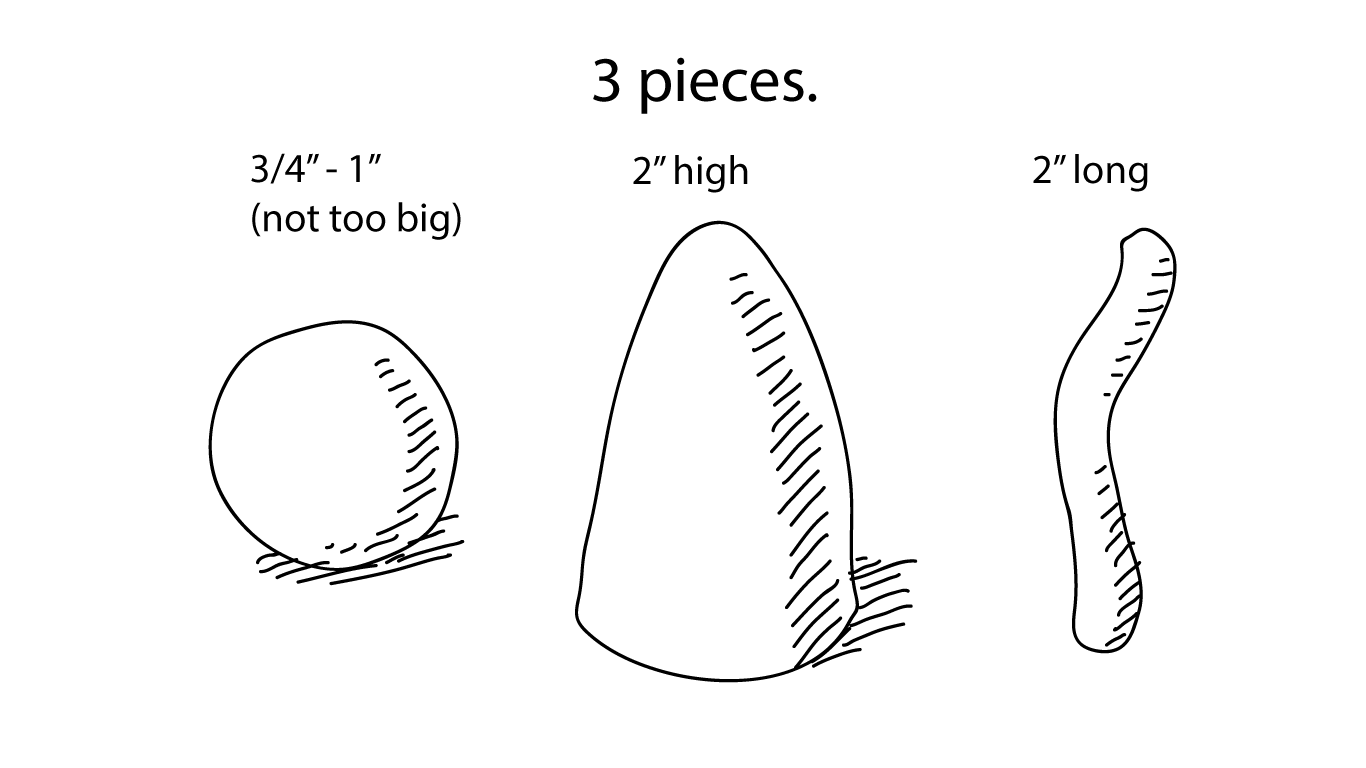
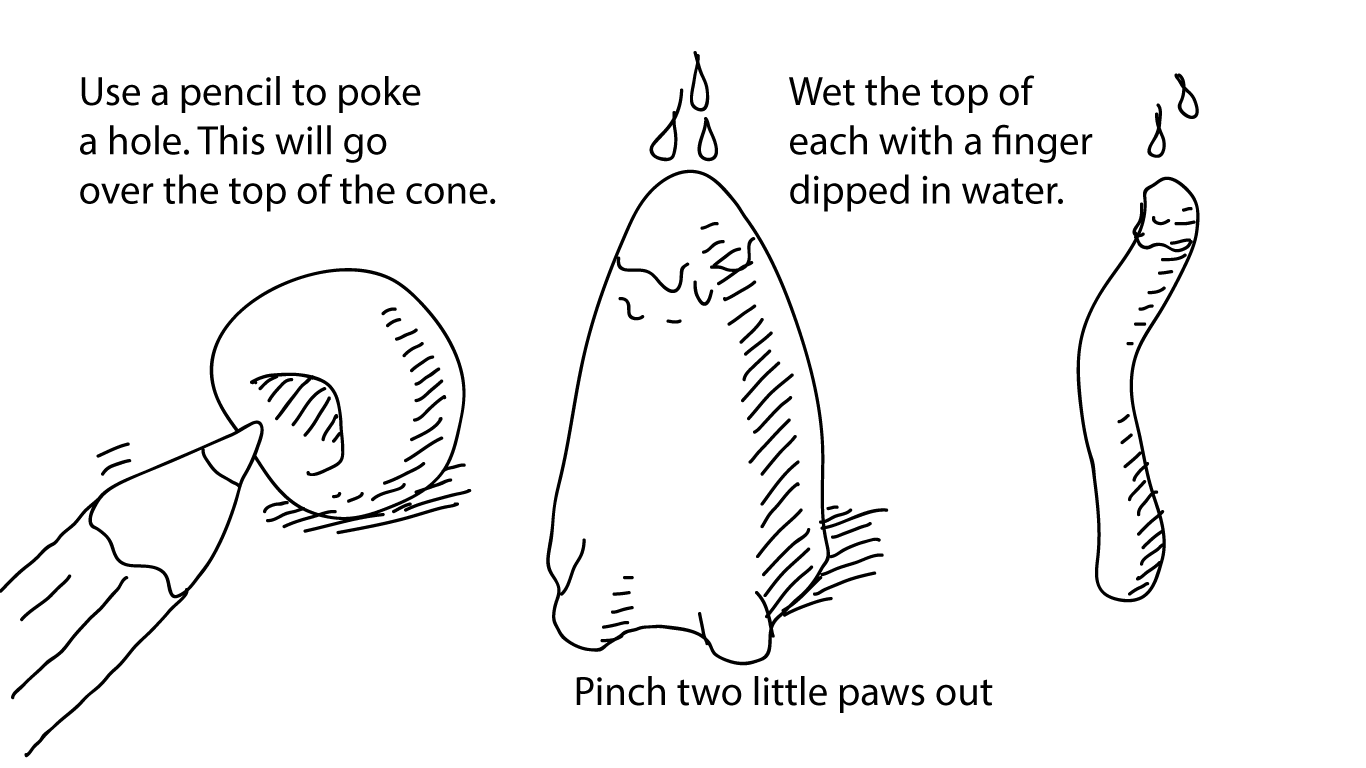
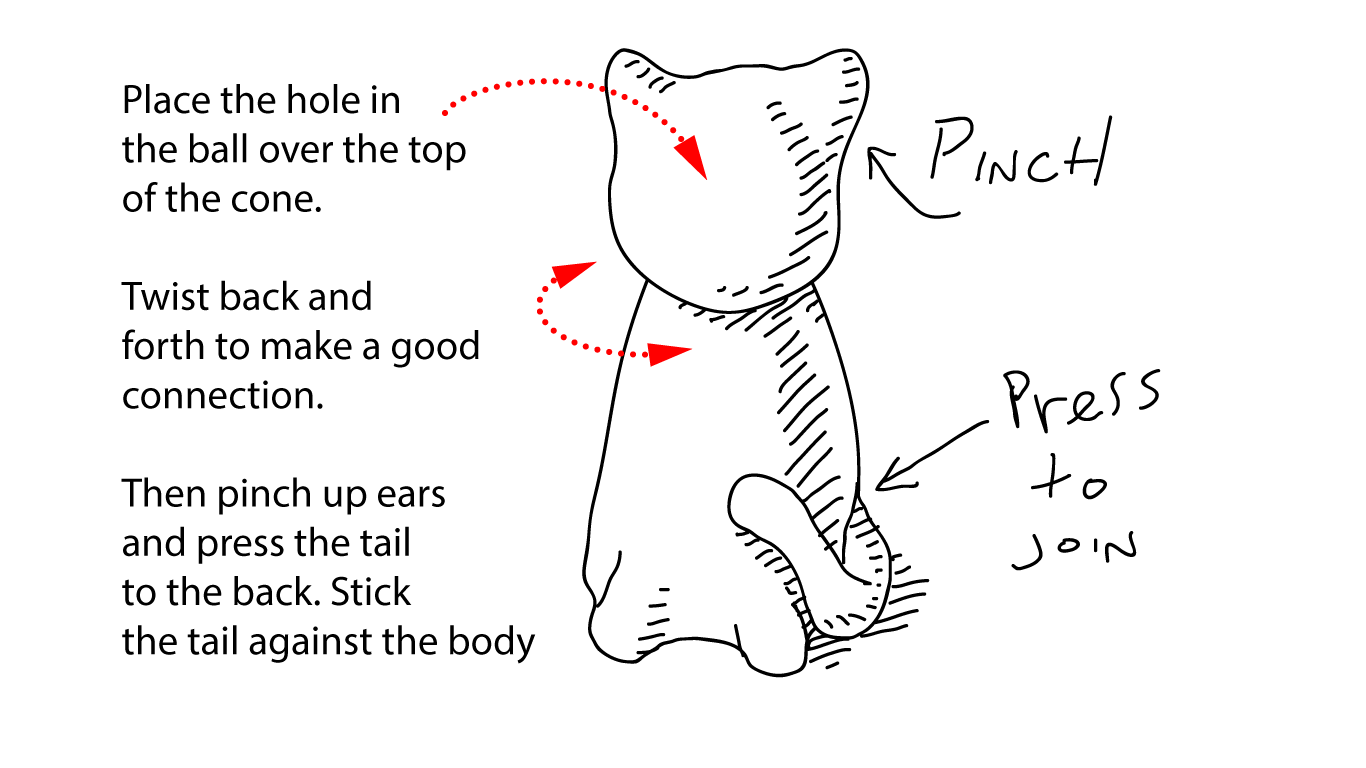
Show your students how to create clay cats.
Use this follow-along slideshow. Learn the steps well so you and any assistants can help the kids make these. Place on small pieces of card stock with each student’s name to dry for pick up next time.
Use this button to jump down to the preparation section.
LEARNING TARGETS
Students know how to clean up.
M A T E R I A L S
- Sink
- Waste baskets
- Well-lit spot for photos
- Camera or phone-camera
- Paper towels
- Cleaning wipes
7.1 clean
- Empty water containters
- Super-wash brushes if used
- Put art supplies away (sop up runny paint before disposing of palette paper)
- Wipe tables & toss trash
- Remove any smocks (last)
- Check for items on floors and tables
7.2 photo
- Try to get photos of your student’s artwork. Find a good spot for quick lighting without highlights or shadows from your hands and device. Ideally in-between two strong lights on each side.
Use this button to jump down to the preparation section.
OBJECTIVES
- Practice and improvement using big shapes to draw things
- Understanding different styles of drawings
- Accomplishment in drawing
- Fulfillment from self-expression
TROUBLESPOTS
Rushing – It’s easier to draw realistically in slow-mo.
Corners in yarn – Yarn won’t make angles. cut two pieces.
Glue difficulties – Have some sandwich bags on hand If you have kids who don’t like getting yucky, and bottles that are a mess and won’t squeeze lines out very well. You can snip a tiny (teeny tiny!) corner off and use the baggie to squeeze glue like a cake decorator. Put the glue in the corner that is not snipped, and then squeeze all the air out before the glue.
ART WORDS
Printing plate – Anything that is used to make a print. It can be as simple as cardboard with yarn glued on it, or as sophisticated as a metal plate etched with acid.
• Realistic – When an artist takes care to make things look as much as real life as possible.
• Big Shapes – When trying to make drawings look accurate, and realistic, it is good to look for, and draw big simple shapes first.
CLASSROOM
PREP
Have a bunch of amazing supplies ready, and cut a few things apart before-hand in a way that make you look amazing.
Print all of your PDFs from the lesson plan and cut any references apart as needed.
What your room needs
Here are your printable lists and room prep instructions.
Opens in new window
CLASSROOM
MATERIALS
- 11×17” Copy Paper
- 11x 17” Card stock paper
- 4B Pencil
- White Eraser
- Markers
- Oil Pastels
- Blenders (stumps)
- Paper towels
- Cat in a bag photo
- 6″ – 8” Square corrugated cardboard
- Yarn
- Glue
- Plastic Bags
- Scissors
- Smocks
- Air Dry Clay
- Water containers
- Smocks
PREVIEW
Week 14: Thanksgiving Break
Week 15: Have a Dog Day
Students will continue our pet theme. First we’ll make prints using the cat yarn print blocks from last week, and then create dog drawings and paintings. We end the day inventing a fantastic dog house!