
Painting
Each lesson Plan focuses primarily on one of the 4 Cornerstones of Art:
Drawing | Painting | Color | Style
OVERVIEW
Students will finish the little patches watercolor they began last week. As students finish, they’ll begin work in charcoal, warming up with quick sketches and using several photo references. Oil pastels are introduced to create a black and white mixed media.Grades 6 – 12
Week of Nov 6 – 10
1 Hour & 45 Minutes

Lesson At A Glance
A brief overview of each step. Buttons jump to each section for detailed information.
10 Min – Demo watercolors
5 Min – Set up for painting
17 Min – First paint session
48 Min – Make the rounds
Charcoal
5 Min – Everyone helps.
SCROLL & TEACH
LESSONPLAN
Each section is a different color. Read over once and then you can SCROLL & TEACH using any device you like. It’s designed to work best with your phone.
LEARNING TARGETS

Students know how to create drawings to be watercolored
M A T E R I A L S
- 14″ x 17″ Sketch Paper
- 2B Pencils
- White eraser
- 11″ x 11″ watercolor paper with drawings from last week’s lesson
1.1 finish
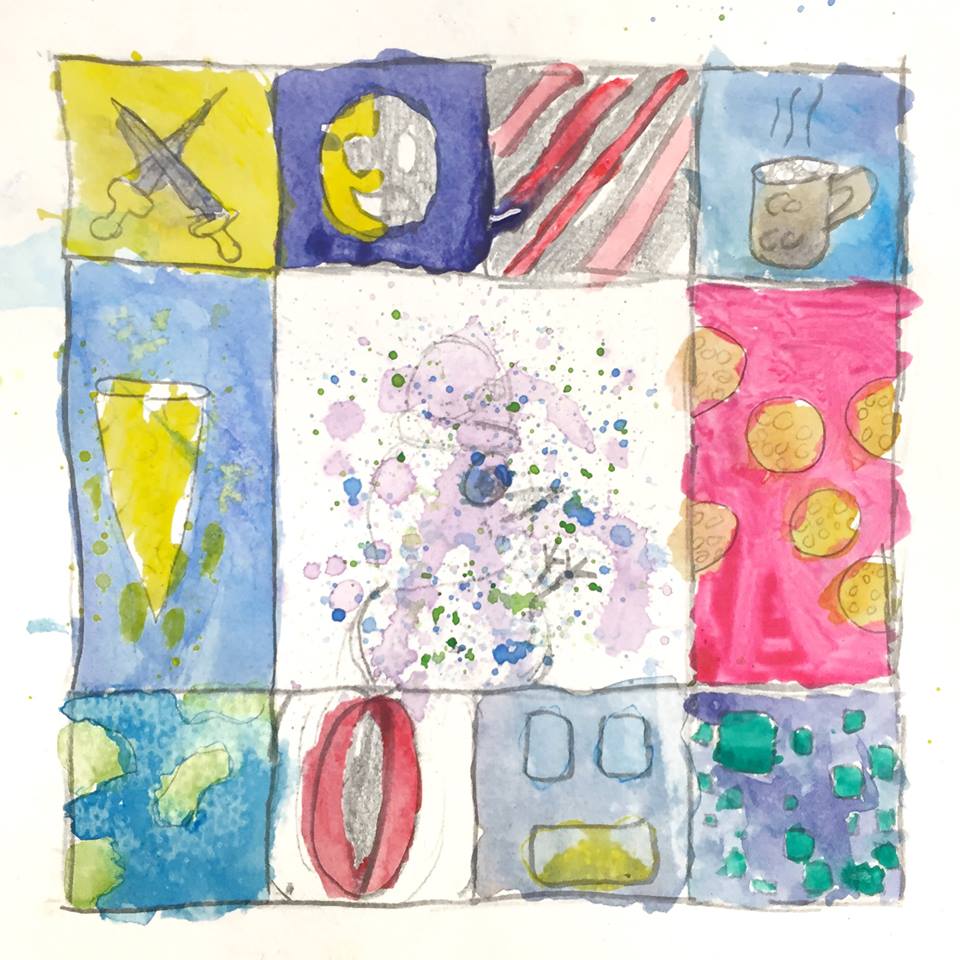
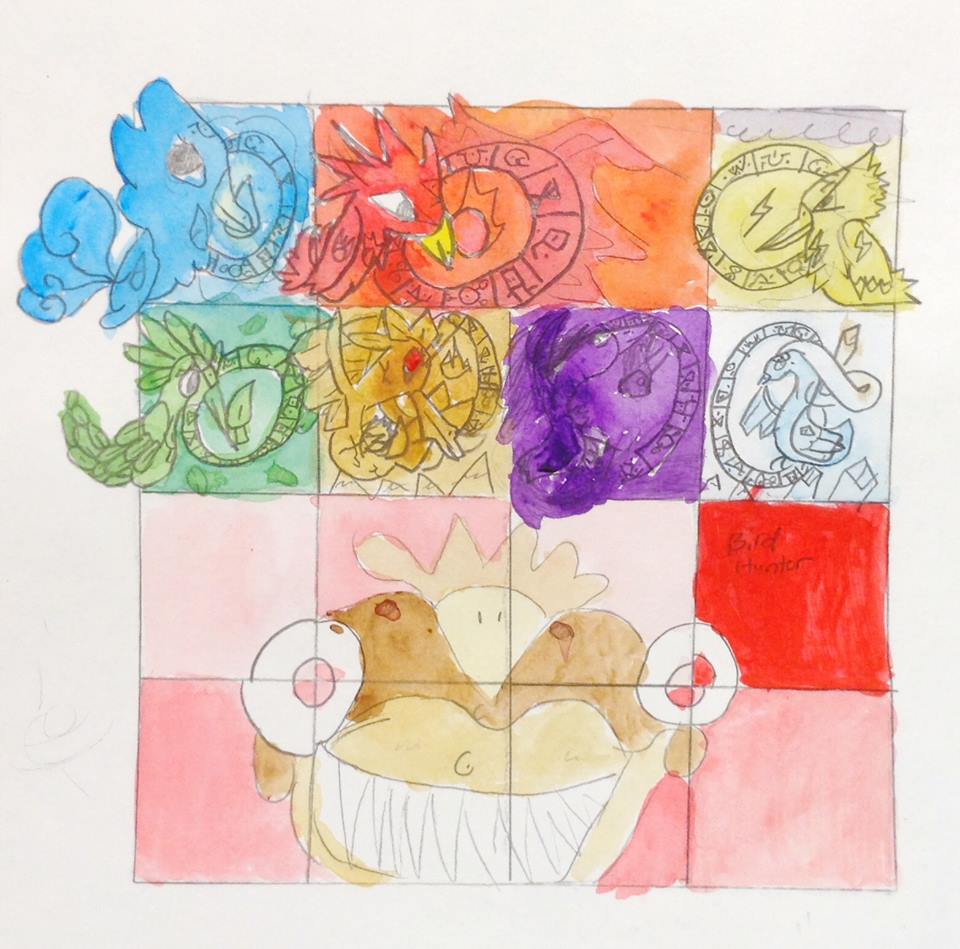
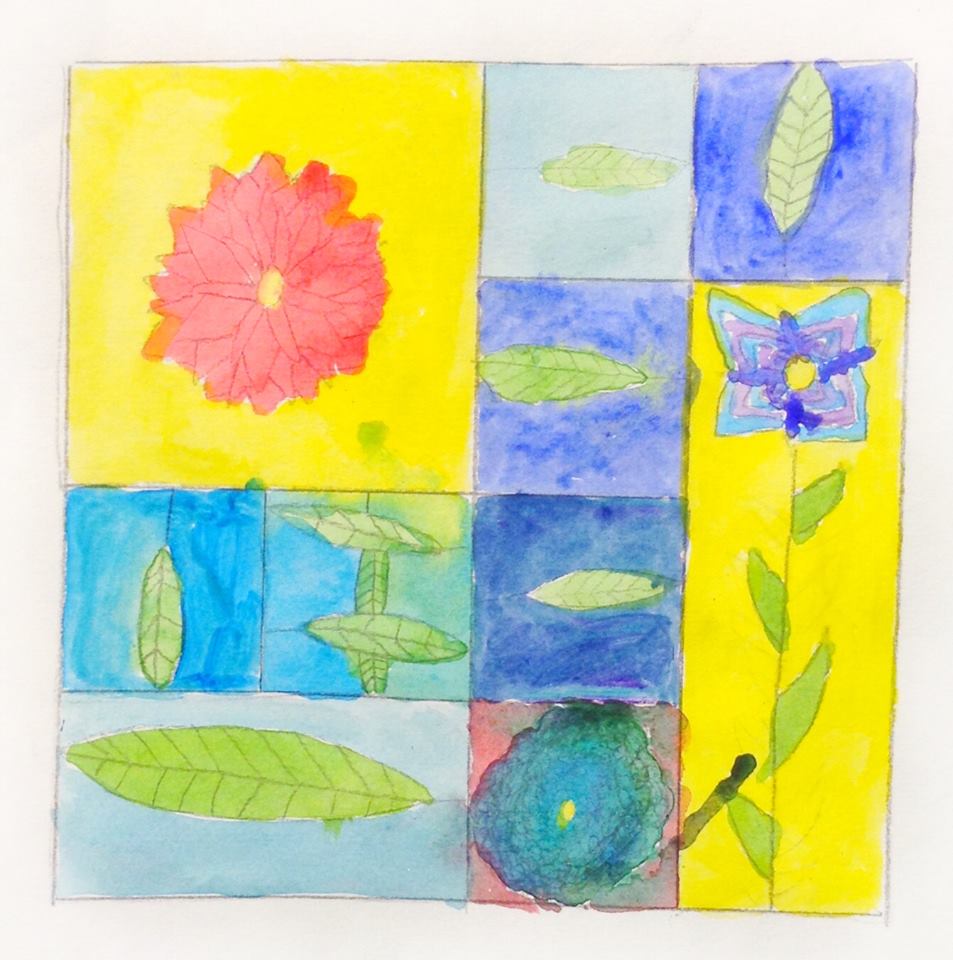
Artists work to finish their drawings that will be watercolored.
Artists should use the warmup time to finish their watercolor drawings. Some folks may draw a lot of detail even for these small sizes, so encourage them to simplify and finish if they can.
Those who are completely finished with drawing, can go around and view other people’s work, or have a bit of artists choice in pencil.
IMPORTANT
No one should skip the next FOUR steps. (If they need work on their drawings more, they can continue after trying out the painting technique).
Even if some of their squares or rectangles are not finished, your people will need to move through the next steps to learn watercolor techniques, and begin painting the areas that are ready. Then they can go back to finish drawing and painting the rest later.
If students continue to draw instead of practicing the painting techniques right after the watercolor DEMO, it will be much harder to learn watercolor. This is very important.
Here is a way to facilitate moving to the next step by making it a challenge: Have a few sheets of paper on your own desk or table ready for this. Use your timer to know when the 10 minutes of warmup time are over.
CREATIONS - tap here to open
Our Creations lessons are for students who have completed the two years of Foundations and are ready to begin using all that they have learned to create new work. These more challenging versions of the same concepts and techniques are easily taught along-side students in the Foundations course. This allows for excellent review, and is encouraging for students to see progress from each viewpoint.
Use the Student Instructions printout below to distribute to your Creations students. Tap the image to open the PDF in a new window.
Watercolor Painting continued
Overview: Students continue last week’s project.
Use this button to jump down to the preparation section.
LEARNING TARGETS
Students know how to watercolor.
M A T E R I A L S
- Scrap watercolor paper
- Brushes
- Acrylic paint
- Water Containers
- Palette Paper
- Eyedroppers
- Paper towel
Brushes should be nylon for springiness and durability. Round brushes are the most versatile.
Paint pigment list:
- Napthol or Pyrrol Red
- Hansa or Light Yellow
- Pthalo Green (blue shade)
- Cyan or Cerulean Blue
- Ultramarine Blue
- Dioxazine Purple
- Magenta
- Burnt Umber
- Raw Sienna
2.1 Print
Watercolor Points
Print enough for each student to have one
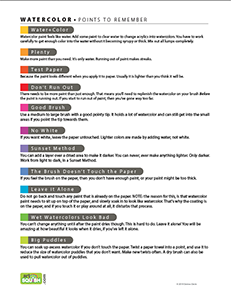
1 Page – Opens in new window
2.2 DEMO
Tap the 4 arrows icon to enlarge the video to full screen.
Review the demo video and demonstrate to your students. In a pinch, you can display the video on a larger screen for them to watch, but this demo is much better if done in person. (note: The Art Instuctor used to be Artsquish.com)
2.3 teach
Get 2 tubs of water. One tub of water is the actual paint – water! One is for cleaning brushes.
- Watercolor paint should look like water, not like paint. Add small amounts of acrylic paint to clear water to create watercolors. You have to work carefully to get enough color into the water without it becoming syrupy or thick. Mix out all lumps completely.
- Make more paint than you need. It’s only water. Running out of paint makes streaks.
- Use a test paper, because the paint looks different when you apply it to paper.
- There needs to be more paint than just enough. That means you’ll need to replenish the watercolor on your brush BEFORE the paint is running out. If you start to run out of paint, then you’ve gone way too far.
- Use a medium to large brush with a good pointy tip. It holds a lot of watercolor and can still get into the small areas if you point the tip towards them.
- No white should ever be used. If you want white, leave the paper untouched. Lighter colors are made by adding water, not white. You can think of your clean water as the white paint.
- Sunset Method. You can add a layer over a dried area to make it darker. You can never, ever make anything lighter. Only darker. Work from light to dark, in a Sunset Method.
- The brush should not even touch the paper. If you feel the brush on the paper, then you don’t have enough paint, or your paint might be too thick.
- Leave it alone. Do not go back and touch any paint that is already on the paper. NOTE: the reason for this, is that watercolor paint needs to sit up on top of the paper, and slowly soak in to look like watercolor. That’s why the coating is on the paper, and if you touch it or play around at all, it disturbs that process.
- Wet watercolors look bad! You can’t change anything until after the paint dries though. This is hard to do. Leave it alone! You will be amazing at how beautiful it looks when it dries, if you’ve left it alone.
- Big Puddles. You can soak up excess watercolor if you don’t touch the paper. Twist a paper towel into a point, and use it to reduce the size of watercolor puddles that you don’t want. Make new twists often. A dry brush can also be used to pull watercolor out of puddles.
Use this button to jump down to the preparation section.
STEP 3. Point of a Lifetime
Students will learn an important technique about watercoloring 10 MinutesLEARNING TARGETS
Students know how to use a brush with watercolor
M A T E R I A L S
- Scrap watercolor paper
- Brushes
- Palette Paper
- Acrylic paint
- Water Containers
- Eyedroppers
- Paper towel
3.1 teach
Make the Point of a Lifetime with students.
After years of teaching, Dennas finally found one simple instruction that instantly helps students “get it”. They will bypass most of the frustration that people have in learning to work with watercolors. (This is for all dry paper techniques.)
The brush should not touch the paper.
This is now our most important point with watercolors; the point of a lifetime! If you know watercolor, you understand that the brush can actually touch the paper – just not much. However, this instruction is amazing because it changes people’s initial approach to the medium. It helps students make the paradigm shift from regular painting techniques. This shift traditionally involves lots of frustration and practice, and often causes people to abandon watercolors altogether. No more!
Old School:
“Artists either hate watercolors or they love it…
but most hate it.”
The Art Instructor:
“My students love watercolor!”
Starting out with the idea of “not touching the brush to the paper”, instantly solves the 3 most difficult aspects of learning watercolor technique: 1) a very light touch 2) keeping enough paint on the paper, and 3) understanding that you must leave the watercolor alone as it settles and dries.
Many students will actually start using a lot of watercolor right away, getting larger puddles. This is the opposite of what new artists usually experience! Be on the lookout for excessive puddles. You can use twisted corners of paper towels and/or dry brushes to reduce the puddles by wicking it out. This works great – if the brush and towels do not touch the paper. So, the instruction helps students learn this technique properly too. Remember, however, that puddles will dry and look awesome if left alone, so wicking the water out like this is only for excessive puddles, that are about to run out of their area.
The Secret to Watercolor (tap the image to open viewer for 3 slides to show)
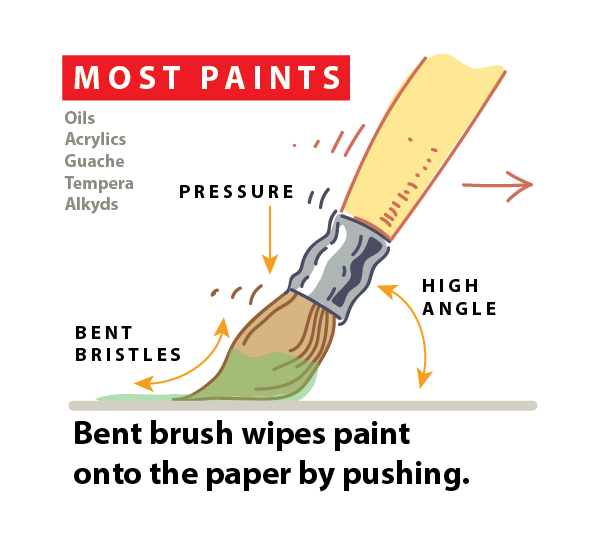
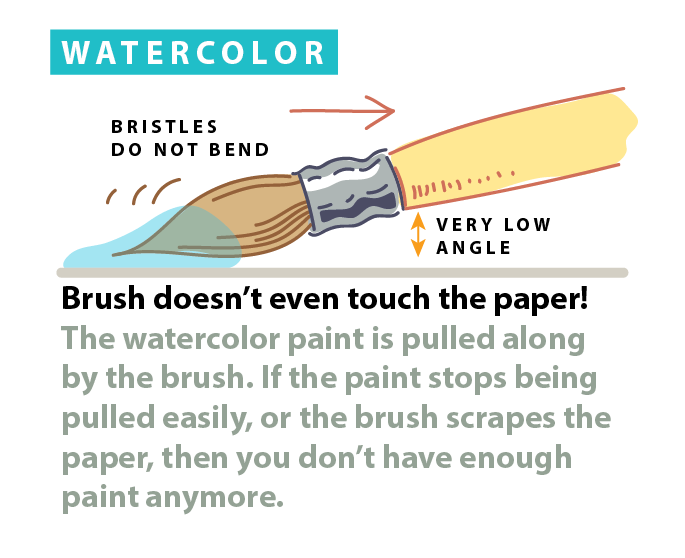

“Look at this picture of a brush on some paper. This shows us the most common way of painting with every type of paint – except for watercolor. You basically are wiping paint onto the surface of a canvas or board. It doesn’t matter how hard you press your brush and you’ll usually hold the brush at a high angle. You’ll just see different effects with different pressures and different angles, but all of them are good to use.
Watercolor is completely different though. You can’t use a variety of pressures. In fact, you have to approach the paper as if the brush and the paper don’t like each other. The brush should not even touch the paper! Let me say that again. The brush should not touch the paper. You can see in this diagram, that the brush should be held at a low angle so you don’t touch the bristles to the paper.
So how do you paint? The watercolor works as a bubble between the brush and the paper. The brush connects to the watercolor, and the watercolor connects to the paper. If there’s not enough watercolor, it can’t make that bubble. If you begin to run out of paint, the brush will touch the paper.
This also means that if you see something you want to change but the watercolor is still wet, you cannot go back unless there is still enough watercolor to prevent the brush touching the paper. Remember that watercolor doesn’t look good until it dries, so don’t worry about what it looks like anyway.”
Use this button to jump down to the preparation section.
LEARNING TARGETS
Students know how to set up their work area for painting with watercolor.
M A T E R I A L S
- Watercolor paper with drawing
- Brushes
- Acrylic paint
- Paint Palette
- Water Containers
- Eyedroppers
- Paper towel
- Smocks
4.1 prepare
Students will use this time to set up for watercolor painting.
Once they have all their supplies, they can set up their work area in an orderly manner to make sure that water won’t get spilled on their paper. Students will only need a teeny bit of acrylic paint on their palette paper since it will be mixed with a lot of water to create watercolors. Remind them that they aren’t creating an acrylic painting but using acrylic paints as the pigment for their watercolors. When placing the water containers down, be sure they aren’t too close to the paper and far enough back so that elbows don’t hit them. Spills happen! One container is for cleaning their brush (just like painting with acrylics) and the other clean water tub is the actual paint; to mix with the acrylic pigments.
Key points for watercolor setup:
- 2 tubs of water
- No white
- Small amounts of acrylic (paint will be mostly water)
- All paint, water, and brushes on one side together
- Paper towels close at hand
- A test strip of watercolor paper
- A medium/large brush with a good pointy tip
Use this button to jump down to the preparation section.
LEARNING TARGETS
Students know how to paint with watercolors.
M A T E R I A L S
- Watercolor paper with drawing
- Brushes
- Acrylic paint
- Paint Palette
- Water Containers
- Eyedroppers
- Paper towel
- Smocks
5.1 paint
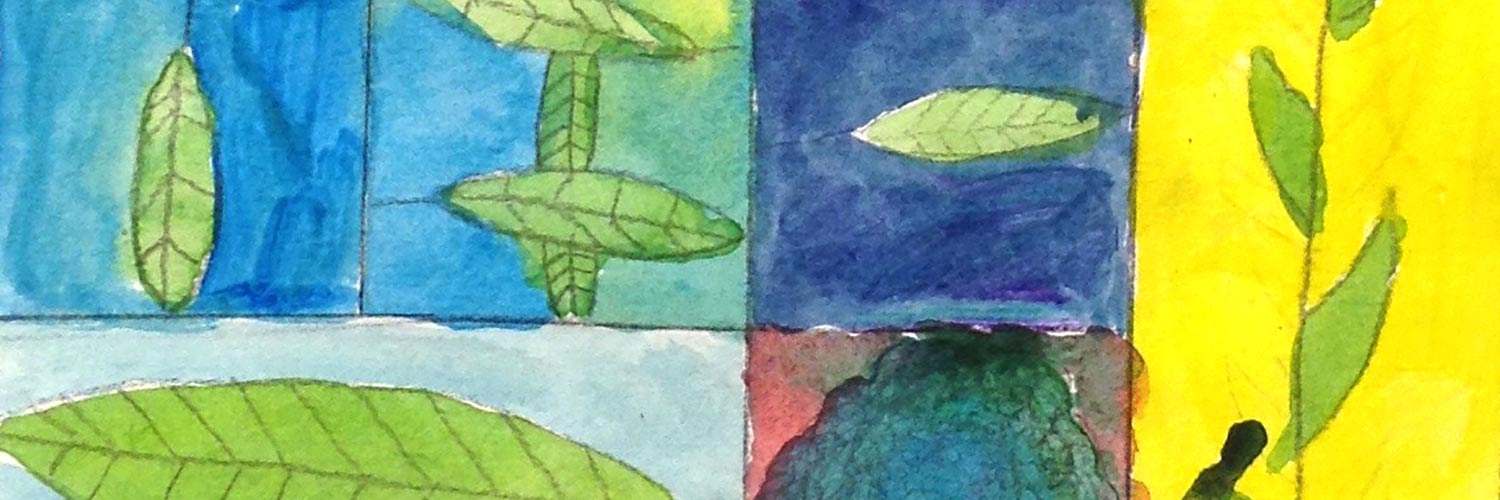
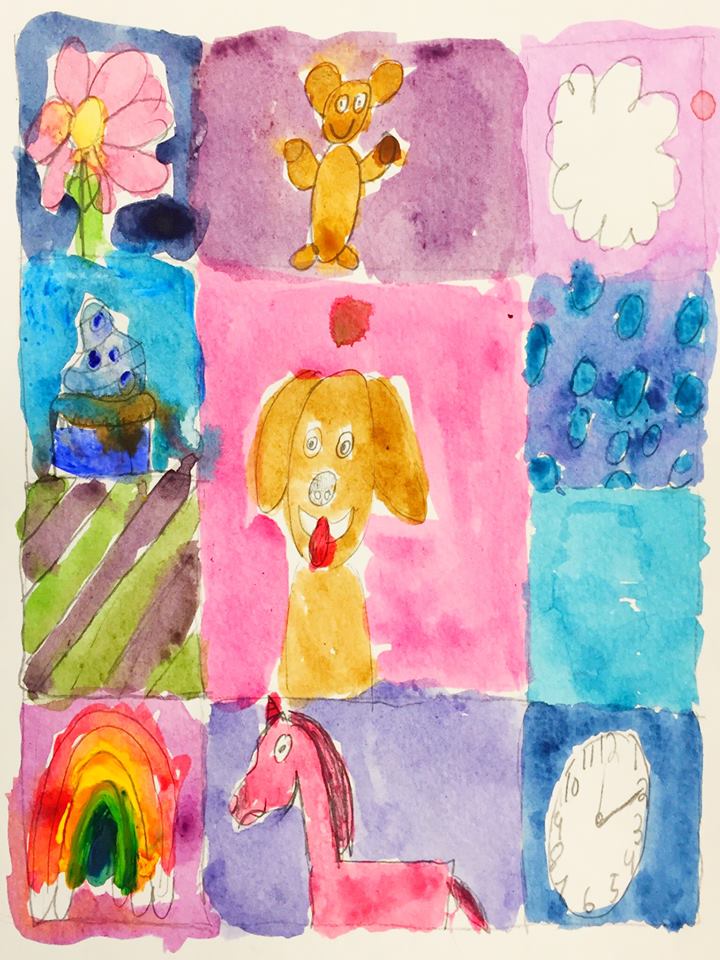
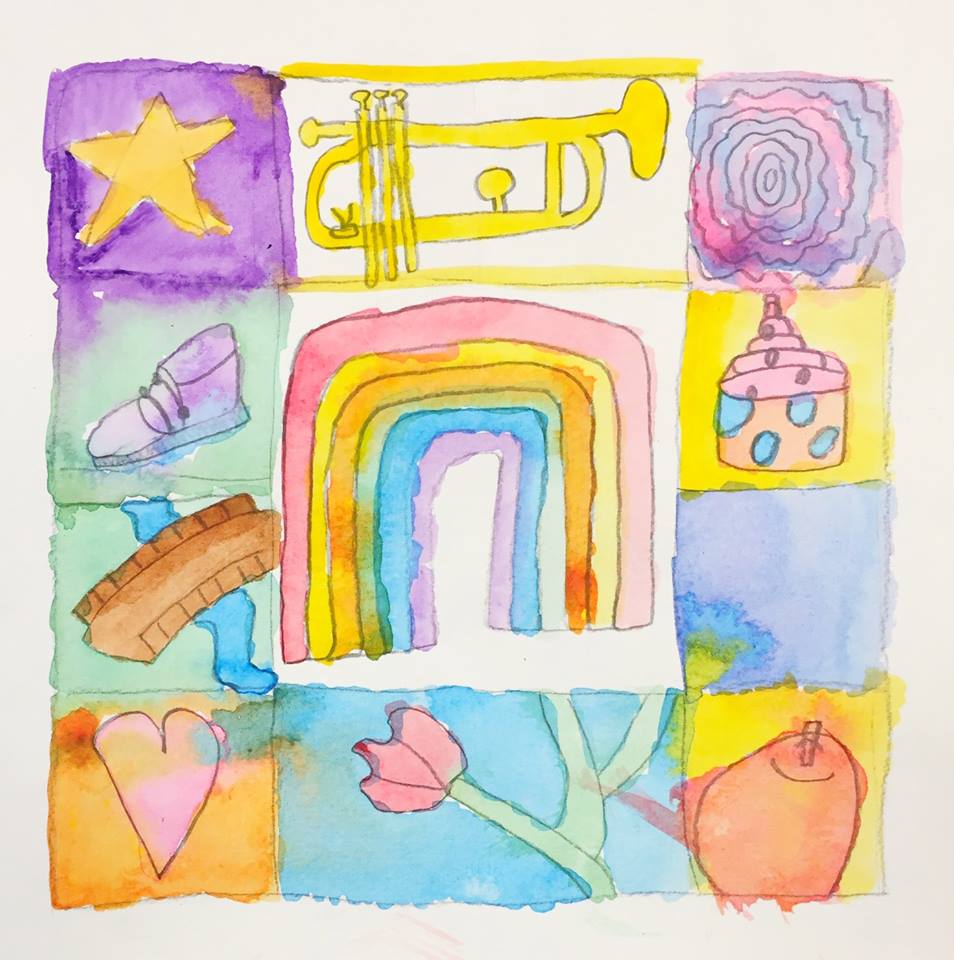
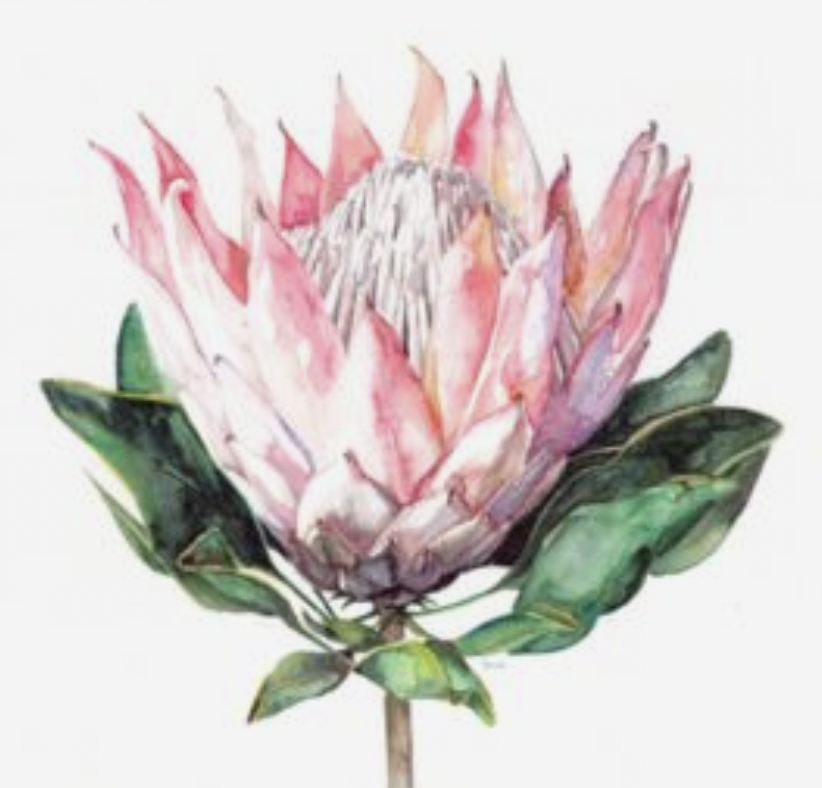
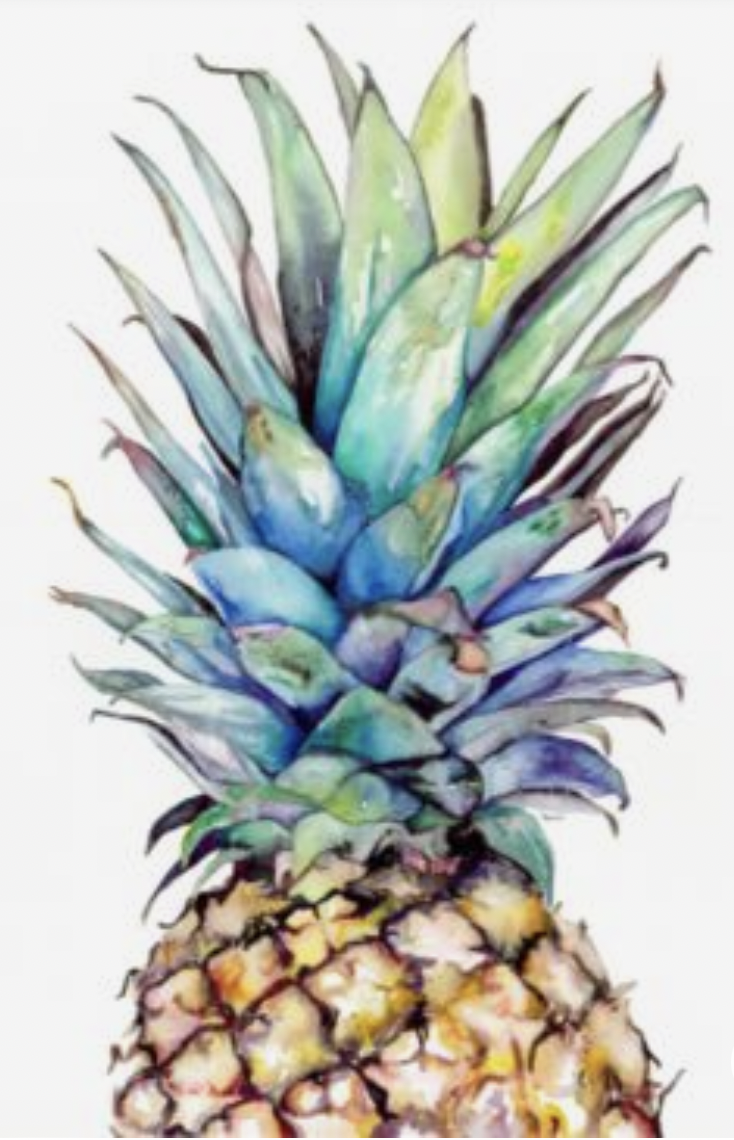
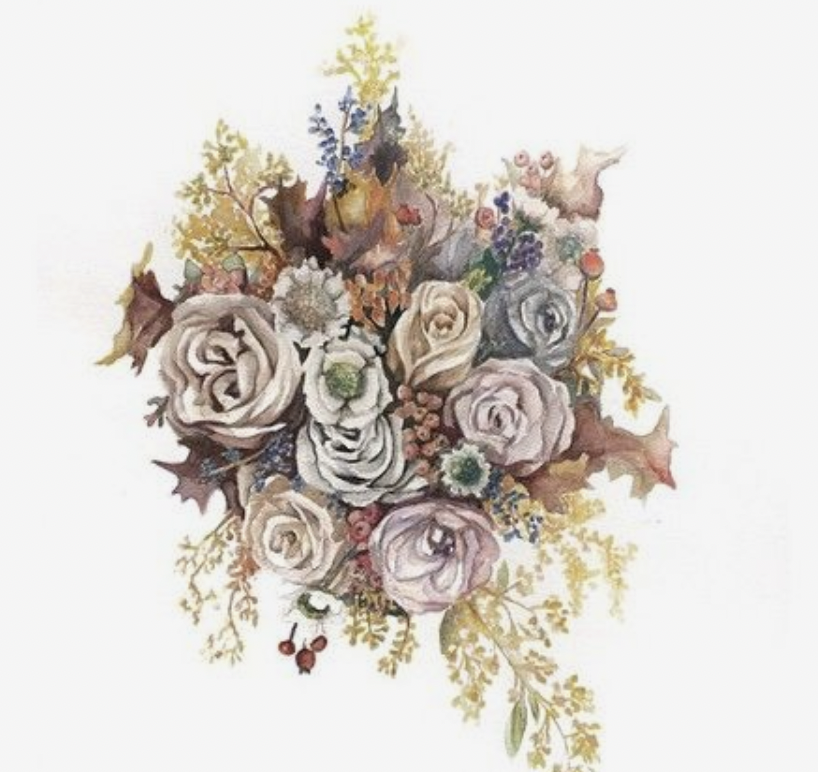
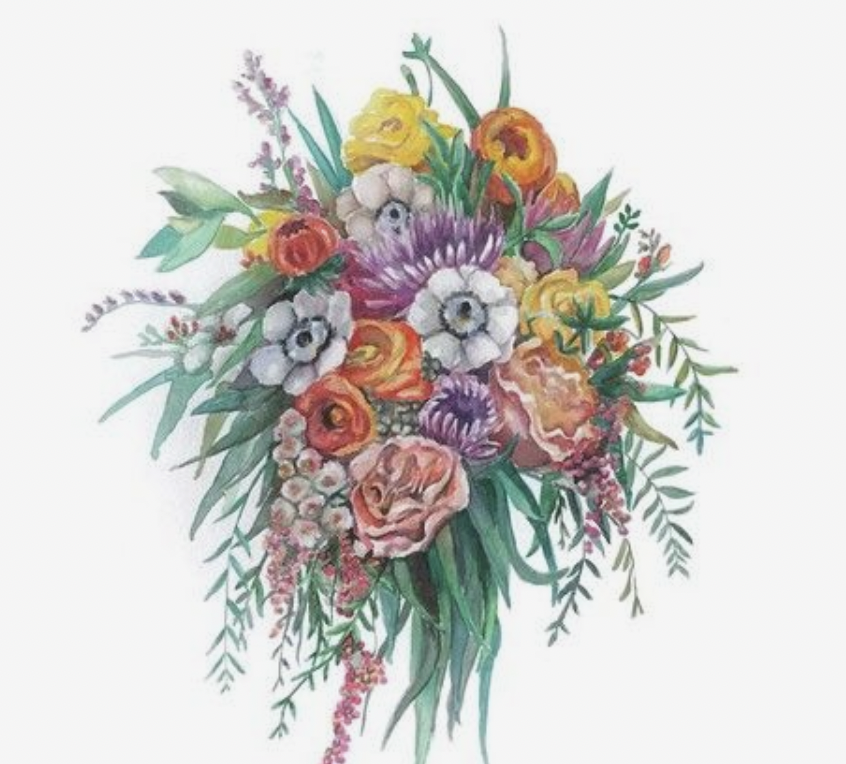
Once everyone gets settled, display the Reese Watercolors Pinterest board on the screen while they paint.
Make sure to point out the small patches of color in the pineapple, and explain that the colors do their magic like this, because Ms Reese leaves the paint alone while it settles and dries.
If dividing the class into two sessions:
When cleaning up, do not pick up wet watercolors. Slide onto a pad carefully to move them. Make sure names are on every work!
Everyone should sop up the excess watercolors on their palette pad with a paper towel before removing and disposing of the top sheet. Fold the paper, being careful with leftover paint. Empty water containers, superwash all brushes, and throw away any trash. Then check around for stray supplies before leaving.
Reese Watercolors (tap any image to open viewer)
Use this button to jump down to the preparation section.
LEARNING TARGETS
Students know how to paint with watercolors
M A T E R I A L S
- Watercolor paper with drawing
- Brushes
- Acrylic paint
- Paint Palette
- Water Containers
- Eyedroppers
- Paper towel
- Smocks
6.1 paint
Students have 48 more minutes to paint before it’s time to clean up.
Walk around and help students when needed. Continue to remind them of different tips with watercolors that you went over in the demo (for example, the brush doesn’t touch the paper).
Use this button to jump down to the preparation section.
LEARNING TARGETS
Students know how to make expressive drawings
M A T E R I A L S
- 14″ x 17″ Sketchpad
- Charcoal
- 2B Pencil
- Oil Pastels
7.1 Print
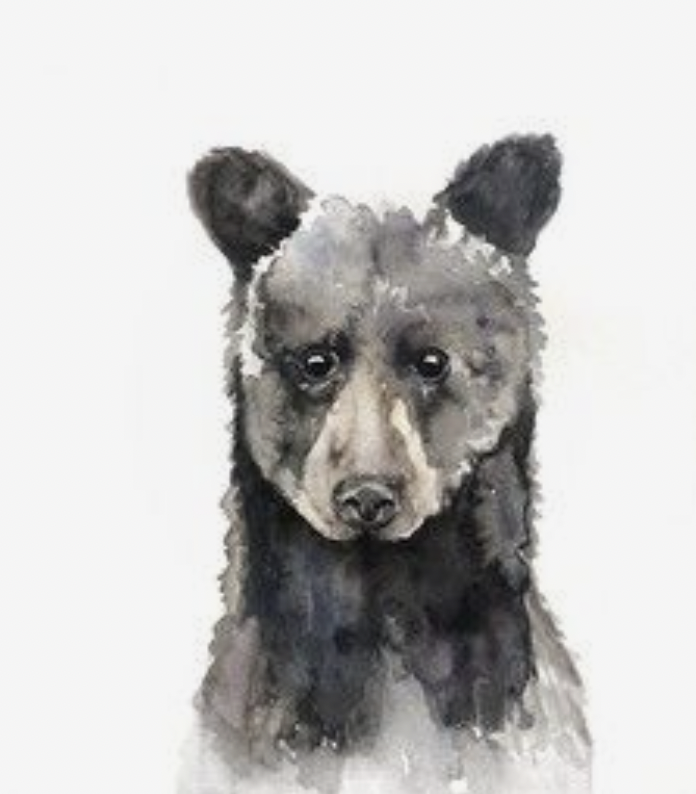
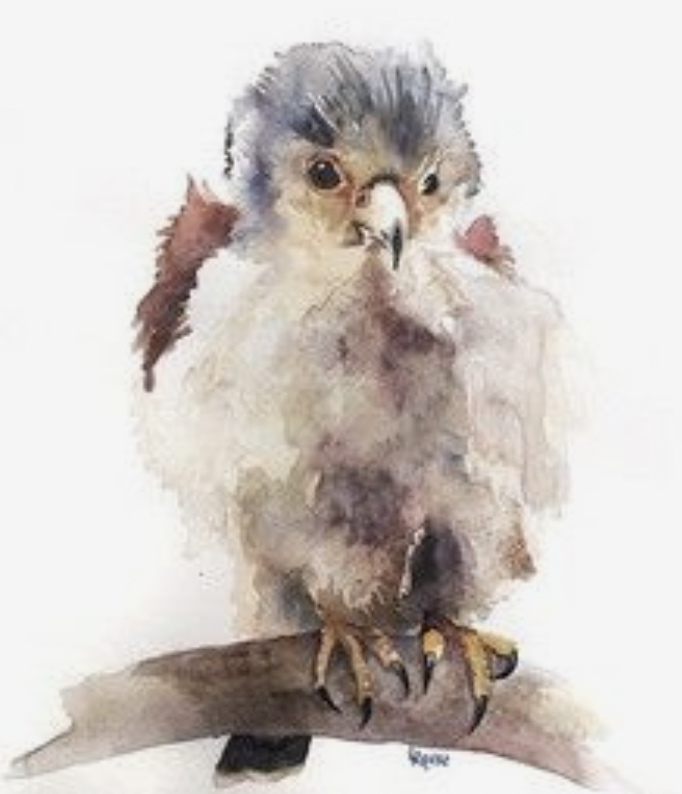
Reference
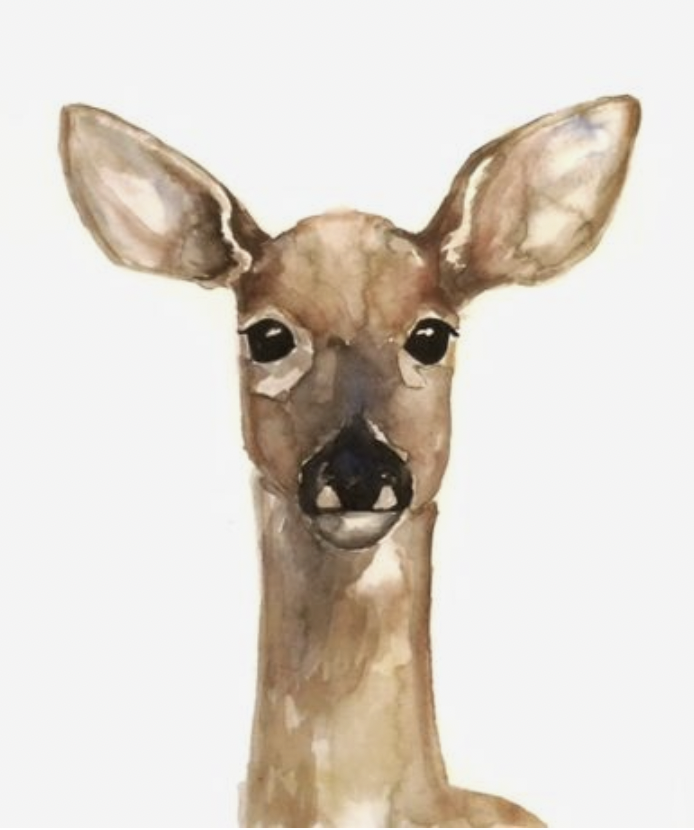
Expressive Animals
Cut images apart and print enough for each student to choose from several.
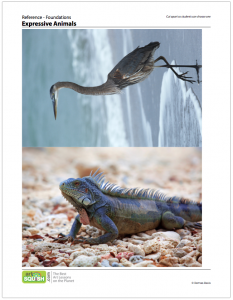
3 Pages – Opens in new window
7.2 draw
For young students who may be finished and restless, move into a charcoal project with expressive animals as each student is ready.
Have students choose some kind of subject from recent photo references. Draw Big Shapes lightly in pencil and then redraw using the side of a broken piece of charcoal. Have them shade heavily. Wash hands off and then use a white oil pastel to make grey areas by blending into the charcoal. This can be very expressive and fun.
Use this button to jump down to the preparation section.
LEARNING TARGETS
Students know the importance of cleaning up.
M A T E R I A L S
- Paper Towels
- Cleaning wipes
- Sink
- Waste baskets
- Well-lit spot for photos
- Camera or phone-camera
8.1 clean
Students clean up their work area.
- Wash hands
- Super-wash brushes if used
- Put art supplies away
- Wipe tables & toss trash
- Remove any smocks (last)
- Check for items on floors and tables
When cleaning up, do not pick up wet watercolors. Slide onto a pad carefully to move them. Make sure names are on all artwork.
Everyone should sop up the excess watercolors on their palette pad with a paper towel before removing and disposing of the top sheet. Fold the paper, being careful with leftover paint. Empty water containers, superwash all brushes, and throw away any trash. Then check around for stray supplies before leaving.
8.2 capture
OBJECTIVES
- Practice and improvement using watercolors
- Understanding how watercolor is very different than other paint
- Accomplishment in seeing a complex painting project progress
- Fulfillment by self expression in subject and color
TROUBLESPOTS
Unbelief – Some students may actually not do any of the watercolor technique points at all. You might think this is defiance or that they don’t trust you. Some of that may be in play, but this is most likely because they’ve been satisfied with their previous watercolors. That feeling of accomplishment they enjoy is in danger. If you think this is the case, you should let it go. In order for you to “win” the argument that all these techniques are superior, it would mean the student has to admit that their own previous work is not as good as they have believed up to this point. They may have been told by everyone they trust that their work looks amazing. Then you come along and say it’s been done all wrong. You can only teach new things to students who are ready for them.
If you have a student like this, just ask them to try your new technique on some of their work in addition to the techniques they insist on using. There are really no evil techniques. Someday this student will be ready to choose a more widely enjoyed technique.
Every single item on the watercolor DEMO points – Make sure that you know all of the things we’ve listed that make watercolor work well, and be on the lookout to encourage their use. The items in bold in the Lessonplan list are the things that make the most difference, and that are most likely to be forgotten while working.
Excessive puddles – Our special technique gets students using tons of watercolor paint, which is great. There may be super puddles with some students though, that will need to be reduced some. Use twisted paper towel corners to wick out some of the water, but don’t touch the paper with these. You should leave some of the puddle so the watercolor can do it’s own thing as it settles and dries.
Must. Finish. This. First. Most everyone who is focused on creativity gets into a groove and finds it hard to stop. You will have to be firm at the end of the first 10 minutes, to get everyone to put down their pencils and move to the next step. Some will also want to go back to drawing instead of practicing the watercolor techniques. It’s important to practice these things immediately, because they are so different from all other painting techniques. Be strong!
ART WORDS
• Translucent – When light can pass through something, such as a color, it is translucent.
• Glaze – Any medium that is translucent, showing some of the paper, drawing, or other colors underneath. Watercolor is a glazing medium.
• Settle & Dry – A term we use at ArtSquish for the magic time when watercolors do their own thing. The paint should not be disturbed during this time.
• Sunset Technique – The ArtSquish term for working from light to dark. Any translucent medium such as watercolors are done using a Sunset Technique.
CLASSROOM
PREP
Practice the watercolor demo so you know it well before you show students. Have the demo all set up and ready to go.
Print all of your PDFs from the lesson plan and cut the animal references apart for the extra project. You shouldn’t have too many students finishing early, but you can also use these next week for Artists’ Choice.
What your room needs
Here are your printable lists and room prep instructions.
Opens in new window
CLASSROOM
MATERIALS
- Water containers
- Water droppers
- Paper towels
- Smocks
STUDENT’S
MATERIALS
- 14″ x 17″ Sketch Paper
- 11″ x 11″ watercolor paper with drawings from last week’s lesson
- Scrap piece of watercolor paper
- 2B Pencil
- 4B pencil
- Soft compressed charcoal sticks (not pencils)
- White erasers
- Kneaded erasers
- Acrylic paints
- Oil pastels
- Paper palette pad, or disposable trays/plates
- Brushes – All sizes
PREVIEW
Week 16: Artists’ Choice
Every artist loves the chance to express, and to choose the medium, the subject, and the style that they work in. Our last week before Thanksgiving allows artists the room to enjoy their work and see what they can do. However, we do have work-flow training, to facilitate creating artwork keepers, as opposed to having play time. Total freedom can create overwhelmed students and chaos.
Week 17: Color Journals: Red & Green
Our first 2 Color Journals of the year are Reds & Greens. These are fun and easy for students, because they just follow the instructions to mix 25 versions of one color-type. All of the colors are useful and the most common variations artists need. The journals are designed to help students understand the process of mixing and the effect that colors have on each other. The pages are printed on cover stock and should be saved in a binder.