
OVERVIEW
Students will continue our pet theme. First we’ll make prints using the cat yarn print blocks from last week, and then create dog drawings and paintings. We end the day inventing a fantastic dog house!Grades 3 – 5
Week of December 15 – 19
1 Hour & 30 Minutes


Lesson At A Glance
A brief overview of each step. Buttons jump to each section for detailed information.
15 Minutes – Artists’ Choice Dogs
20 Min – Cut and paste. Make snowy ground
25 Min – decorate and paint trees. Paste!
10 Min – View shapes on dogs. Use slideshow.
15 Min – Draw dog using handout
15 Min – Color dog and background
5 Min – Everyone helps
SCROLL & TEACH
LESSONPLAN
Each section is a different color. Read over once and then you can SCROLL & TEACH using any device you like. It’s designed to work best with your phone.
LEARNING TARGETS

Students learn to express themselves through creating from their imagination.
M A T E R I A L S
- 11″ x 17″ Copy Paper
- 4B pencil
- Eraser
- Markers and/or oil pastels
- Blenders (stumps)
- Paper Towels
1.1 Print
Reference
Fun Doggies
Cut images apart and print enough for each student to choose from several.
This is the same Expressive Animal PDF from last week’s Grade 3-5 “Patch Painting”, so if you have those you can use them again.

1.2 greet
Kneel down so that you are on their level. Bending over emphasizes the differences in your height, while kneeling makes them feel more important. Have tape and marker ready so you can stick some tape on the table by each student and write their name on it as they sit down.
1.3 choose
Everyone should take their time with the work and make a finished piece of art. Limiting the paper can also help kids focus on the work. If someone finishes in super-fast time, ask them what more they can do to the existing paper. Ask again several times – unless they appear overly frustrated; then you can allow them to move on to a new work.
Use this button to jump down to the preparation section.
Step 2. Snow Globes
Students will create the background for a paper snow globe art project 10 MinutesLEARNING TARGETS
Students create their own winter scene in a snow globe.
M A T E R I A L S
- Blue paper cut into a circle
- Cover stock circle (with a trapazoid for the base)
- Coverstock
- Glue sticks
- White oil pastels
- Water color trays
- Medium sized brushes
- Paper towels
- Scissors
Students will draw a simple snowy landscape background on blue paper using white oil pastel. Then they’ll cut triangle trees out of cover stock that will be drawn on with oil pastels also, but only using lines that will resist watercolor paints. The white lines will look like snow on the trees.
Watercolors will be added in the next step.
1.1 Print
Templates
Snow globes and more
Print the circles on blue card stock and the globes with trees on white card stock. Cut each images apart and print enough for each student to have one of each item: 1 pre-cut blue circle, 1 pre-cut white snow globe base, and 1 piece of paper with a set of 3 tree shapes to cut out themselves.

1 Page – Opens in new window

1 Page – Opens in new window
2.2 cut
Tree Shapes
Each student recieves coverstock to cut three triangle-shaped trees, which they will later paint. Tell students to cut out trees along the lines.
2.3 pastel
Paper Globe
Hand out both the blue paper circle and the coverstock circle with base. Have students use a white oil pastel to draw snowy ground on the bottom half of the blue paper to start their snowglobe scene.
Then students will use a hand-glue stick to cover the back of the blue circle and paste it onto their globes.
Use this button to jump down to the preparation section.
LEARNING TARGETS
Students know how to make trees
M A T E R I A L S
- Oil Pastels
- Watercolors
- Mixing trays
- Brushes
- Tree shapes
- Paper towels
- Glue sticks
- Spray bottle with water
If you have enough printing rollers at hand, you can use them first for pressing the paper onto the blocks for actual printmaking, and if you have enough, you can also use them to apply the paint or ink to the block instead of using brushes.
It’s helpful to place the paint or ink on a very smooth flat surface such as a mirror tile or glass panel (tape over the sharp edges really well with duct tape).
3.1 trees designs
Students decorate their trees.
Artists will use their oil pastels to come up with designs and decorations and fill their trees with lines.
Encourage students to use white for snow, but they can use many colors to draw ornaments, string lights and whatever else they decide to adorn their trees with.
Explain that we will paint these after they are all drawn on. The white will magically appear when they add the watercolors to make the trees green.
Explain that we are not coloring these trees with the oil pastels, and that students should only use their pastels to draw lines onto their card stock triangles.
3.2 Paint
Painted winter trees
- Once all the trees have gotten their oil pastel designs students set up for watercolor in order to fully color their card stock trees.
- Pass out paints, water, paper towels, and mixing trays
- Remember to mix your own colors, and to wipe wash wipe when changing colors
3.3 arrange and paste
Station 2
- Watercolor trays should be collected as students bring brushes to the sink. This gives the trees time to dry
- Once trees have dried student will arrange their trees on their globes until they find an arrangement they’re happy with
- Then, glue sticks are used to secure the winter trees in their snowy home
ALTERNATIVE
You can place all the trees and globes onto a paper with student name, or onto their art spot, to dry for a bit and come back to this after the next step or several steps.
3.4 sign
Remember to have names on the snow globe before setting it aside to dry.
Use this button to jump down to the preparation section.
LEARNING TARGETS
Students know how to identify big shapes
M A T E R I A L S
- Ipad or screen to display dog photos
4.1 shapes
Look at the dog slideshow and analyze big shapes and features:
- Head shapes – many dogs have heads that look like a lightbulb from the front and a car from the side.
- Ear shapes – Sometimes these are triangular, when they flop over. Often they’re odd shapes.
- Eye shapes – Dogs have lots of different shapes for the eyes. The lids can flop over and make them more like triangles or even rectangles.
- Nose shapes – these are mostly just round or squarish.
- Fluffy and hard edges – It’s hard to draw fluffy dogs sometimes. It can be easier to color around the fur and leave the fur white, like in the picture with the white dog. You could just color the red parts and make a few small lines for the wavy fur.
That’s right, you have to look at the dog you’re drawing to see what shapes are there.”
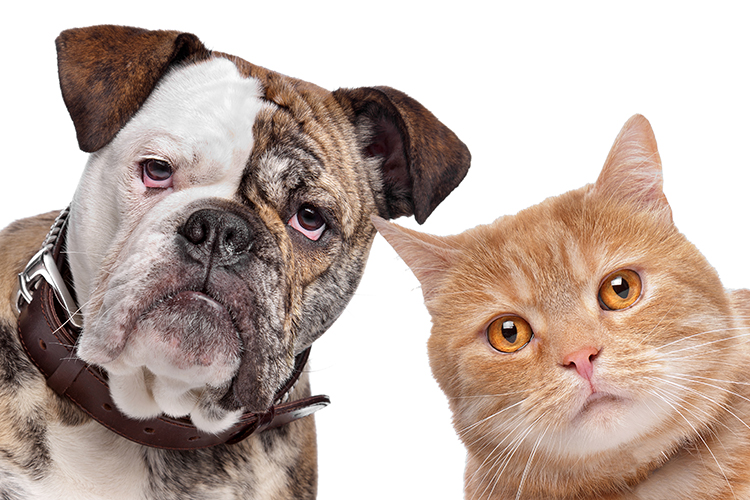
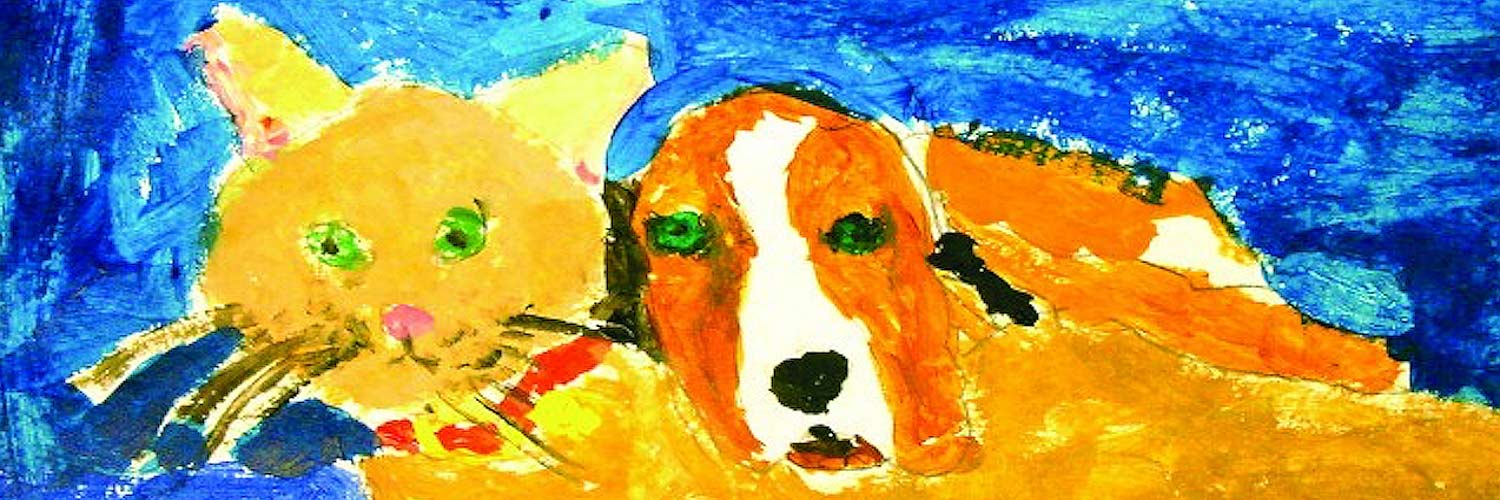
Dog and Cat
Bulldog and cat. This dog has a circular face and triangular ears; similar shapes to a cat.
GoldenDog
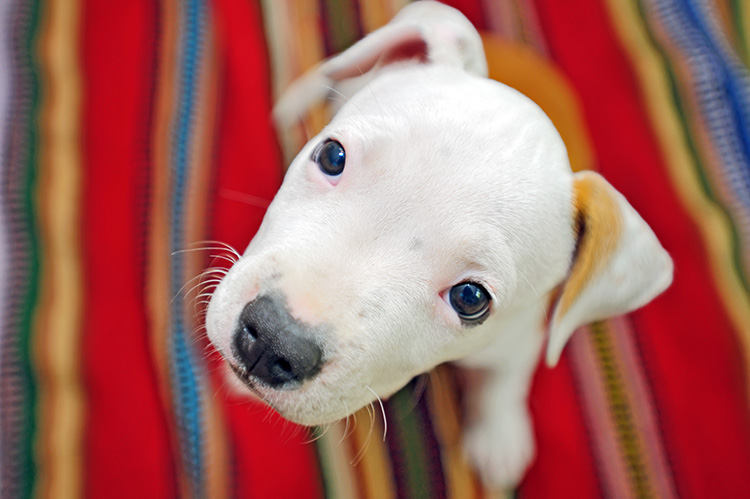
WhitePup
This cute little guy has a balloon shaped head. It will look more like a lightbulb when he’s older.

FlappingEarDog
Wheee! Can you see a heart shape?

ShaggyDog
This doggy is all fluff! He’s just a white column with a nose and mouth.

German wire-haired pointer
This scruffy but noble dog has a head shaped like a car.
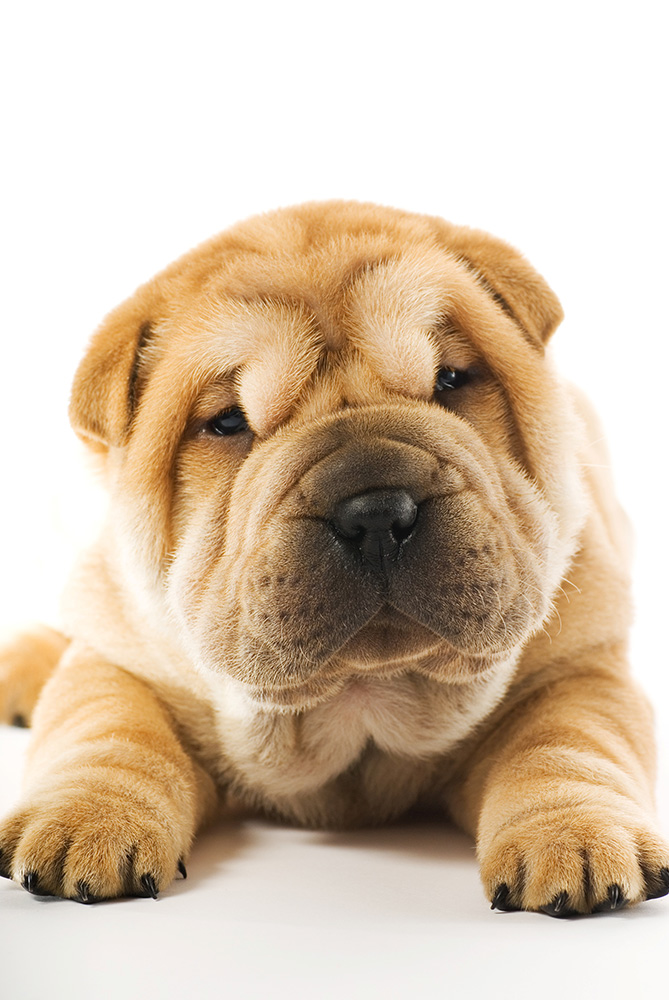
Wrinklypup
You can draw this wrinkly face inside a circle shape.
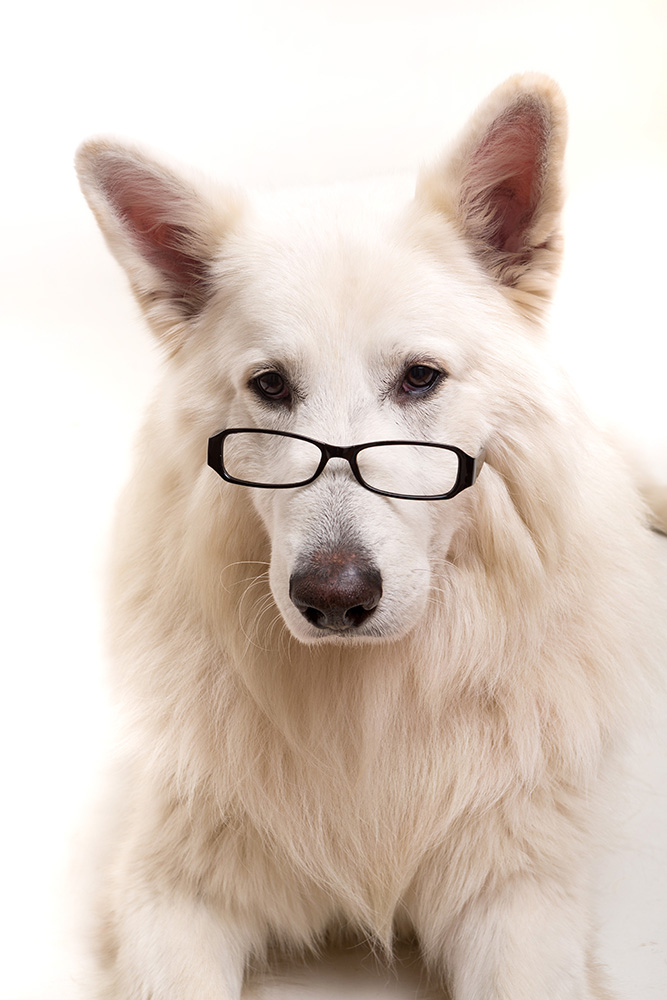
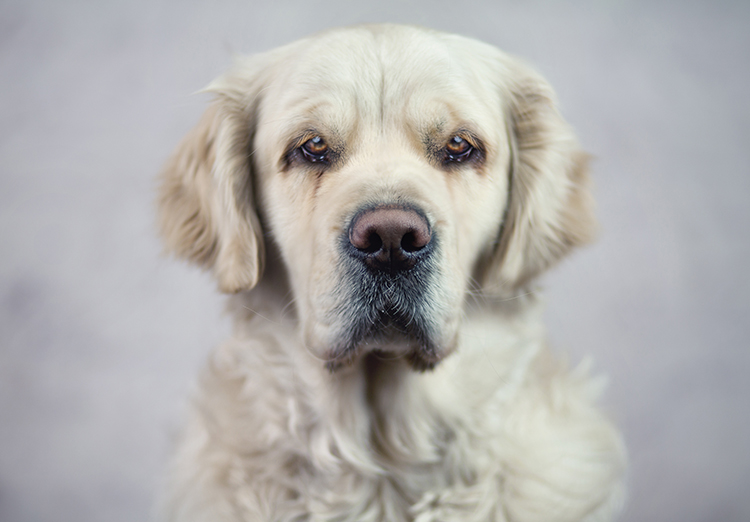
Swiss White Shepherd
Some dogs are smarter than others. This dog has a lightbulb-shaped head.
Use this button to jump down to the preparation section.
LEARNING TARGETS
Students know how to draw a dog accurately
M A T E R I A L S
- 11 x 17″ Cover Stock
- Markers
- Pencil
- Erasers
5.1 Print
Reference
Dogs & Shapes
Have students follow along with these drawing guides.

1 Page – Opens in new window
5.2 draw
Each student will draw the big shapes of the dog they choose in light marker (yellow or pale pink works great). These shapes are shown in blue on the handout. Some simple details are shown in a darker blue but draw the BIG SHAPES first. Draw all the guidelines using the pale marker. The final art we’re doing will be realistic, and we will redraw the real shapes over the guidelines with MORE detail. For that we’ll be using a strong colored marker that shows up much better.
Guidelines just help us know get the size of things, and where they go. They help us get the Big Shapes to look good.
Use this button to jump down to the preparation section.
LEARNING TARGETS
Students know how to color a dog with creative colors
M A T E R I A L S
- Markers
6.1 color
Students will now use markers to color in their dog in bright, crazy colors. Everyone loves a colorful dog! Color fully, and color in the background too if you can. If any students finish quickly, they can draw another dog using oil pastels or markers. Make sure names are on these!
Use this button to jump down to the preparation section.
LEARNING TARGETS
Students know how to clean up.
M A T E R I A L S
- Sink
- Waste baskets
- Well-lit spot for photos
- Camera or phone-camera
- Paper towels
- Cleaning wipes
7.1 Clean
- Empty water containters
- Super-wash brushes if used
- Put art supplies away (sop up runny paint before disposing of palette paper)
- Wipe tables & toss trash
- Remove any smocks (last)
- Check for items on floors and tables
7.2 Photo
- Try to get photos of your student’s artwork. Find a good spot for quick lighting without highlights or shadows from your hands and device. Ideally in-between two strong lights on each side.
Use this button to jump down to the preparation section.
OBJECTIVES
- Practice and improvement using various materials and drawing skills
- Understanding printmaking
- Accomplishment in creating several identical original prints
- Fulfillment by self-expression
TROUBLESPOTS
Impatience – The beginning of the printmaking line will be a bit of a waiting game for some. You can have a waiting station with blocks, magnetic art games, or paper and markers if you have room and think you’ll need it.
Smearing – Help your artists keep their paper from sliding around by pressing gently first, and then harder..
Reprinting attempts – This just doesn’t work! Watch for someone thinking they can try again on the same paper. Just get a clean sheet.
ART WORDS
Ink – Prints are usually made with special thick ink, but we are going to use paint. There is not much difference when you’re using simple printing techniques like we are today.
Print Block – Artists call the board that is used to make a print, the block. Originally, printing blocks were very large, much like blocks. Today we’re using cardboard as our printing blocks.
Big Shapes – One of the ArtSquish 3 steps to accuracy. finding big shapes and draw them before details, is the most fundamental insight an artist needs to learn.
Edition – A set of prints are usually called an edition of prints. Some artists only make a certain number of prints and then they destroy the printing plate. Those prints are called a limited edition
CLASSROOM
PREP
Print all of your PDFs from the lesson plan and cut any references apart as needed.
What your room needs
Here are your printable lists and room prep instructions.
Opens in new window
CLASSROOM
MATERIALS
- 8.5″ x 11″ copy paper
- 8.5″ x 11″ card stock
- 11″ x 17″ copy paper
- Rulers
- Scissors
- Box cutter (teacher only)
- Large Drawing boards with clips
- Water containers
- Spray bottles
- Water droppers
- Paper towels
- Smocks
STUDENT’S
MATERIALS
- 14″ x 17″ Sketch Paper
- 11″ x 15″ watercolor paper
- 2B Pencil
- 4B pencil
- Ebony pencil
- Black Sharpie
- Markers
- India ink
- Ink dip pen with metal nib (not too sharp a point)
- Soft compressed charcoal sticks (not pencils)
- Canvas pencil (dark gray colored pencil)
- White erasers
- Kneaded erasers
- Acrylic paints
- Oil pastels
- Blender sticks (stumps)
- Sandpaper boards (to clean blenders)
- Paper palette pad, or disposable trays/plates
- 11″ x 14″ Canvas (loose or from real canvas pad)
- Canvas boards (optional)
- Tape – blue painter’s tape
- Brushes – All sizes
PREVIEW
Thanksgiving Holidays
Week 13: Have a Dog Day
Students will continue our pet theme. First we’ll make prints using the cat yarn print blocks from last week, and then create dog drawings and paintings. We end the day inventing a fantastic dog house!