
OVERVIEW
Students will make multiple art prints using a simple technique to engrave a design into styrofoam. They will also create a frame for the print and paint it with acrylics. The lesson will teach how printing creates duplicates and they are a mirror image. Also, how to plan and design a simple printed piece of art and make a great presentation. The end result is a wonderful holiday art gift!– – –
Grades K – 2
Week of December 9 – December 13
1 Hour & 30 Minutes
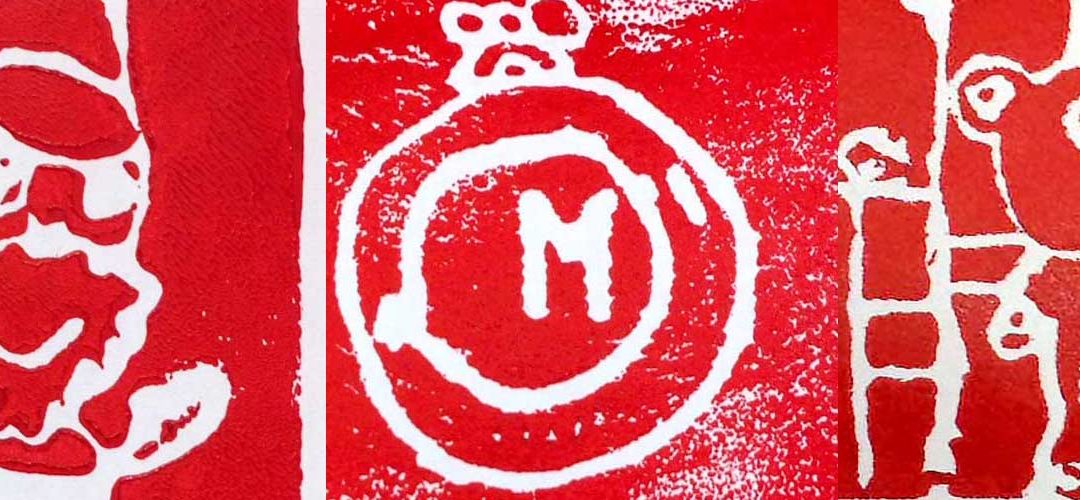
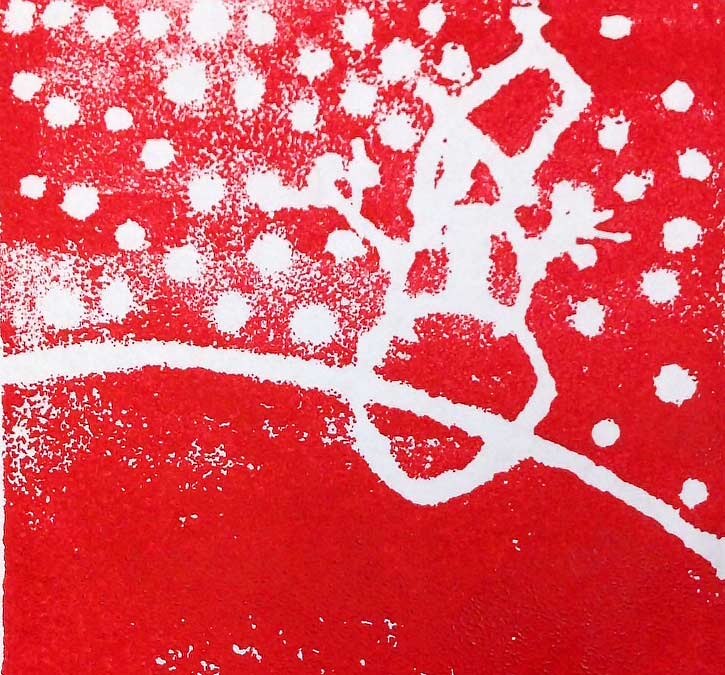
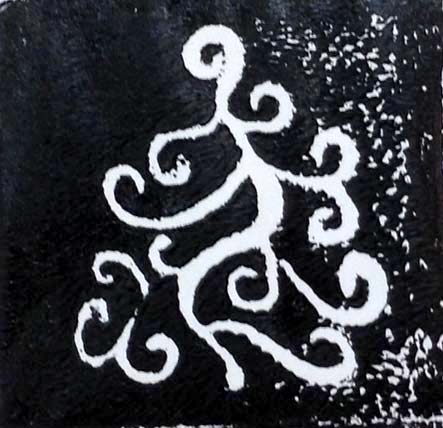
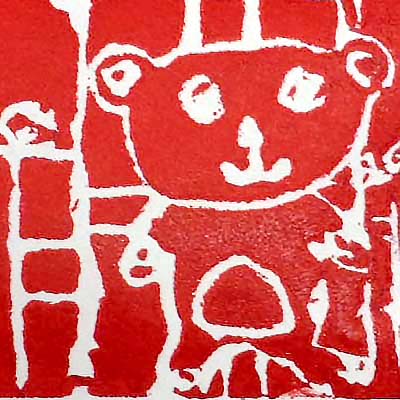
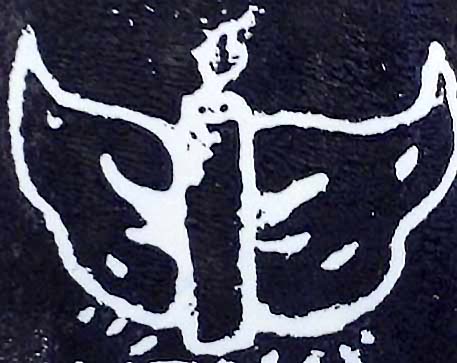
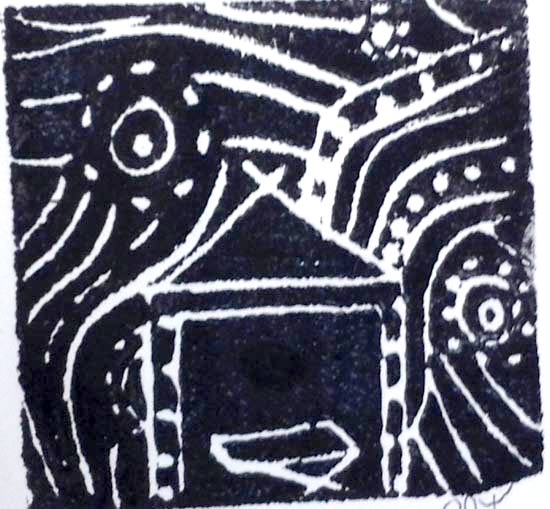
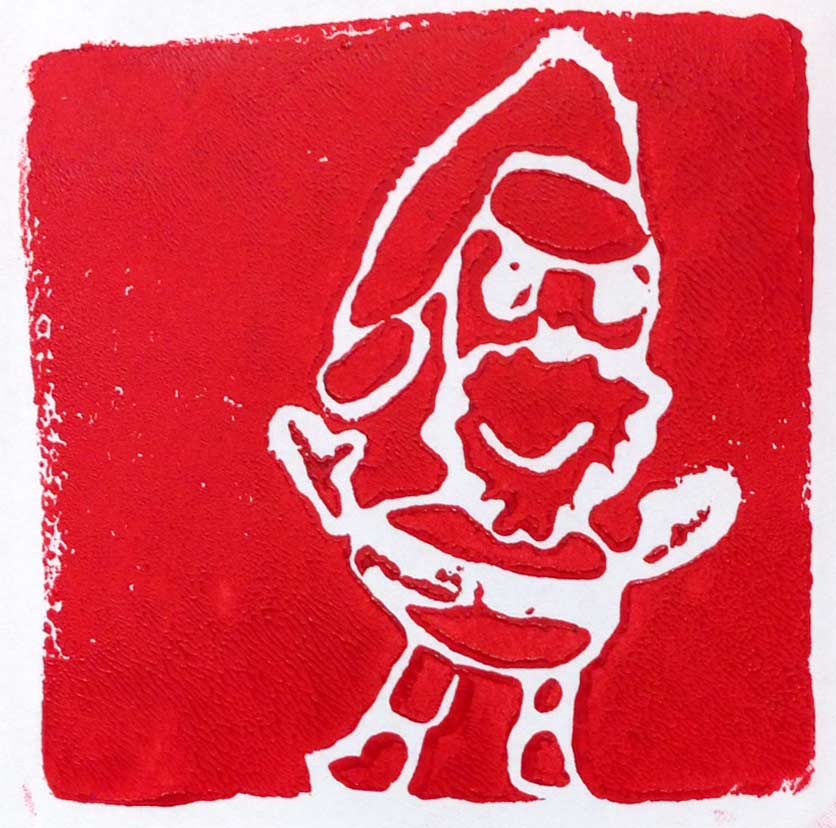
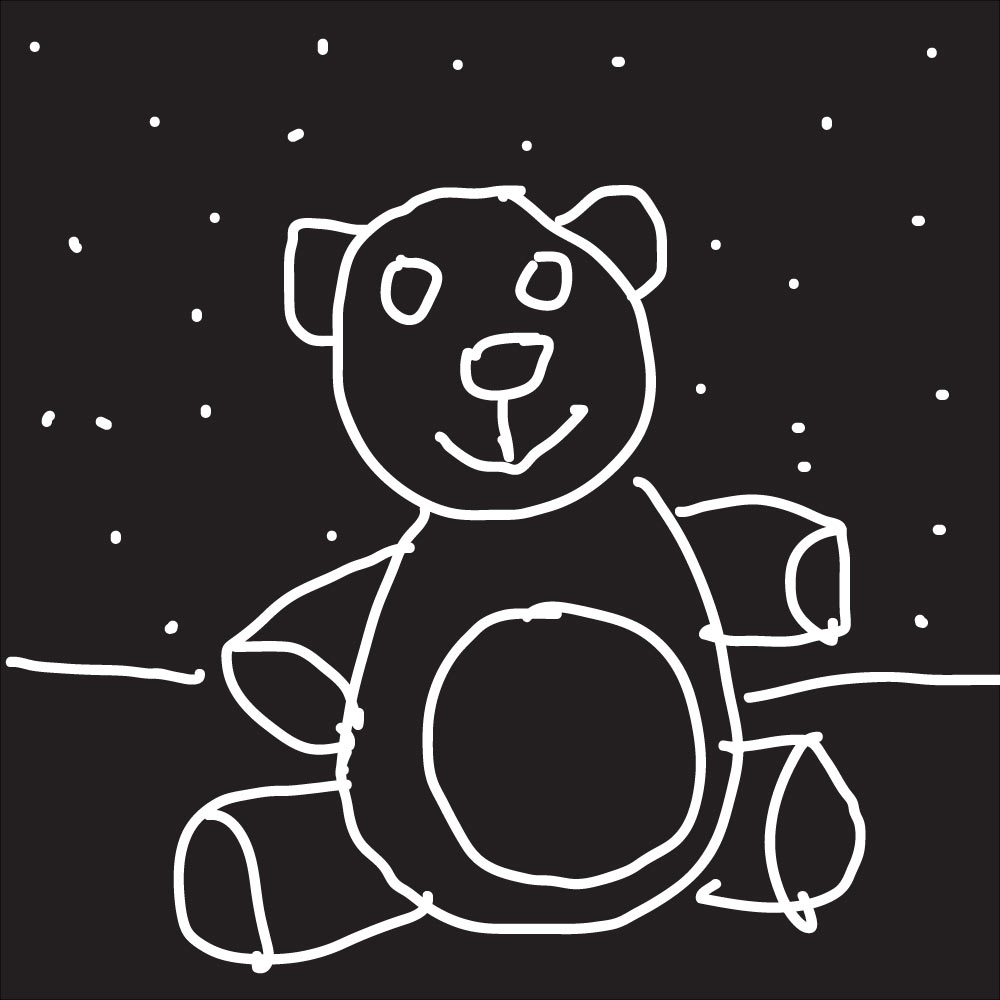
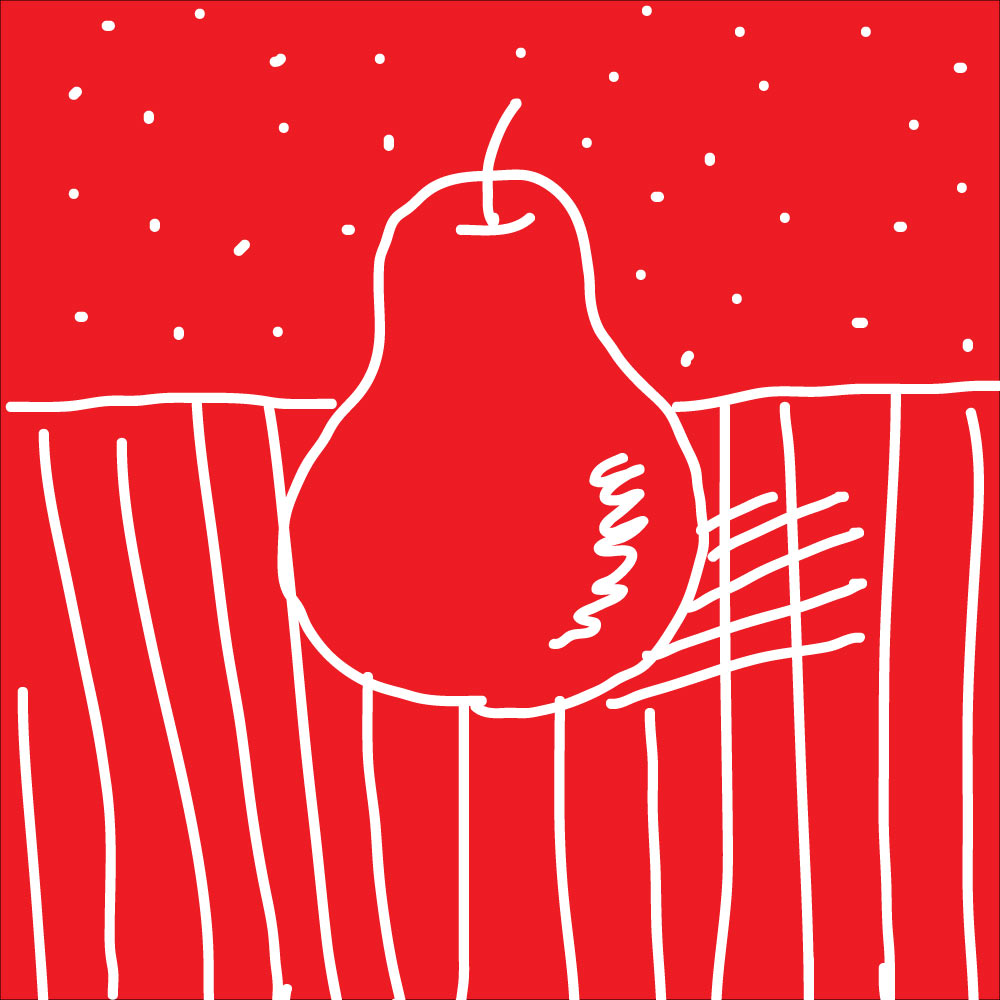
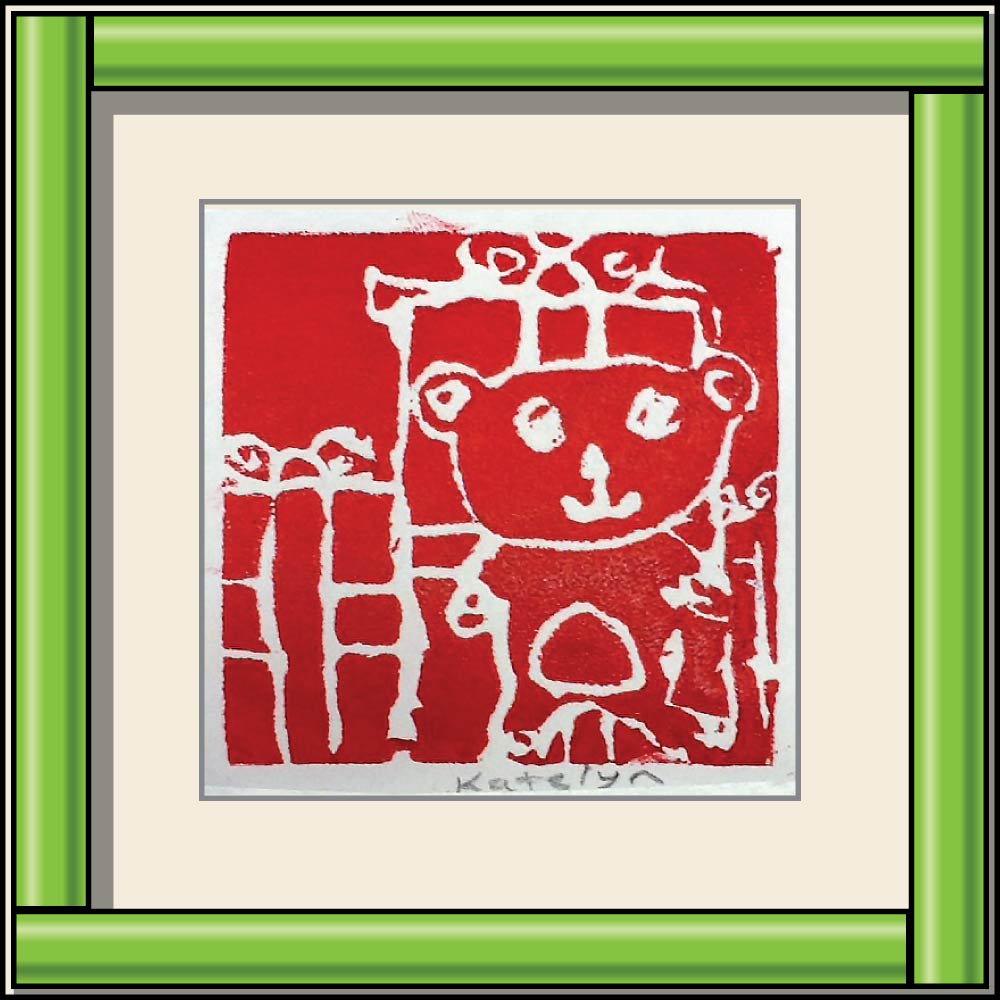
Student Work
Lesson At A Glance
Here’s a brief overview of the complete lesson. It’s also on your prep page in the Ready, Set, Go! section (below the lesson).
Colored buttons jump to each section in the full lesson plan below.
15 Minutes – Students begin with Artists’ Choice
10 Min – Students make 2 design ideas
10 Min – Show students how to etch printing plate
10 Min – Students choose design & etch styrofoam plates
22 Min – Students go to stations for inking & printing
10 Min – Return to seats for card stock frame
10 Min – Extra step for early finishers
3 Min – Everyone helps
Use this button to jump down to the preparation section.
LEARNING TARGETS

Students know how to use their imagination
M A T E R I A L S
- 8.5″ x 11″ copy paper
- 2B Pencil
- White Eraser
- Markers
All materials are suggestions and may be modified as you see fit. We have tried many items, and these seem to allow the most versatility for the cost.
1.1 greet
Greet students as they come in and help them choose a chair.
Kneel down so that you are on their level. Bending over emphasizes the differences in your height, while kneeling makes them feel more important. Have tape and marker ready so you can stick some tape on the table by each student and write their name on it as they sit down.
1.2 choose
Encourage students to work with one piece of paper for a while. If someone uses the phrase, “free draw”, explain that artists’ choice is something only artists can do, while free-draw is something anyone can do. You want to use the phrase to elevate the students’ expectations of their work.
Everyone should take their time with the work and make a finished piece of art. Limiting the paper can also help kids focus on the work. If someone finishes in super-fast time, ask them what more they can do to the existing paper. Ask again several times – unless they appear overly frustrated; then you can allow them to move on to a new work.
1.3 talk
While they work, display the slideshow (below) with simple design ideas, and explain the project.
“We’re going to make prints today! Printmaking is fun, but it can also be a little tricky. So please follow instructions or your prints may not look very good. Can we all agree to do that? Follow exactly what I tell you, and wait until I give you the OK? Great! We’re going to have an awesome time.
There are two very important things you need to know about printmaking.
The first important thing is that printed lines can’t be too close to each other. There has to be enough room for the empty space around the lines to hold the ink. That means not doing too many tiny details.
See how simple these designs are? Try to make your designs really simple too.
The second important thing is that the design will come out backwards! If you were here last week, you remember how we made mirror images? It will be just like that, as if you looked at your drawing in the mirror. That also means you can’t write any words. Just avoid those for this small print.”
Print Ideas (tap any image to open viewer)

printidea8
printidea4
printidea7

printidea6

printidea3

printidea1

printidea5
printidea2
Use this button to jump down to the preparation section.
LEARNING TARGETS
Students know how to make designs
M A T E R I A L S
- Copy paper or sketch pad
- 3″ squares of cardboard or cover stock for templates
- 4B pencil
- Eraser
- Mirrors to check work
2.1 draw
2.2 check
Use this button to jump down to the preparation section.
LEARNING TARGETS
Students know how to make a print
M A T E R I A L S
- 3″ square piece of styrofoam from plate or take out tray
- Ball point pen
- 5 1/2″ square piece of copy paper for prints – 2 per student plus extras
- Printing ink – options:
- Speedball water-based printing ink
- Acrylic paint (add a drying retardant if you can)
- Have a water spray-bottle if using acrylic paint but use sparingly
- Brush or ink roller
- If using a roller, have a piece of glass for spreading the ink (with a frame or duct tape on edges
Brushes should be nylon for springiness and durability. Round brushes are the most versatile.
Paint pigment list:
- Napthol or Pyrrol Red
- Hansa or Light Yellow
- Pthalo Green (blue shade)
- Cyan or Cerulean Blue
- Ultramarine Blue
- Dioxazine Purple
- Magenta
- Burnt Umber
- Raw Sienna
- Titanium White (professional grade only)
3.1 DEMO
Printmaking Demo Video coming soon
Tap the 4 arrows icon to enlarge the video to full screen.
Review the demo video and demonstrate to your students, or you can simply display the video on a larger screen for them to watch.
3.2 etch
- Show using a line that is too light to work – make two simple shapes
- Explain that you can add more pressure and go over light lines a bit – fix one shape only
- Show using a line that is too heavy to work – Make some lines that will close up together
- Show using a line with just the right pressure – draw another shape
- Show lines and dots to add textures – for these have your marks be a good size and pressure
3.3 print
Use this button to jump down to the preparation section.
STEP 4. Make Plates
Students will choose their favorite design, and create a printing plate by drawing with a ball-point pen in styrofoam. 10 MinutesLEARNING TARGETS
Students know how to make a printing plate
M A T E R I A L S
- 3″ square styrofoam pieces cut from plastic trays or plates
- Ball point pens
- Student’s print design drawings
4.1 WORD
“Be very gentle with these styrofoam plates. If you bend or mash them, it will show up on your prints.
Go ahead now, and begin drawing your design on the stryrofoam. Remember to use just enough pressure to make good lines. You should try drawing lightly at first, and then you can make the lines a little deeper if needed.
I’ll come around and check on how you’re doing!”
Use this button to jump down to the preparation section.
STEP 5. Stations
Students will line up at ink station(s) and then proceed to printing station(s) and signing/drying station(s) 22 MinutesLEARNING TARGETS
Students know how to make a print
M A T E R I A L S
- Put on Smocks!
- Printing plates by each student
- 5.5″ square copy paper to print on (2 per student + extras)
- Printing ink in black or red – options:
- Speedball water-based printing ink
- Acrylic paint (add a drying retardant if you can)
- Have a water spray-bottle if using acrylic paint but use sparingly
- If using a roller, have a piece of glass for spreading the ink (with a frame or duct tape on edges)
- Inking rollers (see instructions in Teach Tools for making your own)
- OR brushes
- Brayer/rollers if possible for pressing paper
- Pencils
- 6″ square or larger pieces of cardboard to carry wet printing plates
5.1 ink
-
Make sure all your students have smocks on.
-
Everyone should place their plate on a piece of cardboard first.
As soon as they’re ready, they should line up at one or two inking stations to roll ink out and then roll it over their plate. Make sure they cover it well. It helps to roll the brayer/rolling pin multiple times in several directions.
5.2 print
Students pick up their cardboard with the wet plate and move quickly to the next station. Set a piece of paper onto the wet plate right away. The paper is larger, so it’s ok if it’s crooked. Just cover the plate completely.
DO NOT MOVE THE PAPER! Once the paper touches the plate, it gets the ink or paint on it, so you cannot move it at all.
Press all over the paper with a roller or your hands. Don’t mash too hard, but be firm. It’s best to press all over multiple times than to press really hard all at once. If the ink or paint is smashed really hard, it may spread and cover up the lines.
Carefully peel back the paper from one corner and lift straight up once it comes free.
TIP
Peel up half a print to see how it is doing, and if it needs more pressing, set it back down and work some more.
TIP
Colored ink and colored papers can be very fun. Having white paper and also a few simple colors is a great way to make the prints look different. Just make sure the color contrasts well with the ink. Don’t use red ink and green paper because the colors will be similar in value.
Use this button to jump down to the preparation section.
STEP 6. Frames
Everyone will return to seats and make a card stock frame from a printed template. 10 MinutesLEARNING TARGETS
Students know how to craft a frame
M A T E R I A L S
- PDF printed on card stock – 1 per student
- Scissors
- Glue sticks or strong tape (double-sided tape is great!)
- Ruler and table knife for scoring (by teacher)
6.1 Print
Reference
Frame Template
Print enough for each student.
Hand out reference prints.
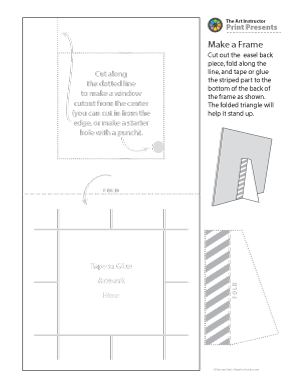
1 Page – Opens in new window
6.2 cut
6.3 fold
Teacher and/or helper should score the frame card along the middle fold line. Scoring ensures that the fame lays flat.
- Place a ruler along the line
- “Draw” over the line using the back edge of a blunt table knife, or another metal ruler. This makes a crease but doesn’t cut the paper, and is called scorring the paper.
- Fold over and then back again for a good crease
6.4 mount
Cut extra paper off the print, leaving about 1/4″ all around, and place in the center of the bottom half of the frame. The guidelines are there to help center it.
Use glue sticks on the back, or you can use one long piece of tape across the top edge. Check the position by folding down the top and adjust if needed.
An alternate way to do this is to put the tape across the top but on the back of the print. Then position the print inside the window of the top part of the frame and when it’s straight, press the frame down onto the tape.
6.5 secure
The front of the frame will not lay completely flat without a couple of bits of tape looped and stuck on the bottom two corners, or a couple of dabs of glue.
Make sure that students place the easel back right at the bottom edge of the frame on the back, as shown in the picture on the printout. Tape it well all along the side and top. Fold the triangle part so that the frame stands up on it’s own. You can also add some tape to the other side if it needs to be more secure.
“Now you have a wonderful frame to give as a gift for the holidays. You also have a second print to keep for yourself, and the plate can be used to make more later on.”
Use this button to jump down to the preparation section.
STEP 7. Decorate Frame
Have this extra step ready for early finishers. Students will draw and/or glue items onto frames. 10 MinutesLEARNING TARGETS
Students know how to craft a frame
M A T E R I A L S
- Any or all of these are optional
- Colorful plastic smoothie straws cut in half
- Foam craft stickers or shapes
- Craft foam sheets
- Markers
- Oil pastels
- Tacky craft glue
All materials are suggestions and may be modified as you see fit. We have tried many items, and these seem to allow the most versatility for the cost.
Brushes should be nylon for springiness and durability. Round brushes are the most versatile.
Paint pigment list:
- Napthol or Pyrrol Red
- Hansa or Light Yellow
- Pthalo Green (blue shade)
- Cyan or Cerulean Blue
- Ultramarine Blue
- Dioxazine Purple
- Magenta
- Burnt Umber
- Raw Sienna
- Titanium White (professional grade only)
7.1 craft
Use this button to jump down to the preparation section.
LEARNING TARGETS
Students know the importance of cleaning up.
M A T E R I A L S
- Paper Towels
- Cleaning wipes
- Sink
- Waste baskets
- Well-lit spot for photos
- Camera or phone-camera
8.1 clean
Students clean up their work area.
- Wash hands
- Super-wash brushes if used
- Put art supplies away
- Wipe tables & toss trash
- Remove any smocks (last)
- Check for items on floors and tables
8.2 photo
Try to get photos of your student’s artwork. Find a good spot for quick lighting without highlights or shadows from your hands and device. Ideally in-between two strong lights on each side.
OBJECTIVES
- Practice and improvement mixing and using color
- Understanding how print-making makes a mirror image
- Accomplishment in creating a personal art gift
- Fulfillment by designing and creating their own printed artwork
TROUBLESPOTS
Cartoons (ages 8 & up) – Cartoons are not good for this project. A print is already such a simple visual, that choosing a cartoon lessens the value of the artwork in many people’s opinion, especially if it’s a recognizable character. Start right off by saying there won’t be cartoons today. All art must be based on observation of real life or photos.
Pressing too hard or not hard enough – When engraving the foam plate material with a ball-point pen, it’s easy for young children to gouge too deeply, making a print with very fat lines. On the other hand, overstating this problem can lead to a few students not pressing enough for their lines to actually show. Watch closely during the engraving time to help students with this
ART WORDS
Print – When a flat sheet of material (a printing plate), is coated with paint or ink, and then pressed onto paper to transfer a mirrored image. Most print techniques can make multiple prints from one original plate.
Printing plate or block – The sheet of material that an image has been created on. Examples are: wood, vinyl, metal, rubber, and foam. Thicker material like wood or material that has been glued to wood is called a printing block.
Engraving – When the printing plate or block has lines cut into it with a hand-held tool.
Scoring – You can make a crease in paper that allows a sharp and clean fold by mashing the fibers with a blunt edge, such as the back of a table knife or edge of a metal ruler. Use another straight edge to pull the tool along for a straight and clean crease. Then the paper folds very easily. You’ll use this today to make the heavy card stock fold well for your students – in Step
CLASSROOM
PREP
If no rollers/brayers:
If you don’t have a roller or brayer, There are alternatives. Have your students brush the ink or paint onto their printing plates with a large flat brush. Another way is this: you can wrap craft foam around a rolling pin and tape it with clear wrapping paper tape. It works pretty well. You can also use another rolling pin to press the paper onto the inked plates to make the prints. You’ll need one roller for the ink and another for the printing. Rolling pins will get paint on them though.
Kids can also press the paper with their fingers instead of using a roller. Press all over gently but firmly. Help them to not mash it.
Order large smoothie straws for decorating the frame (online in assorted colors) for your frames:
What your room needs
Here are your printable lists and room prep instructions.
Opens in new window
CLASSROOM
MATERIALS
- 8.5 x 11” Copy paper
- 2B Pencil
- White eraser
- Markers
- 3” squares of cardboard or cover stock for templates
- 4B Pencil
- Eraser
- Mirrors to check work
- 3” square styrofoam pieces cut from plastic trays or plates
- Ball point pens
- Smocks
- Printing plates
- Printing Ink in black or red
- If using roller, use piece of glass for spreading ink (with a frame or duct tape on edges)
- Inking rollers
- OR brushes
- 6” square or larger pieces of cardboard to carry wet printing plates
- Kids’ scissor
- Glue sticks
- Ruler
- (optional) Smoothie straws
- (optional) Foam craft stickers or shapes
- (optional) Craft foam sheets
- (optional) oil pastels
PREVIEW
Week 18: White Christmas
The students get to create a winter nature painting. Snow shows the colors of shadows, and white has many different shades of colors. To learn these insights, we begin by painting snow. building up a painting using 3 kinds of whites, shadows, and big tree trunks. Finally, we finish it off with a dash of bright red. A cardinal bird is painted and glued to a branch. It’s a wonderful painting that looks great in a frame and that kids are very proud of.
Week 19: Colorful Shadows
Students learn that most shadows are not just gray by mixing up dark reds, dark yellows, and dark greens. Then they use these to paint shadows on brightly colored objects.
Use this button to view our parent’s blog. Share the link: http://parentart.org, with your student’s parents so your they can read about the lesson each week.