

OVERVIEW
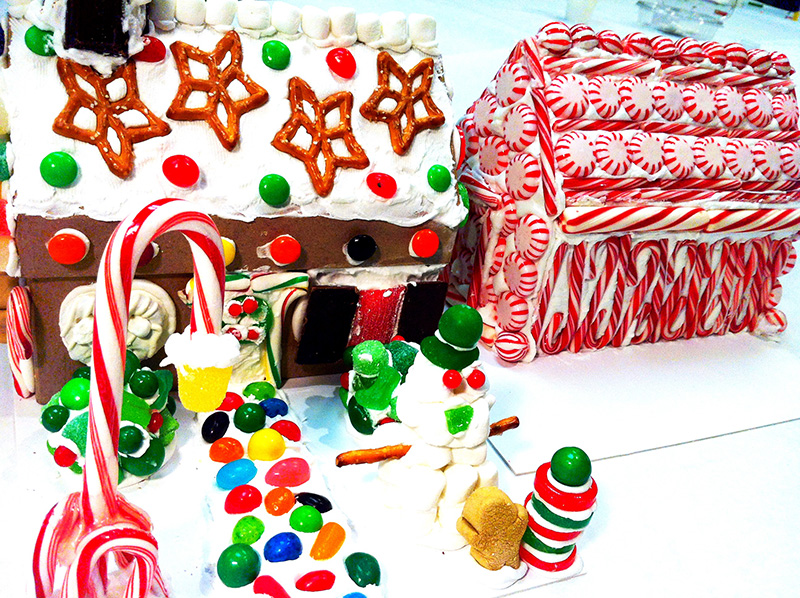
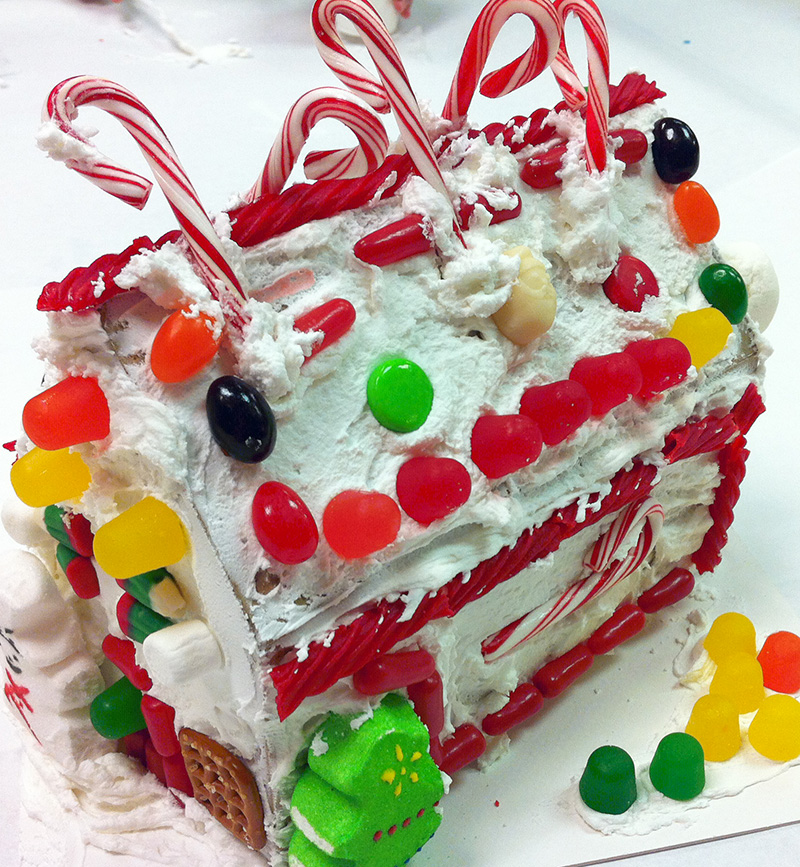
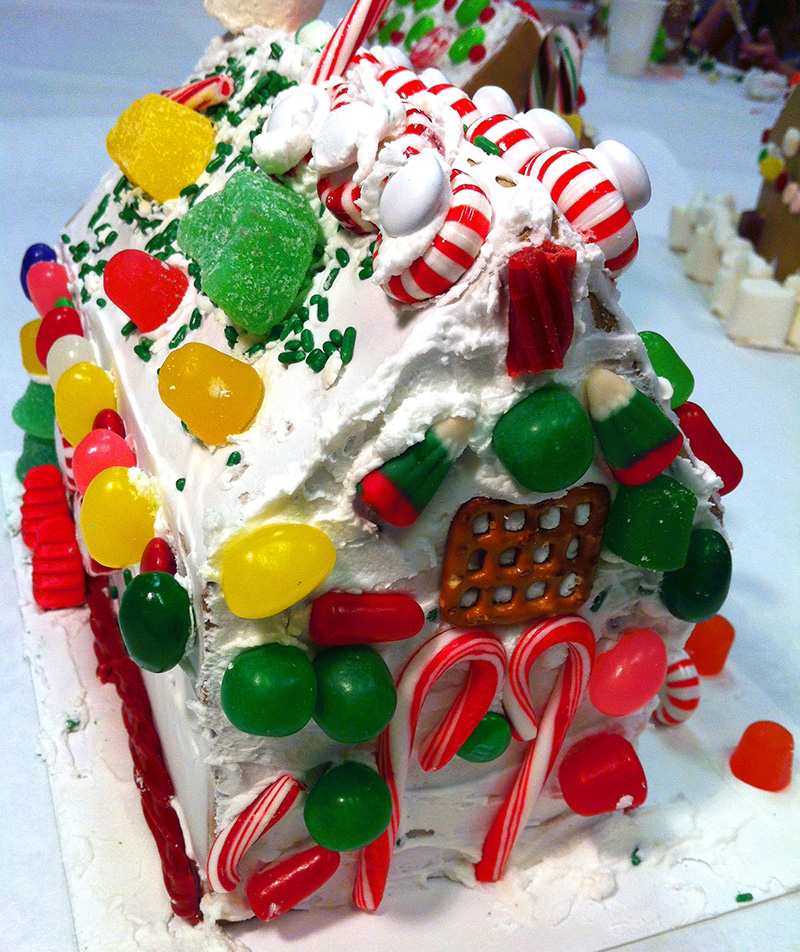
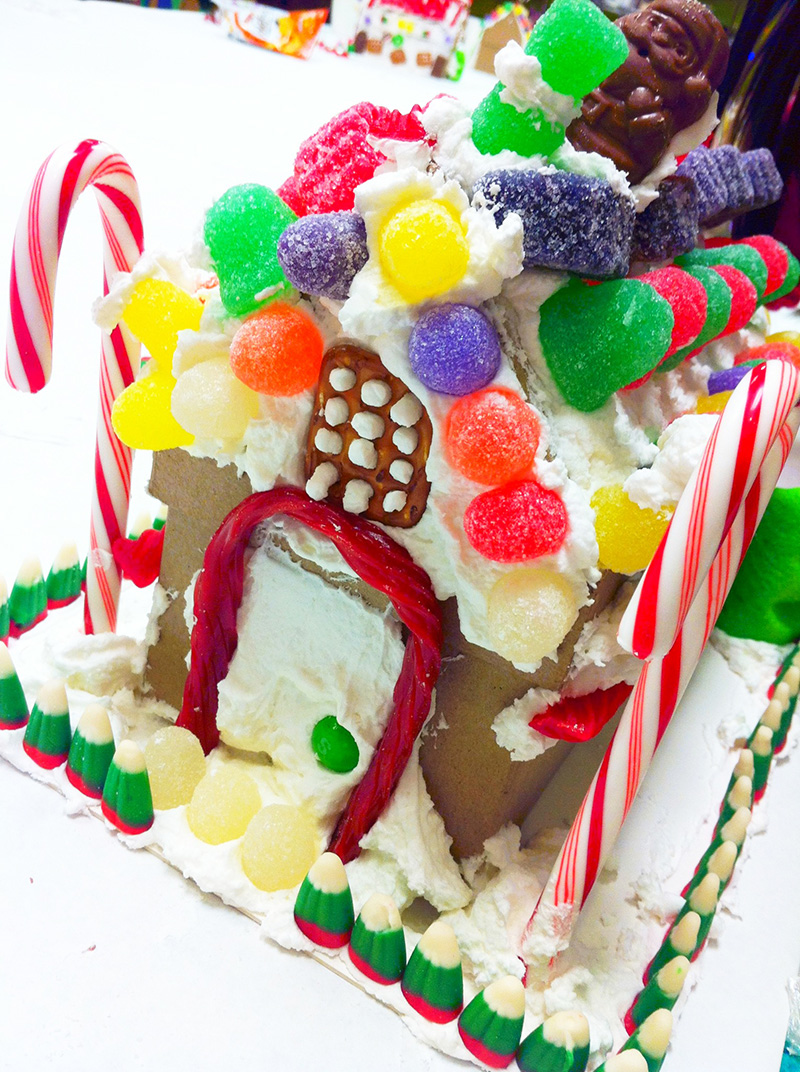
Students will all bring candy to create a huge candy “store” that everyone can “shop” at for their houses. A half-gallon paperboard milk carton is cut in half to make the house, which is glued to a small cardboard base. Icing and candy cover the entire house! Kids love creating this holiday tradition.Grades 3 – 5
Week of December 1 – 5
1 Hour & 45 Minutes


Lesson At A Glance
A brief overview of each step. Buttons jump to each section for detailed information.
5 Min – How-to and rules
1 hour and 20 Min – Make Candy Houses!
As needed – Take photos of student & house
5 Min – Take home house
SCROLL & TEACH
LESSONPLAN
Each section is a different color. Read over once and then you can SCROLL & TEACH using any device you like. It’s designed to work best with your phone.
LEARNING TARGETS

Students know how to create a 3D project.
M A T E R I A L S
- Candy (organized into bins)
- half gallon milk cartons cut in half – washed out.
- 7″ – 8″ piece of cardboard
- Royal Icing – see below for making this
1.1 Set up
Set up your CANDY “Store”
We usually have about 15 bins with different kinds and colors of candy. This is the art media today!

1.2 Whip it!
MAKE ROYAL ICING AHEAD OF TIME.
Follow our slide show instructions to make the easiest most wonderfully puffy icing ever. It dries very hard, and is perfect for the project.
Ingredients (I always double this recipe in my large mixer but the videos show me making a single batch – dennas).
Single Batch Recipe (a double batch fills one gallon zip bag)
- 3 Tablespoons Meringue Powder
- 4 Cups Confectioner’s Sugar
- 4 or 5 Tablespoons warm water
Dump the sugar and the meringue powder in the mixing bowl. Turn it on lowest setting and then dribble the water in. I usually use 4 T water at first until I get comfortable with the mixing. You can always add more water. If it seems a little soft or creamy, you can add more sugar and a pinch of powder to stiffen it back up.
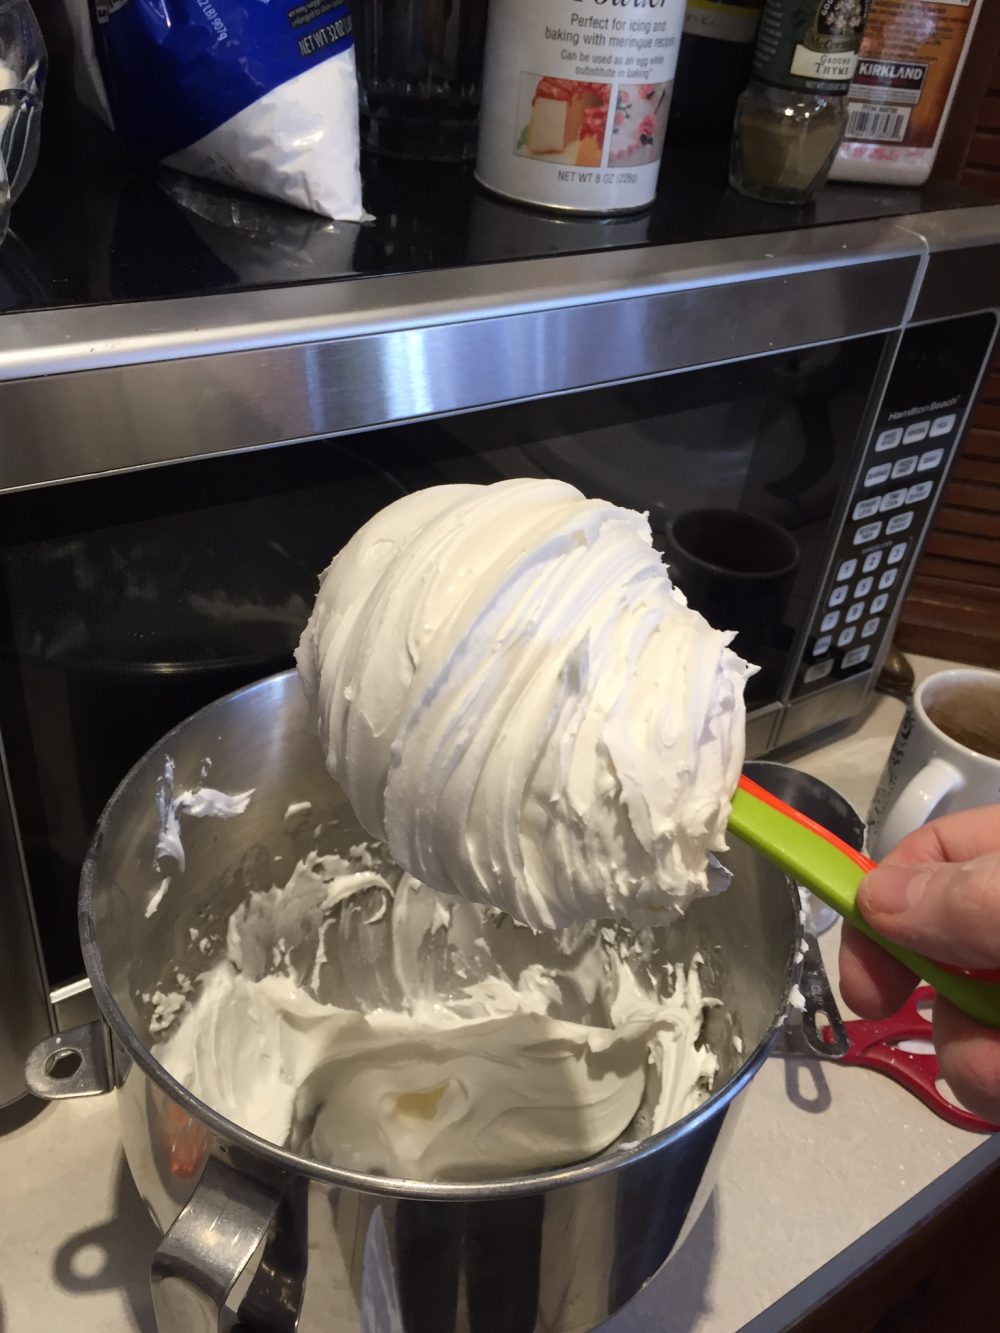
Run the mixer on low for a few minutes and then up the speed a bit for 6-7 minutes. You’ll know when it’s ready. This is pretty easy to do. See the V I D E O and the “Instructions” S L I D E S H O W in the section just below.
Use a good flexible spatula to scoop it all out and into a gallon zip bag. A double batch will fill one bag. Squeeze the air out as you seal it.
IN CLASS – Cut a triangle off the corner of the bag and squeeze it out into a paper cup. We use 6 oz. cups and fill it 3/4 full. They get more if they need it.
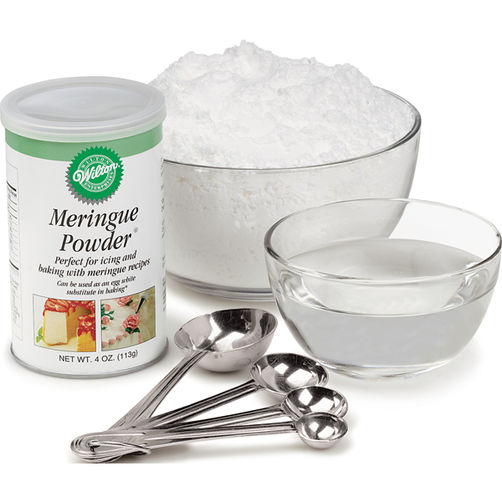
3 ingredients: Meringue powder, powder sugar, water

Add Powdered Sugar

Add Merringue Powder

After Whipping, Icing is Stiff
Scoop it up..
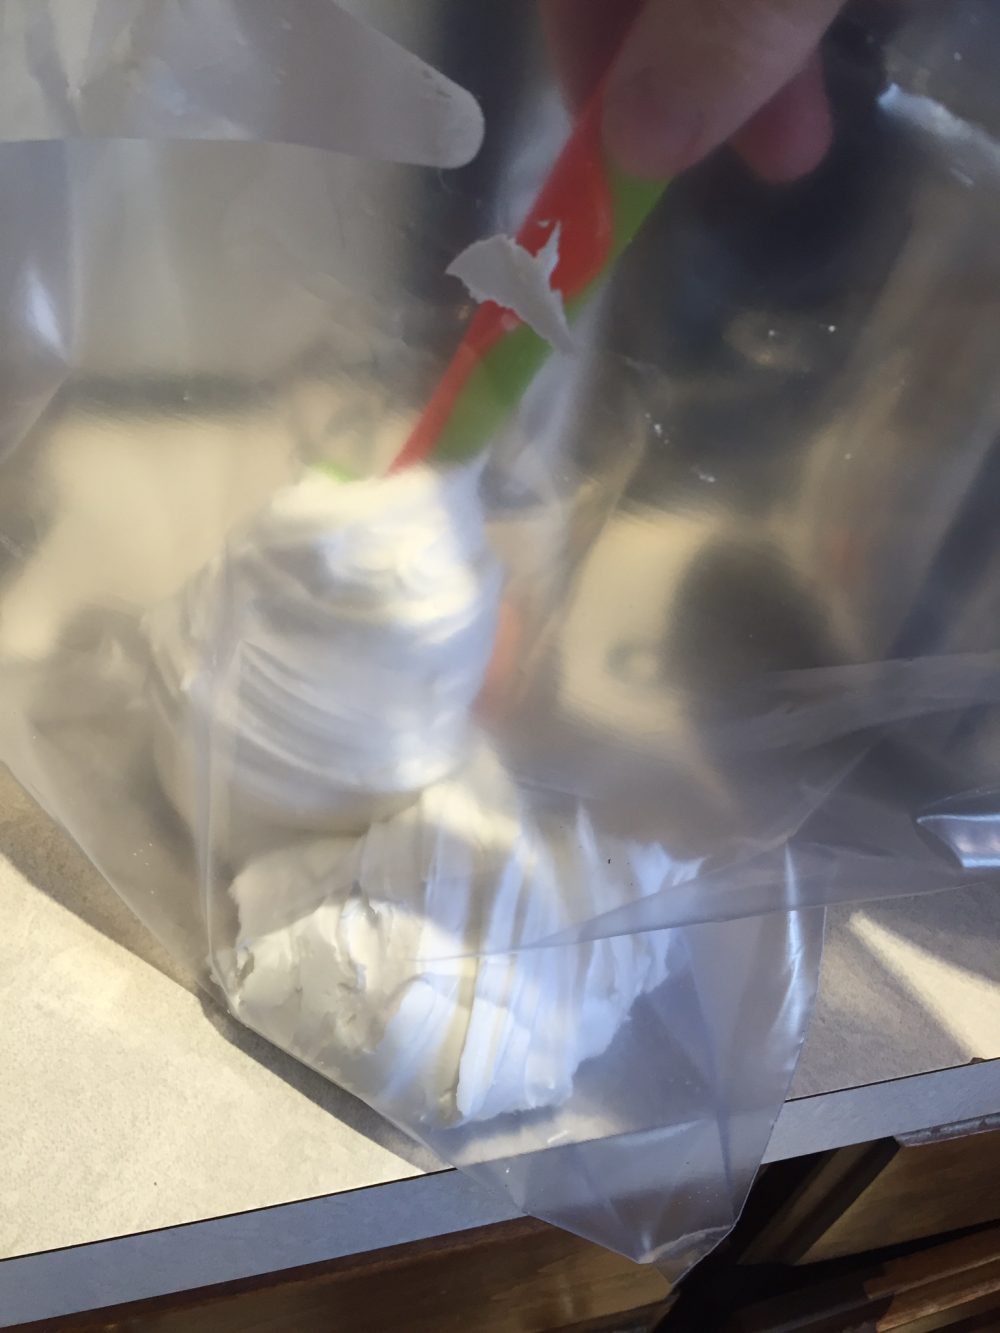
And Place into a Gallon Bag
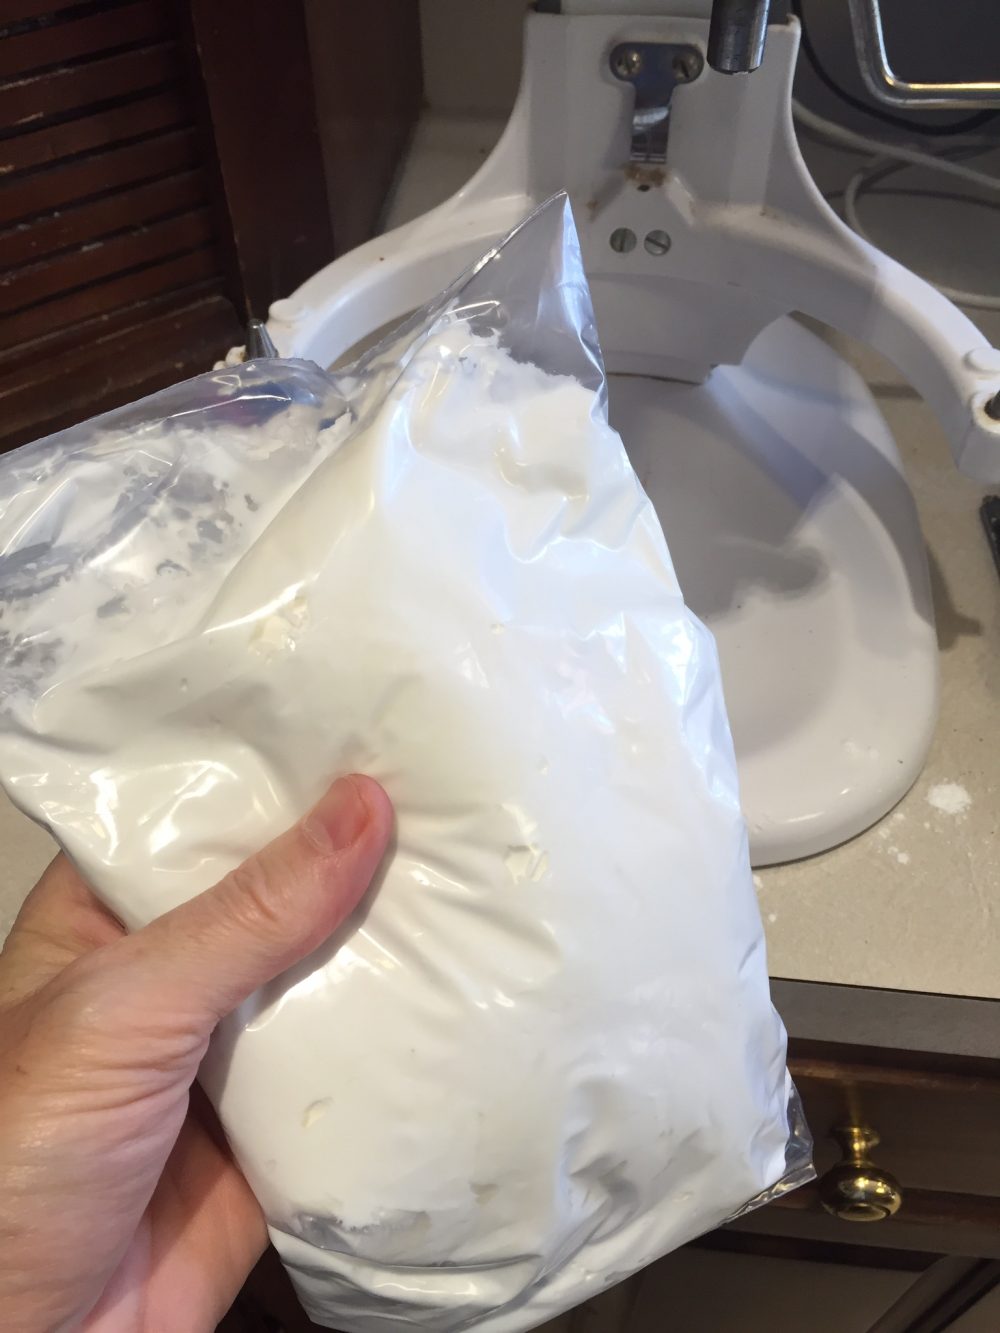
Refrigerate overnight if making the day before
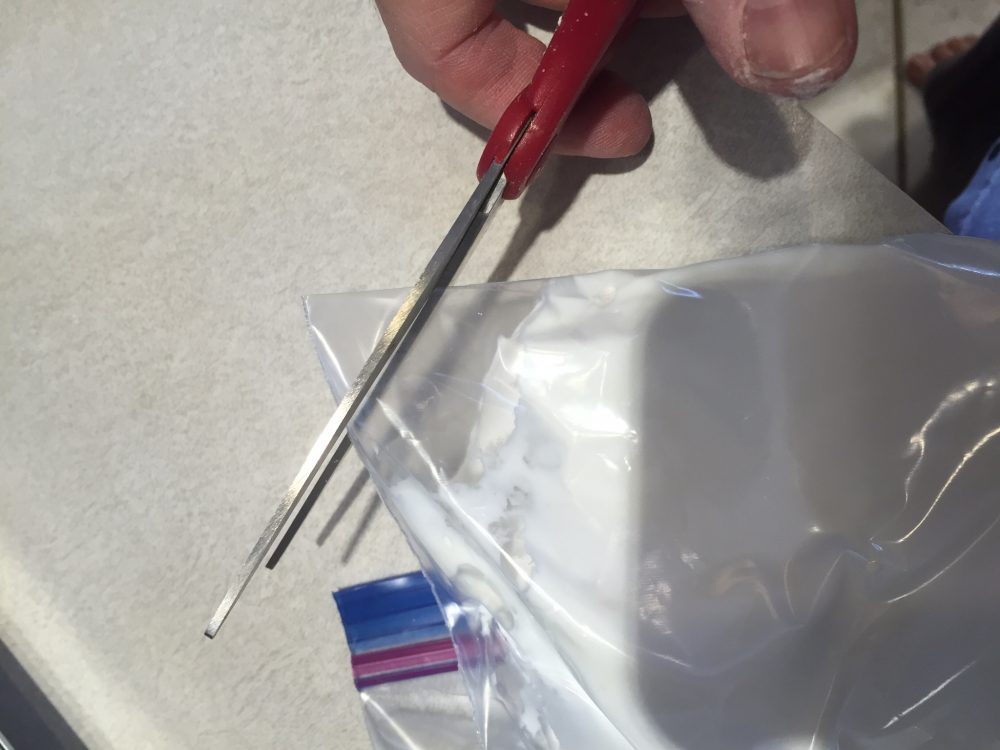
When students are ready, snip a corner off
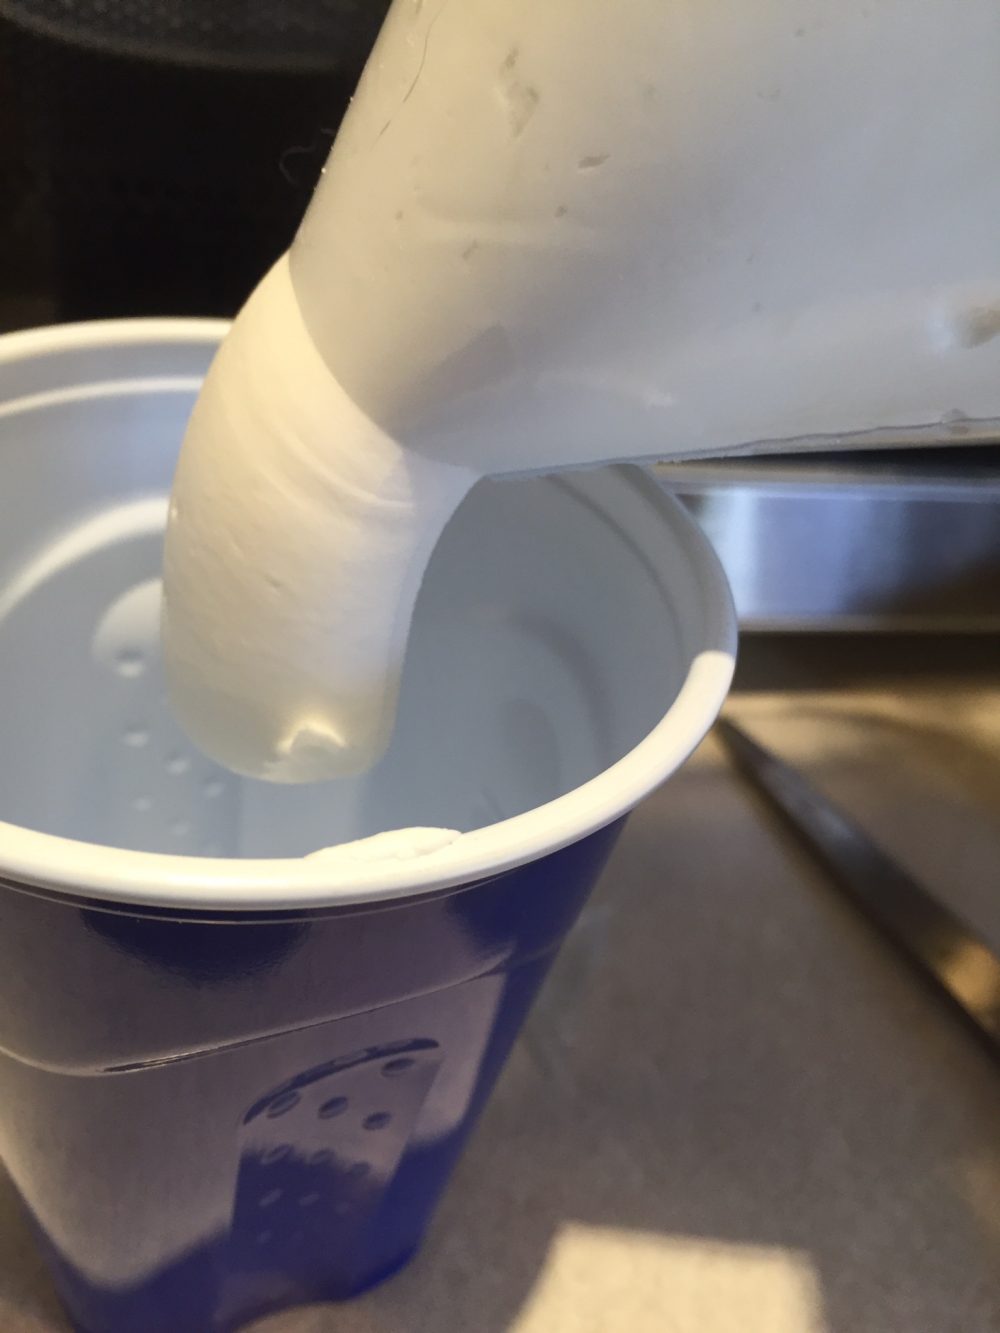
Squeeze into a cup
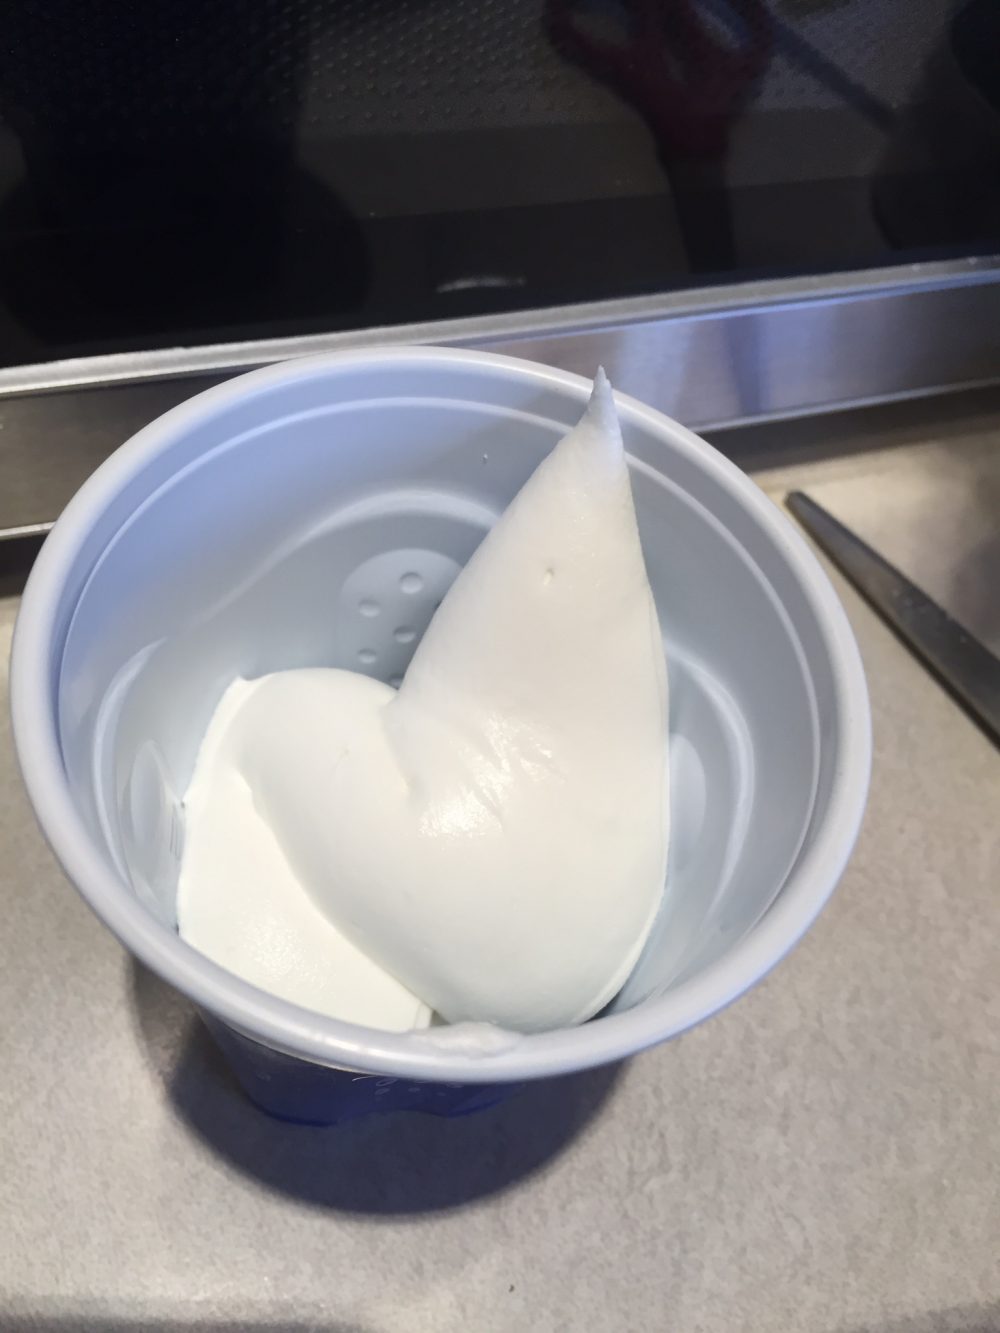
The cup should be full. It helps prevent drying out if the cup is tall, like a drinking cup. A bowl will allow it to dry too fast!
Video Tips
Three videos can be viewed by clicking the arrows to slide to the next or previous.
First Video shows adding very small amount of water.
Second Video shows how chunky the icing is at first. Don’t be fooled! It doesn’t use much water, but you can add one more tablespoon if you need to.
Third Video shows the final icing. It looks very soft and creamy, but holds its shape very strongly.
1.3 explain
As students arrive, show them the candy store and then have them begin making their house structure. After everyone is working, you can display the slideshow of Gingerbread Houses for inspiration.
Before class begins, have a table set aside for the “candy store”. This is the spot where you will lay out all the candy that students will use for their gingerbread house.
Steps to making the houses:
- Cut the milk carton in half… to the height of a house. Discard the bottom. Wash with soap and water if not done already.
- Cut the cardboard base to about 7″ to 8″ on a side.
- Hot glue the house to the base (you will need to help younger students with the hot glue gun). Tape is ok too, but not as sturdy.
- Student’s name should be written on the bottom of the cardboard with a sharpie.
For high-school students: Cut extra pieces & hotglue if desired – 2 triangles for gables where the carton is indented. If there is a circle cap opening, it can become a chimney using creativity and some more hot glue.
If you have a shorter class time make the house structures before class begins and write their names on the bottoms yourself. Begin class with step two and have the slideshow later.
Explain the rule of only eating 2 pieces of candy. distribute party food if you have it.
CREATIONS - tap here to open
Our Creations lessons are for students who have completed the two years of Foundations and are ready to begin using all that they have learned to create new work. These more challenging versions of the same concepts and techniques are easily taught along-side students in the Foundations course. This allows for excellent review, and is encouraging for students to see progress from each viewpoint.
Use the Student Instructions printout below to distribute to your Creations students. Tap the image to open the PDF in a new window.
Gingerbread houses are so much fun, the advanced students never pass up the chance to make them. If someone doesn’t want to though, let them plan a day of artists’ choice.
LEARNING TARGETS
Students know how to set up their work area for creating a gingerbread house
M A T E R I A L S
- Bowl for candy for each student
- Cups for icing
- Plastic knife OR
- Palette Knife
2.1 instruct
Explain the rules and instructions to students.
How-tos and rules
C A N D Y
Get a bowl and fill it with candy. Choose carefully as an artist. Remember, you aren’t just choosing your favorite candies, you are choosing colors and shapes to decorate your house! (One return trip is allowed for swapping candies with different ones).
After everyone gets back with a full bowl, go over these points:
- Here is the most important thing to remember today. You can only work on ONE FLAT PANEL at a time or your icing will dry and harden before you get candy stuck in it. Icing hardens fast. Cover just one side of the roof, or one wall and no more. Then apply all the candies to that section before moving to the next section and spreading more icing.
- Get a cup of icing and plastic knife or palette knife
- Use a lot of icing – thick like a cupcake has. Candy needs to sink into it. (1/8″ – 1/4″ thick)
- Any stand-up pieces in the design must be hotglued into place. Icing isn’t strong enough to hold candy standing up or sticking out.
Reminder: Only eat 2 candies because other classes need them too.
LEARNING TARGETS
Students know how to create a 3D project.
M A T E R I A L S
- Bowl for candy for each student
- Cups for icing
- Plastic knife OR
- Palette Knife
3.1 build
Make your rounds as students make a gingerbread house. If you have a way to play music, this would be a great time to play Christmas music!
If you’ve made the houses ahead, students should have 45 minutes to design and decorate their candy houses and get photos! Have fun with it! Walk around and help when needed. Have a hot glue gun station set up for students who may need a little extra support with their decorations.
Long classes will have an hour and 20 minutes.
Early finishers can help others, have party time, help with photos, or draw a picture of their house (using borrowed pencils and copy paper if they have not brought supplies).
STEP 4. Photo Booth
Students will have their photos taken withh their gingerbread houses. As much time as neededLEARNING TARGETS
Students will take pride in their creations by taking a photo
M A T E R I A L S
- Photobooth
- Camera
4.1 Photo
Create a photo booth area in your room to take pictures of your students’ houses. A plain wall or a few poster boards can create a simple background. You can even use a chair with a sheet draped over it.
As students finish, set their house in the photo booth and take these 4 shots:
- 2 shots of just the house
- 2 shots of the house with the student holding it
- Email photos if possible
LEARNING TARGETS
Students know the importance of cleaning.
M A T E R I A L S
- Paper Towels
- Cleaning wipes
- Sink
- Waste baskets
5.1 clean
Students clean up their work area.
- Wash hands
- Super-wash brushes if used
- Put art supplies away
- Wipe tables & toss trash
- Remove any smocks (last)
- Check for items on floors and tables
Take your gingerbread house home even if it isn’t finished!
This is a messy project so you will need all the help you can get cleaning up!
Have students carefully set their houses aside as you begin the clean up time. All empty cups, bowls, and plastic knives can be thrown away (or kept if you have other classes coming!). If students used their palette knives, wipe them down with a paper towel and then wash them in the sink. Collect all extra candy for other classes to use.
5.2 connect
- Make sure you see the kids connect with parents and tell them about the class if you can!
OBJECTIVES
- Practice and improvement creating a fun 3D project
- Understanding how 3D sculptures are created
- Accomplishment in creating a fun project
- Fulfillment by having fun
TROUBLESPOTS
Eating all the candy – Limit of 2 pieces per student. They will eat more, but that will be true no matter what number you set. This makes the guilt stop them at about 4 or 5 pieces. To help, remind them often that others will need to use the candy.
Not enough icing – Some kids will be stingy with the icing and spread it to thin for candy to sink into. This won’t hold up and the candy will fall off. Make. tons. of. icing.
Thinking the icing can support structures – Icing can only handle sticking a flat side of the candy, not the ends. To make a mailbox or a standing cane lightpost, use hot glue to hold the candy in place. Remind not to eat the project if you use hot glue.
ART WORDS
Candy – you usually eat it, but it makes beautiful decorations too
Royal icing – it’s white and dries very hard
Gingerbread – we don’t have any, but we are pretending it’s underneath all the icing.
CLASSROOM
PREP
What your room needs
Here are your printable lists and room prep instructions.
Opens in new window
CLASSROOM
MATERIALS
- Candy (Organized into bins)
- Half gallon milk cartons cut in half – washed out
- 7″ – 8″ Piece of Cardboard
- Royal Icing
- Bowls for Candy
- Cups for icing
- Plastic Knife OR
- Palette knife
- Photo booth
- Camera
PREVIEW
Week 15: Birdhouse Drawings
Students will create a detailed drawing of an old weathered birdhouse. If possible, the birdhouses used should be real-life objects, but photos are provided. Steps for preparing, using the 3 steps to accuracy, making guide-lines, and pencil techniques are all practiced to create a finished work. A few fun short projects for early finishers are also included.
Week 16: Red and Green Color Journals
Our first 2 Color Journals of the year are Reds & Greens. These color journals are fun and easy for students, because they just follow the instructions to mix a lot of very useful versions of one basic color. They’re designed to help students understand the process of mixing and the effect that colors have on each other as opposed to just following formulas and using them as a limited palette. The colors can’t just be remixed following this as if it were a guide. The goal isn’t even to get a specific color, but to learn how pigments behave. The pages should be printed on cover stock so they can be saved in a binder for reference.