
OVERVIEW
Students become art mad scientists, and do 3 painting experiments to learn that shadows are made with opposite colors instead of grays. This also teaches them how artists must try different things, and that artwork can be easily changed. A game of stickman is played to give them a big hint!– – –
Grades K – 2
Week of January 6 – 10
1 Hour & 30 Minutes
Student Work
Lesson At A Glance
Here’s a brief overview of the complete lesson. It’s also on your prep page in the Ready, Set, Go! section (below the lesson).
Colored buttons jump to each section in the full lesson plan below.
15 Minutes – Artists Choice with markers or oil pastels
10 min – Talk about local color and shadows
10 min – Students will trace a cube
10 Min – Trace Frame – then draw Big Shapes only
5 min – Set up for painting with tempera
5 min – Paint 2 sides of the box in bright red
10 min – Mix a pinkish gray and paint the shadow area
10 min – Mix a third shadow color using opposite colors
13 min – Artists finish their painting
while working – Artist Stickman
2 Min – Everyone helps
Use this button to jump down to the preparation section.
SCROLL & TEACH
LESSONPLAN
Each section is a different color. Read over once and then you can SCROLL & TEACH using any device you like. It’s designed to work well with your phone.
LEARNING TARGETS

Students know how to use their imagination
M A T E R I A L S
- 8.5″ x 11″ copy paper
- 2B Pencil
- White Eraser
All materials are suggestions and may be modified as you see fit. We have tried many items, and these seem to allow the most versatility for the cost.
1.1 Greet
Greet students as they come in and help them choose a chair.
Kneel down so that you are on their level. Bending over emphasizes the differences in your height, while kneeling makes them feel more important. Have tape and marker ready so you can stick some tape on the table by each student and write their name on it as they sit down.
1.2 Choice
Encourage students to work with one piece of paper for a while. If someone uses the phrase, “free draw”, explain that artists’ choice is something only artists can do, while free-draw is something anyone can do. You want to use the phrase to elevate the students’ expectations of their work.
Everyone should take their time with the work and make a finished piece of art. Limiting the paper can also help kids focus on the work. If someone finishes in super-fast time, ask them what more they can do to the existing paper. Ask again several times – unless they appear overly frustrated; then you can allow them to move on to a new work.
1.3 setup
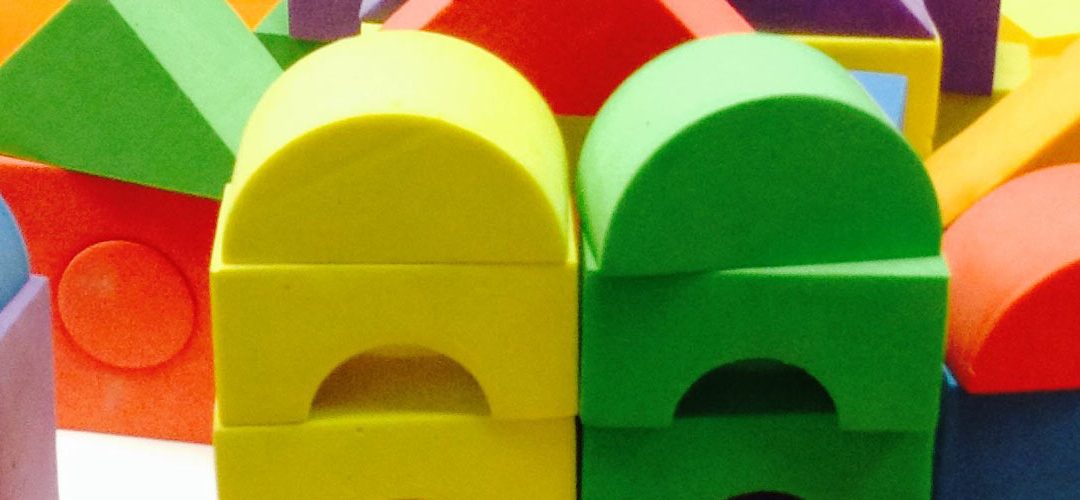
Try to have several red objects out on tables today as props to draw. Don’t worry if they’d rather draw other things. These are just a preview.
Use this button to jump down to the preparation section.
STEP 2. Prop Talk
Teachers will talk about local color and shadows using a red box or block (or slideshow). 10 MinutesLEARNING TARGETS
Students know how to see how shadows are important
M A T E R I A L S
- iPad or TV to view slideshow
How Shadows Help (tap any image to open viewer)
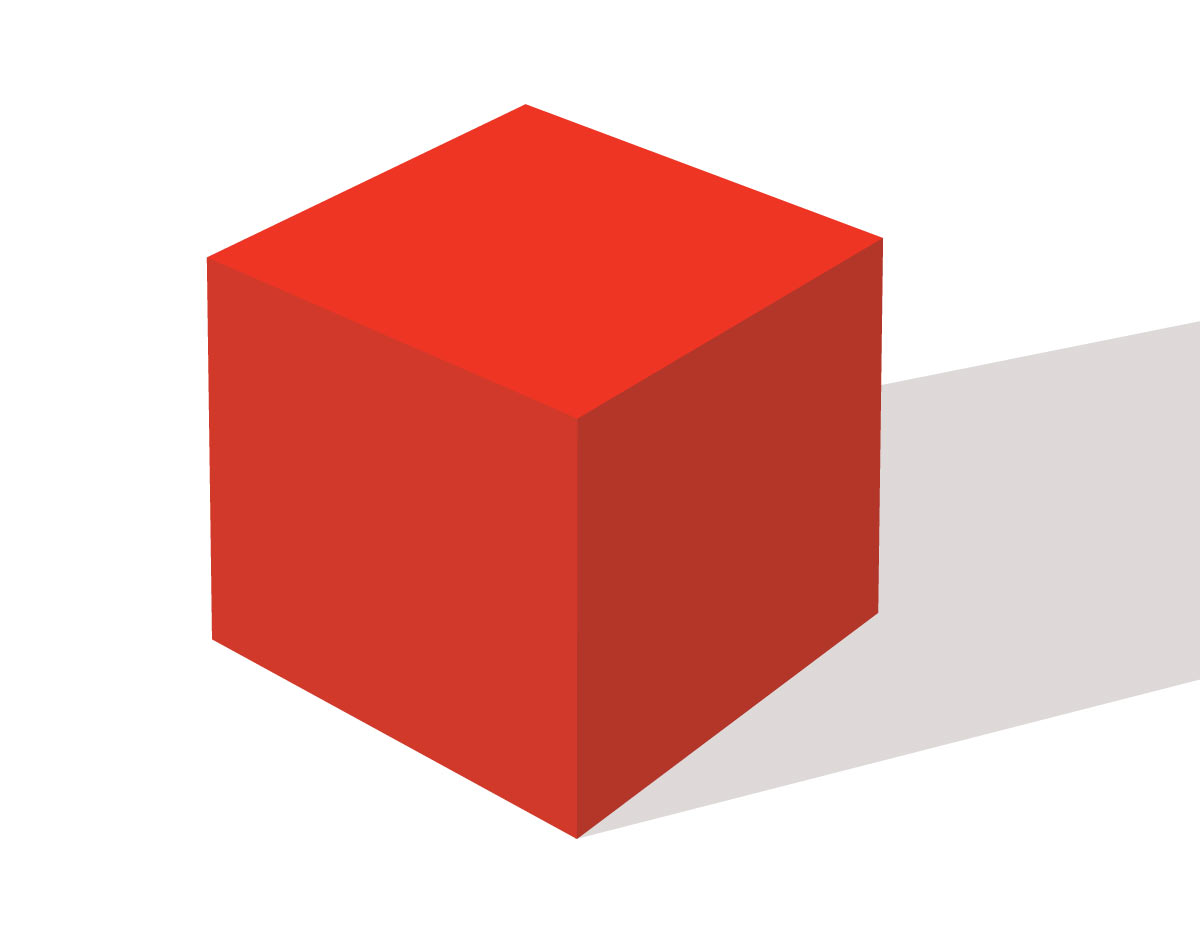
Here is an ordinary red box.
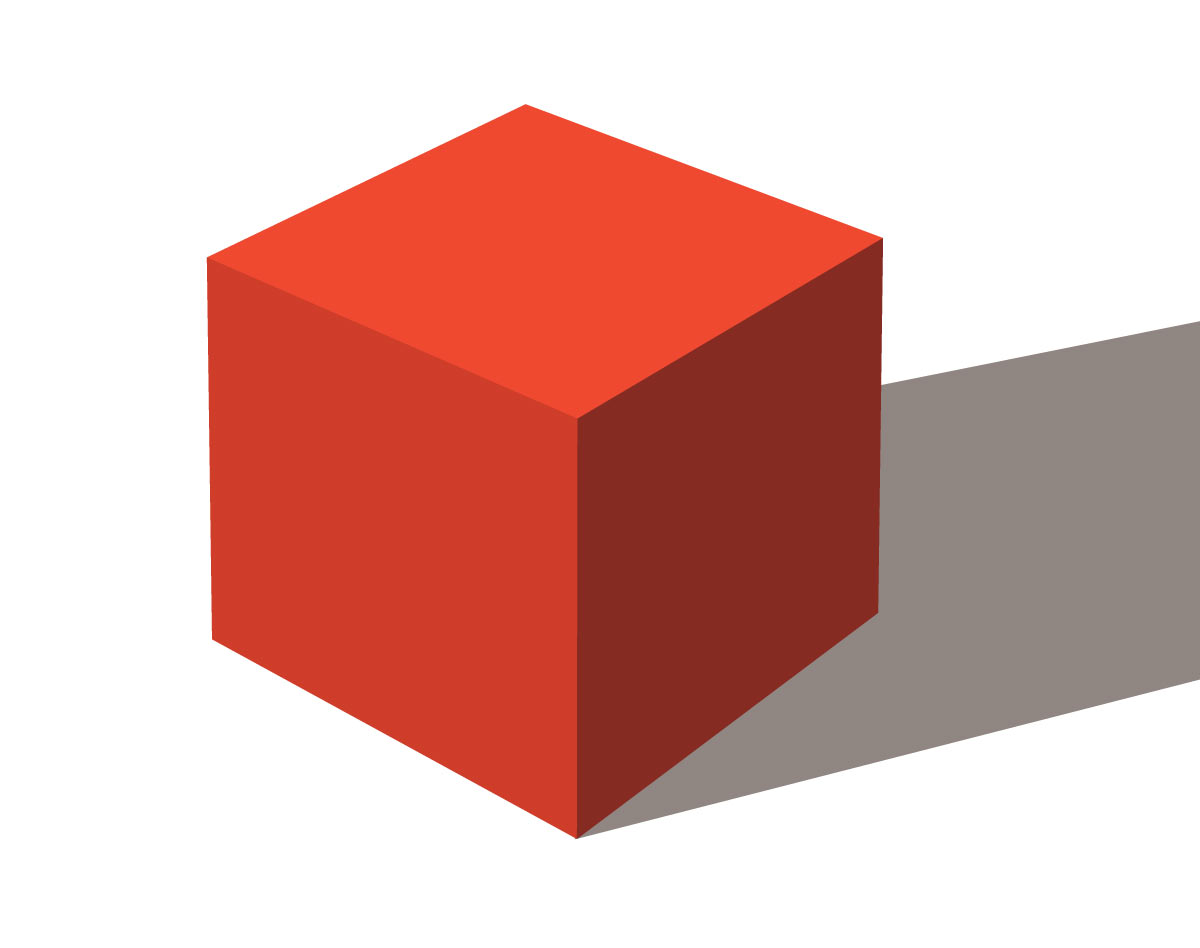
If we shine a bright light on it, the shadows make it easier to see the sides.

Ok, now let’s shine a bright light but still keep it all one red color. Then it looks like this. It is not very realistic, is it? I think we need to paint shadows on the box.

If we painted this box, but only used one color of red, the bright red that we think of when we look at it, it would look like this! It looks pretty flat, doesn’t it?
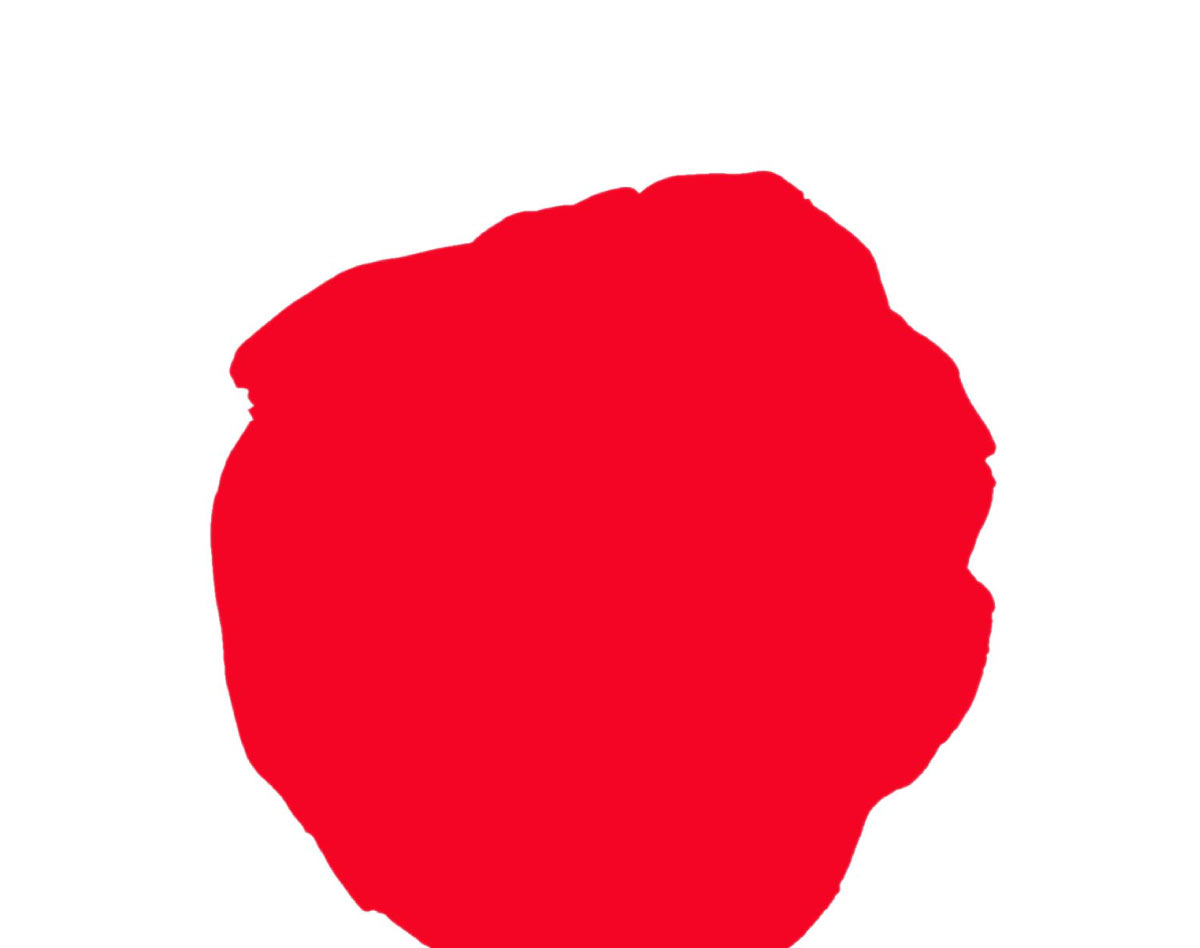
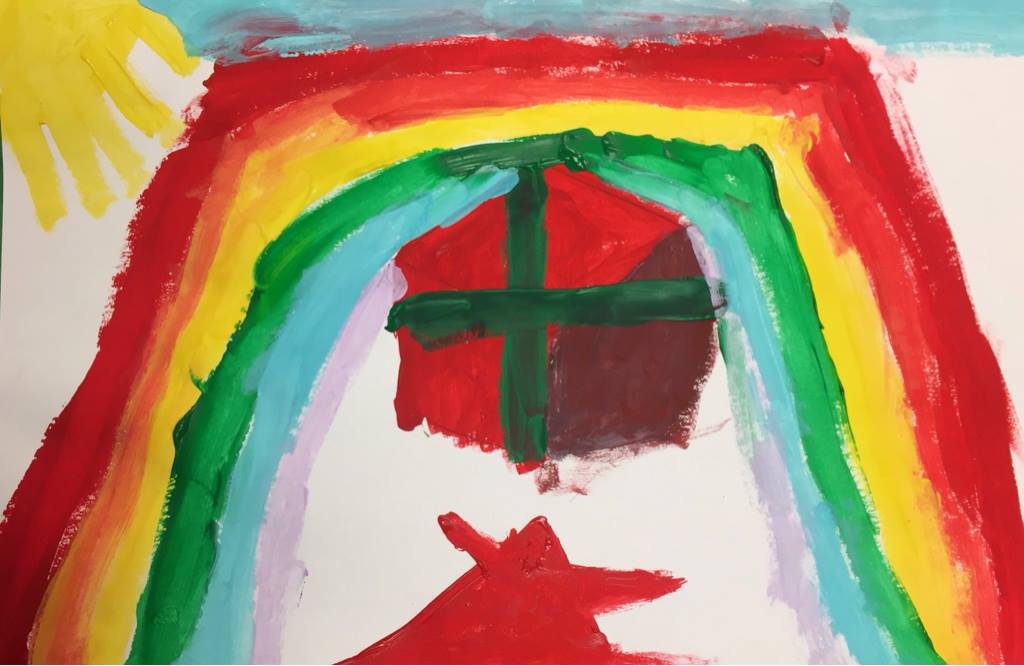
What if other things were only one color of red? Here’s something that is all one red color. What is it? Without shadows, It just looks like a flat red blob of paint, doesn’t it?
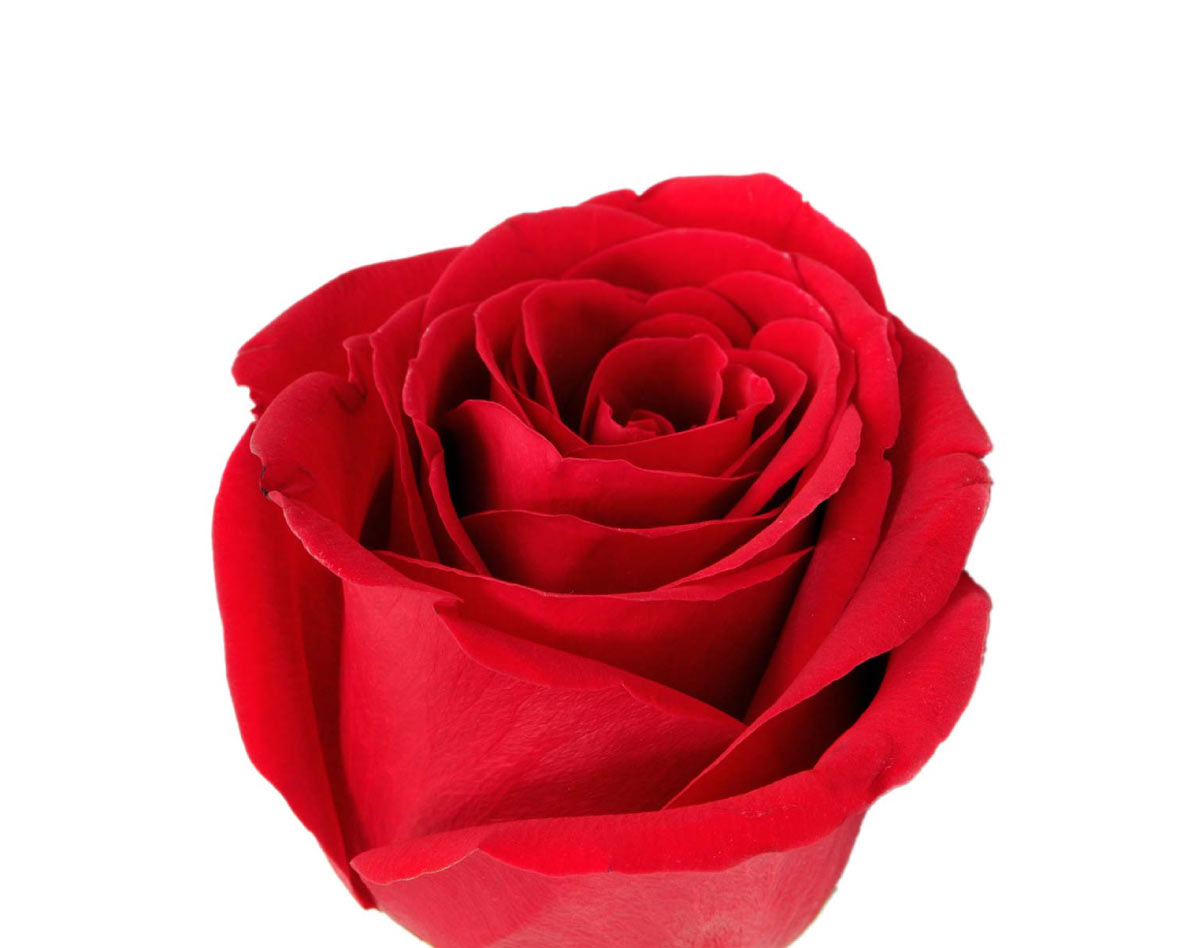
Here is that blob with shadows added. Now you can easily see that it’s a rose, but but before we added the shaows, it was impossible to tell what it was.
2.1 action
Talk about local color and shadows using a red box or block (or slideshow).
TIP
The first few slides can be used if you don’t have your own red block, but it’s best to make or find one to use live with a lamp, and skip the first 2 slides in the slideshow.
“Here is a box. It’s a square (or rectangle) on each side. This box has a local color, or basic color, which is…
That’s right, it is obviously red. We call it red even though we can see lighter areas and darker areas. If there is a strong light on it, you can see the lighter and darker areas even more easily.
What would this box look like if we could only see the local color? What if it really was ‘just red’?
As you can see, shadows are very important. Without them, we can’t tell what anything looks like! An artist must learn how to mix these shadow colors, even when painting something super bright.”
“The colors of the box are more than just one version of the red if you want to paint it to look like it does in real life. How would you make a dark shadowy side if you painted a red box in a picture? What color would you need?
We’re going to figure this out today. We’ll have to think like scientists! We’re going to do some color experiments in our mad scientist laboratory, and discover how to make shadow colors.”
Use this button to jump down to the preparation section.
LEARNING TARGETS
Students know how to draw a cube
M A T E R I A L S
- Pre-cut PDF prints
- 8.5″ x 11″ white card stock
- 2B pencil
- Eraser
- Light gray oil pastel
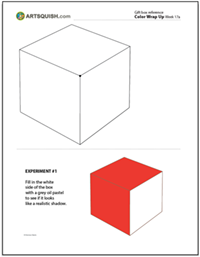
3.1 Print
Reference
Cube Trace
Print enough for each student.
Hand out reference prints.
1 Page – Opens in new window
3.2 trace
3.3 draw
Have students place a finger on the top corner. It’s right in the middle. Watch and make sure everyone has their finger at the top center corner, above the center dot.
Check to make sure everyone get’s the top right corner and not the bottom right corner.
Have students put their pencil where their finger is, and then put their finger next to the center dot, like they are pointing to it. Now everyone can draw a straight line to the center dot. Stop there.
Check to make sure everyone get’s the top left corner and not the bottom left corner.
“Slide your finger down the edge of the box to the right until you get to the next corner. Stop there.”
3.4 draw
Have students place a finger on the top corner again. Watch and make sure everyone has their finger there
Watch and make sure they get it right.
Have everyone point to the bottom corner, right in the middle underneath the center dot. Draw a line from the center dot straight down to the bottom corner.
Write names on these now.
3.5 draw
“You’ve drawn a box! See how there is a top, and two sides? Fill in only one of the sides, on the right, with your pencil. Hold it like a stick and use the side of the lead instead of the tip.”
Use this button to jump down to the preparation section.
LEARNING TARGETS
Students know how to create a shadow
M A T E R I A L S
- Bottom part of Template PDF printed on Card Stock (from previous step)
- Light gray oil pastel
4.1 color
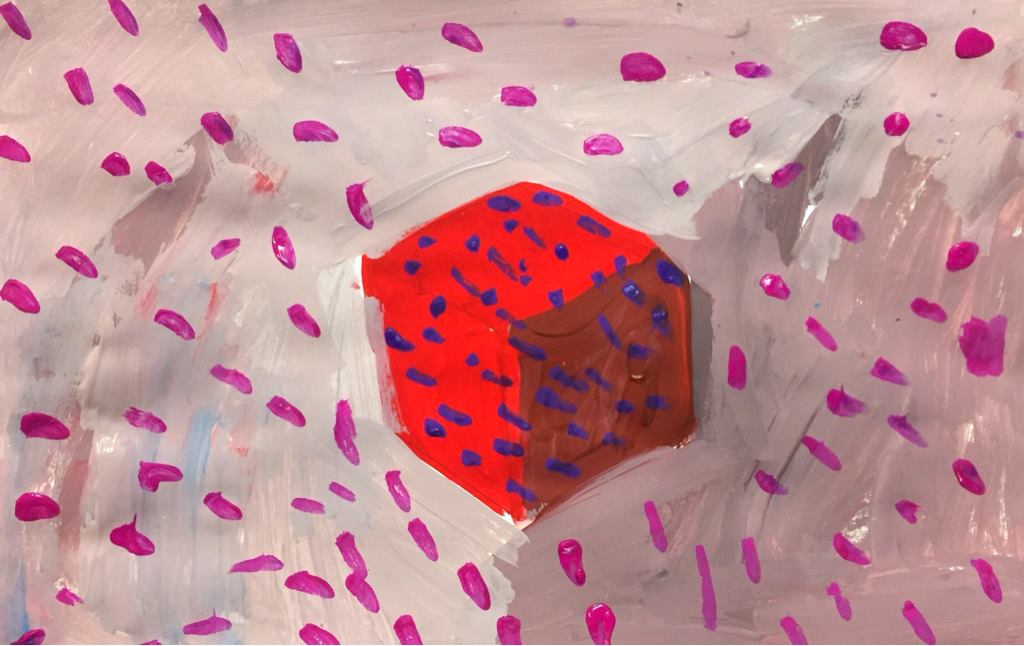
“So, do you think this looks realistic? I don’t either. It looks sort of ok though. But not like the shadow on a red box.
The gray looks like a shadow on a black and white drawing, like we did a minute ago. This experiment did not get us what we want. We’ll have to try again.”
Students should write their name on their experiment, and they can also write the words, “close”.
Use this button to jump down to the preparation section.
LEARNING TARGETS
Students know how to set up their work area for painting with tempera.
M A T E R I A L S
- White card stock from STEP 3 with cube pencil drawing for each student (check names)
- Smocks (put on before getting paints out)
- Water tubs
- Paper towels
- Mixing plates
- Medium sized brushes
- Tempera paints in “Getting Plates” or bowls
- Bright red
- White
- Black
- Green
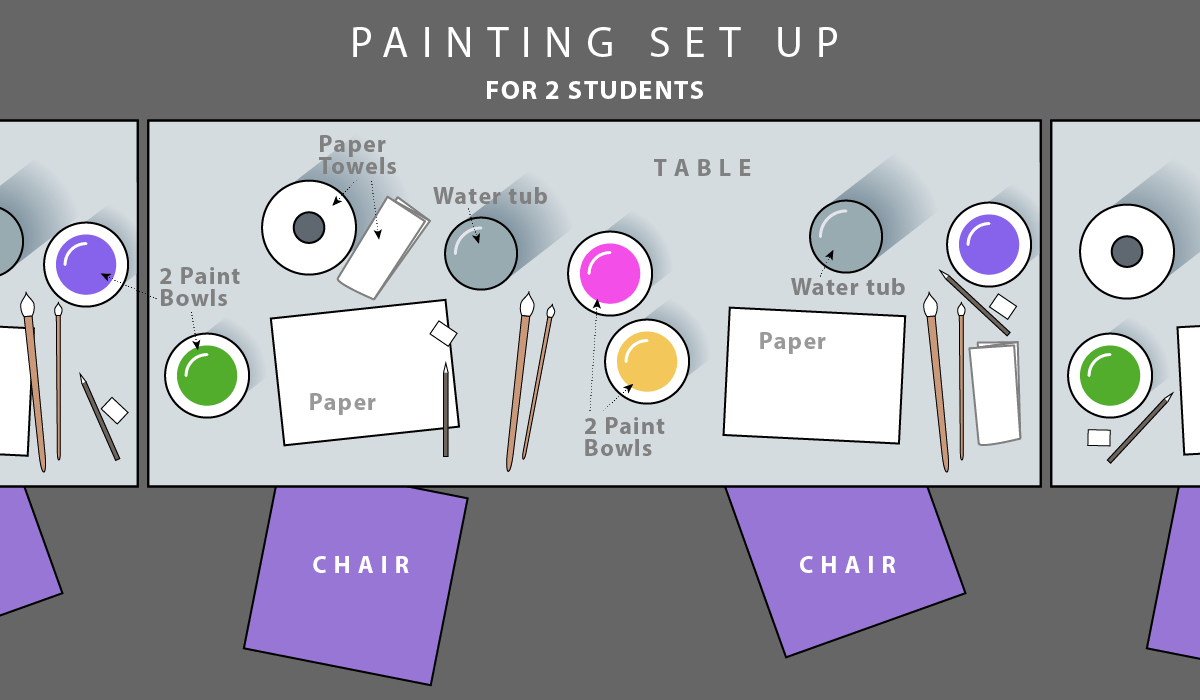
5.1 setup
Students set up their work area. Ask several people to go get water tubs filled, and others to find smocks. That way you have two or three groups in different areas so you don’t get backed up with lines.
Use this button to jump down to the preparation section.
LEARNING TARGETS
Students know how to paint a cube
M A T E R I A L S
- Continue with same paint set up
6.1 paint
6.2 paint
Use this button to jump down to the preparation section.
LEARNING TARGETS
Students know how to experiment with art
M A T E R I A L S
- Continue with same paint set up
“Let’s make gray again, but this time we will add red so that it has the local color in it. That is our second experiment!
Make gray with white and a little bit of black.”
TIP
Use a disposable paper or plastic plate for palettes. Divide the plate into 4 or 6 areas by making pie-slice lines with a sharpie.
7.2 mix
7.3 paint
“The red paint helped to make this color look more like it belongs on the cube, but this still doesn’t look like a realistic shadow. Let’s do one more experiment. This time we will do something crazy. We are mad scientists, after all… right!?”
“Don’t worry about re-painting an area. All artists do experiments and re-work their paintings as they go along. You are doing what professional artists do right now.”
Use this button to jump down to the preparation section.
STEP 8. Experiment 3
Students mix a new shadow color, but this time, using opposite colors (red & green) 10 MinutesLEARNING TARGETS
Students know how to mix a shadow for red
M A T E R I A L S
- Continue with same paint set up
“Since we are crazy mad scientists, we need a crazy idea to solve our color problem. The crazy idea we need to try now, is to mix the opposite of red into our color. If my calculations are correct, green, which is red’s opposite, will cancel red out, and make it darker like a shadow! Let’s try it now.”
8.1 mix
8.2 paint
Paint the right side of the box with the new color.
“It works! This color looks like a shadow. Our 3rd color experiment is a smashing success! Great job everyone.”
Use this button to jump down to the preparation section.
STEP 9. Painting
Now that the shadow looks realistic, artists can finish the painting any way they want to. 13 MinutesLEARNING TARGETS
Students know how to paint a realistic cube
M A T E R I A L S
- Continue with same set up
9.1 paint
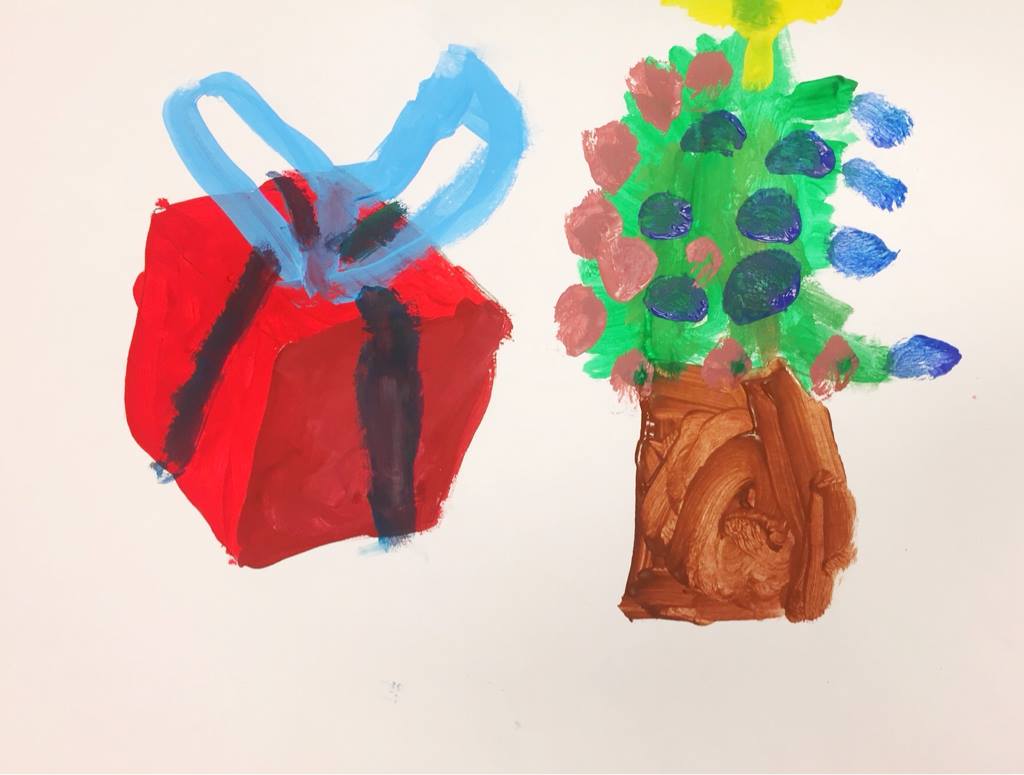
Finish the painting in any way you want, adding fun things in the background. Early finishers can use the other experiment page or a new sheet and paint artists’ choice.
Don’t worry if students paint all over their box. Encourage doing a background, but this is about self-expression and fulfillment now. The lesson has been learned and they can make it their own.
Write names when finished.
Use this button to jump down to the preparation section.
STEP 10. Game
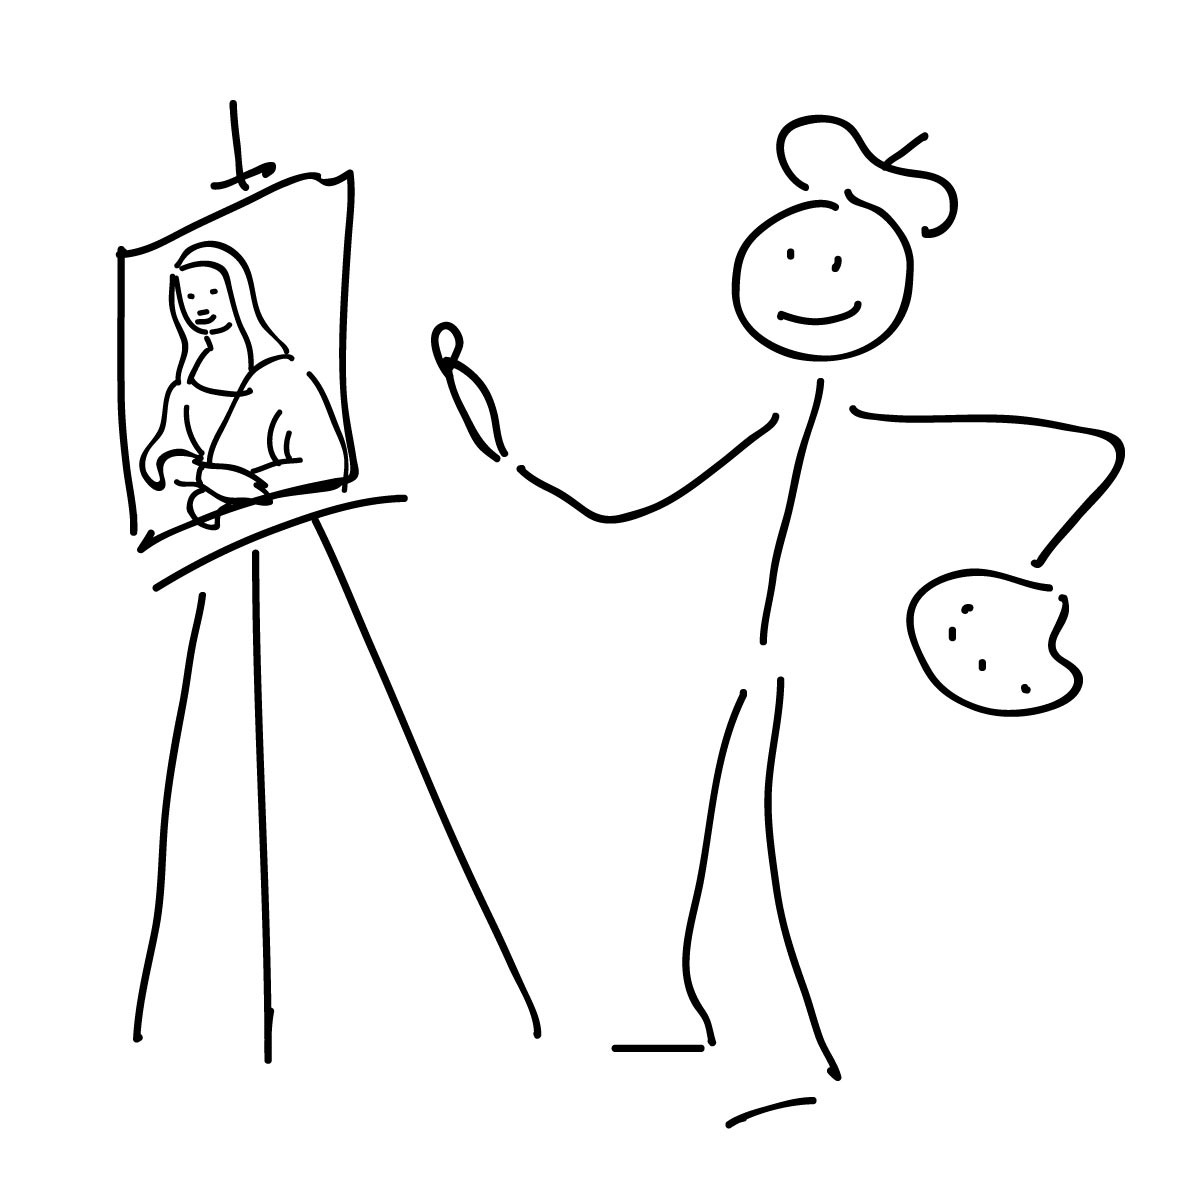
While students work, you’ll play the game of Artist Stickman (like hangman) with the phrase: Opposite Colors While WorkingLEARNING TARGETS
Students know how to have fun with a game
M A T E R I A L S
- Large visible work area: Whiteboard, poster-board, or digital display with stylus.
10.2 play
Take suggestions from students (raise their hands) for one letter.
RULES:
- Everyone can take a turn if they want.
- If you guess a word, put your hand over your mouth and raise your hand so you keep it secret
- When someone guesses a letter, it’s placed in the phrase or the unused box.
- Every letter that is not in the phrase gets a part of the artist stickman drawn.
- If the teacher draws the whole artist, he or she wins! (You can keep adding art stuff like easels and palettes until they win)
- If you guess the phrase, the class wins. Raise your hand if you know it.
If someone raises their hand, try to keep it quiet and let everyone take a moment. Then let everyone say it out loud at the same time. The class beat you!
If you have even more time before cleaning up and the class wants to continue, try to play again using other words from the lesson! (Art Experiment, Local Color, Highlights, etc..)
Use this button to jump down to the preparation section.
LEARNING TARGETS
Students know the importance of cleaning up.
M A T E R I A L S
- Paper Towels
- Cleaning wipes
- Sink
- Waste baskets
- Well-lit spot for photos
- Camera or phone-camera
11.1 CLEAN
Students set up their work area.
- Wash hands
- Super-wash brushes if used
- Put art supplies away
- Wipe tables & toss trash
- Remove any smocks (last)
- Check for items on floors and tables
11.2 PHOTO
Try to get photos of your student’s artwork. Find a good spot for quick lighting without highlights or shadows from your hands and device. Ideally in-between two strong lights on each side.
OBJECTIVES
- Practice and improvement in re-working something to make it look better
- Understanding that shadows are made by mixing opposite colors
- Accomplishment in making a 3D object look realistic
- Fulfillment in artists’ choice time
TROUBLESPOTS
Jumping ahead confident artists will think they can finish the cube picture by painting all sides red. Remind them of the rose, and how you can’t tell what it is without shadows. Leave one side blank for the shadow!
ART WORDS
CLASSROOM
PREP
Print all of your PDFs from the lesson plan and cut any references apart as needed.
What your room needs
Here are your printable lists and room prep instructions.
Opens in new window
CLASSROOM
MATERIALS
- 8.5″ x 11″ copy paper
- 8.5″ x 11″ card stock
- 11″ x 17″ copy paper
- Rulers
- Scissors
- Box cutter (teacher only)
- Large Drawing boards with clips
- Water containers
- Spray bottles
- Water droppers
- Paper towels
- Smocks
PREVIEW
Week 20: Balance Intro
Students have object lessons using physical balance, to learn about creating visual balance in their work.
Week 21: Color Day – Green
Students will have fun mixing up lots of different green colors and using them to make a fun geometric abstract painting.