
OVERVIEW
Students learn about radial symmetry and how we see it all over. Then they’ll make spiral designs with markers and a radial design too. These are cut out and put together later to make a rolling moving artwork that animates! They also create a fun page of circles with radial symmetry using oil pastels.– – –
Grades 1 – 2
Week of February 3 – 7
1 Hour & 30 Minutes
Lesson At A Glance
Here’s a brief overview of the complete lesson. It’s also on your prep page in the Ready, Set, Go! section (below the lesson).
Colored buttons jump to each section in the full lesson plan below.
15 Minutes – Artists’ choice & spiral color dancing
15 min – Demo radial symmetry using flower
15 min – Make a spiral circle design and color with markers
15 min – Make a radial design circle and color
20 min – Make a moving sculpture
8 min – Create a garden or machine using circular radial designs
2 Min – Everyone helps
Use this button to jump down to the preparation section.
SCROLL & TEACH
LESSONPLAN
Each section is a different color. Read over once and then you can SCROLL & TEACH using any device you like. It’s designed to work well with your phone.
LEARNING TARGETS

Students know how to warm up with drawing creatively
M A T E R I A L S
- 11″ x 17″ copy paper
- 4B pencil
- Eraser
- Markers and/or oil pastels
- Blenders (stumps)
- Paper towels
All materials are suggestions and may be modified as you see fit. We have tried many items, and these seem to allow the most versatility for the cost.
1.1 greet
1.2 draw
Encourage students to work with one piece of paper for a while. If someone uses the phrase, “free draw”, explain that artists’ choice is something only artists can do, while free-draw is something anyone can do. You want to use the phrase to elevate the students’ expectations of their work.
Everyone should take their time with the work and make a finished piece of art. Limiting the paper can also help kids focus on the work. If someone finishes in super-fast time, ask them what more they can do to the existing paper. Ask again several times – unless they appear overly frustrated; then you can allow them to move on to a new work.
1.3 draw
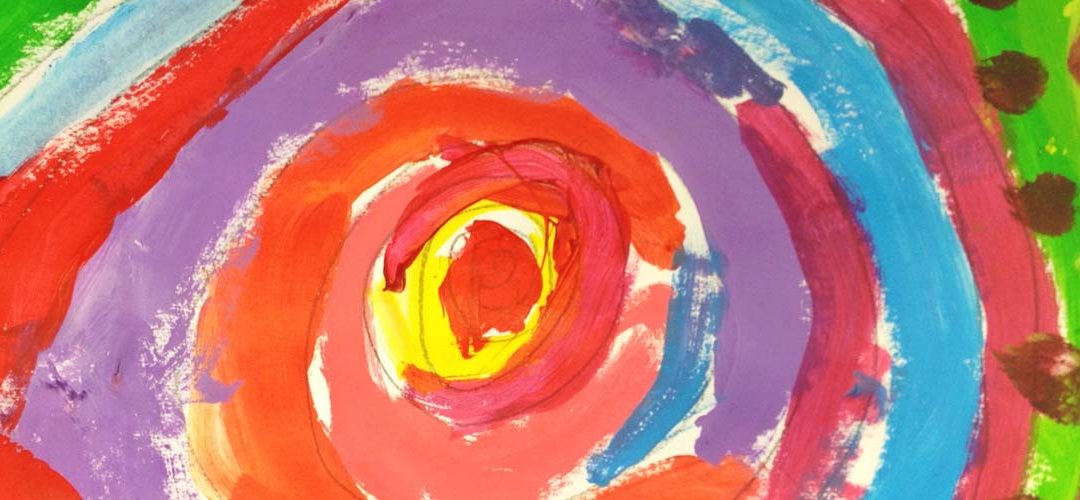
Use ambient music that has very little or no beat. Have students choose 3 or 4 colors to work with. Then make slow spirals by starting at the center of the paper and going around and around, getting bigger with each rotation. Add more lines in different colors to the spiral, beginning at the center.
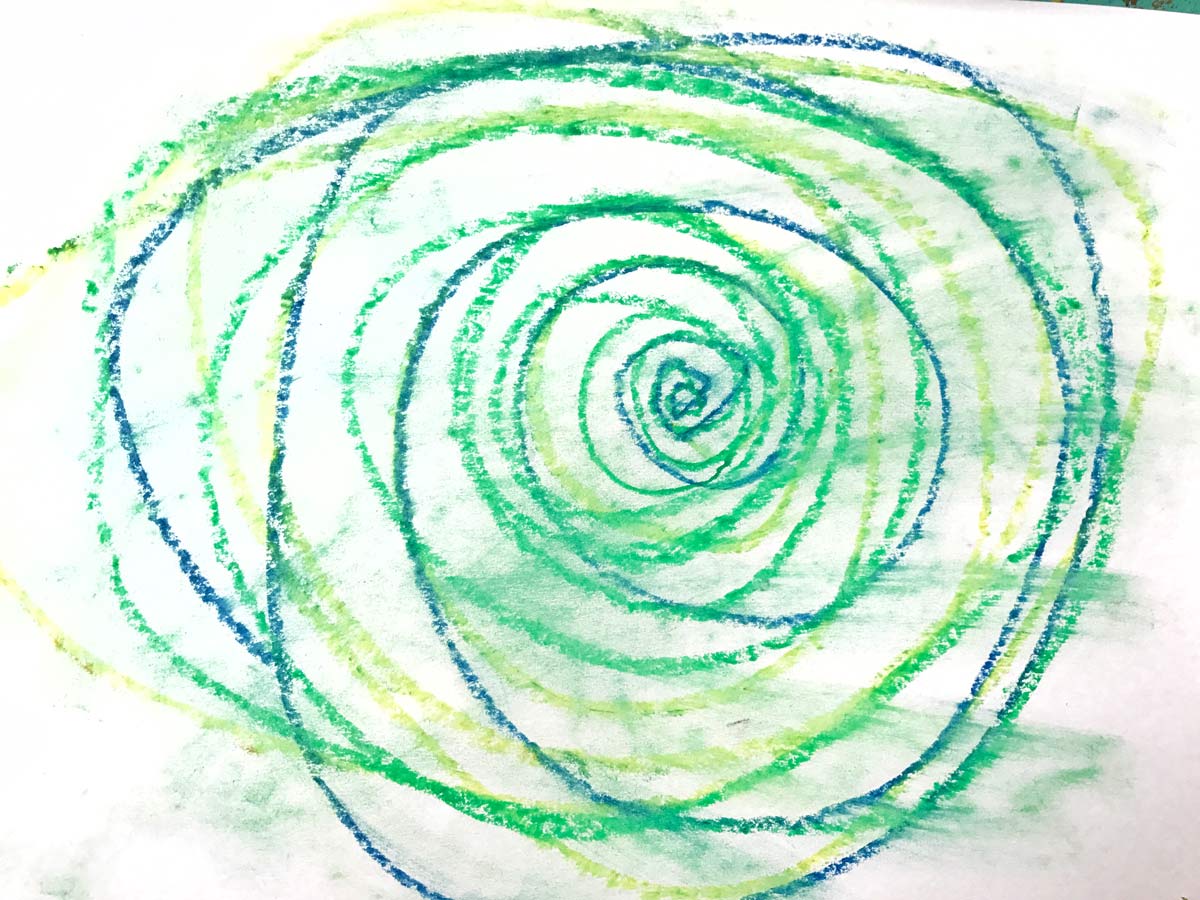
1.4 blend
Use this button to jump down to the preparation section.
STEP 2. Radial Symmetry
Students will learn about Radial Symmetry by looking at flowers and spirals. 15 MinutesLEARNING TARGETS
Students know how to identify radial symmetry
M A T E R I A L S
- Flower PDF printed out
- Medium sized mirror
2.1 Print
Reference
Sunflower Radial
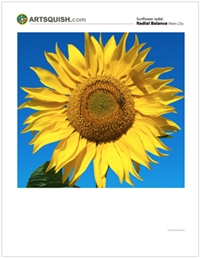
1 Page – Opens in new window
2.2 demo
Take the large pdf photo of a flower, and fold it in half, with the fold right down the center of the bloom. Use the image and place the folded edge against the mirror so you see a whole flower again using both the mirror and the photo. Then as you talk using the script below, take the sheet away and fold it in half at a 90 degree angle to the first fold and do the same thing with the mirror.
Also, you can review the mirror image of the face that we did a couple of weeks ago if you have it.
“Remember the magic trick of the mirror image? This flower has symmetry too. (fold the flower in half and hold it to the mirror so you see an entire flower again).
“This works just like the face did, but the flower has a special flower power. Watch this (unfold the flower and then fold it in half again but at 90 degrees to the first fold. Hold it up again to make an entire flower). “A flower can be cut in half in ANY direction, and still be symetrical. Why is that?
It has circular balance, which is called radial symmetry, which is a fancy way of saying, round symmetry. Many times the radial symmetry designs we see have lines shooting out from the center like the petals do, or like spokes on a wheel. Any circle or dot has radial symmetry, and so does a spiral design.”
Radial Symmetry(tap any image to open viewer)
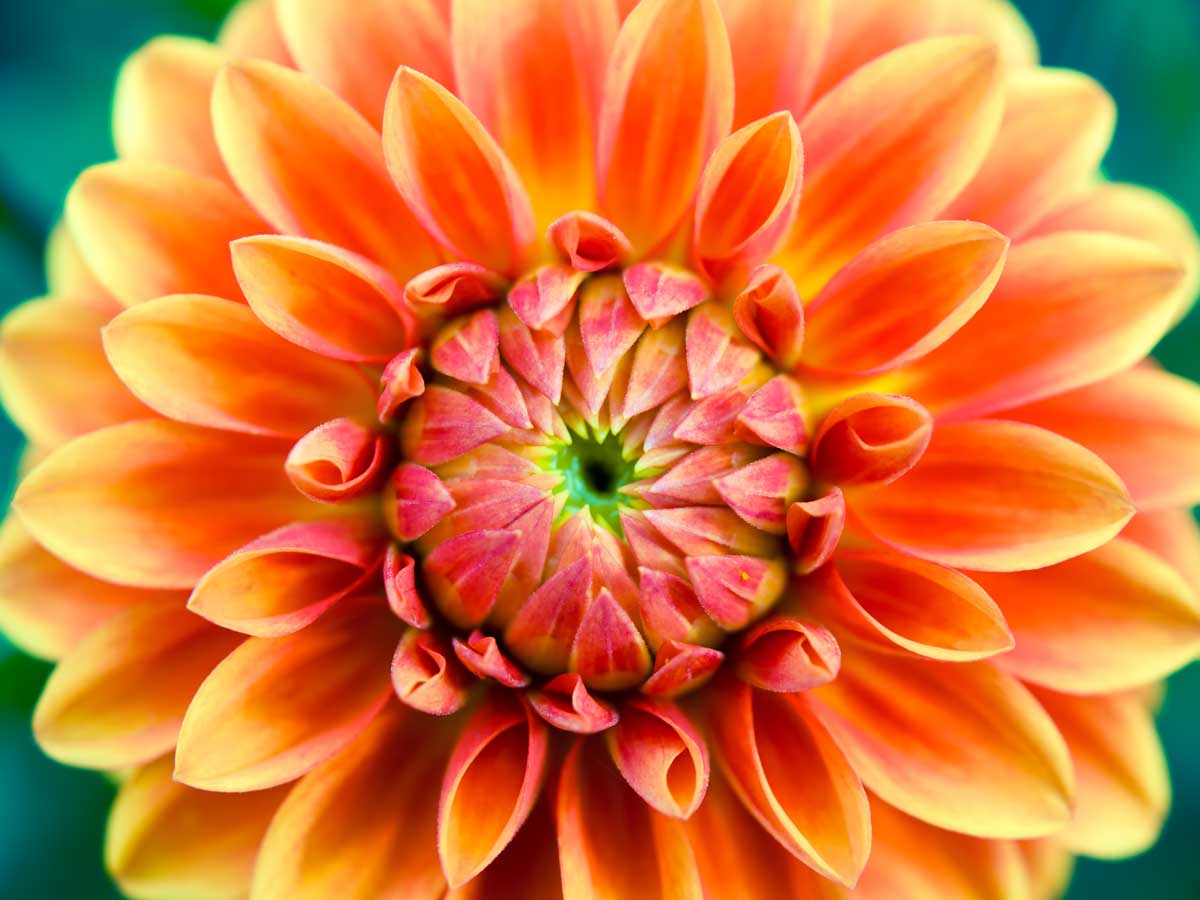
Dahlia
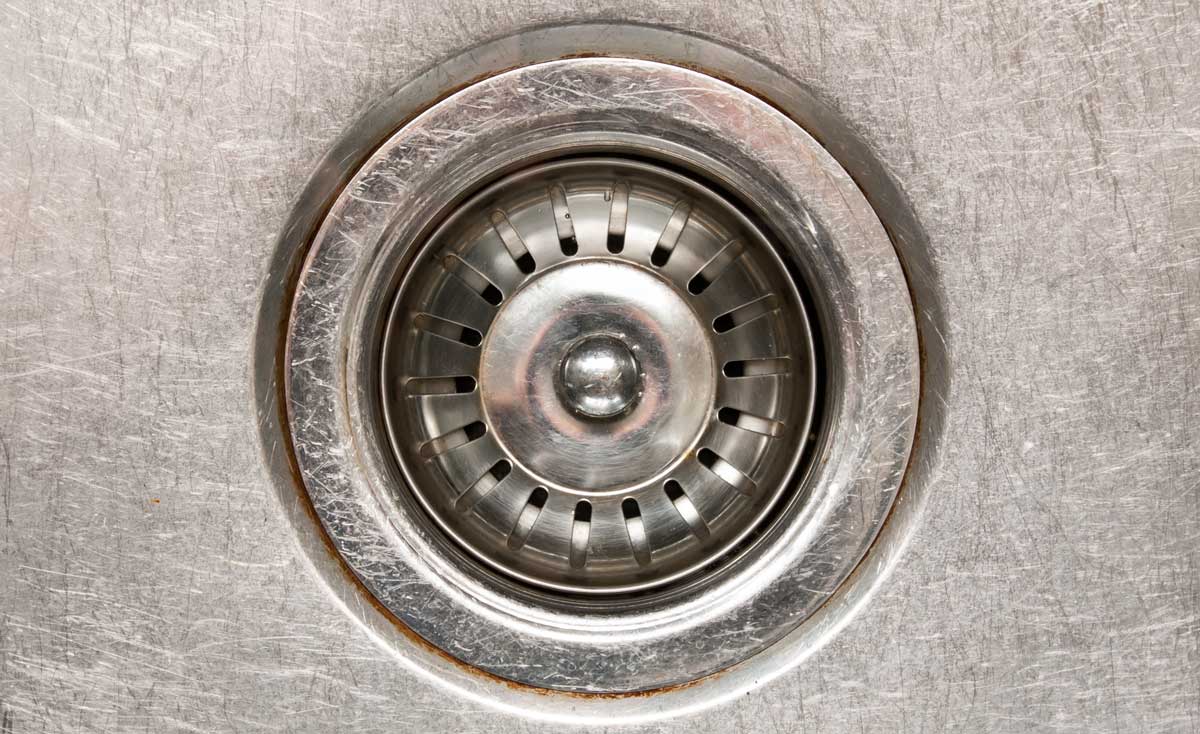
Drain
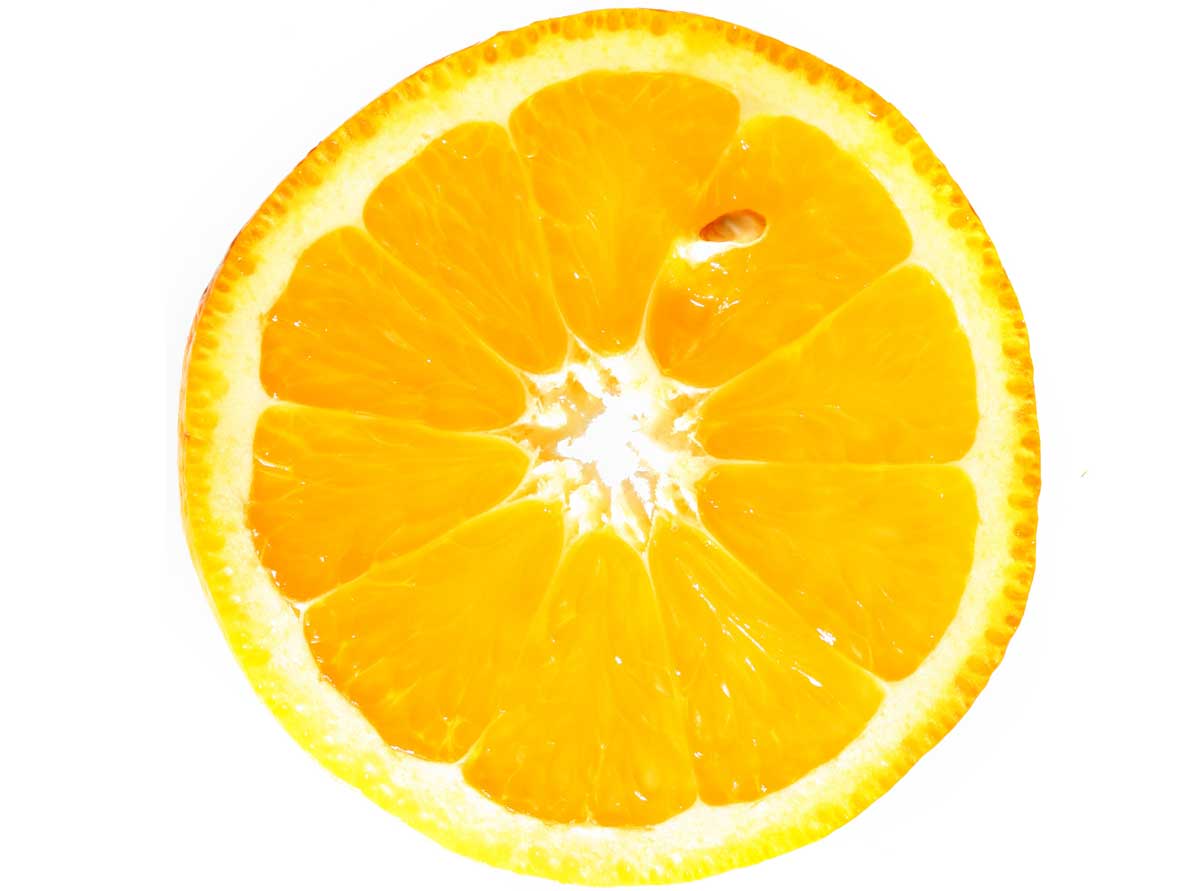
Orangeslice

Sucker
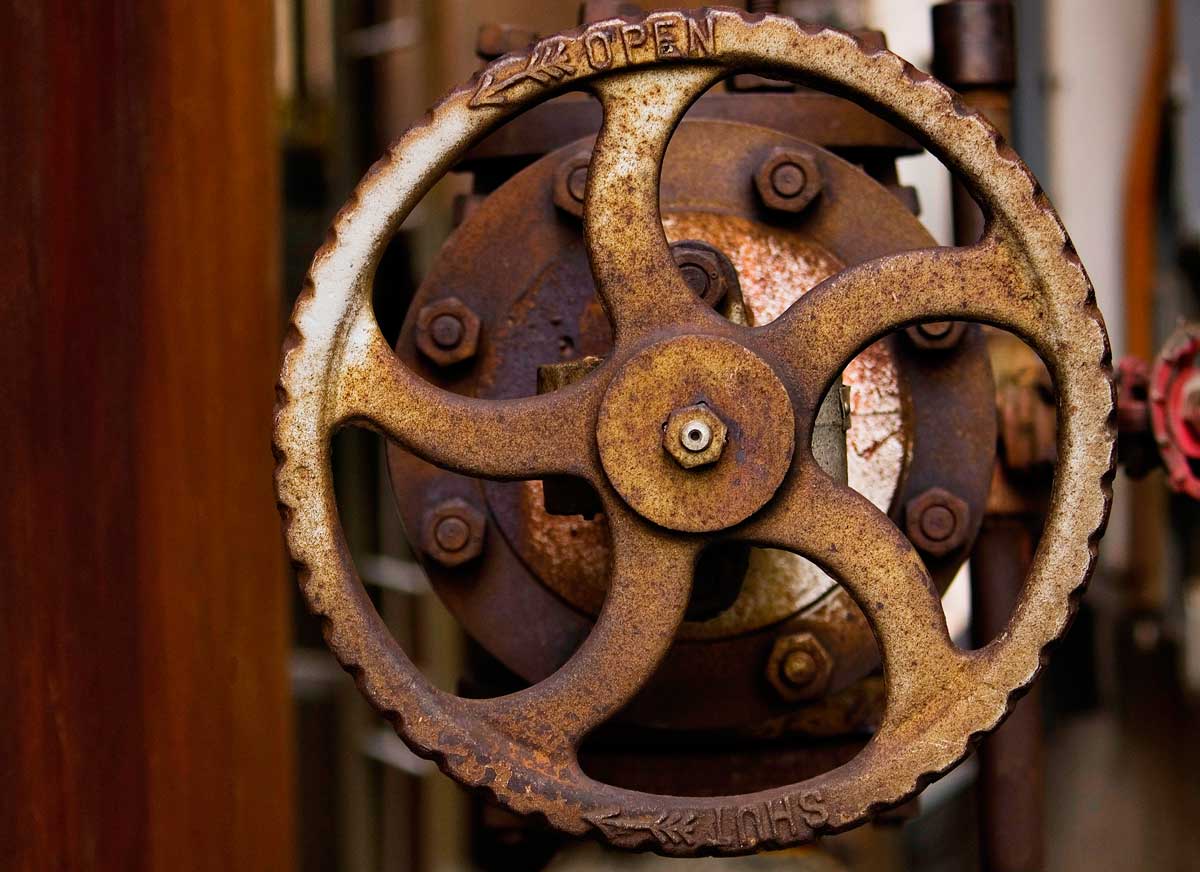
WheelRusted

Hubcap
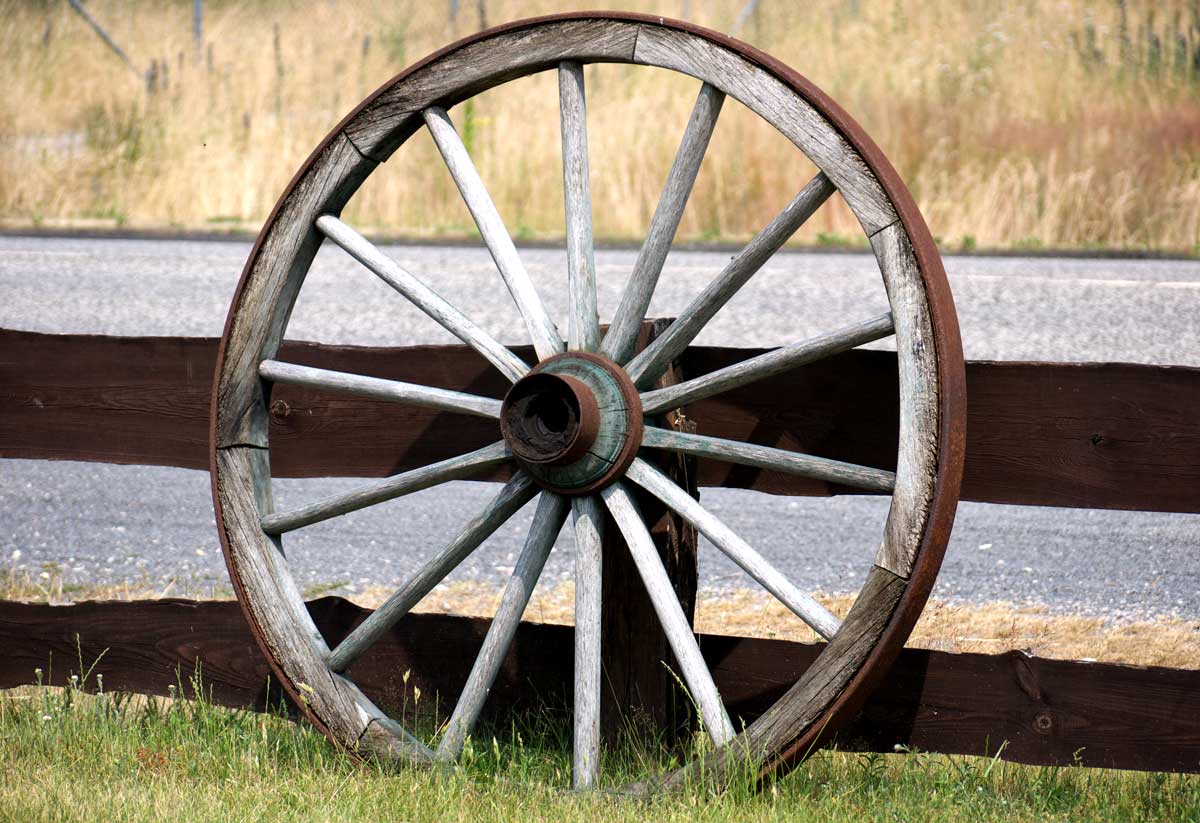
Wagonwheel
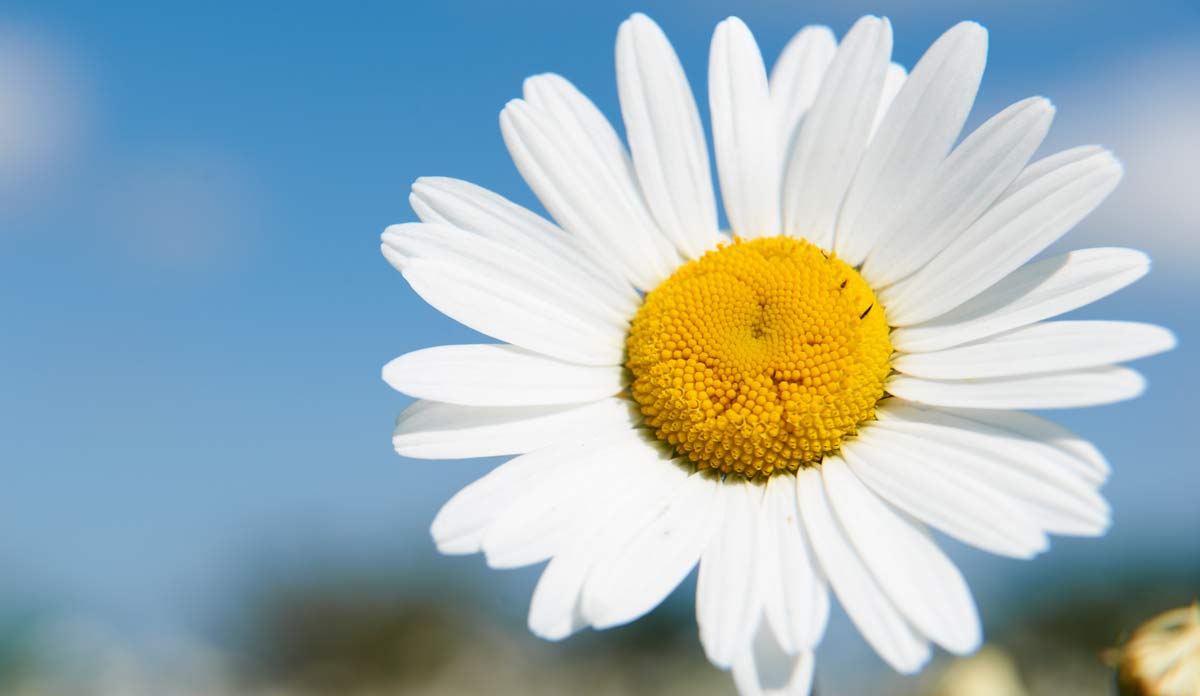
Daisy

Pizza
Use this button to jump down to the preparation section.
LEARNING TARGETS
Students know how to create spiral designs
M A T E R I A L S
- Card stock (8.5″ x 11″)
- Paper saucer or small plate under 8.5″
- Black marker
- 2B pencil
- White eraser
- Color markers
3.1 trace
Have students draw a circle by tracing around a small disposable saucer or plate 6-7.5″. (You can also just make templates using a compass on card stock and cutting them out.)
Use a black marker to trace the circle. don’t use black at any other time during the rest of this design. This allows you to see the circle edge to cut out later.
3.2 demo
“Find the center of your circle and place your pencil on that spot. If your pencil looks like it is closer to one side of the circle, you can move it away just a bit.
Now draw a very small circle around that center. When you get to the point where you began the circle you do something special. You go past the beginning on the outside and make another loop outside the first circle. Then you keep going around and around, making your circle bigger and bigger until you reach the edge of your big circle. Try to go around your spiral about 4 times or so.
If you get a funny spot like a bump, you can erase it and make it smooth again.”
3.3 draw
“Choose 3 colors you like together. Take the first one and follow your pencil line from the center to the outer edge. Then make another color right next to the first line, beginning in the center again and going all around right next to the first color line. Add one more color line to finish.”
Use this button to jump down to the preparation section.
LEARNING TARGETS
Students know how to identify radial design
M A T E R I A L S
- 8.5″ x 11″ Card stock
- Radial Design PDF
- Black marker
- Colored Pencils or a light marker
- Oil Pastels
4.1 print
REFERENCE
Radial Design Ideas
Print one for every student to use or for two students to share between them.
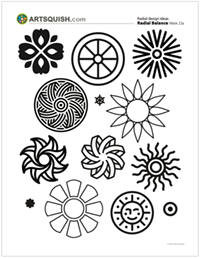
1 Page – Opens in new window
4.2 trace
4.3 design
Use this button to jump down to the preparation section.
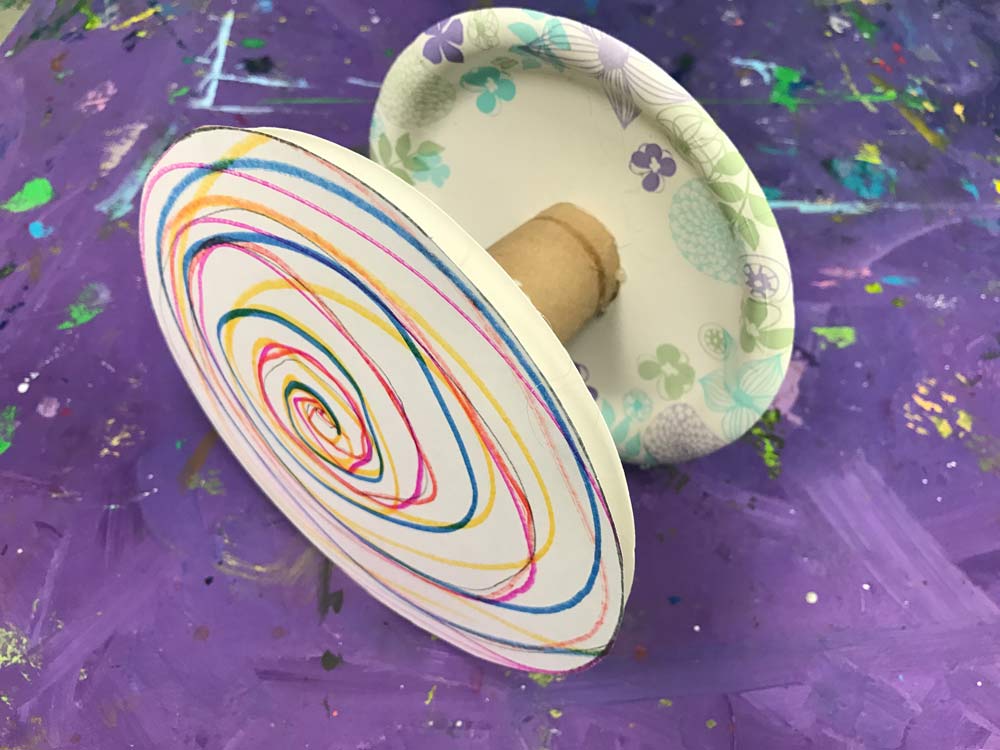
STEP 5. Crazy Cartwheels
Artists will create a cartwheeling moving art sculpture! Play dough is given out for early finishers. 20 MinutesLEARNING TARGETS
Students know how build a sculpture
M A T E R I A L S
- Spiral artwork from Step 3
- Radial artwork from Step 4
- Scissors
- Paper plates
- Toilet paper rolls
- Glue sticks
- Hot glue or tape
5.1 cut
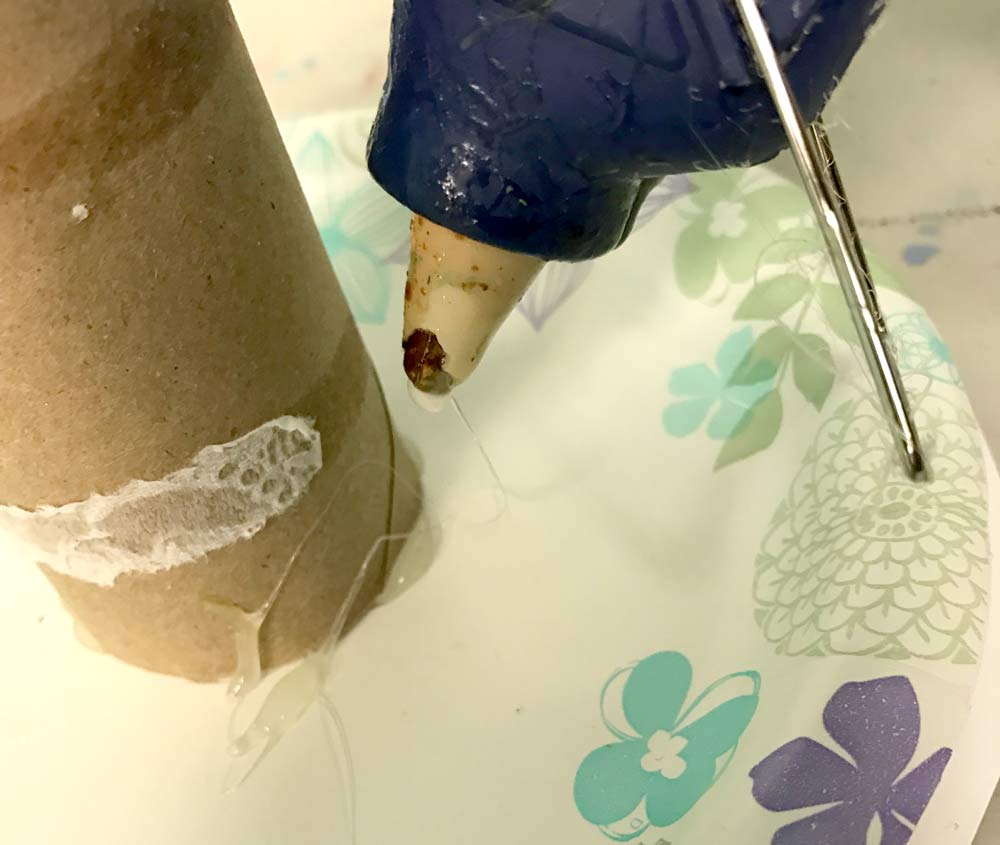
5.2 build
5.3 build

TIP
You can use a small cup if you don’t have toilet rolls saved up. They work fine even though one end is larger. Don’t try to tape a wax-coated cup though. The tape won’t stick.
5.5 roll
TIP
Use your phone to take some video of the rolling artwork!
Use this button to jump down to the preparation section.
STEP 6. Circle Symmetry
Students will finish by creating a picture of radial circular designs 8 MinutesLEARNING TARGETS
Students know how to identify symmetry
M A T E R I A L S
- Design Ideas PDF from Step 4
- 11″ x 17″ large copy paper
- Oil pastels or markers
6.1 create
6.2 WORD
Use this button to jump down to the preparation section.
LEARNING TARGETS
Students know the importance of cleaning up.
M A T E R I A L S
- Paper Towels
- Cleaning wipes
- Sink
- Waste baskets
- Well-lit spot for photos
- Camera or phone-camera
7.1 CLEAN
Students set up their work area.
- Wash hands
- Super-wash brushes if used
- Put art supplies away
- Wipe tables & toss trash
- Remove any smocks (last)
- Check for items on floors and tables
7.2 PHOTO
Try to get photos of your student’s artwork. Find a good spot for quick lighting without highlights or shadows from your hands and device. Ideally in-between two strong lights on each side.
Use this button to jump down to the preparation section.
OBJECTIVES
- Practice and improvement inventing (creating), and adding color
- Understanding what Radial Symmetry is
- Accomplishment in finishing an art project that movesg
- Fulfillment by creating their own designs
TROUBLESPOTS
No significant troublespots today
ART WORDS
Radial Symmetry – A circular design, radiating from a center point, that looks the same when turned at different angles.
CLASSROOM
PREP
Have a bunch of amazing supplies ready, and cut a few things apart before-hand in a way that make you look amazing.
Print all of your PDFs from the lesson plan and cut any references apart as needed.
What your room needs
Here are your printable lists and room prep instructions.
Opens in new window
CLASSROOM
MATERIALS
- 11×17” Copy Paper
- 8.5 x 11” card stock
- 4B pencil
- Eraser
- Markers and/or Oil Pastels
- Blenders (stumps)
- Paper towels
- Medium sized mirror
- Paper saucer or small plate under 8.5”
- Colored pencils
- Scissors
- Toilet paper rolls
- Glue sticks
- Hot glue or tape
PREVIEW
Week 24: The Most Important Spot
Emphasis is one of the most important aspects of good composition. However, this is a lot of abstract thinking for kids, so we say, “every artwork needs a Most Important Spot!” The lesson helps students think about what is in artwork, and to distinguish between wallpaper type designs and art that has that important spot that you see first. We begin with a fake art show using textures on paper but nothing else on them. Then we do some exercises with color. The end of the class has students taking the art show down and fixing the work by adding an important spot.
Week 25: Color Balancing Wheels
Students will review radial balance and create basic color wheels. They will also learn how opposites make browns and greys, using these mixes on a fun cartoon painting of a cow.
Use this button to view our parent’s blog. Share the link: http://parentart.org, with your student’s parents so your they can read about the lesson each week.