
Style
Each lesson Plan focuses primarily on one of the 4 Cornerstones of Art:
Drawing | Painting | Color | Style
OVERVIEW
There should be a lot of half-finished color journals and artwork that students need to finish up. This week we will be reviewing, creating organization, catching up (ketchup… get it!), and thinking about future projects. Students who are completely finished with everything will have artists’ choice. We also look at the rise of the impressionists and their significance in art history.– – –
Grades 6 – 12
Week of January 26 – 30
1 Hour & 45 Minutes

Lesson At A Glance
A brief overview of each step. Buttons jump to each section for detailed information.
10 Min – discuss projects. Artist choice for those finished.
15 Min – Finish any projects.
(2 Min) – If splitting into two sessions, clean up
48 Min – Continue projects
15 Min – Use face reference page to draw a proportional face
4 Min – Everyone helps
SCROLL & TEACH
LESSONPLAN
Each section is a different color. Read over once and then you can SCROLL & TEACH using any device you like. It’s designed to work best with your phone.
LEARNING TARGETS

Students know how to sketch from life
M A T E R I A L S
- 14″ x 17″ Sketch Paper
- Charcoal
- Ebony Pencil
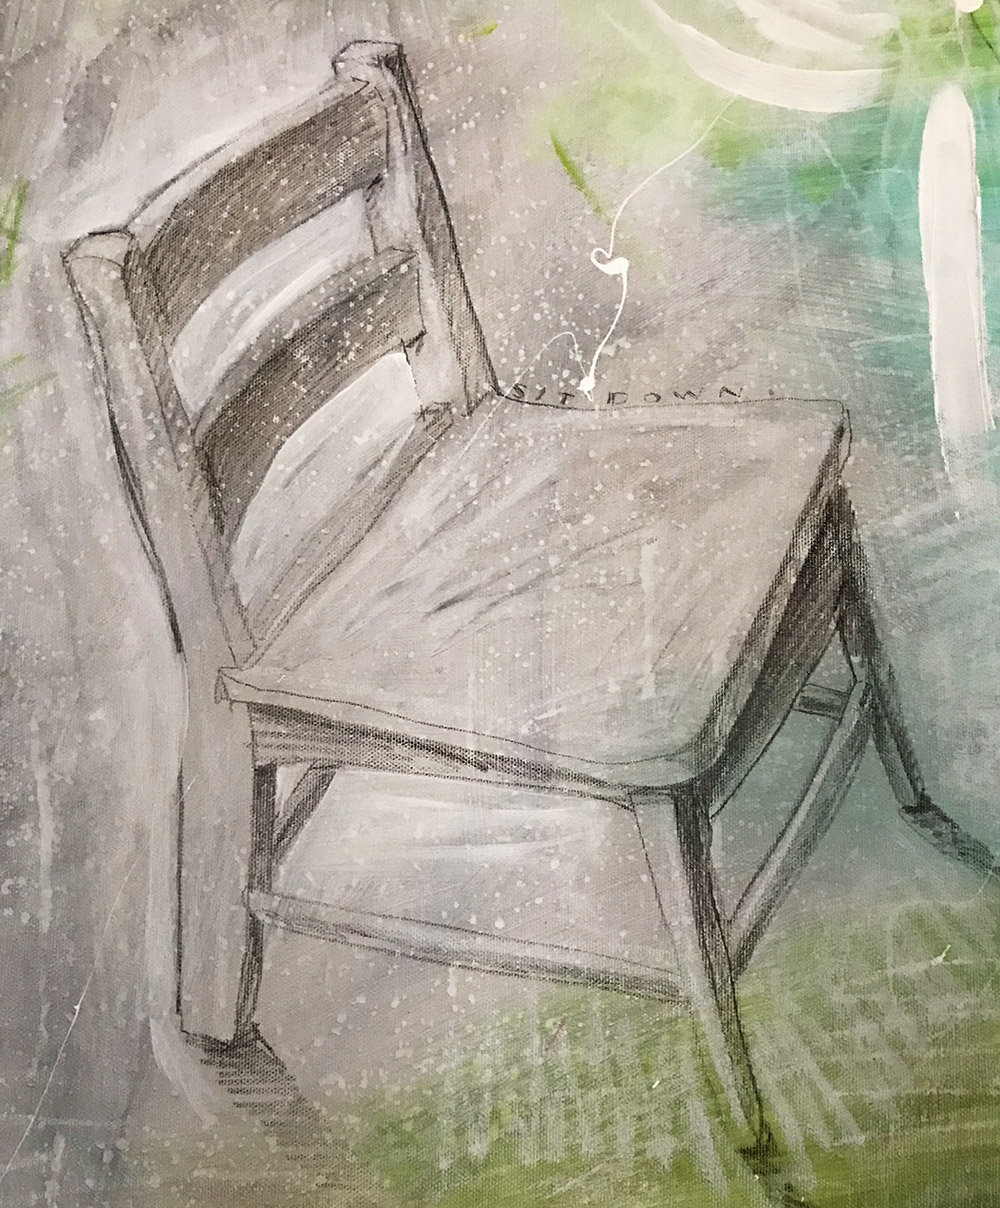
1.1 sketch
Begin by sketching a chair – on large 14″ x 17″ sketch pad using charcoal. For students who are averse to the feel of charcoal, the Ebony pencil may be used instead.
- Stand up to create several sketches of any chair or even a stool.
- Use arm movements instead of wrist movements.
- Fill the entire page for each sketch.
All chairs have a certain beauty and stance to them. You can use any chair: folding, plastic, doll chair/model, wooden, upholstered. Looking down at them as you stand is a great viewpoint.
CREATIONS - tap here to open
Use the Student Instructions printout below to distribute to your Creations students. Tap the image to open the PDF in a new window.
Finish Painting and/or Artists’ Choice
Overview: Students should finish up the 3-week project they’ve been working on, of a neutral-toned painting. If they are finished, they may continue with artists’ choice just like the other students. Encourage your advanced students to help other students make good decisions.
LEARNING TARGETS
Students know how to listen to instructions
M A T E R I A L S
- 14″ x 17″ Sketch Paper
2.1 explain
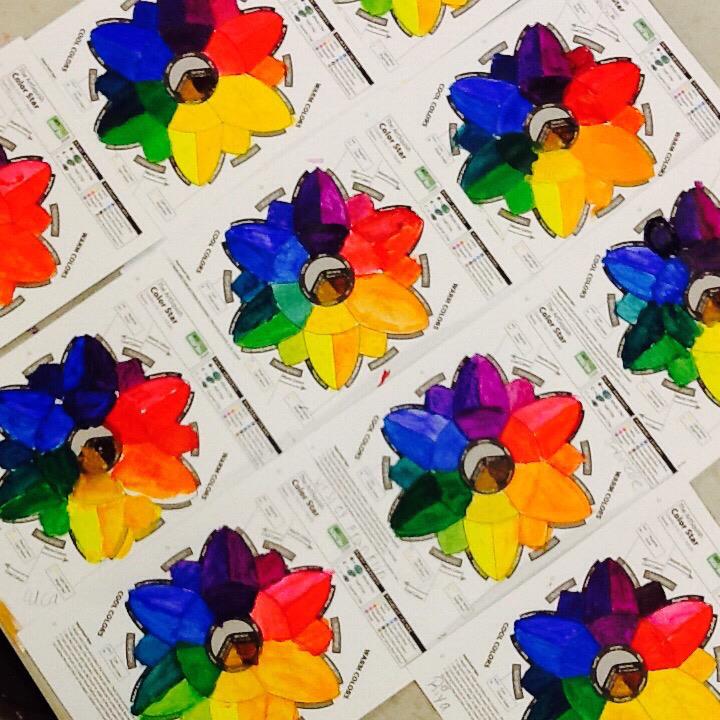
Young students will need to finish color stars, journals, and possibly some other work in-progress. Older students may still have some painting to do, but probably have finished all the journals.
Anyone who is completely finished with all projects, and has them organized, will move on to artists choice. They can do work in any media using the methods they have learned. See step 4 for details.
Hand out all finished work and help students place journals into notebooks/folders and artwork into large pads or portfolios for taking home.
LEARNING TARGETS
Students know how to set up their work area.
M A T E R I A L S
- 14″ x 17″ Sketch Paper
- Acrylic paints
- Brushes
- Palette pad
- Water container
- Smocks
- Paper towels
Paint pigment list:
- Napthol or Pyrrol Red
- Hansa or Light Yellow
- Pthalo Green (blue shade)
- Cyan or Cerulean Blue
- Ultramarine Blue
- Dioxazine Purple
- Magenta
- Burnt Umber
- Raw Sienna
- Titanium White (professional grade only)
3.1 prep
If painting, set out all supplies needed and get a smock. If beginning a new work, do not open paints yet.
Other materials can be used if a student is finished and moving into artists’ choice.

LEARNING TARGETS
Students know how to complete a project they started.
M A T E R I A L S
- 14″ x 17″ Sketch Paper
- Acrylic paints
- Brushes
- Palette pad
- Water container
- Smocks
- Paper towels
4.1 work
Help students finish existing projects.
Artists’ Choice
For anyone who is done, Artists Choice has a few requirements:
- No lettering or symbols
- Plan the work for 5 – 10 minutes before beginning
- thumbnails & principles of design
- reference photo & sketches
- guide lines on final surface
- Create one finished work that takes the rest of the class time
- Full sized paper or canvas.
LEARNING TARGETS
Students know how to finish projects they have started.
M A T E R I A L S
- 14″ x 17″ Sketch Paper
- Acrylic paints
- Brushes
- Palette pad
- Water container
- Smocks
- Paper towels
5.1 teach
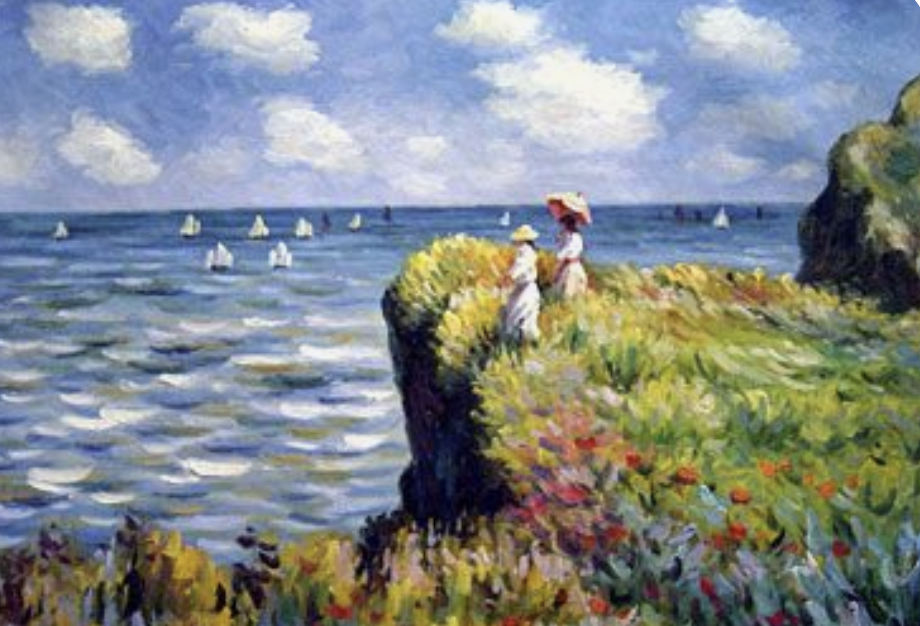
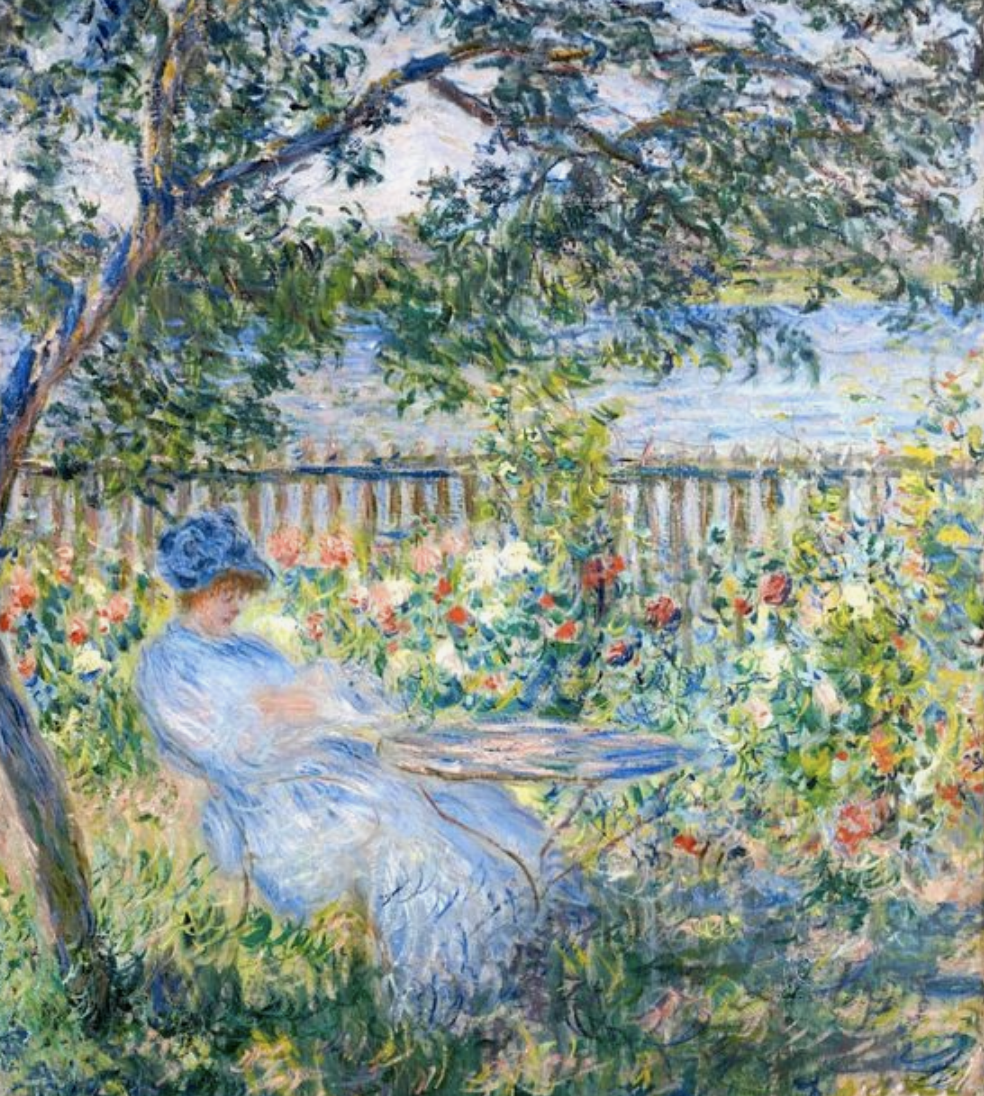
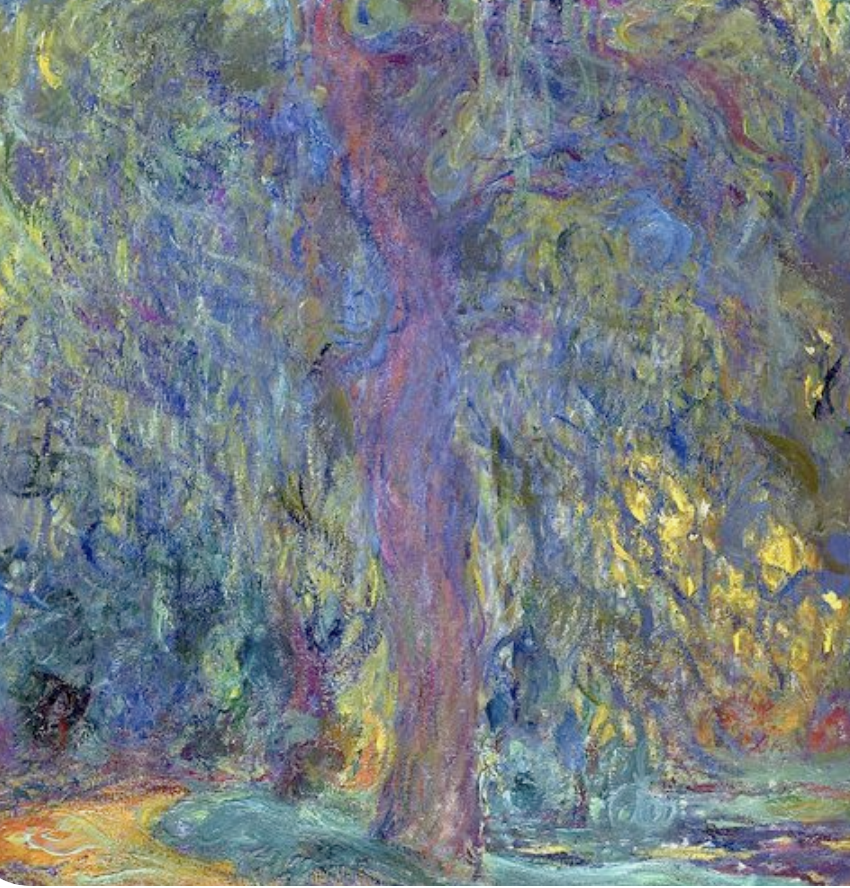
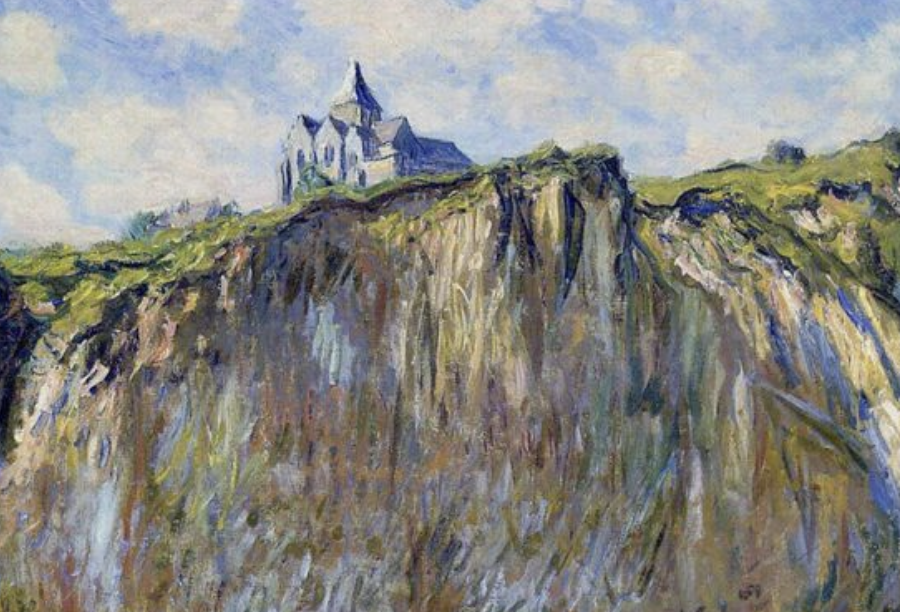
Encourage students and make the rounds, helping individuals as needed by asking questions and giving your honest responses. While they work, show the pictures below, of impressionists work, and read the teacher talk below.
Art history teacher talk below (very long today!). There is also a separate article of this talk, along with some painting graphics, HERE.
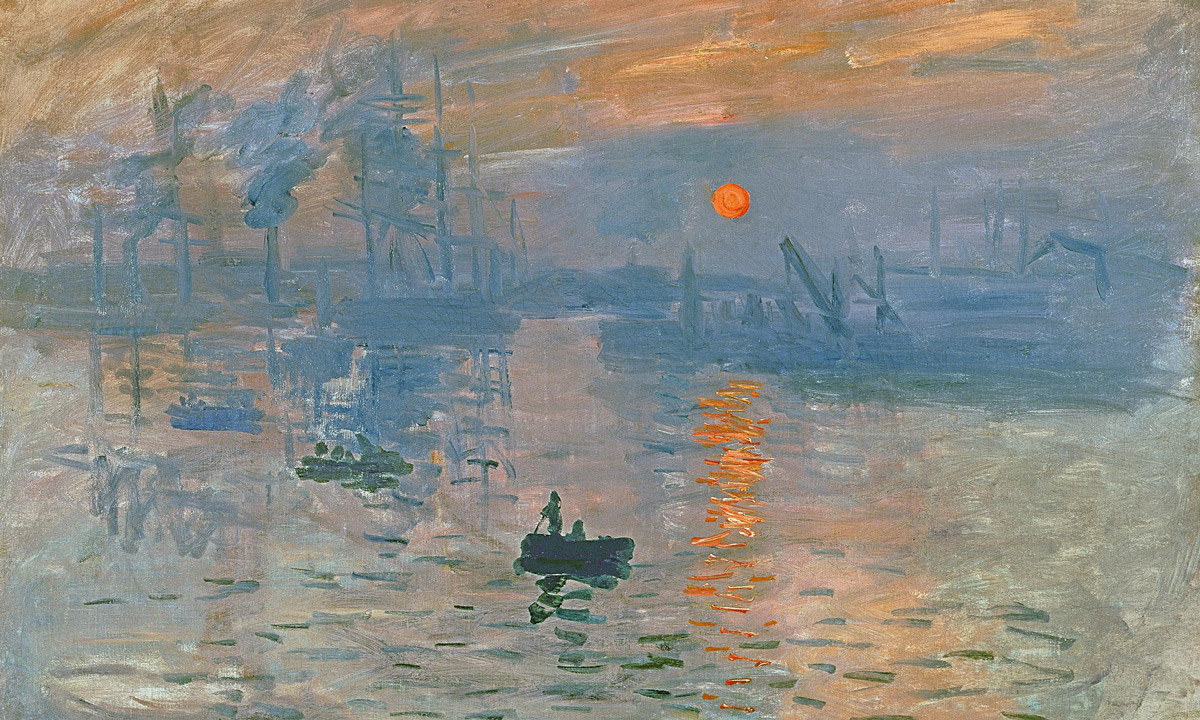
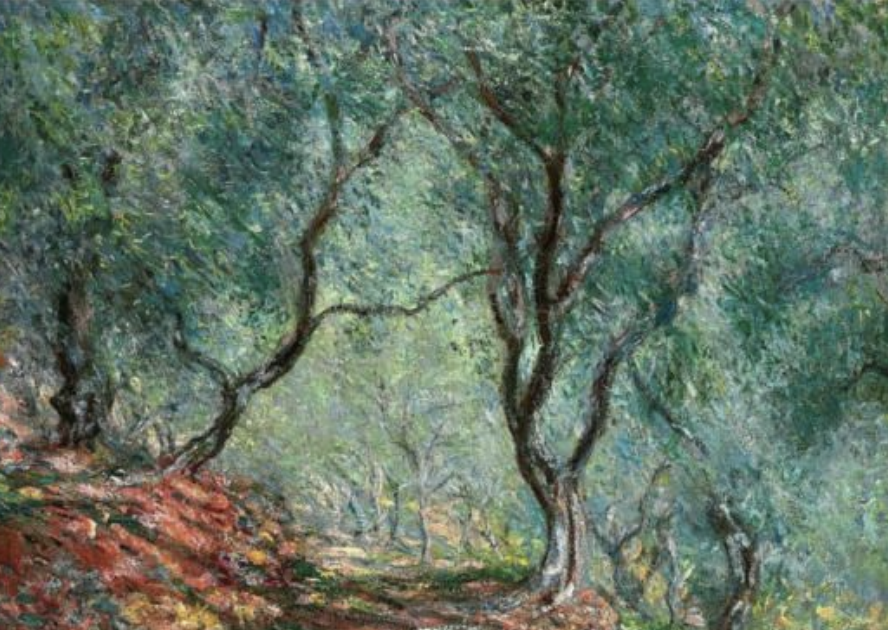
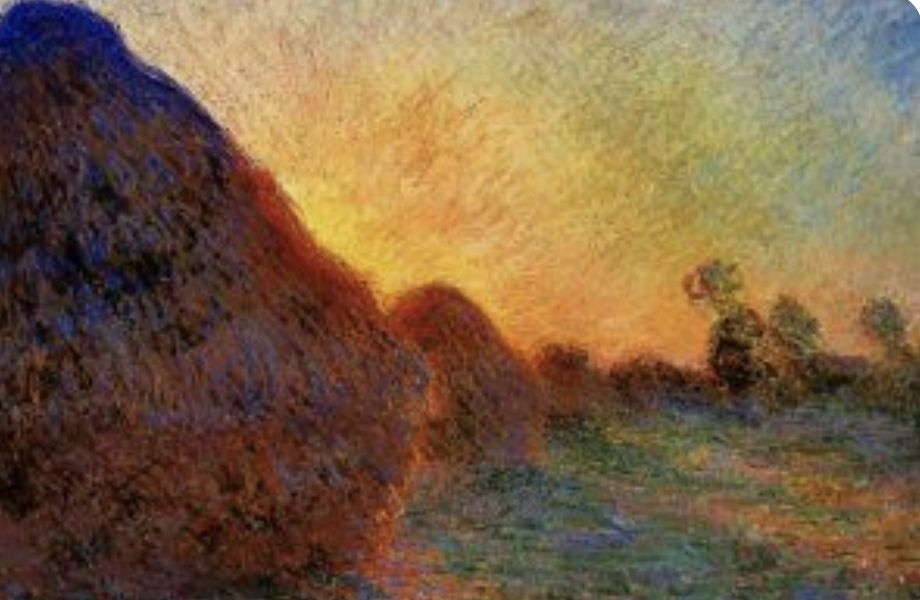
The Impressionists (tap any image to open viewer)

“Today we think of the French Impressionists as being a pretty traditional group, but when they began meeting together and producing their work in 1872, the world was amazingly different; so different that it’s hard for us to understand. These artists were revolutionists!”
Before the 1860s…
Art had been completely academic.
Like a carefully manuscripted play, art had always been part realism, part classroom, and part idealism. Painters had only recently begun to paint the world around them as it actually appeared, and it was still a radical thing to do. Landscape paintings, for instance, had not been acceptable as just beautiful work on their own. They were supposed to depict history, mythology, or religious principles. Everything was highly staged.
Art had been smooth.
To see a brush stroke, or paint that was thick and textural, was a sign that the artist was not skilled.
Art had been controlled.
Artists could only show and sell their work at certain Salon exhibitions. If you weren’t in these, you were a nobody. However, many younger artists were fighting the salon establishment. There were several groups rebelling against the status quo. These groups became known as “the advanced guard” or “avant-garde” and were trying very new ideas.
The world was changing.
This was the time of the industrial revolution and the rise of the first middle class in France. Photography had recently been invented. Everything was different.
The Independents
Along came a group of painters from various backgrounds who met with each other often in the Paris cafes. Since their work was mostly rejected by the official salon, they soon decided to have their own exhibitions. There was no formal organization but they referred to themselves as the independents. They even had a woman join their group, which was shocking to many art critics. A woman could not paint in public or even attend certain art events.
Derision
Critics had no good things to say when they viewed the independents’ work with the first painting exhibited by Monet derided in print. The painting was titled, “Impression: Sunrise”, but the critic used the title sarcastically, saying it must be called “impressionism” and that it was not finished. How ironic that 150 years later, the world reveres Monet and his work, as well as the movement we call Impressionism, yet no one remembers the man who coined the term (poor Louis Leroy).
Other critics said they were “lazy”, that they must have a “disease of the eyes”, and that their figures looked “like decomposing flesh”. They were not kind.
The ideas of the Impressionists
The passing moment
They wanted to capture things in a way that a camera did. People half-way through an action, caught unaware. They did not want staged roman ruins with goddesses. They wanted to paint feelings and the lives of ordinary people.
Out in the open, “en plein air”
Begun a few decades before, landscape painters had moved outdoors to make some painted color sketches before going back to their studio to paint the real thing. Now the impressionists were taking this a step further and doing the entire painting outdoors. They had to paint fast and mix less. The sketch was elevated to an art form.
Color
The impressionists had the advantage of using several new and brighter pigments that were just invented. They worked hard to create a sense of light and brilliance they saw when they went outdoors. Painters had always painted in dim studios, and on dark-colored surfaces before. Now the impressionists began painting in the light, and they used white or cream colored canvas to paint on. It was truly a color revolution.
Complimentary colors
With the exception of Eduard Manet, who is not considered a pure impressionist, the artists stopped using black to mix into their colors altogether. Instead they developed the use of blending opposites to create shadow colors, or placing pure, brilliant, bits of opposite colors next to each other right on the canvas. The resulting effects made their color vibrant and intense.
Even thought the impressionists used color in a way that everyone loves, and is more vibrant – more like real light – the tools that are available for artists today ignore most of their theories. If you look at a published color wheel or color theory book, you will discover 3 highly used terms: tint, tone & shade.
Tints
Are made by mixing white into a color. That works pretty well.
Tones
Are made by mixing grey into a color. This creates dead colors that are not very realistic.
Shades
Are made by mixing black into a color. Many blacks have different qualities, and affect colors in various ways, most of them not very useful
The most well known impressionist era artists were:
- Claude MONET
- Camille PISSARO
- Auguste RENOIR
- Eduard MANET
- Mary CASSAT
- Edgar DEGAS
LEARNING TARGETS
Students know how to draw a face from reference
M A T E R I A L S
- 14″ x 17″ Sketch Paper
- 2B Pencil
- White Eraser
- Charcoal
- Kneaded eraser
6.1 Print
Reference
Face Reference
Cut images apart and print enough for each student to choose from.

1 Page – Opens in new window
6.2 sketch
Print the face reference page (above) and draw a proportional face in sketchpads.
Tell students a few tips: You should not draw any lines on the sides of the nose, and make note of the distances from each facial feature to the next.
LEARNING TARGETS
Students know the importance of cleaning up
M A T E R I A L S
- Paper Towels
- Cleaning wipes
- Sink
- Waste baskets
- Well-lit spot for photos
- Camera or phone-camera
7.1 clean
- Wash hands
- Super-wash brushes if used
- Put art supplies away
- Wipe tables & toss trash
- Remove any smocks (last)
- Check for items on floors and tables
7.2 photos
OBJECTIVES
- Practice and improvement finishing and arranging reference work (journals)
- Understanding that artists need to have a way to save and find things
- Accomplishment in tying up lose ends
- Fulfillment by moving on to artists choice
TROUBLESPOTS
Rushing – You may have to explain that finished work must be done to a high standard or it will need to be redone. Students sometimes rush to finish, especially when they hear “artists choice”.
Forgetting foundational practices – When freedom to express is given, many students get so excited that they suddenly stop doing all of the things they’ve learned about. However, instead of being surprised or telling them they’re doing it wrong, ask questions! ie: “so, if you think about the opposites color journal, what would you use to mix a darker red?” OR, “Do you remember what to do before you begin squeezing out your paints? Yes! Put on a smock; very good. That is one thing… what else?”
ART WORDS
Organization – Sometimes it’s almost a dirty word for artists. But keeping a notebook and reference materials is important. Many creative people use one book for both sketching and writing. Most folks will also benefit from a 3-ring binder for saving reference photos and exercises such as our color journals.
Another tip is to use Pinterest boards, and photo albums on your phone for making collections of good reference materials. You can collect figure positions, faces, clothing, and such. You can also collect things that inspire you such as other paintings and photos.
Copyright – This term may be introduced to older students ages 13 and up. Every personal expression, including a photograph, is protected by copyright law for up to 75 years after the artist’s death. Keep in mind that you do not have permission to paint other people’s photos unless a site specifically says you can, or you ask, and get permission in writing. Carefully worded not-from-a-lawyer information: Most people understand that if you paint only for practice, and not for commercial use in any way, then it’s probably ok to copy. It doesn’t matter if you credit the person though, and you shouldn’t even give it away for free. You have to keep it for yourself. Here’s a link about “fair use” and copyright law. Nothing bad will happen unless someone takes issue with what you’ve done and takes you to court, so if you are just keeping a painting for your own learning and use, there is no reason to sue you.
Morguefile.com is a site that has a collection of photographs that are free for artists to paint from. Click the “free photos” tab and do a search. There are also a bunch of tabs for paid photo services. Don’t use those. Select a photo you like, and make sure you read the permissions on the download popup box. It will probably state that you can’t use it in a “stand-alone manner” but that means you can’t print it out and just sell the photo itself. You can still use it as part of a website, (give a credit if you do), or to paint from as reference.
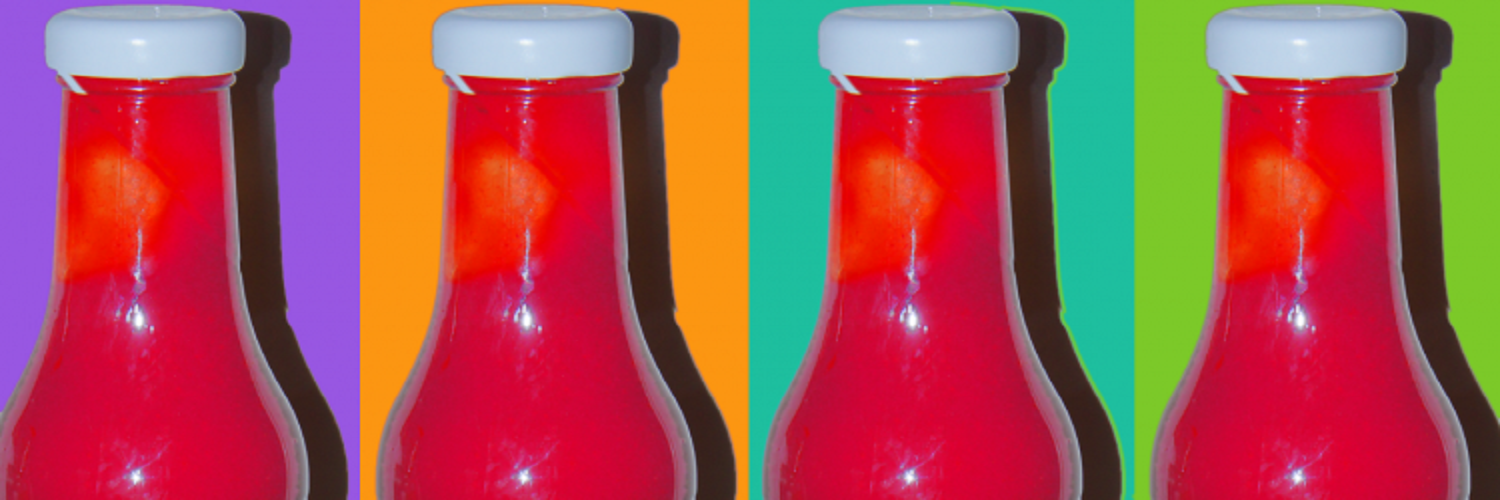
The photo in our banner this week is from Morguefile.com. We cropped it, repeated it 4 times, changed the color of the bottle some, and gave it a different background entirely. This would be called a derivative work. We couldn’t have created it without the photograph, but it looks completely new.
CLASSROOM
PREP
Print all of your PDFs from the lesson plan and cut any references apart as needed.
What your room needs
Here are your printable lists and room prep instructions.
Opens in new window
CLASSROOM
MATERIALS
- Smocks
- Water container
- Paper towels
- Smocks
STUDENT’S
MATERIALS
- 14″ x 17″ Sketch Paper
- Charcoal
- Ebony Pencil
- Acrylic Paints
- Brushes
- Palette Pad
PREVIEW
Week 27: Spring Break
Week 28: Fantasy Self Portrait