

Drawing
Painting
Color
Style
KidsART lesson plans focus on these 4 Cornerstones of Art. Concepts and techniques are introduced in a learning style that this age group enjoys. The lessons prepare them for learning more in-depth when they're older.
OVERVIEW
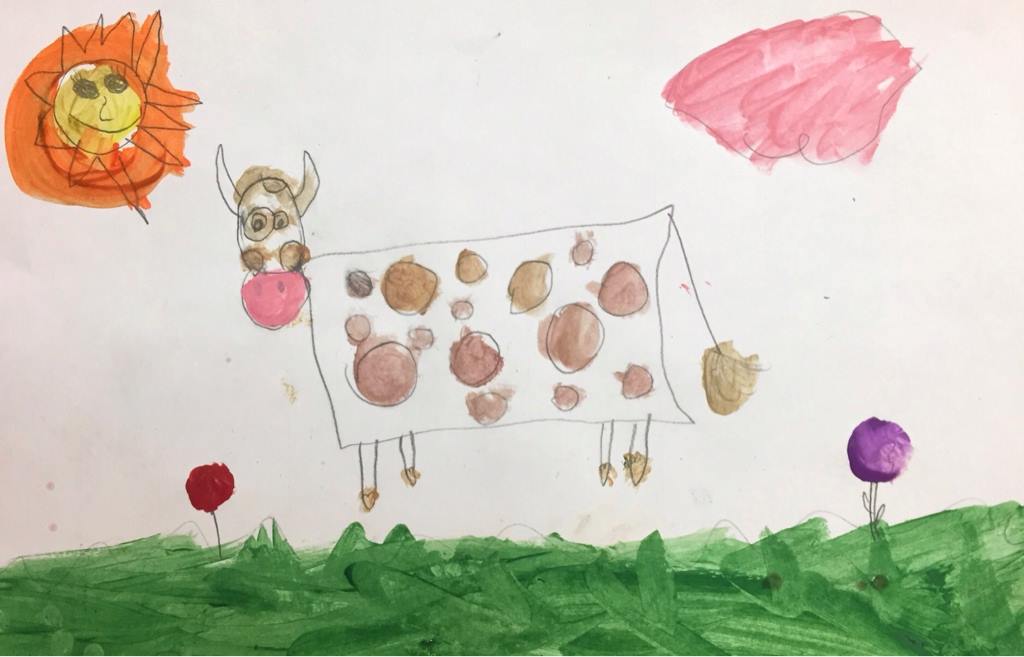
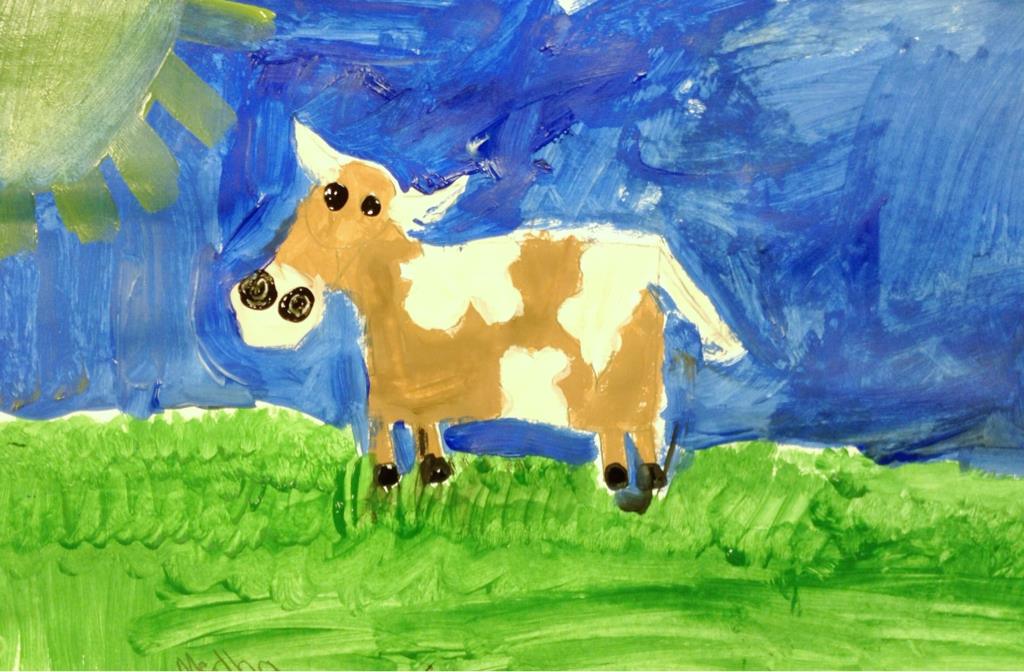
Students will review radial balance and create basic color wheels. They will also learn how opposites make browns and greys, using these mixes on a fun cartoon painting of a cow.– – –
Grades 1 – 2
Week of Feb 17 – 21
1 Hour & 30 Minutes
Lesson At A Glance
Here’s a brief overview of the complete lesson. It’s also on your prep page in the Ready, Set, Go! section (below the lesson).
Colored buttons jump to each section in the full lesson plan below.
10 Min – Cool, warm & neutral colors
15 Min – Cartoon drawings
15 Min – Mix & paint color wheels
15 Min – Mix neutral colors
12 Min – Leftover paints used for Artists’ Choice
3 Min – Everyone helps
SCROLL & TEACH
LESSONPLAN
Each section is a different color. Read over once and then you can SCROLL & TEACH using any device you like. It’s designed to work well with your phone.
LEARNING TARGETS

Students know how to draw from imagination
M A T E R I A L S
- 11″ x 17″ copy paper
- 4B pencil
- Eraser
- Markers and/or oil pastels
- Blenders (stumps)
- Paper towels
1.1 greet
1.2 draw
Encourage students to work with one piece of paper for a while. If someone uses the phrase, “free draw”, explain that artists’ choice is something only artists can do, while free-draw is something anyone can do. You want to use the phrase to elevate the students’ expectations of their work.
Everyone should take their time with the work and make a finished piece of art. Limiting the paper can also help kids focus on the work. If someone finishes in super-fast time, ask them what more they can do to the existing paper. Ask again several times – unless they appear overly frustrated; then you can allow them to move on to a new work.
LEARNING TARGETS
Students know how to make art with emotion
M A T E R I A L S
- 11″ x 17″ copy paper
- Oil pastels
- Circle objects for tracing
2.2 draw
Choose 3 warm colors, like red and orange. When the music plays, color dance inside any one circle. Tell students to move slowly inside the circle, like your pastel is dancing to the music. Dancers change how they move often, depending on how the music sounds.
Play upbeat music for the warm colors – for about 2 minutes.
2.3 draw
2.4 teach
2.5 draw
LEARNING TARGETS
Students know how to identify an emphasis
M A T E R I A L S
- Artwork from previous step
- Oil pastels
3.1 draw
Look at your color dancing picture. Where do you think the most important spot is? Can you make it even more important?”
LEARNING TARGETS
Students know how to draw a cartoon
M A T E R I A L S
- 8.5 x 11″ cover stock
- 2B pencil
- White eraser
- Black marker
- PDF of Cartoon Cow (below)
- Cheasels or reference stands
4.1 print
iNFORMATION
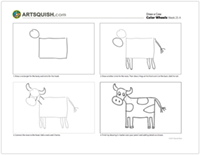
Cartoon Cow
A fun handout that helps kids draw a cartoon cow step-by-step.
Hand out the worksheet and also a sheet of 8.5 x 11 cover stock paper. Explain carefully that they will only be drawing the outlines with no shading. We will paint the colors in later today! Help them draw their cows. Place names on back and set aside.
1 Page – Opens in new window
4.2 draw
Use the 4 pictures on the printout to draw a cow step-by-step. Read each step and allow the students to finish before moving ahead.
Use a pencil and make the cow nice and big on the paper. Finish by drawing over the pencil with a black marker and adding details.
Do not add any shading or color! Students will paint these later.
LEARNING TARGETS
Students know how to paint a color wheel
M A T E R I A L S
- Your Color Wheel PDF printed on Card Stock
- Tempera paints
- Brushes – medium sized
- Water tubs
- Paper towels
- Mixing plates or trays
Brushes should be nylon for springiness and durability. Round brushes are the most versatile.
Paint pigment list:
- Napthol or Pyrrol Red
- Hansa or Light Yellow
- Pthalo Green (blue shade)
- Cyan or Cerulean Blue
- Ultramarine Blue
- Dioxazine Purple
- Magenta
- Burnt Umber
- Raw Sienna
- Titanium White (professional grade only)
5.1 print
Reference
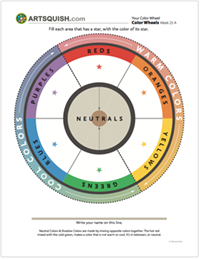
Your Color Wheel
A color wheel with some preprinted areas, and also some areas for kids to fill in.
Everyone gets one. Print these on card stock so it can take tempera paint.
1 Page – Opens in new window
We’ll mix and paint each section together. After each color you can wash out your brush, but always dry it off before painting.”
5.2 paint
5.3 paint
5.4 paint
5.6 paint
STEP 6. Cow Colors
Artists will use their paints to mix a neutral color and paint their cow 15 MinutesLEARNING TARGETS
Students know how to mix neutral colors
M A T E R I A L S
- Cow cartoon drawing on card stock from Step 4
- Tempera paints
- Brushes – medium sized
- Water tubs
- Paper towels
- Mixing plates or trays
6.1 mix
The warm yellow and cool purple cancel each other out. We like bright colors a lot, but sometimes you need a color that is not hot or cold so you can paint a brown cow. Brown paint can come out of a bottle, but you can also make your own, and get a lot more different kinds of browns.”
6.2 paint
6.3 paint
LEARNING TARGETS
Students know how to paint independently
M A T E R I A L S
- Tempera paints
- Brushes – medium sized
- Water tubs
- Paper towels
- Mixing plates or trays
7.1 paint
LEARNING TARGETS
Students know the importance of cleaning up.
M A T E R I A L S
- Paper Towels
- Cleaning wipes
- Sink
- Waste baskets
- Well-lit spot for photos
- Camera or phone-camera
8.1 CLEAN
- Wash hands
- Super-wash brushes if used
- Put art supplies away
- Wipe tables & toss trash
- Remove any smocks (last)
- Check for items on floors and tables
8.2 PHOTO
OBJECTIVES
- Practice and improvement using paints and mixing colors
- Understanding how the color wheel helps us understand colors and paints
- Accomplishment in making an essential art tool; the color wheel
- Fulfillment by having fun & expressing themselves, drawing and painting a cartoon
TROUBLESPOTS
Jumping ahead – Some kids like to prove how smart they are by showing they know before you tell them. This is actually insecurity, not defiance, so try to prevent it from happening before it does with a gentle word to not jump ahead because you already know how amazingly smart and clever everyone is.
ART WORDS
Complimentary colors – When the colors are in the accurate place on the color wheel, you can look across the middle to the other side. The color that is opposite is said to be a complimentary color. When mixed, these 2 complimentary colors make browns and grays, and sometimes even black, if you have acrylic paints.
Designing – When an artist makes a drawing that invents ideas for something new, like a picture or an object, and works to make it look the best it can.
CLASSROOM
PREP
What your room needs
Here are your printable lists and room prep instructions.
Opens in new window
CLASSROOM
MATERIALS
- 11×17” Copy Paper
- 8.5 x 11” Copy paper
- 4B pencils
- Erasers
- Markers
- Oil pastels
- Blender sticks (stumps)
- Clipboards
- Paper towels
- Circle objects for tracing
- Tempera paints
- Brushes – medium size
- Water tubs
- Mixing plates or trays
- Cleaning wipes
- Sink
- Waste baskets
- Camera or camera phone
PREVIEW
Week 26: Artists’ Choice Big Time!
Students will get to choose what to do and what medium they like, but not in a free play time. Instead, artists are gently directed to creating art from still life objects so that there is a limited choice, and they work from observation. Then they’ll have even more choice, but again, using a limited range of photos and ideas. The result is a lot of freedom to express, but not a lot of wasted paper from playing around.
Week 27: The Most Important Spot II
Artists get to use the insight of the Most Important Spot (our phrase for Emphasis) on a landscape painting. First they’ll cut out elements and arrange them for their picture. Then they will trace and transfer the guidelines to the painting. Painting it all in is a lot of fun, and the design was all their own.