
OVERVIEW
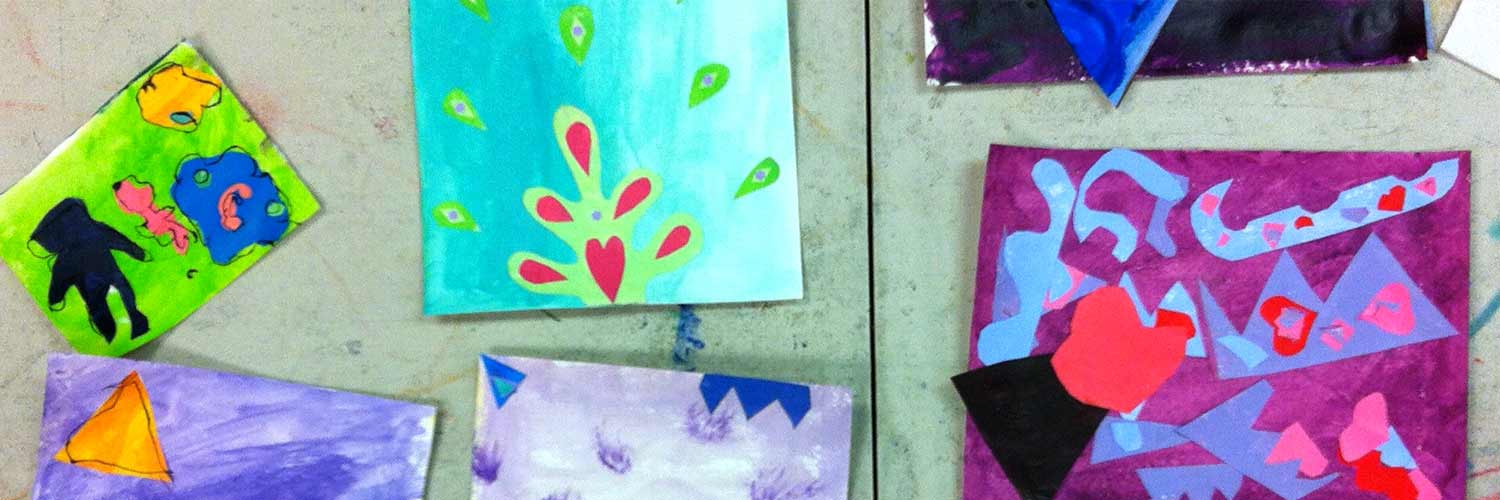
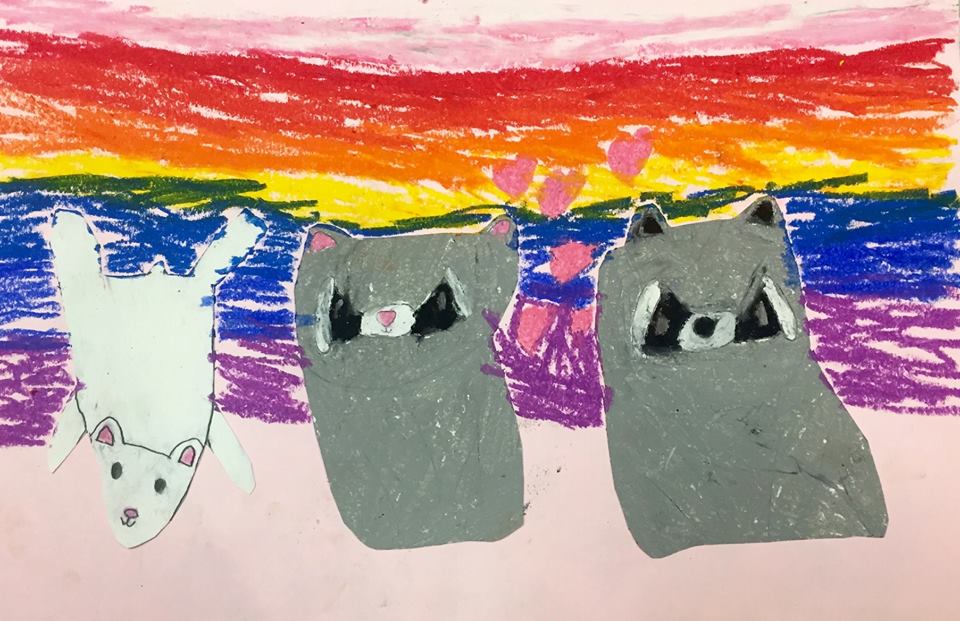
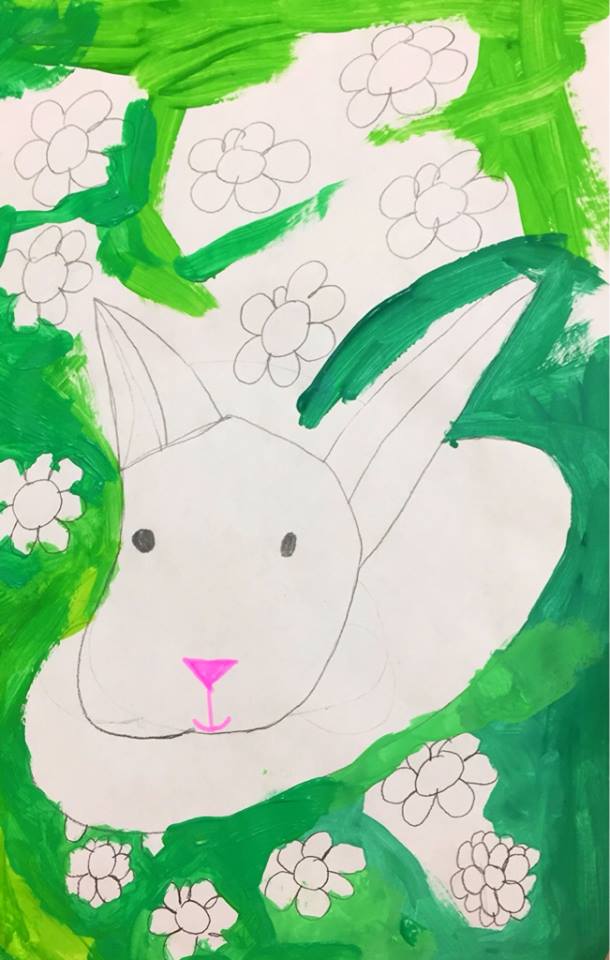
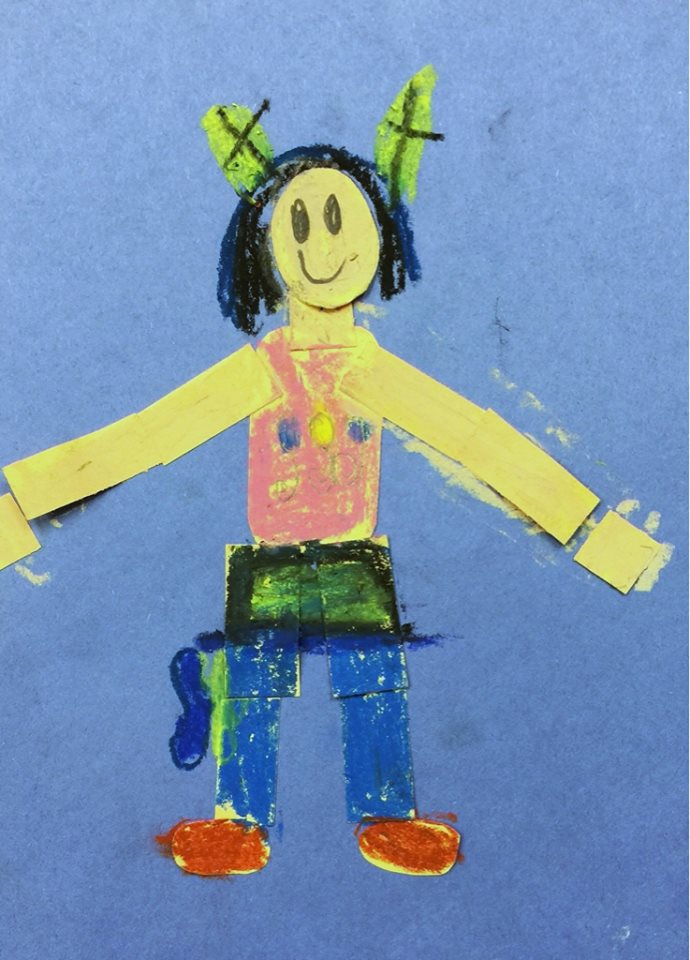
After having total freedom of choice to create a watercolor painting, Students then get to choose even more fun art projects. Stations are set up around the room and young artists have lots of opportunities to create and explore new ideas. There is even a fun and active art game. It’s a very fulfilling day of project fun!– – –
Grades K – 2
Week of March 2 – 6
1 Hour & 30 Minutes
Lesson At A Glance
A brief overview of each step. Buttons jump to each section for detailed information.
5 Min – Color dancing with oil pastels & music
25 Min – Set up stations around classroom
5 Min – Everyone helps
15 Min – drag racing maze game
SCROLL & TEACH
LESSONPLAN
Each section is a different color. Read over once and then you can SCROLL & TEACH using any device you like. It’s designed to work best with your phone.
LEARNING TARGETS

Students learn to express themselves through creating from their imagination.
M A T E R I A L S
- 11″ x 17″ Copy Paper
- 4B pencil
- Eraser
- Markers and/or oil pastels
- Blenders (stumps)
- Paper Towels
1.1 greet
Kneel down so that you are on their level. Bending over emphasizes the differences in your height, while kneeling makes them feel more important.
1.2 create
Ask them to work with one piece of paper for a while. If someone uses the phrase, “free draw”, explain that artists’ choice is something only artists can do, while free-draw is something anyone can do. You want to use the phrase to elevate the students’ expectations of their work.
Everyone should take their time with the work and make a finished piece of art. Limiting the paper can also help kids focus on the work. If someone finishes in super-fast time, ask them what more they can do to the existing paper. Ask again several times – unless they appear overly frustrated; then you can allow them to move on to a new work.
LEARNING TARGETS
Students know how to express themselves through their art.
M A T E R I A L S
- 11″ x 17″ copy paper
- oil pastels
- tablet or computer to play music
2.1 motion
Stop and start the music. Switch from slow flowing music to loud stacatto or rock.
Encourage your class to listen to the music carefully, and draw with the feel of it, or the beat. If the music is fast and upbeat, they can draw quick lines and if the music is soft and relaxing, they can take their time and draw super slowly. Think of the pastel as a dancer or ice skater. What kind of different moves can you make while drawing your picture?
Technique is all about our motions using materials to apply them to other materials.
LEARNING TARGETS
Students know how to express themselves through using watercolor.
M A T E R I A L S
- 11″ x 17″ Copy Paper
- Watercolor Paper
- Paint brushes
- Water container
- Watercolor pan
- Smocks
- Paper towels
3.1 Print
Reference
Artists’ Choice Ideas
Cut images apart and print enough for each student to choose from several.
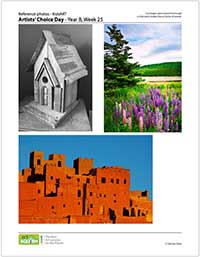
2 Pages – Opens in new window
3.2 paint
They can start by lightly drawing the image on a piece of watercolor paper (no shading!). Students will need to “wake up” their paints by dipping their brush in the clean water and adding it to each paint cake.
Students create paintings of anything they want. Print out the PDF so you have some ideas if they are needed. Always encourage using reference, but today is all about freedom. Anything goes. If you have kids who like to make jokes and play, more than be serious, or who just came in today with a bee in their bonnet, use the teacher talk below to remind them about the boundaries.
LEARNING TARGETS
Students know how to independently create by going around to stations
M A T E R I A L S
- 14″ x 17″ Sketch Paper
- Play Dough
- Sculpting tools
- Chalk
- Construction Paper
- Oil Pastels
- Watercolor
- Straws
- Yarn
- Empy fish tank
- Dry Erase Markers
- Tracing paper
- Desk lamp
- Painter’s tape
- Camera & Printer (optional)
- Plastic toys
4.1 choose
4.2 Sculpt
Sculptures Set up this station with wax paper at each chair, play dough (have the ball out on the wax paper ready to go), any sculpting tools or play dough tools, and any simple step-by-step drawings. Students may enjoy just manipulating the clay however they want but having a step-by-step handout can be useful for children who want a little direction. Keep it simple with just a few steps (clay elephant, cat, etc).
4.3 draw
Chalk can be something students enjoy using since it isn’t used all the time. Set up a chalk board with a wet cloth near by so the board can be cleaned before moving onto the next step.
4.4 paste
This is a great way to use up scrap paper you may have. Put a box of scrap paper in the center of this station and also a pile of full colored construction paper. Each seat will need scissors and glue. Students can make a collage of anything they like.
You can also add some photos from catalogs and magazines. Just check them for appropriateness.
4.5 paint
Keep a station of watercolors out with smaller pieces of watercolor paper. Have an apron or large shirt draped on the chair so students will remember to put it on when they are ready to paint.
4.6 color
You will need regular copy paper, oil pastels, and texture plates. Students place their paper on top of the different textures and rub the side of an oil pastel over it (back and forth). They can test out all the textures and just a few. If there is a texture they like, artists can rub the texture and finish drawing the picture with oil pastels.
You can get plastic textures at parent teacher stores or find some objects that will work such as these:
Leaves. Coins. Baskets. Seeds glued to cardboard. Wood. Brick. Tile samples. Trivets. You can also make texture boards by “drawing” lines with glue in different patterns on pieces of cardboard. Chipboard from the backs of pads works very well. They will have to dry overnight.
4.7 make
All you need is straws, yarn, and scissors. Get a pack of colorful straws. Cut the straws into 1″ pieces. Tie a large knot at the end of piece of string. Students can then create a necklace, bracelet, garland, etc. by stringing the straw pieces onto the yarn. This is a great station to put a child who may be a little hyper and needs to sit and get some energy out.
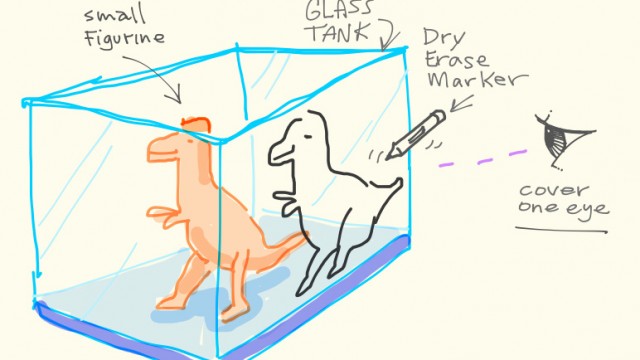
4.8 3D-Trace
This station uses an empty fish tank, which can be purchased pretty cheaply at yard sales and thrift stores. Students use one eye to trace an object that sits inside the tank, drawing on the side of the tank with a dry-erase marker.
Place 1 or 2 small and simple-shaped figurines or toys in the fish tank, so that there is a good view from each of the 4 sides. (We use animals and dinosaur toys). Have artists hold a hand over one eye as they draw – or you can get some eye patches, which make it fun and easy. Take a moment to explain to everyone how it works.
- Use one eye to view the toy, keeping your hand or a patch over the other eye.
- Trace around the edges of the toy with your dry erase marker. Then add a few details by tracing the mouth or eyes and other parts.
- Keep your head perfectly still while you draw. If you move your head, you won’t be able to trace.
After a drawing is made, there are two ways to preserve it:
1) One way is to have a small bare-bulb lamp and place into the tank. This will turn it into a light box. Then tape copy paper over the marker drawings, and let the kids trace it a second time with a regular marker. (You may have to hold the tank steady while they draw). It’s also a great idea to set a board or large book over the tank top and set the same figures up there for visual reference.
2) The other way to preserve the drawings is to place paper behind them and take a picture of the drawing right on the glass. Then send the pictures to the parents’ emails or print them out.
LEARNING TARGETS
Students know the importance of cleaning up.
M A T E R I A L S
- Paper Towels
- Cleaning wipes
- Sink
- Waste baskets
- Well-lit spot for photos
- Camera or phone-camera
5.1 CLEAN
- Wash hands
- Super-wash brushes if used
- Put art supplies away
- Wipe tables & toss trash
- Remove any smocks (last)
- Check for items on floors and tables
5.2 PHOTO
LEARNING TARGETS
Students know how to work with others while playing a fun game.
M A T E R I A L S
- Butcher Paper
- Painter’s or masking tape
- Markers OR
- Oil Pastels
6.1 play
This can be done during the stations if you have enough room, since it involves some watching and waiting on your turn. Then the stations will have 40 minutes and fill the rest of the time.
Set up a table with a long sheet of butcher paper taped around the edges so it won’t slide around. Then have everyone gather while you draw a maze race track.
Let students take turns using oil pastels or markers to go from start to finish. You can use a timer and let them compete against their first time when they go the second time.
RULES:
- Tell them not to let their line stop at all – drag the pen all the way for one long line.
- Don’t touch any drawn obstacles or edges!
- You can add a second for every touch, and every line break.
You can decide if you want to give prizes for the most improvement from first run to second run.
OBJECTIVES
- Practice and improvement using watercolors
- Understanding that art is about fun and making your own decisions
- Accomplishment in creating several finished works
- Fulfillment by choosing what to make today!
TROUBLESPOTS
Your own ideas – Even experienced art teachers will often say, “not that way!” but we’ve actually learned new techniques from kids who do things in unexpected ways..
Sharing space and materials – You know this part. Freedom of choice doesn’t mean freedom to be selfish or to get your own way.
ART WORDS
“Waking up Paint” – Setting a bit of water on your watercolor cakes, about 4 or 5 minutes before you are using them, will help them get soft. This makes it easier to mix and to create stronger colors.
Color Dancing – Letting your pastel or marker act like an ice skater or dancer, slowly moving around in different “steps” or techniques. This reinforces the idea that technique involves controlled movement.
Watercolor paper – A special paper with a special coating that allows watercolor to work on it.
CLASSROOM
PREP
Plan for the large table race in STEP 6 with butcher paper, tape, and pastels or markers.
Print all of your PDFs from the lesson plan and cut any references apart as needed.
What your room needs
Here are your printable lists and room prep instructions.
Opens in new window
CLASSROOM
MATERIALS
- 11×17” Copy Paper
- 8.5 x 11” Copy paper
- 4B pencils
- Erasers
- Markers
- Oil pastels
- Blender sticks (stumps)
- Clipboards
- Paper towels
- Watercolor paper
- Paint brushes
- Water container
- Watercolor pan
- Play dough
- Sculpting tools
- Chalk
- Construction Paper
- Straws
- Yarn
- Empty fish tank
- Dry Erase Markers
- Tracing Paper
- Desk Lamp
- Painter’s Tape
- Plastic toys
PREVIEW
Week 26: Freaky Flowers
In this lesson we’ll do several things backwards! Students begin by making their paper gray with charcoal, and then “drawing” light lines using a kneaded eraser. After a fun table-poster, they will draw flowers in pencil, and then use oil pastels – to do the background and leave the flowers white. Finally they’ll finish in the flowers too.
Week 27: Spring Break