
OVERVIEW
Students will have tons of fun creating a full-body selfie in markers. Then they learn all about the skeleton and body proportions, with an interactive art project using oil pastels, markers, cut paper and interchangeable parts that reveal the bones in the body– – –
Grades K – 2
Week of March 23 – 27
1 Hour & 30 Minutes
Lesson At A Glance
A brief overview of each step. Buttons jump to each section for detailed information.
15 Min – Provide Body Printouts
10 Min – Create base of interactive art & add bones
15 Min – Make second person, this time with patterns.
8 Min – Staple paper to make pocket & place people
10 Min – Add backgrounds & Finish
2 Min – Everyone Helps
SCROLL & TEACH
LESSONPLAN
Each section is a different color. Read over once and then you can SCROLL & TEACH using any device you like. It’s designed to work best with your phone.
LEARNING TARGETS

Students know how to create from their imagination
M A T E R I A L S
- 11″ x 17″ Sketch Paper
- 4B Pencil
- White Eraser
- Markers
- Oil Pastels
- Light for portraits
- Digital Camera (phone)
- Reflective surface
1.1 greet
Kneel down so that you are on their level. Bending over emphasizes the differences in your height, while kneeling makes them feel more important.
1.2 draw
Ask them to work with one piece of paper for a while. If someone uses the phrase, “free draw”, explain that artists’ choice is something only artists can do, while free-draw is something anyone can do. You want to use the phrase to elevate the students’ expectations of their work.
Everyone should take their time with the work and make a finished piece of art. Limiting the paper can also help kids focus on the work. If someone finishes in super-fast time, ask them what more they can do to the existing paper. Ask again several times – unless they appear overly frustrated; then you can allow them to move on to a new work.
1.3 photo
Set up the photo shoot so that there is good light, mostly from one side of the face.
LEARNING TARGETS
Students know how to draw a self portrait
M A T E R I A L S
- 11″ x 17″ Sketch Paper
- Markers
- Kids’ Scissors
- Body Outline printout
2.1 Print
Worksheet
Body Outline
Print these on CARD stock, and print TWO for each student. You’ll only use one for this step.
Save the other prints for the expressive version in STEP 5

1 Page – Opens in new window
2.2 create
Everyone should ignore the tab right now. It’s for you (teacher or helper) to glue to the backs of each shape after students have cut them out.
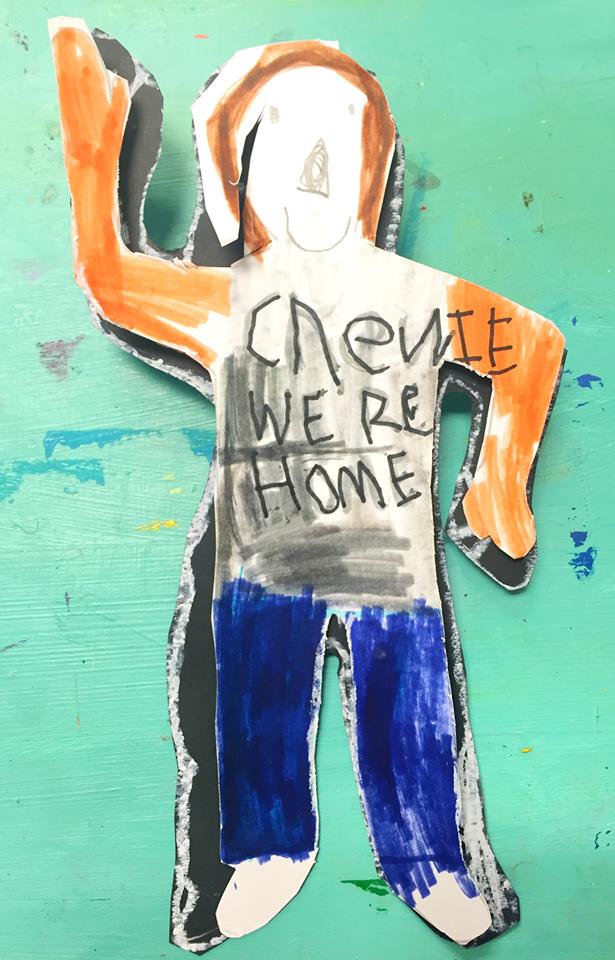
Explain that this isn’t just just any body. “It’s going to be you!”
Let the kids use markers to color in and add all the details they can. Encourage them to cover the entire body outline with the clothes they are wearing today, and to fill in hair, hands and face as best they can. Add hair outside of the line if you want to.
2.3 CUT
Review how to cut with scissors if needed and show or remind your students. Provide safety scissors and let them cut out the shapes of the bodies.
Have everyone write their name on the back in pencil and set aside for using later in Step 4.
Also have students cut out the tab, but don’t let them do anything to it or fold it. You can collect the tabs since you’ll be gluing them today with hot glue (no student involvement in the hot-glue process today).
Tap the 4 arrows icon to enlarge the video to full screen.
LEARNING TARGETS
Students know how to follow instructions and listen to directions
M A T E R I A L S
- 8.5″ x 11″ copy paper
- ipad or tv to view slideshow
You need to have the tabs in the same spot so everything lines up together – using the template is important for this, and also for cutting the tab slot. Line up the template on the back side of the cutout so the body shapes match, and then trace the tab shape.
See Instructions and the PDF template in STEP 5.
3.1 explain
You can gather at the front of class to discuss and show pictures if you like. It’s fun to move chairs or sit on the floor together, and it’s also good for kids to move around.
Present the slideshow and read the captions. You’ll talk about bones and how they hold you up and help you move. The bones are what make the body have their unique shape.

Bones are inside all bodies, and their shapes are a big reason we look the way we do.

The entire skeleton of bones can move into many positions.

We can only bend where bones are connected, called joints. The knee is a joint. Above the knee is straight and below the knee is straight, because the bones don’t bend.

If an artist wants to know how to draw a human figure, it is important to understand the basic structure of the bones and skeleton.

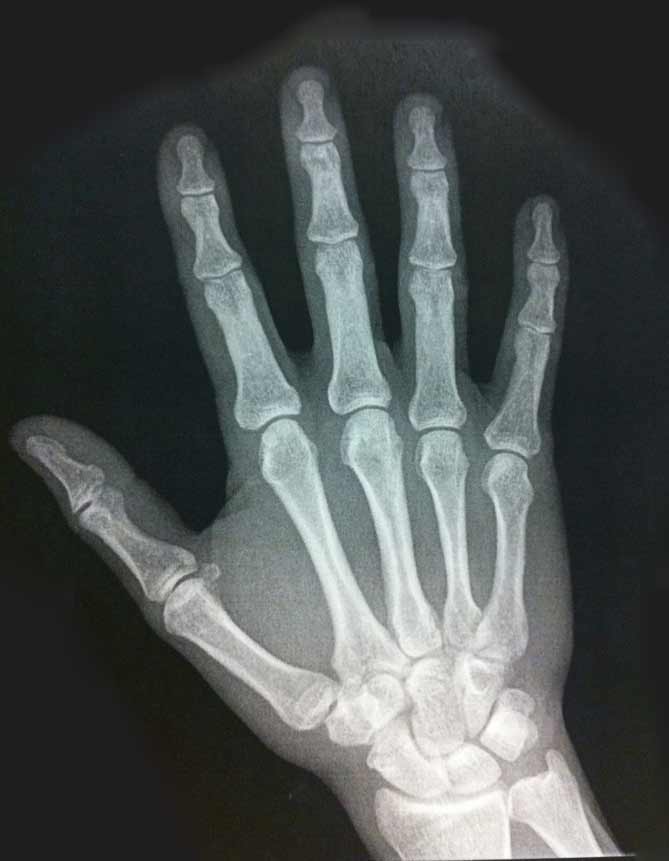
Here is an X-ray of of the bones inside a hand.

And here is a photo of the same hand, on top of the bones. We made the hand photo a little bit see through so you can see how they fit inside.
LEARNING TARGETS
Students know how to understand bones and anatomy.
M A T E R I A L S
- Hot glue Gun (teachers only)
- Bones Reference PDF
- Cutout Selfie body shapes from STEP 2
- Black card-stock paper (construction paper will work too, but doesn’t last very long)
- 2 Oil Pastels – One color and white
4.1 print
reference
Skeleton
A picture of the bones inside a body shape that is the same size and position as the students’ work.

1 Page – Opens in new window
4.2 create
Supplies
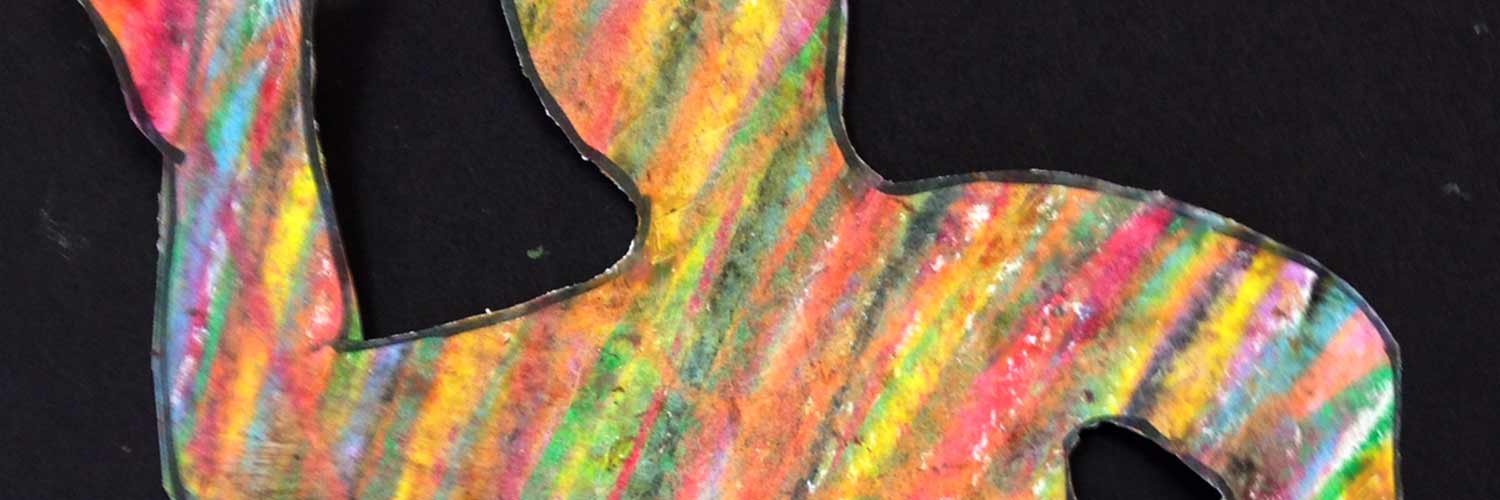
Provide everyone a sheet of heavy black paper, and let students get two oil pastels: one colored, and the white pastel for the bones. They can choose any color they like for the outline of the body.
Have students place their body cutouts on the black paper and trace its outline with a colored pastel.
Take away the body cutout, and set it aside again for later.
Then hand out the bones reference sheet. Let kids use white oil pastels to draw their own bones. This is great for learning proportions and anatomy, but the main thing is to have fun. They will learn by doing!
STEP 5. Expressive People
Students will create a second body using expressive paterns and colors. 15 MinutesLEARNING TARGETS
Students know how to be expressive with their mark making.
M A T E R I A L S
- Hot glue Gun (teachers only)
- Extra Blank Body shape PDFs that you saved from STEP 2
- TEACHER version body template PDF (below)
- Black construction paper
- Oil pastels
5.1 print
template
Teacher’s Version of the Body Shape
Print one of these on CARD STOCK and cut both the body shape, and the the Tab-shaped hole.

1 Page – Opens in new window
5.2 Provide
Make sure they get another blank body shape, just like the first one, (NOT THE TEACHER VERSION above).
5.3 color
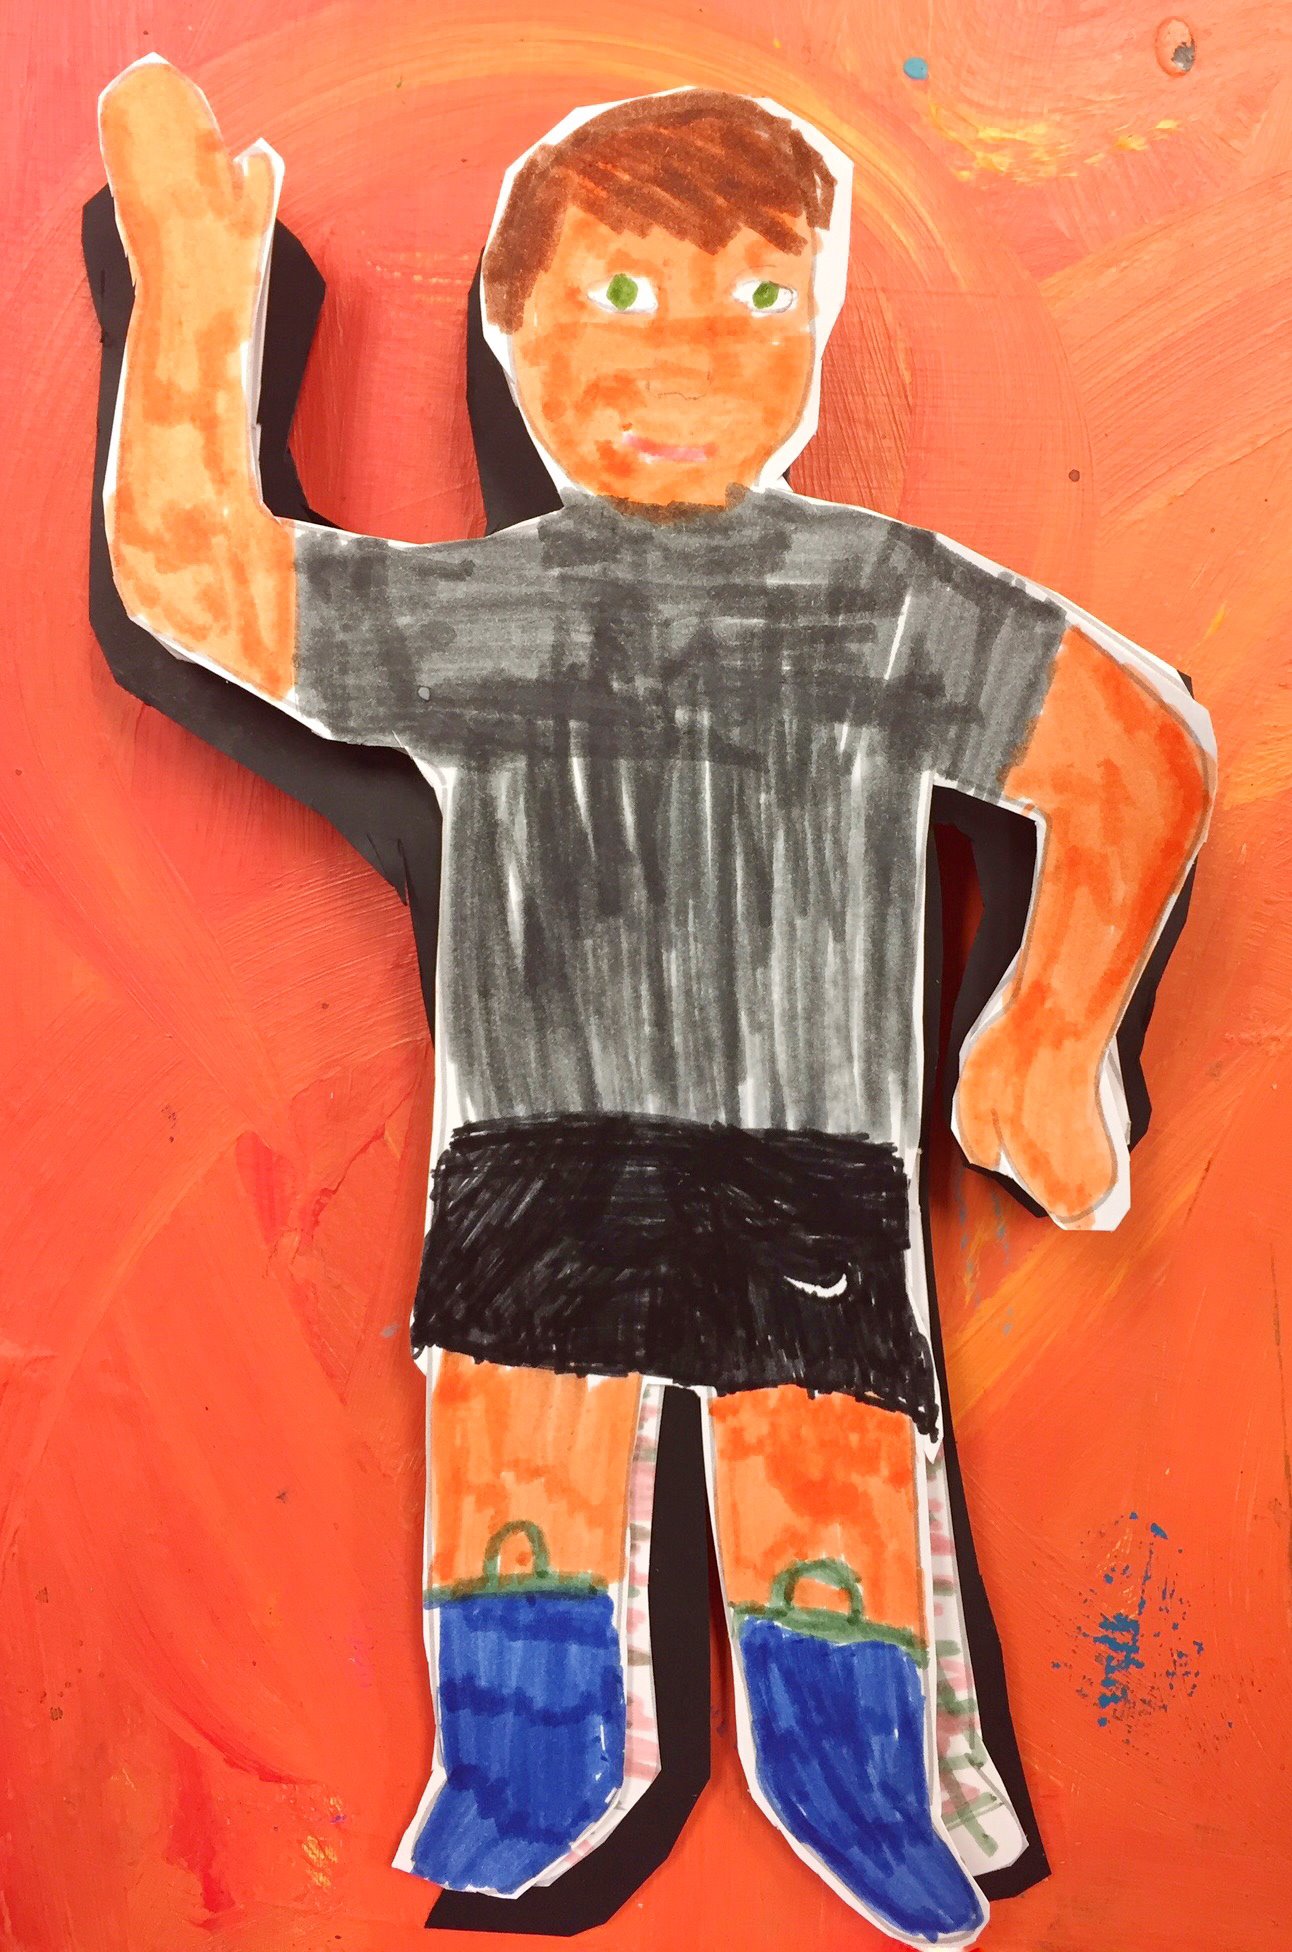
Be sure to encourage creativity and wild ideas!
The expressive people can be done in any way a student likes. Patterns like polka dots, scribbles and textures, another person, a bunch of butterflies… anything goes.
When students are finished, they can cut this one out too. Make sure they put their names on the back again.
5.4 Prep
As students work, begin attaching the tabs to the backs of their selfie body cutout. Then also do the tabs on the expressive cutouts as they finish them (make the outline using the template, and then glue the tab). Continue attaching tabs in next steps until everyone’s set of work is finished.
- Place your teacher template (body outline with a circle cut out in the middle), on the back of the body cutout and line up the body shapes so they match. Trace the tab shape onto the back of the student cutout
- Using the hot glue gun, place 4-6 small dabs of glue onto the dots on the circle tab. You can also draw a line of glue to connect the dots horizontally.
- Press the tab to glue in place on the back of each cutout, using the traced guide line you made with the template. You want the top of the tab glued to the back, but the round part should be free and bent just slightly out a bit.
- Use the template again on the black base with the bones. Line the template up with the outline they traced, and make a slice across the body at the dashed line printed on the tabs (use a new blade/box cutter or sharp craft knife). Place the black paper on cardboard to protect your table, and use your knife to make the slot. It should be a little wider than the tab so it’s easy to fit.
- Test your work by sliding the round tab into the slot to make the cutout slip into place and cover the bones & body outline!
Show your students how the tab and slot work together to make your selfie and expressive body cover up the bones. Explain that this is an interactive artwork.

Make your teacher template with the tab cutout of the center.

Then draw the tab shape on the backs of all the student people, by aligning the people and template outlines.

Hot glue

Place the tab with the bottom slightly folded out like this.

The template has line to show where to cut a horizontal line on the BLACK skeleton drawing. Line up the template with kids’ outline. (note that there would be rib bone drawings showing through the hole here.)

This shows the tab coming through the slot you made on the background. We CUT OUT the bones outline so you could see how the people will line up with the bones, covering them up.
LEARNING TARGETS
Students know how to listen to instructions to construct a folder
M A T E R I A L S
- Colored 8.5″ x 11″ paper
- Staples and stapler
6.1 build
Staple a piece of colored paper to the back of the black bones base to make an envelope pocket to keep the cutout people in. Leave the top un-stapled so it’s open, like a pocket. Place one cutout person in the pocket and the other one in the slot so it covers the bones. You can have several colors of papers available in the “paper store” so kids can choose something they like for their pocket.
LEARNING TARGETS
Students know how to complete a project they started
M A T E R I A L S
- Oil Pastels
7.1 Finish
Keep working and let early finishers add anything they want to their backgrounds (only add outside of the body outline) on the base and even on the back pocket.
LEARNING TARGETS
Students know the importance of cleaning up.
M A T E R I A L S
- Paper Towels
- Cleaning wipes
- Sink
- Waste baskets
- Well-lit spot for photos
- Camera or phone-camera
8.1 CLEAN
- Wash hands
- Super-wash brushes if used
- Put art supplies away
- Wipe tables & toss trash
- Remove any smocks (last)
- Check for items on floors and tables
8.2 PHOTO
OBJECTIVES
- Practice and improvement using pastels, scissors, and visualization
- Understanding the proportions of the body
- Accomplishment in making a very cool interactive project
- Fulfillment by making a self portrait and expressive designs
TROUBLESPOTS
Intricate details – Try to keep the self portrait marker drawings contained inside the outline, with the exception of adding hair if needed (especially for girls). Other things like hair bows or things they want to add in their hands (swords, for instance), should not be allowed because they cannot be cut very well, and will not hold up to the wear and tear of the 3D cutouts.
Lack of clothing – In these drawings it is possible, but not likely, to have a student want to draw the body without some of their clothes. This may be innocent or a deeper emotional issue, but either way, you can prevent this by emphasizing the clothes. For instance, you can talk about drawing the shirts they have on today, or they can make up a pattern for a shirt they would like to design and see in stores.
Cutting – Make sure you watch the video DEMO for how to cut easier shapes, so you can train your students.
ART WORDS
Proportion – This is how one part is either smaller or larger than another part of the same thing. Proportion is about exactly how MUCH different two parts always are. One example is that your legs are always going to be long enough to cross in front of you so you can sit cross-legged. If you had longer legs in proportion to the rest of you, they wouldn’t fit in front of you! Sometimes cartoons have exaggerated features, like a really large head, or large eyes. That means it is not in proportion realistically. Today we are using realistic proportions.
Interactive artwork – Sometimes art can be something that the person looking at it can change. This is called interactive artwork. You’re going to make some interactive work today.
CLASSROOM
PREP
Print all of your other PDFs from the lesson plan and make sure you get the body shape print from STEP 2 printed on CARD stock, and make two of them for each student.
What your room needs
Here are your printable lists and room prep instructions.
Opens in new window
CLASSROOM
MATERIALS
- 11×17” Copy Paper
- 4B Pencil
- White Eraser
- Markers
- Oil Pastels
- Light for portraits
- Digital Camera
- Reflective Surface
- Markers
- Kids’ Scissors
- Body Outline printout
- iPad or TV to view slideshow
- Hot glue gun (teachers only)
- Bones Reference PDF
- Black card-stock paper
- Colored 8.5” x 11” paper
- Staples and stapler
- Paper towels
- Cleaning wipes
- Sink
- Waste baskets
PREVIEW
Week 30: Self Portrait Collage
Students will use magazines and catalogs, as well as their own picture, to make a cut and paste collage. They will use lots of smaller pictures to create a new picture of themselves in a fun place they’d like to go.
Week 31: Stacked Up Art
Students will make an art sculpture by cutting and pasting to create a 3D stack of shapes and color. They’ll be using paper they’ve colored and drawing on themselves. They’ll also have time for a fun artist game today.