
OVERVIEW
Students are introduced to the classroom, as well as basic drawing tools. They’ll learn about using a reference source by pretending to be a famous artist like Vincent Van Gogh. Several drawings will be created in pencil and oil pastels.Grades 1 – 2
Week of August 18 – 22
1 Hour & 30 Minutes
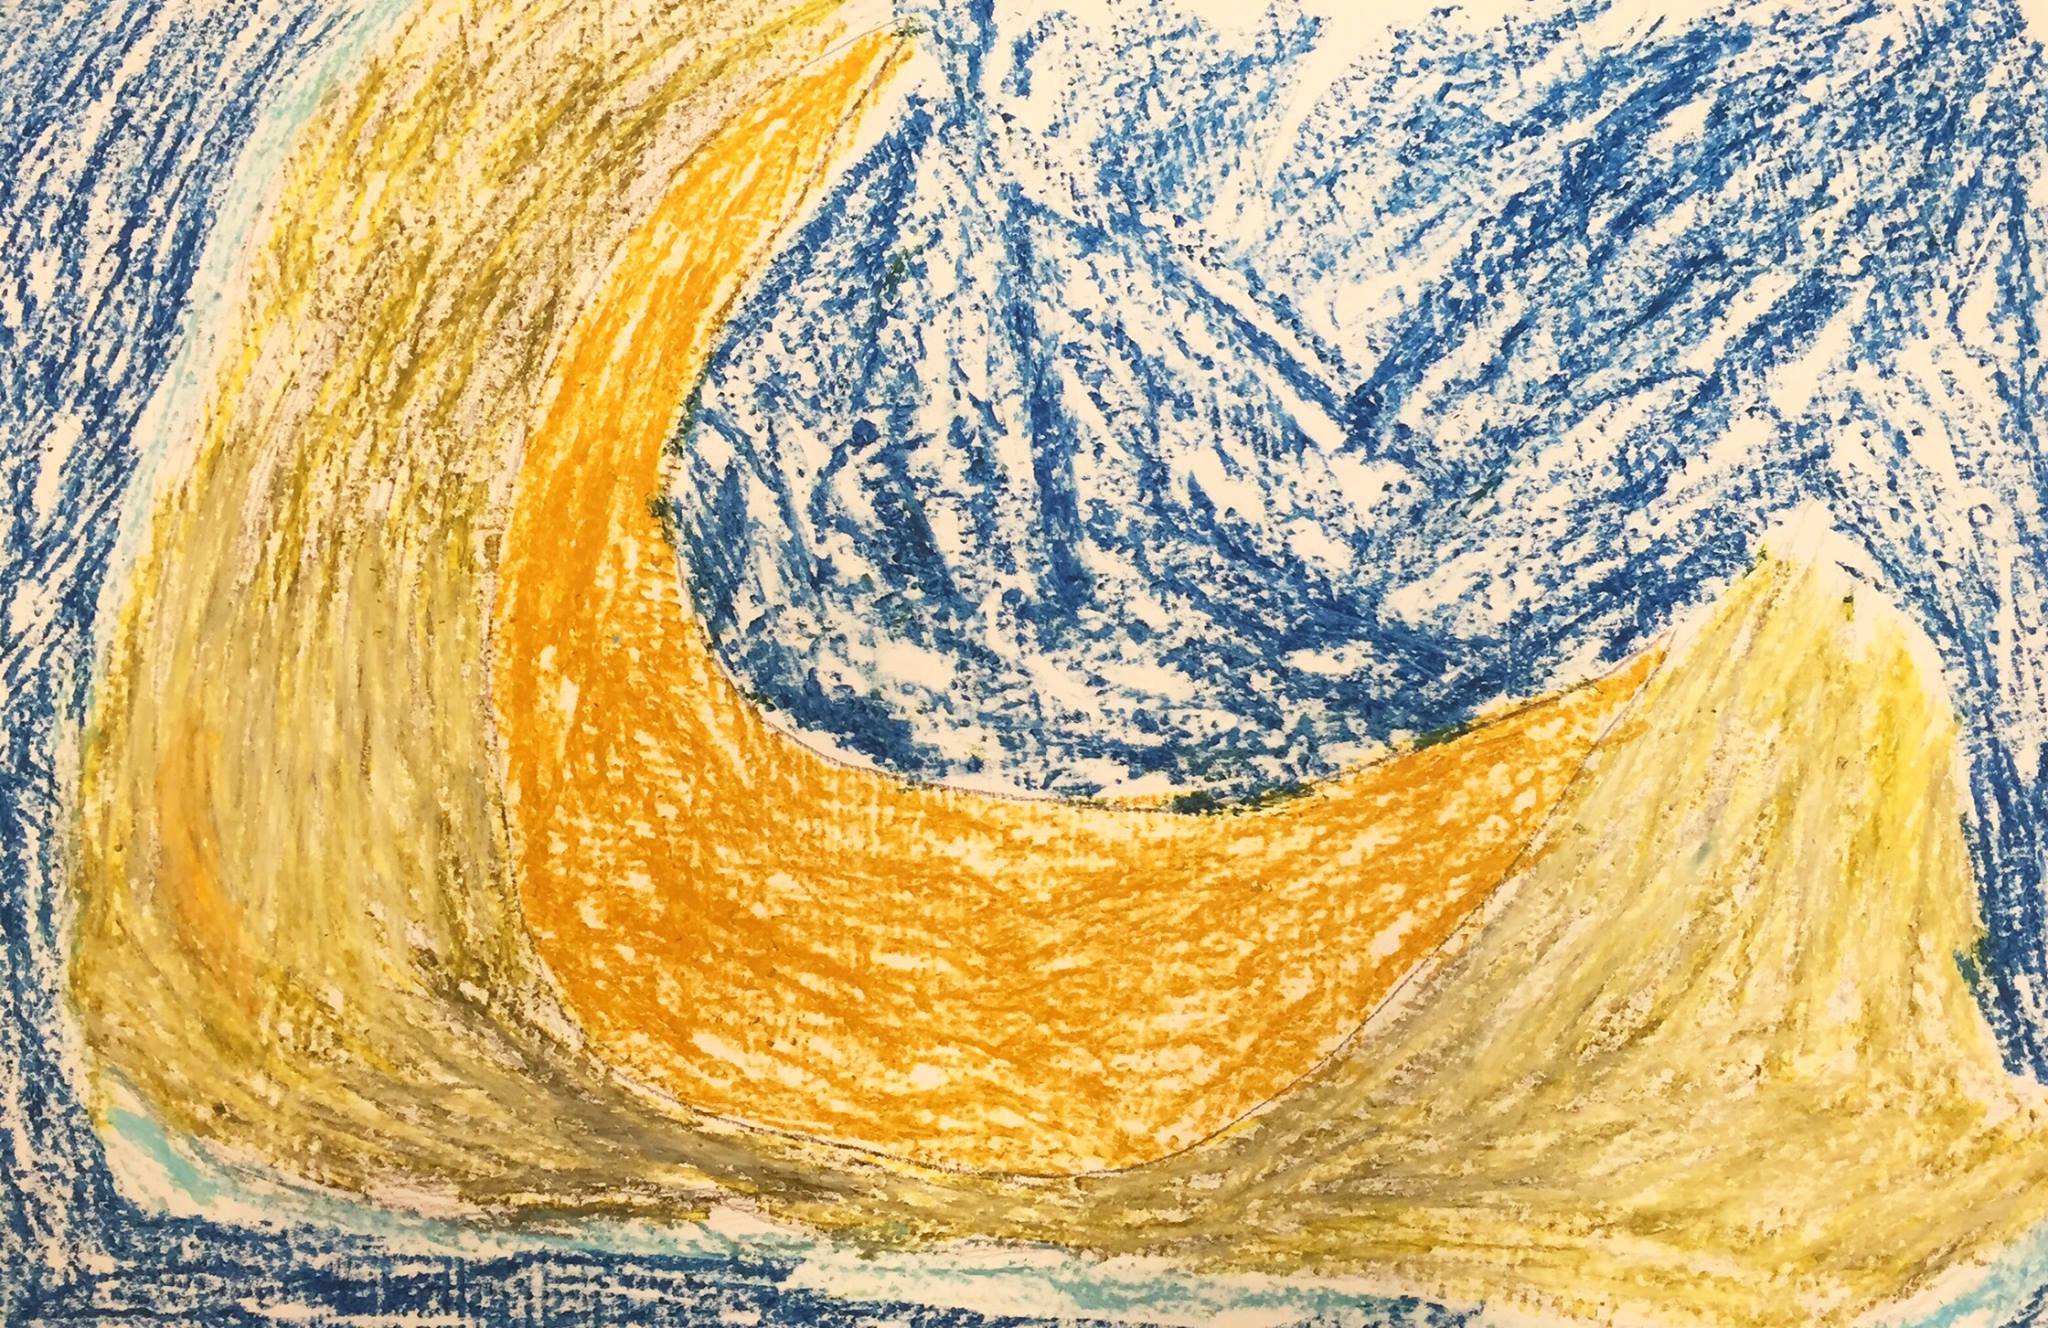
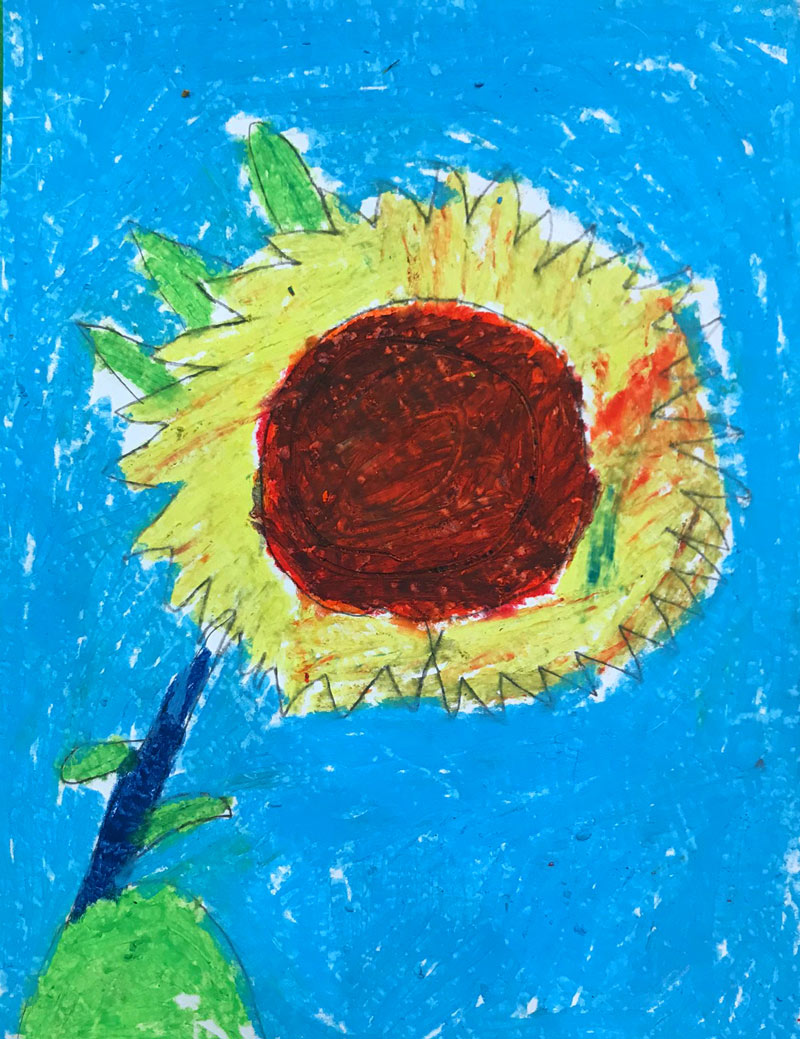
Student Work
SCROLL & TEACH LESSON PLAN
Don’t worry about planning anything. Just spend a few minutes reading the lesson plan and printing out your PDFs. Then check out the READY, SET, GO! section. You can print a prep-page, which includes checklists and an “at a glance” outline of the lesson so you can stay on track when you’re teaching. Set out the materials from the list on your prep page and you’re ready.
That’s all you need to know. Use your smartphone to Scroll & Teach!
Lesson At A Glance
A brief overview of each step. Buttons jump to each section for detailed information.
10 Min – Story about Van Gogh
15 Min – Draw objects around room
20 Min – Choose reference for oil pastel
20 Min – Draw from photo reference
5 Min – Clean Up
LESSONPLAN
Each section is a different color. Read over once and then you can SCROLL & TEACH using any device you like.
LEARNING TARGETS

Students express themselves through creating from their imagination.
M A T E R I A L S
- 11″ x 17″ Copy Paper
- 4B pencil
- Eraser
- Markers and/or oil pastels
- Blenders (stumps) or paper towels
- Paper Towels
1.1 GREET
Kneel down so that you are on their level. Bending over emphasizes the differences in your height, while kneeling makes them feel more important. Have tape and marker ready so you can stick some tape on the table by each student and write their name on it as they sit down.
1.2 CHOICE
Everyone should take their time with the work and make a finished piece of art. Limiting the paper can also help kids focus on the work. If someone finishes in super-fast time, ask them what more they can do to the existing paper. Ask again several times – unless they appear overly frustrated; then you can allow them to move on to a new work.
LEARNING TARGETS
Students know who Vincent Van Gogh is.
M A T E R I A L S
- Van Gogh references
2.1 LEARN
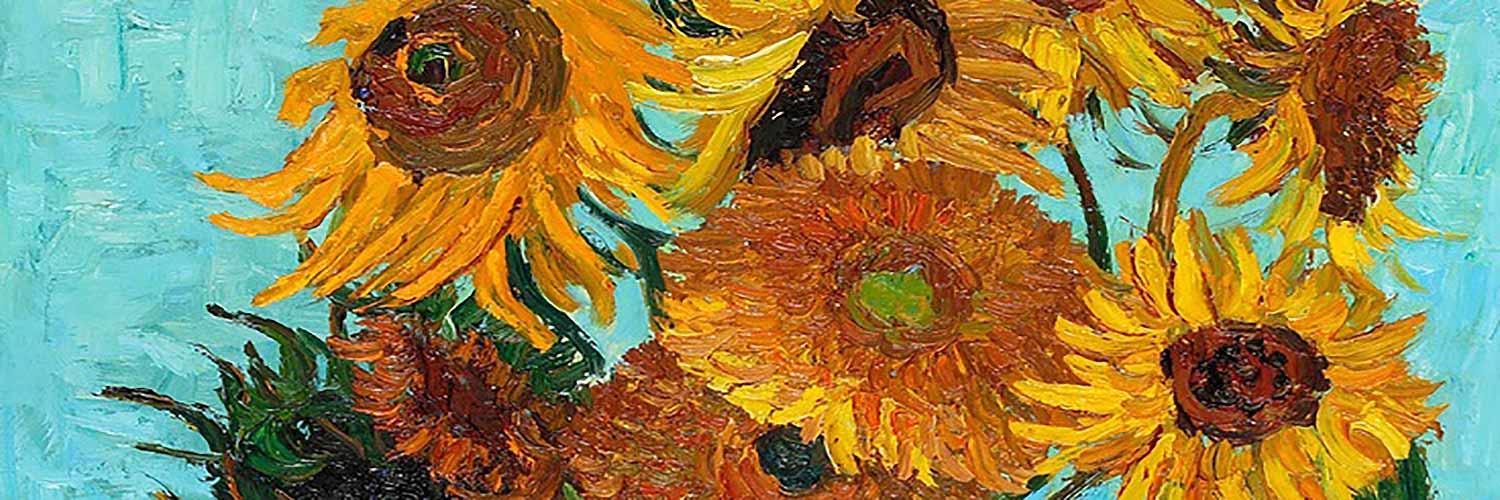
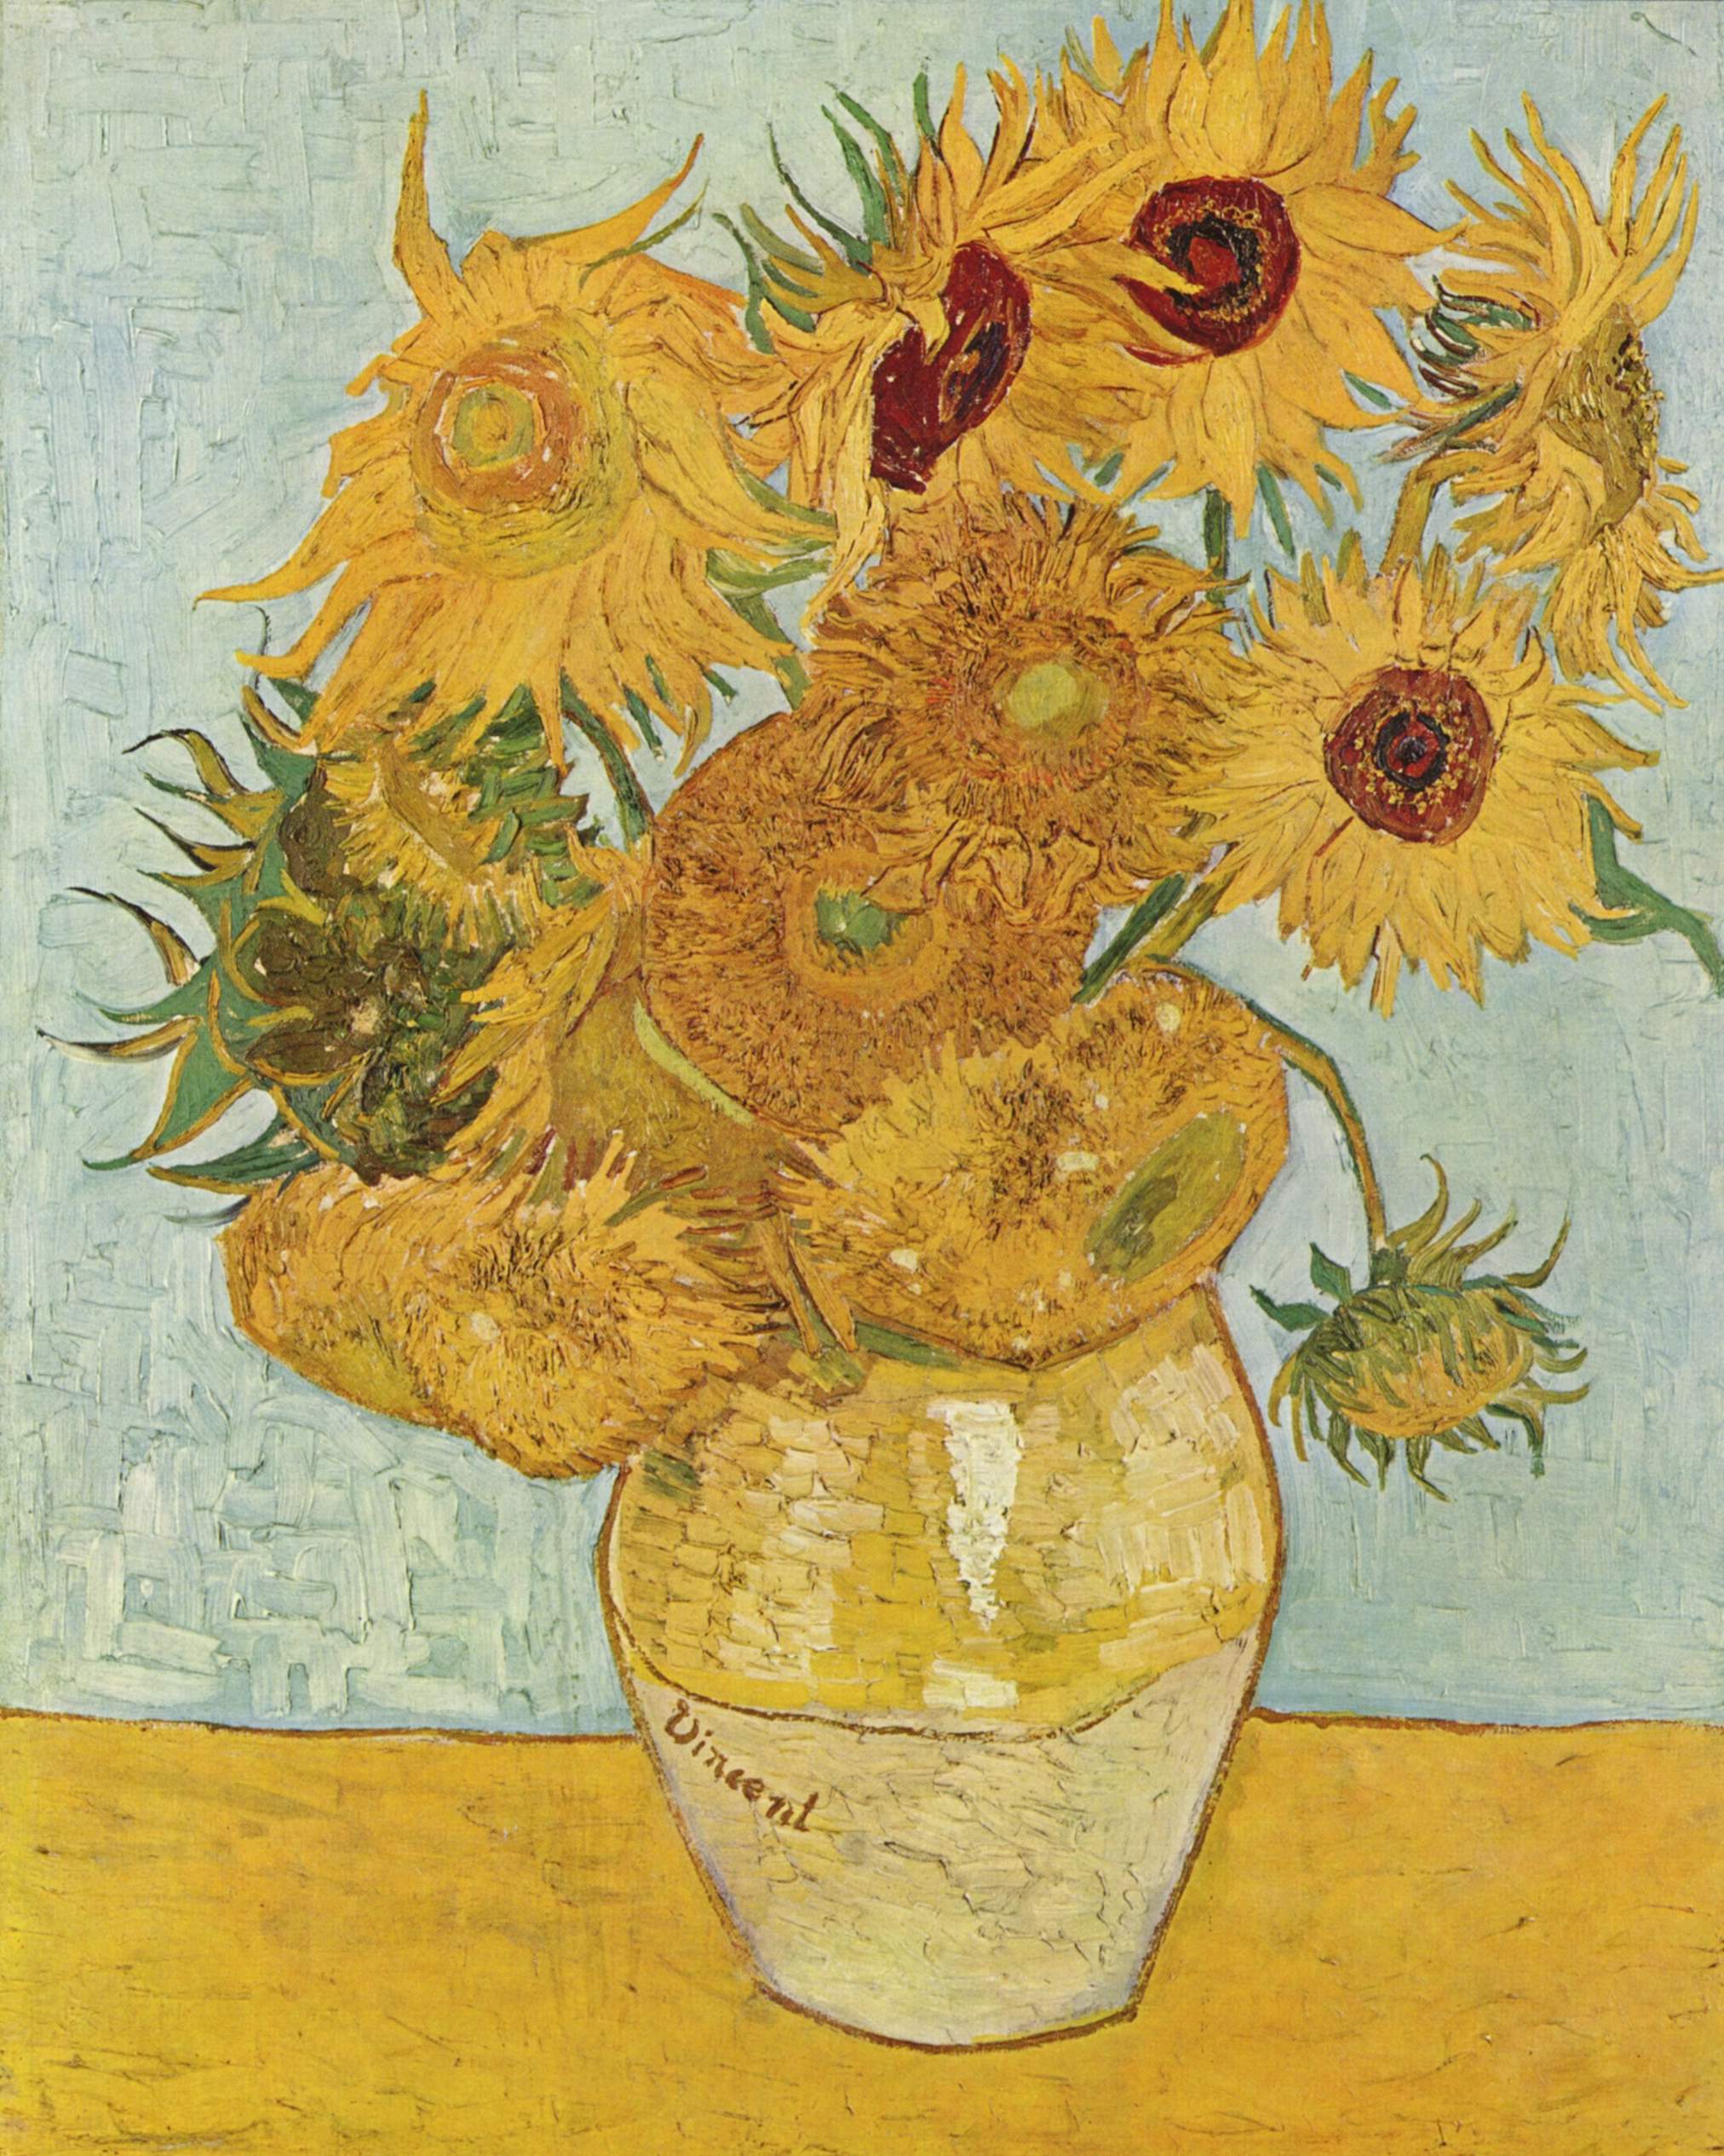
Vincent Van Gogh Paintings (tap any image to open viewer, and open or print the captions pdf to read what to say while showing each image)
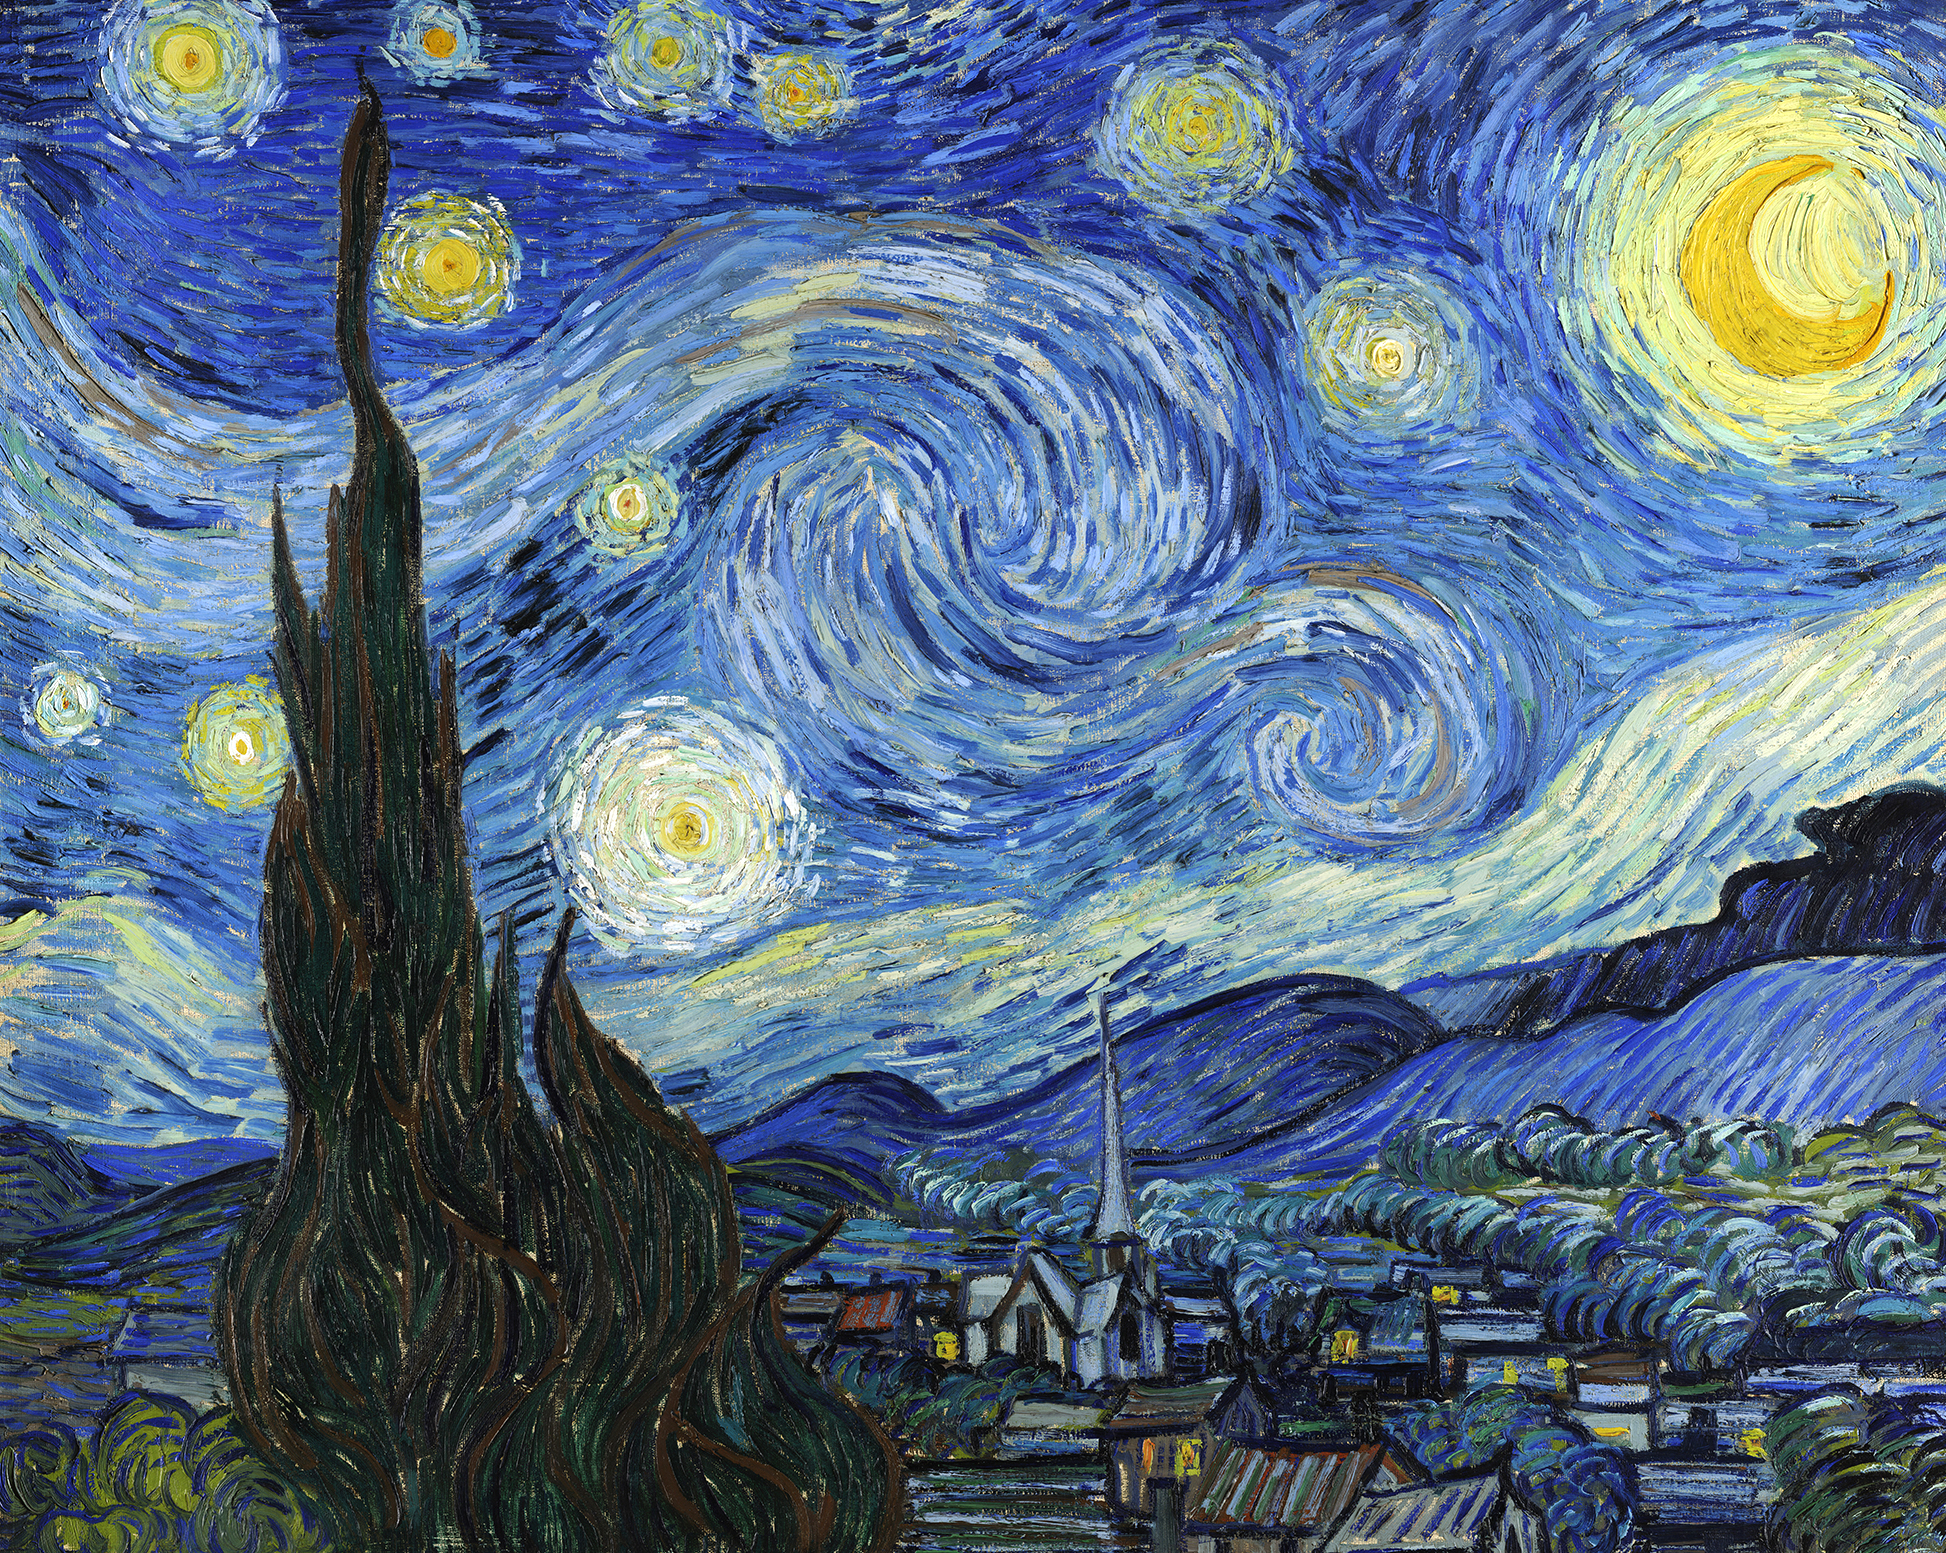
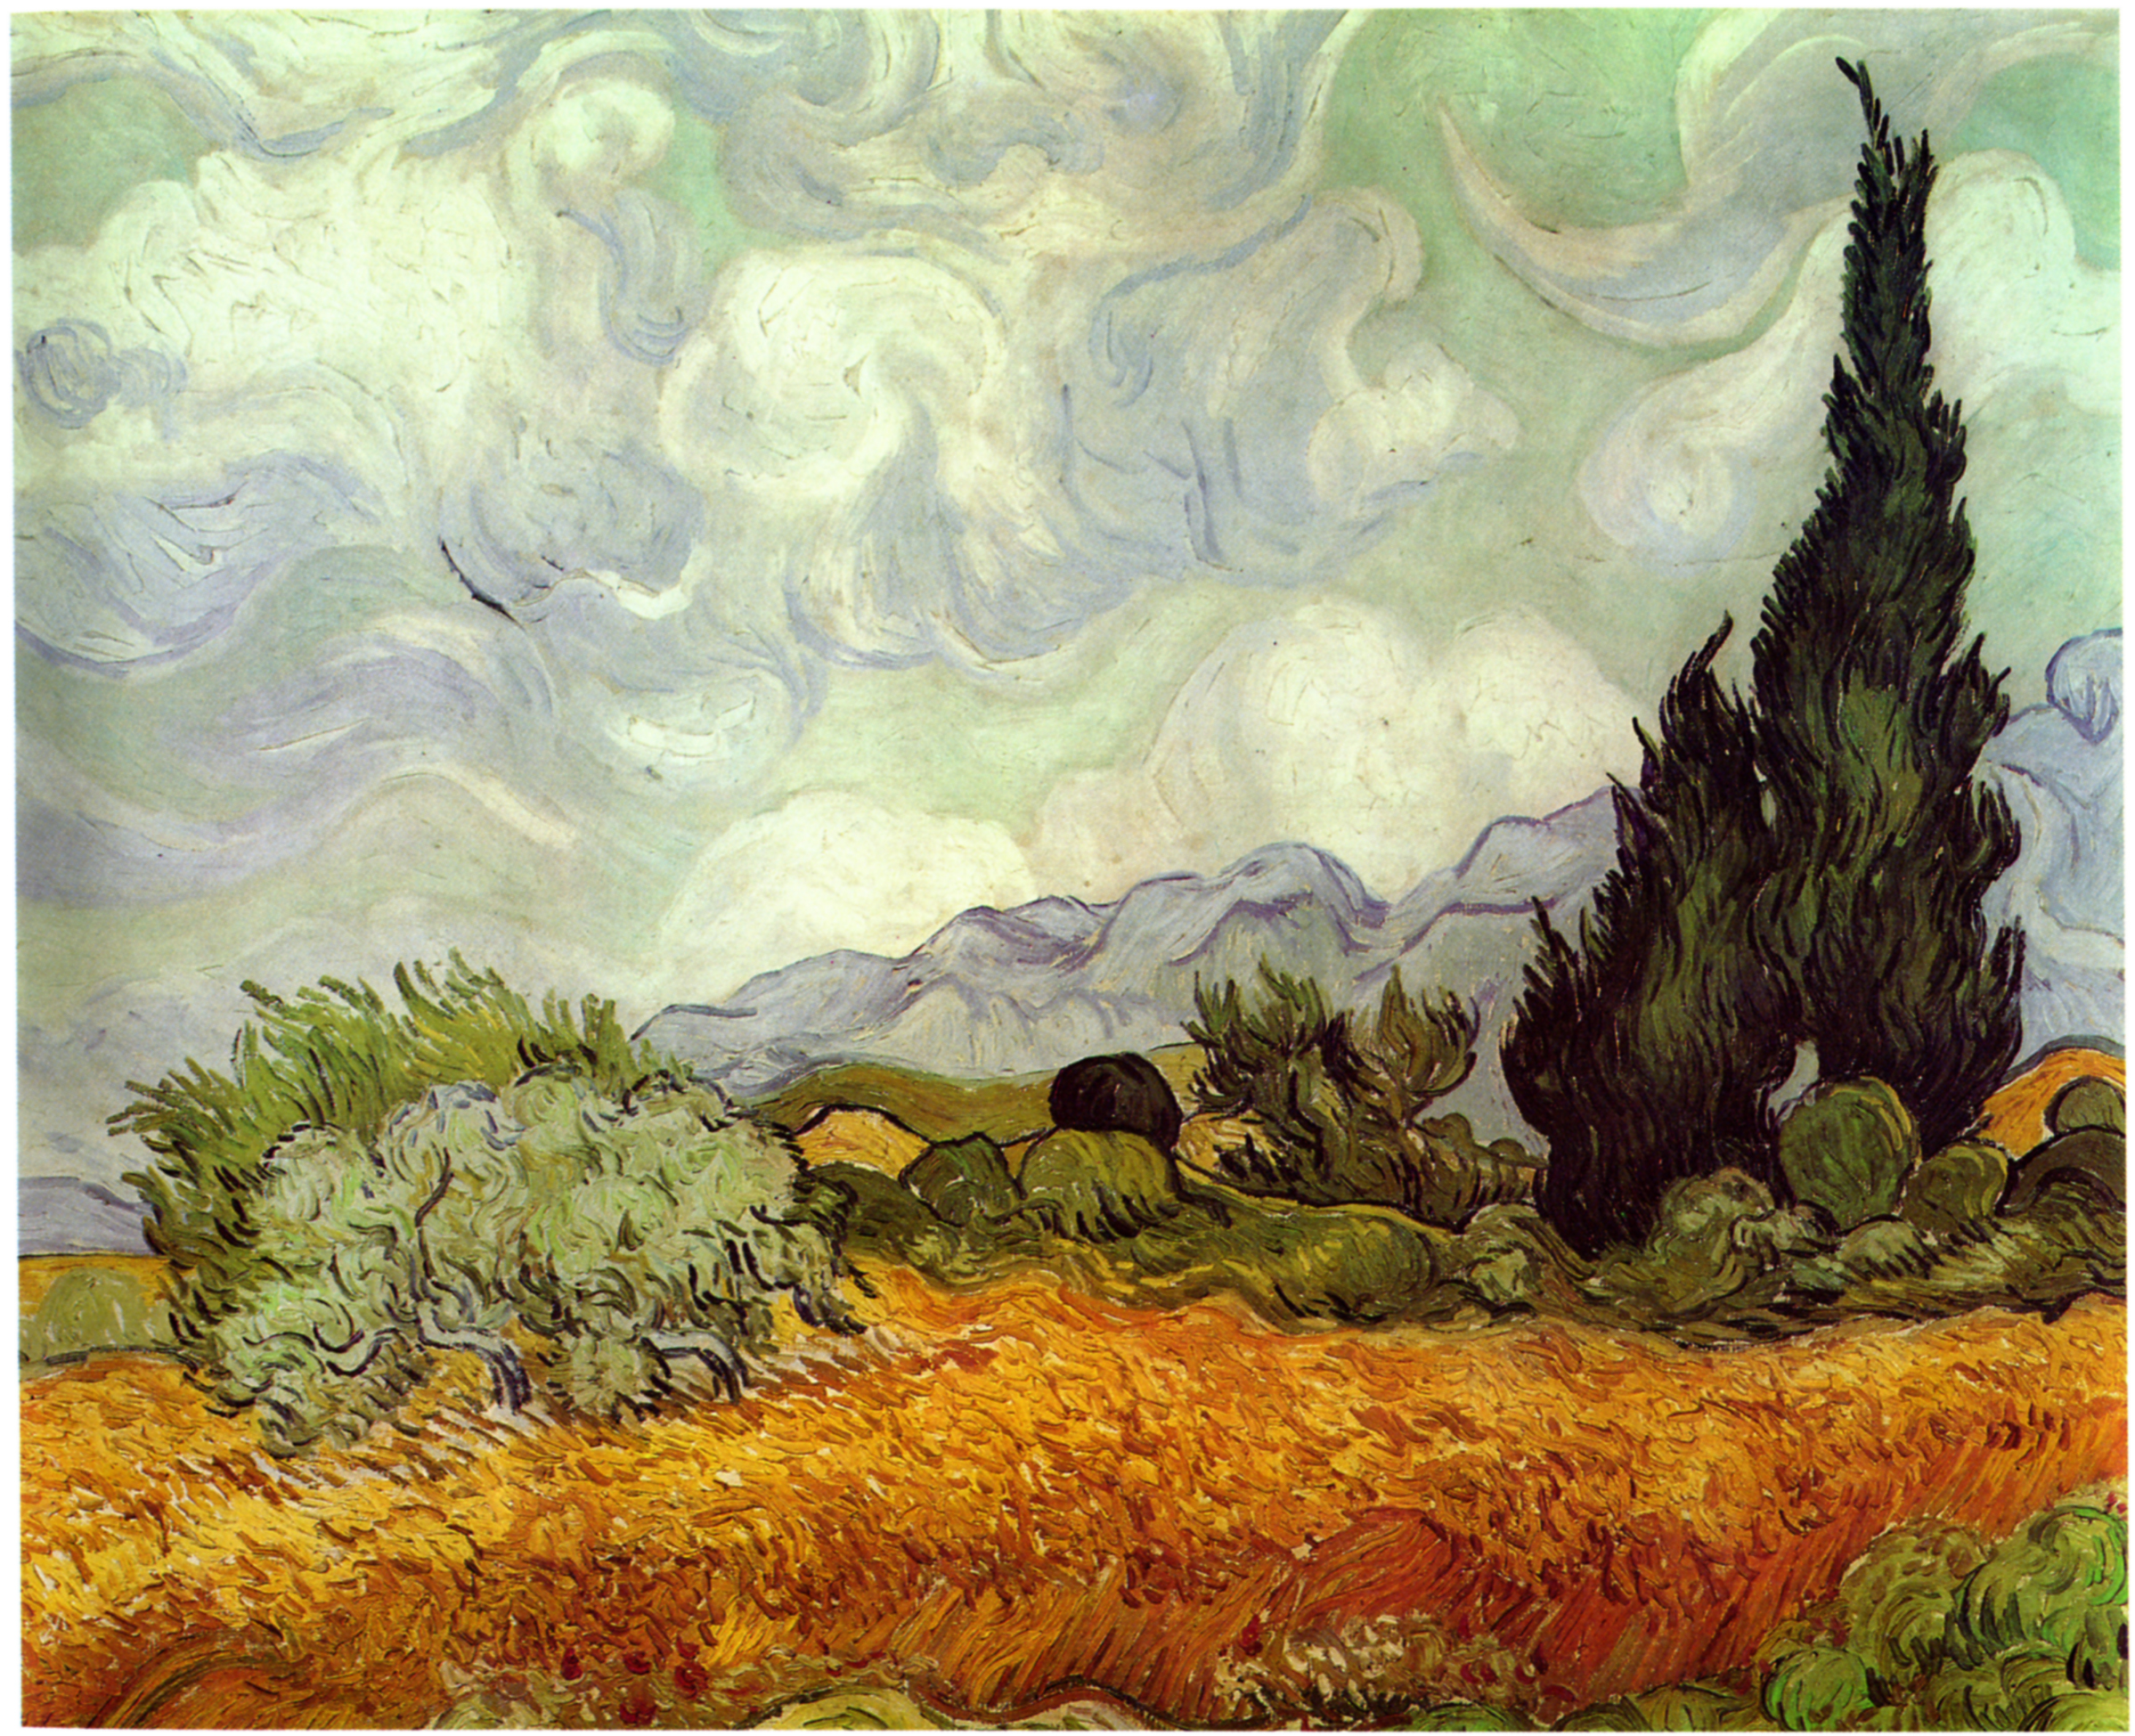


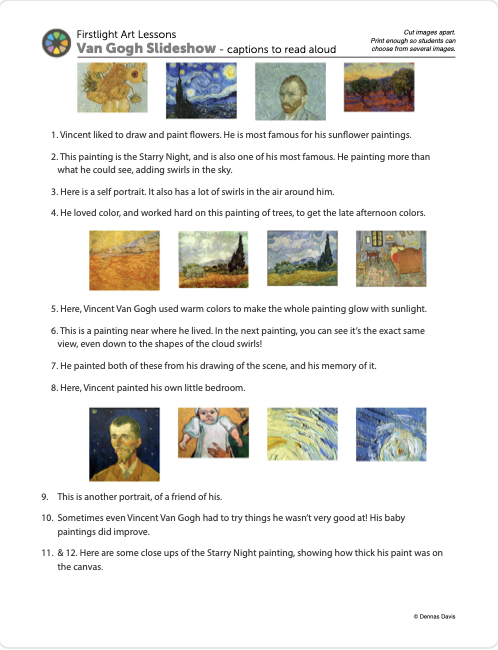
Print or open to view the captions you can read while you show the Van Gogh slides above.
Opens in new window
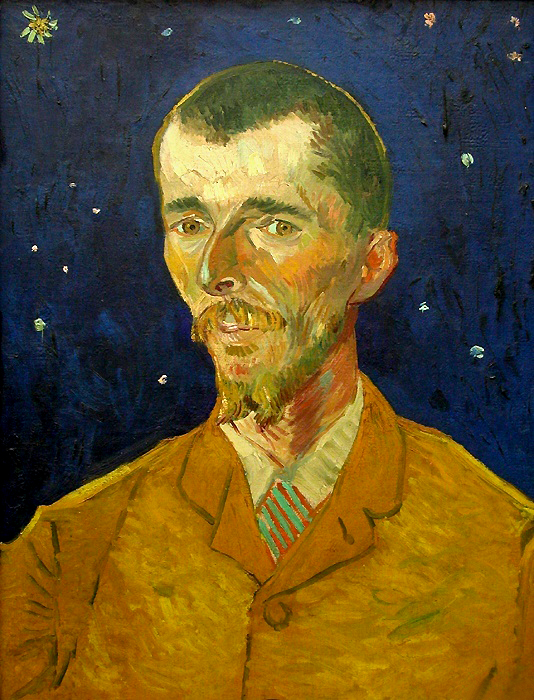
“Today is Famous Artist Day. Here are some of his paintings.
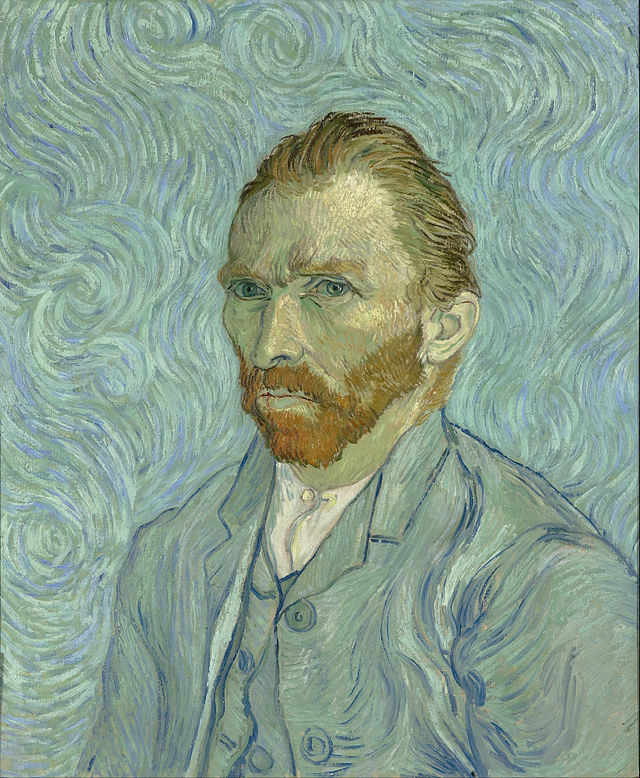
This is a painting of the famous artist we will talk about today. (Show self-portrait).
This is Vincent Van Gogh. He lived in a town in Holland, which is in Europe, 130 years ago! Amazingly, we still love his artwork all these years later. People all over the world know about him and his paintings!
Vincent liked to paint all sorts of things. We like to do that too! When Vincent wanted to paint he didn’t have to think too hard to come up with an idea. He just painted the places he saw, the people he knew and the things that he liked that were around him. Lets look at some of those paintings. Van Gogh drew things that didn’t look exactly like they are, but he still liked to look at things in real life so he could draw them the way he wanted.
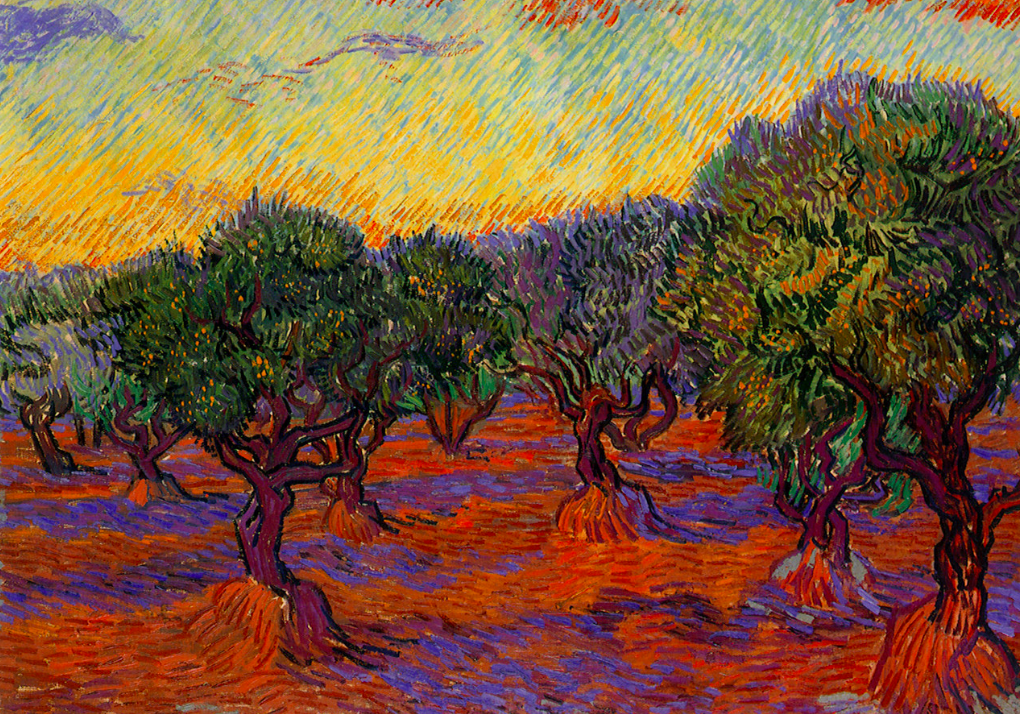
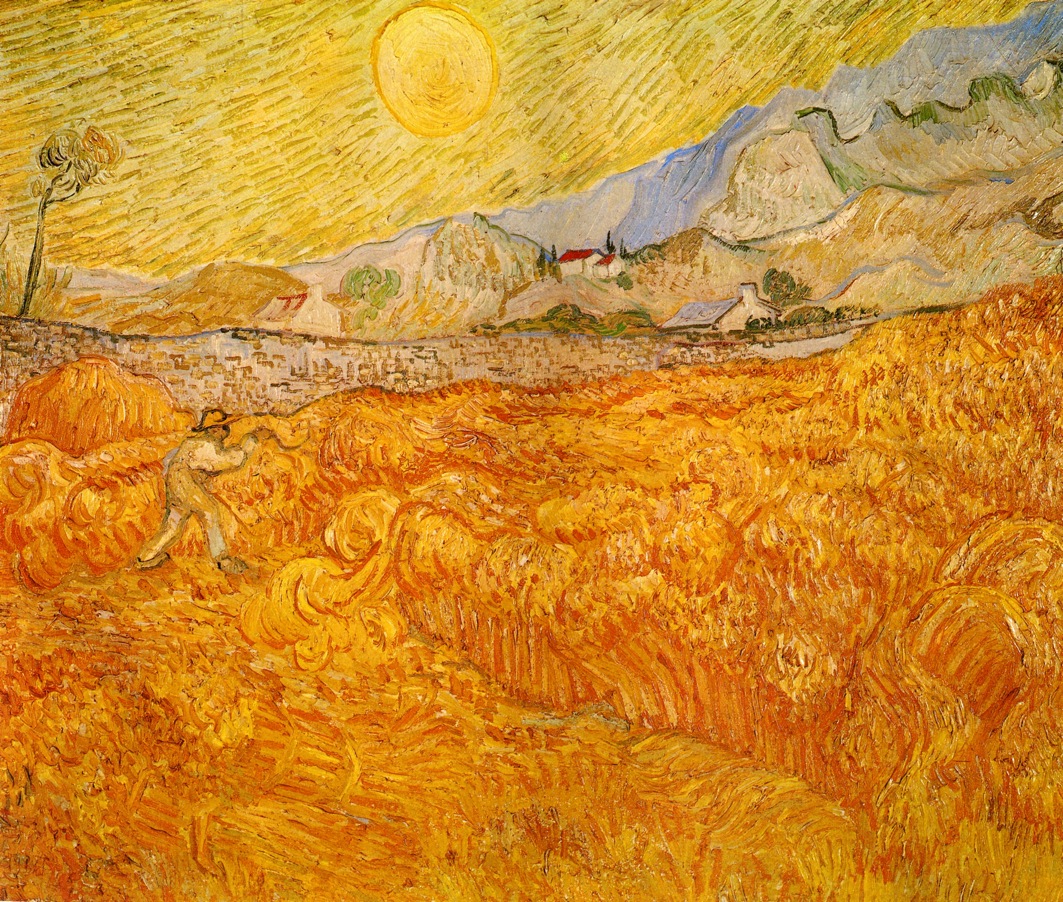
(Show the slideshow of paintings. Make sure you say a Portrait, Still life, and Landscape and call each painting by those “art words.”)
He painted the things around him because those people or objects or scenery were his “sources.” When artists use a source as reference, that means you are looking carefully at something to see what it really looks like. If you look closely, you can draw or paint it the way it looks from where you are sitting. Vincent was looking at these things when he painted them. Sometimes he used his imagination and added his own special look to those things that he saw. Most people really like those special paintings.”
2.2 STAY
If gathered in a group, do not let students return to seats just yet.
LEARNING TARGETS
Students know that everyone likes different kinds of subjects.
M A T E R I A L S
- Van Gogh Reference printout from STEP 5.1
3.1 PHOTOS
3.2 CHOOSE
LEARNING TARGETS
Students know what drawing from real life is.
M A T E R I A L S
- 8.5″ x 11″ copy paper
- Clipboards
- 2B Pencil
- Kneaded Eraser
4.1 DEMO
- Look very closely at the shape of your object from where you are sitting. It might look different from another side.
- Big Shape. See if you can draw the biggest shape of the object, which might be circular, rectangular, or a crazy shape like a star.
- Then add details last. Just draw outlines with the pencil for now
Make sure to explain that this is the Real Life Source.
4.2 GAME
While they walk around, ask an art trivia question. (The answer is “animals”)
- Scenery: Landscapes and buildings
- People
- Animals
- Still life and flowers
4.2 SECRET
4.3 DRAW
4.4 SIGN
LEARNING TARGETS
Students know how to use oil pastels.
M A T E R I A L S
- 8.5″ x 11″ copy paper
- Printed reference painting on stand
- 2B pencils
- White Eraser
- Oil Pastels
- Blender sticks (stumps) or paper towels
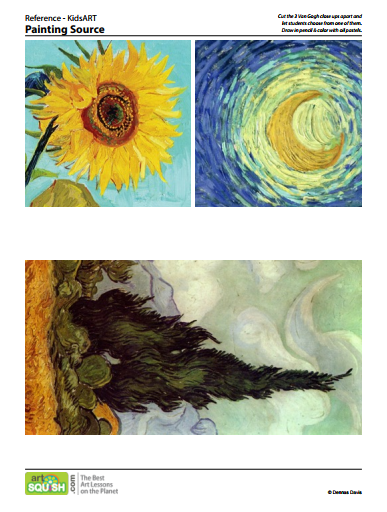
5.1 PICTURE
Reference
Van Gogh Paintings
Cut images apart and print enough for each student to choose from several.
1 Page – Opens in new window
5.2 DRAW
5.3 COLOR
5.4 SIGN
LEARNING TARGETS
Students know what a photo reference is.
M A T E R I A L S
- 11 x 17″ Copy Paper
- 2B Pencil
- White Eraser
- Oil Pastels
- or Markers
- Printed photos (below)
1. PRINTS
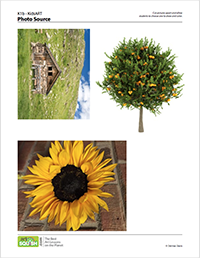
Reference
Photo Source
Cut images apart and print enough for each student to choose from several.
1 Page – Opens in new window
6.1 CHOOSE
Let kids choose a tree, a flower, or a barn from the Photo Source PDF and do one more art project. This time it’s ok to draw your own version of the source instead of looking at and doing it like the photo. However, you can continue to practice drawing more like it looks if you want to. You get to choose.
If students finish early they can work on a new piece of artwork from a different reference image or from their imagination.
6.2 DRAW
6.3 COLOR
6.4 NAMES
LEARNING TARGETS
Students know the importance of cleaning their workspace.
M A T E R I A L S
- Paper Towels
7.1 BINS
7.2 WASH
7.3 CLEAN
Take photos of artwork!
Make sure you see the kids connect with parents and tell them about the class if you can!
%
Insights
This lesson provides understanding
%
Technique
This lesson shows application and movement
%
Self Expression
This lesson allows personal freedom
OBJECTIVES
- Practice and improvement using pencils and pastels to draw
- Understanding that looking at something when drawing is called using a (reference) source (but drawing accurately is not important today.)
- Accomplishment in creating several finished drawings
- Fulfillment by choosing secret personal sources for drawings
TROUBLESPOTS
FrustrationThis may seem hard for some children. Make sure you do not put any pressure on anyone for drawings to look visually accurate, because that’s not our goal today. We just want to introduce the idea of drawing from looking at a source. If they’re not ready for that, just let them draw their own version of what they see as best they can. That may end up being an imaginary version – the idea of what they see. This is normal for the age, and is called symbolic drawing.
Read the Teacher Talk below to students who are having trouble.
ART WORDS
Still Life – A source that is set up indoors, with objects and plants that stay still while you work.
Landscape – A source that is any outdoor view looking at a wider view of things.
Portrait – A source that is a person, focusing on the face.
Source – A source is what you look at with your eyes instead of using your imagination. Young children need the more concrete word, source, instead of reference source, but you might want to use both terms. Sources can be ARTWORK, PHOTOS, or REAL LIFE.
Real Life – All the things around us that we can see and use for a drawing source.
FRUSTRATION
Van Gogh’s work did not look very accurate sometimes, and he was ok with that. He even worked to make his art look different from real life. Everyone draws their own way and that’s ok. Drawing styles change with time too, and yours may be totally different next year!”
CLASSROOM
PREP
Have a way to display the Pinterest Board to the class or a book that has similar images.
What your room needs
Here are your printable lists and room prep instructions.
Opens in new window
CLASSROOM
MATERIALS
- 11 x 17″ Copy Paper
- 8.5 x 11″ Copy Paper
- 4B Pencils
- Erasers
- Markers
- Oil Pastels
- Blender sticks(stumps)
- Clipboards
- Stands such as a Cheasel
- Clips for stands
- Paper Towels
- PDF printouts
- Display or Van Gogh book
PREVIEW
Week #2: You’re a Painter!
August 25 – 30
Students will Be introduced to painting and the use of color. Mixing is emphasized and lines are also introduced.
Week #3: Stars & Butterflies
September 2 – 6
Students will compare wiggly and straight lines, and create 2 oil pastel and watercolor resist paintings: one with white pastel and one with dark pastels.