
OVERVIEW
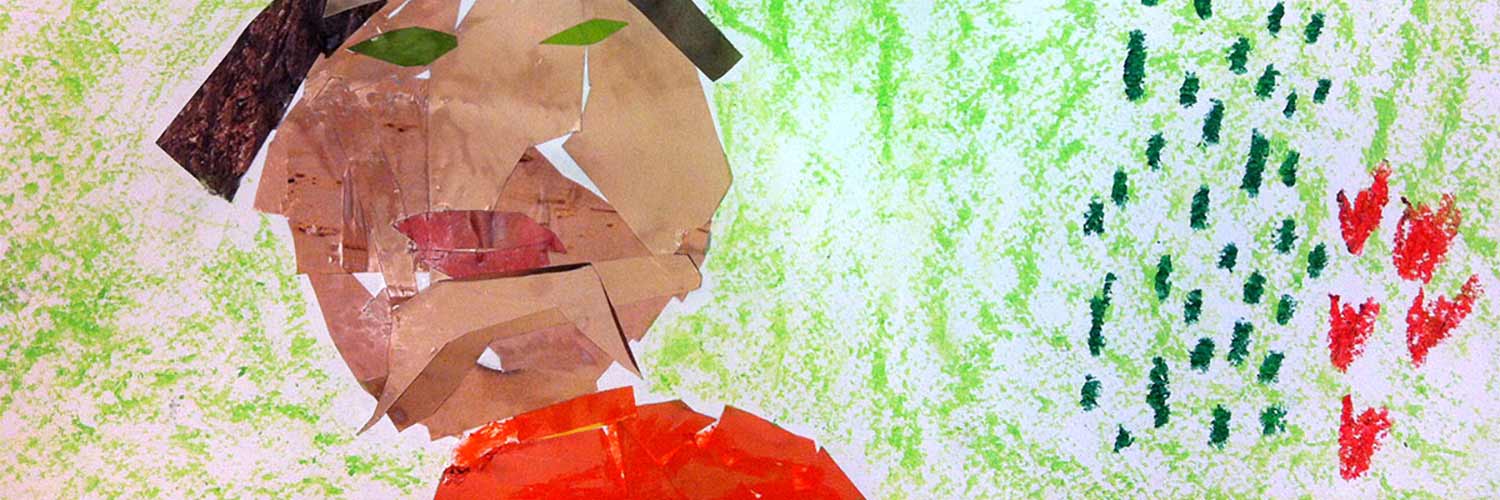
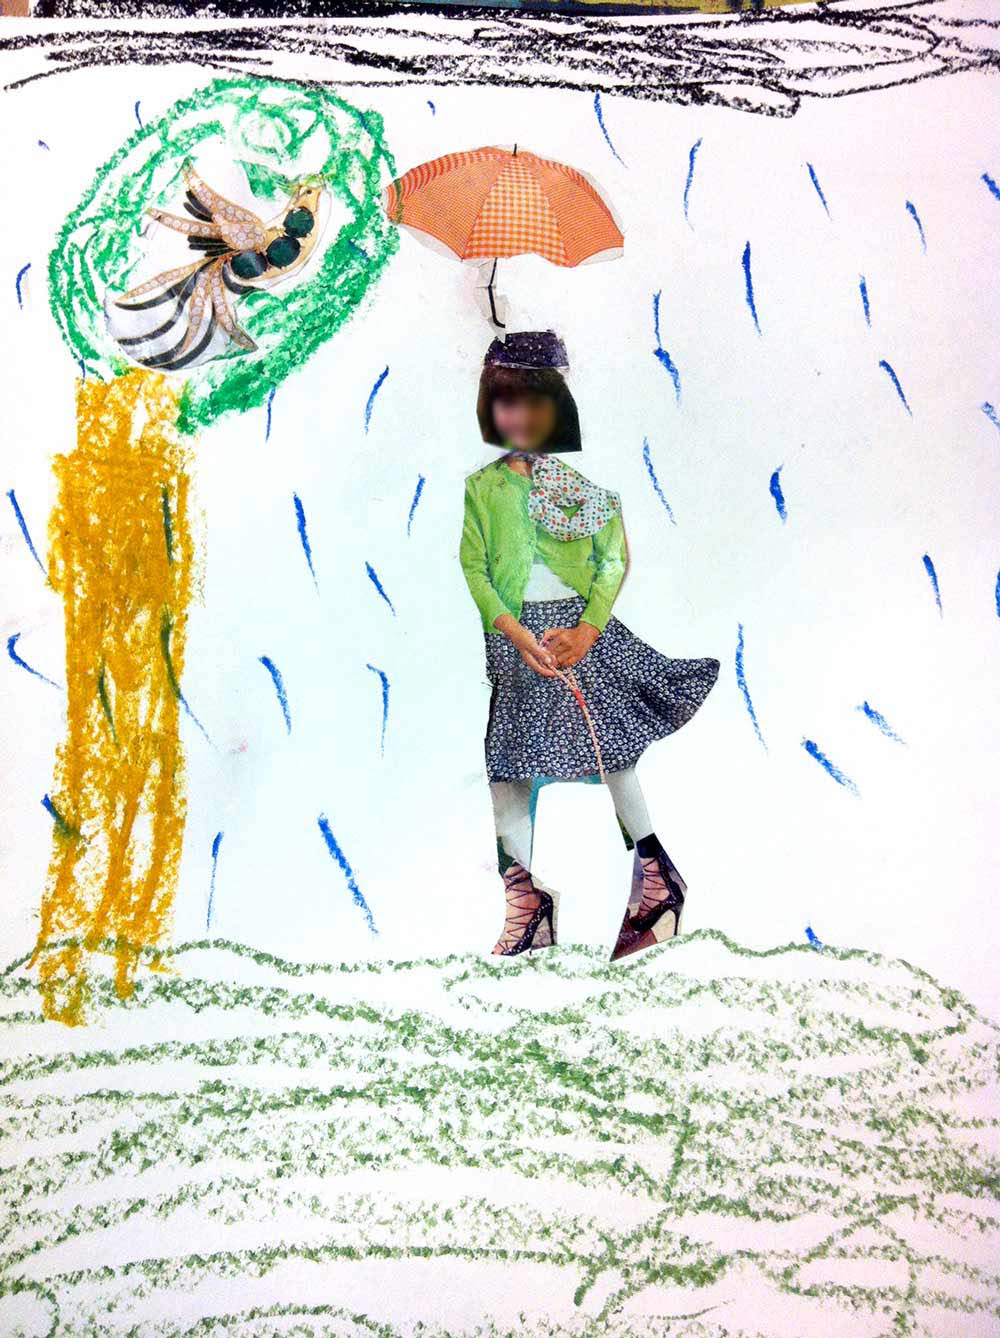
Students will use magazines and catalogs, as well as their own picture, to make a cut and paste collage. They will use lots of smaller pictures to create a new picture of themselves in a fun place they’d like to go.– – –
Grades K – 2
Week of March 30 – April 3
1 Hour & 30 Minutes

Lesson At A Glance
A brief overview of each step. Buttons jump to each section for detailed information.
5 Min – Color Dance with 3 bright oil pastels & colored paper
10 Min – Provide face prints & magazine pages.
5 Min – Show students how to glue a collage.
25 Min – Make Art Work!
10 Min – Early finishers help clean up or make a 2nd collage.
5 Min – Everyone helps
SCROLL & TEACH
LESSONPLAN
Each section is a different color. Read over once and then you can SCROLL & TEACH using any device you like. It’s designed to work best with your phone.
LEARNING TARGETS

Students know how to create from their imagination
M A T E R I A L S
- 11″ x 17″ Sketch Paper
- 4B Pencil
- White Eraser
- Markers
- Oil Pastels
1.1 greet
1.2 draw
Ask them to work with one piece of paper for a while. If someone uses the phrase, “free draw”, explain that artists’ choice is something only artists can do, while free-draw is something anyone can do. You want to use the phrase to elevate the students’ expectations of their work.
Everyone should take their time with the work and make a finished piece of art. Limiting the paper can also help kids focus on the work. If someone finishes in super-fast time, ask them what more they can do to the existing paper. Ask again several times – unless they appear overly frustrated; then you can allow them to move on to a new work.
1.3 photo
Remember to set up your photo booth so that there is good light from above on one side, and you can clearly see the student’s face.
Take a moment to introduce the project.
Use this button to jump down to the preparation section.
LEARNING TARGETS
Students know how to use movement with their artwork
M A T E R I A L S
- Spring colored oil pastels
- White oil pastel
- Bright Colored Paper
2.1 dance
Students should choose 3 bright spring colors they like and a sheet of brightly colored 8.5″ x 11″ copy paper. Play some slow and flowing music while they work. Orinoco Flow, and Drifting, by Enya are both great for this.
After doing some colors, have students switch to their white pastel and go over all the colors to lighten and blend them.
Use this button to jump down to the preparation section.
LEARNING TARGETS
Students know how to use scissors correctly
M A T E R I A L S
- Magazines
- Kids’ Scissors
3.1 cut
- Make paper smaller: Trim away large parts you don’t need first
- Use both hands: Rotate the paper with one hand, cut with the other
Have students choose an image that is not very useable, and practice cutting a shape out. Go around and help as needed.
3.2 DEMO
Tap the 4 arrows icon to enlarge the video to full screen.
Review the demo video and demonstrate to your students, or you can simply display the video on a larger screen for them to watch.
Use this button to jump down to the preparation section.
LEARNING TARGETS
Students know how to create a collage
M A T E R I A L S
- Brightly colored cardstock
- Magazine Images
- Kids’ photos you printed
- Scissors
4.1 choose
Hand out the printed faces from the photo shoot you did last week or at the beginning of class, and have students pick 3 images to begin with.
After students choose a paper, then they can choose a paper for their background. You should provide several colors if possible, but it will always look great on white. Early choosers may begin cutting their images out.
Rough cut all the images out BEFORE cutting the actual image outline.
Make sure that everyone has a save it pile, and a toss it pile. Keep them neat and separated!
Use this button to jump down to the preparation section.
LEARNING TARGETS
Students know how to create a collage
M A T E R I A L S
- Brightly colored cardstock
- Magazine Images
- Scissors
- Wet glue
- Brush
5.1 DEMO
Draw a rectangle for the wet brush to be placed in – its special spot. It should be in a corner, close to where the glue bowl will be. If you have a lot of lefties, you can place bowls in-between students to share, but it works best if everyone has their own bowl.
- Use the large paper as a gluing mat.
- If your mat gets too sticky, ask for a new mat.
- Place a cut-out image face down onto a clean, non-sticky part of your gluing mat.
- Brush a thin layer of glue all over the back, brushing from the middle, out to the edges.
- Put the brush in its special spot.
- Carefully place your cut-out image onto your artwork, and press all over to attach securely.
Medium sized flat synthetic nylon brushes work well with watered down glue. Pour out some white glue and add just a bit of water in it to keep it fluid, but not enough to make it runny. Mix well.
Use this button to jump down to the preparation section.
LEARNING TARGETS
Students know how to create a collage
M A T E R I A L S
- Brightly colored cardstock
- Magazine Images
- Kids’ photos you printed
- Scissors
- Wet glue
- Brush
6.1 make
Help with cutting, pasting, and keeping hands clean.
Use this button to jump down to the preparation section.
LEARNING TARGETS
Students know how to add finishing touches to a collage
M A T E R I A L S
- Brightly colored cardstock
- Magazine Images
- Scissors
- Wet glue
- Brush
7.1 color
Use this button to jump down to the preparation section.
LEARNING TARGETS
Students know the importance of cleaning up.
M A T E R I A L S
- Paper Towels
- Cleaning wipes
- Sink
- Waste baskets
- Well-lit spot for photos
- Camera or phone-camera
8.1 CLEAN
- Wash hands
- Super-wash brushes if used
- Put art supplies away
- Wipe tables & toss trash
- Remove any smocks (last)
- Check for items on floors and tables
8.2 PHOTO
OBJECTIVES
- Practice and improvement designing, & working with collage
- Understanding how to cut easily
- Accomplishment in making an awesome picture
- Fulfillment because it’s a self-portrait of their own design
TROUBLESPOTS
Torn pictures – If magazine paper gets too wet, it can tear easily. Sticky fingers and overly soaked paper should be avoided.
Embarrassing accidents – Sometimes a student will innocently place an image in an inappropriate way. It’s not a big deal or a common problem, but just be on the lookout. If it happens it can be quite embarrassing if someone makes fun of it.
ART WORDS
Contrast – When things are different from each other they have high contrast. Black is very dark, so on a white paper, black has a lot of contrast. Low contrast is when two colors are both the same as far as light and dark, if you have a really light blue, and a really light orange, they won’t have much contrast even though the color blue is very different from orange.
Montage – Using lots of pictures together in a group, that creates a picture all together.
CLASSROOM
PREP
Pro Photo Tip: if shadows are too dark, set up a piece of poster board, or even a sheet of butcher paper, on the opposite side of the light, so that it reflects white back onto the shadow side of the face and body.
Collect catalogs and magazines. Family and home magazines work best. Go through and pull out any innapropriate pages, or cut the pages out that are good, and place them all into a paper bin.
Printer set up. You’ll need a way to take pictures and print them. Print all of your PDFs from the lesson plan and cut any references apart as needed.
What your room needs
Here are your printable lists and room prep instructions.
Opens in new window
CLASSROOM
MATERIALS
- 11×17” Sketch Paper
- 4B Pencil
- White Eraser
- Markers
- Oil Pastels
- Spring colored oil pastels
- White oil pastels
- Bright colored paper
- Magazines
- Kids’ scissors
- Kids’ printed photos
- Wet glue
- Brush
- Paper towels
- Cleaning wipes
- Sink
- Waste Baskets
PREVIEW
Week 29: Stacked Up Art
Students will make an art sculpture by cutting and pasting to create a 3D stack of shapes and color. They’ll be using paper they’ve colored and drawing on themselves. They’ll also have time for a fun artist game today.
Week 30: Near and Far
To understand the basic idea of drawing from a viewpoint (perspective), artists need to learn how to look. Students are introduced to the ideas of viewpoints and then cover up one eye and use their table to see how the horizon edge is behind a toy figure instead of beneath it. The idea of near and far also shows students how drawing small makes things look like they are farther away. It’s a great lesson of artistic discovery, and most kids are very proud of the work they do.