
OVERVIEW
Students will make an art sculpture by cutting and pasting to create a 3D stack of shapes and color. They’ll be using paper they’ve colored and drawing on themselves. They’ll also have time for a fun artist game today.– – –
Grades K-2
Week of April 1 – 5
1 Hour & 30 Minutes
Lesson At A Glance
A brief overview of each step. Buttons jump to each section for detailed information.
5 Min – Demo making a crazy creature.
10 Min – Drawing game with starter pages and parts reference
15 Min – Choose colored paper & make patterns & textures.
10 Min – Students get 2 fans to cut into springs.
15 Min – Glue paper to cardboard base. Then cut first shape and attach springs to both objects.
15 Min – Keep making smaller and smaller shapes and attaching.
If Time – Color your crazy creature with markers!
5 Min – Everyone helps
SCROLL & TEACH
LESSONPLAN
Each section is a different color. Read over once and then you can SCROLL & TEACH using any device you like. It’s designed to work best with your phone.
LEARNING TARGETS

Students know how to create from their imagination
M A T E R I A L S
- 11″ x 17″ Sketch Paper
- 4B Pencil
- White Eraser
- Markers
- Oil Pastels
1.1 greet
1.2 draw
Ask them to work with one piece of paper for a while. If someone uses the phrase, “free draw”, explain that artists’ choice is something only artists can do, while free-draw is something anyone can do. You want to use the phrase to elevate the students’ expectations of their work.
Everyone should take their time with the work and make a finished piece of art. Limiting the paper can also help kids focus on the work. If someone finishes in super-fast time, ask them what more they can do to the existing paper. Ask again several times – unless they appear overly frustrated; then you can allow them to move on to a new work.
LEARNING TARGETS
Students know how to combine familiar parts to create a new idea.
M A T E R I A L S
- Creature Starter Print
- 11″ x 17″ Copy Paper
- Black Marker
2.1 Print
worksheet
Crazy Creature Starter
Print enough for each student to choose from several.
Hold on to these for a moment. Everyone gets one of the starter prints in the next step, but right now, just use one for your demo.
You can let the class vote on which starter to use!

3 Pages – Opens in new window
2.2 demo
Have students gather around and watch a demo of how to create a crazy creature.
Using a black marker, draw a few parts to begin making your large creature. Make these 2 important points:
- Draw the parts large enough so you have a big crazy creature instead of a tiny one.
- Add some of your own lines to connect the parts if you need to.
Have the students make suggestions for you to draw on the demo creature, but don’t spend too much time on it. This can be finished later in the class while they’re working on other things.
Fun idea: Make some parts small and some large to make your creature even crazier!
LEARNING TARGETS
Students know how to work together with other artists to create a piece of art
M A T E R I A L S
- Creature Parts Print
- 11″ x 17″ Copy Paper
- Black Marker
3.1 Print
Reference
People Photos
Cut images apart and print enough for each student to choose from several.

1 Page – Opens in new window
3.2 create
Have students play a fun game of Crazy Creature in the round. Remind the students that this is a fun game that only artists can do!
Drawing in the Round
Gather up groups of 3 or more and let them create a drawing in the round. You can also do this with the entire class as one group if you have a large table or group of tables. Each artist gets a starter page or blank regular sized copy paper, and a pencil or a black marker. Decide as a group if your pages will be bathtub position or shower position (horizontal or vertical). It might help your class remember to pass the drawings if you use music, and pause it as a signal to stop every 2 or 3 minutes.
Rules:
- You can only draw one creature part each turn. Remember that a nose is one part, and a pair of eyes is one part, but a head is lots of parts.
- Be sure to draw the kinds of things that parents will be proud to see when you show it to them. (This helps keep things appropriate without bringing up the idea of innapropriate. Just stating “don’t be innapropriate” can get their ideas moving in bad directions).
- Begin each turn by thinking about what to add. What will look cool on this new creature?
- You cannot draw the same thing twice.
- You cannot draw over someone else’s part or erase it.
- You cannot make the drawing look bad or messy on purpose! Remember to do your best work.
- Take your time. It’s not a race.
Everyone should write their name on the first paper that they are starting with, and pass to the right/receive from the left. After you’re all finished, students get to keep the one with their name on it. You can let them all vote on the best one, since they all worked on it together. If you have the resources, you can make everyone a copy of the best one.
If there’s time, artists can color in their creature with markers at the end of class.
LEARNING TARGETS
Students know how to create textures and patterns using lines and dots
M A T E R I A L S
- 8.5″ x 11″ copy paper in white and several bright colors. Heaviest weight is good.
- Textures Print PDF
- Markers
4.1 print
Reference
Texture Examples
Hand out prints. Make sure each student gets one to see for ideas.
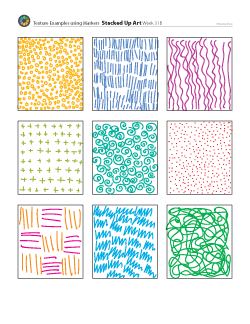
1 Page – Opens in new window
4.2 draw
You can use construction paper but it is flimsier, and it will fade and become very brittle over time.
Kids can choose 4 colored papers. Try to help them pick colors that go well together!
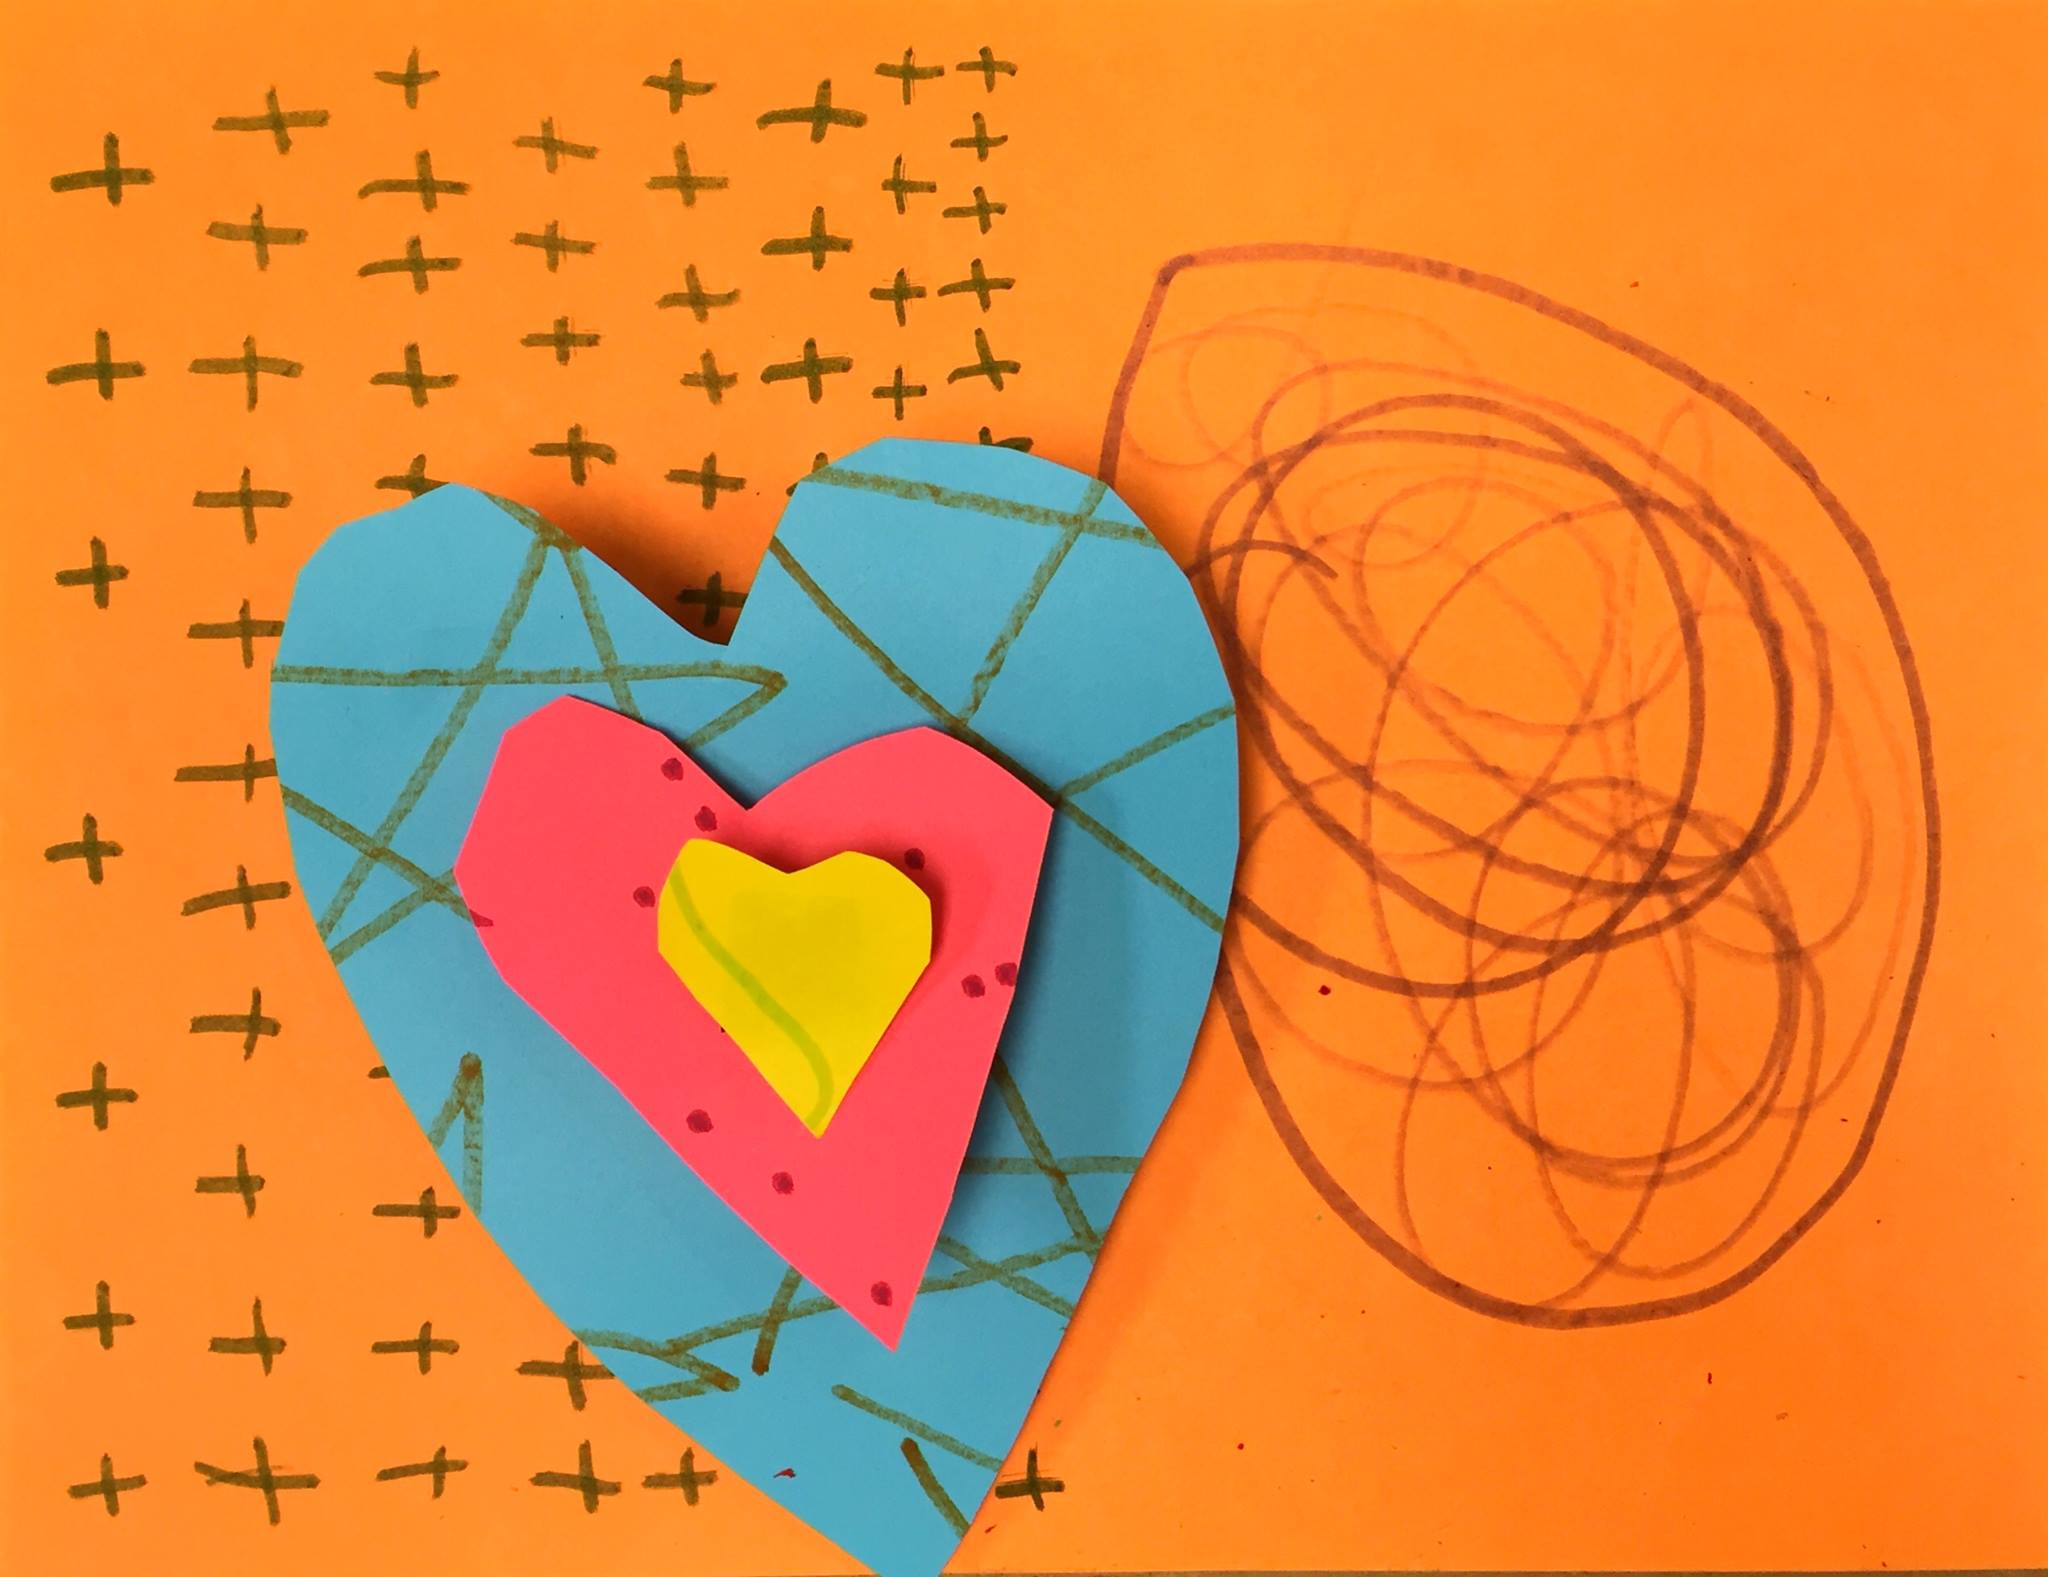
Have everyone draw on their papers with markers to create patterns and textures. They should fill each page (on one side only) and it’s ok to do more than one texture and more than one colored marker on each paper.
LEARNING TARGETS
Students know how to follow directions through verbal and visual instruction.
M A T E R I A L S
- folded “fans” of colored paper
- Safety scissors
5.1 cut
Have folded “fans” of black, white, or other colored paper ready ahead of time and help students cut them into square springs.
From the Prep section: Make your fans by folding a sheet of paper into thirds, like a letter going into an envelope. Open it back up and cut along the lines to create 3 sheets that are around 8.5″ x 3 and 2/3″. Fold each one like a fan with 4 sections by folding in half twice, and then unfolding and refolding into a zig-zag. This is ready for your young artists to cut into little springs. You’ll need 2 fans for each student.
Students should cut a square piece off the ends off of their fans to create a square spring. Cut the fans all up into these square springs and save in a pile for making the stack.
Talk to your students about texture instead of pictures. Texture is interesting INSIDE a shape, but it doesn’t have shape itself. The shapes that we use today will be cut out of different papers and stacked up to make a 3-D picture. Show several texture samples, then show the finished stackup sample so they can see what it is supposed to look like.
LEARNING TARGETS
Students know how to construct a 3D paper art project
M A T E R I A L S
- Textures from STEP 4
- Paper springs from STEP 5
- Glue sticks
- 8.5 x 11″ cardboard bases
- Kids’ Scissors
6.1 build
Instruct students on how to put together the base and first level of their artwork.
Pick one sheet of textured paper, and glue the whole thing to the cardboard base. Then choose another piece of paper, and cut out a big blob-shape that is almost the size of the base but a little smaller. The blob can have wiggly edges or angled edges, but any shape will look good!
Set up 6 little springs on the base, and set up the blob shape so that it rests on them and floats above the base. Then remove the blob and begin gluing all of the springs to the bottom of the blob, using a permanent glue stick and LOTS of glue.
Finally, glue the bottom of all the springs and place the whole thing onto the base. Be careful to not get glue on the blob shape – just on the springs. Press it down all over. It will rise back up when you’re done!
Have everyone draw on their papers with markers to create patterns and textures. They should fill up one side of each page. It’s ok to do more than one texture and more than one colored marker on each paper.
LEARNING TARGETS
Students know how to construct a 3D paper art project
M A T E R I A L S
- Textures from STEP 4
- Paper springs from STEP 5
- Glue sticks
- 8.5 x 11″ cardboard bases
- Kids’ Scissors
7.1 build
Continue adding levels
Keep picking your textured papers and cutting them into unique shapes. Be sure to remember to make the blobs smaller each time to that each layer is visible! You should end up with several little shapes at the 4th level. Too many layers the top will fall over, especially if you have construction paper.
LEARNING TARGETS
Students know how to color specific areas of line art they have created
M A T E R I A L S
- Markers
8.1 color
Have students color their crazy creature with markers
LEARNING TARGETS
Students know the importance of cleaning up.
M A T E R I A L S
- Paper Towels
- Cleaning wipes
- Sink
- Waste baskets
- Well-lit spot for photos
- Camera or phone-camera
9.1 CLEAN
- Wash hands
- Super-wash brushes if used
- Put art supplies away
- Wipe tables & toss trash
- Remove any smocks (last)
- Check for items on floors and tables
9.2 PHOTO
OBJECTIVES
- Practice and improvement using scissors & glue, and planning
- Understanding how visual texture is made
- Accomplishment in making 3-D artwork
- Fulfillment from self-expression in color and shape
TROUBLESPOTS
Banging markers – Make sure you show students how to make spots and dots with a gentle tap instead of banging the markers.
ART WORDS
3-D Art – Artwork that is not flat. Sculpture is 3-D, which stands for 3 dimensions. Paper only has 2 dimensions, until you stack it up or fold it.
Texture – Real texture is when you can feel bumps or ridges on something with your fingers. Visual texture is when a surface in a drawing or painting looks like things that have real texture. One way to do this is by making many small marks all over an area on your artwork.
CLASSROOM
PREP
Make “fans” of paper ahead of time.
Make your fans by folding a sheet of paper into thirds, like a letter going into an envelope. Open it back up and cut along the lines to create 3 sheets that are around 8.5″ x 3 and 2/3″. Fold each one like a fan with 4 sections by folding in half twice, and then unfolding and refolding into a zig-zag. This is ready for your young artists to cut into little springs. You’ll need 2 fans for each student. Don’t cut into square springs yourself; let the kids do that part.
Print all of your PDFs from the lesson plan and cut any references apart as needed.
What your room needs
Here are your printable lists and room prep instructions.
Opens in new window
CLASSROOM
MATERIALS
- 8.5″ x 11″ copy paper
- 8.5″ x 11″ card stock
- 11″ x 17″ copy paper
- Rulers
- Scissors
- Box cutter (teacher only)
- Large Drawing boards with clips
- Water containers
- Spray bottles
- Water droppers
- Paper towels
- Smocks
PREVIEW
Week 30: Near and Far
To understand the basic idea of drawing from a viewpoint (perspective), artists need to learn how to look. Students are introduced to the ideas of viewpoints and then cover up one eye and use their table to see how the horizon edge is behind a toy figure instead of beneath it. The idea of near and far also shows students how drawing small makes things look like they are farther away. It’s a great lesson of artistic discovery, and most kids are very proud of the work they do.
Week 31: Layered Landscape
Students will use lots of layers of colored papers to create a wonderful landscape. Circles can be stacked for colorful clouds and hills.