
OVERVIEW
To understand the basic idea of drawing from a viewpoint (perspective), artists need to learn how to look. Students are introduced to the ideas of viewpoints using a viewfinder tube (Frame-O-Scope). Then we introduce two artist’s tricks to show near and far. One is demonstrated with circle puppets, and shows how things look farther away if they are smaller, and the other is how things that are closer, are lower on the paper. It’s a great lesson of artistic discovery, and most kids are very excited with the work they do.– – –
Grades K – 2
Week of April 8 – 12
1 Hour & 30 Minutes
Lesson At A Glance
A brief overview of each step. Buttons jump to each section for detailed information.
15 Min – Everyone draws “giant feet” . Talk about bird’s eye view.
10 Min – Use prepared blue and orange circle puppets. Learn about depth
5 Min – Put out toys, pass out sketchbooks
10 Min – Show lineart drawings, explain artist tricks for depth
10 Min – Draw toys
18 Min – Draw landscapes using references
2 Min – Everyone helps
SCROLL & TEACH
LESSONPLAN
Each section is a different color. Read over once and then you can SCROLL & TEACH using any device you like. It’s designed to work best with your phone.
LEARNING TARGETS

Students know how to use their imagination to create artwork
M A T E R I A L S
- 11″ x 17″ Copy Paper
- Frame-O-Scope prints
- Markers
- Glue Stick
1.1 Print
Reference
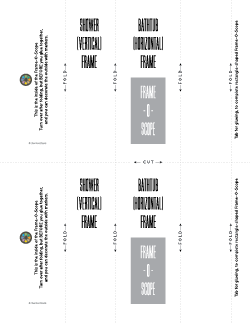
Frame-O-Scope
Cut images apart and print enough for each student.
1 Page – Opens in new window
1.2 color
As students arrive to class, give them a Frame-O-Scope printout. Pass out markers and let them decorate the blank side of the template. After they are done decorating, help them fold and glue following the instructions on the paper. It is very important for the next step that each fold is straight.
If anyone doesn’t want to decorate their Frame-O-Scope, you can let them go ahead and fold it and then do artists choice until it’s time for the next step.
LEARNING TARGETS
Students know how to draw using perspective
M A T E R I A L S
- 9 x 12″ Sketch Pads OR
- Copy paper on clipboards
- Pencils
- White Erasers
- Decorated Frame-O-Scopes
2.1 draw
Pass out sketchpads and pencils, and let everyone draw their feet. Artists can be standing up or turn their chair sideways, and look down at them. Look at the picture and pretend that it is a drawing of giant’s feet, standing on a farm or a town! Have them draw the barn or the houses around the feet. Explain that this is how a bird would look down at a giant’s feet, and that this perspective is called a bird’s-eye viewpoint. A bird would only see the tops of the houses!
Let them have fun with it! Put the drawings aside to color in later if there’s time at the very end of the lesson.
It may be very difficult for this age to draw their feet to the edges of the paper. If they do not, see if you can get them to draw the frame-o-scope rectangle around their drawing.
Shoes must go back on to continue, unless you want to wait until the end of class.
LEARNING TARGETS
Students know how to identify viewpoints in artwork
M A T E R I A L S
- iPad or TV to display Pinterest board
3.1 talk
Have everyone bring their giant drawings. As you talk, make sure that they notice that you can see all of the ground in their pictures. Ask the students why they think they can see the ground (because you’re looking down at it. It is LOWER than your eyes). You can also let them talk about funny giant things and have a good time.
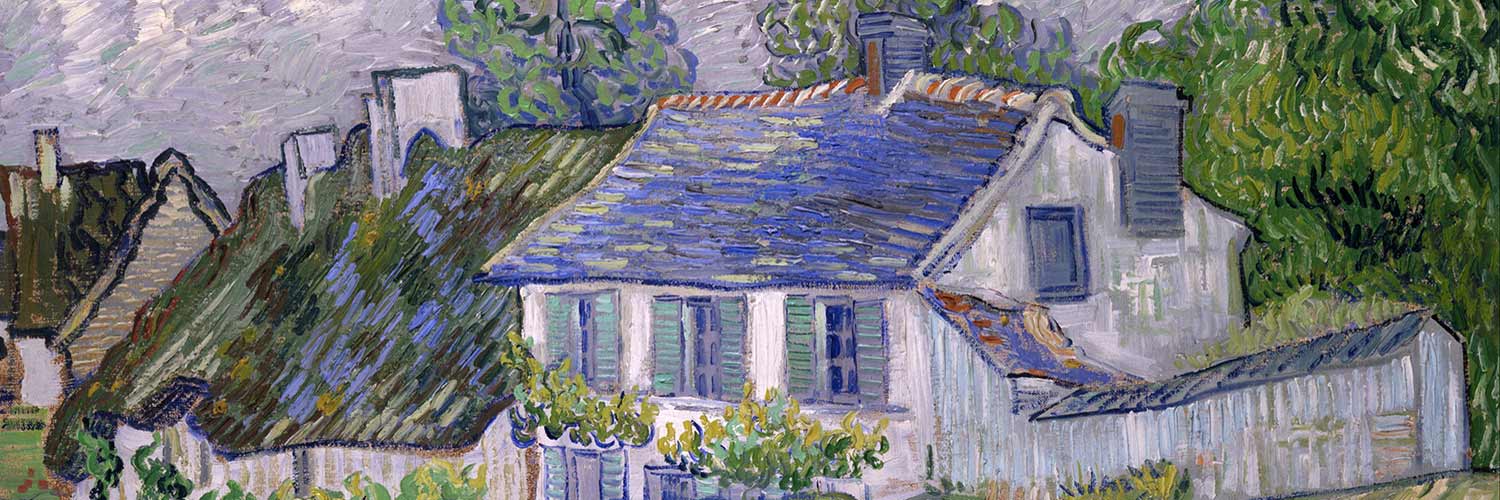
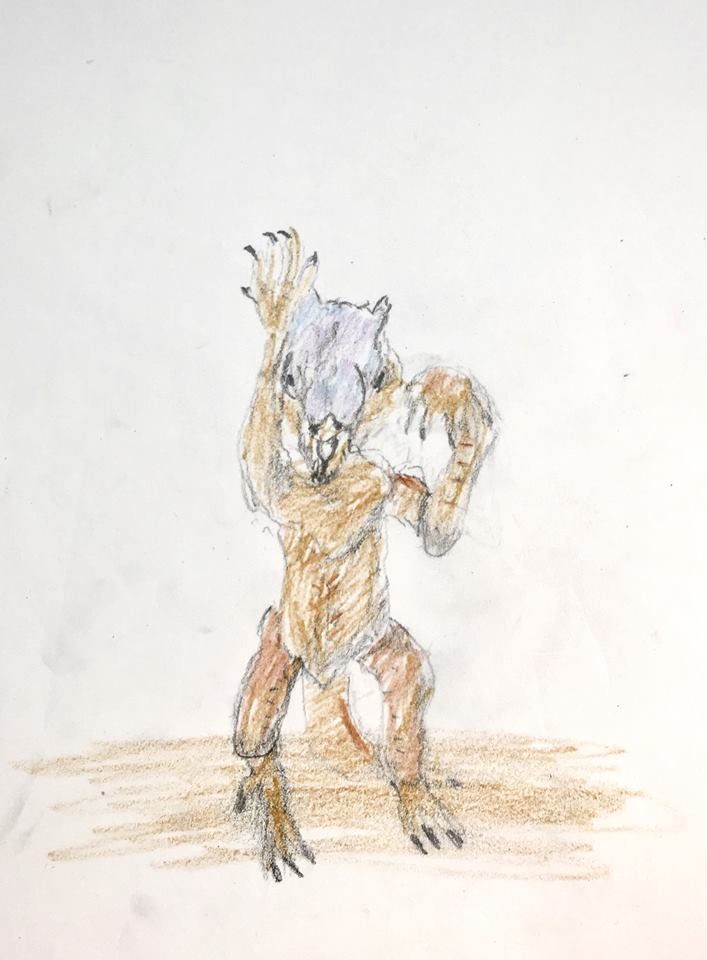
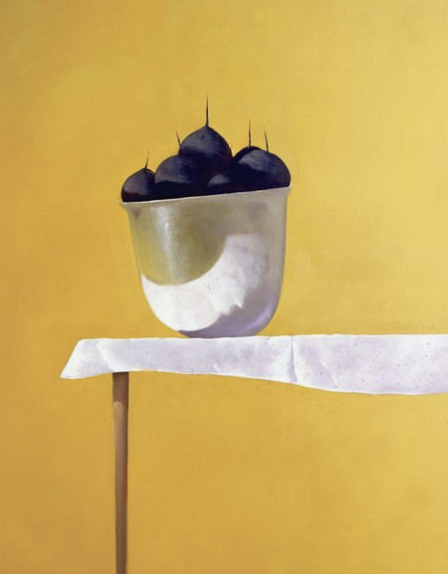
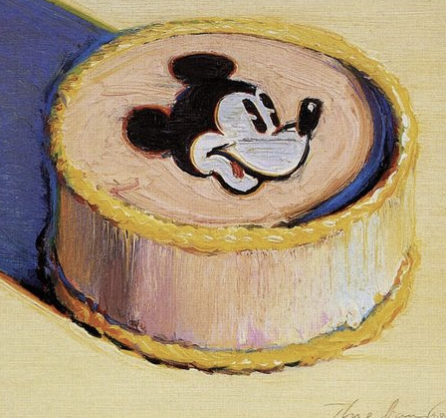
Use the Pinterest Board and read the captions to show how viewpoints are different and that the ground is part of a picture.
Near and Far Art (tap any image to open viewer)


3.2 prepare
Move tables out of the line of sight to the other end of the room. Then set one table as far away as possible, and cover it with a cloth going to the floor to make a kind of puppet stage effect. It is good to have the stage high enough so you don’t have to hunch down, so placing cardboard or some boxes on top of the table can make it work.
You can also hang a sheet or even butcher paper across two supports, like shelves, stacked chairs, or tall stools with books stacked on top. Give yourself something low to sit on.
LEARNING TARGETS
Students know how to identify viewpoints in artwork
M A T E R I A L S
- Circle puppets made before class starts
4.1 print
Reference
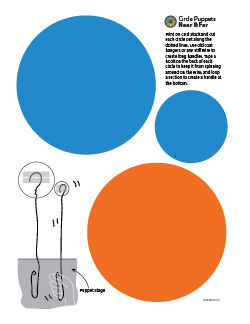
Circle Puppets
Short description goes here for the information printout.
1 Page – Opens in new window
4.2 demo
Without getting up from the discussion gathering, point out the stage. Have all of the kids promise to follow your directions, otherwise the secret artist test won’t work. They will need to cover either both eyes or just one eye with a hand when asked, and not look with both eyes until you say it’s time.
Now have the group all stand in a group where everyone can see the stage, but are about 12 – 15 feet away from it.
Start by having everyone stay in one spot, cover both eyes, and wait.
Test number 1
Have your helper hold up the two large circle puppets (one blue, one orange) that are the same size. The puppets should be the same distance from the students but not touching or casting shadows on each other. About 10 inches space between them is good.
Have kids carefully uncover just ONE eye, leaving one eye still covered.
Ask them which circle is closest. You will probably hear some orange answers but most will say neither.
Have them take the other hand away. With both eyes, they can tell that yes, the circles are the same distance.
Test number 2
“Now cover up both eyes again”. The helper should move the orange circle straight back 2 to 3 feet.
“Uncover only ONE eye again. Which is closest this time?” They should all say the blue one.
Have them again look with both eyes to see that they were right. How did they know? Because the orange circle was smaller. If they can’t figure it out, have them try it again. Make sure that everyone realizes that it is the smaller size of the orange circle that made them understand that it was farther away.
Test number 3
Now, have them cover both eyes once again. Your helper should quietly replace the LARGE blue circle with the SMALL blue circle – PUT BOTH THE ORANGE CIRCLE AND THE SMALL BLUE CIRCLE TOGETHER AT THE SAME DISTANCE – JUST LIKE THE FIRST TEST.
“Carefully uncover only ONE eye. Which circle is closest?” It will look like the blue one is farther away because it is small, so everyone will say the orange circle is closer. Look with both eyes and discover the trick! Both circles are the same distance!
Artists use ideas like making something smaller to make it seem FAR away. It’s like a magic trick, when you can draw in a way that looks like there is depth in a flat picture.
Making things smaller is ONE trick to make things appear farther away. I know another good artist trick.”
STEP 5. Transition
Students will help get ready to draw from multiple still life references 5 MinutesLEARNING TARGETS
Students know how to set up their work area for drawing
M A T E R I A L S
- 9 x 12″ Sketch Pads OR
- Copy paper on clipboards
- Pencils
- White Erasers
5.1 prepare
If the tables are not ready, let the kids help. There should be 2 toys on each table, at about a third of the way from each end and staggered so that from the viewpoint of the chair at each end, one dino is on the left, and the other is on the right. Get the sketch books and pencils/erasers, but don’t begin drawing just yet. Explain that sizes of toys may be different at each table, and that we’re not worrying about size at all this time. This is just a new trick for drawing near and far, or what artists sometimes call depth. The slide show is very short in the next step, so your class can just stand up for it if you like.
LEARNING TARGETS
Students know how to identify different viewpoints in artwork
M A T E R I A L S
- 9 x 12″ Sketch Pads OR
- Copy paper on clipboards
- Pencils
- White Erasers
6.1 view
After the slideshow, have everyone push their chairs back a bit, get down and put their eyes right at the level of the edge of the table.
Your eyes are higher than the table, just like in the giant feet picture. When your eyes are above the ground or a table, and you are looking down at it, you will see a lot of the ground or the table surface. This is always true.
Now sit on the chairs, without moving them back close to the tables, so your chair should be back a bit. Look at the table and the toys. Can you see the top of the table? Yes! How about the back edge of the table? Yes! Get a new page on your sketchpad (or use a clipboard if you have copy papers), and draw a line across the middle of your page from SIDE to SIDE. (Their pad can be “bathtub” or “shower” position; whichever they prefer). This line is the back of the table, and is just like the line that is the edge of the ground, far away when you’re outside in a flat area. You will draw the toys on the page but NOT YET. We still need to use our 2 artist’s tricks. We’ve learned about smaller is farther away, so you know to make the toy on the right smaller. Now let me show you the other trick.”
6.2 discuss
If no one says it looks like one dino is higher up, then ask which dino looks higher to them, making sure that they understand that each person has their own unique answer, depending on the OWN VIEWPOINT. For kids who cannot see this, show them the 3rd slide again or draw the picture using the objects you have on the table. If they still can’t tell, explain that you expected for some of them to not see it, and that it can sometimes be hard to see it at first, but they will eventually be able to. Let go of trying to get them to see how they are higher and lower. Relax and say it will just come to them some day soon and there is no problem now.
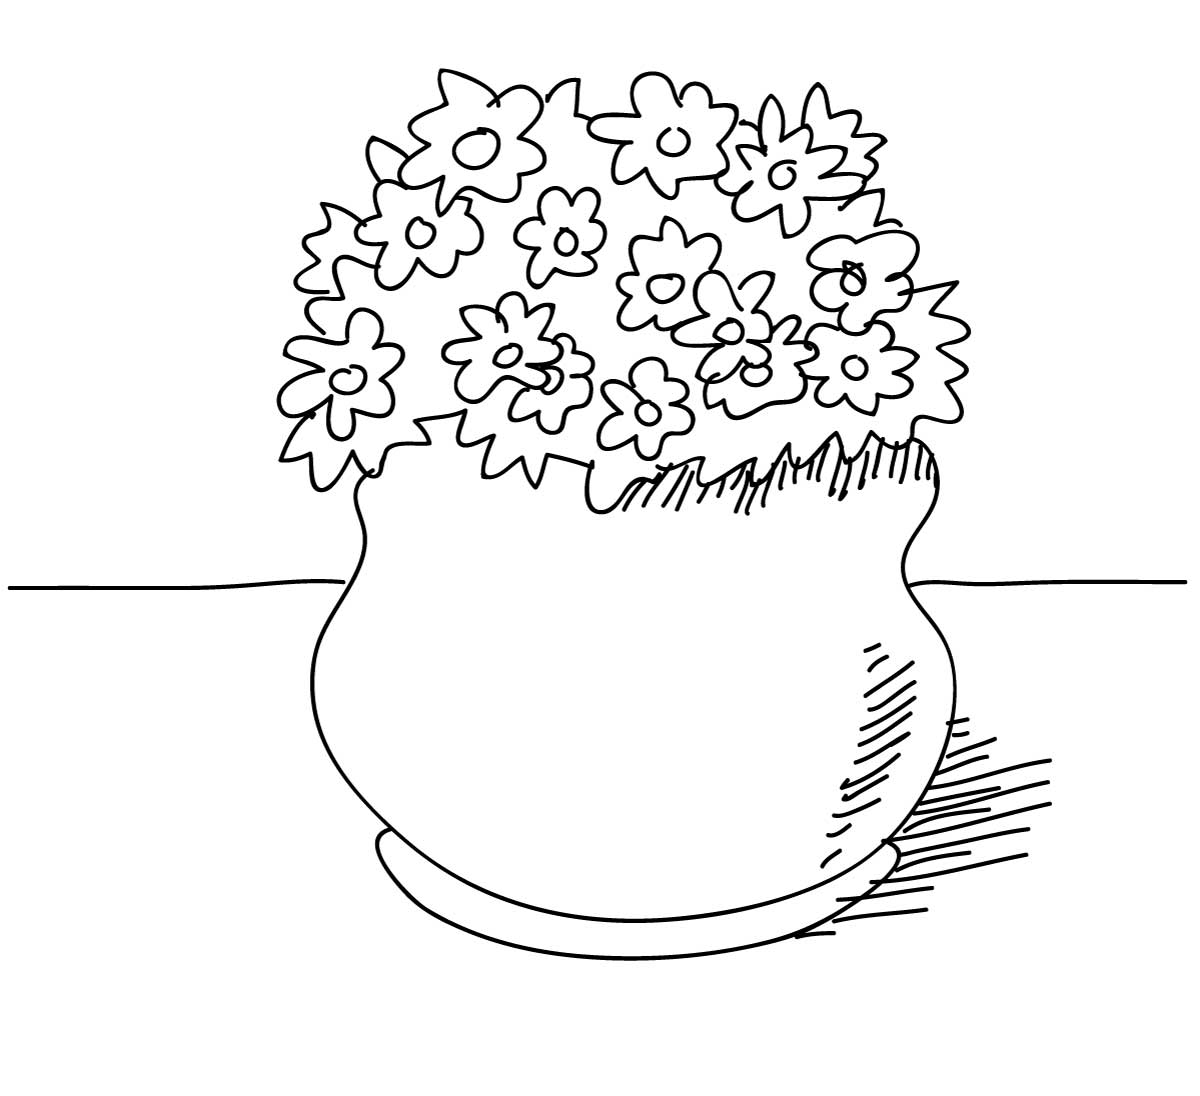
If you’re above a table, and looking down at it, you’ll see a lot of the table top, and the edge will be somewhere behind a large object like this vase.
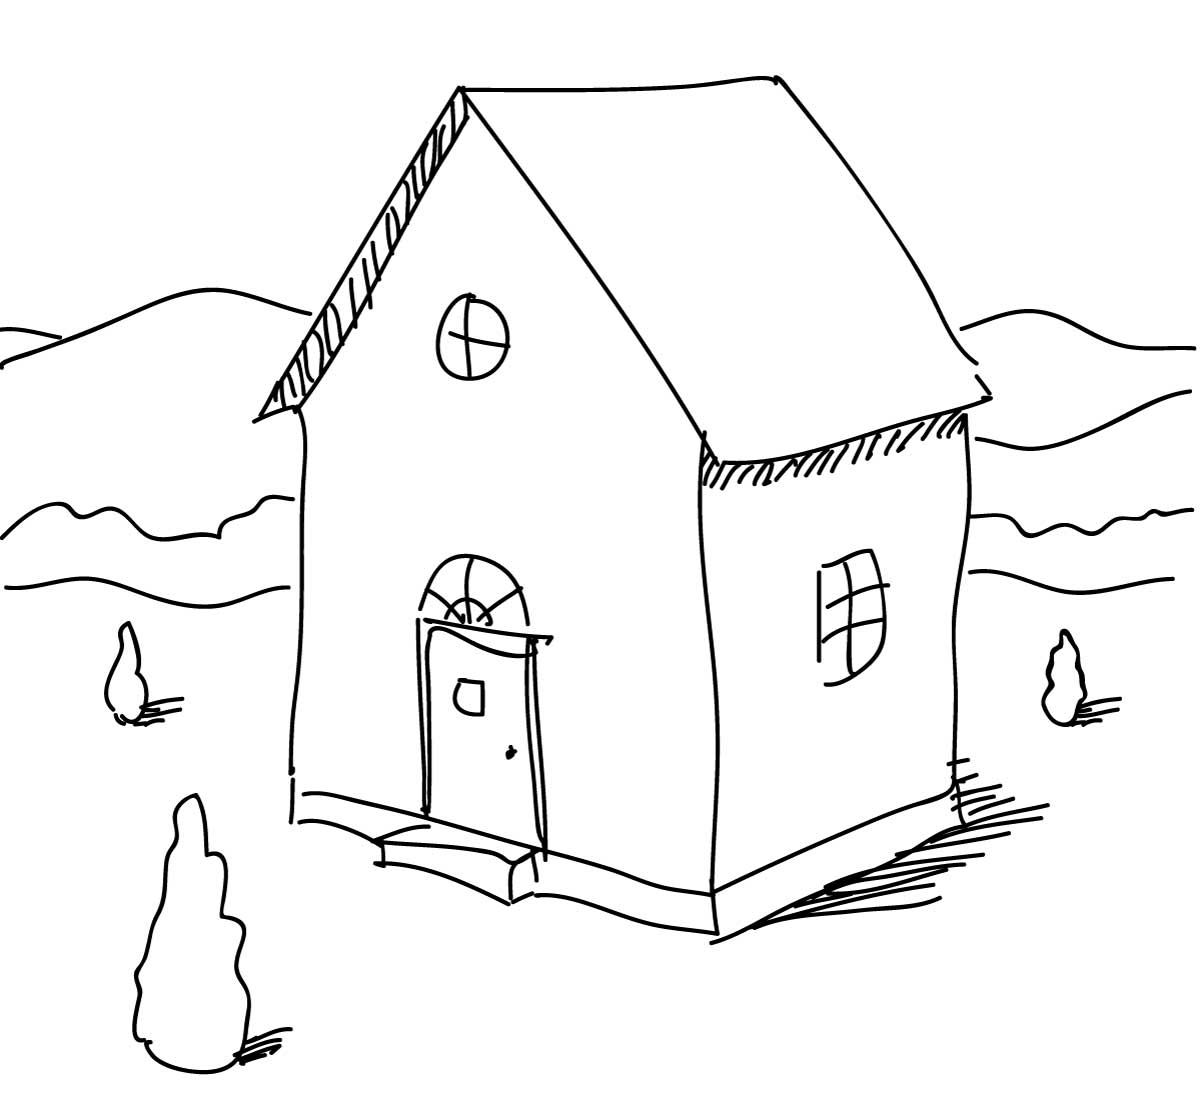
If you’re above the ground, and looking down at it, you’ll see a lot of the ground just like a table top, and the edge of the ground will be somewhere behind a large object like this house.
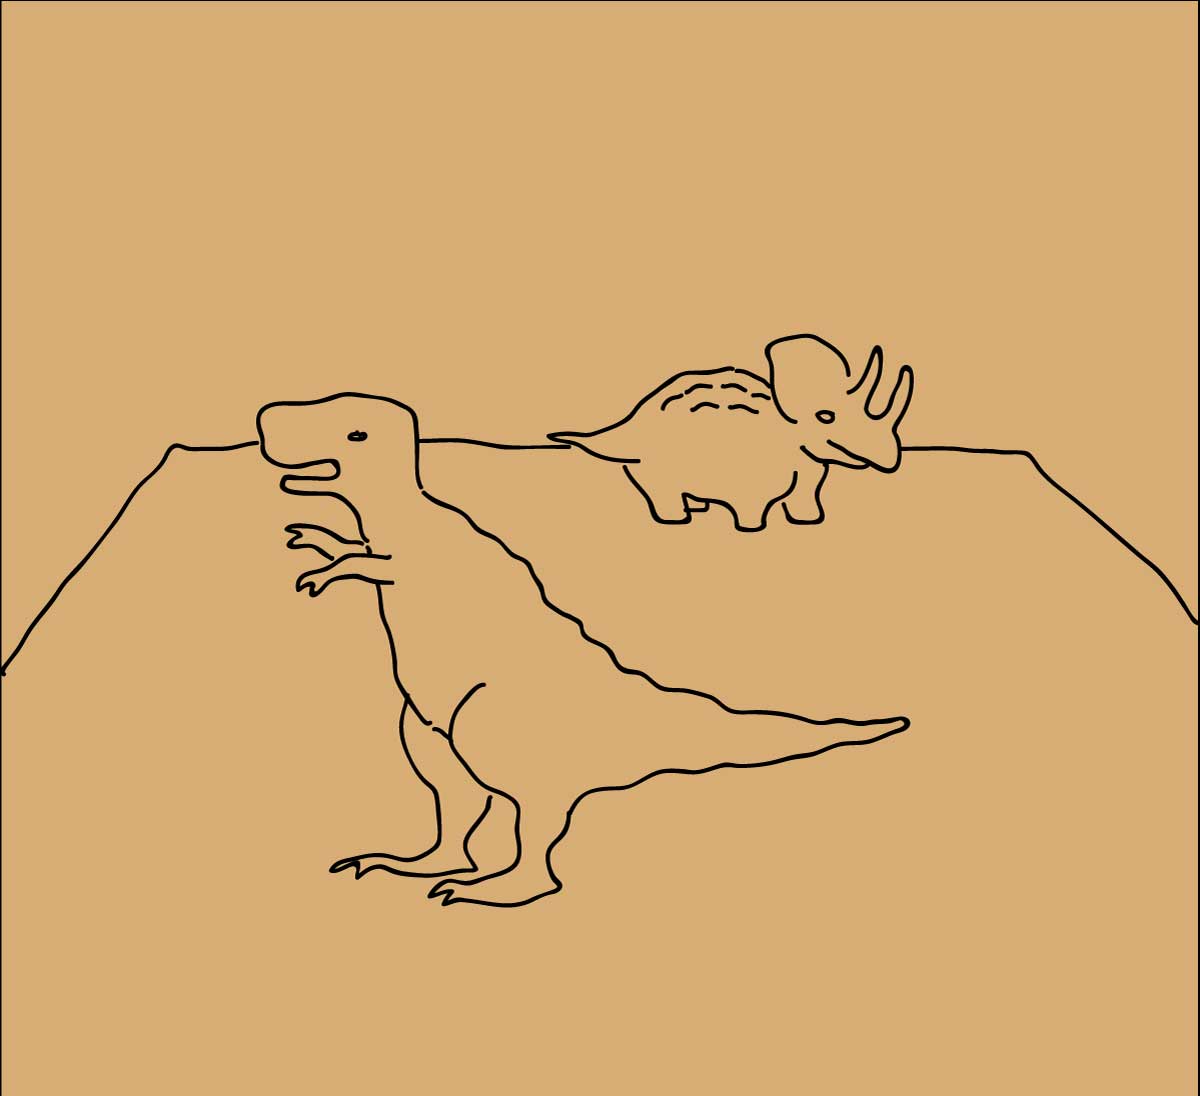
You can see the table and where the farthest edge goes behind both of these dinosaur toys. The toy closest to you is also lower on the page. They toy farther away is smaller.
LEARNING TARGETS
Students know how to draw a still life
M A T E R I A L S
- 9 x 12″ Sketch Pads OR
- Copy paper on clipboards
- Pencils
- White Erasers
7.1 draw
Encourage them to draw the table top and back edge where they actually see it, and place the toys on their page accordingly. Remind them of the two tricks:
- Things farther away are drawn smaller on the paper
- Things closer to you will be drawn lower on the paper
LEARNING TARGETS
Students know how to draw a landscape
M A T E R I A L S
- 11″ x 17″ Copy Paper
- Pencil
- White Eraser
- Markers
8.1 Print
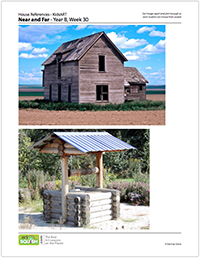
Reference
Houses
Cut images apart and print enough for each student to choose from several.
1 Page – Opens in new window
8.2 draw
They can finish by using markers or oil pastels. It’s ok if they do not use any of the tricks, but encourage them to try if they seem interested. Ask if they want an idea or a suggestion, and then give them – one at a time.
Early finishers can color the giant feet picture or the toys on the table picture.
LEARNING TARGETS
Students know the importance of cleaning up.
M A T E R I A L S
- Paper Towels
- Cleaning wipes
- Sink
- Waste baskets
- Well-lit spot for photos
- Camera or phone-camera
9.1 CLEAN
- Wash hands
- Super-wash brushes if used
- Put art supplies away
- Wipe tables & toss trash
- Remove any smocks (last)
- Check for items on floors and tables
9.2 PHOTO
OBJECTIVES
- Practice and improvement drawing from looking at real life
- Understanding how to draw near and far objects
- Accomplishment by using new skills to show depth in drawings
- Fulfillment by creating several works of art
TROUBLESPOTS
Cheating – There are students who think that cheating is fun and will help them seem more cool or “in the know”, but you can help prevent this ahead of time. Explain that if they don’t follow the instructions by keeping their eyes closed in just the way you tell them to, then they won’t get to see the surprise. If they peek, they won’t be able to see it. At all. Ever. A person who peeks would lose out on all the fun.
Correcting others – Some children want to help everyone else know what to do. They may become teachers someday! In step 6, you may hear one student telling another student on the other end of their table the answer to their own viewpoint. Gently explain that the other students have a different viewpoint and so everyone has different answers. If someone persists, you can say, “well they are seeing it from the opposite side, so their answer has to be opposite of yours.
ART WORDS
Viewpoint – The one spot where an artist is sitting or standing and looking at something while drawing it.
Depth – Something artists try to do in their work to make it look like real life, and like some things are near, while other things are far away.
CLASSROOM
PREP
What your room needs
Here are your printable lists and room prep instructions.
Opens in new window
Classroom Materials
- 11×17” Copy Paper
- Frame-O-Scope Prints
- Markers
- Glue Stick
- 9 x 12” Sketch Pads OR
- Copy paper on clipboards
- Pencils
- White Erasers
- Screen to display Pinterest board
- Circle Puppets
- Toys for still life
- Cleaning Wipes
- Sink
- Waste Baskets
- Camera
Next Week
Supplies you’ll need to find, or order:
- Colored papers
- Liquid Glue
- Brushes
- Scissors
PREVIEW
Week 31: Layered Landscape
Students will use lots of layers of colored papers to create a wonderful landscape collage. Circles can be stacked for colorful clouds and hills. Cutting and pasting is always a great art project.
Week 32: Freaky Flowers
In this lesson we’ll do several things backwards! Students begin by making their paper gray with charcoal, and then “drawing” light lines using a kneaded eraser. After a fun table-poster, they will draw flowers in pencil, and then use oil pastels – to do the background and leave the flowers white. Finally they’ll finish in the flowers too.