
Color
Each lesson Plan focuses primarily on one of the 4 Cornerstones of Art:
Drawing | Painting | Color | Style
OVERVIEW
Everyone should work to finish their mid-tone still life painting, and then if there is time, move into the last color journal of the year – neutrals. Your student may be finished with the journal before class is over, so there is also an exercise for early finishers.– – –
Grades 3 – 5
Week of April 15 – 19
1 Hour & 45 Minutes


Lesson At A Glance
A brief overview of each step. Buttons jump to each section for detailed information.
42 Min – Continue painting where left off
If Time – For early finishers
5 Min – Everyone helps
SCROLL & TEACH
LESSONPLAN
Each section is a different color. Read over once and then you can SCROLL & TEACH using any device you like. It’s designed to work best with your phone.
LEARNING TARGETS

Students know how to set up their work area for painting with acrylics.
M A T E R I A L S
- Acrylic paints
- Brushes
- Palette pad
- Water container
- Smocks
- Paper towels
Brushes should be nylon for springiness and durability. Round brushes are the most versatile.
Paint pigment list:
- Napthol or Pyrrol Red
- Hansa or Light Yellow
- Pthalo Green (blue shade)
- Cyan or Cerulean Blue
- Ultramarine Blue
- Dioxazine Purple
- Magenta
- Burnt Umber
- Raw Sienna
- Titanium White (professional grade only)
1.1 setup
Create a neat work area.
- Water should be near the palette
- Tubes should not be standing up because they fall into your work or palette
- Palette, brushes, water, and paper towel should be on the right if you are right handed.
- Set up your reference so you can see it easily without having to turn your head or stand up.
- Tape your canvas to a board
- Smocks
- A table or floor easel may be used if available

CREATIONS - tap here to open
Use the Student Instructions printout below to distribute to your Creations students. Tap the image to open the PDF in a new window.
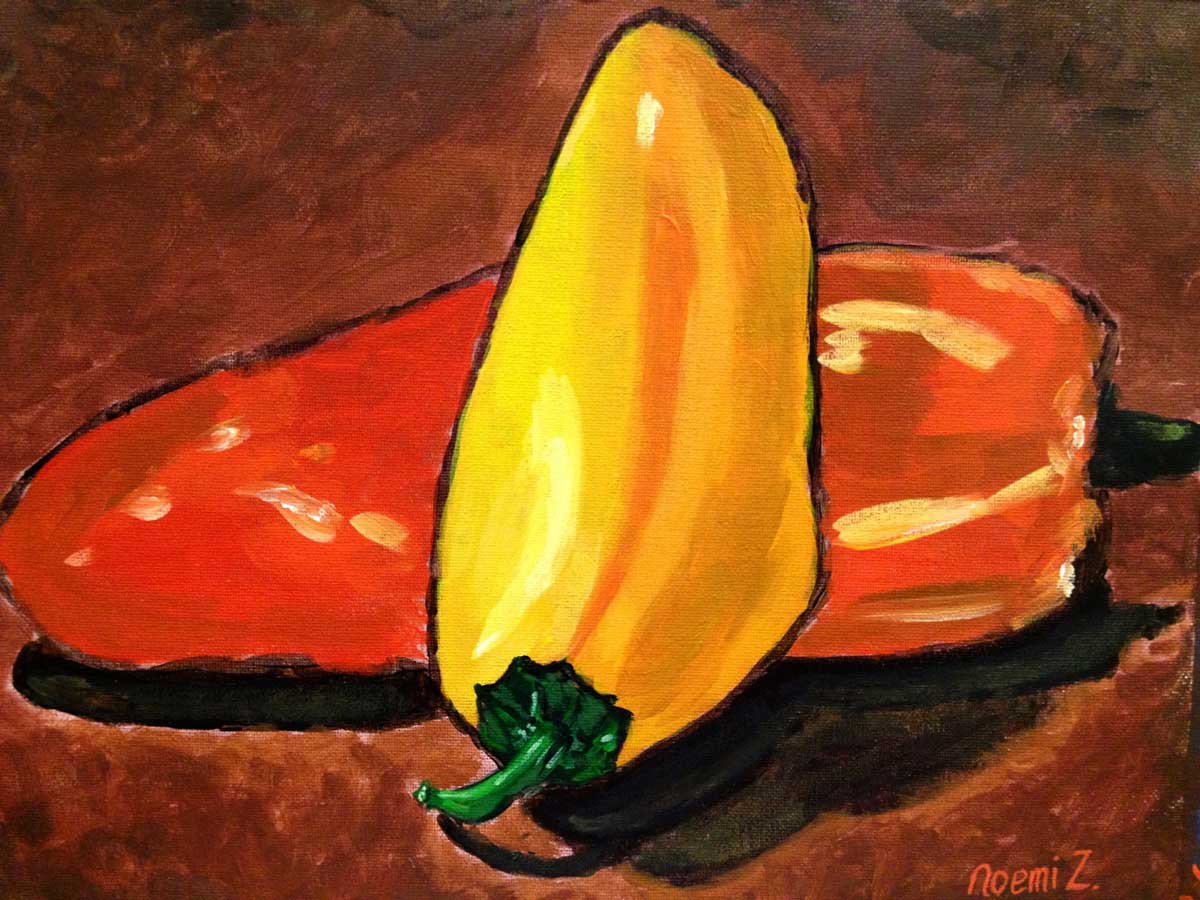
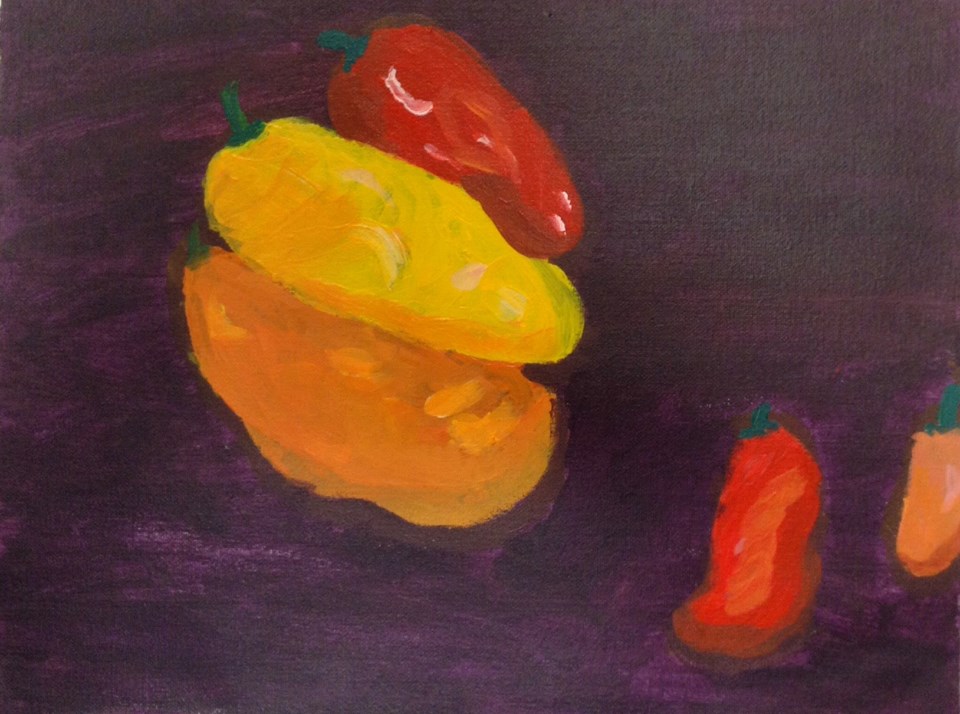
Mid-Tone Still Painting
This is from last week. Students should continue and finish, or choose a new reference and work with neutrals, creating sketches with acrylic paints on the heaviest paper they have, such as watercolor or strong sketch paper.
Overview: Students will create a more advanced version of this project by setting up their own still life. Have other vegetables and fruit for them to choose from.
Other than setting up, the advanced students follow the same plan as the Foundations students.
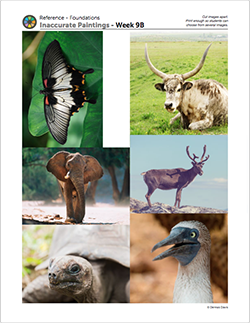
Alternatively, you can let them find reference for an animal or human using the reference below (People is from recent lesson and animals is from September), and use the same technique.
Tap images to open Creations Student Instructions and Reference Materials in new windows

Use this button to jump down to the preparation section.
LEARNING TARGETS
Students will know how to finish a painting
M A T E R I A L S
- Acrylic paints
- Brushes
- Palette pad
- Water container
- Smocks
- Paper towels
2.1 paint
Help students continue their Mid- Tone still life painting where they left off last week.
Even if your student claims to be finished, there may be some special touches that bring out contrast and details (a highlight or two, an extra spot of color somewhere..). Begin by examining the art to make suggestions for these final details. Sometimes Mr. Dennas refers to this as “bling” for the painting.
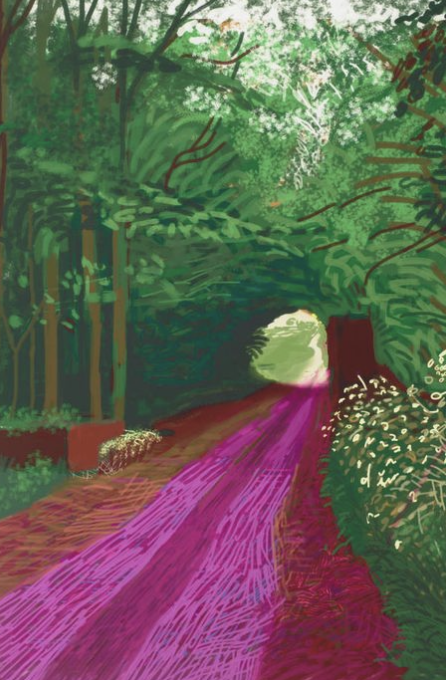
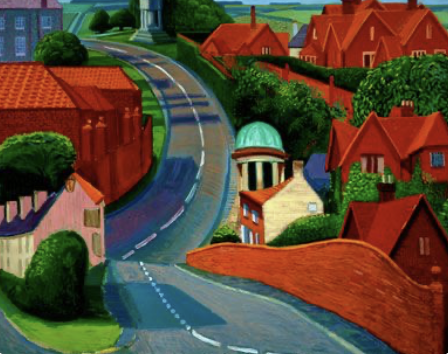
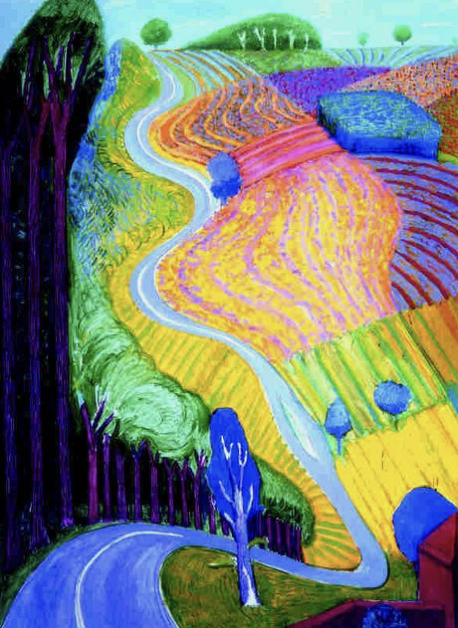
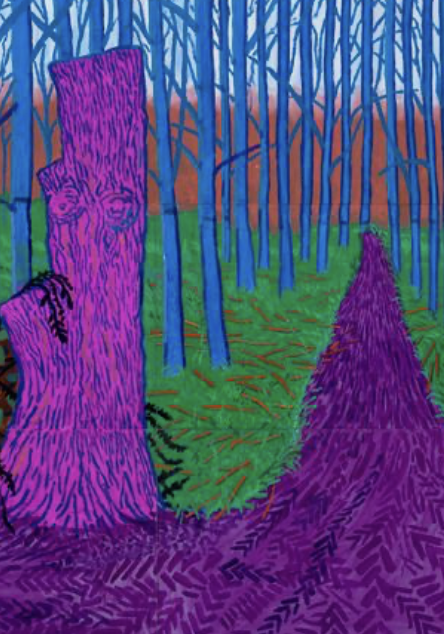
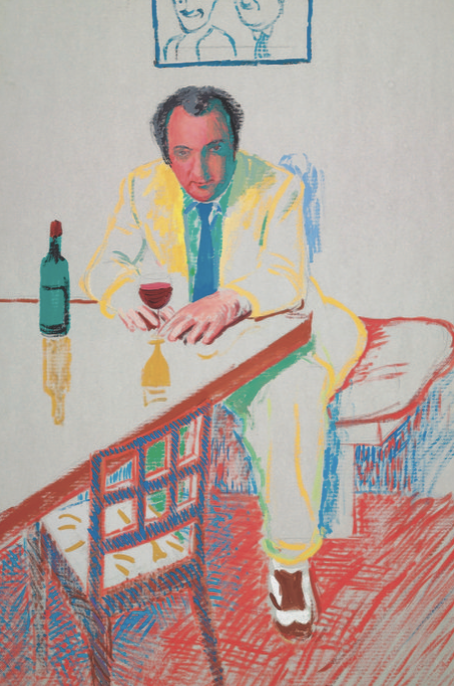
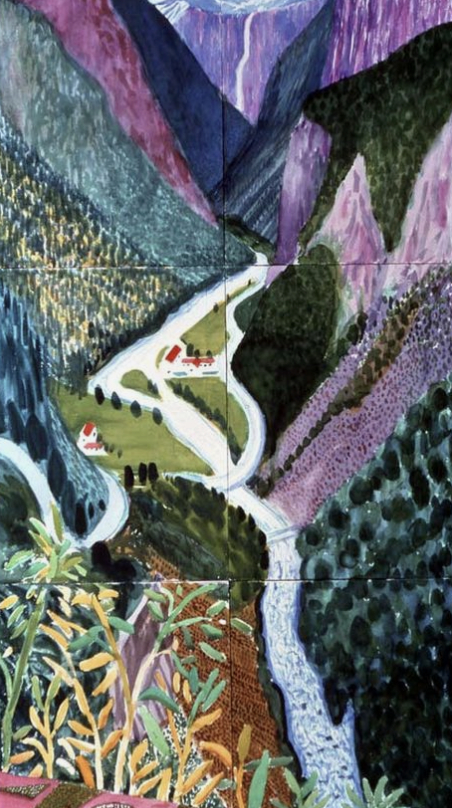
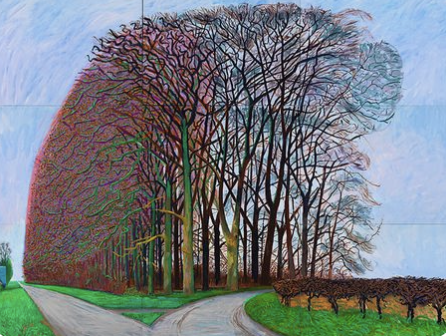
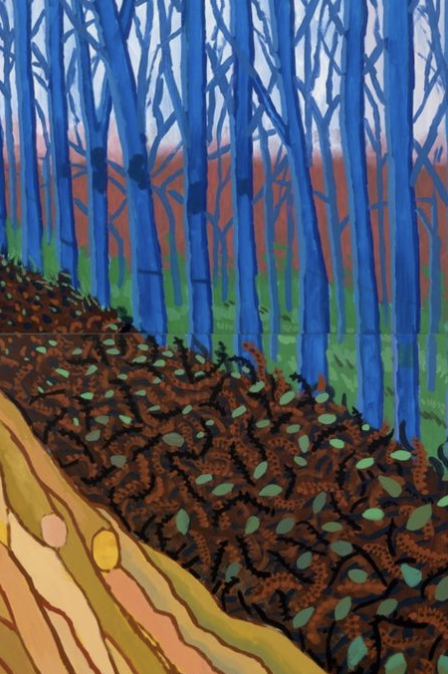
David Hockney Paintings (tap any image to open viewer)
Use this button to jump down to the preparation section.
LEARNING TARGETS
Students know how to mix neutral colors
M A T E R I A L S
- Acrylic paints
- Brushes
- Palette pad
- Water container
- Smocks
- Paper towels
3.1 Print
worksheet
Neutral Color Journals
Print on heavy card stock paper with a smooth finish.
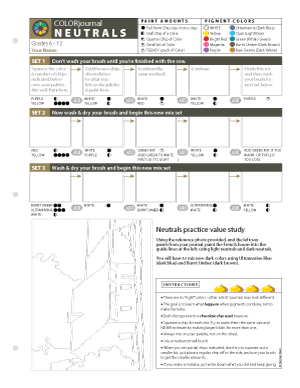
1 Page – Opens in new window
3.2 Print
Reference
Pear Photo
Cut the 4 images apart and print enough for each student to have one.
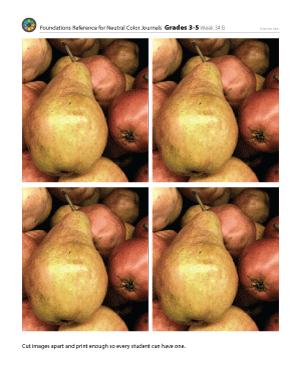
1 Page – Opens in new window
3.3 paint
Students should do the short journal with the 3 color lines. One part calls for a Green Mix which should be made with a clean brush, and is simply made by adding a small amount of Phthalo Green to some white.
If time allows, they should use the left over paints (and some new mixes), to fill in the practice painting with warm neutral colors. Guidelines are already provided so this is an exercise in color only.

Use this button to jump down to the preparation section.
LEARNING TARGETS
Students know how to create artwork independently
M A T E R I A L S
- Acrylic paints
- Brushes
- Palette pad
- Water container
- Smocks
- Paper towels
- Canvas pad
4.1 paint
Explain to your student that if they finish their painting and color journal they are free to explore and create new artwork of their own choosing.
If they want to use paint, ask them to show you a plan. They will need to have sketches done before they start. If there is not a lot of time left, you may want to not allow paint or ink.
Use this button to jump down to the preparation section.
LEARNING TARGETS
Students know the importance of cleaning up.
M A T E R I A L S
- Paper Towels
- Cleaning wipes
- Sink
- Waste baskets
- Well-lit spot for photos
- Camera or phone-camera
5.1 CLEAN
- Wash hands
- Super-wash brushes if used
- Put art supplies away
- Wipe tables & toss trash
- Remove any smocks (last)
- Check for items on floors and tables
5.2 PHOTO
OBJECTIVES
- Practice and improvement using and mixing acrylic paints
- Understanding how to mix neutrals using colors instead of browns
- Accomplishment in finishing a still life painting
- Fulfillment by seeing a technique work and learning colors
TROUBLESPOTS
Early quitters – Sometimes a student gets tired of painting and suddenly decides that a streaky brown underpainting looks great as a background. Don’t be fooled. Appeal to their sense of aesthetics, and ask them if they want to do their best work even when it gets hard. In some situations it can be more detrimental to push and demand than to allow someone to quit. If that seems to be happening, don’t let the painting be labelled as finished. Instead, allow the student to take a break, and set the painting aside to finish later.
ART WORDS
COOL Neutrals – Greys can be warm or cool. Any greyish color that leans towards a cool color will be a cool neutral. Mixing neutrals with opposites using more of the cool color will create beautiful cool neutrals.
WARM Neutrals – Warm neutrals are also grey sometimes – and are made with opposites using more warm than cool, but we have an entire world of neutrals we call browns. Browns are actually dark warm colors and they can be very bright or very dull. Creating them is the same as creating greys: mix opposites.
Dark brown pigments, however, should not be used for creating lighter brownish neutrals. Those pigments are only for mixing dark colors. To create a medium or light warm neutral, you should begin with a bright warm color and begin adding some of it’s compliment (opposite).
CLASSROOM
PREP
What your room needs
Here are your printable lists and room prep instructions.
Opens in new window
CLASSROOM
MATERIALS
- Water container
- Smocks
- Paper towels
- Cleaning wipes
- Sink
- Waste baskets
- Camera or camera phone
STUDENT’S
MATERIALS
- Acrylic paints
- Brushes
- Palette pad
- Canvas pad
PREVIEW
Week 32: Neutral Color Journal
Students will start the last color journal of the year – the neutral color journal. Upon finishing, classes will start planning and sketching their ideas for their studio painting project.
Week 33: Studio Painting Projects
Classes will either work individually to paint whichever piece of the studio was assigned to them (chairs, stools, styrofoam, horse benches), or as a group if their class was assigned a project that would need more than just one artist. They should use the plans they drew up the prior week.