
OVERVIEW
In this lesson we’ll do several things backwards! Artists begin by observing and using some recently learned skills. Then there is a negative-line mono print. They will re-draw flowers in marker outlines, and then use oil pastels to do the background first and leave the flowers blank. Finally they’ll finish in the flowers.– – –
Grades K – 2
Week of April 22 – 26
1 Hour & 30 Minutes


Lesson At A Glance
A brief overview of each step. Buttons jump to each section for detailed information.
15 Minutes – Artists’ Choice (optional)
15 Min – Draw using recently learned observation methods
5 Min – Re-draw the flower using a black marker
10 Min – Show artist how to do an etching monoprint
15 Min – Students create a print
5 Min – Clean up painting
13 Min – Color flowers from steps 2 & 4
2 Min – Everyone helps
SCROLL & TEACH
LESSONPLAN
Each section is a different color. Read over once and then you can SCROLL & TEACH using any device you like. It’s designed to work best with your phone.
LEARNING TARGETS

Students know how to use their imagination to make art
M A T E R I A L S
- 11″ x 17″ Copy Paper
- 4B Pencil
- White Eraser
- Markers
- Oil Pastels
1.2 draw
Ask them to work with one piece of paper for a while. If someone uses the phrase, “free draw”, explain that artists’ choice is something only artists can do, while free-draw is something anyone can do. You want to use the phrase to elevate the students’ expectations of their work.
Everyone should take their time with the work and make a finished piece of art. Limiting the paper can also help kids focus on the work. If someone finishes in super-fast time, ask them what more they can do to the existing paper. Ask again several times – unless they appear overly frustrated; then you can allow them to move on to a new work.
Use this button to jump down to the preparation section.
LEARNING TARGETS
Students know how to draw using a reference
M A T E R I A L S
- 11″ x 17″ Copy Paper
- Pencils
- Eraser
- Flower Print References OR
- Flower still life (real or silk)
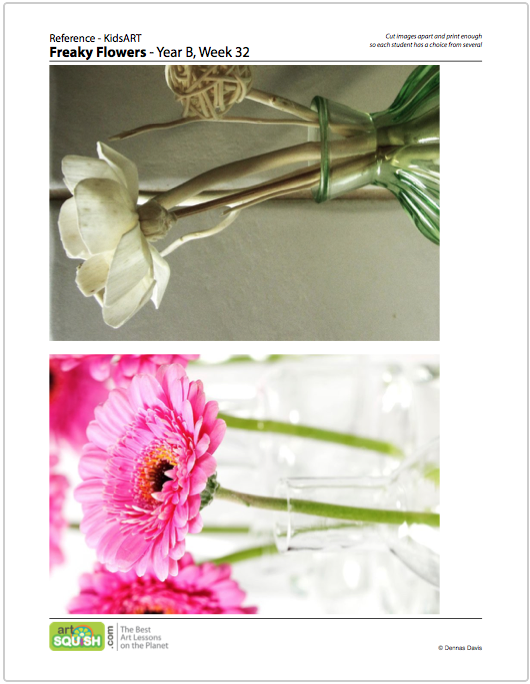
2.1 Print
Reference
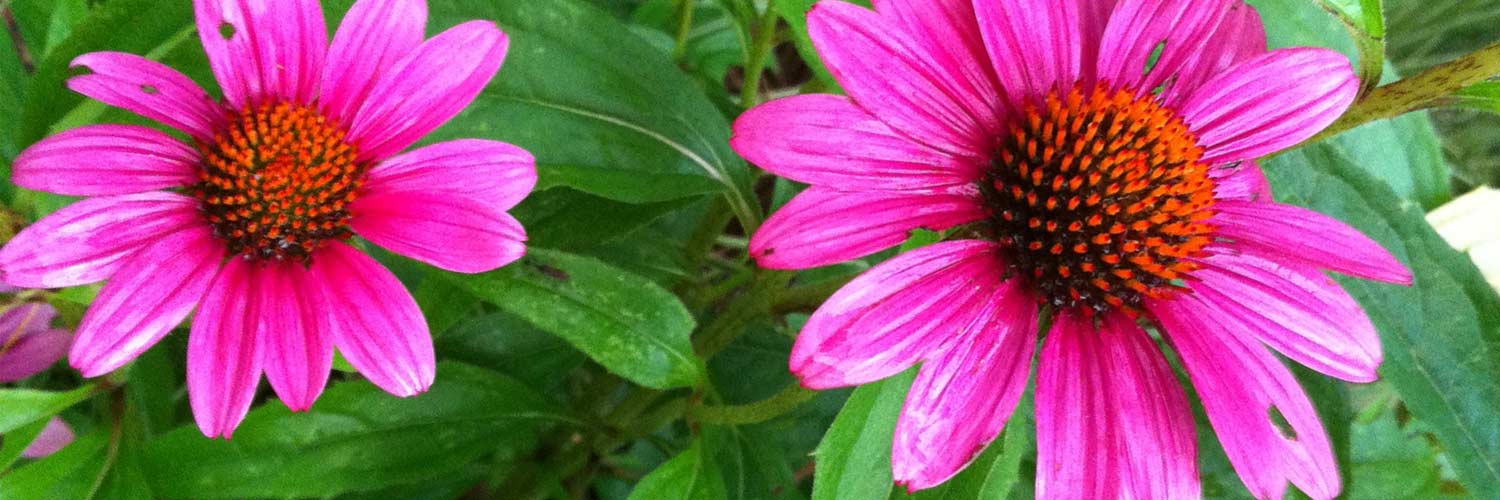
Flowers
Cut images apart and print enough for each student to choose from several.
Hand out reference prints. Set all of the images out on a table or counter, and let your student choose what they want..
3 Pages – Opens in new window
2.2 draw
Help your student draw flowers from life or from reference prints. They will be using observation methods learned in the last lesson.
By this step, you need to have set up the flower vases along the tables. If you get into a bind and cannot find or afford real life setups, you can print the reference PDF above.
Don’t worry if they can’t quite wrap their minds around the idea of drawing big shapes first, or tickle lines. You’re planting seeds that will help them later. It takes a lot of work and practice to draw lightly (guide lines when their older). Never stress a child over doing something “right” or “wrong”. Just let them enjoy themselves, but mention these more advanced ideas so they understand them when they’re ready.
“Before you pick up your pencil, cover one eye and look at your flower. Since your viewpoint is looking down at the bottle or vase, you may see an opening that is curved where the stem is. Notice that it’s not a flat line, and it’s not a circle either. It’s more like an oval, or a squashed circle.
Now look at the flower.
What shapes are there? Can you see a football shape? A moon shape? A circle? A funny weird shape that reminds you of something else? What are the shapes in-between the petals? Do you see air shapes? What do those shapes remind you of?
OK, now instead of looking at the petal or leaf shapes, let’s look at the whole flower. What shape would it fit into? That is the BIG SHAPE of the flower. It might be a circle, or it might be a cup shape. The circle might be kind of lopsided or mushed down. What matters is what you see with your own eyes from your own viewpoint.
You can uncover your eye now and look with both eyes. Remember though, that using one eye helps artists see things flatter than they actually are, so that it’s easier to know how to draw it.
Now let’s try to draw the shapes. But wait! We are going to draw the big shape first, and THEN draw the smaller shapes (or details) inside that big shape. That may seem backwards to you, but it makes drawing accurately easier. Also, remember to use tickle lines when drawing your big shape! Just tickle the paper with your pencil instead of pressing down. This makes a light line.
When you are done with your flower, you can move on to the leaves & stem, and the vase or jar. When you are finished, erase the big shape as much as you can.”
Use this button to jump down to the preparation section.
LEARNING TARGETS
Students know how to gather inspiration for their artwork
M A T E R I A L S
- Ipad or TV to display Pinboard
3.1 observe
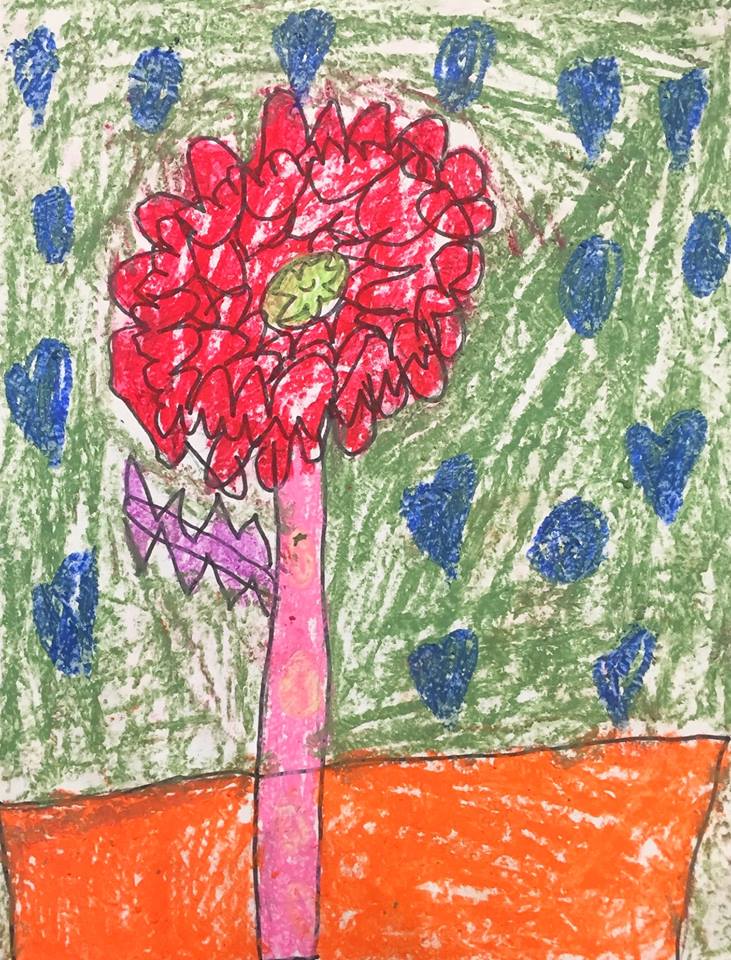
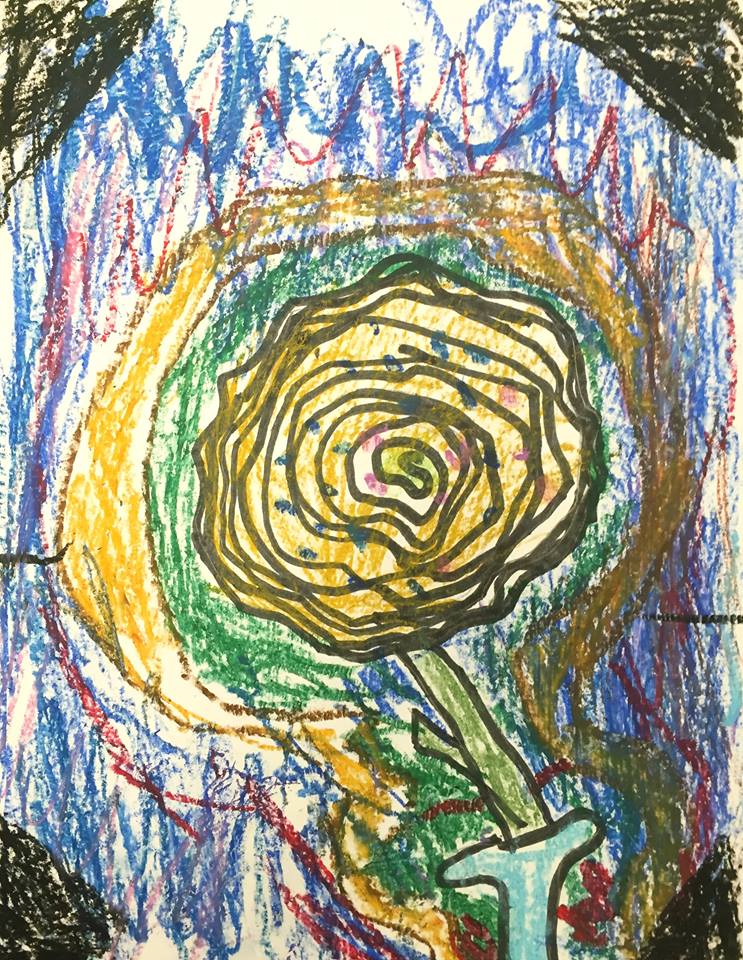
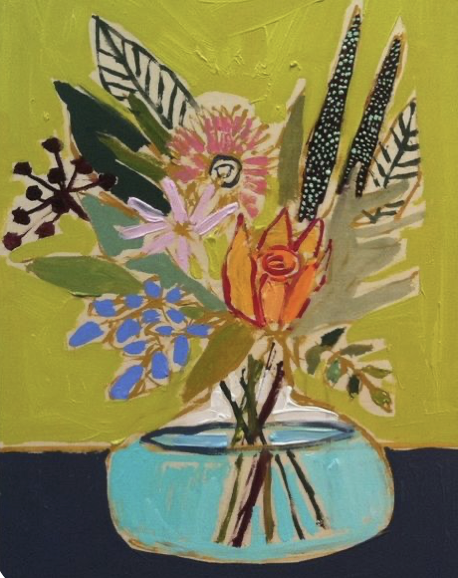
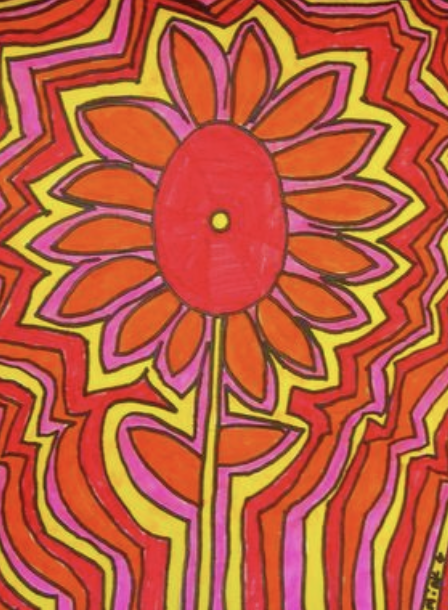
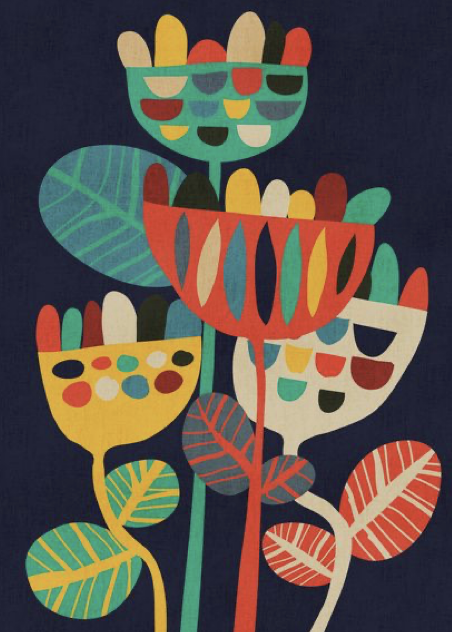
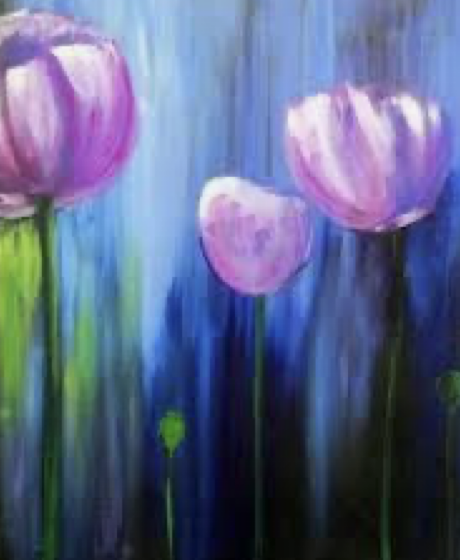
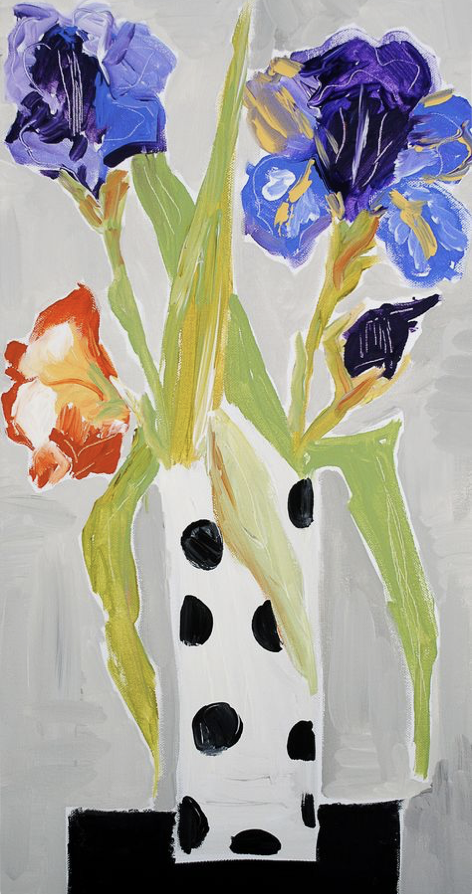
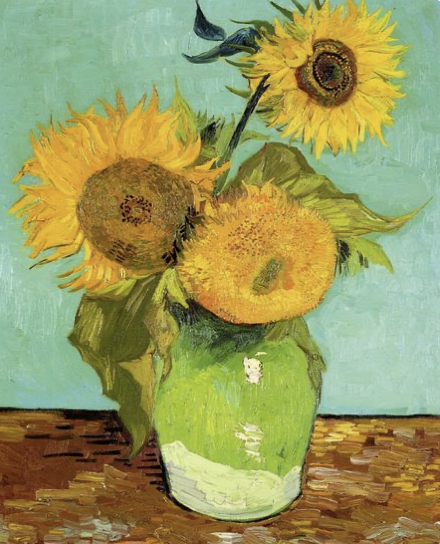
Look at Pinboard of artwork examples of unrealistic colors, freaky fun colors and patterns in artwork.
Encourage students and help students as needed by asking questions and giving your honest responses. Later in the lesson, take a moment to get their attention and make the lesson point in the next step.
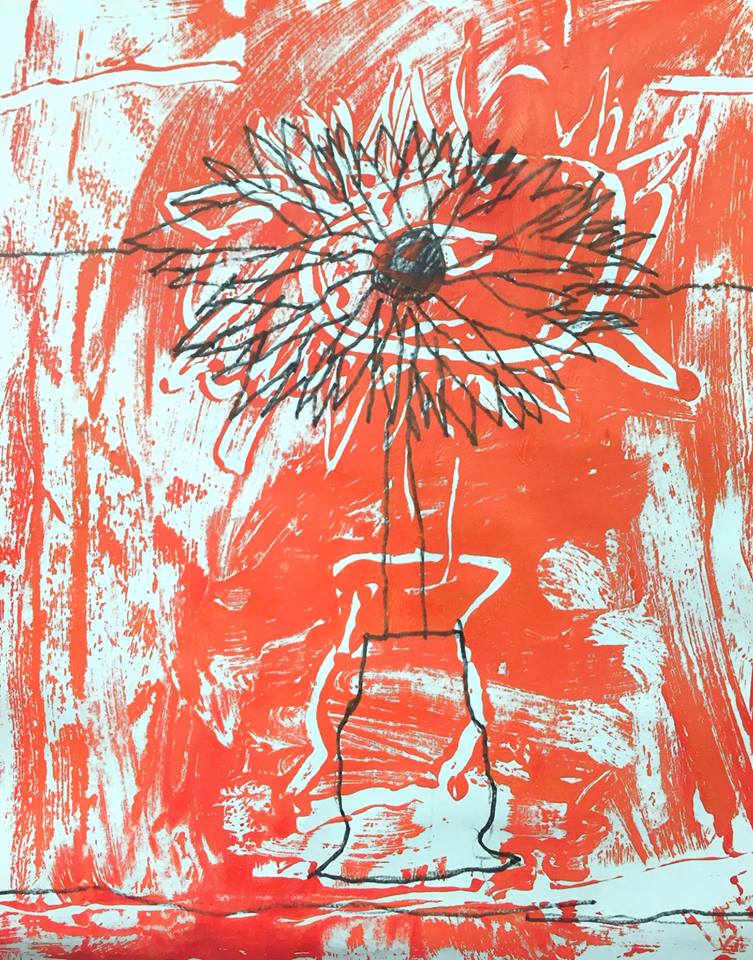
Freaky Flowers (tap any image to open viewer)


Use this button to jump down to the preparation section.
LEARNING TARGETS
Students know how to redraw a sketch
M A T E R I A L S
- 11″ x 17″ Copy Paper
- Black markers
- Pencils
- Erasers
4.1 draw
Help students redraw their flowers. Students will need a fine tipped black marker and their drawings from the previous step
Once students are finished with their pencil lines, have them trace over their drawing in black marker. Have them write their name on the back and set aside for later.
Alternatively, you can have them redraw on a new sheet of paper. This is helpful if the pencil lines are too dark to erase. Tracing is great for this stage, since it will help them see the big shape.
Use this button to jump down to the preparation section.
LEARNING TARGETS
Students know how to create a monoprint
M A T E R I A L S
- Acrylic paint
- Wax or palette paper taped to cardboard for stability
- A large paintbrush
- Regular school pencils (with eraser on the top)
- Card stock
- A roller (optional)
Paint pigment list:
- Napthol or Pyrrol Red
- Hansa or Light Yellow
- Pthalo Green (blue shade)
- Cyan or Cerulean Blue
- Ultramarine Blue
- Dioxazine Purple
- Magenta
- Burnt Umber
- Raw Sienna
- Titanium White (professional grade only)
5.1 etch
Show your class how to do an etching monoprint.
Have your students watch as you do this demo.
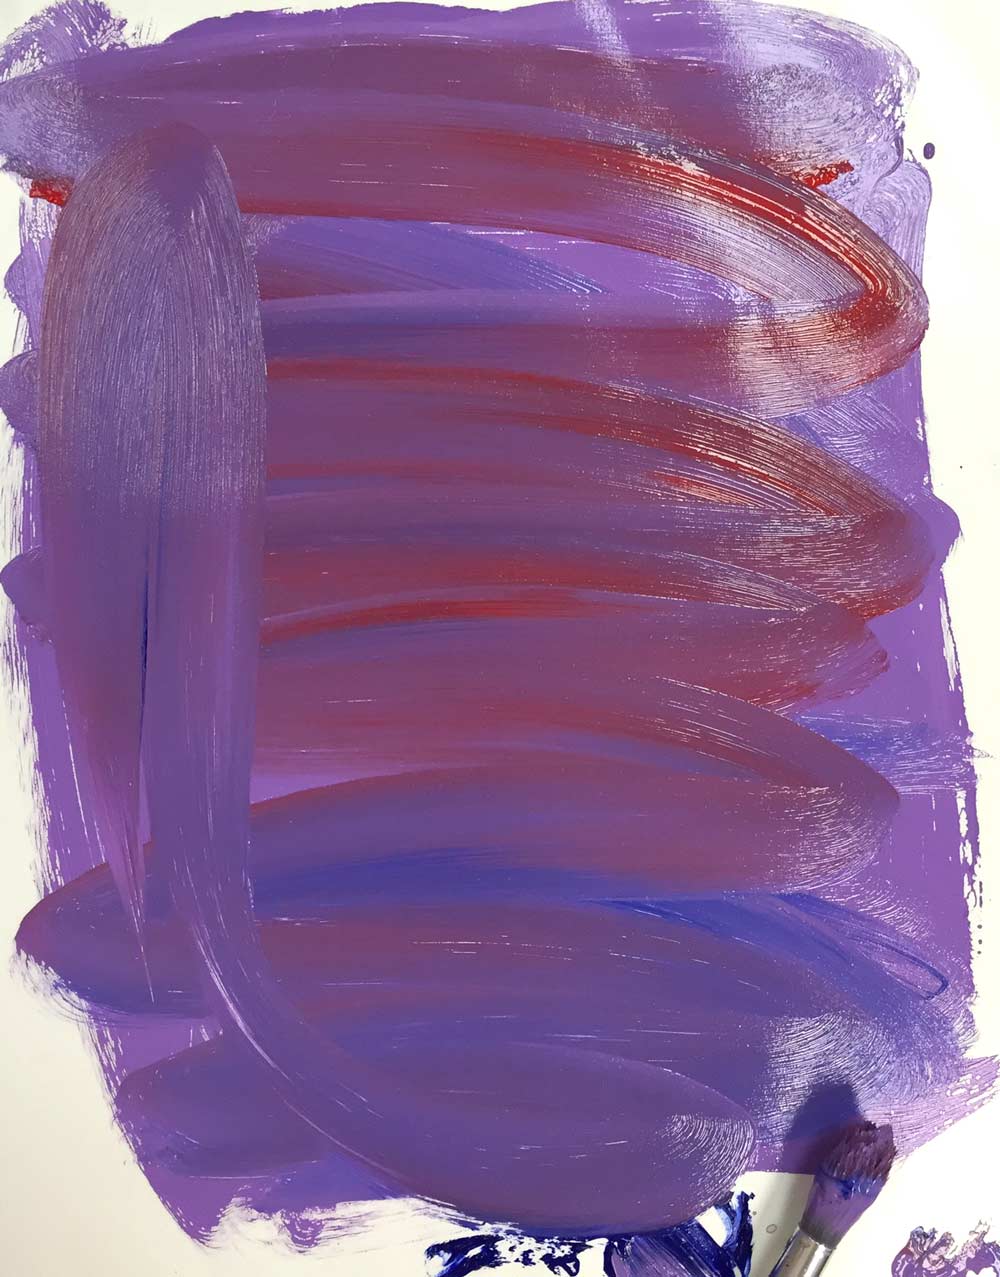
- Mix up two alike colors in your acrylic paints (such as pink and red, or red and dark red)
- Paint a thin layer onto the wax or palette paper. Remember not to use this paper directly on a hard table surface – use cardboard or the back of a pad as a buffer.
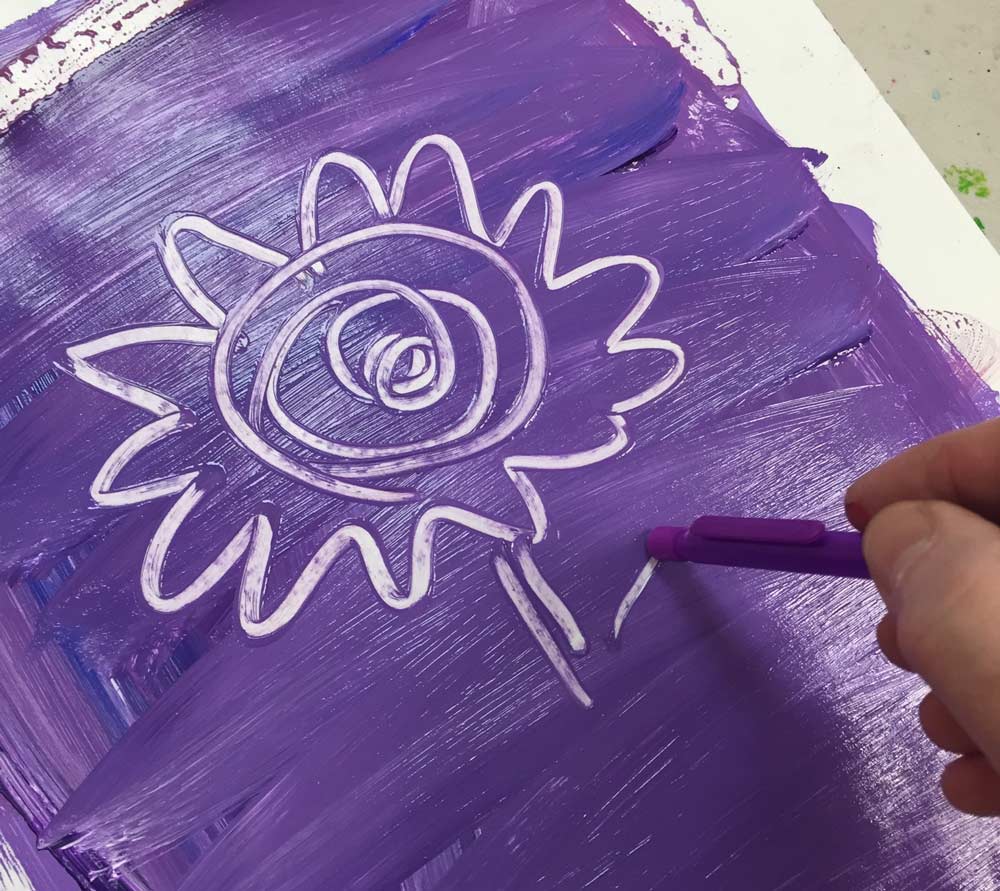
- Draw white lines (backwards!) by etching them in the wet paint using the eraser end of a regular school pencil.
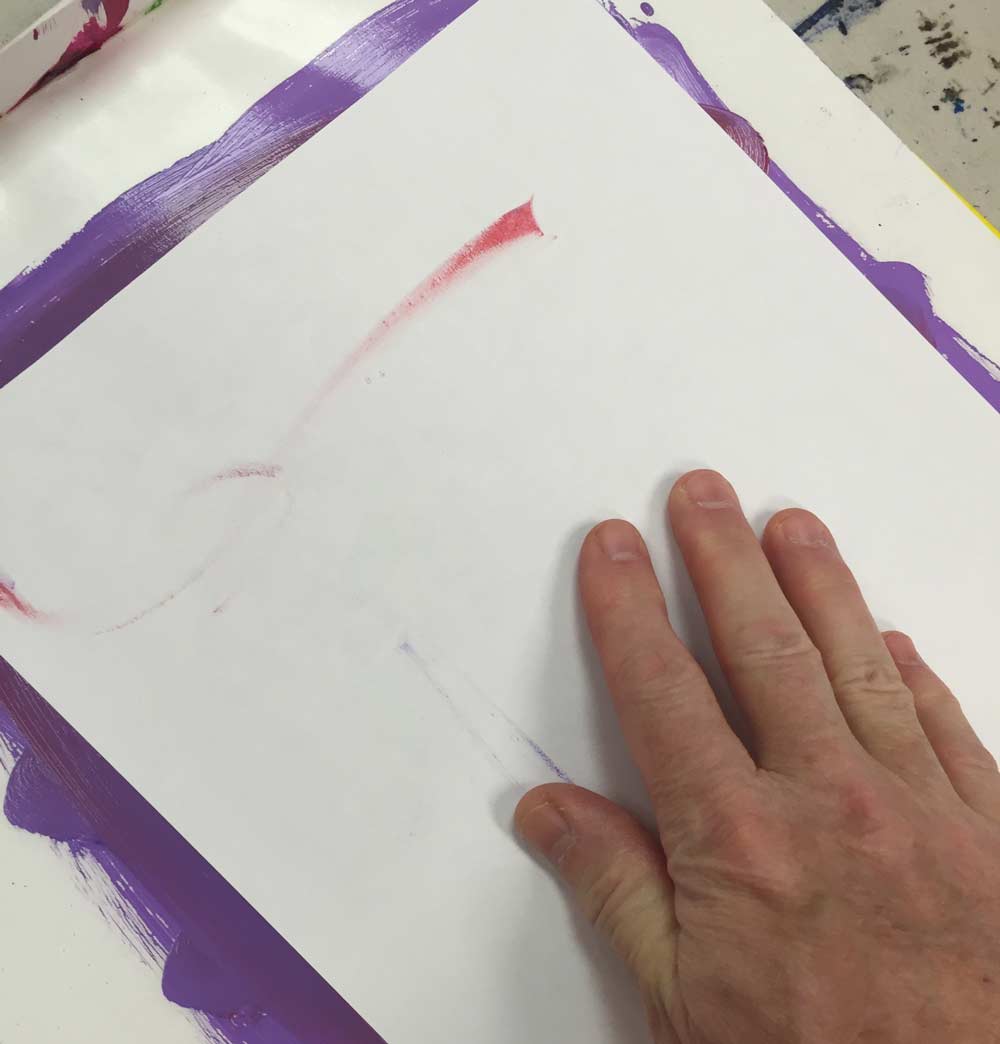
- Lay a sheet of heavy card stock carefully over the etched paint.
- Gently rub all over or use a roller to transfer the print
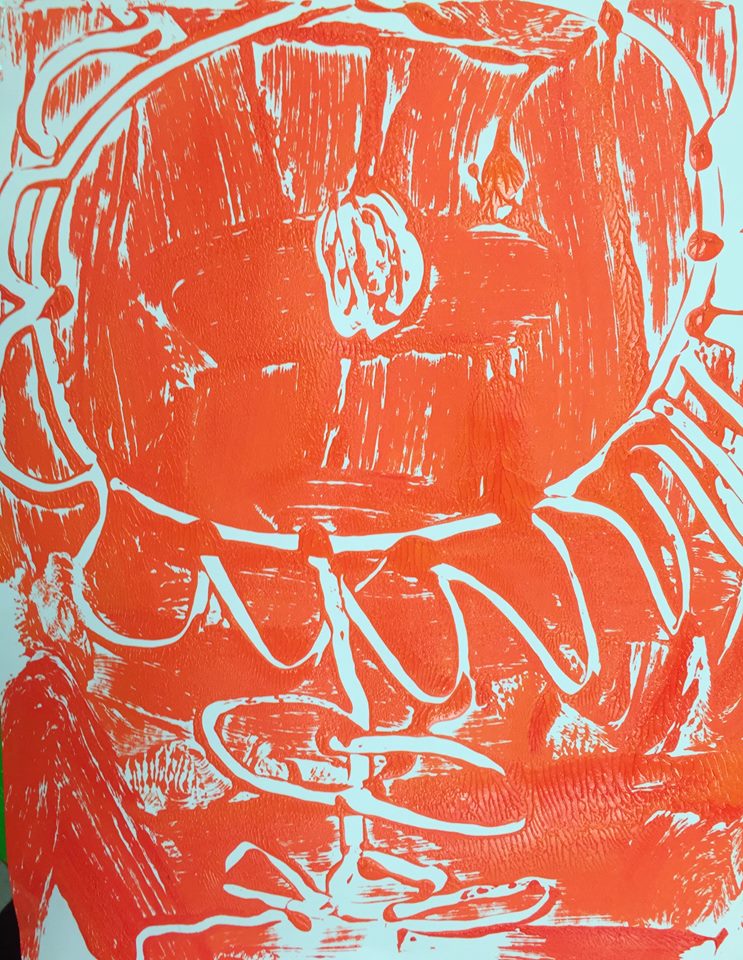
- Peel the paper up to reveal the print. IT’S BACKWARDS!
MonoPrint1
Start by painting several alike (analogous) colors onto the slick surface. We are using the plastic coated paper of a paper palette.
MonoPrint2
Use the back end of a pencil with a nice rounded eraser, and “draw” into the wet paint.
Monoprint3
Lay a sheet of paper carefully on top of the paint and press down all over. Try to keep the paper from moving. We used card stock. Watercolor paper works well too.

MonoPrint4
The finished print will be backwards. Set aside to dry.
Use this button to jump down to the preparation section.
LEARNING TARGETS
Students know how to create a monoprint
M A T E R I A L S
- Acrylic paint OR printing ink
- Wax or palette paper taped to cardboard for stability
- A large paintbrush
- Regular school pencils (with eraser on the top)
- Card stock
- A roller (optional)
6.1 print
Smocks should be worn, because acrylic paint will not wash out of clothing once it dries.
Have several acrylic paints already mixed for this. You can give students a choice between two sets of alike (analogous) colors, or just have two colors that everyone uses. It’s more fun when there is more than one color on each print.
Water based printing ink is great because it dries much slower than acrylics, and can be spritzed with a water sprayer to rejuvenate.
Use this button to jump down to the preparation section.
LEARNING TARGETS
Students know how to clean up their area when finished with their artwork
M A T E R I A L S
- Paper Towels
- Cleaning wipes
- Sink
- Waste baskets
7.1 clean
- Wash hands
- Super-wash brushes if used
- Put art supplies away
- Wipe tables & toss trash
- Remove any smocks (last)
- Check for items on floors and tables
Use this button to jump down to the preparation section.
LEARNING TARGETS
Students know how to use oil pastels
M A T E R I A L S
- Oil Pastels
- Blending Sticks (paper stumps)
8.1 color
Encourage students to blend their pastels, giving them a paint-like quality instead of the crayon look. You can blend in several ways:
- Use a lighter color that is similar
- Use a white pastel
- Use a blending stick (paper stump)
- Use your finger and/or a paper towel
Use this button to jump down to the preparation section.
LEARNING TARGETS
Students know the importance of cleaning up.
M A T E R I A L S
- Paper Towels
- Cleaning wipes
- Sink
- Waste baskets
- Well-lit spot for photos
- Camera or phone-camera
9.1 CLEAN
- Wash hands
- Super-wash brushes if used
- Put art supplies away
- Wipe tables & toss trash
- Remove any smocks (last)
- Check for items on floors and tables
9.2 PHOTO
OBJECTIVES
- Practice and improvement using observation and redrawing skills
- Understanding how big shapes can be seen when observing
- Accomplishment in making several original works
- Fulfillment by choosing subject and composing artwork
TROUBLESPOTS
Frustration – As children grow, they begin noticing that their work doesn’t look like real life. This only happens after they experience a shift in cognitive development that allows them to think of the world visually instead of symbolically. This usually happens sometime in the 7th year, so whenever you are drawing from life, you may see manifestation of this sudden shift. Here’s what to do.
Encourage in truth, and ask questions. The one thing you don’t want to do is confuse your student and invalidate their new cognitive abilities by saying something positive yet empty. “What? I love it!” or “It’s awesome! I don’t know why you don’t like it!” are some examples of what NOT TO DO.
Instead, practice these responses in your mind:
“I think you’re doing well”
“I love this color you’re using”
“If you see something you don’t like, that means you have artist’s eyes. All artists need to practice.”
“Every time you do something that you don’t like, it’s called a learner, and helps you get to be a better artist.”
“All artists create work that they don’t like. It’s part of the process, so don’t worry about it. I drew something the other day that I immediately threw away!”
ART WORDS
Monoprint – Any kind of print made from pressing paper onto a painted surface. There is no plate, so after pressing the image is lost. Only one print can be made. Acrylic paint is used today.
Tickle Lines – Very light lines that can be erased are made by barely touching, or tickling, the paper with the pencil.
Analogous Colors – Colors that are alike, and close together on a color star or color wheel.
CLASSROOM
PREP
What your room needs
Here are your printable lists and room prep instructions.
Opens in new window
CLASSROOM
MATERIALS
- 11×17” Copy Paper
- 4B Pencil
- White Eraser
- Markers
- Oil Pastels
- Flower Print References OR
- Flower still life(real or silk)
- iPad or TV to display Pinboard
- Acrylic paint
- Wax or palette paper taped to cardboard
- A large paintbrush
- School pencils with erasers on top
- Card Stock
- Roller
- Paper towels
- Smocks
- Cleaning wipes
- Sink
PREVIEW
Week 33: Starry Nights
Students learn how Van Gogh saw the world differently and how they can add expression to their own work. The Starry Night painting is viewed and copied as an exercise for how to add to what the world looks like with color, technique, and movement.
Week 34: Lizards & Desert
This is a fun project that uses several techniques to create a desert image with a southwest feel to it.