
[su_panel background=”#dbddcd” color=”#000000″ border=”1px none #cccccc” shadow=”0px 0px 0px #eeeeee” radius=”1″]Slideshows and videos are in many of our lessons, but we also publish each one separately so you can find them without wandering through old posts aimlessly. Just enter text into the “search the site” field over to the right, for something you remember. It can be something that was in the photos or written in the text.
Slideshows are presented as a vertical stack of photos with captions, which are easy to zoom in using your fingers to pinch on a touch screen or touchpad. Just scroll down to advance to the next picture.[/su_panel]
Description
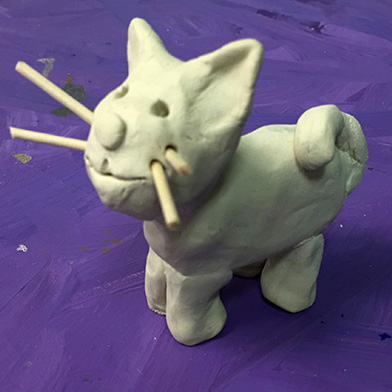
Here’s a great project using air-dry clay to make a small cat sculpture. Follow these step-by-step instructions on each photo in the slideshow. Have some toothpicks ready, cut in two and the sharp tips snipped off. These are for the whiskers.
[su_panel color=”#6db406″ border=”2px dotted #cccccc” shadow=”0px 0px 0px #eeeeee”]
[su_icon icon=”https://homeschoolingart.com/wp-content/uploads/2015/11/Slideshowicon.png” background=”#373732″ color=”#6db406″ text_color=”#373732″ size=”60″ shape_size=”0″ margin=”0px 0px 0px 0px”][/su_icon] S L I D E S H O W
[toggle title=”Step by Step Cat Sculpture • Tap to open – Scroll to view – Pinch to zoom” state=”closed”]
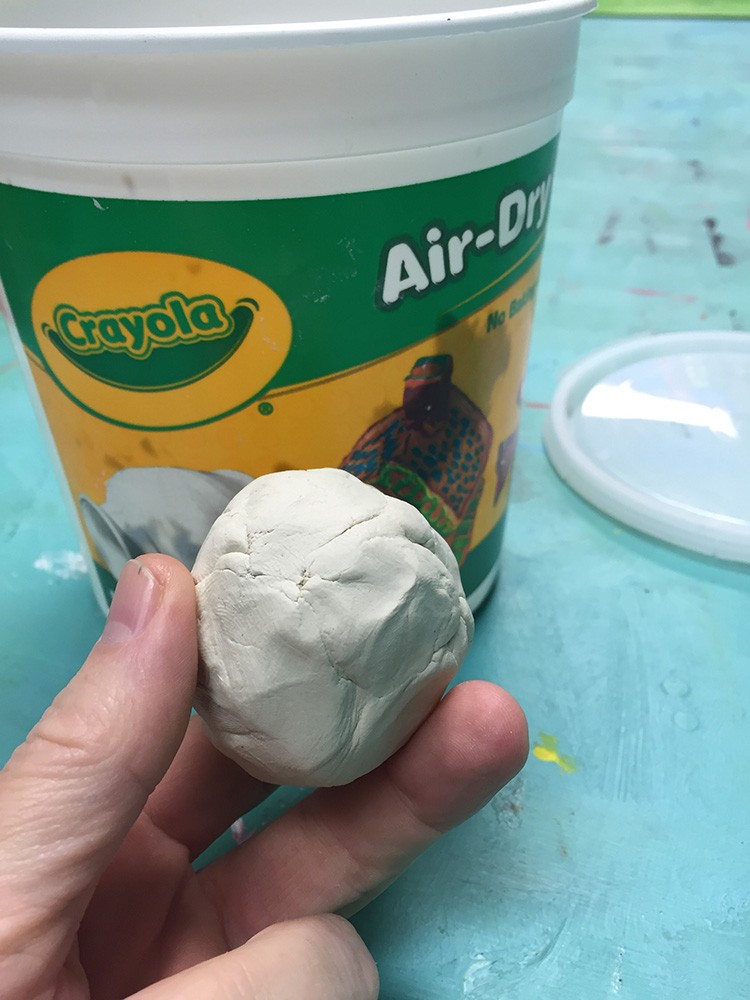
Use air-dry clay
Everyone should get a ball about the size of a large-ish lemon
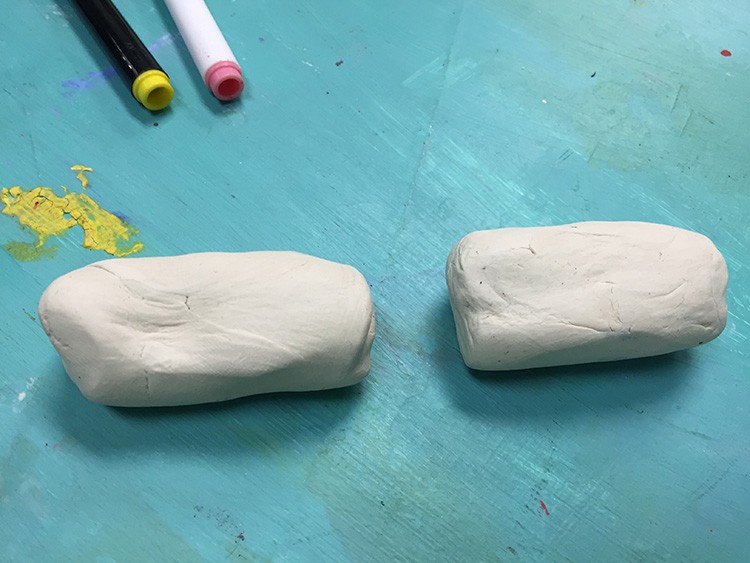
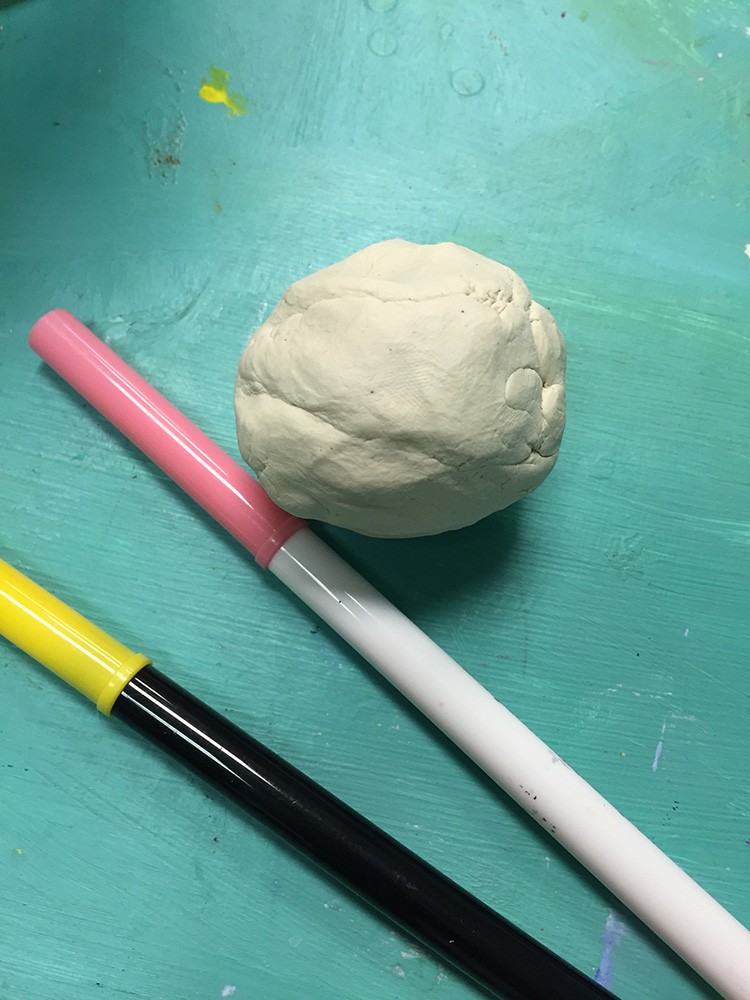
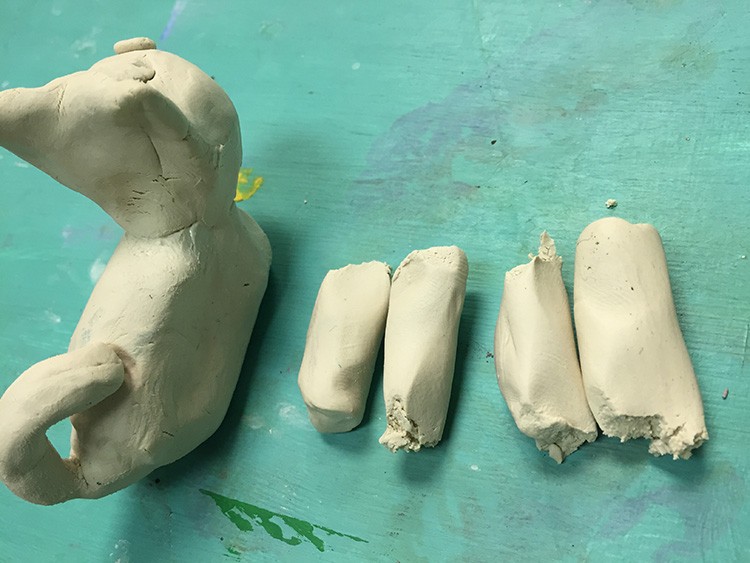
Roll your clay into a log and split into 2 equal parts
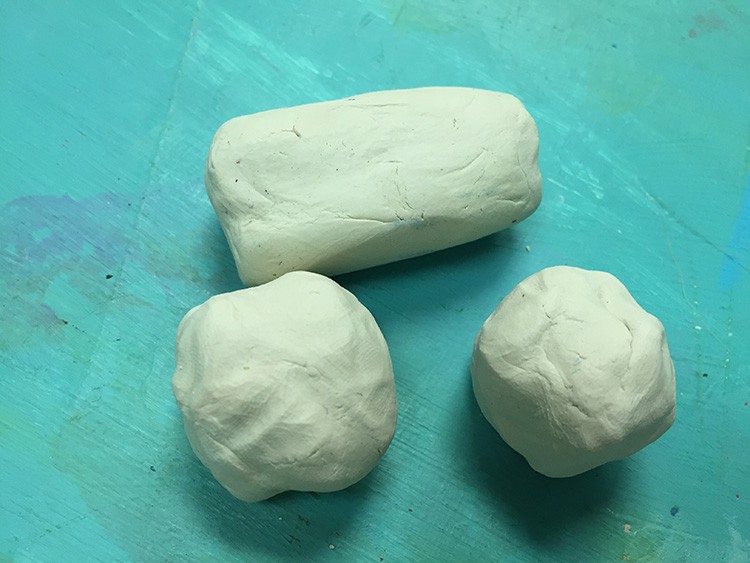
Divide one of those parts into 2 more equal smaller parts. Shape these into small balls.
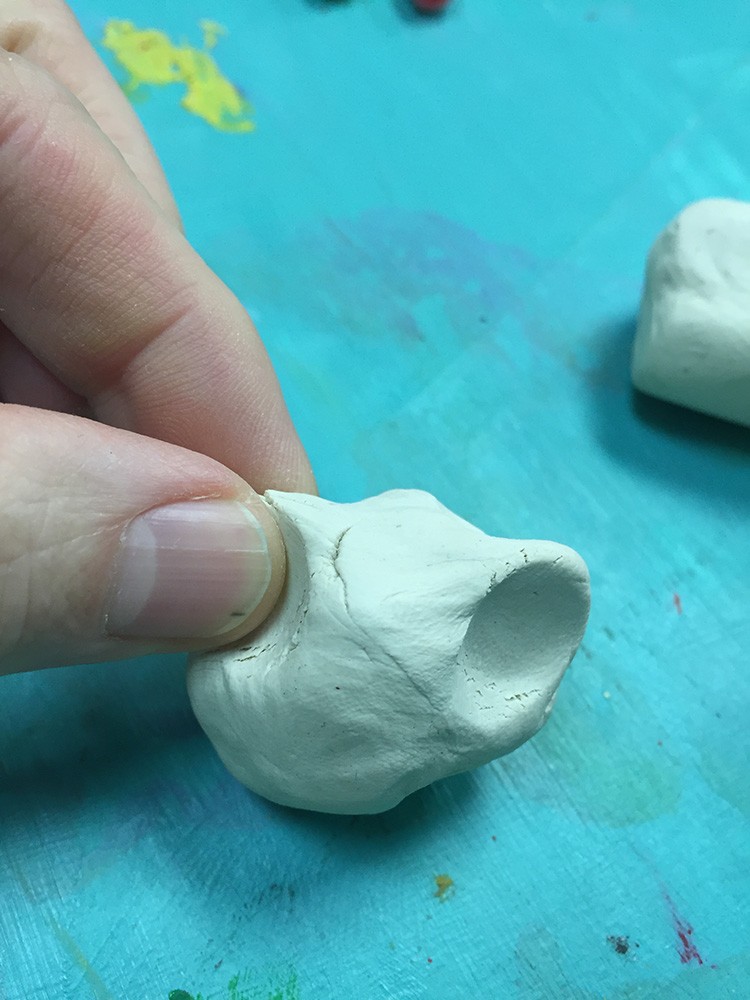
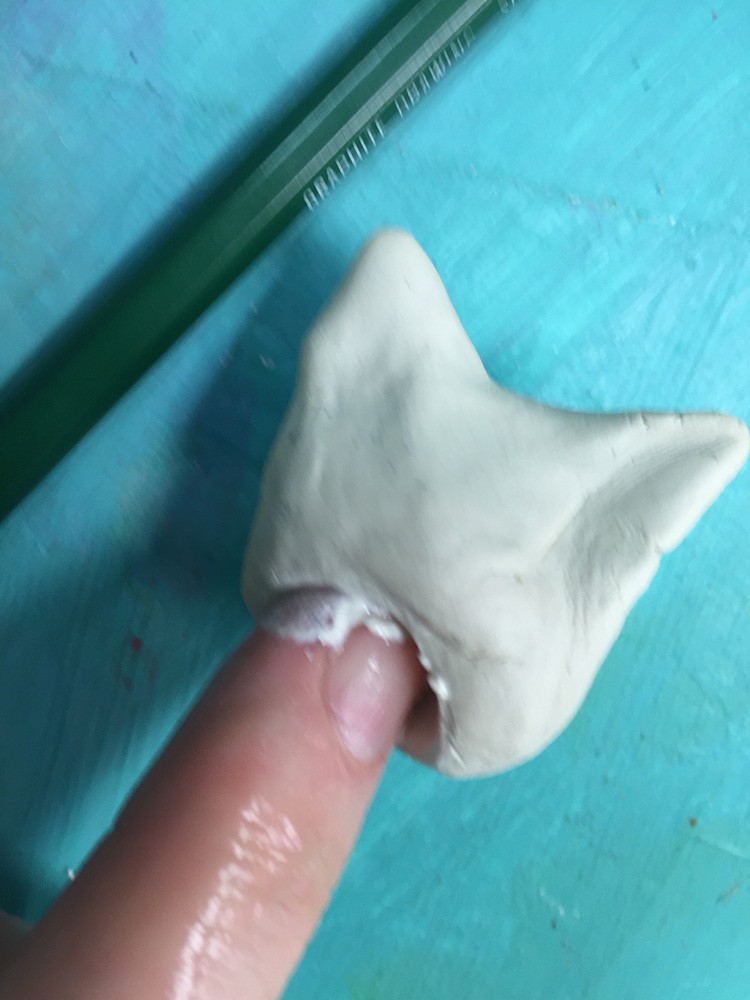
One small ball will be the head. Pinch to start some ears
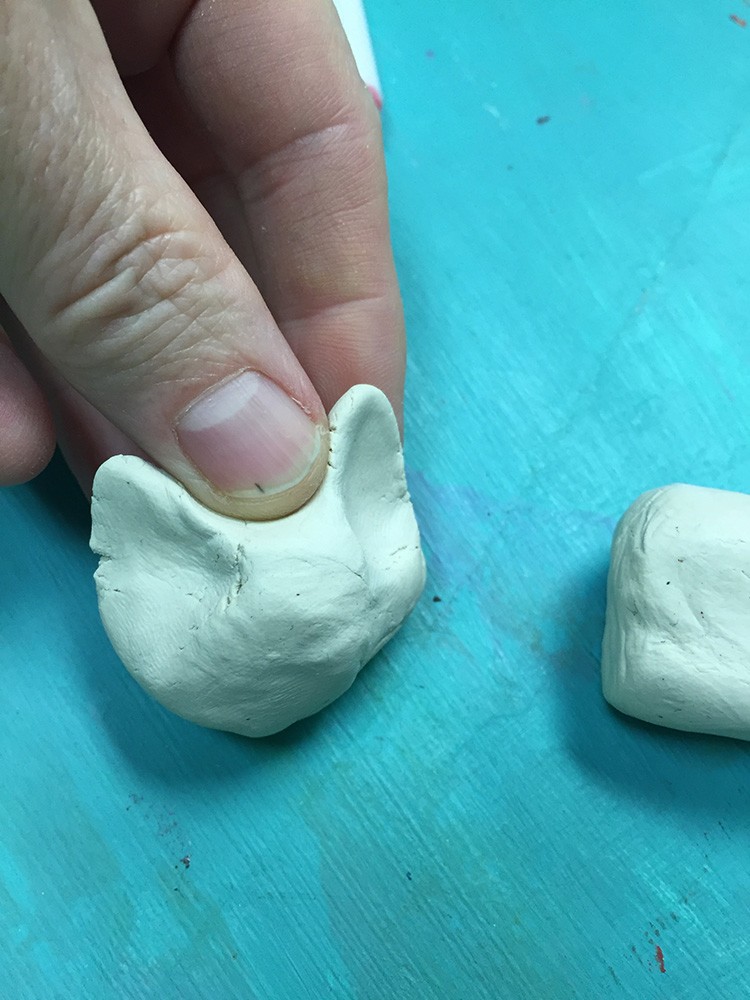
Press in-between the ears for the top of the head. Make the ears pointy
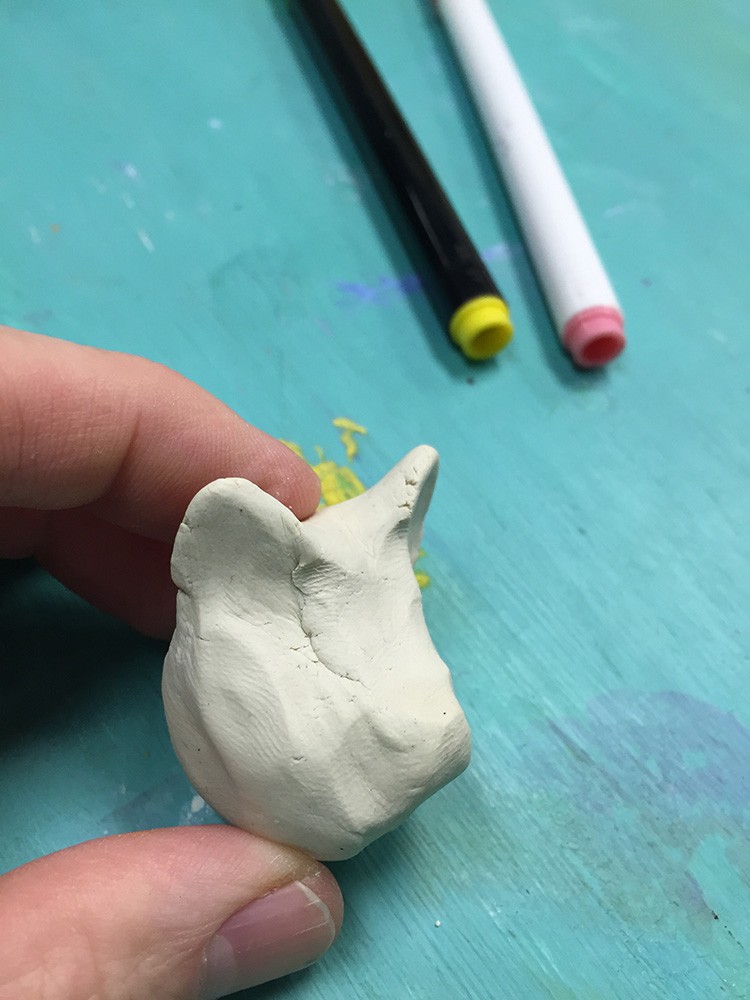
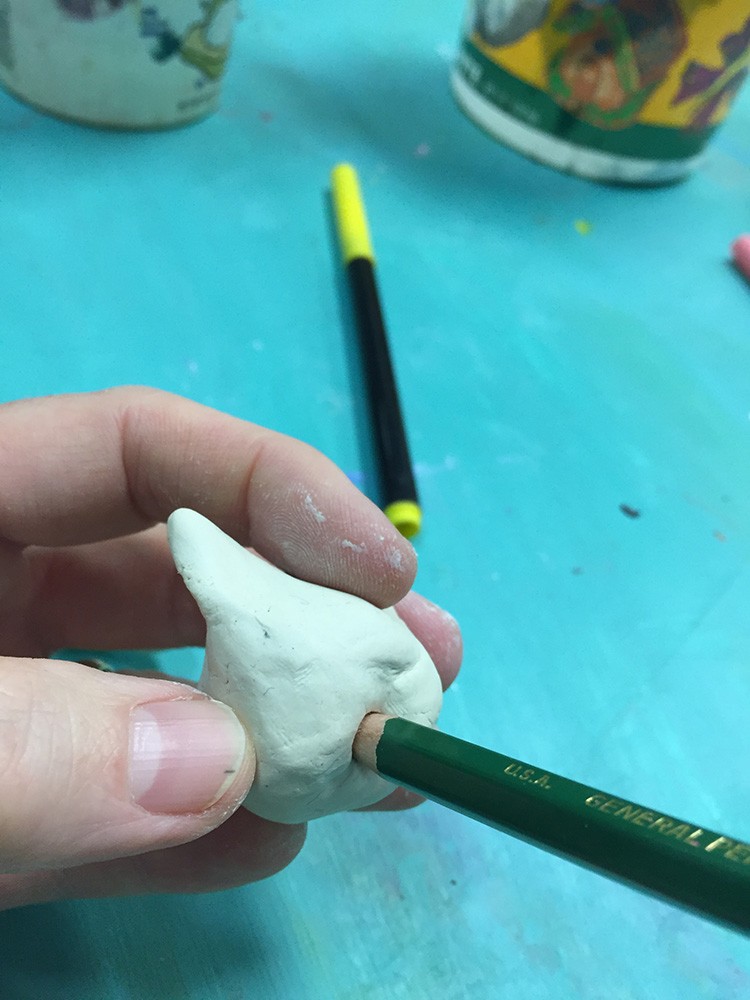
Push gently to shape a little pointed nose. See how it is looking like a cat head?
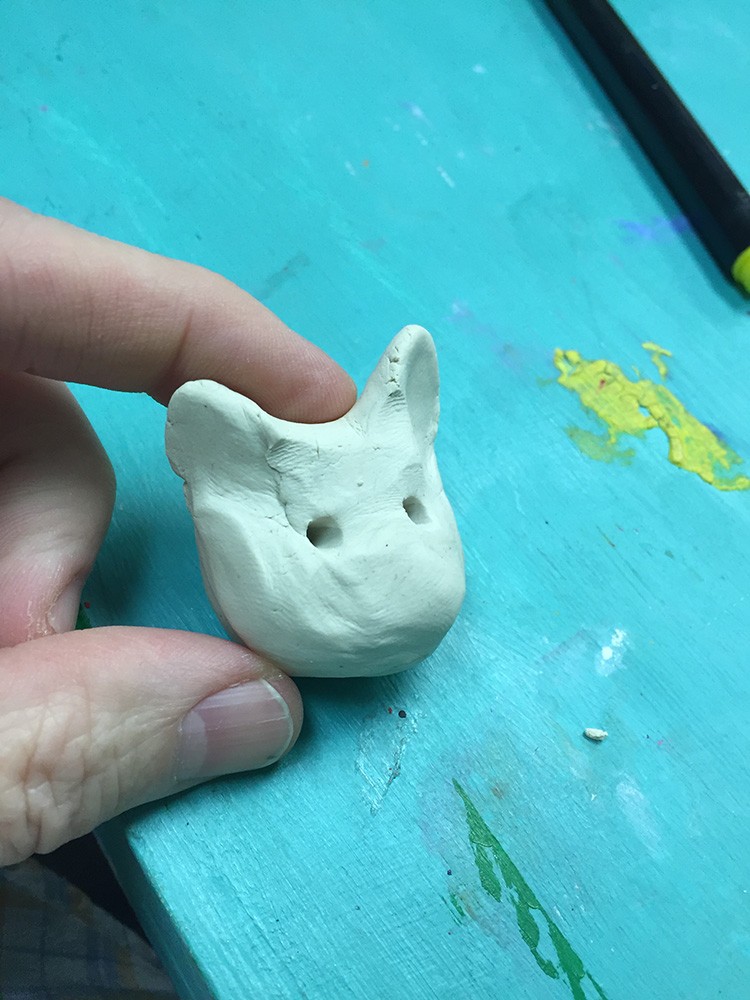
Use a pencil tip to make eyes.

Pinch a tiny bit from another piece of clay bit to make a ball. Press onto the face to create a nose
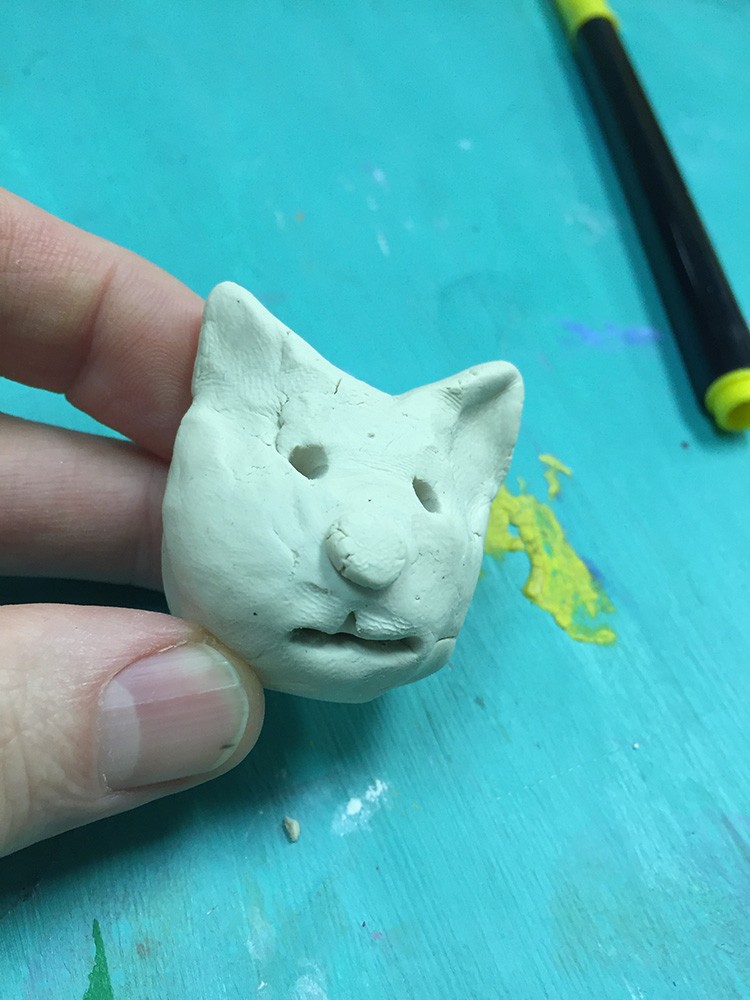
If you want a mouth, draw a tiny line with the tip of your pencil. You can shape it some with your fingers too.
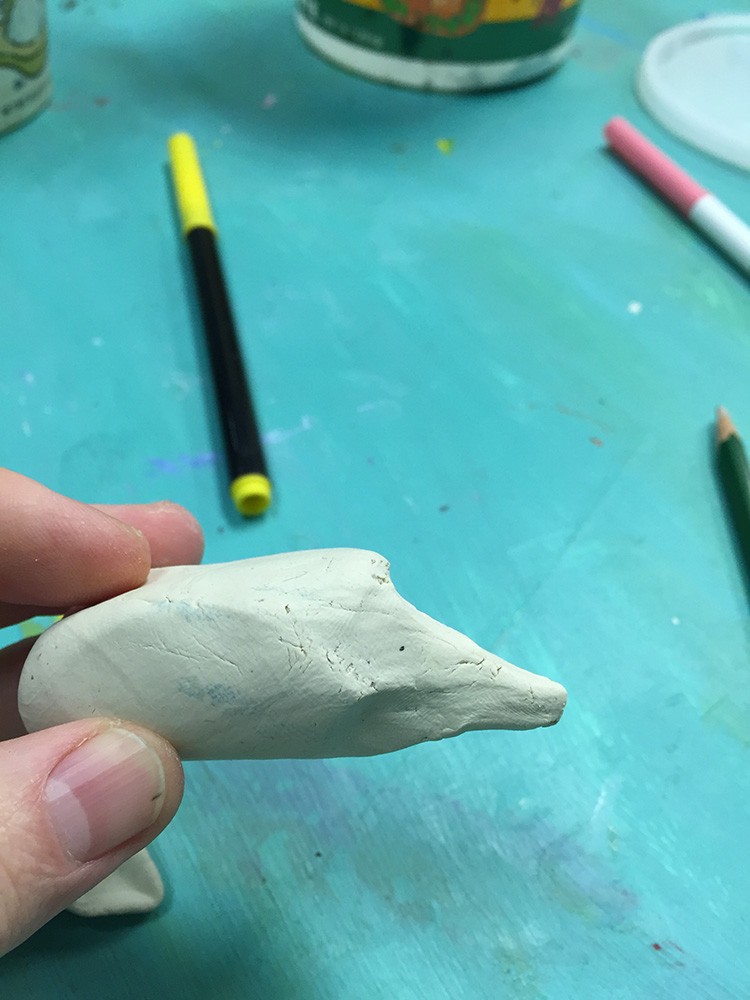
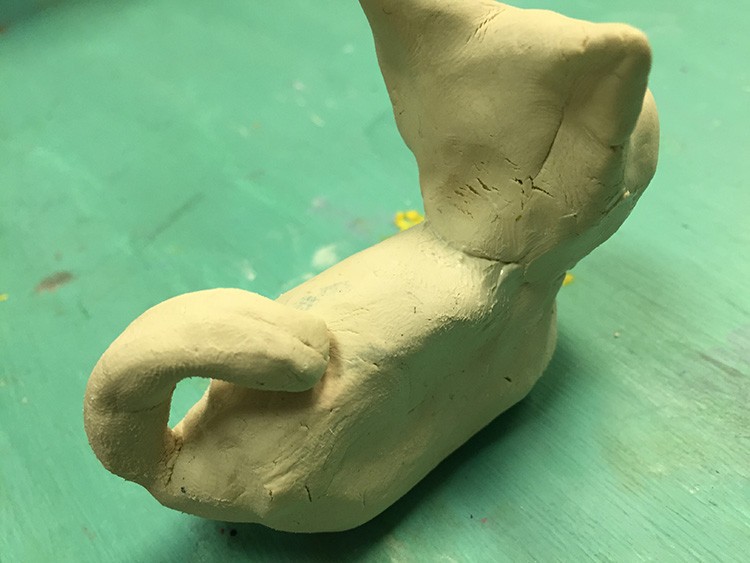
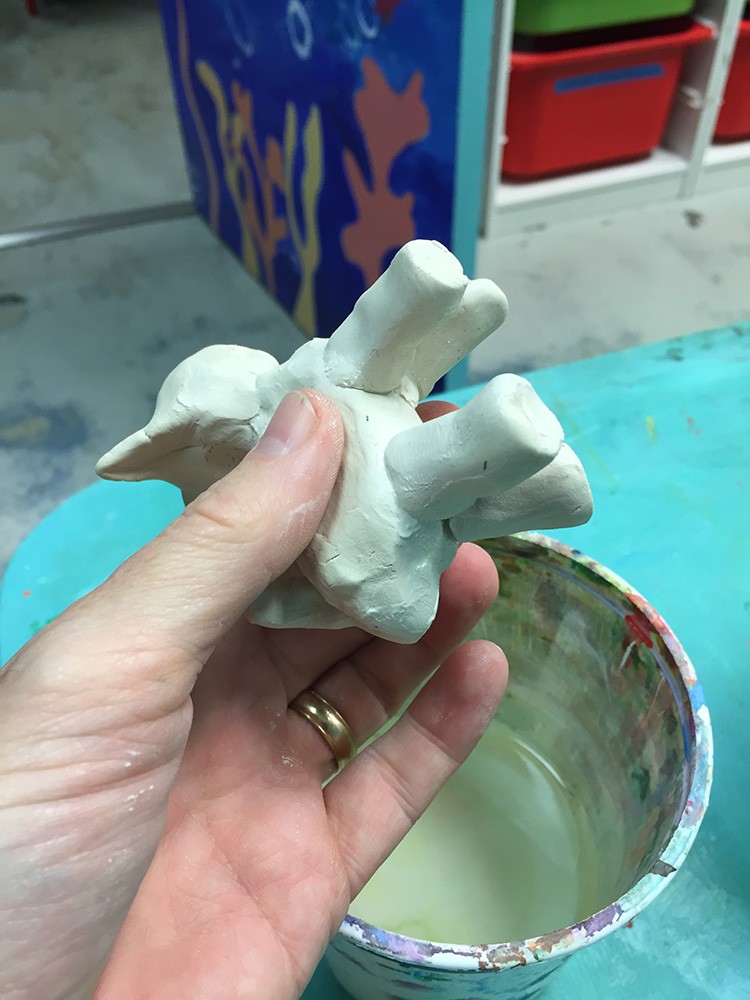
Set the head aside and pick up the log shape, which is the larger of the two pieces you have left. This will be the body. Pinch one end to start a tail.
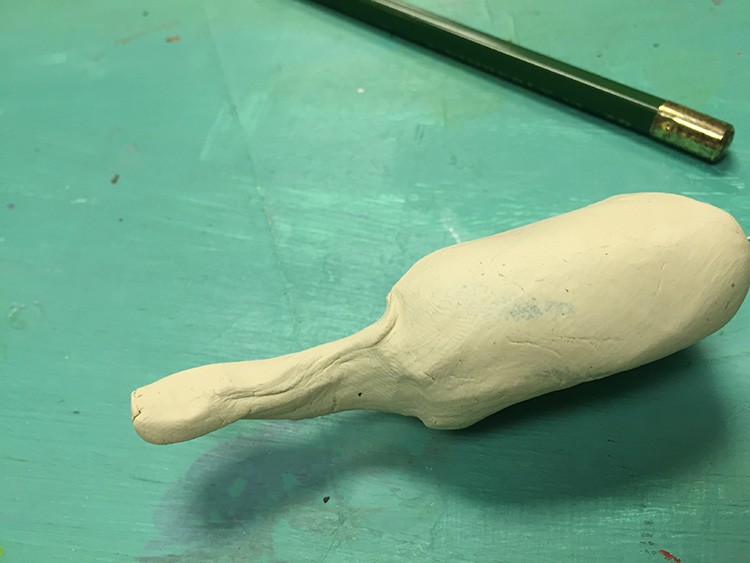
Keep working on the tail until it is longer. Gentle presses work best.
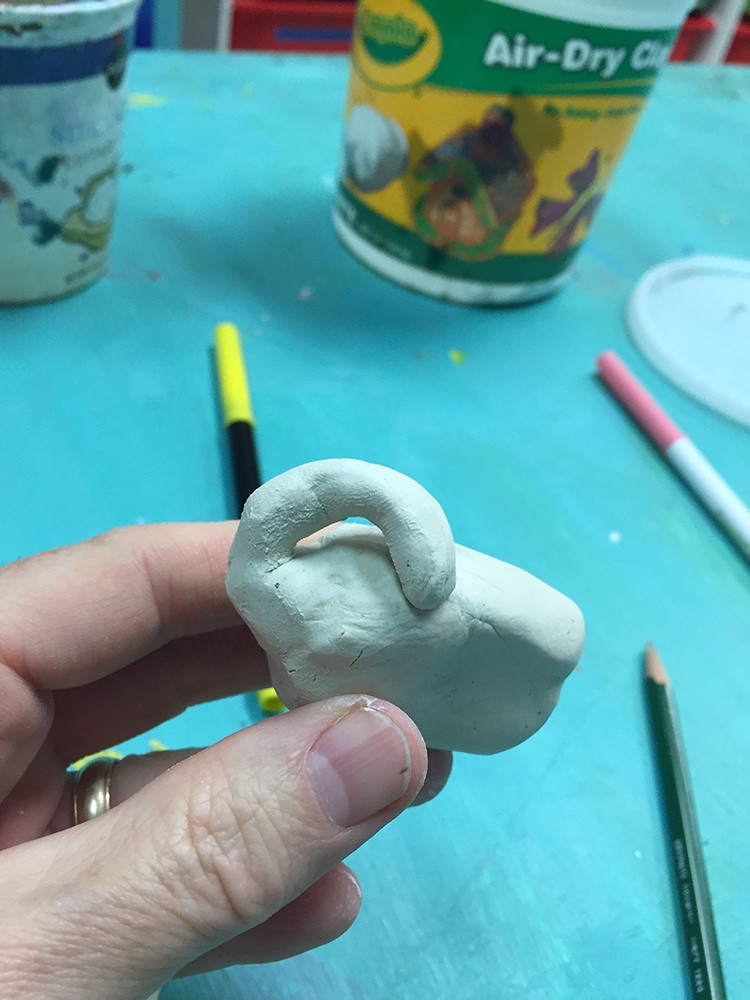
Curl the tail over so that it connects to the back. Otherwise it will break off later.
Carefully make a hole in the bottom of the head so we can connect the neck.
Use your finger dipped in water to wet the inside of the neck hole.
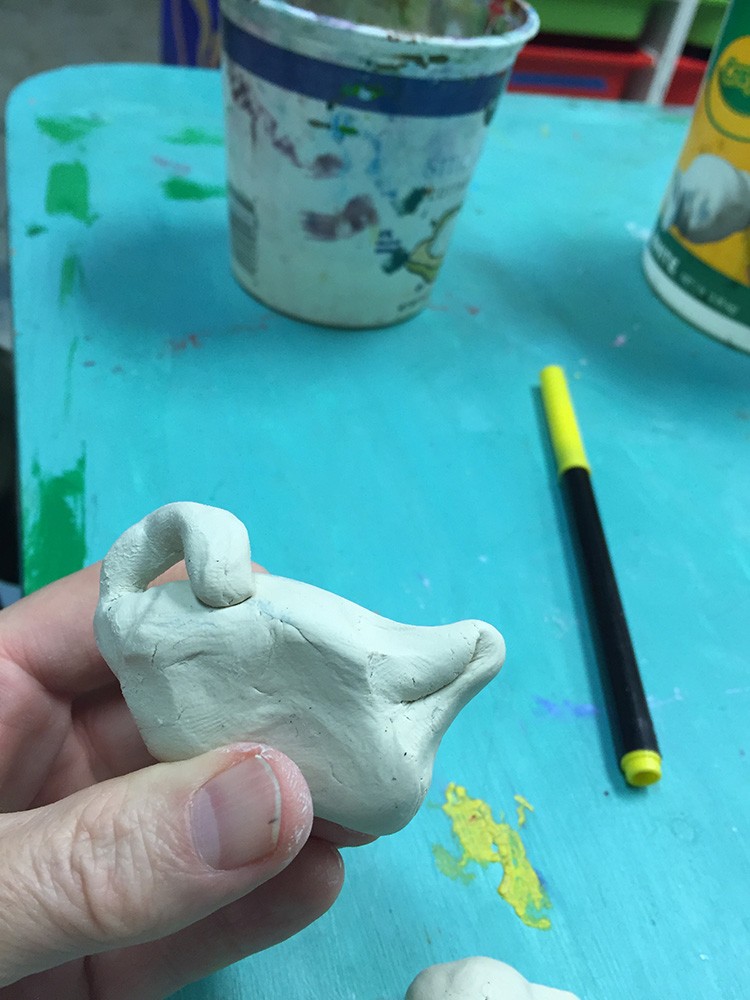
On the body, pinch a bit of clay on the other end to make a short neck.
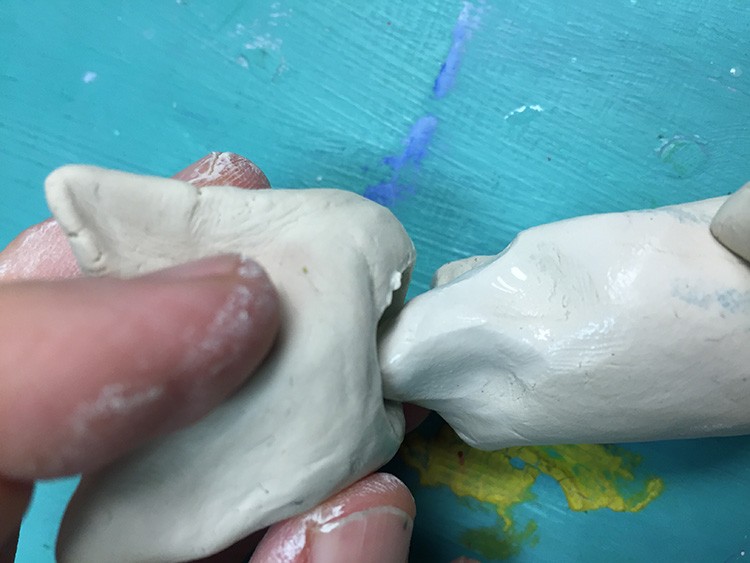
Wet the neck with water, and press it into the hole on the head.
Gently make a lot of little presses around the neck to connect the head. Be careful not to mash up your face and ears!
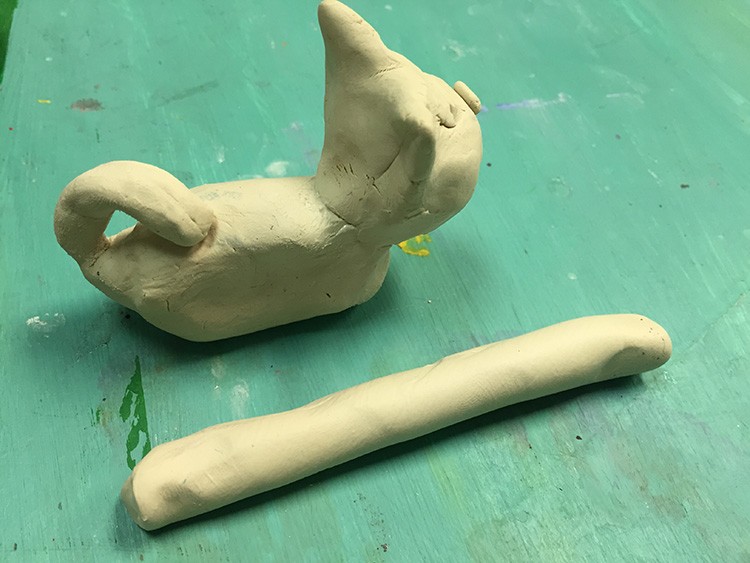
Roll out the last ball of clay into a worm-shape, a little longer than your cat.
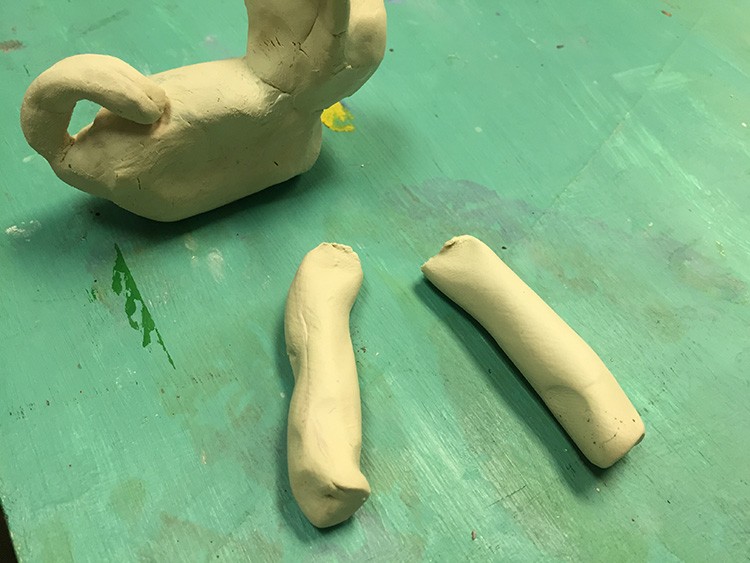
Divide the worm into 2 equal parts.
Divide each of these into 2 more equal parts, so that you have 4 legs.
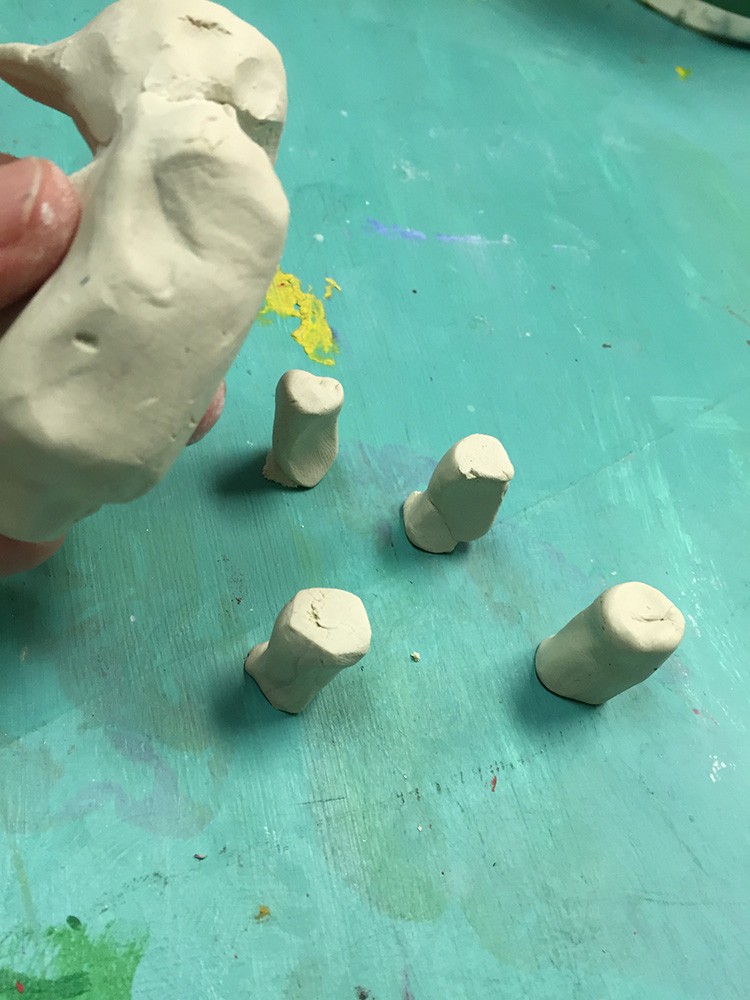
Press the ends of each leg onto the table to flatten them.
One at a time, dip one end of a leg into the water, and then press that wet end onto the bottom of the cat body to connect each leg.
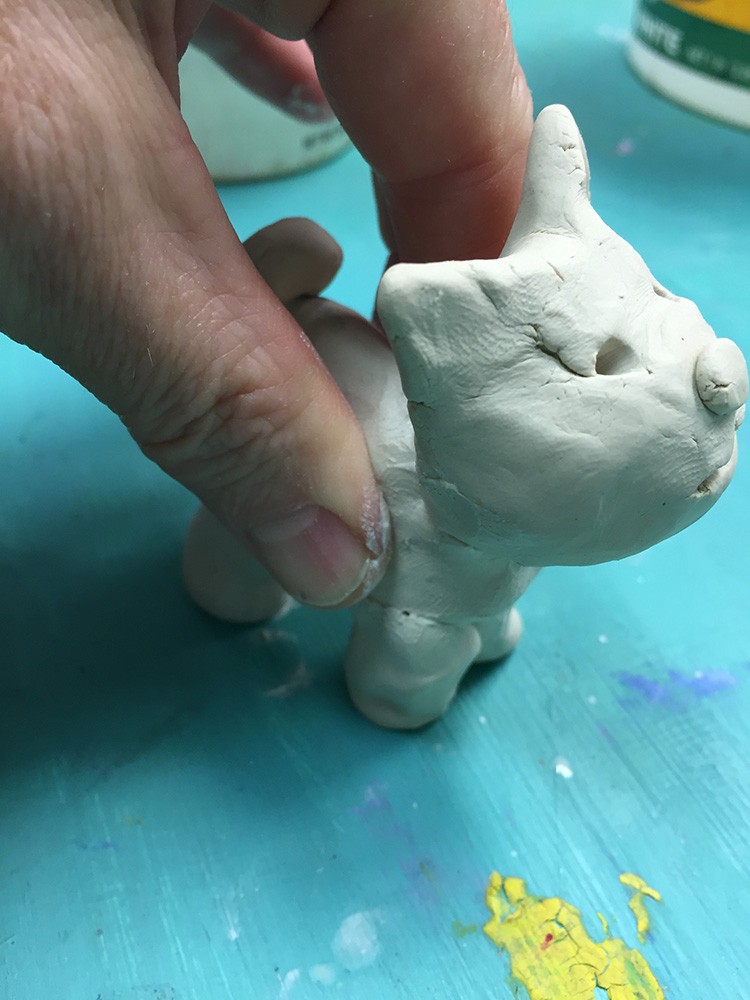
Set your cat up and make sure it can stand up. If not, gently press and ask for help if you need it.
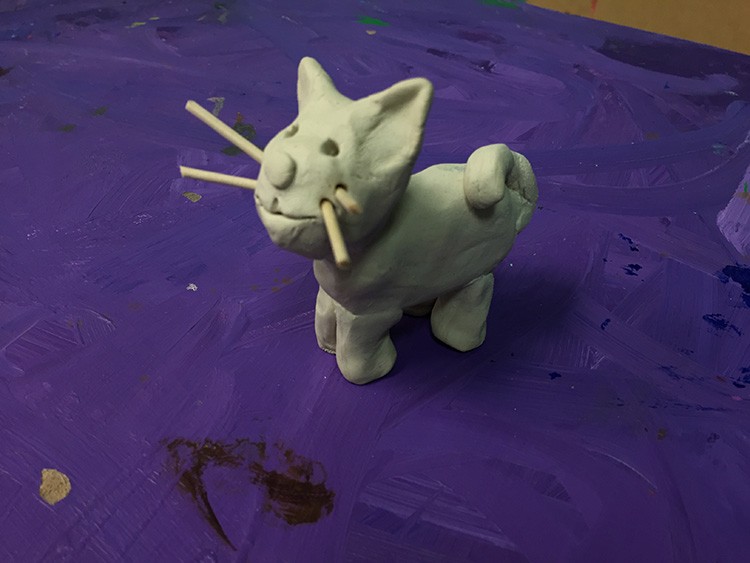
Finish by pushing the toothpicks into place for whiskers.
[su_divider top=”no” divider_color=”#373732″ size=”1″ margin=”5″]
[/toggle]
[/su_panel]