
Lesson At A Glance
A brief overview of each step. Buttons jump to each section for detailed information.
15 Min – Use oil pastels
5 Min – Draw chair from life. Air shape and then big shape.
15 Min – Create drawing out of handout
12 Min – Trace frog picture
15 Min – Paint over lines with black tempera
3 Min – Everyone helps
OVERVIEW
Students will learn how different motions make different kinds of artwork. Today most of the work will be with line, and some with oil pastel, as we try color-dancing, and create black and white line paintings of frogs. There is also a quick review of air shapes.Grades 1-2
Week of September 15 – 19
1 Hour & 30 Minutes


SCROLL & TEACH
LESSONPLAN
Each section is a different color. Read over once and then you can SCROLL & TEACH using any device you like. It’s designed to work best with your phone.
LEARNING TARGETS

Students learn to express themselves through creating from their imagination.
M A T E R I A L S
- 11″ x 17″ Copy Paper
- 4B pencil
- Eraser
- Markers and/or oil pastels
- Blenders (stumps)
- Paper Towels
1.1 Greet
Greet students as they come in and help them choose a chair.
Kneel down so that you are on their level. Bending over emphasizes the differences in your height, while kneeling makes them feel more important. Have tape and marker ready so you can stick some tape on the table by each student and write their name on it as they sit down.
1.2 choice
Encourage students to work with one piece of paper for a while. If someone uses the phrase, “free draw”, explain that artists’ choice is something only artists can do, while free-draw is something anyone can do. You want to use the phrase to elevate the students’ expectations of their work.
Everyone should take their time with the work and make a finished piece of art. Limiting the paper can also help kids focus on the work. If someone finishes in super-fast time, ask them what more they can do to the existing paper. Ask again several times – unless they appear overly frustrated; then you can allow them to move on to a new work.
1.3 artword
LEARNING TARGETS
Students know how to create different expressive lines.
M A T E R I A L S
- 11″ x 17″ copy paper
- Oil Pastels
- Access to music
2.1 setup
2.2 slow
Play a slow song and have the students begin with taking one of the green oil pastels and making vertical lines on the left side of the paper.
Song suggestion:
Slow Song – Enya, drifting
2.3 fast
Play a fast song and have the students switch to the other green oil pastel and make vertical, curly lines on the right side of the paper.
Song suggestion:
Fast Song – Tchaikovsky, Swan Lake, Act III, Spanish Dance
2.4 medium
Play a medium paced song and have students use a black oil pastel to draw Anywhere they think will look good. Make 3 or 4 black solid black areas. Don’t go too fast. Take time in deciding where they go, and what shapes you’ll make. Try a circle and a rectangle or two. Or just rectangles and squares.
Medium song suggestion:
Ottmar Leibert, Sante Fe – also: Barcelona Nights
2.5 More
Finally, have students use their white and a couple of blue pastels to complete the work however they want. You can continue to play medium paced music to keep your students motivated. Encourage blending these final colors, yet leaving most or all of the black untouched. It may get messy, especially around the black areas. Watch for anyone who might get upset about ruining their work so you can stop them before it goes too far.
While they work, review drawing the air shapes by mentioning last week’s drawings of things with holes, like donuts.
LEARNING TARGETS
Students know how to identify air shapes
3.1 talk
“Shapes are sometimes hard to see. Especially air shapes. air and solid shapes can switch places, and a shape is a shape no matter which kind of shape it is. Whenever you draw, look for both shapes. If you use your imagination to make air shapes remind of you of other things, you can see them better. It’s a lot like finding hidden pictures in the clouds. “


“Remember these pictures? The two circles both have air shapes. The window picture has the air in the big circle, but the donut has the air shape as the smaller circle.”
LEARNING TARGETS
Students know how to draw air shapes.
M A T E R I A L S
- 8.5″ x 11″ copy paper
- Pencil
- White Eraser
- Items with easy visible Air Shapes. (ex: chair with an opening on the back, a vase with a handle, etc.)
4.1 setup
Set a chair with an opening on the backrest up on a table where students can see it. If you don’t have a chair that will work, you can use any simple object with an easy shaped opening (a pitcher for example).
Hand each student an 8.5 x 11 copy paper and pencil. Be sure that they write their names on the paper.
4.2 draw
LEARNING TARGETS
Students know how to use their imagination to create an image from an air shape.
M A T E R I A L S
- 11″ x 17″ Copy Paper
- Purple Shape PDF
- Pencils
- White Erasers
- Oil Pastels
5.1 prints
Reference
Purple Shape
Cut images apart and print enough for each student to have one.

1 Page – Opens in new window
5.2 trace
Using a pencil, have your students draw the purple shape as an outline, no shading! (It’s ok to trace but see if they can do it). Next, they will draw the crescent.
Turn the paper bathtub and then shower position. Look at it both ways and upside down too.
“What does it look like? What can you make out of it? Is it the moon shining through a window? Or maybe a mouth on a funny alien head – oh, or an alien with only one happy eye! You’re the artist and you can finish this to be anything you want.”
5.3 pastel
Afterwards, use oil pastels to (always write oil pastels) color and blend several colors together to make it look like paint.
LEARNING TARGETS
Students know how to outline by tracing.
M A T E R I A L S
- 14″ x 17″ Sketch Paper
- Frog Prints
- Pencil
- White Eraser
- Tape
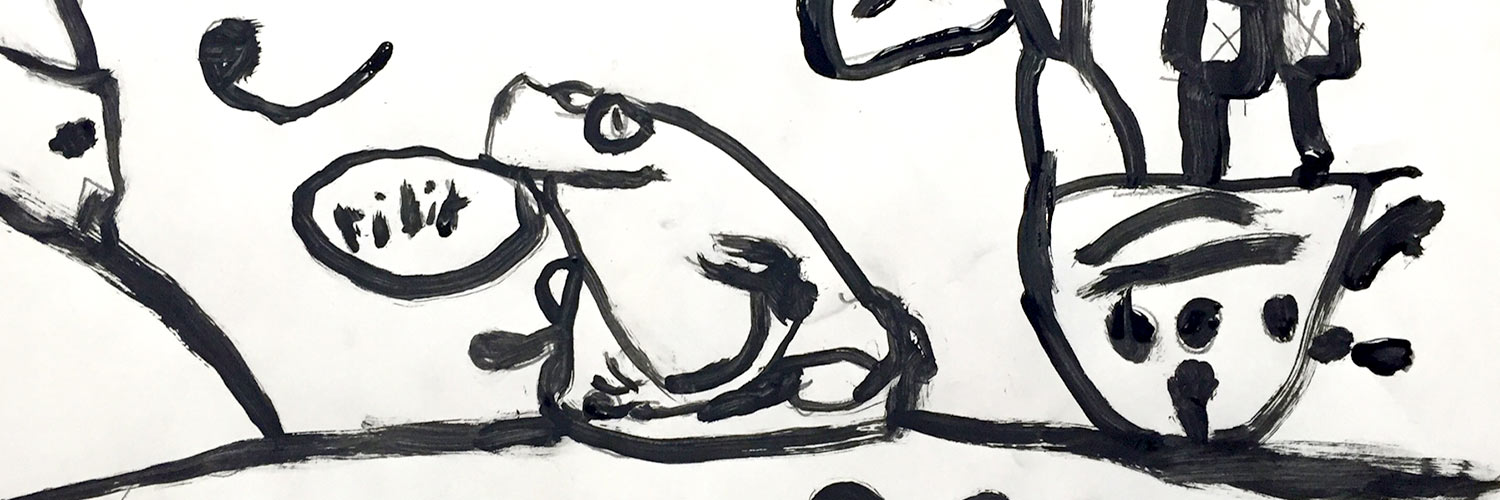
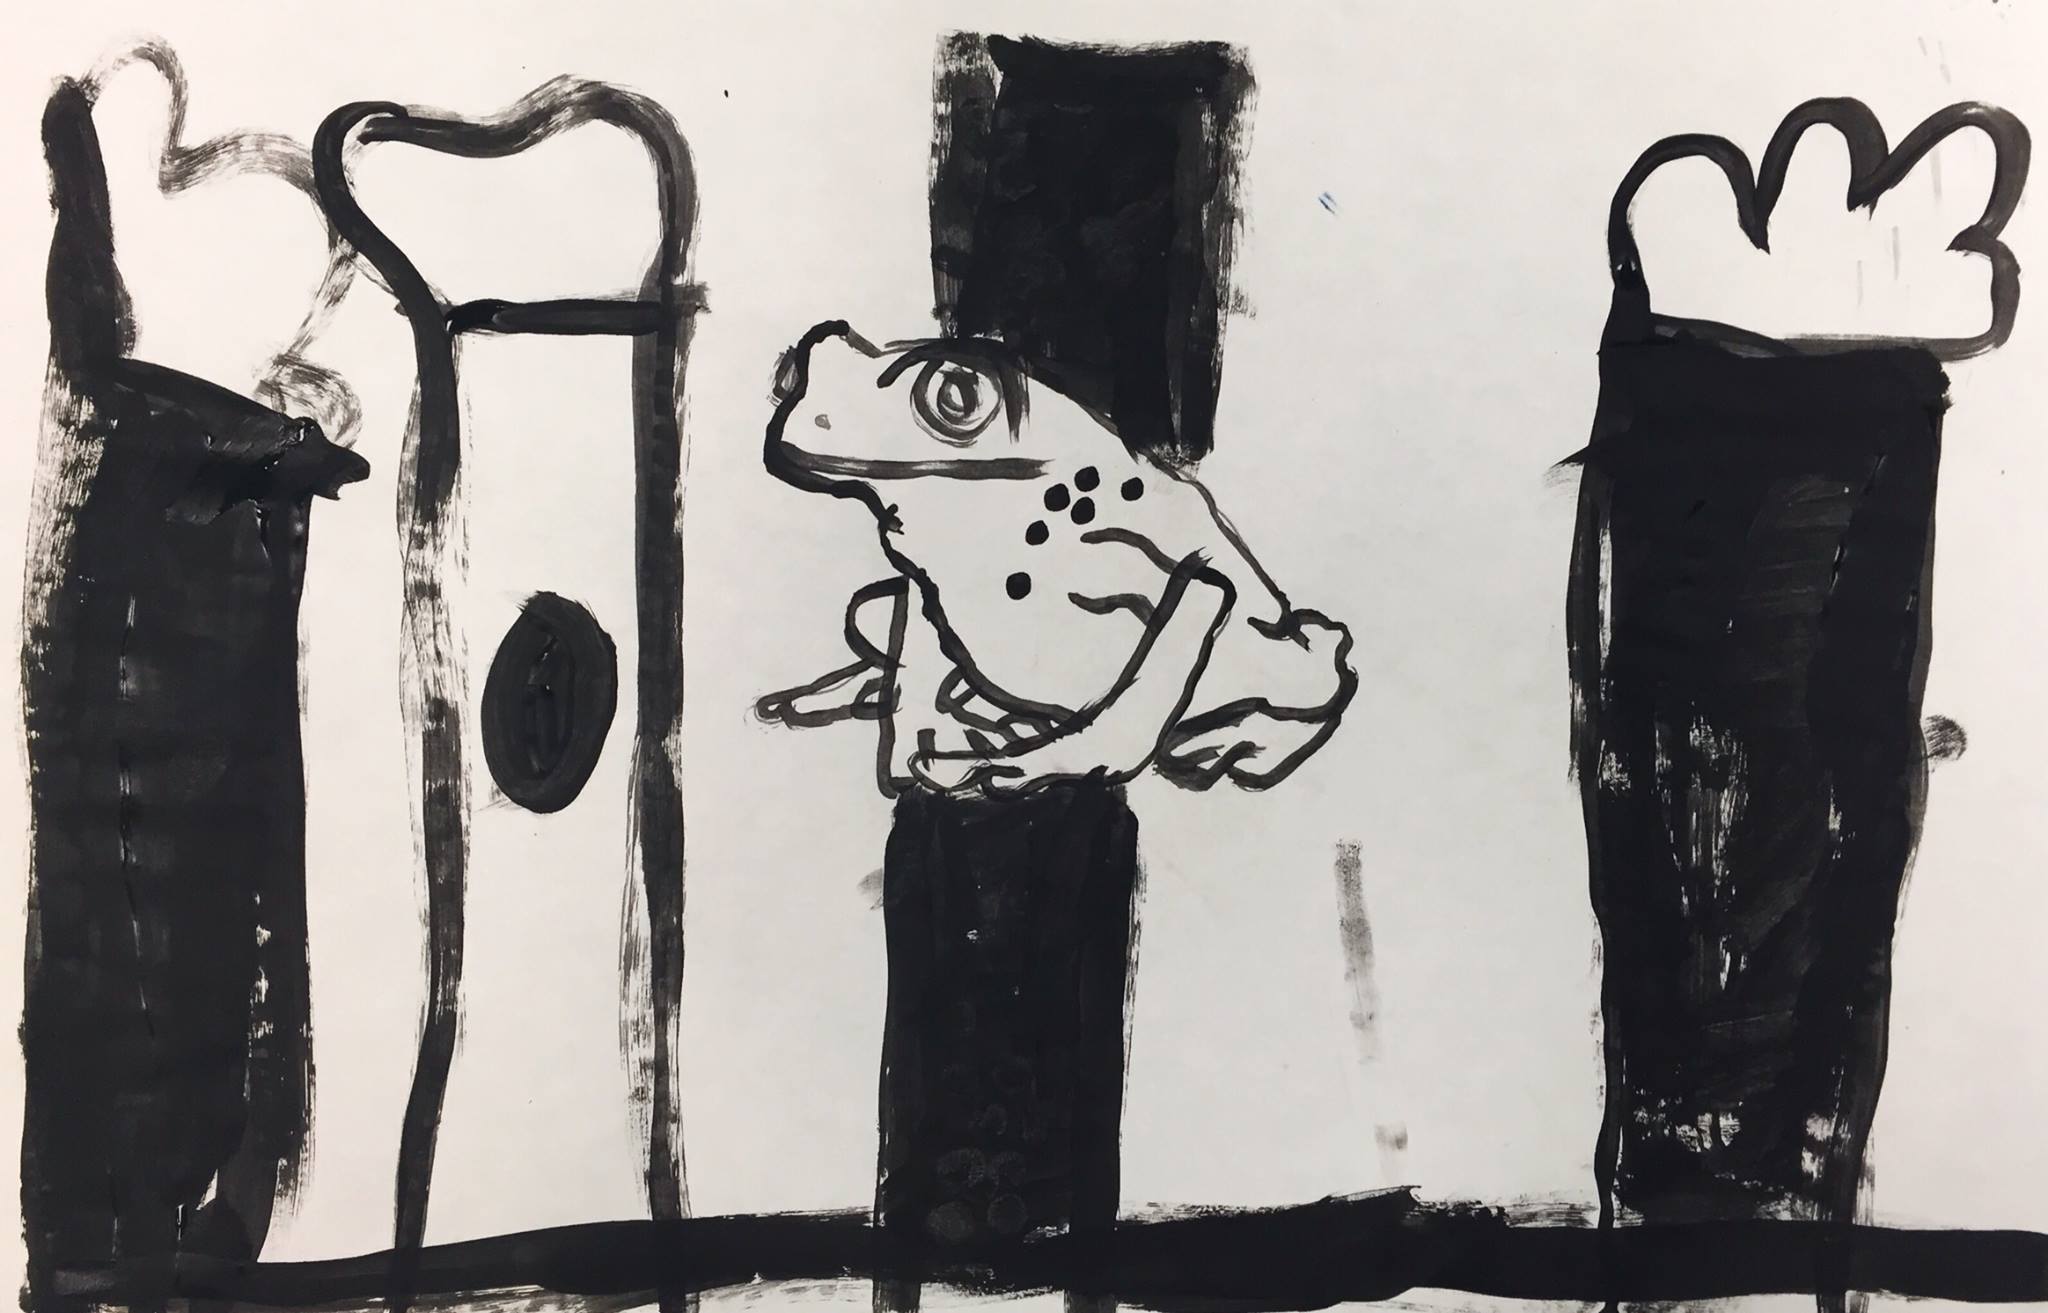
6.1 Prints
Reference
Frog Prints to Trace
Cut images apart and print enough for each student to have one frog image.
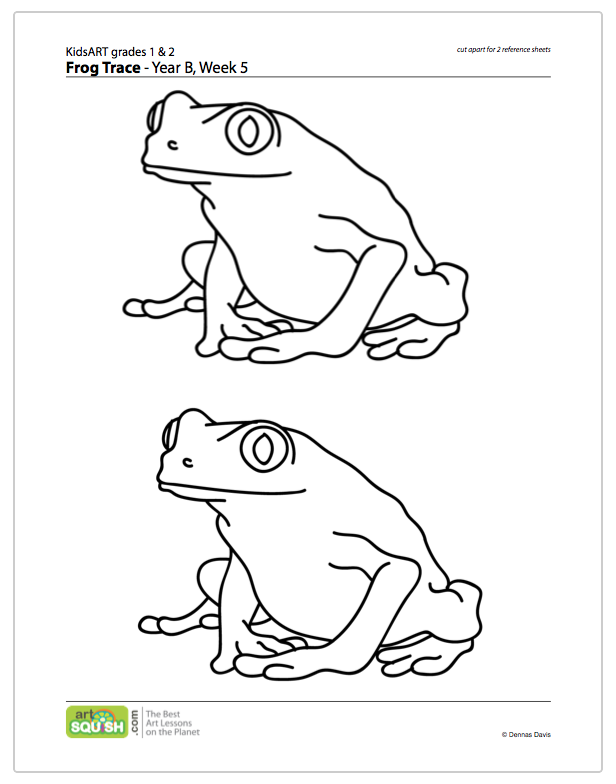
1 Page – Opens in new window
6.2 setup
Tape one bold outline print of frog onto the work table in front of each student. Then tape a larger sheet of sketch or drawing paper (around 14 x 17 or so), on top of the frog, so you can see through for tracing the frog. Tape the top sheet across the top edge only, so it can be pulled up like flap. This allows students and teacher to pull it up and check to make sure no areas have been missed, or to see more clearly what the original looks like.
You can either center the frog underneath all of these as you tape them down, or let your students decide where it can go, but that will take a bit longer. Have kids draw outlines, (no shading), in pencil using tickle line technique (lightly!). Have some extras to display for kids to see on cheasels (1 per 2 kids).
An alternative to light drawing, would be to let them use a very light colored pencil if you have them. It’s easier to see the frog through the paper if the lines are very light.
Important: Explain to the students that this is not a real drawing. It’s a guide line to help them know where to paint. Make sure students’ names are in pencil in lower corner.
LEARNING TARGETS
Students know how to create a line art with paint.
M A T E R I A L S
- 14″ x 17″ Sketch Paper
- Black tempera paint
- Brushes (small size)
- Paper towel
- Smocks
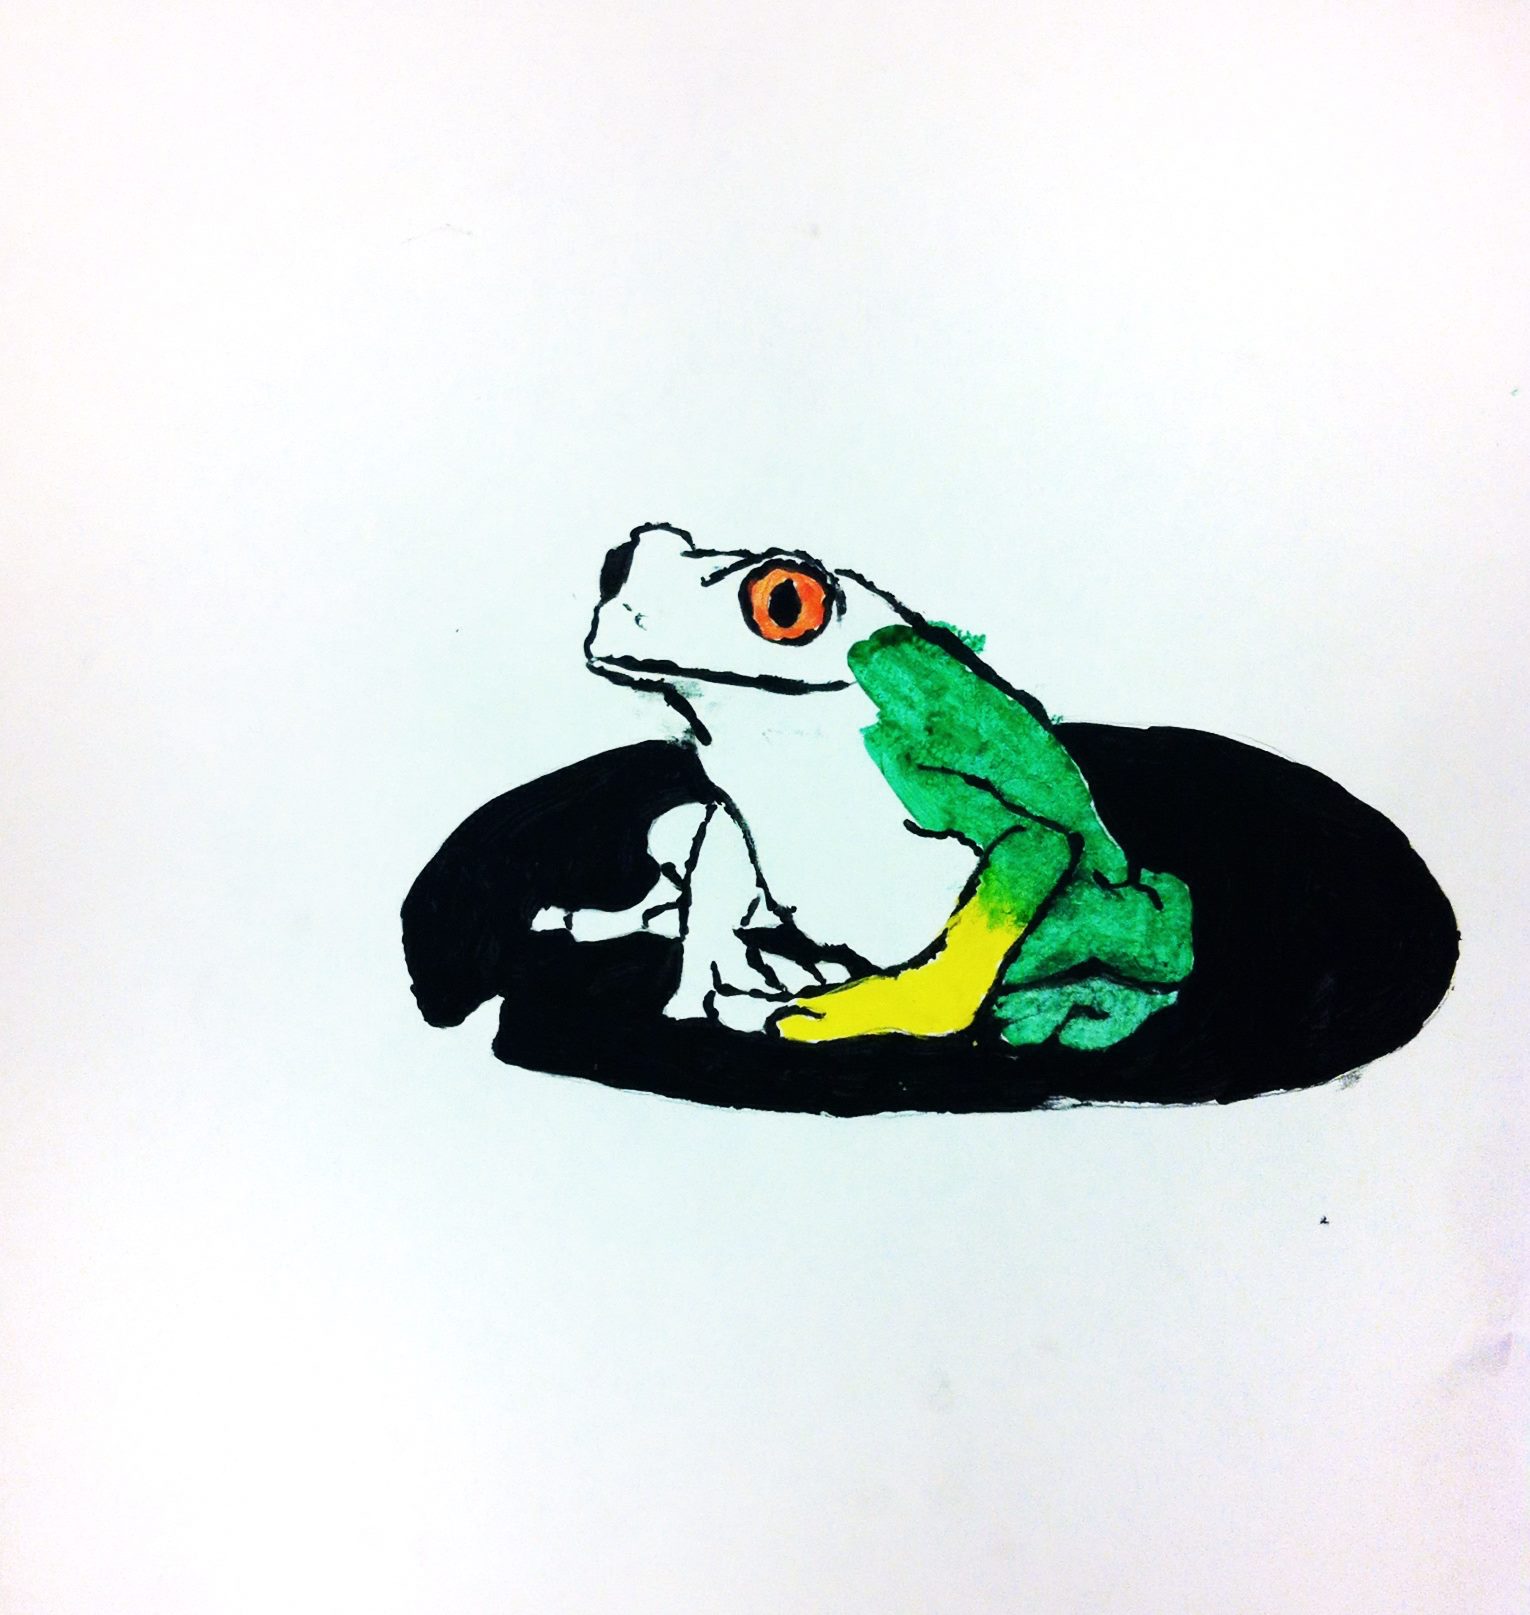
7.1 Prints
Reference
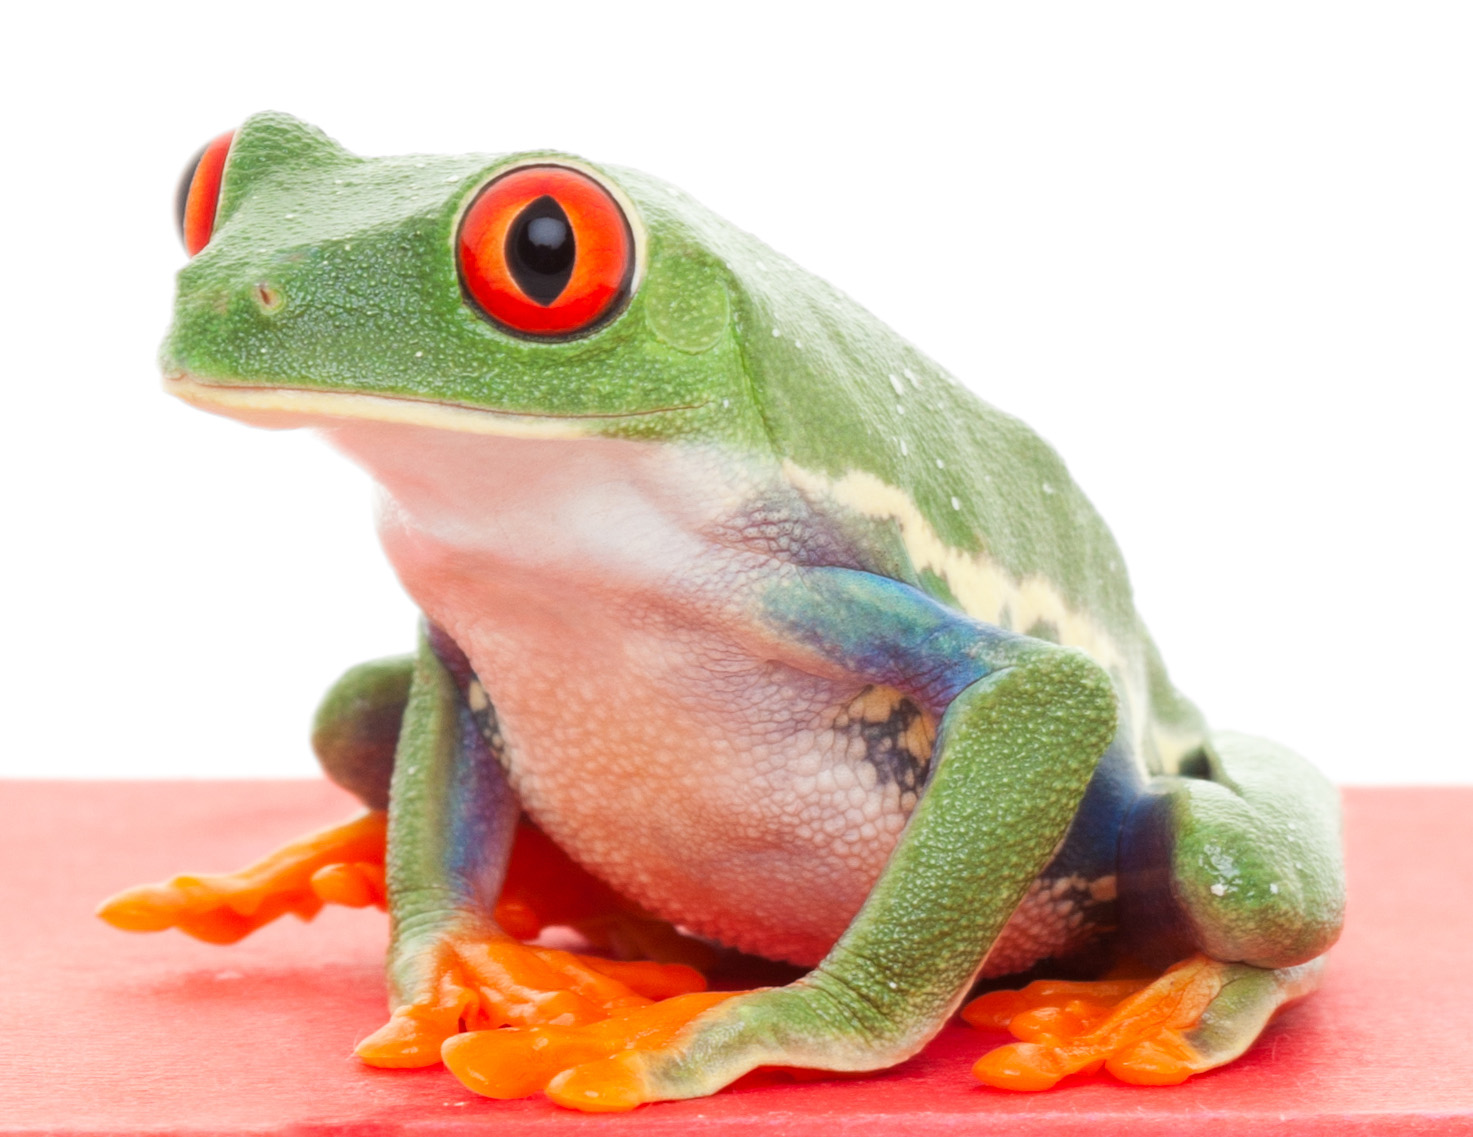
Frog Photo
Cut the images apart and have enough so each student can see one.
Hand out reference prints. Place the frog reference on the cheasels so students can reference it as they paint.
Alternatively, you can display the photo below. Tap to enlarge.

1 Page – Opens in new window
7.2 paint
7.3 collect
LEARNING TARGETS
Students know the importance of cleaning up.
M A T E R I A L S
- Cleaning wipes
- Sink
- Waste baskets
- Well-lit spot for photos
- Camera or phone-camera
8.1 clean
Students clean up their work area.
- Empty water containters
- Super-wash brushes if used
- Put art supplies away
- Wipe tables & toss trash
- Remove any smocks (last)
- Check for items on floors and tables
8.2 clean
8.3 connect
OBJECTIVES
- Practice and improvement using movement to create technique
- Understanding how lines can be different based on your actions
- Accomplishment by creating several finished works
- Fulfillment in choosing background and colors
TROUBLESPOTS
Rowdiness – When kids are given permission to be active, it can be hard to settle down. Make a game of it! Have kids touch their nose. Then have them close their eyes and mouths. If there is still talking you can have everyone hum as softly as possible. “who can hum the softest?” Put hand on table, palms flat. Imagine a line in your mind and make it go in circles. Then slow it down. Slow some more. Now go in super slow-motion. “Most artists use slow-motion movements for good techniques.”
Drawing too much – With guide lines, sometimes students forget that this is not the artwork. Keep an eye out for shading and details, or just too many things in the picture. Remind your kids that the real art will be using the brush, in a few minutes.
ART WORDS
Technique – When artists use their materials, such as markers, pastels or paint, they make them go from one place to another. Artists move two things: they move the color to the surface of paper or canvas, and they move their arms and hands to make that happen. Different movements create different looks. All of this movement is called a technique when it creates one kind of look. Artists learn lots of different techniques with different materials.
Re-drawing – Most people call this tracing, but an artist does more than just follow a line. Artists think about the things the line is making, like a tree, an apple, or a frog. Artists draw things again instead of just tracing over the lines. (This is not an easy concept for this age, but it’s good to prepare them for the idea. No need to make sure they understand at this point).
CLASSROOM
PREP
What your room needs
Here are your printable lists and room prep instructions.
Opens in new window
CLASSROOM
MATERIALS
- 11×17” Copy Paper
- 4B Pencil
- Eraser
- Markers and/or oil pastels
- Blenders (stumps)
- Paper towels
- Oil Pastels
- Items with easy visible Air Shapes (ex: chair with an opening on the back, a vase with a handle,etc.)
- Purple Shape PDF
- Tape
- Black tempera paint
- Brushes (small size)
- Paper Towel
- Smocks
- Cleaning wipes
- Sink
- Waste baskets
PREVIEW
Week 6: Weird Fish, Crazy Tools
Students use warm & cool colored oil pastels in a fish drawing, working on movement and technique. The imagination is employed to invent a new idea – using household tools to create fish. Not only does this foster creative problem solving, it’s also great practice for finding familiar shapes in complex pictures. They’ll finish the work using watercolors, and then use oil pastels to finish another earlier drawing.
Week 7: PIGS!
Students will have fun drawing and painting pigs in several projects. Simple shapes and symbols help us create pig cartoons with different expressions. More realistic pigs are drawn from photo reference, colors are mixed, and then they will paint the pig using tempera.