
OVERVIEW
Students have a day full of fun and choosing their own subject matter. This encourages artists, who often say they don’t get to do what they want to. There are also 2 stations for learning-art activities.– – –
Grades K – 2
Week of October 28 – November 1
1 Hour & 30 Minutes
Lesson At A Glance
A brief overview of each step. Buttons jump to each section for detailed information.
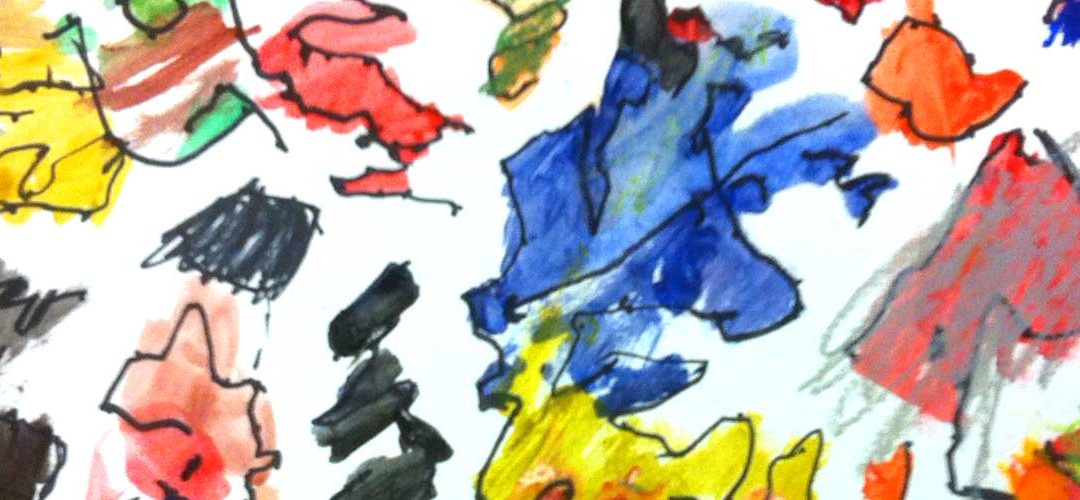
15 Minutes – Artists’ Choice
30 Min – 2 Setups -15 min each
20 Min – Choose a reference to paint
22 Min – From Imagination or Reference
3 Min – Everyone helps
SCROLL & TEACH
LESSONPLAN
Each section is a different color. Read over once and then you can SCROLL & TEACH using any device you like. It’s designed to work best with your phone.
LEARNING TARGETS

Students know how to draw from their imagination
M A T E R I A L S
- 14″ x 17″ Sketch Paper
- Markers
- Pencils and Erasers
All materials are suggestions and may be modified as you see fit. We have tried many items, and these seem to allow the most versatility for the cost.
1.1 greet
Greet students as they come in and help them choose a chair.
Kneel down so that you are on their level. Bending over emphasizes the differences in your height, while kneeling makes them feel more important. Have tape and marker ready so you can stick some tape on the table by each student and write their name on it as they sit down.
1.2 choice
Encourage students to work with one piece of paper for a while. If someone uses the phrase, “free draw”, explain that artists’ choice is something only artists can do, while free-draw is something anyone can do. You want to use the phrase to elevate the students’ expectations of their work.
Everyone should take their time with the work and make a finished piece of art. Limiting the paper can also help kids focus on the work. If someone finishes in super-fast time, ask them what more they can do to the existing paper. Ask again several times – unless they appear overly frustrated; then you can allow them to move on to a new work.
Use the time to talk to students and make connections. Look for things in their work you like and think are strong, so you can point them out. Do not criticize anything they’re doing.
Use this button to jump down to the preparation section.
STEP 2. Stations
Students will go through two different stations of Artists' Choice 15 Minutes (twice)LEARNING TARGETS
Students know how to have fun creating artwork
M A T E R I A L S
- Play dough
- Pencils
- Dry erase markers
- Fish tank
- white paper
- tape
- tracing paper (optional)
- toy figurines
Click the button to go to a great recipe for making your own play dough. Link opens in a new window and is an external site.
2.1 Choose
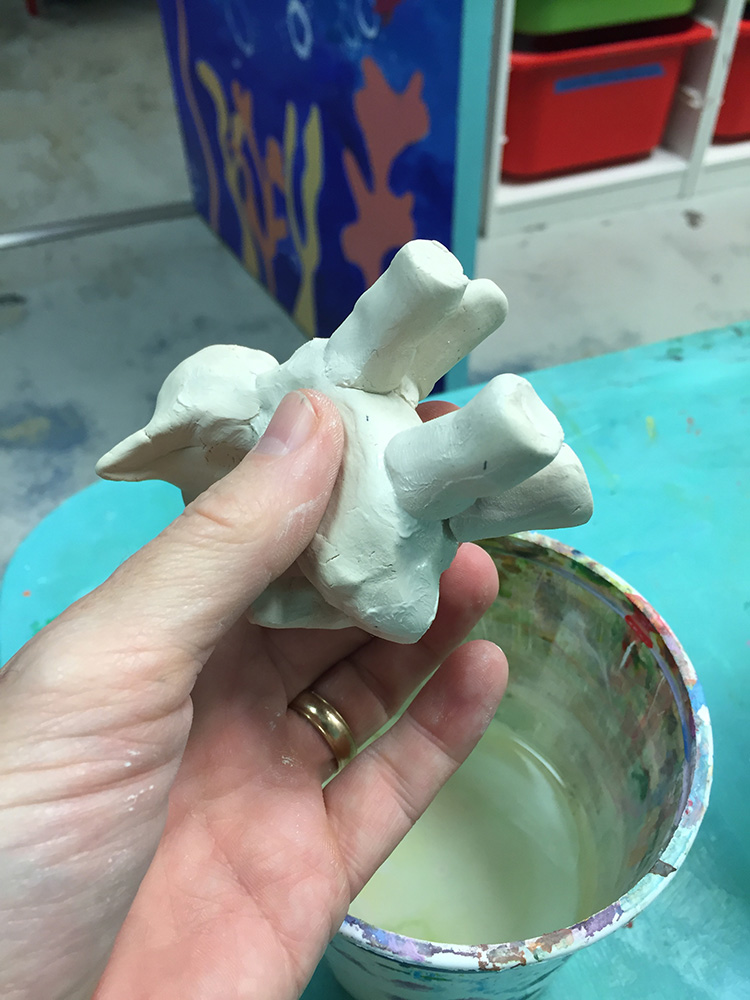
Clay Animal Station
Have enough play dough for each student to make 1 or 2 small figure-shapes. Click on Play Dough to see a great recipe to make your own before-hand. Otherwise you can purchase it.
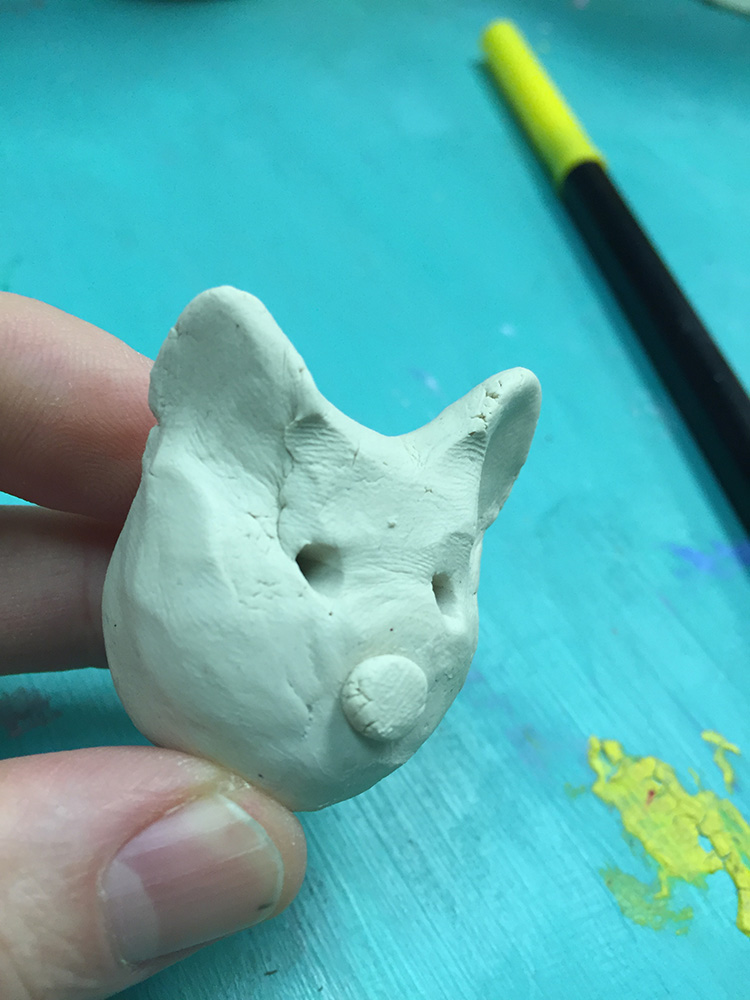
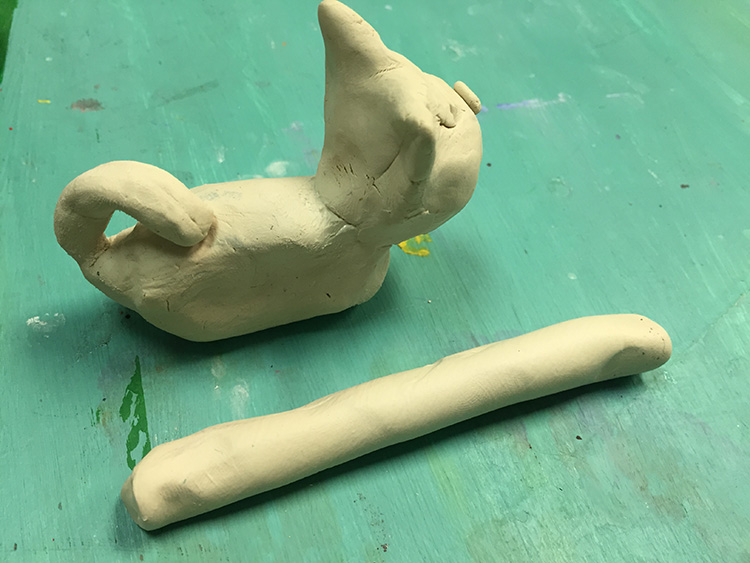
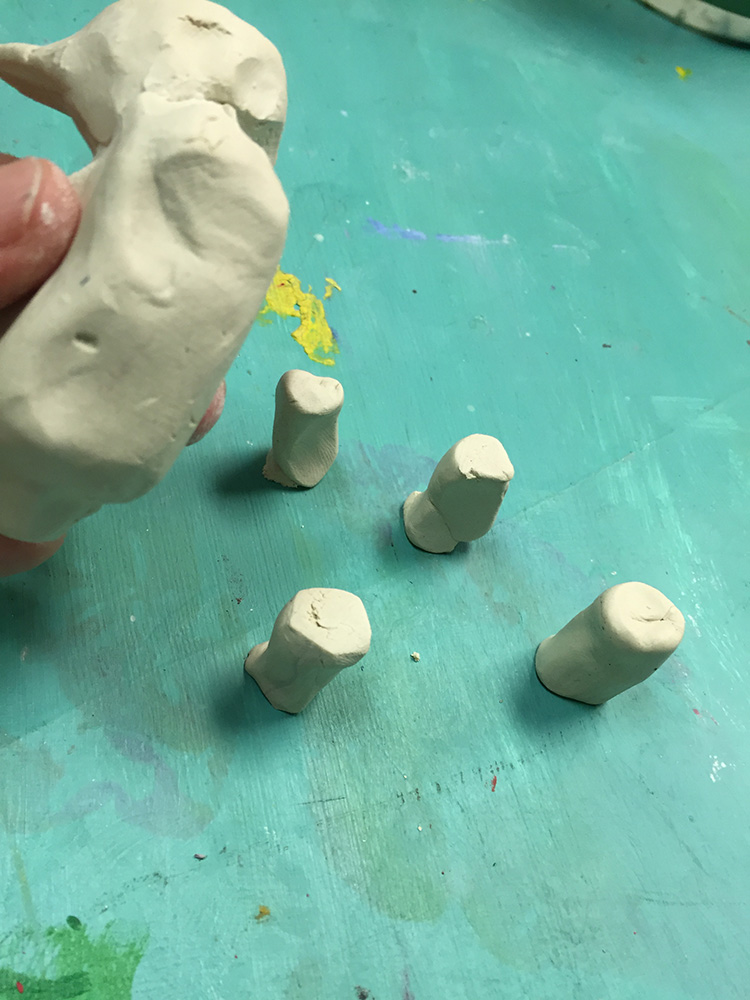
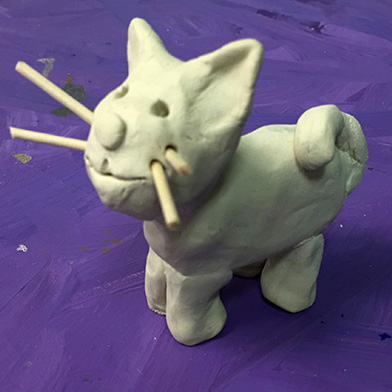
You can make a lot of different animals using a method of creating a log for the body with 4 stumps for legs, and adding a head. The slideshow below demonstrates this method for making a cat out of air dry clay, but it works with playdough too. You don’t have to wet the pieces to make them stick though.
Attach a “worm” to the face for a trunk, and add 2 big flat ears to make an elephant.
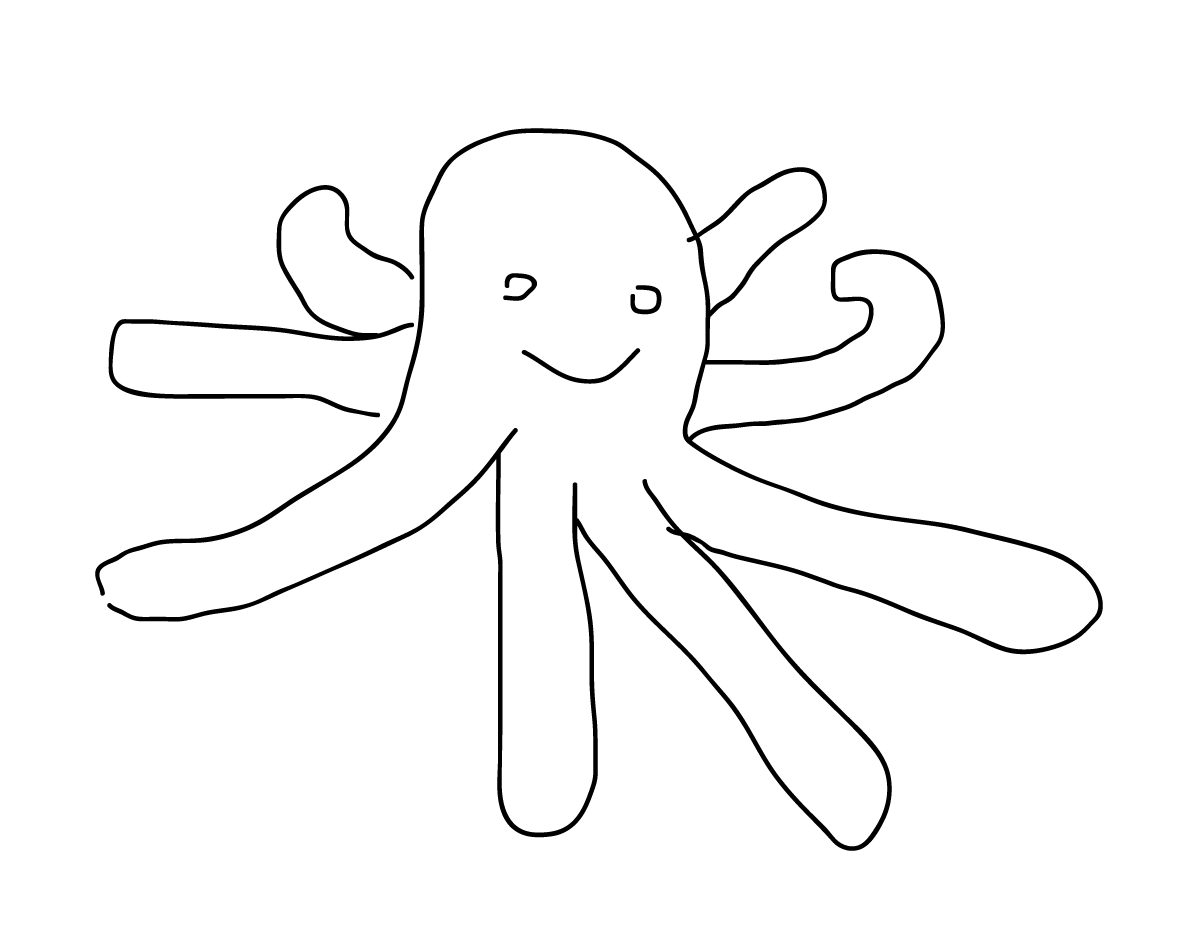
It’s also very easy and fun to make an octopus:
- Roll out a ball for the body/head
- Roll out 4 long worms for the tentacles
- Place 2 tentacles on the table in a cross shape
- Place other 2 as an X shape on top of the cross so you have an 8 pointed star shape
- Put the head on the middle and press gently to connect the pieces
- Use a pencil to poke eyes and a mouth
Simple Clay Animal – A Cat (tap any image to open viewer)
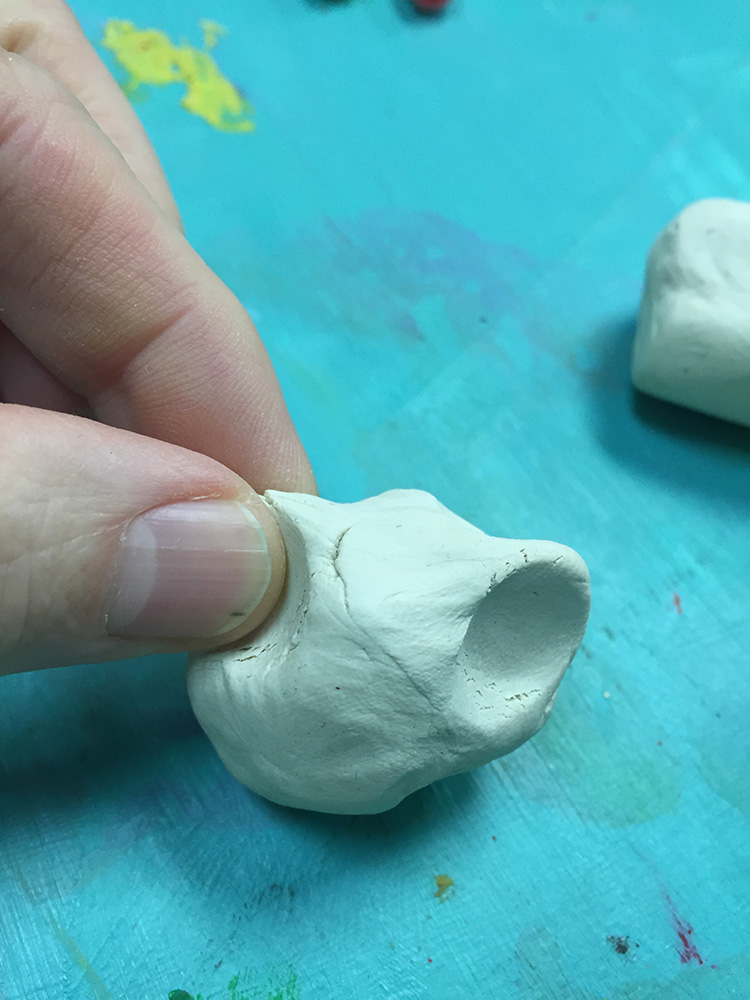

“This dough that we’ll use today is a lot like the clay that adult artists use, but it’s softer and easier to work with. We’re going to make an octopus today! Remember to follow along with me and we’ll have a bunch of fun.
Remember though, that this is the classroom clay, so you won’t be taking your animal home.
Optional:
We’ll take a picture of it for you though, and you can keep it until the end of class and show to your parent if you want.”
2.2 Choose
Fish Tank Station
This is a very fun project that our students always enjoy.
Place 1 or 2 small figurines or toys in the fish tank, so that there is a good view from each of the 4 sides. Either have an eye patch for each student, or have them hold a hand over one eye as they draw. Take a moment to explain how it works.
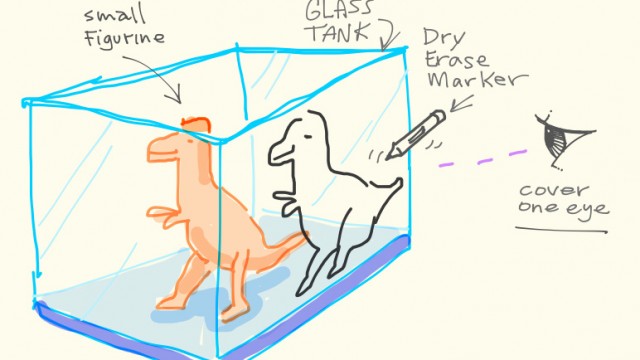
Save the traced drawings! Simply tape or hold a sheet of white paper to the inside of the tank behind the drawing, and then snap a photo.
Send photos to parents and/or print them out for students to keep.
Use this button to jump down to the preparation section.
LEARNING TARGETS
Students know how to use watercolors
M A T E R I A L S
- Water tubs
- Watercolor paper
- Pencil and soft eraser
- Paper towels
- Watercolor pans
- Good brushes
- PDF of animals
Brushes should be nylon for springiness and durability. Round brushes are the most versatile.
Paint pigment list:
- Napthol or Pyrrol Red
- Hansa or Light Yellow
- Pthalo Green (blue shade)
- Cyan or Cerulean Blue
- Ultramarine Blue
- Dioxazine Purple
- Magenta
- Burnt Umber
- Raw Sienna
3.1 Print
Reference
Animals
Cut images apart and print enough for each student to choose from several.
 2 Pages – Opens in new window
3.2 paint
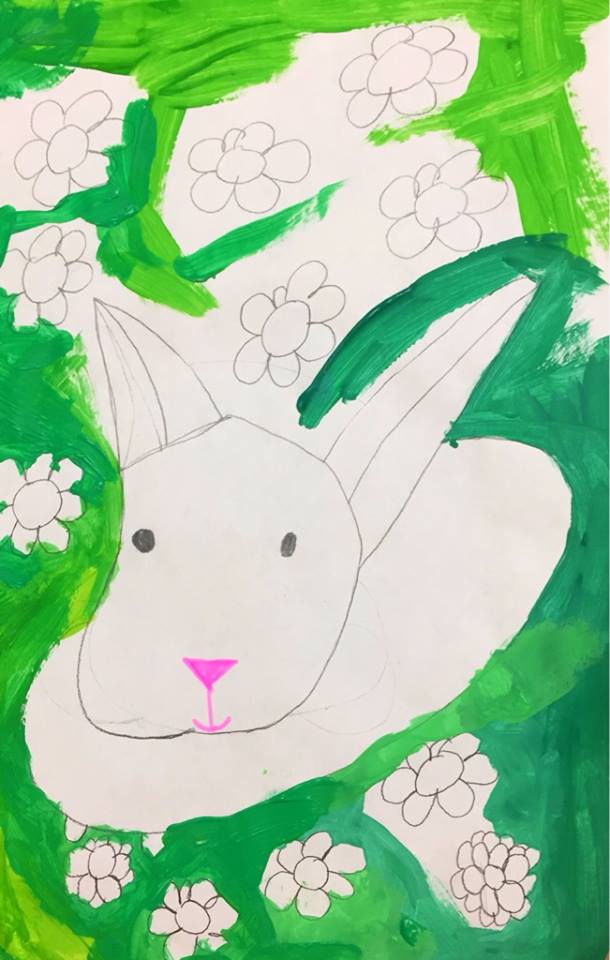
Students choose animals from photos to draw and paint in watercolors.
Have students come up and choose a picture from the “animal picture store” – pictures you printed from the PDF above and cut out.
Let them draw in pencil on the watercolor paper, and then paint in watercolors. Go around the room encouraging and offering help.
With watercolor pans, there isn’t enough room to mix up colors. Use good nylon brushes and have a mixing tray or disposable plate to invent colors on.

Use this button to jump down to the preparation section.
LEARNING TARGETS
Students know how to paint using their imagination
M A T E R I A L S
- Card stock paper
- tempera or watercolor paints
- Water tub
- Paper towels
- Brushes
- Pencil & eraser
- Mixing plate (tempera)
- Watercolor pan
4.1 paint
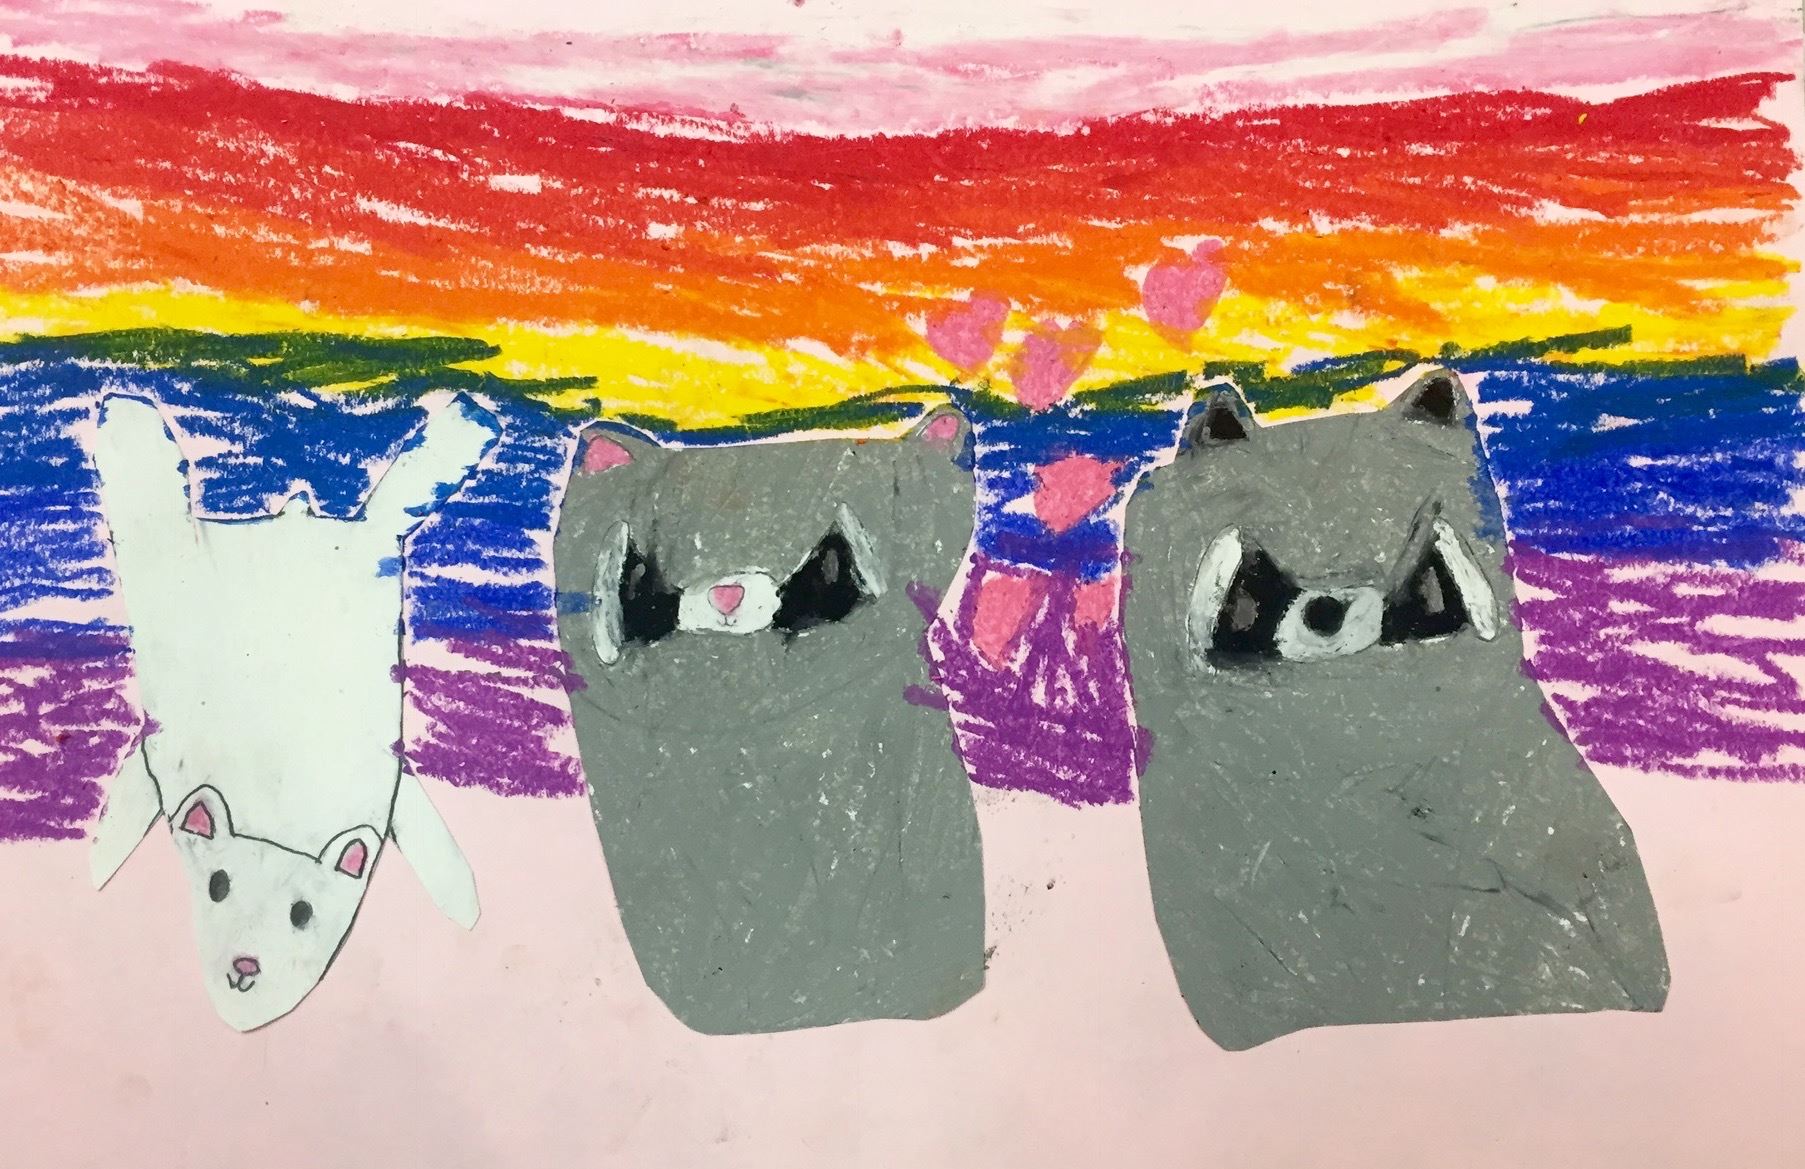
Students have a complete choice of subject and 2 paint media they can use.
Explain that everyone must choose to continue with the watercolors or cleanup and switch to tempera paints. For subject matter, students may choose another animal, or they can choose other photos from magazine, objects from still life, or their own imagination. Help undecided children by giving them a narrow set of choices:
- watercolor or tempera?
- Animal or still life?
- Farm animal or African?
Make sure your kids are enjoying themselves. Be on the lookout for frustrations or conflicts.
Use this button to jump down to the preparation section.
LEARNING TARGETS
Students know the importance of cleaning up.
M A T E R I A L S
- Paper Towels
- Cleaning wipes
- Sink
- Waste baskets
- Well-lit spot for photos
- Camera or phone-camera
5.1 CLEAN
- Wash hands
- Super-wash brushes if used
- Put art supplies away
- Wipe tables & toss trash
- Remove any smocks (last)
- Check for items on floors and tables
5.2 PHOTO
OBJECTIVES
- Practice and improvement in drawing, painting, and visual representation
- Understanding how using one eye closed helps objects look flat, like on paper
- Accomplishment in creating several works of art
- Fulfillment in being told that their ideas are important, and in choosing subject matter they like
TROUBLESPOTS
Indecisiveness – Most artists need some direction at certain times. If you have someone who says, “I don’t know”, encourage them but give them 3 specific choices
All artists have times when they don’t know what they want to do. That’s fine. Here’s what I do when that happens. I choose two subjects, like flowers and animals. Then I say I’m not going to do one of those today. Which would you rather not do today? Ok, then I choose 3 animals, like elephants, tigers, and birds. Then I say I really don’t feel like tigers today, and I’m not really feeling elephantish either. So that leaves birds! I know what I’m doing now. Let’s try it with you…
Shut down – Sometimes a young artist will feel overwhelmed or might be angry about something that has nothing to do with art. Sometimes they just want to be fussed over, and pouting has worked well. To combat this, do two things. 1) affirm them by saying it’s ok to have a bad day or time and that you’re sorry for them. 2) Give less attention to pouting or acting out, and more attention to students who are working and behaving well. Make a big show of saying how appreciative you are when the artists work and raise their hands for help.
The minute your troubled child does something even a little bit positive, give tons of attention to them.
ART WORDS
Reference – something that artists look at, to observe it so they can draw or paint it. Sometimes a picture, and sometimes a real object or scene.
CLASSROOM
PREP
Print all of your PDFs from the lesson plan and cut any references apart as needed.
What your room needs
Here are your printable lists and room prep instructions.
Opens in new window
CLASSROOM
MATERIALS
- 11×17” Copy Paper
- Markers
- Pencils
- Erasers
- Play Dough
- Dry Erase Markers
- Fish Tank
- White Paper
- Tape
- Tracing paper (optional)
- Toy figurines
- Water tubs
- Watercolor paper
- Paper towels
- Watercolor pans
- Good brushes
- PDF of animals
- Card Stock paper
- Tempera paints
- Mixing plate (if using tempera)
- Cleaning wipes
- Waste baskets
PREVIEW
Week 10: Plants and Rugs
After a warmup of artists’ choice, students draw a still life that includes plants, on watercolor paper. Then they’ll paint in watercolors. The second project involves making rug designs using colored papers and collage.
Week 11: The Boss of Shapes
Students will learn that doing several variations of their art gives them a choice, which is often much better than going with your first idea. We’ll play-act that they are a boss. They’re also the boss of their art, and can move shapes around until they like a composition more. Watercolor and pastels are used to paint images of hand tools, and a shape-finding game is played, strengthening visual skills.
Use this button to view our parent’s blog. Share the link: http://parentart.org, with your student’s parents so your they can read about the lesson each week.