
Drawing
Each lesson Plan focuses primarily on one of the 4 Cornerstones of Art:
Drawing | Painting | Color | Style
OVERVIEW
Students discover (or rediscover) the good, bad, and beautiful qualities of India ink. They create a black and white ink drawing, while also reviewing the 3 Steps to Accuracy, and learning about Air Shapes.Grades 3 – 5
Week of September 22 – 26
1 Hour & 45 Minutes

Lesson At A Glance
A brief overview of each step. Buttons jump to each section for detailed information.
10 Min – Use pencil to draw Big Shapes.
10 Min – Ink techniques: patterns & textures
10 Min – Slide show about air shapes
10 Min – Frame & Big Shapes
38 Min – Draw over guidelines using ink techniques
2 Min – Everyone helps
SCROLL & TEACH
LESSONPLAN
Each section is a different color. Read over once and then you can SCROLL & TEACH using any device you like. It’s designed to work best with your phone.
LEARNING TARGETS

Students know how to draw a still life.
M A T E R I A L S
- 14″ x 17″ Sketch Paper
- 2B Pencils
- 4B Pencils
- Charcoal
- Kneaded Eraser
1.1 Prints
Reference
Photos
4 photos of simple subjects that have easy big shapes and air shapes.
Set the images out, and let students come choose what they want.
2 Pages – Opens in new window
1.2 drAW
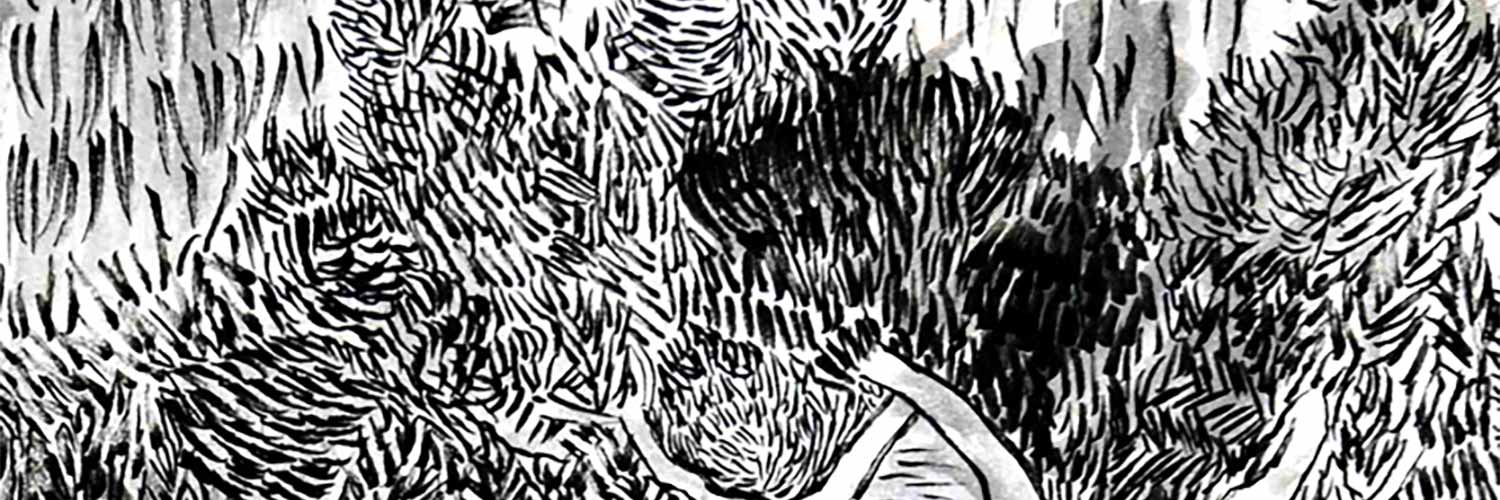
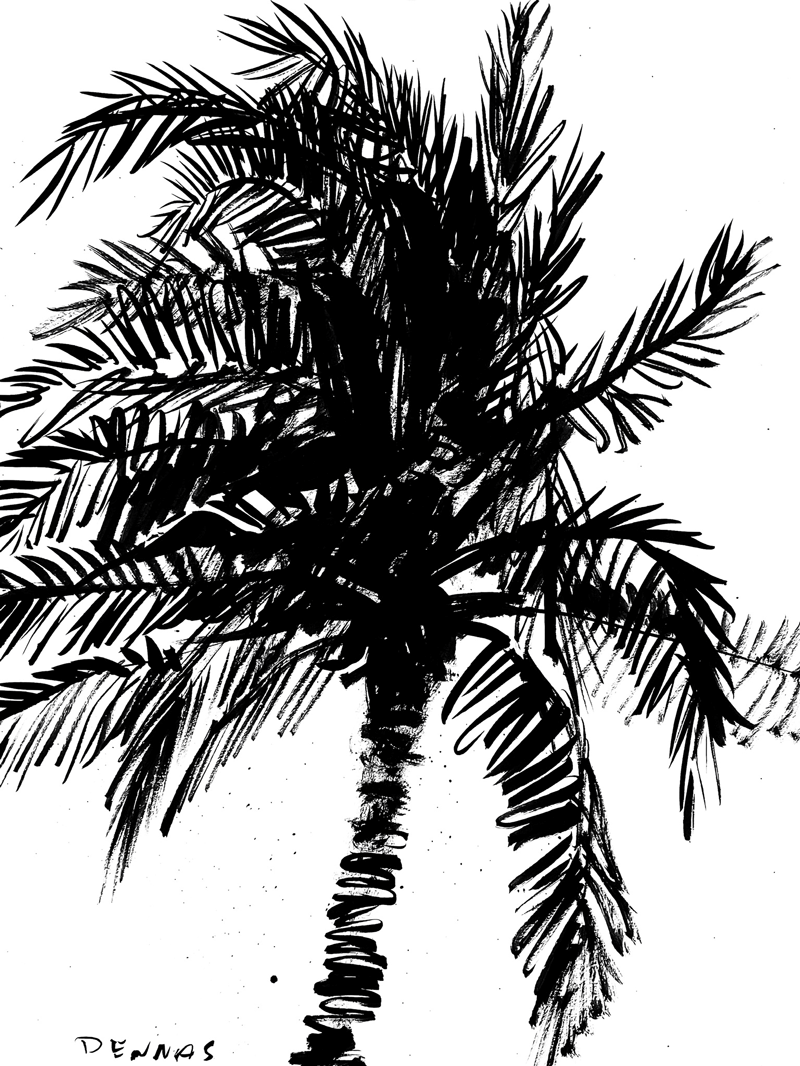
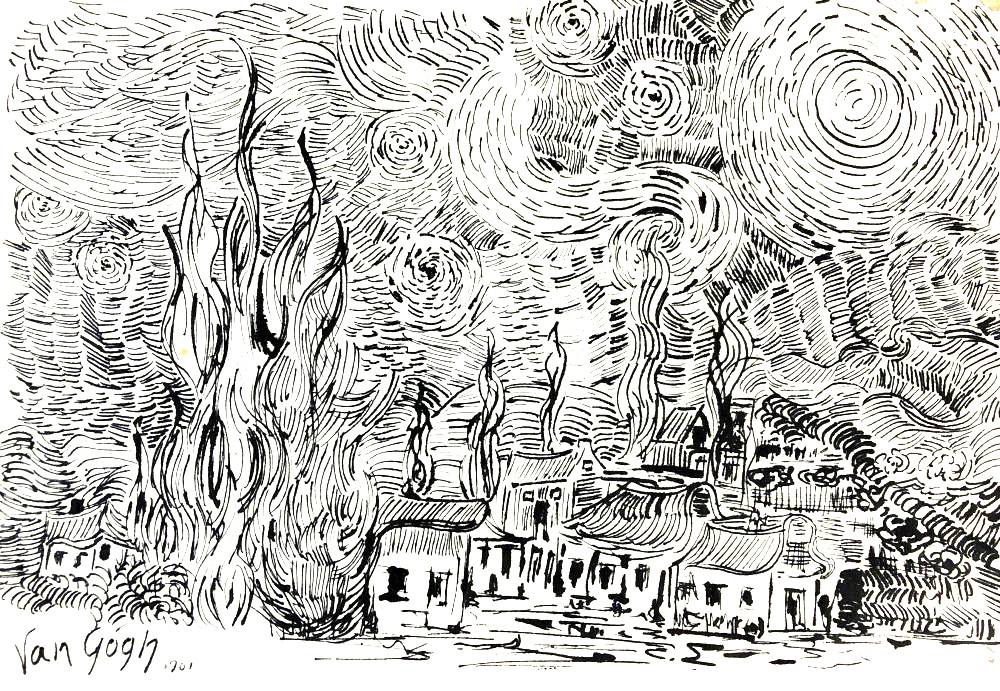
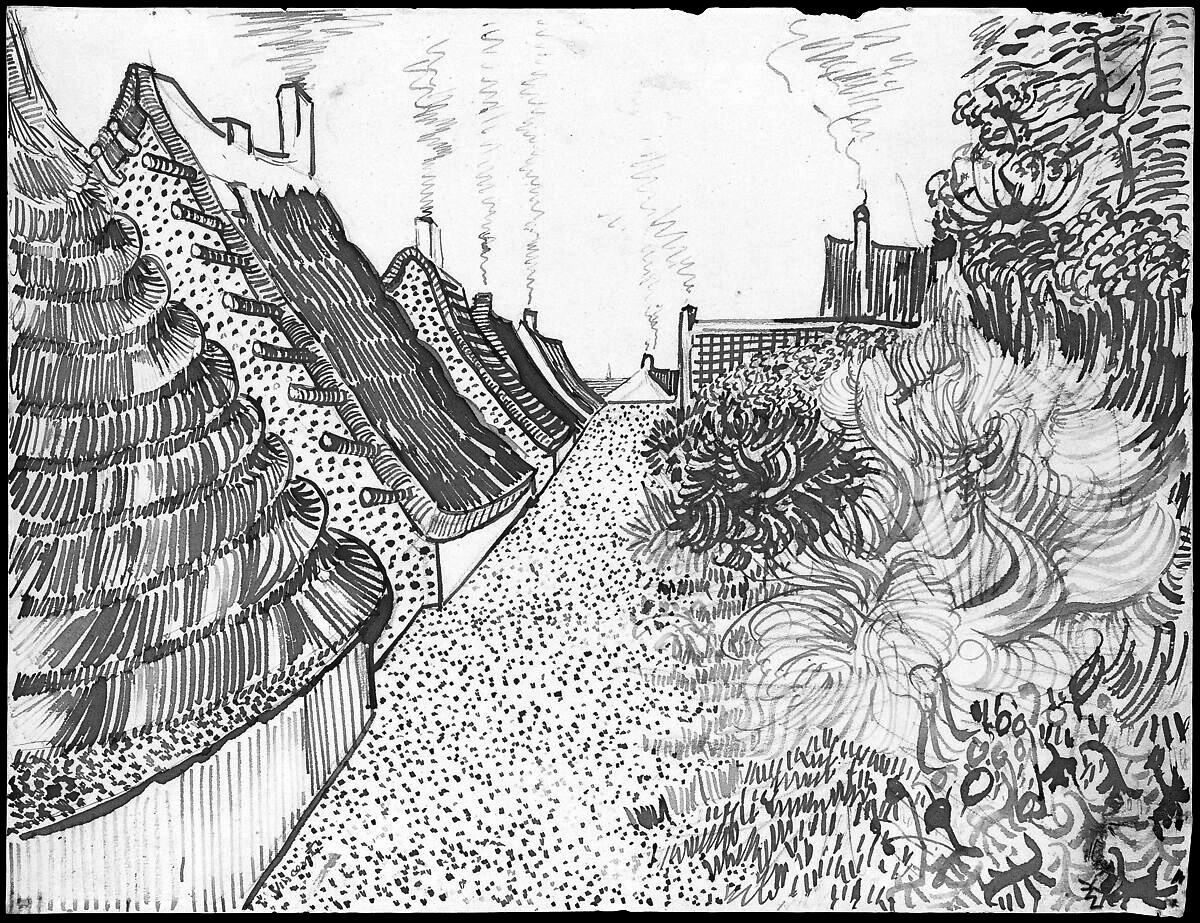
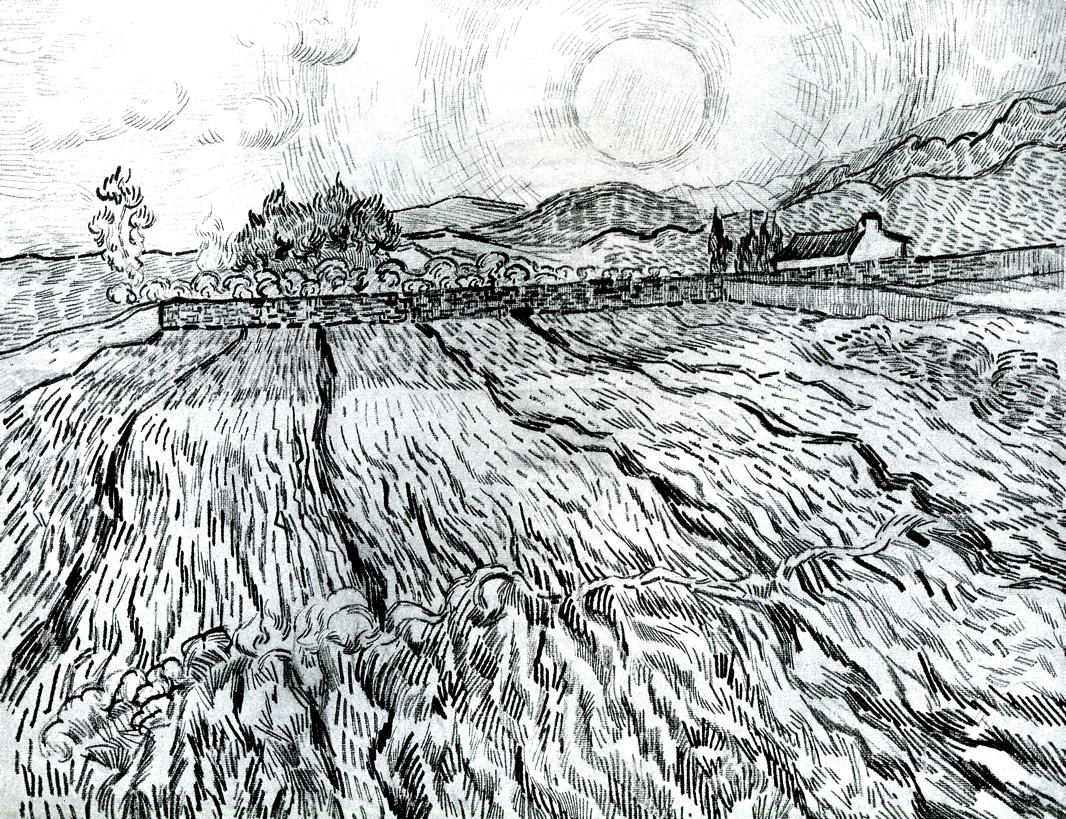
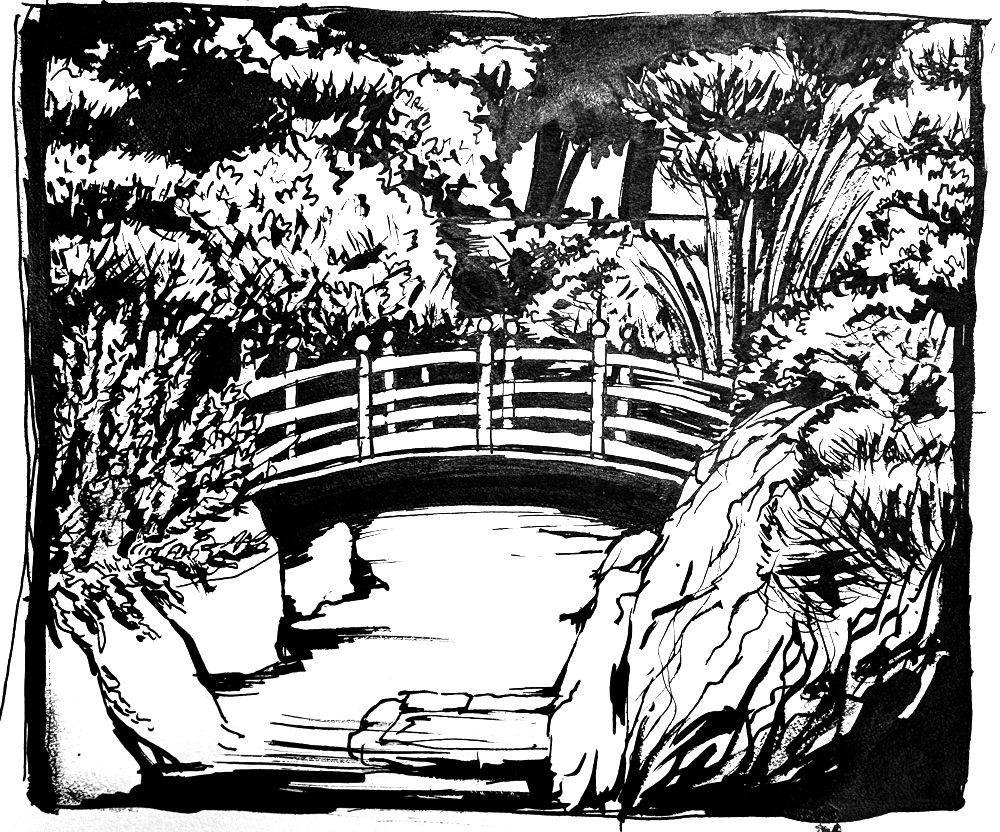
While students work, provide inspiration. Display ink artwork examples on Pinterest using the link below.
Ink Examples. Display this slideshow while students work (tap any image to open viewer)


CREATIONS - tap here to open
Use the Student Instructions printout below to distribute to your Creations students. Tap the image to open the PDF in a new window.
Ink Artwork
Overview: Advanced students choose their own advanced reference to create one or more ink drawings. They’ll use ink with a pen, brush, and other tools. Reference is essential, but expressive work is to be encouraged.
There are 10 reference photos provided below for the advanced students, and they can also choose from the 8 Foundations photos if they want.
MATERIALS
- 14″ x 17″ sketch pad
- 2B pencil and eraser
- Watercolor paper
- India Ink – secured on plate
- Pen and nib
- Small paintbrush
- Toothbrush & stick (optional for splattering)
- Paper towels
- Water containter
- Smock
Step 1. (10 minutes) Look for inspiration with the Pinterest Board of ink artwork and choose reference from photos.
Step 2. (5 min) Create 3 or more small thumbnail layouts using the reference. Create Frames and Big Shapes that are accurate. Look for Air Shapes and make sure they are also accurate.
Step 3. Create a rough sketch of the artwork in pencil on sketch paper, or skip this step and draw guidelines on watercolor paper.
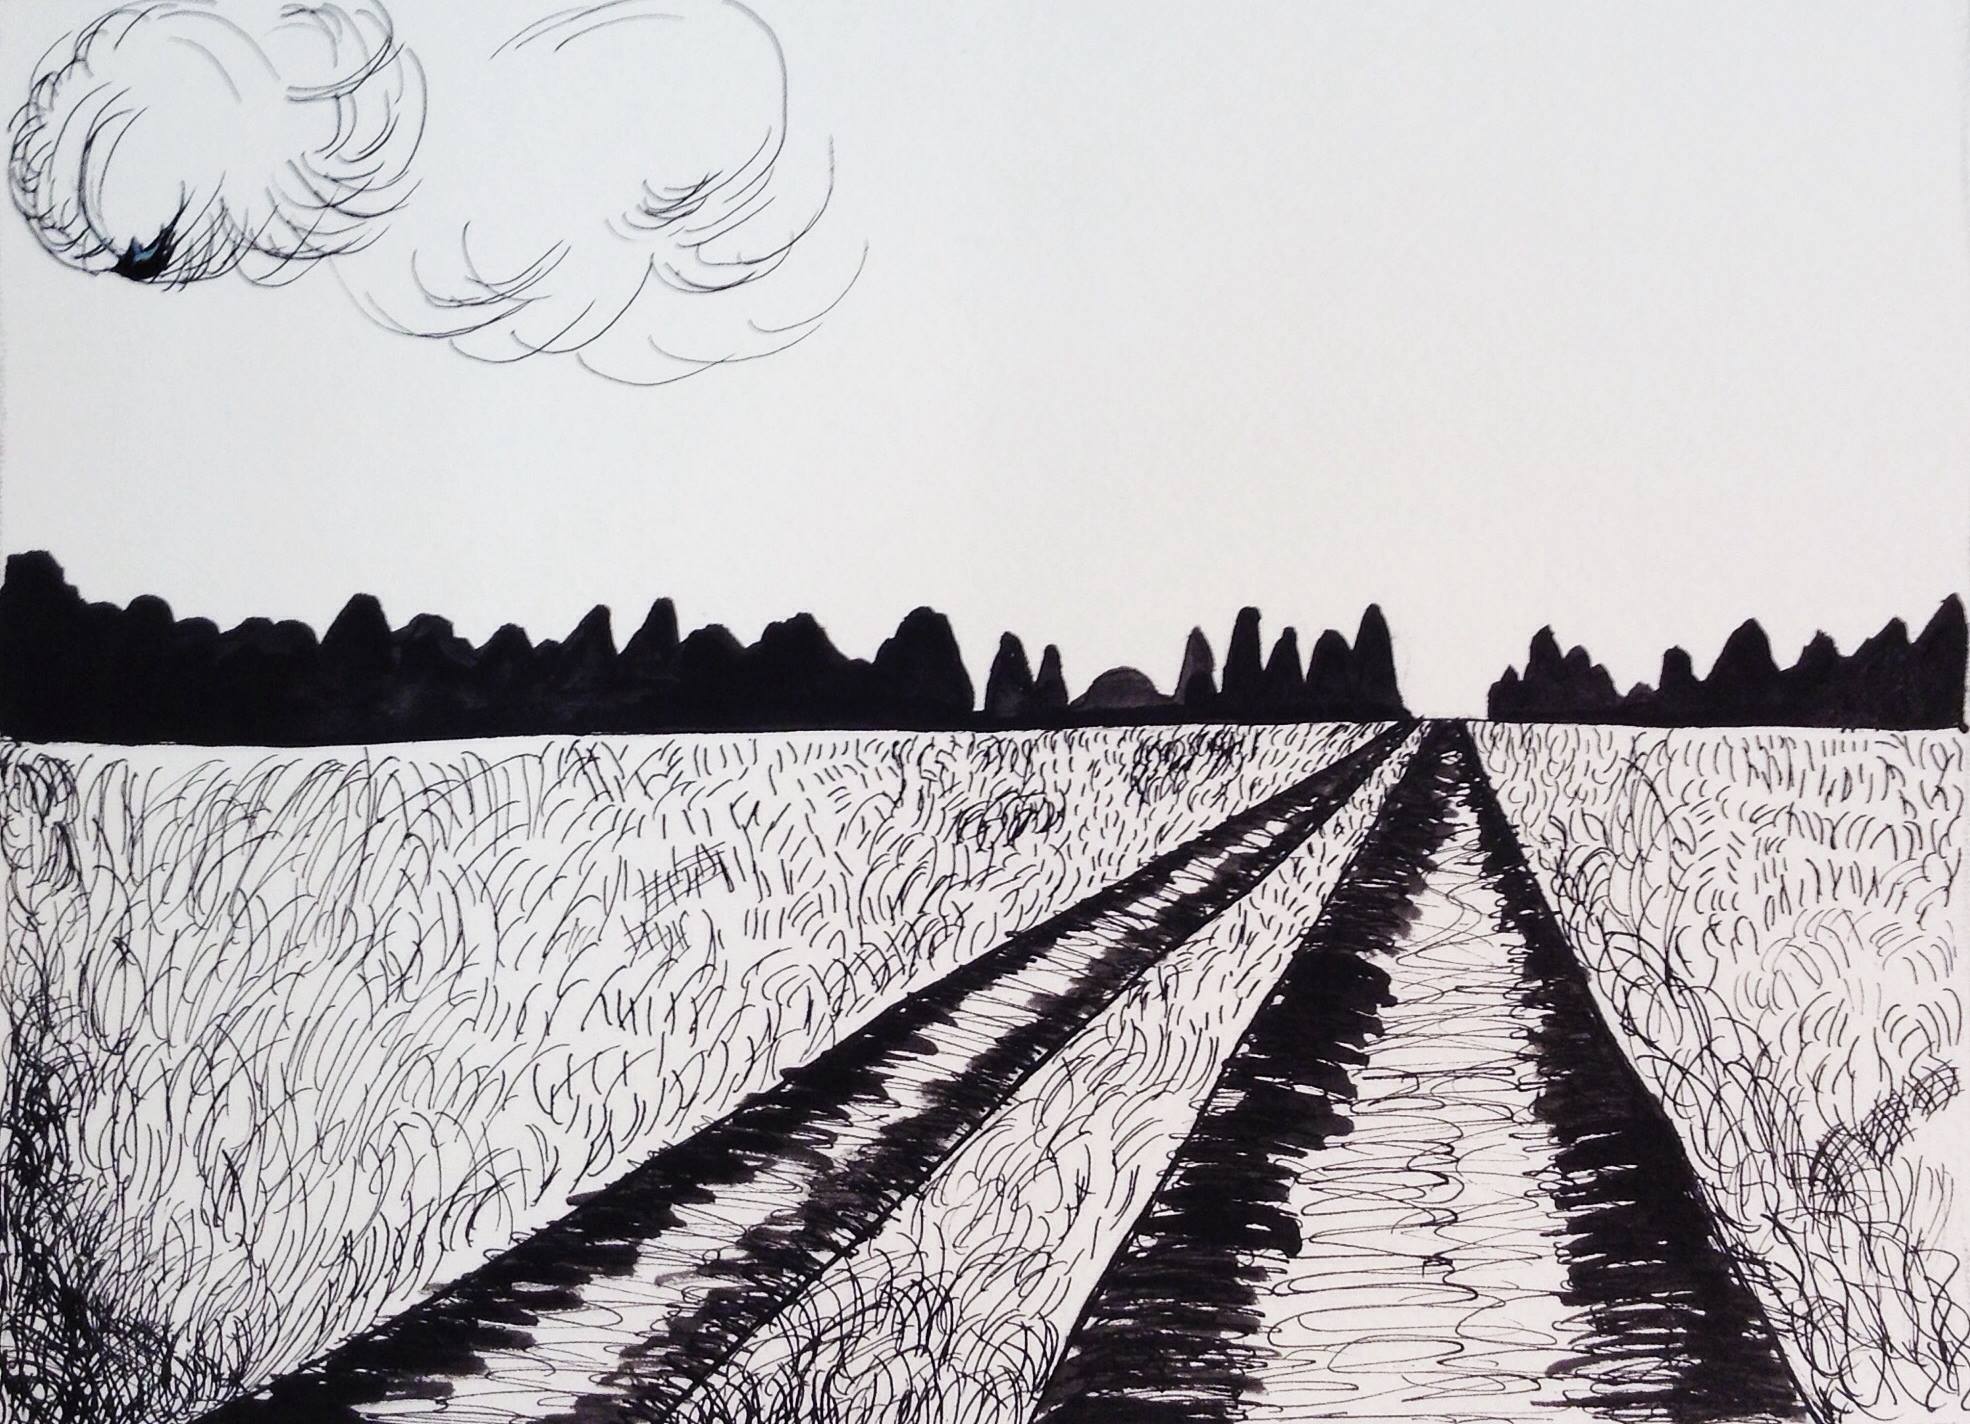
Step 4. Use pen and ink to create artwork. Use small repetitive penwork to create textures in different areas. Add more expressive lines and solid areas with a brush if desired, and carefully add splatters and sprays of splatters by tapping a small brush of ink (gently) against the side of your hand.
Special Technique: A toothbrush can be used with a stick. Use the ink dropper to add some ink to the toothbrush bristles. Pull the stick across the bristles towards yourself, away from the artwork. When the bristles snap back, they spray ink onto the paper. Be careful!
Tap images to open Creations Student Instructions and Reference Materials in new windows


Use this button to jump down to the preparation section.
LEARNING TARGETS
Students know how to analyze shapes and proportions before drawing details.
M A T E R I A L S
- 14″ x 17″ Sketch Paper
- 2B Pencil
- White eraser
2.1 poster
Graphic
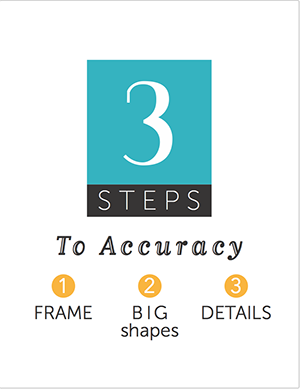
3 Steps Poster
A simple and eye-catching small printable poster to remind students about the 3 Steps to Accuracy.
1 Page – Opens in new window
2.2 Prints
Reference
Photo Diagrams
The Frame and Big Shapes are emphasized in these diagrams of the references from STEP 1.

1 Page – Opens in new window
2.3 practice
Begin by making two frames to work in. Do not use the edges of the paper for any Frame edge. It makes it hard to see the proportions.
Students should draw on a new page in their sketchbook with a 2B pencil, using light guide lines, or graze-lines, just tickling the paper with the tip of the pencil. Point out both air shapes and solids when you see students working with them.
Wait a bit before providing the small diagrams that are included in the printouts, until your kids have struggled for at least a few minutes, trying to nail down the frame proportions and the biggest shapes in the first Frame. Then hand these out as helpers. You will know your own students best, but it’s good to ask if a student would like to see a frame and big shape helping tool you have, before you give it to them. Then he or she has decided to seek your help, instead of you saying that they need it. You can ask the whole group at once.
Have students try drawing the big shapes once again in the second Frame for more practice. (younger students may balk at this. Don’t push it).
3 Steps to Accuracy
- Frame
- Big Shapes
- Details are last. (Details are fun and most of the work, but only after the first 2 steps.)
It’s the hardest thing to ignore the people acting badly, but speaking praise on the ones that are doing well changes their behavior, where fussing at them encourages the behavior.
Use this button to jump down to the preparation section.
LEARNING TARGETS
Students know how to use pen and ink.
M A T E R I A L S
- India ink
- Ink dip pen with metal nib (not too sharp a point)
- Container or flat tray to secure ink
- Small piece of clay OR tape
- Smocks
3.1 demo
India ink is like an evil genie in a bottle.
The good news is that just like other dangerous things, like electricity, there are ways to use it that keep it under control, and then it can do awesome things. We also have a secret weapon that can stop ink. Paper towels! And we have lots of those all around. But still, be careful. Do not open a bottle of ink, until you have a secured it onto something that can prevent it tipping over. A flat plate and tape will hold the ink bottle in place so it can’t be tipped over. The plate also has a place for the cap, with it’s dropper. Even the pen can rest on the plate.
Please keep in mind that the dropper is not a drawing instrument. Do not use it to create artwork. Use the pen and nib or a brush. Today we’re using the pen.
The pen should be dipped like so, and (if you have short bottles) can go all the way to the bottom of the bottle without over dipping. You should tap off any excess ink against the edge of the bottle opening. Hold the pen just like a pencil. It’s designed with a small angled tip just at the right drawing angle. Look closely at the nib and you can see that I’m holding it with the rounded side facing up, like a helmet. If you hold it like a cup, which seems to make all kinds of sense, that’s actually upside down! It won’t work as well and will scratch up your paper.
Take a moment to practice drawing lines. You can also fill them in pretty easily. There are two things you should be on the lookout to avoid. 1. Smears will occur (show this on the paper) when you get your hand into wet ink, so work from the top and move down the paper towards the bottom. 2. Drips will splatter on your work if you get too much ink in the nib, so remember to tap tap the nib against the ink bottle and don’t move too quickly.
Clean up is simply wiping the nib dry with a paper towel. No water needed. Do not screw down the ink bottle cap super tight or it will leak.”

The base also helps keep the cap from rolling away. Do not use the dropper to draw with.
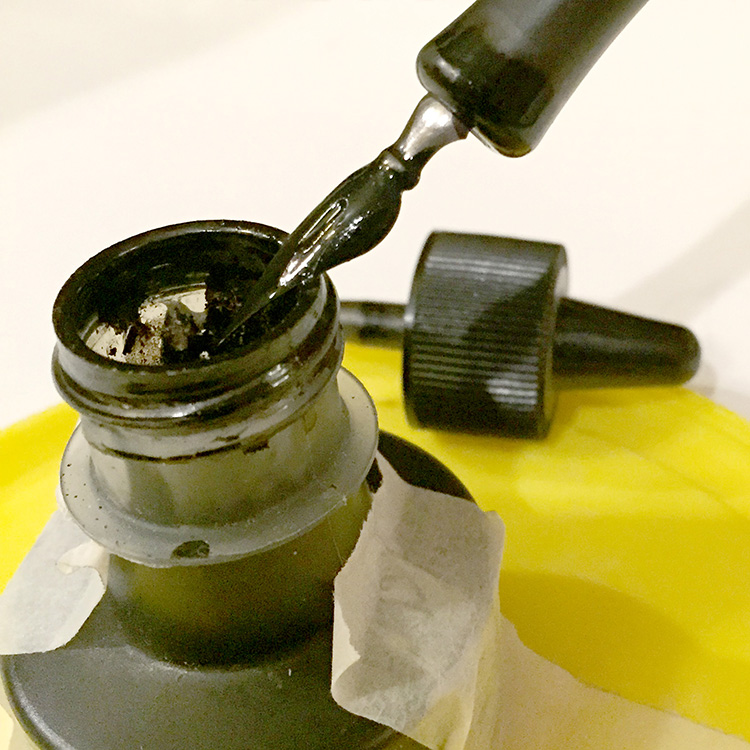
Tap the nib against the bottle to remove some excess ink.

Taping your ink bottle to a base stops most spills before they happen! We use modeling clay to stick our bottles onto a plastic plate.
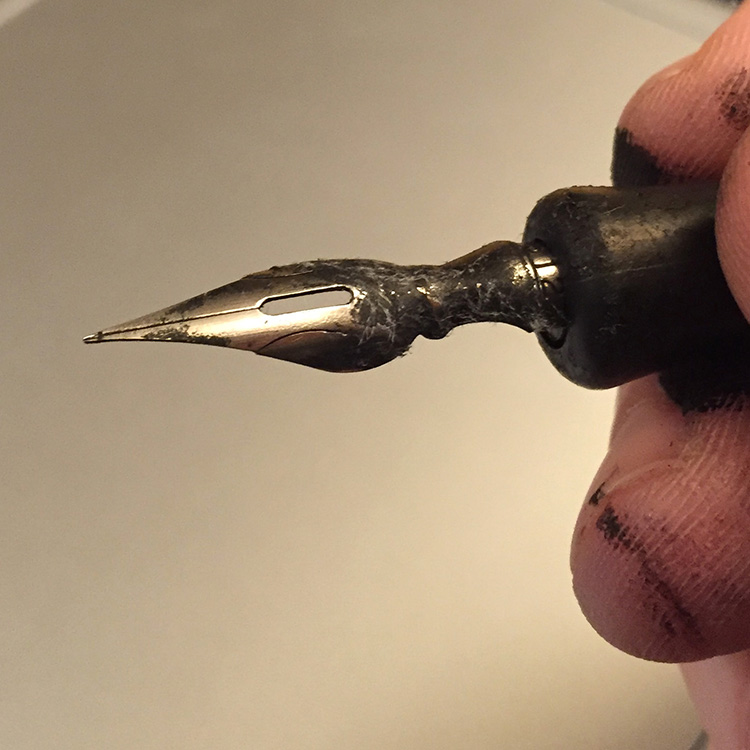
The nib has a rounded top and should be held like this. It can be bent, and that ruins it, so be gentle. If you notice a split in the nib, that is how the ink travels to the tip, and all nibs are split like this.
We use clay because it’s quick and easy to set up and put away afterwards.
Use this button to jump down to the preparation section.
LEARNING TARGETS
Students know how to work with ink.
M A T E R I A L S
- India ink
- Ink dip pen with metal nib (not too sharp a point)
- Container or flat tray to secure ink
- Small piece of clay or tape to secure bottle
- Paper towels
- Smocks
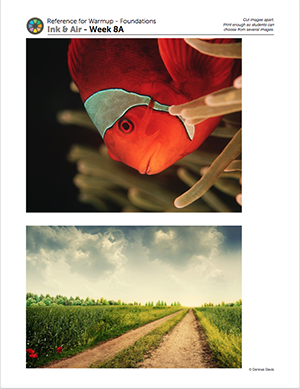
4.1 Prints
Reference
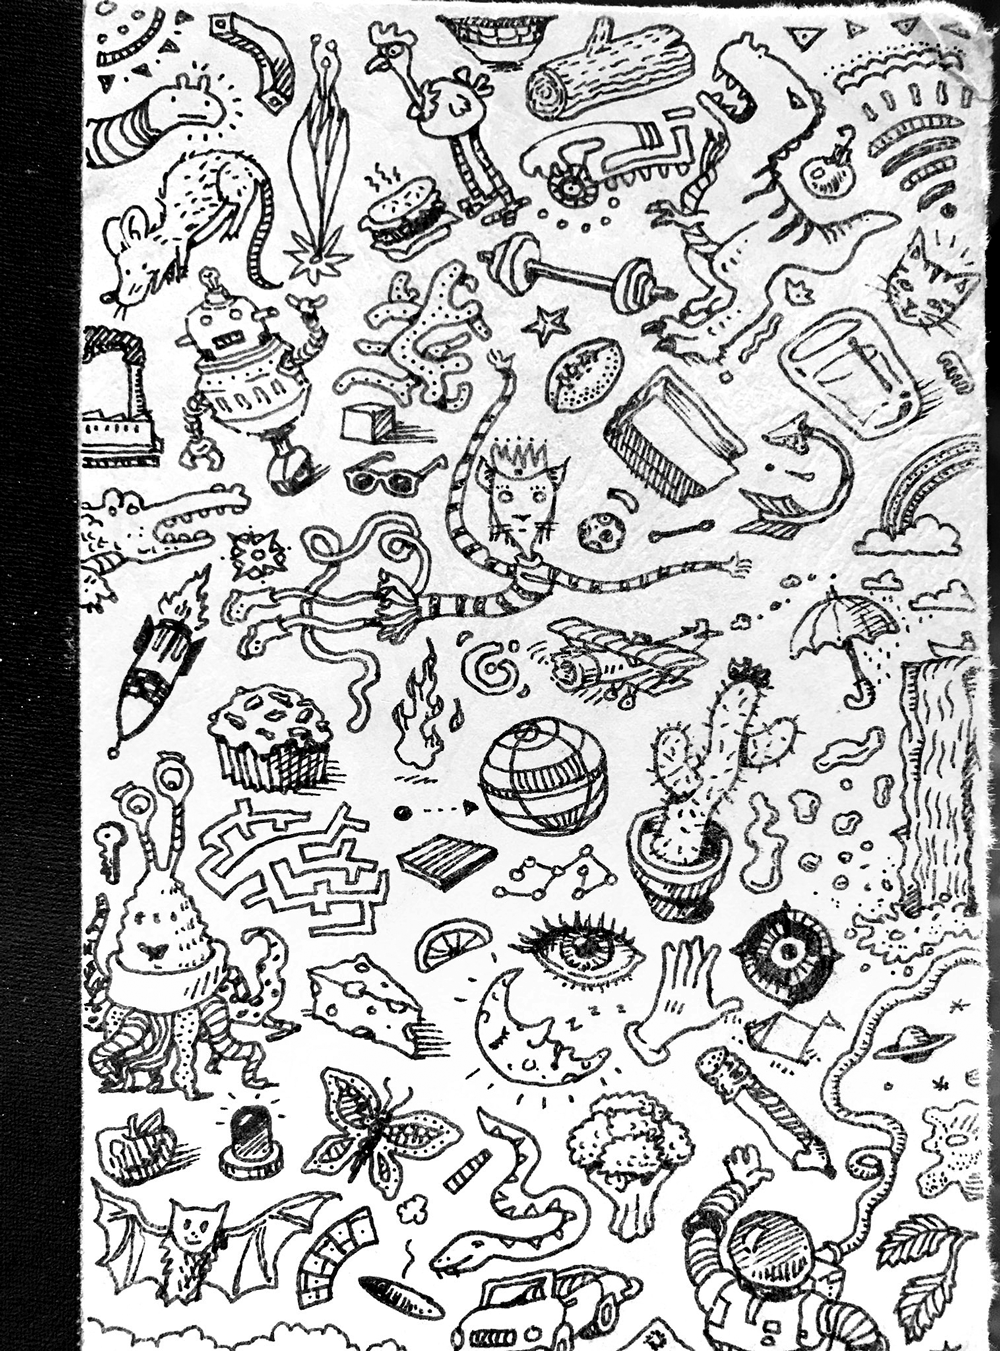
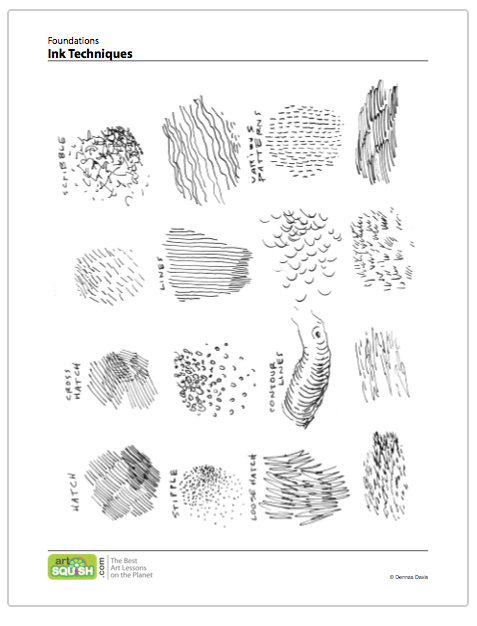
Ink Techniques
Cut images apart and print enough for each student.
1 Page – Opens in new window
4.2 practice
Have students prepare their ink bottles and other supplies. Then they’ll practice drawing different lines, patterns, and textures in their sketchbook for a few minutes, using the handout as a guide.
Use this button to jump down to the preparation section.
STEP 5. Air Shapes
Students will watch a slideshow describing the shapes of air around objects. 10 MinutesLEARNING TARGETS
Students know how to look for air shapes when drawing.
M A T E R I A L S
- 14″ x 17″ Sketch Paper
3.1 ACTION
For high school ages, you can introduce the more widely used term, “Negative Spaces” in addition to “Air Shapes”. We use air shapes because it is not an abstract term and is much easier to understand and remember.
That means it’s really important to look for these air shapes and to draw them just as accurately as the solid shapes. You can think of it like a child’s wooden puzzle. If the frame is from a different puzzle, the shapes won’t fit. The air shapes are the same as the solid shapes and you need both to finish your puzzle. If you only look at the solid things, that’s only half of the shapes in the picture!”

The solid blocks are easy shapes to see

The space inside these blocks makes a rectangle. Looking at the proportions of the rectangle is important.
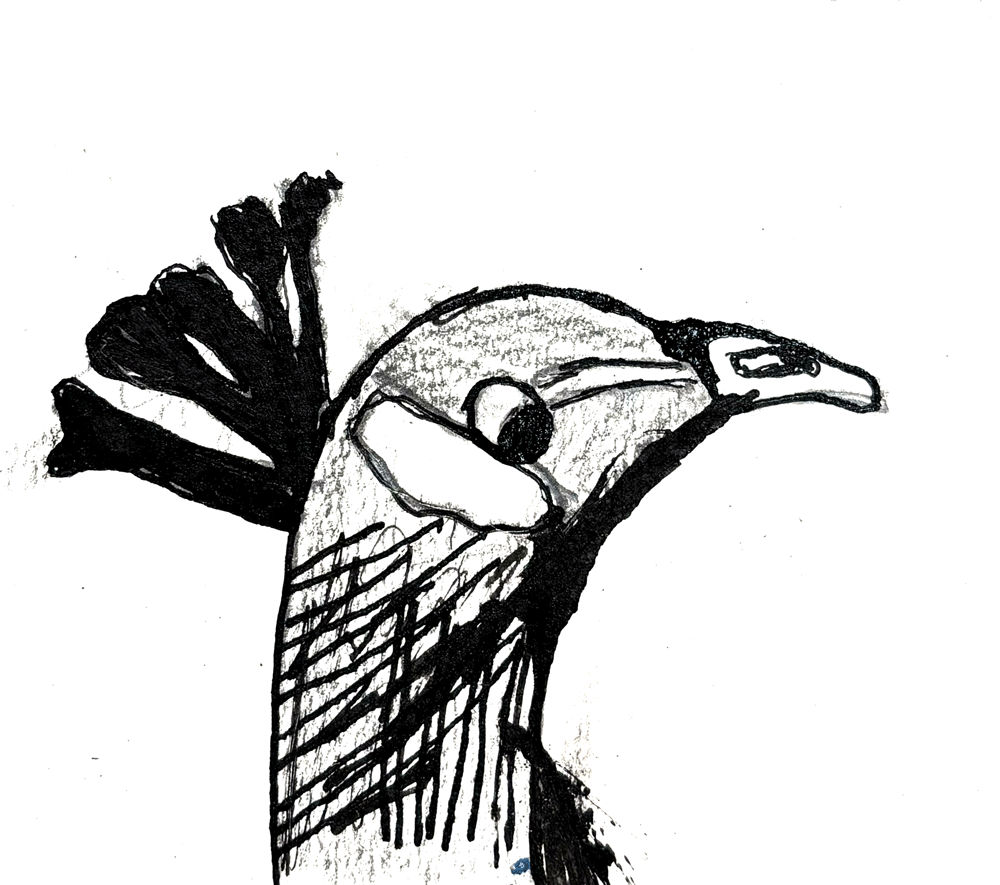
What air shape do you see?
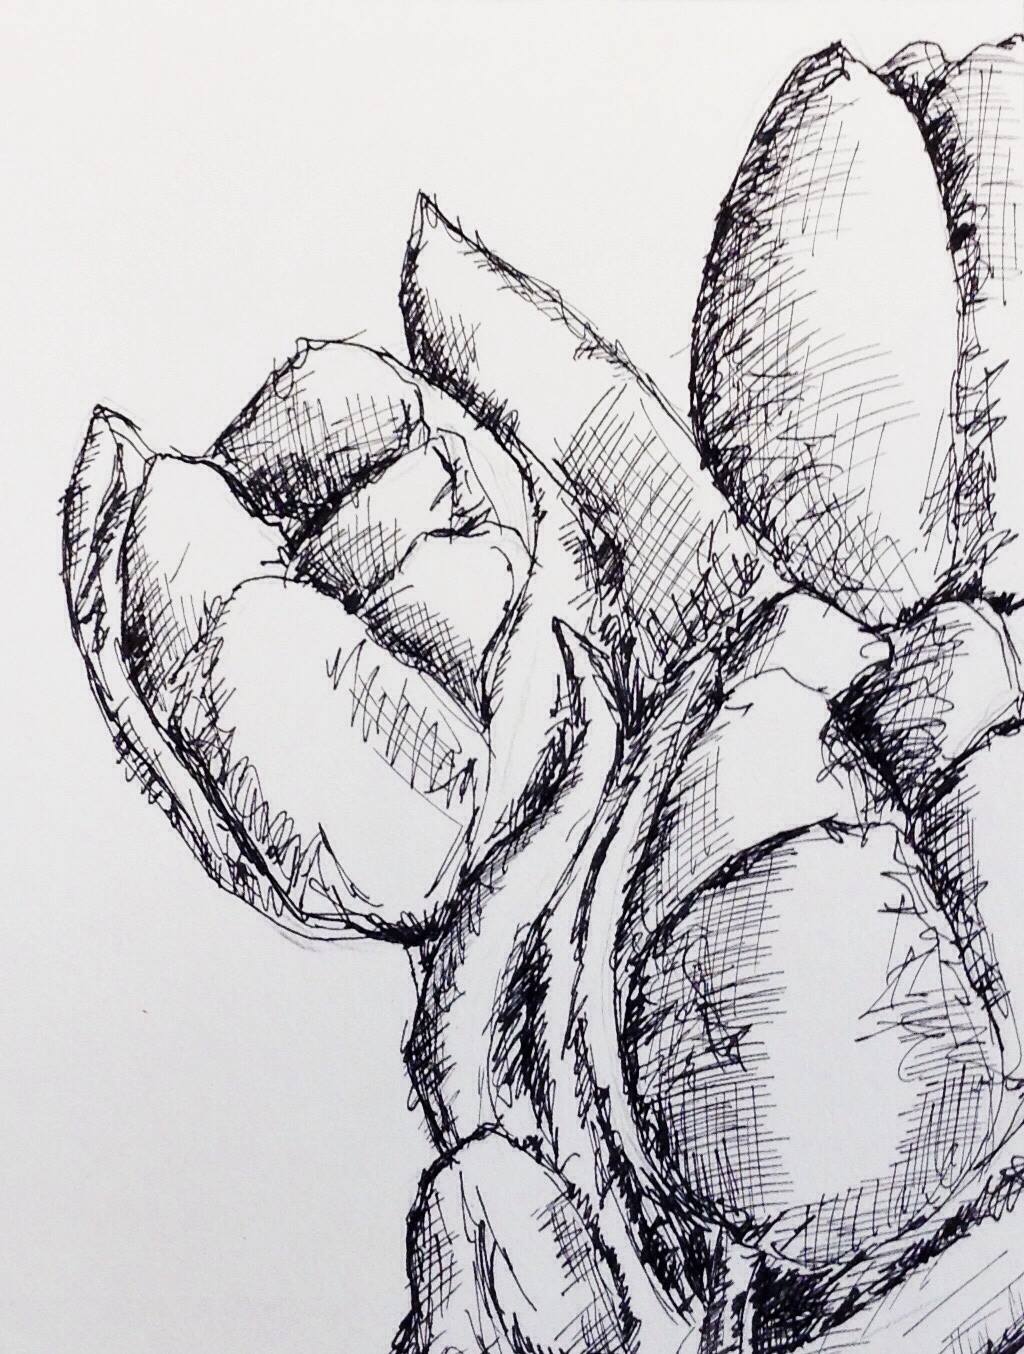
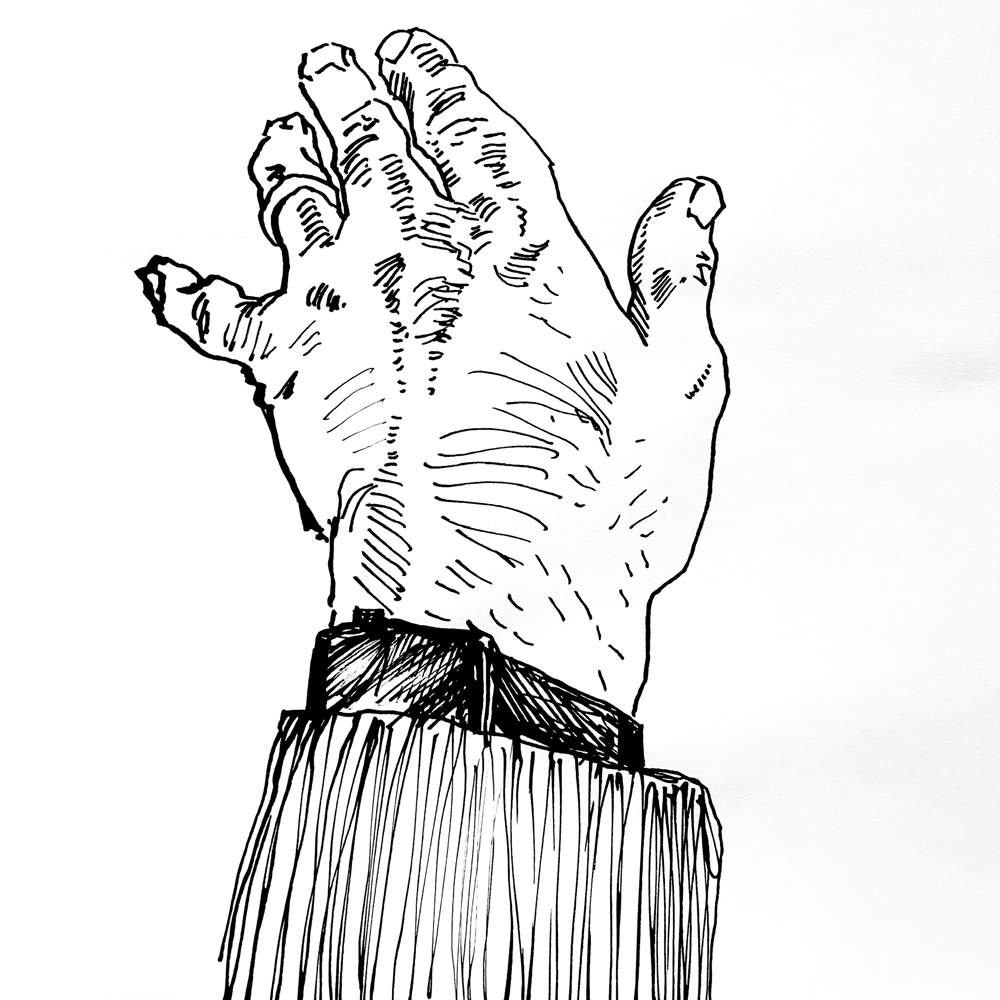
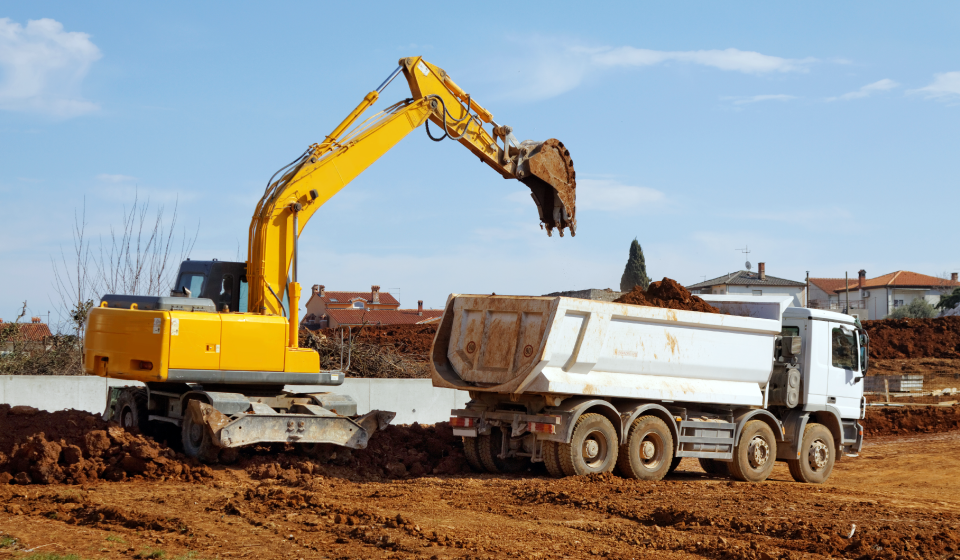
This one is hard to see!

The space under the claw reminds us of a house shape.

It makes it easier and more fun to see familiar shapes like this.

Most artists draw the legs but don’t look at the air between them.
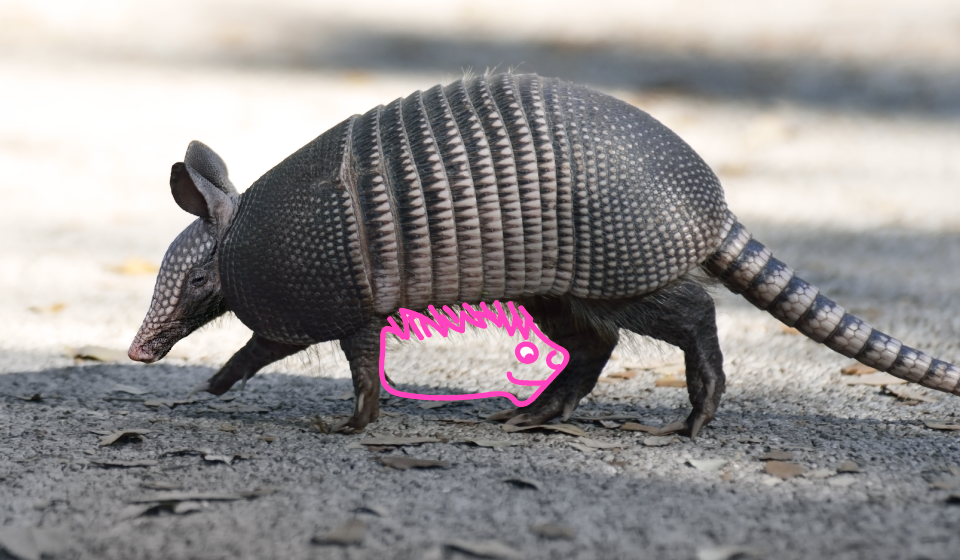
A hedgehog shape
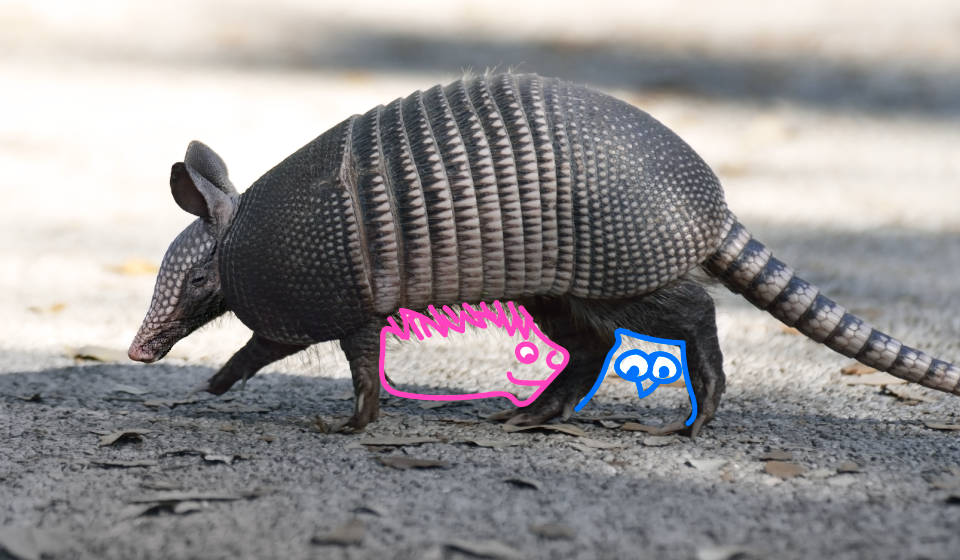
An owl shape
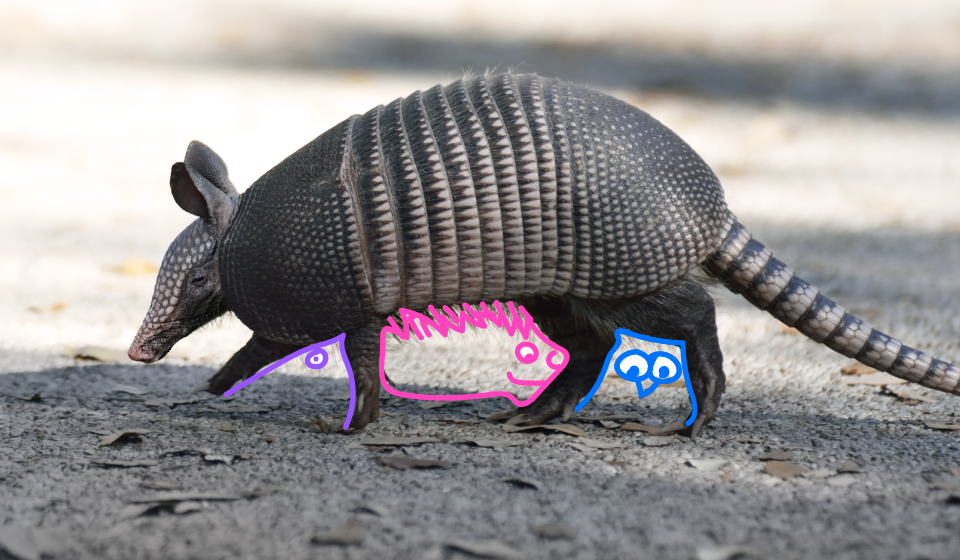
A fat birdie

The air shapes here are more difficult.

This shape reminds me of a dragon wing!
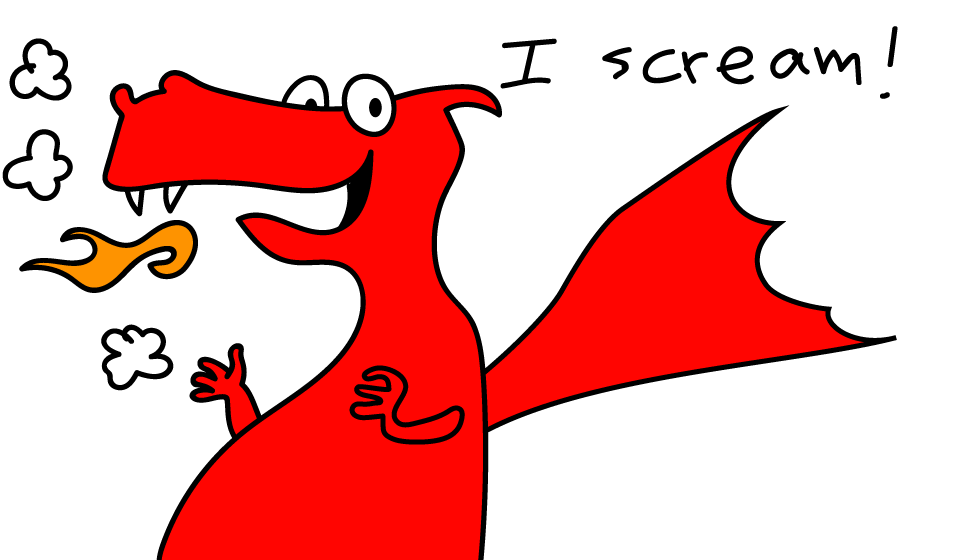
Who like ice cream.
Use this button to jump down to the preparation section.
LEARNING TARGETS
Students know how to draw guidelines of their biggest simple shapes accurately.
M A T E R I A L S
- 11″ x 15″ watercolor paper
- OR good drawing paper
- 2B Pencil
- Kneaded erasers
- Reference photos from STEP 1
6.1 Frame
6.2 Shapes
Erase and adjust until they are accurate.
LEARNING TARGETS
Students know how to complete a drawing with ink.
M A T E R I A L S
- India ink
- Ink dip pen with metal nib (not too sharp a point)
- Container or flat tray to secure ink
- Small piece of clay
- Paper towels
- Smocks
7.1 ink
This final drawing will be done on the watercolor paper they just drew guidelines on.
Students should begin at the top on the side farthest from their working hand, and work downwards.
Encourage artists to be expressive with their ink and create pattern and texture. Since the Big Shapes are accurate, they have more freedom to play around with ideas and techniques.
7.2 extra
- Students can also use a small or medium brush to fill in larger areas with black.
- A toothbrush can be dipped in ink (or ink applied with a dropper). Hold the brush end over the artwork, and pull a popsicle stick or other device (I use my finger but it gets black) across the bristles. Pull TOWARDS YOU, AWAY FROM THE ART surface, so that when the bristles snap back, they snap towards the art and splatter it with ink. This will be extremely messy.
- Finally, you can use a small brush dipped into ink, and gently tap it down on the side of your hand over the artwork. This will cause large drops to jump off the brush and splatter haphazardly across the surface. Do this technique G E N T L Y and only tap against something. do not allow students to fling a brush. Ink will fly across the room and have an evil heyday.
- A certain maturity level should be considered before bringing these techniques into the project.
Use this button to jump down to the preparation section.
LEARNING TARGETS
Students know the importance of cleaning up
M A T E R I A L S
- Paper Towels
- Cleaning wipes
- Sink
- Waste baskets
- Well-lit spot for photos
- Camera or phone-camera
8.1 clean
- Wash hands
- Super-wash brushes if used
- Put art supplies away
- Wipe tables & toss trash
- Remove any smocks (last)
- Check for items on floors and tables
8.2 photos
OBJECTIVES
- Practice and improvement in drawing accurately
- Understanding how to use air shapes to help with accurate drawing
- Accomplishment by creating a finished ink drawing
- Fulfillment in using the expressive media, India ink
TROUBLESPOTS
Ink spills – Nothing is quite as messy, insidious, or staining as india ink. Have paper towel rolls all over the place ready to cleanup. A tub of water should also be handy.
Drips and spots – most students will have a drip or two at some point, and it may make them think they have ruined their work. Encourage them by showing how splatters and drops can look cool, and how creating new patterns and black areas can hide things you don’t want. Also explain that splatters will be a deliberate part of the work today, so it’s not a problem, it’s expression.
Not holding the pen correctly – be on the lookout for upside-down ink nibs when students are holding the pens.
Inappropriate nib behavior – The metal nibs are sharp and therefore a bit dangerous, and they can easily be bent. When that happens they become useless. Explain to the students that the nibs are fragile. They hold up well to drawing, but they should never do any other activity with these pens.
ART WORDS
Air Shape – The ArtSquish term to replace the more traditional and harder to understand, negative shapes. These are the shapes that surround solid objects, ie: the space between two fingers. Air Shapes can be very helpful in drawing accurately if they are noticed and examined.
• India ink – a liquid that is much runnier than paint, but also much darker, stains everything, and is waterproof when dry. India ink is a beautiful medium, but if not handled correctly, it can be a problem. If it spills, it seems to be nearly uncontainable and can ruin clothing and stain hands. It can even seep through a smock. We have precautions in the room prep below, that help prevent problems.
• Ink pen – a plastic stick that holds an ink nib and is shaped for holding and drawing.
• Nib – the metal tip that is inserted into the end of the Pen holder, and is used to dip into ink and hold some in the nib for drawing.
CLASSROOM
PREP
Print all of your PDFs from the lesson plan and cut any references apart as needed.
What your room needs
Here are your printable lists and room prep instructions.
Opens in new window
CLASSROOM
MATERIALS
- Water containers
- Paper towels
- Smocks
- Plate or other base to secure ink bottles
- Clay or tape to hold bottles on base
- Digital display
- Printed PDFs
STUDENT’S
MATERIALS
- 14″ x 17″ Sketch Pad
- 11″ x 15″ watercolor paper
- 2B Pencil
- India ink
- Ink dip pen with metal nib (not too sharp a point)
- Soft compressed charcoal sticks (not pencils)
- White erasers
- Kneaded erasers
- Brushes – All sizes
PREVIEW
Week 7: Inaccurate Painting
Because accuracy is not always the goal, and students need to break free from boundaries, we’ll take a fun break from the structured lessons, and enjoy the freedom of self-expression. We also learn about the Most Important Spot, (emphasis).
Week 8: Shading & Blockiness
Students learn or review the basic techniques involved in pencil shading using various textures and movement. Blocks and cubes are looked at, as an introduction to artist’s perspective and understanding of one of the 3 basic geometric forms.