
Style
Each lesson Plan focuses primarily on one of the 4 Cornerstones of Art:
Drawing | Painting | Color | Style
OVERVIEW
Everyone loves to get art for the holidays, so we’ll create Christmas (or other holiday) gifts for friends and family. Small works on paper are fun and easy to create, and make personal connections that are remembered for many years. Students create a drawing for a small piece of line art and then create a duplicate, or mono-print, using the original as both artwork and a printing plate. Then they paint both to make each one unique.Grades 3 – 5
Week of December 8 – 12
1 Hour & 45 Minutes
Lesson At A Glance
A brief overview of each step. Buttons jump to each section for detailed information.
5 Min -2 sheets watercolor paper
17 Min – Draw simple lines
10 Min -Get the work area set up for several prints
10 Min – Make a mono-print on paper
5 Min – 2nd mono print
22 Min – Watercolor the first 2 images.
If Needed – make extra print using palette pad
2 Min – Everyone helps
SCROLL & TEACH
LESSONPLAN
Each section is a different color. Read over once and then you can SCROLL & TEACH using any device you like. It’s designed to work best with your phone.
LEARNING TARGETS

Students know how to brainstorm ideas for their artwork
M A T E R I A L S
- 14″ x 17″ Sketch Paper
- Pencils
- White Eraser
- Still life objects
- Reference materials:
- Magazines & catalogs
- Old calendars
- Picture books
- Files of photos
1.1 inspire
Artists will also need to take time to find reference for their ideas . Make sure to have plenty of still life objects and reference photos available.
Holiday-themed artwork is not the goal even though it’s that time of year and these may become gifts. Artwork is great when it can be displayed year-around.”
CREATIONS - tap here to open
Use the Student Instructions printout below to distribute to your Creations students. Tap the image to open the PDF in a new window.
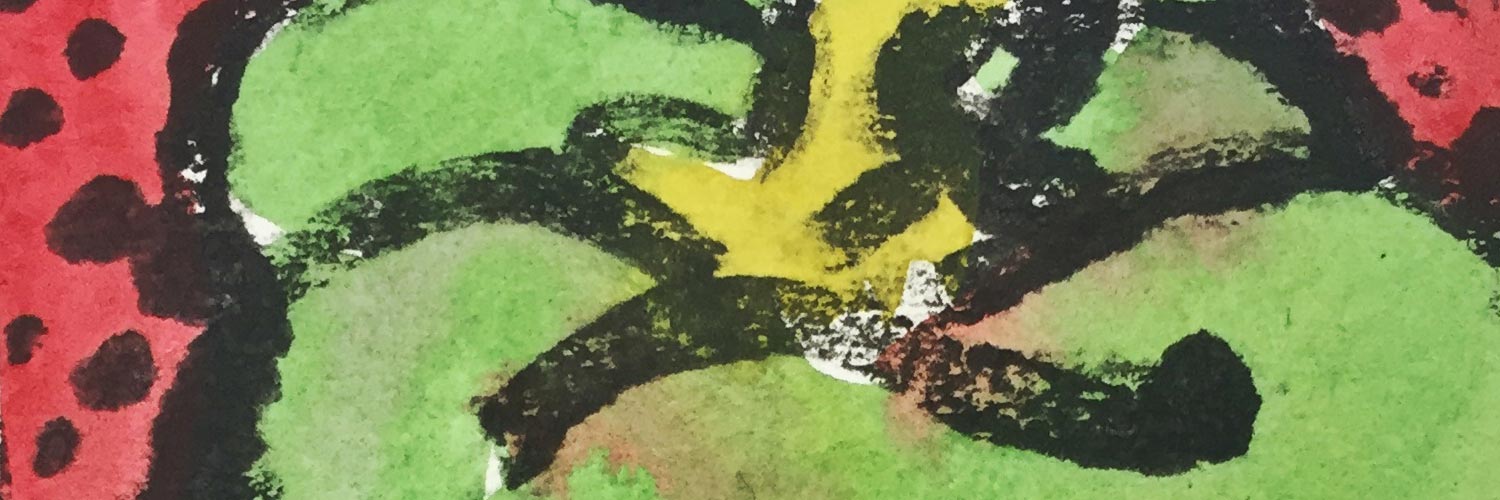
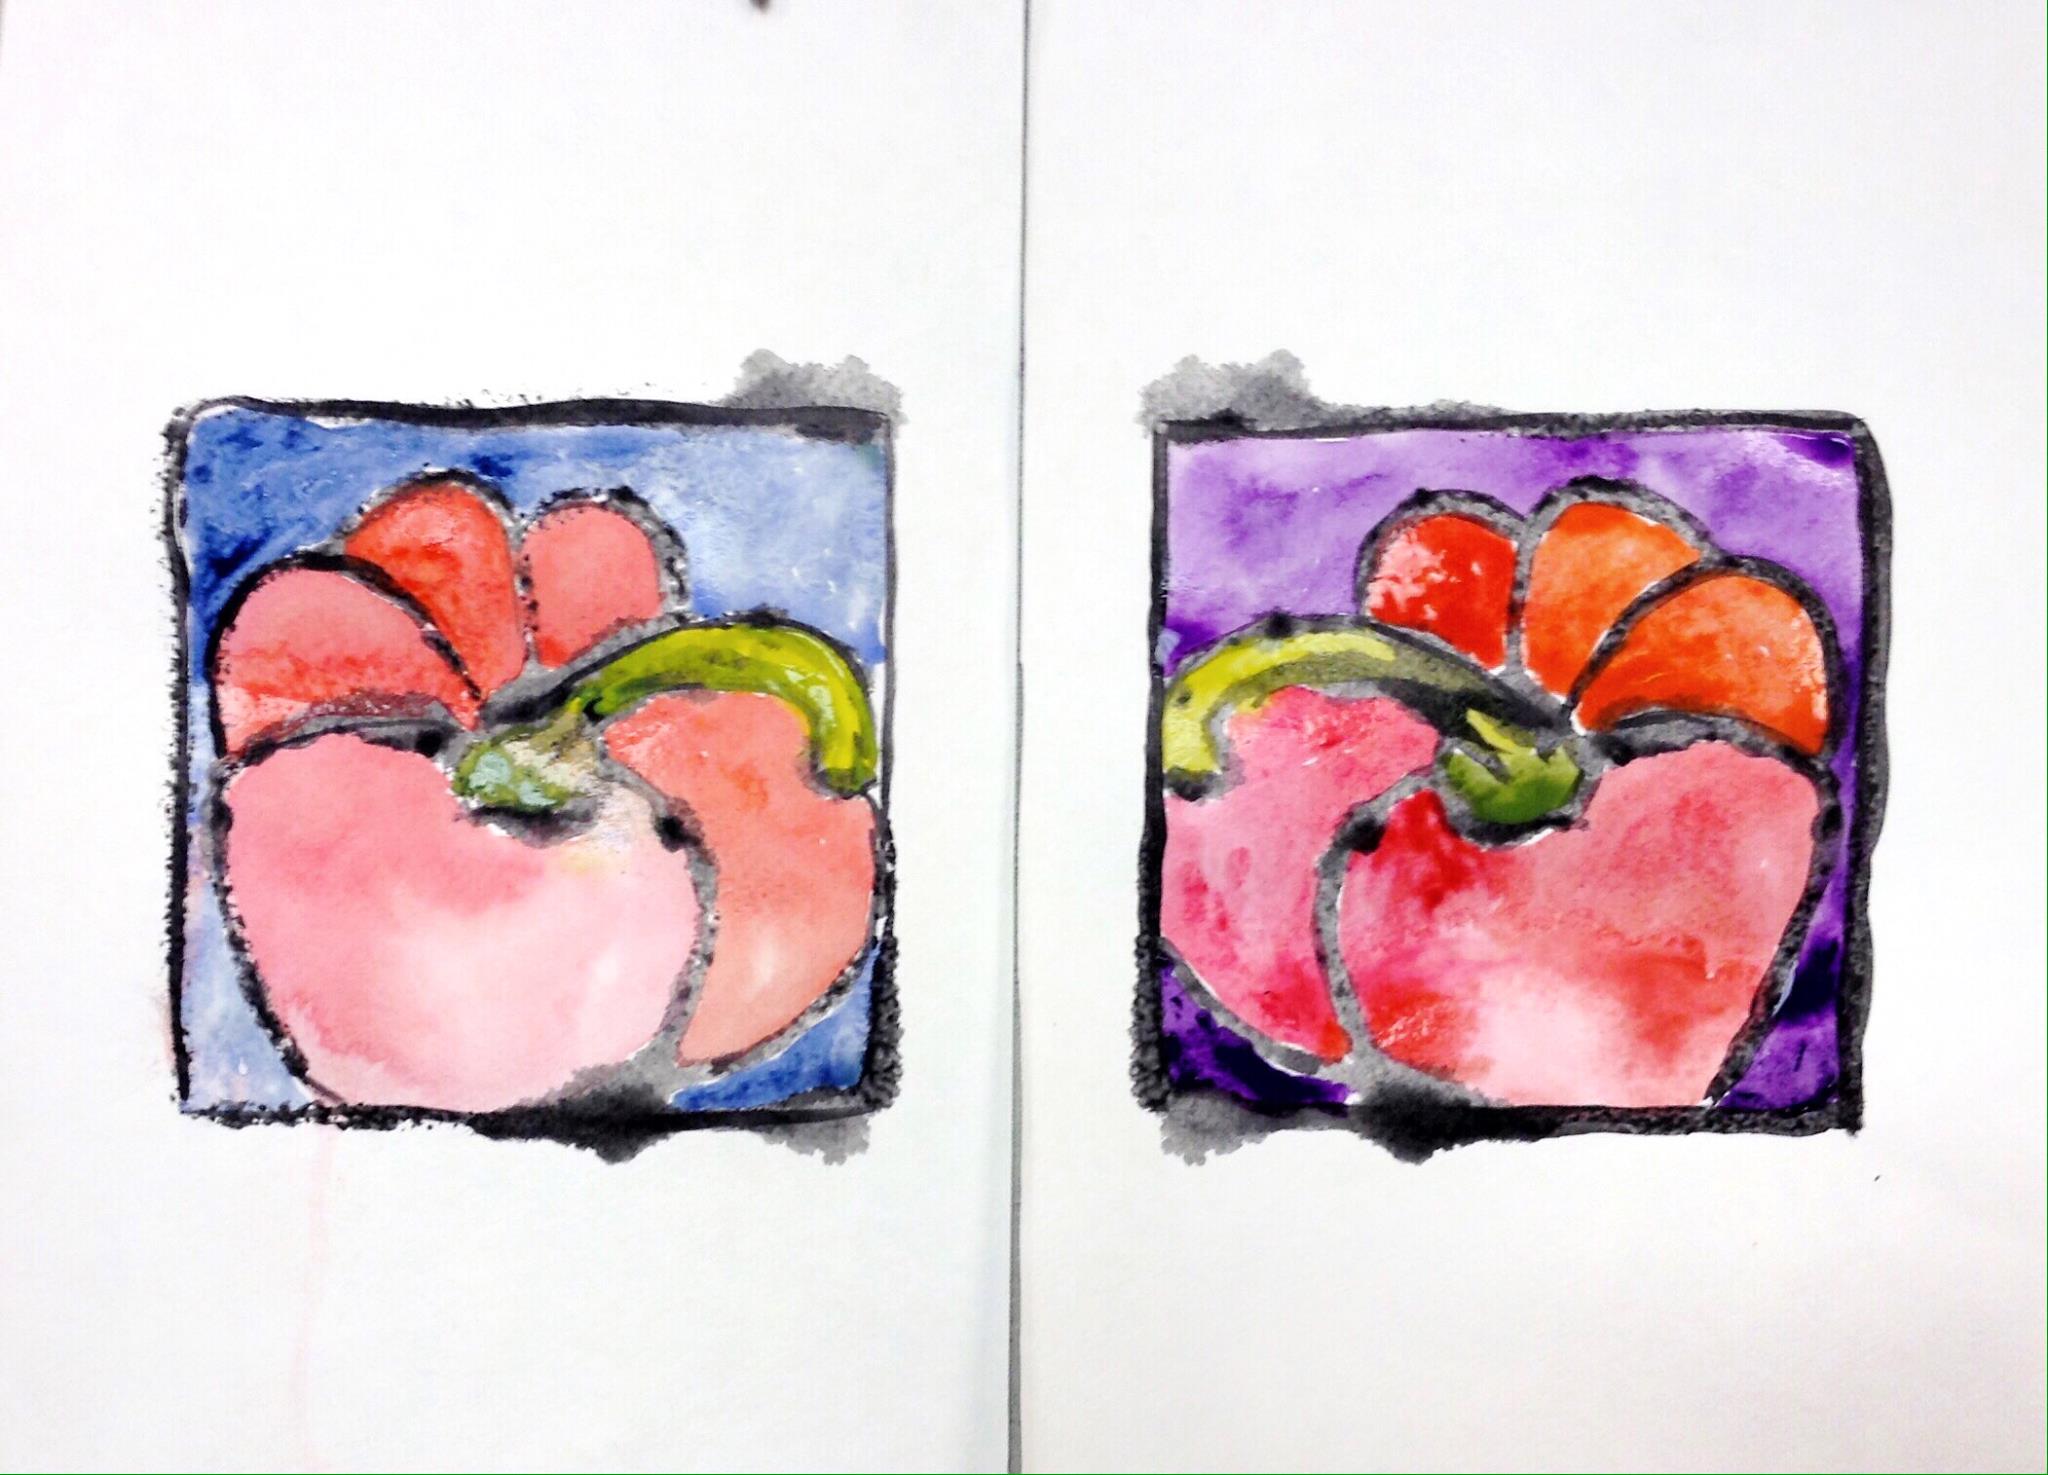
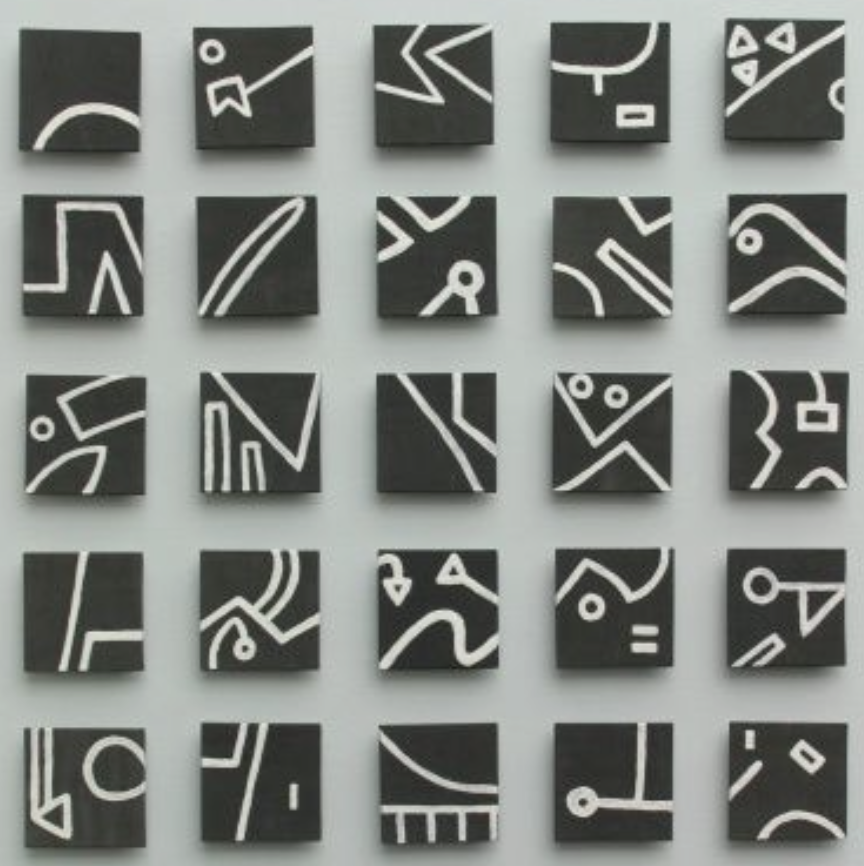
Abstract Painting
Overview: Students will enjoy the same project, making prints for gifts.
Since today’s prints are fun and full of self-expression, Creations students will do this project too.
Encourage them to add a higher level of expertise to their work than they have in the past. One variation is to take the original from the first print in Step 5, and go over the lines a second time with the black paint. A third image can then be made by pressing another damp paper to it. Note that the paper must be prepared before the painting is begun, just like it shows in Steps 4 & 5. As long as the original is damp you can make as many prints as you have time for. You can keep the paper damp longer by spraying a light mist of water on the table and then setting the paper on the water. After painting a few times, the lines can begin to get sloppy, so be careful.
Use this button to jump down to the preparation section.
LEARNING TARGETS
Students know how to prep their paper for printing
M A T E R I A L S
- 11″ x 15″ Watercolor Paper
- Scissors
- Pencil
- White Eraser
- 1 Sheet Palette Paper
- Blue Painter’s tape
2.1 prep
Everyone should stop designing or drawing and follow along. Have students remove two sheets from their 11″ x 15″ (or comparable size) watercolor paper pads. Fold the papers in half (in bathtub position, one folEd side over to the other, like closing a book). Cut each paper along the fold to create 4 sheets of 7.5″ x 11″ paper. These will hold a 5″ x 7″ print nicely.
5″ x 7″ is a standard size for frames.
Also, tear out one sheet from your paper palette pad and tape it to the table. We normally would never take a sheet out before it’s used, but we’ll need it for a clean staging area instead of mixing paint.
Use this button to jump down to the preparation section.
LEARNING TARGETS
Students know how to practice sketch
M A T E R I A L S
- 14″ x 17″ Sketch Paper
- 2B Pencils
- Charcoal or black oil pastel
- 5″ x 7″ template OR
- ruler
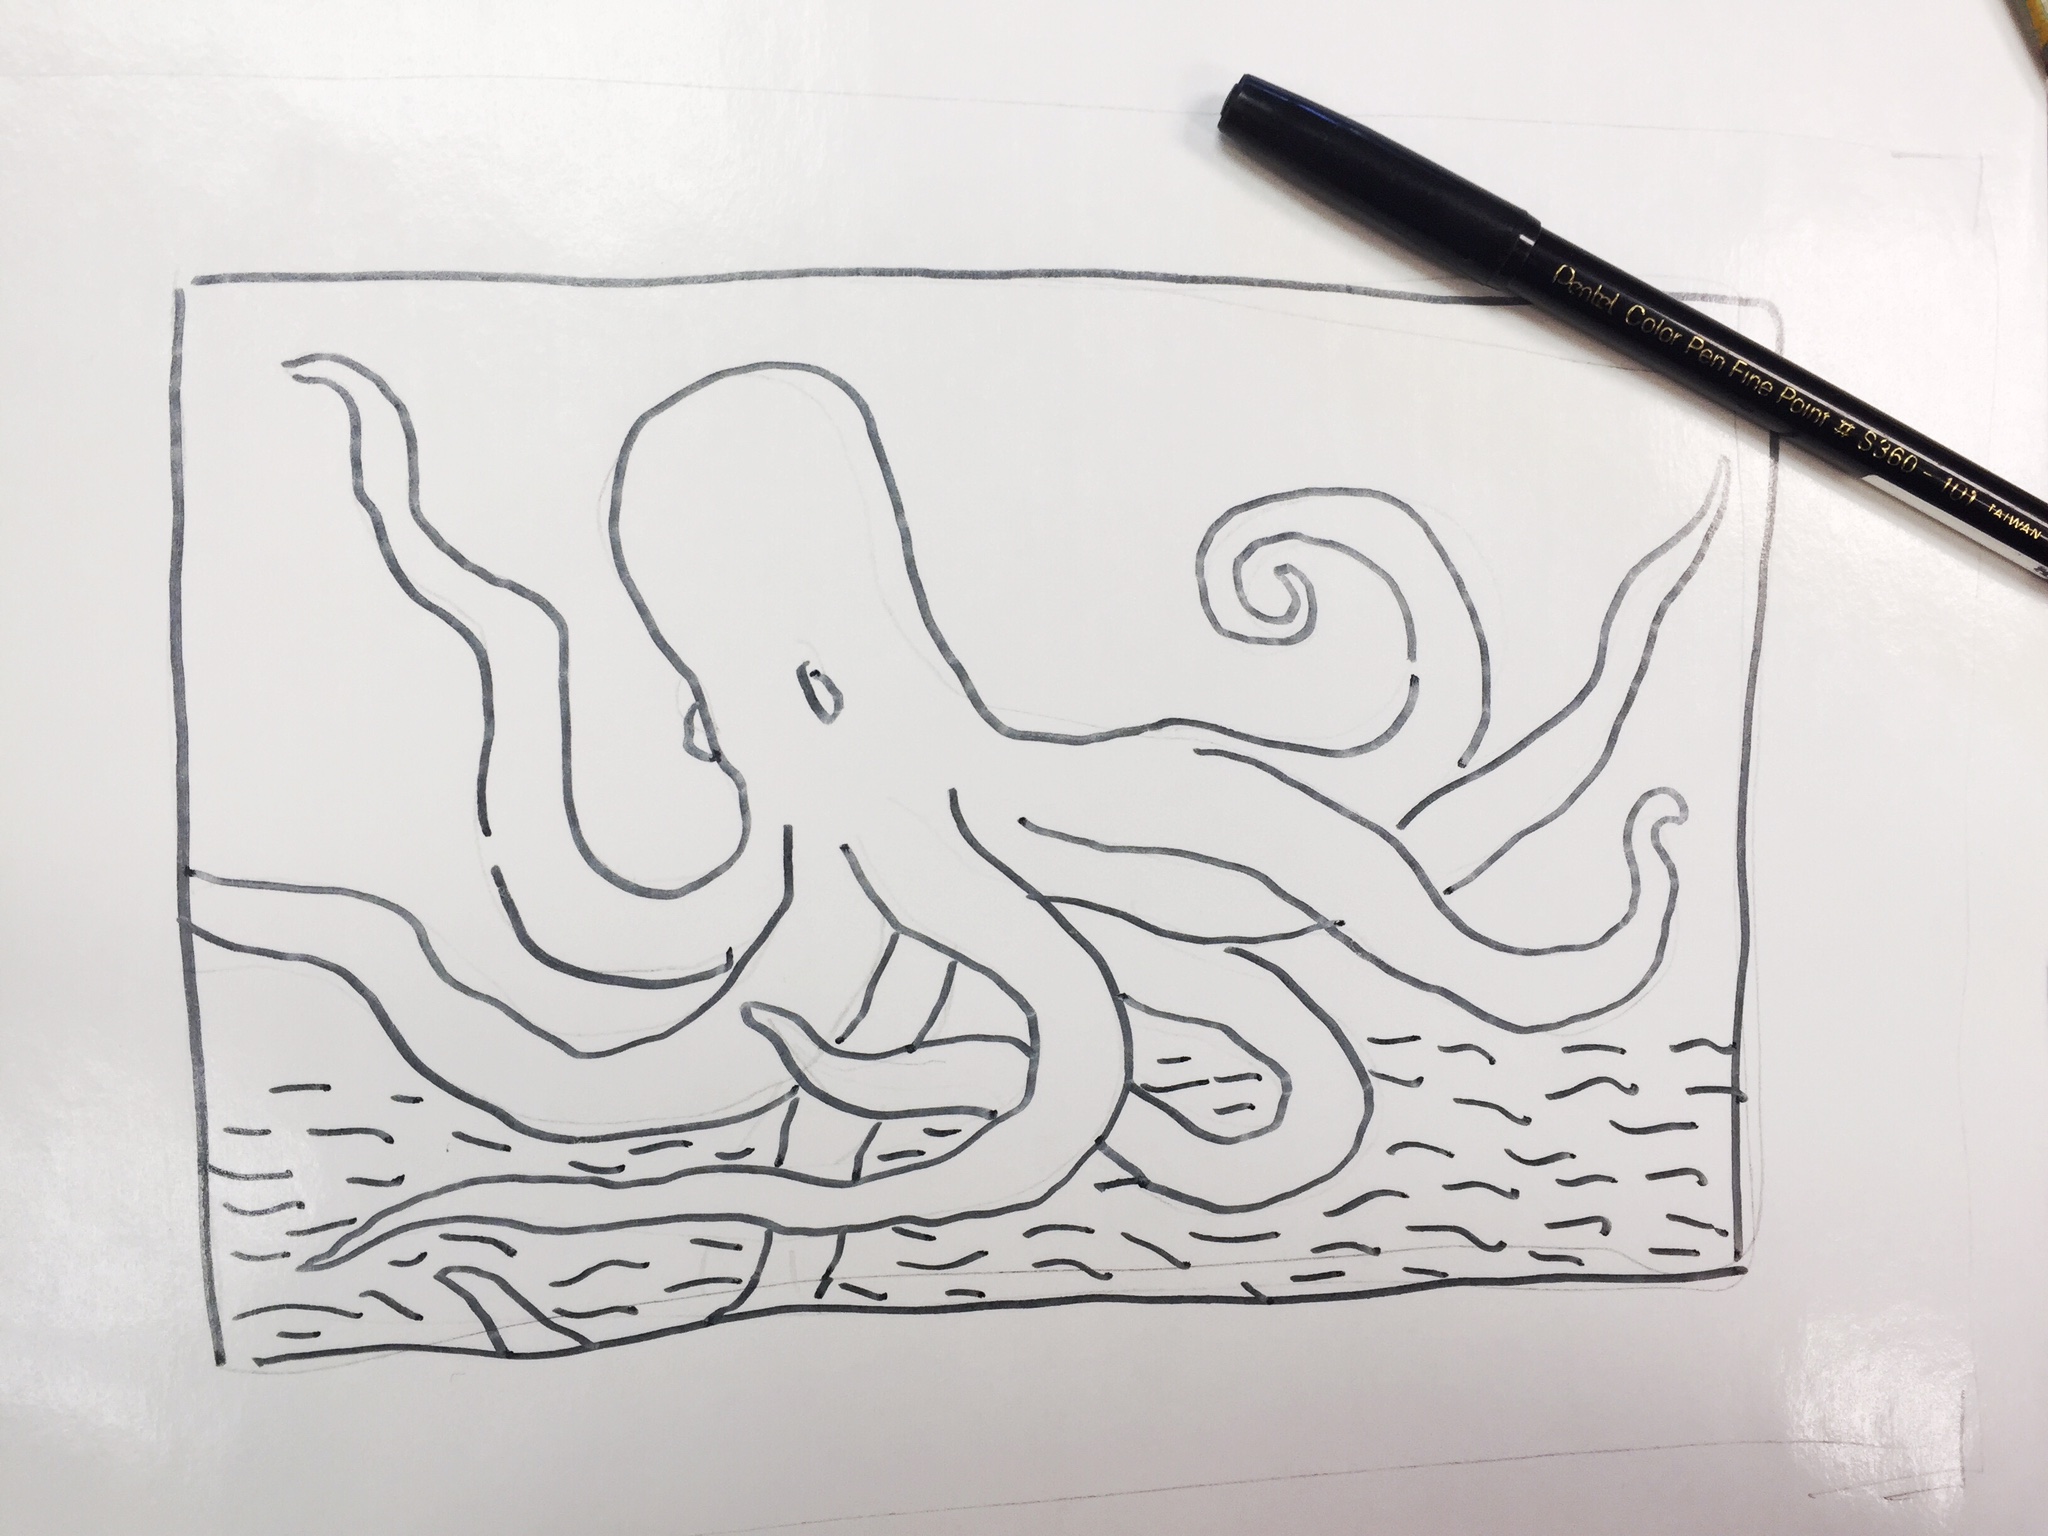
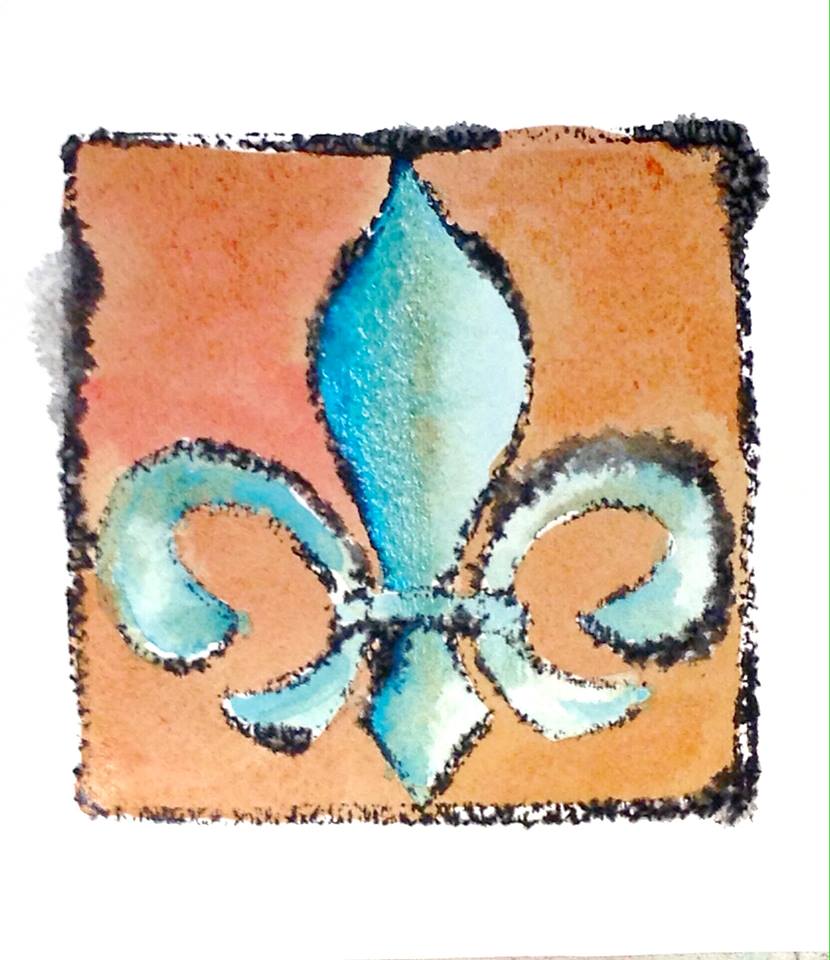
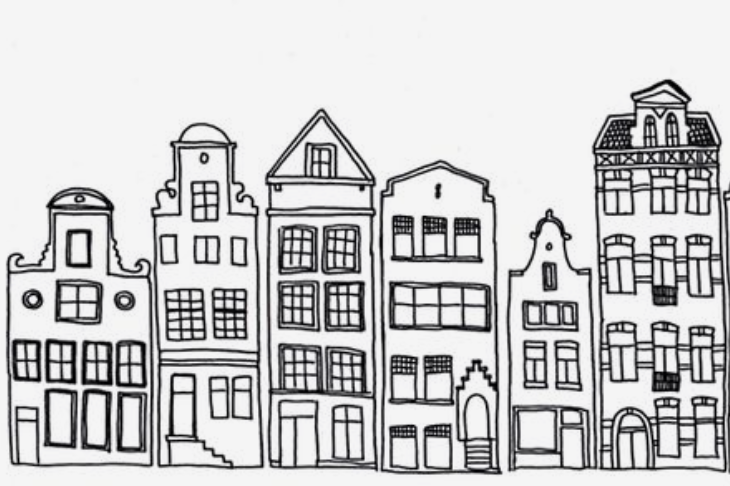
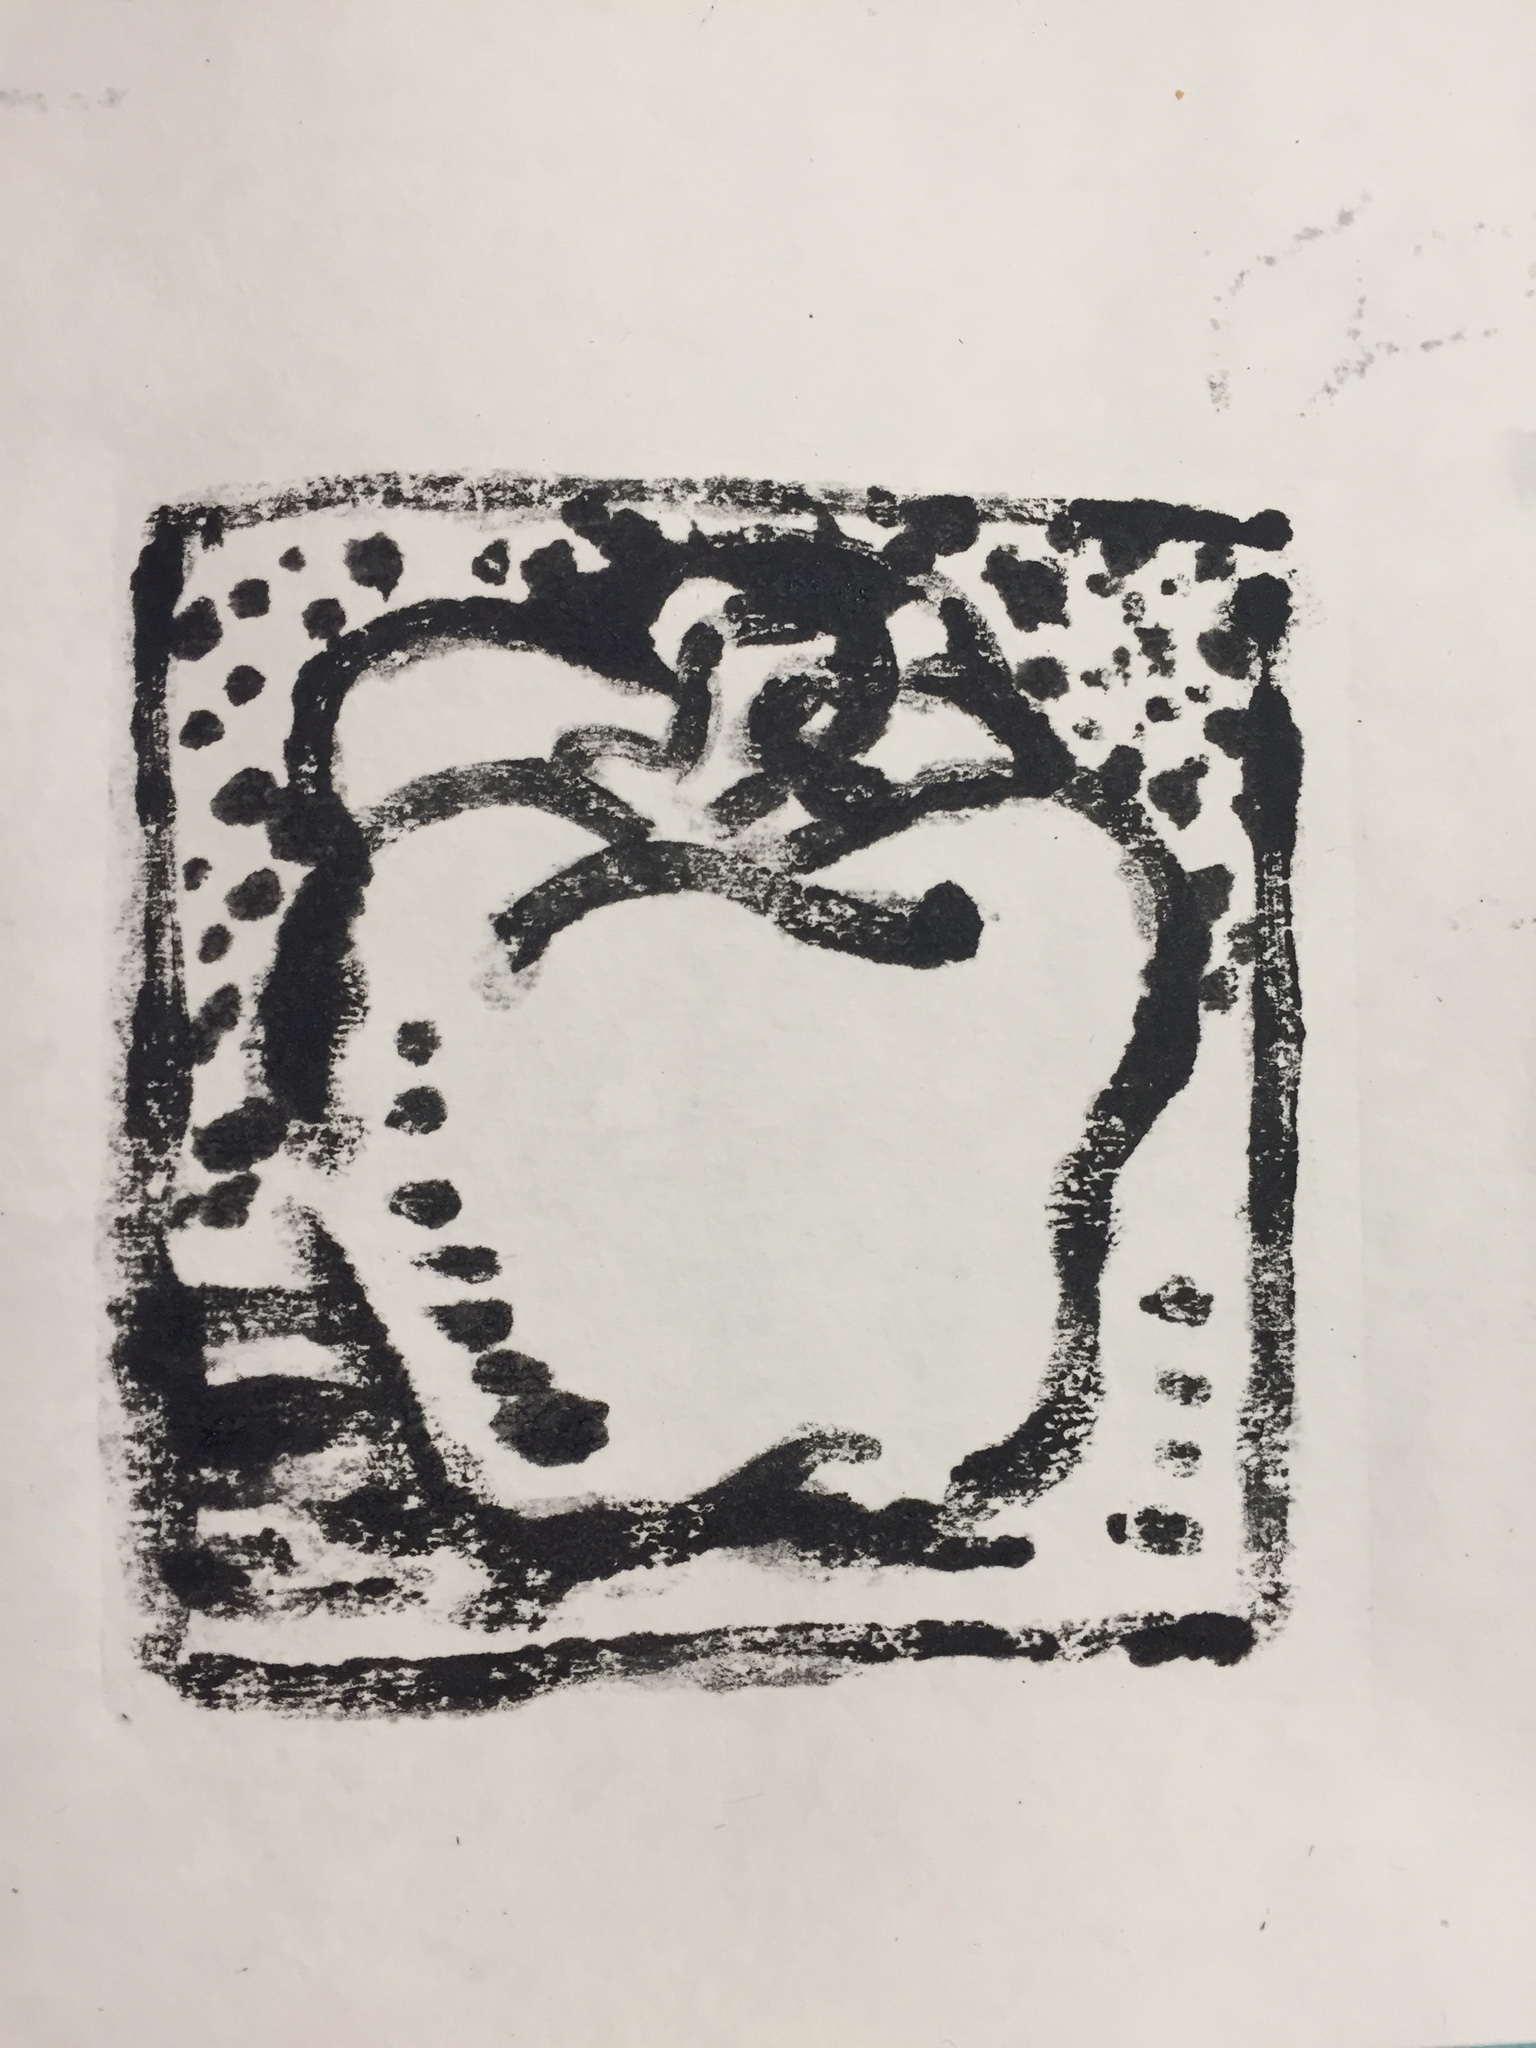
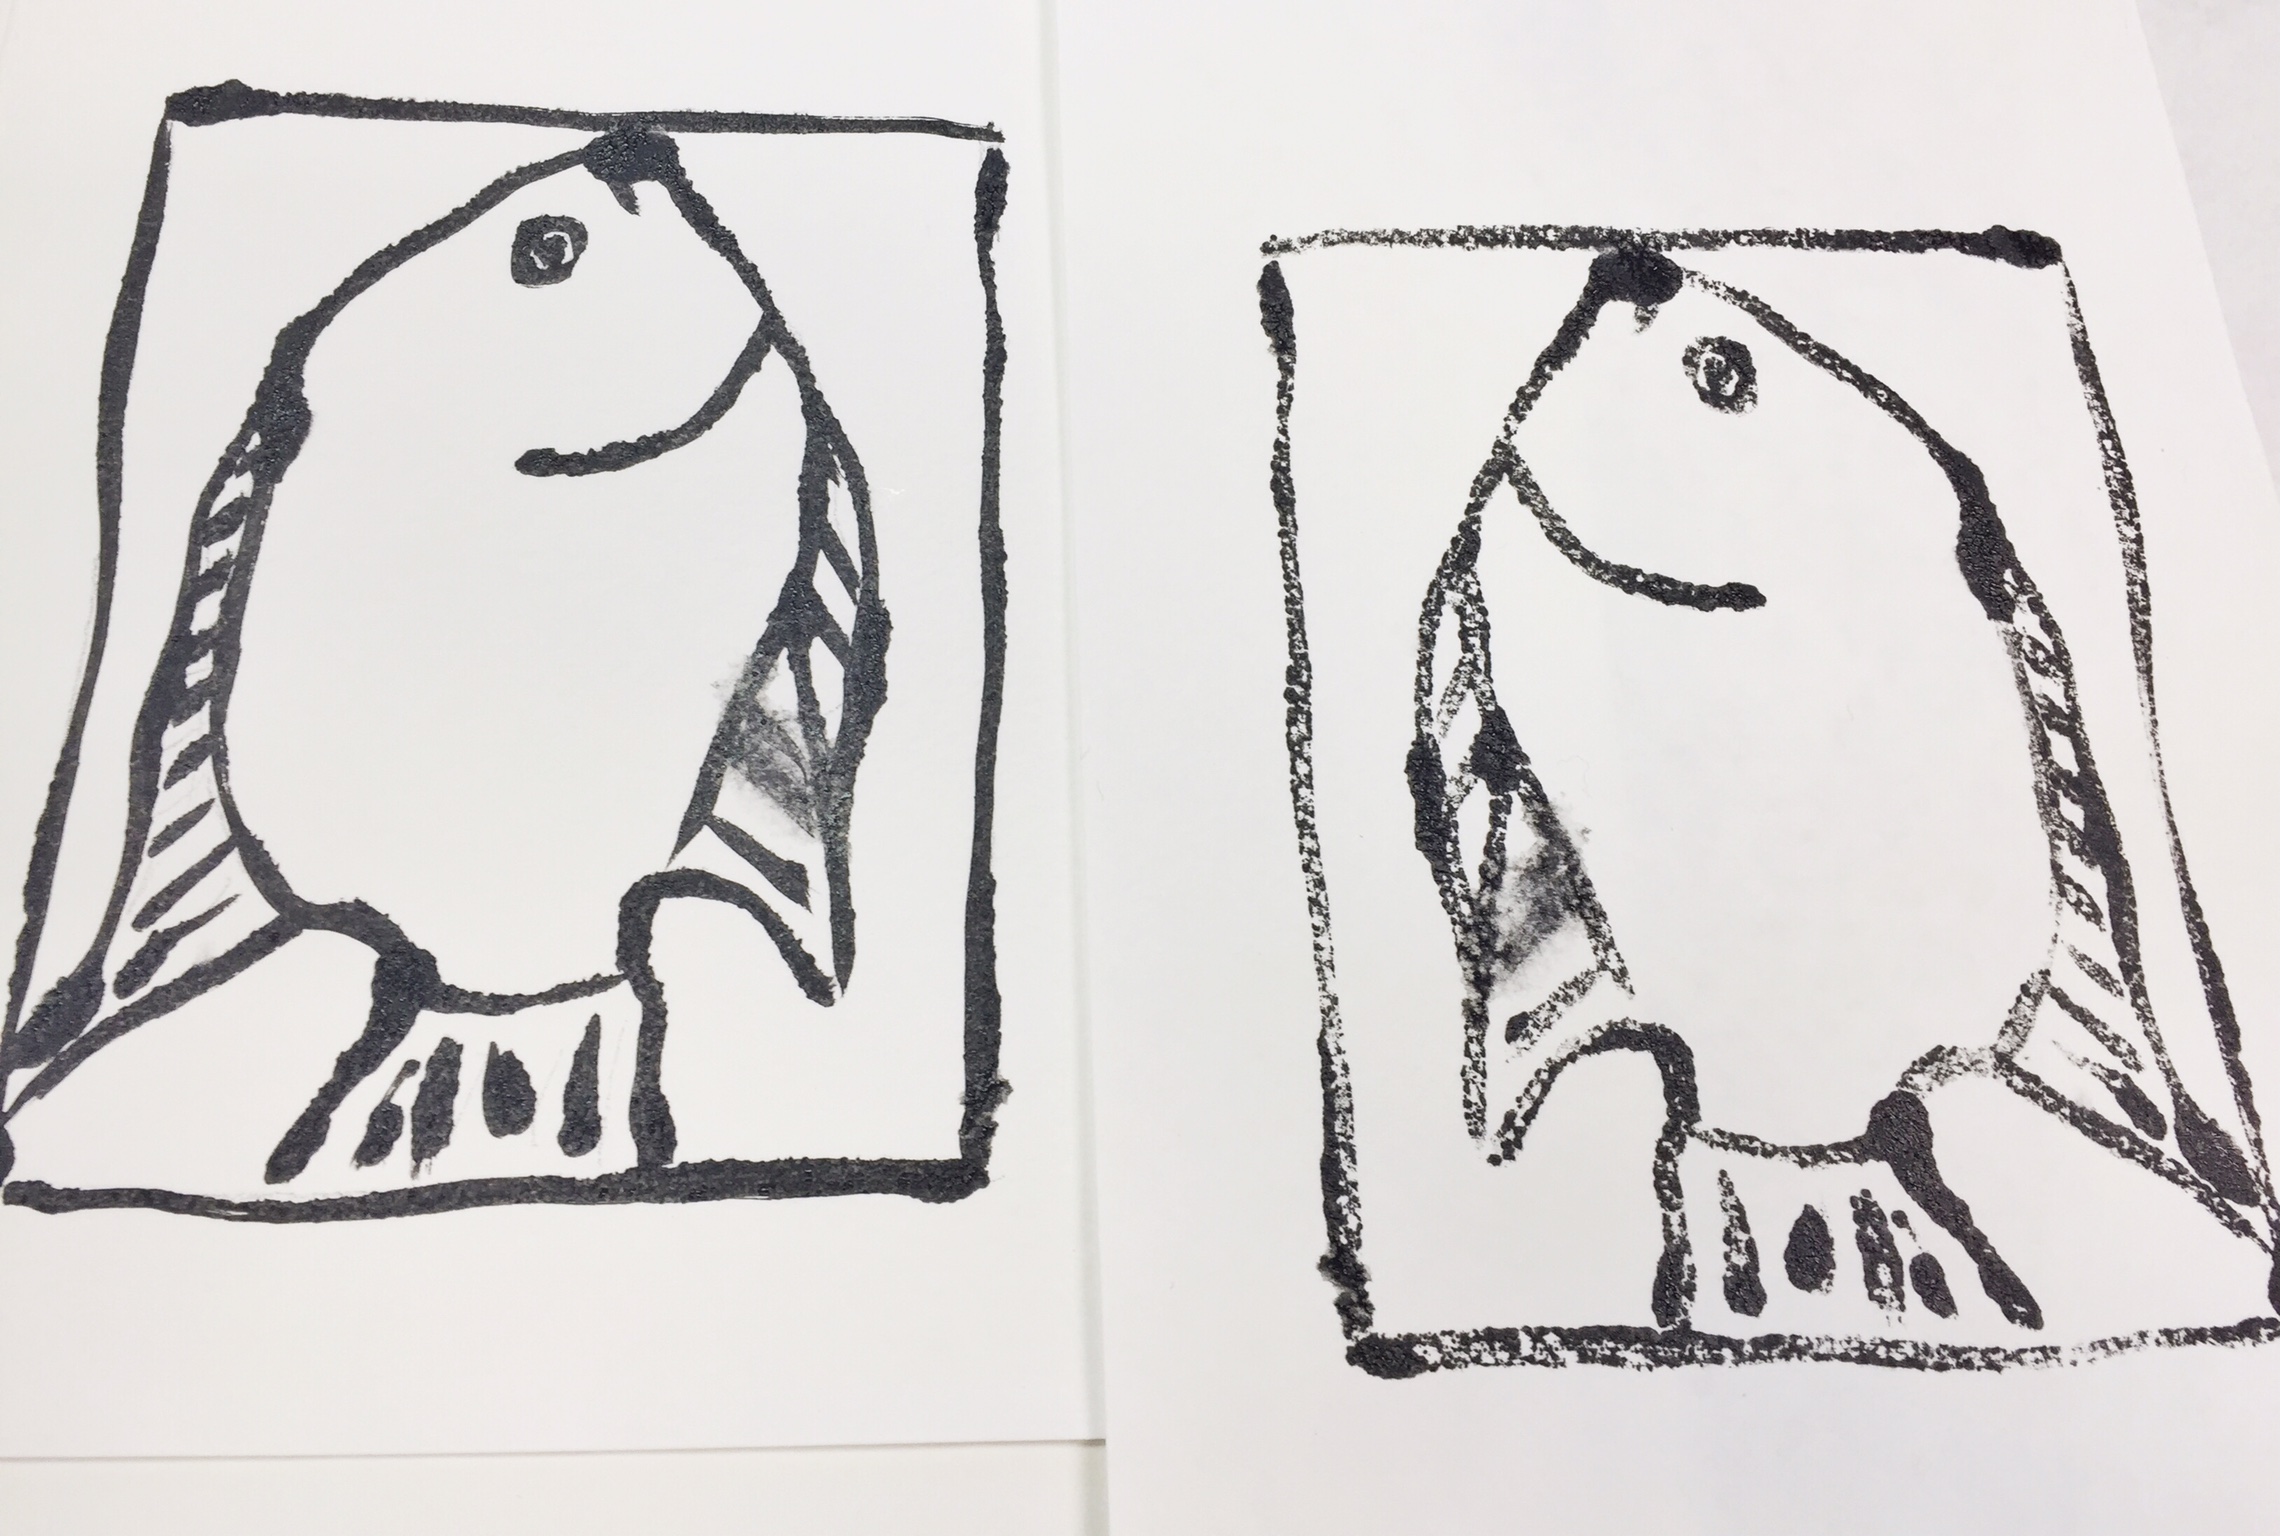
Idea 1
A simple line drawing
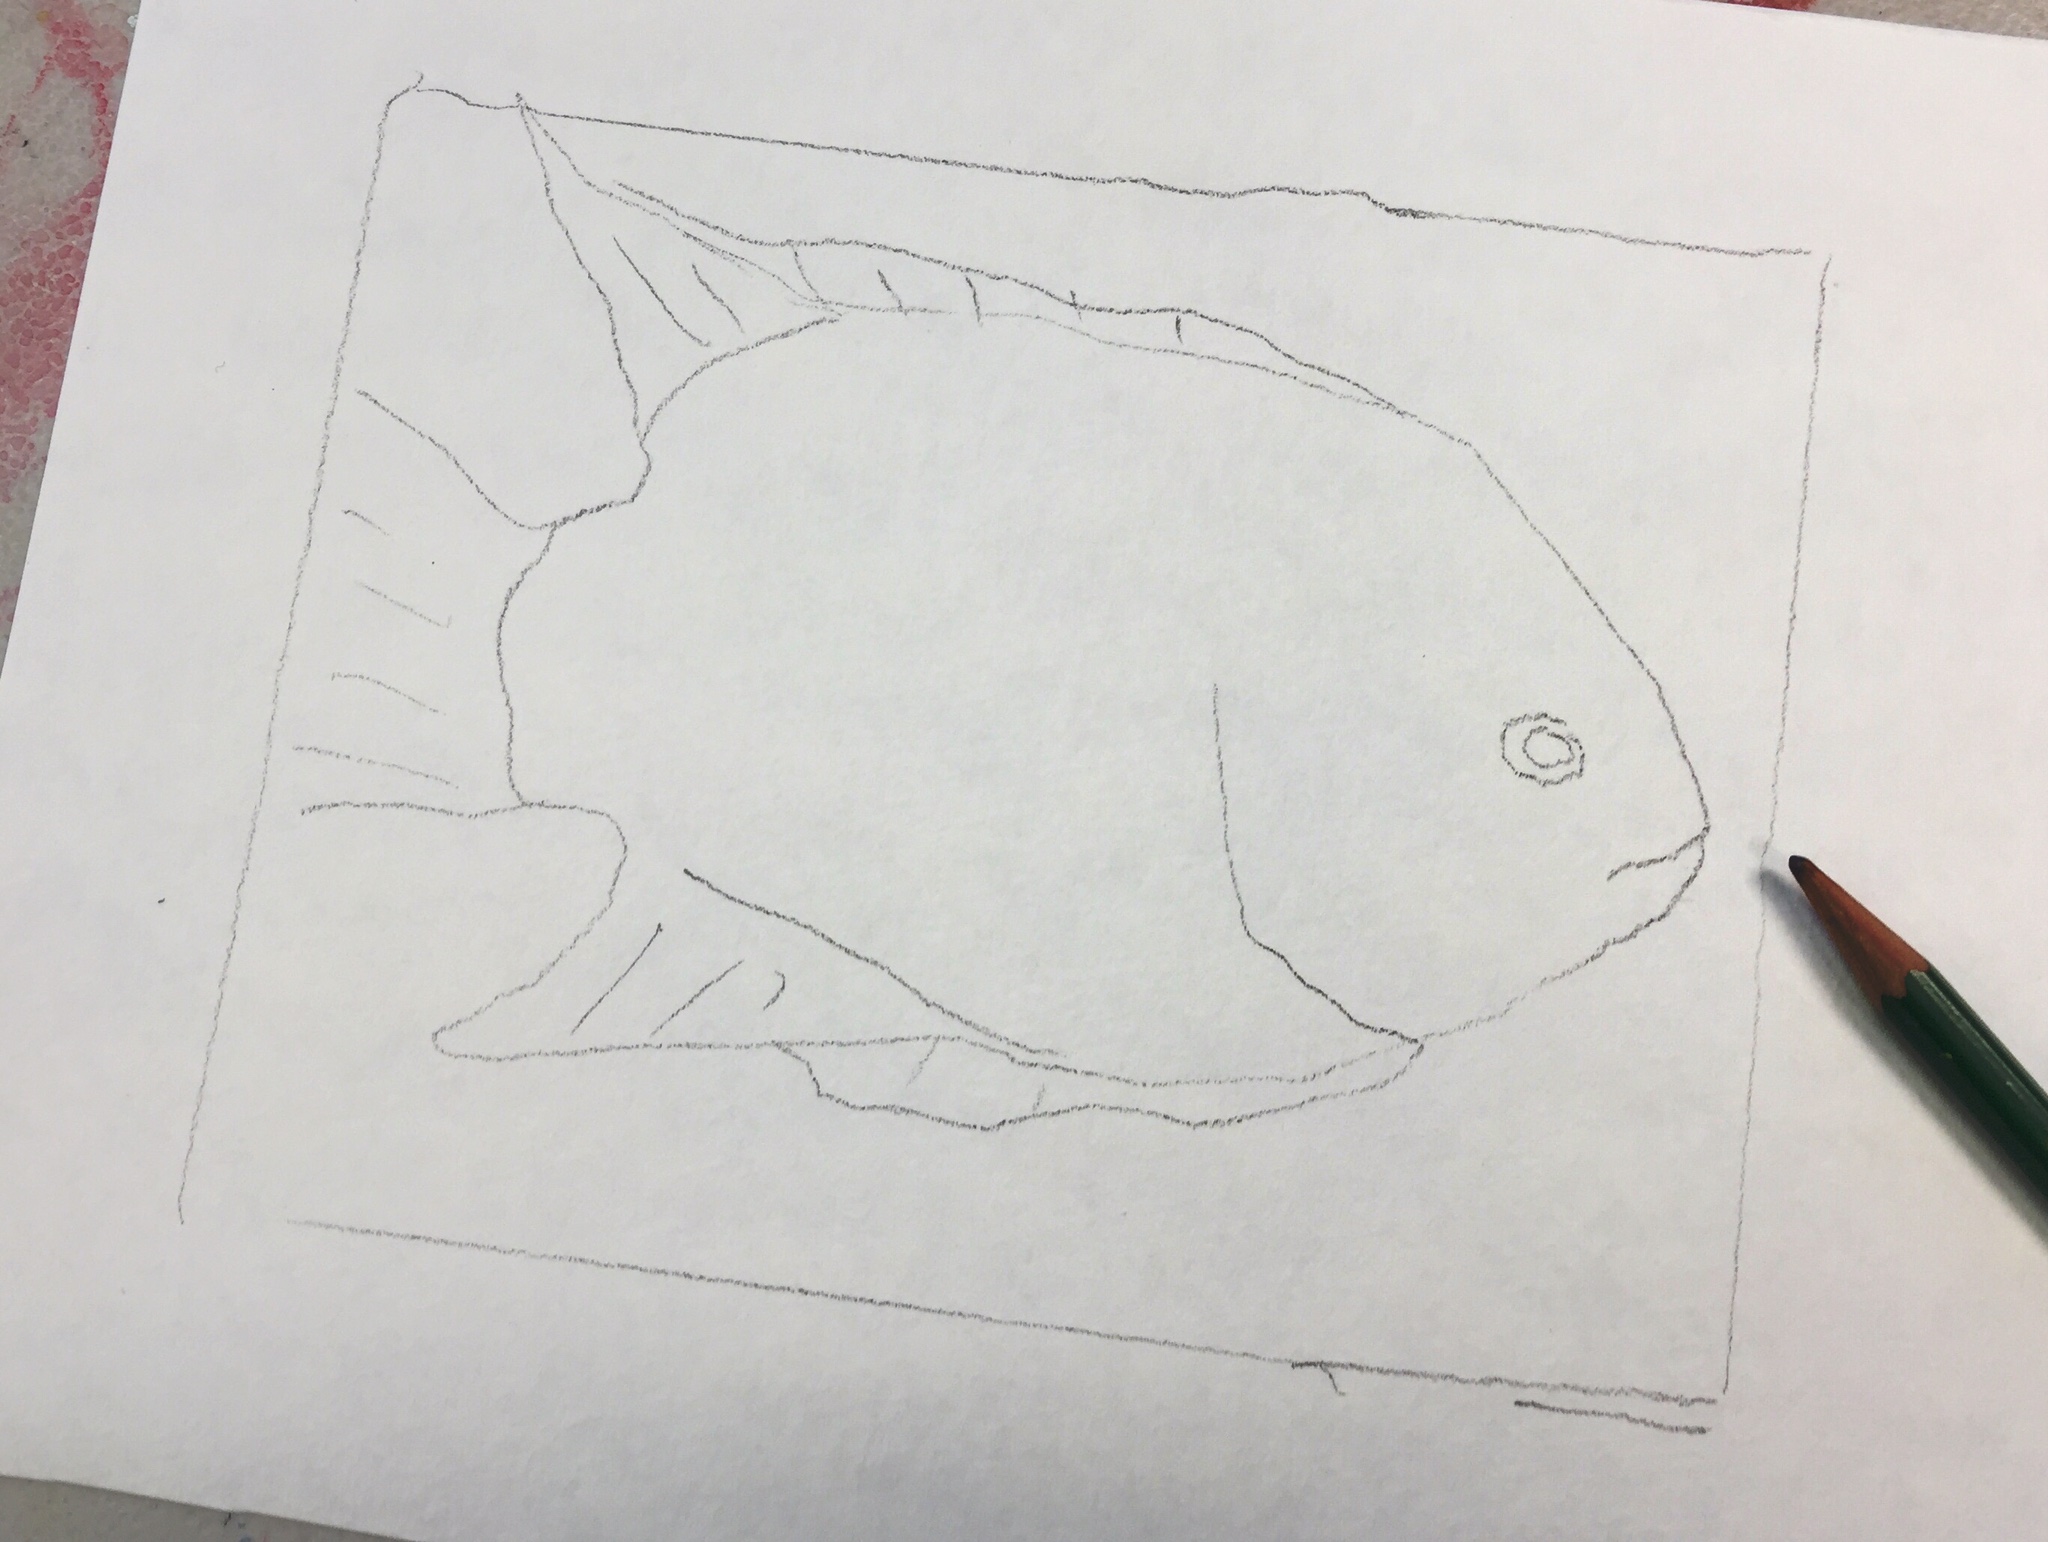
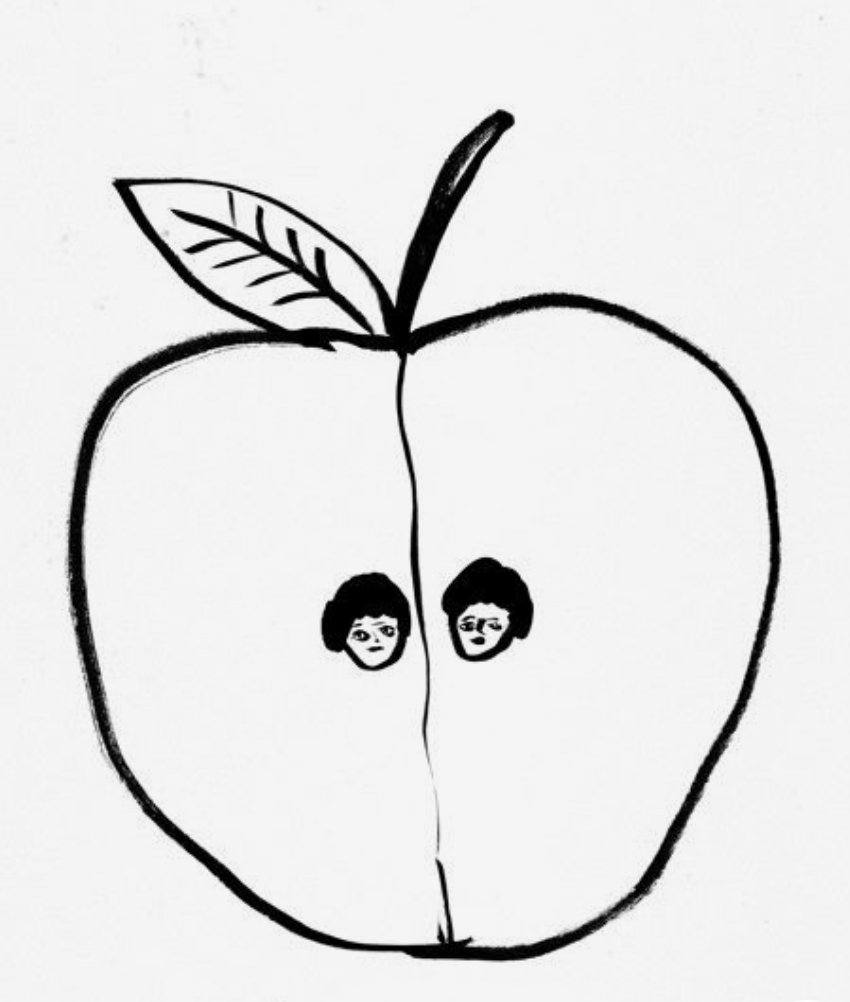
Idea2
Super-simple pencil drawing on paper
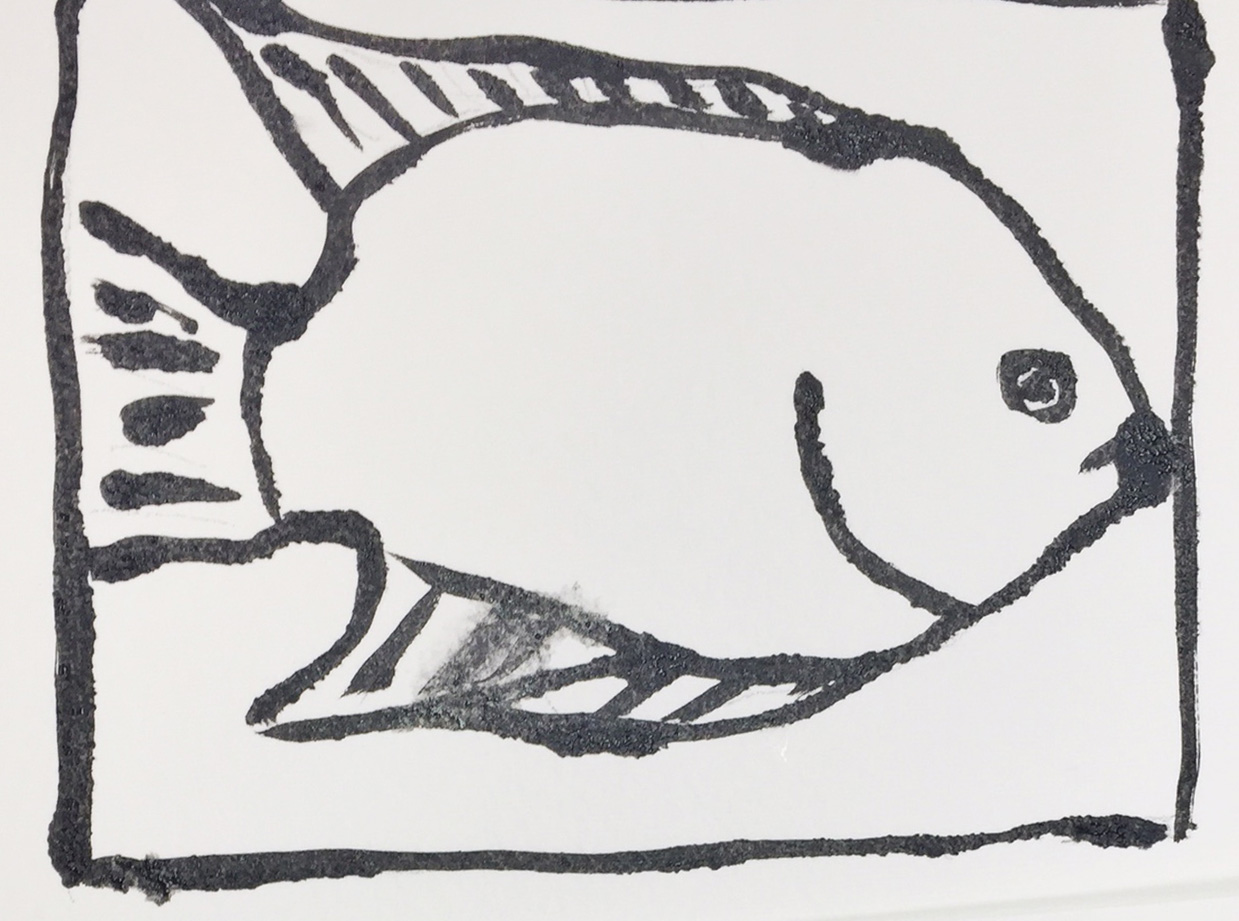
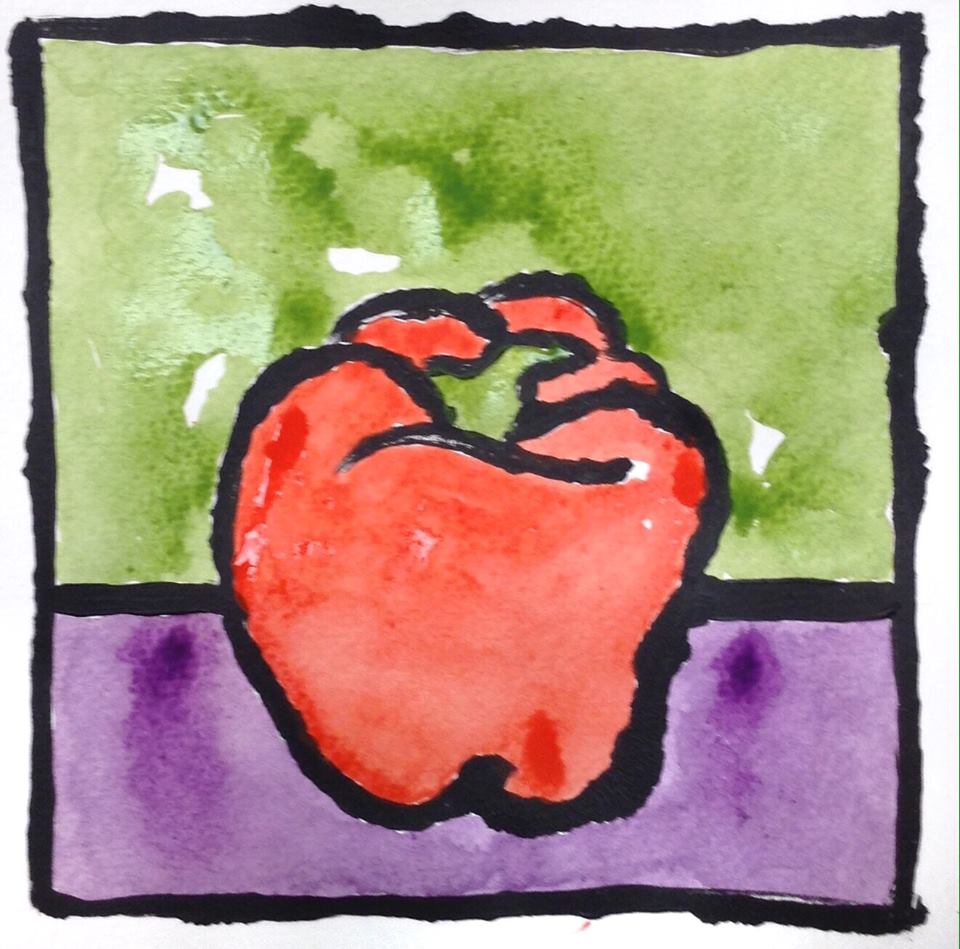
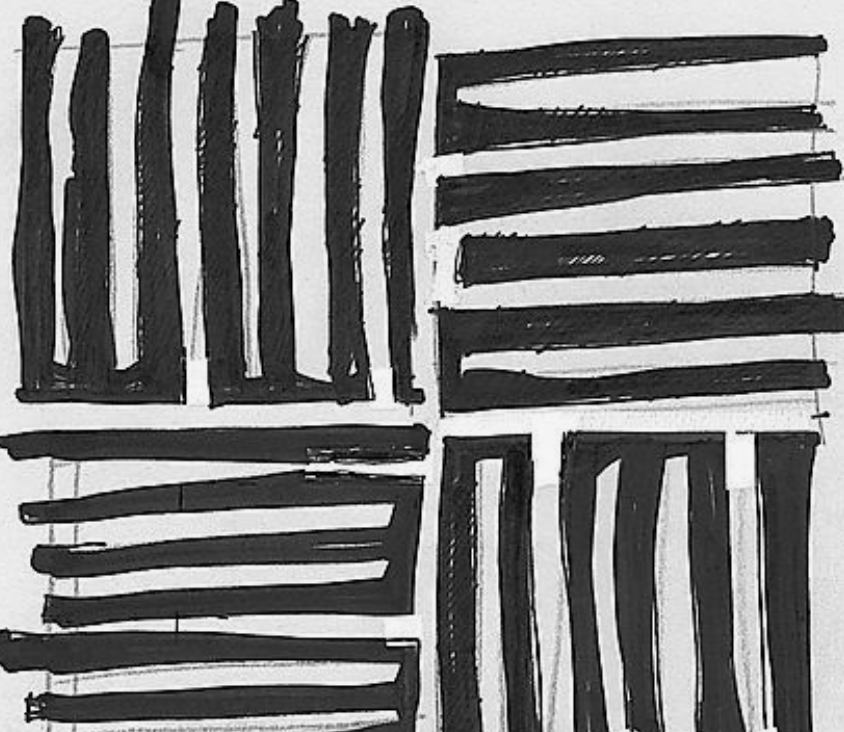
Idea3
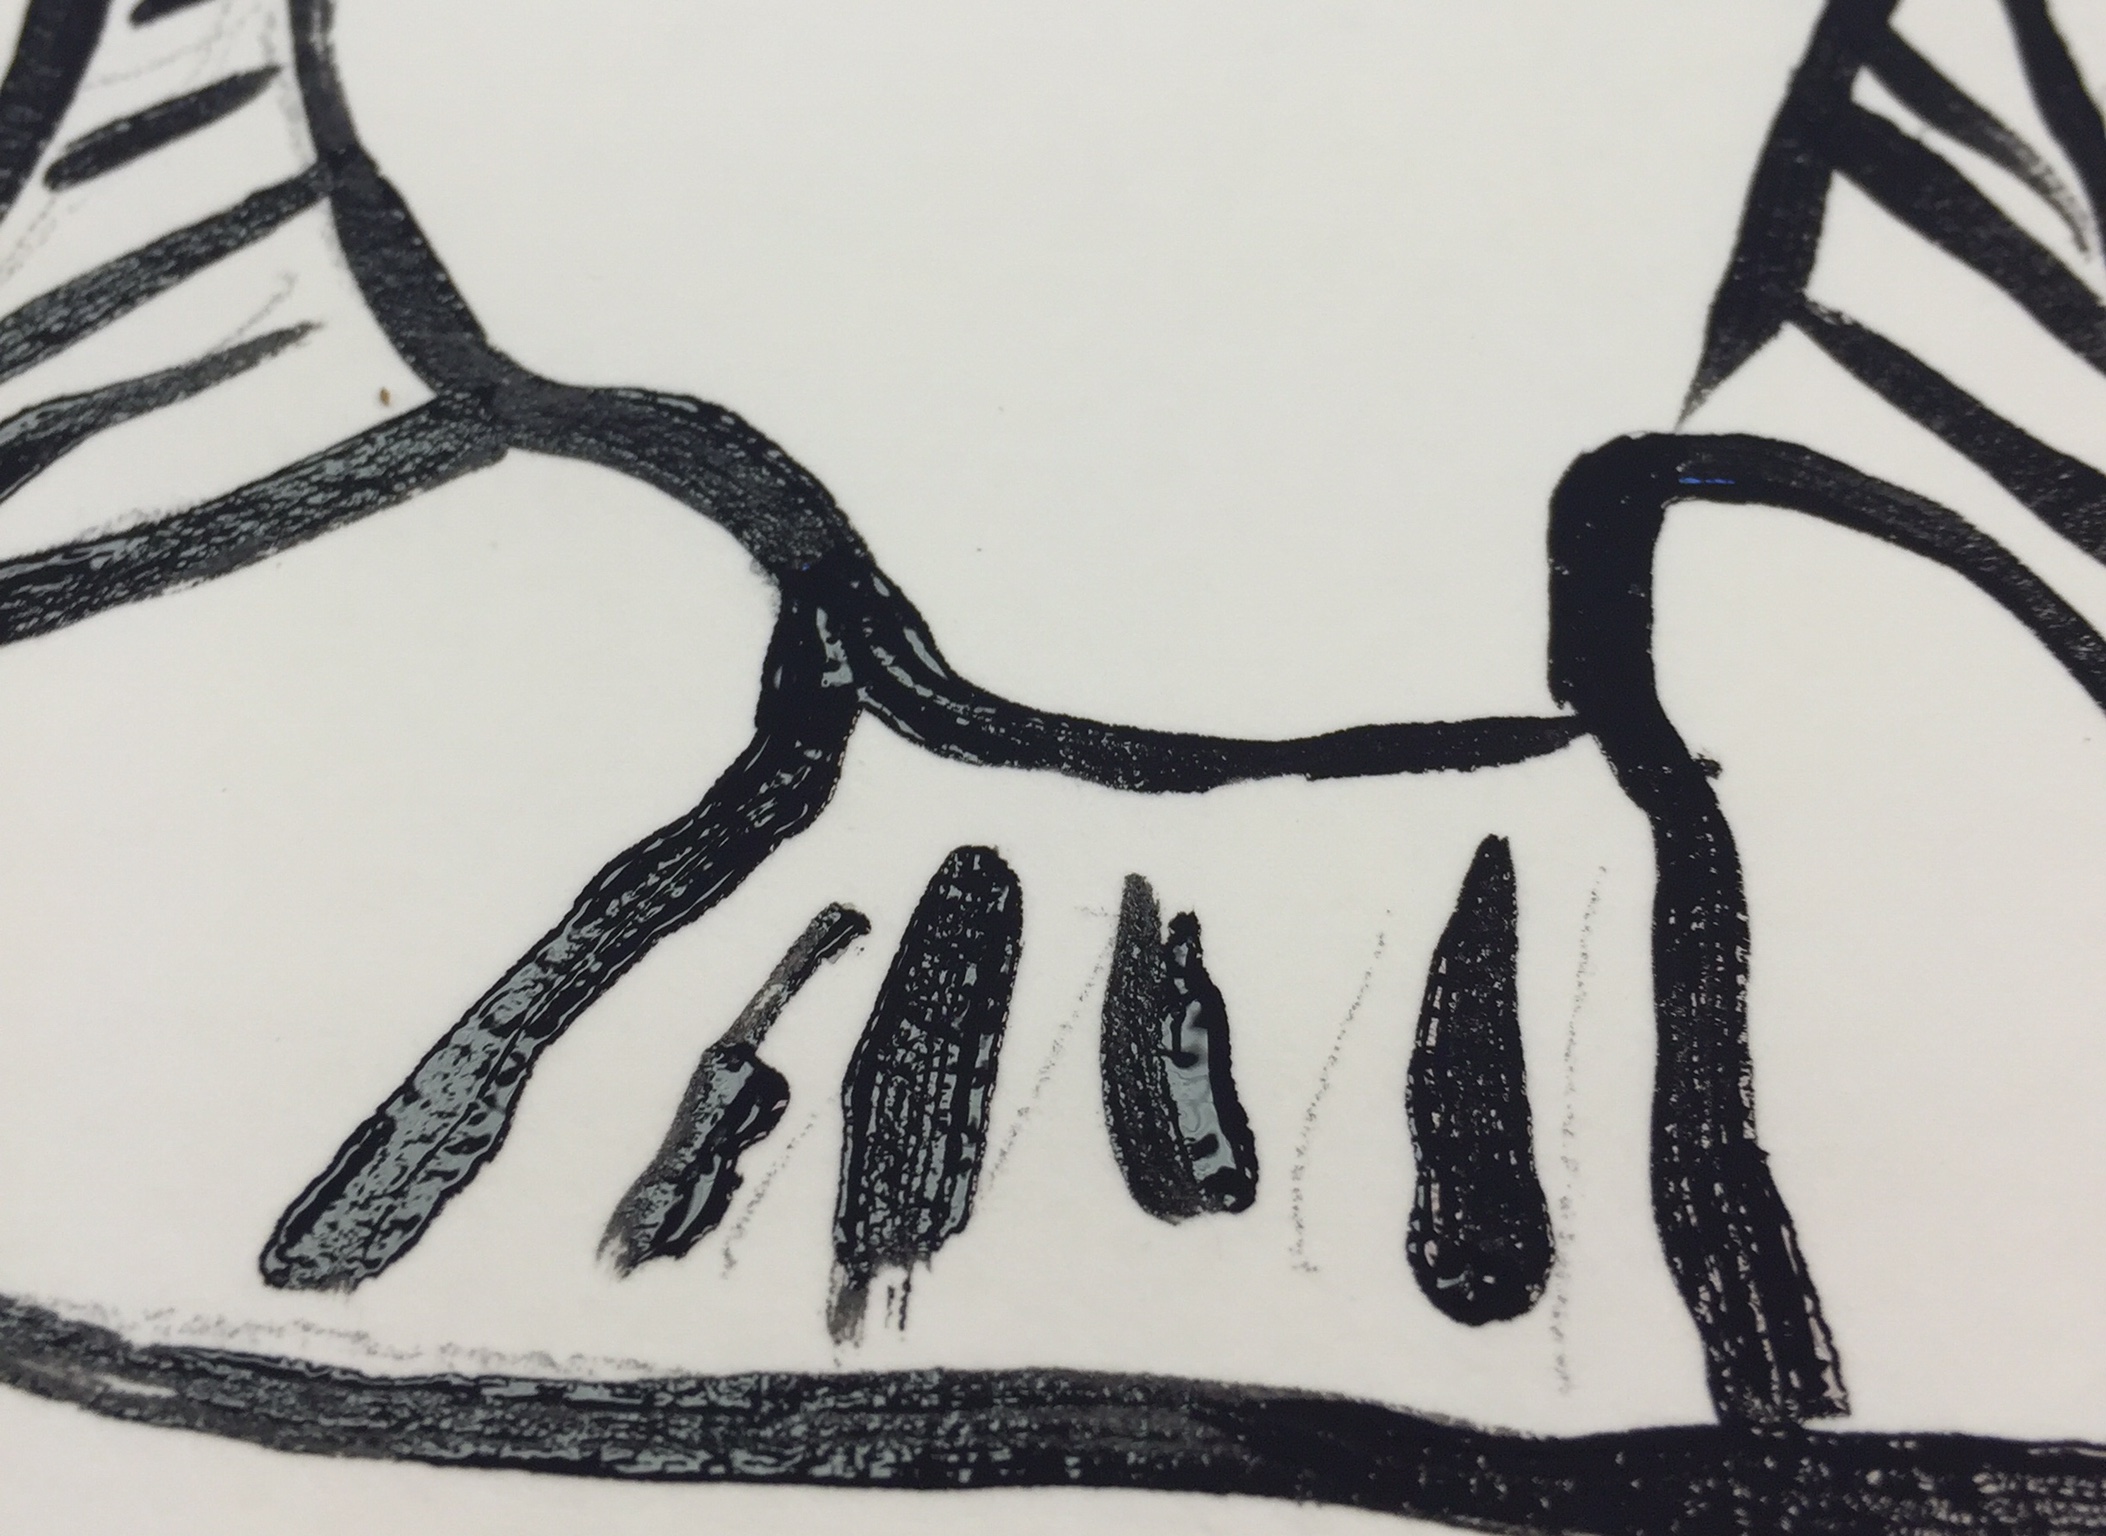
This print shows the bold and simple lines
Idea 4
A square version, this work shows how thick the lines can be in the paper print.
3.1 design
Number ONE must have a very simple, very thick lines, and number TWO is the same subject but with more detail and thinner lines. Show examples using the Slideshow.
- Use a 5″ x 7″ template to trace a rectangle on your sketch pad, and another identical one on a sheet of the watercolor paper. If you don’t have a template, measure the rectangle shape and you can free-hand draw it.
- Practice Draw in sketch pad – Work out your basic drawing idea in pencil. It should be super-simple!
- Use charcoal or a black oil pastel to see how very bold lines will work with it. Make it simpler if necessary.
- Be prepared to start over if you need to, or want to try something different.
Never try to cut all on one pass. Use the knife at least 2 or 3 times to cut all the way through.
Let students use the templates to draw perfect rectangles quickly and easily.
Use this button to jump down to the preparation section.
LEARNING TARGETS
Students know how draw guidelines
M A T E R I A L S
- 5 x 7″ template to draw frame OR
- ruler
- Watercolor paper
- 2B Pencil
- Palette pad
- water-based marker
4.1 draw
- Guidelines for drawing ONE – Use pencil on one of the sheets of watercolor paper.
- Make it very simple and write your name on the back.
Use this button to jump down to the preparation section.
LEARNING TARGETS
Students know how to set up their work area for printing
M A T E R I A L S
- Watercolor papers
- Palette paper
- Small brush
- Paper towel
- Water container
- Smocks
5.1 prepare
Have everyone do this together so no one gets ahead of you.
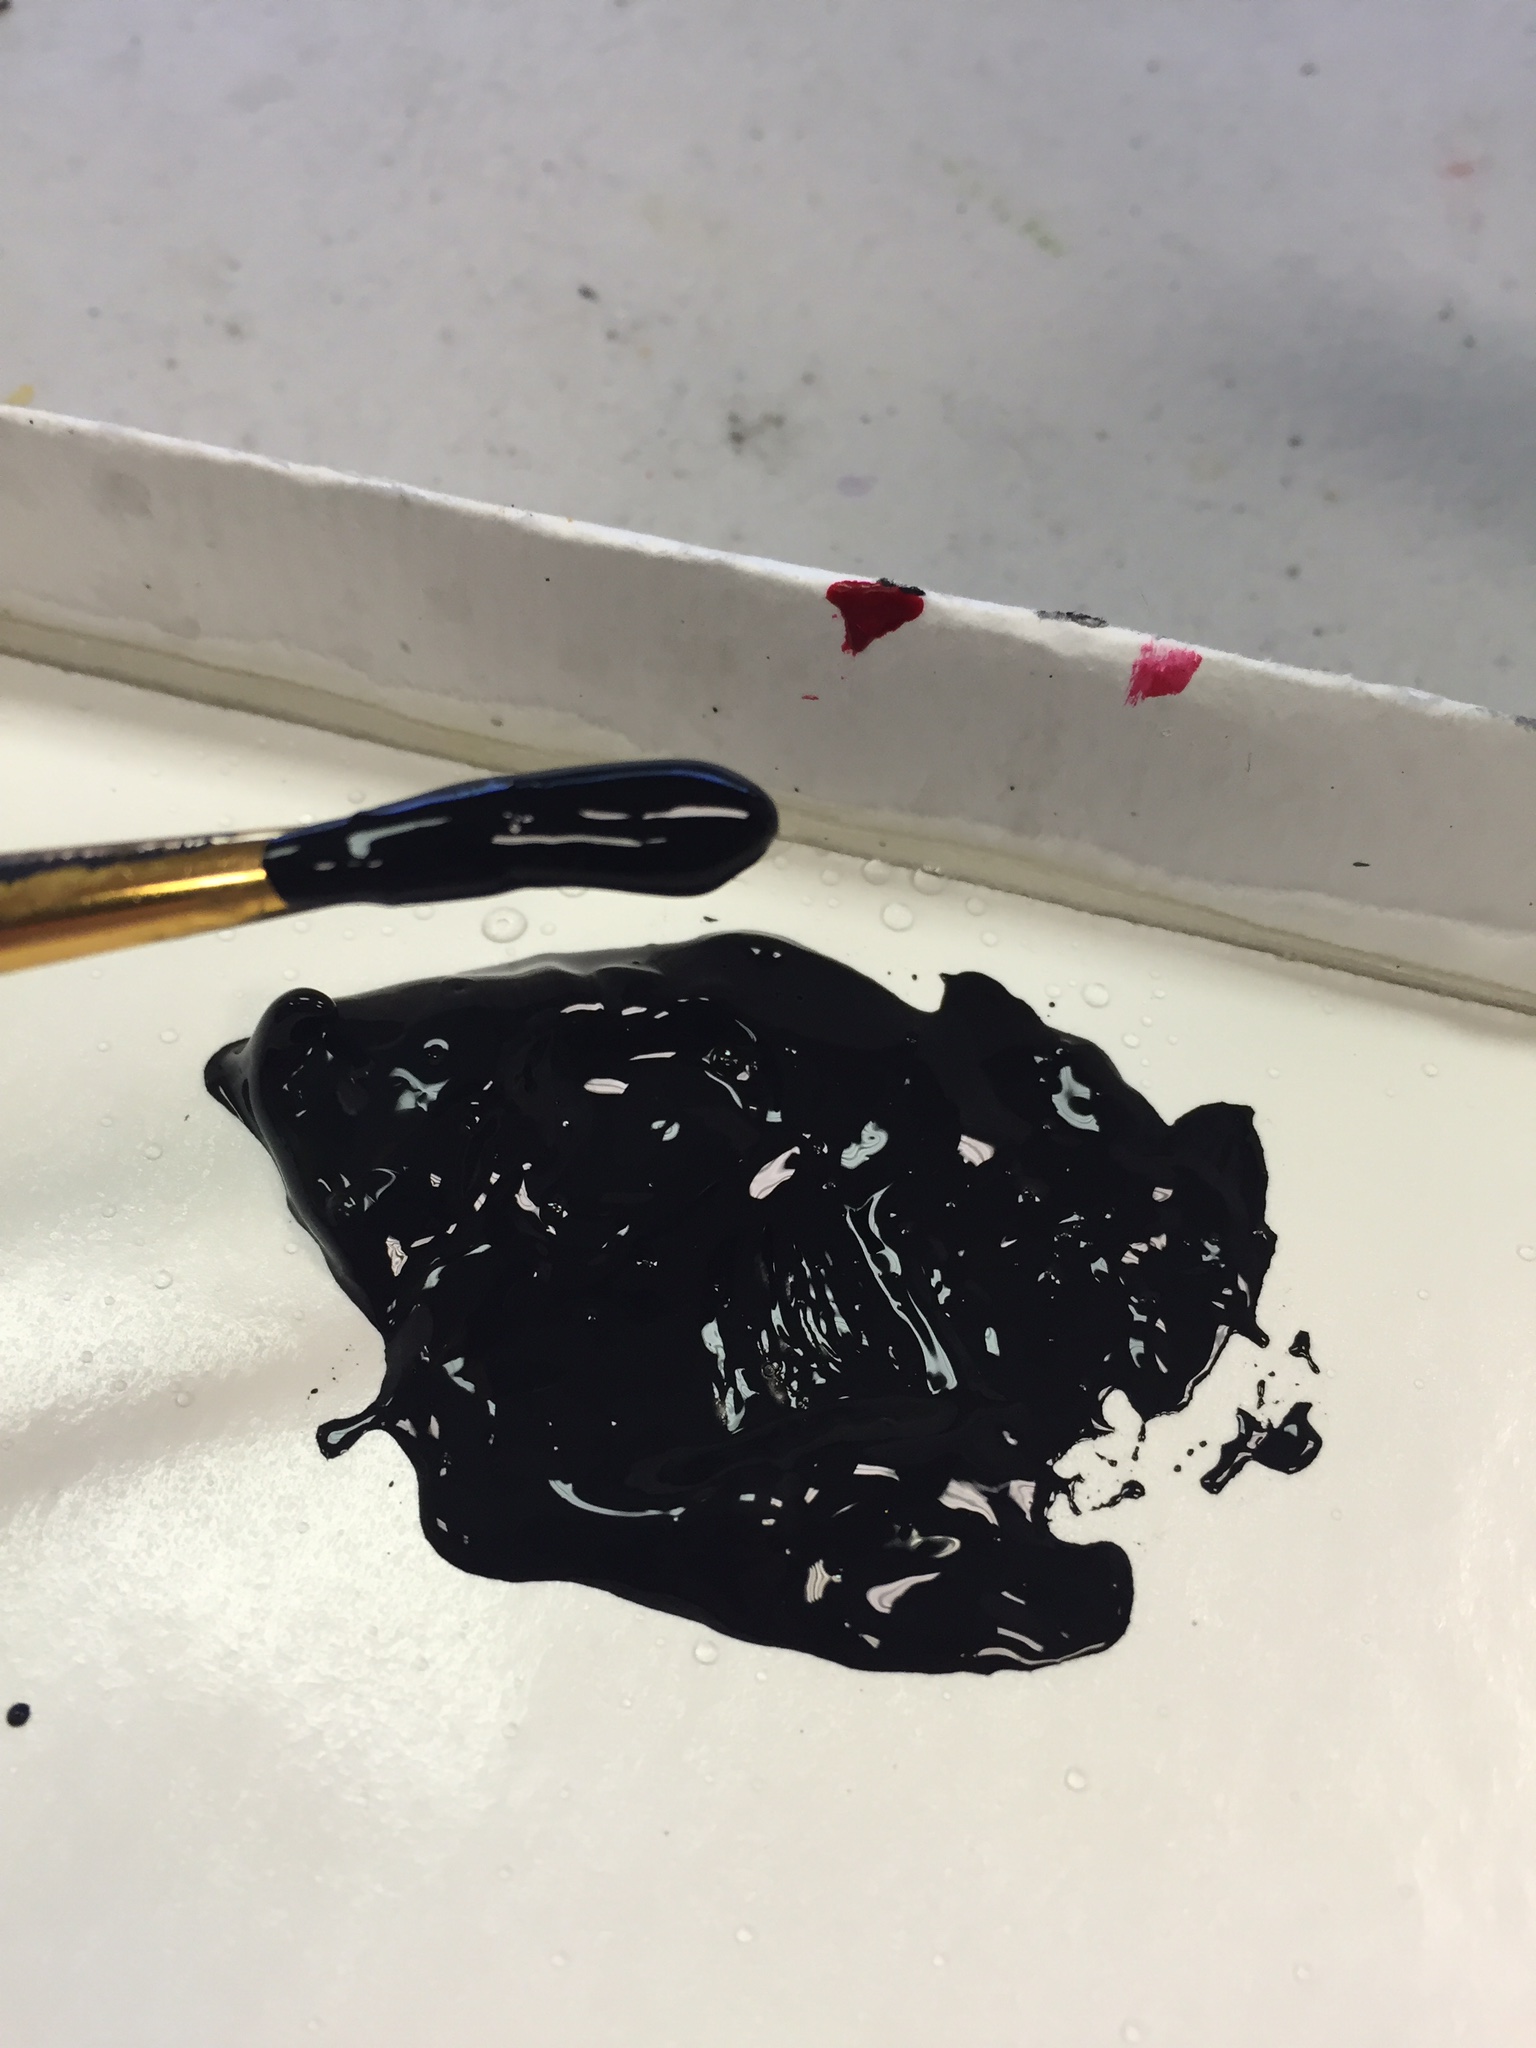
Use pure black acrylic paint, or mix up a batch of black paint using dark brown (Burnt Umber) and dark blue (Ultramarine) with a bit more blue than brown (depends on the brands). Add a little bit of water to the paint so that it is very liquid, yet not dripping off the brush. The consistency should be similar to a smoothie drink
5.2 Prepare
Wet the papers. Again, do this as a group. Wait for everyone to catch up!
- Spray or brush water over the papers and let sit for half a minute
- The blank sheets get wet
- The one with the pencil guide lines gets wet too
- Wipe the papers with a paper towel and turn over
- Spray or brush water on this side too and wipe off with paper towel
- Set papers on the staging palette paper you taped to the table. Stack the blank ones together to keep them wet longer.
The paint dries pretty fast, which is great later on. In the next step we want the paint to stay wet though. Having damp paper helps. But not so wet that the paint spreads into it.”
Use this button to jump down to the preparation section.
LEARNING TARGETS
Students know how to make a print
M A T E R I A L S
- Watercolor papers
- Palette paper
- Small brush
- Paper towel
- Water container
- Smocks
- Black paint
6.1 teach
Students will be using a small, pointed brush to “draw” line art over their pencil drawing. They will then press another damp sheet of watercolor paper and press them together to make a mirror image. It’s called a mono-print. Pulling them apart reveals two finished “prints”.
Have the entire class get to the end of all the previous steps, and then explain how the printing process for number ONE works using the teacher talk below, and then go through the entire slideshow BEFORE any printing is done.
If you need some spray water, let me know and I’ll come dampen the paint for you.
Do not rush; just don’t spend time talking and pausing to think, because if you pause, then the paint will not transfer when it begins to dry out. Just follow the lines and paint your work, focusing on the technique of your movement and the quality of your lines.
Right before the paper is placed to print, make sure all of the black paint lines are still wet enough to look shiny. Again, we can spray it a bit if needed. We can dampen the back of the printing paper too.
For printing, press firmly but not too hard, all over the surface, by using the side of your palm or a wadded up paper towel. Don’t use fingers because you can press too hard with them and the paint will spread out too much. The water actually pulls the paint over to the new paper, so just getting a good connection between the papers is what you want.”
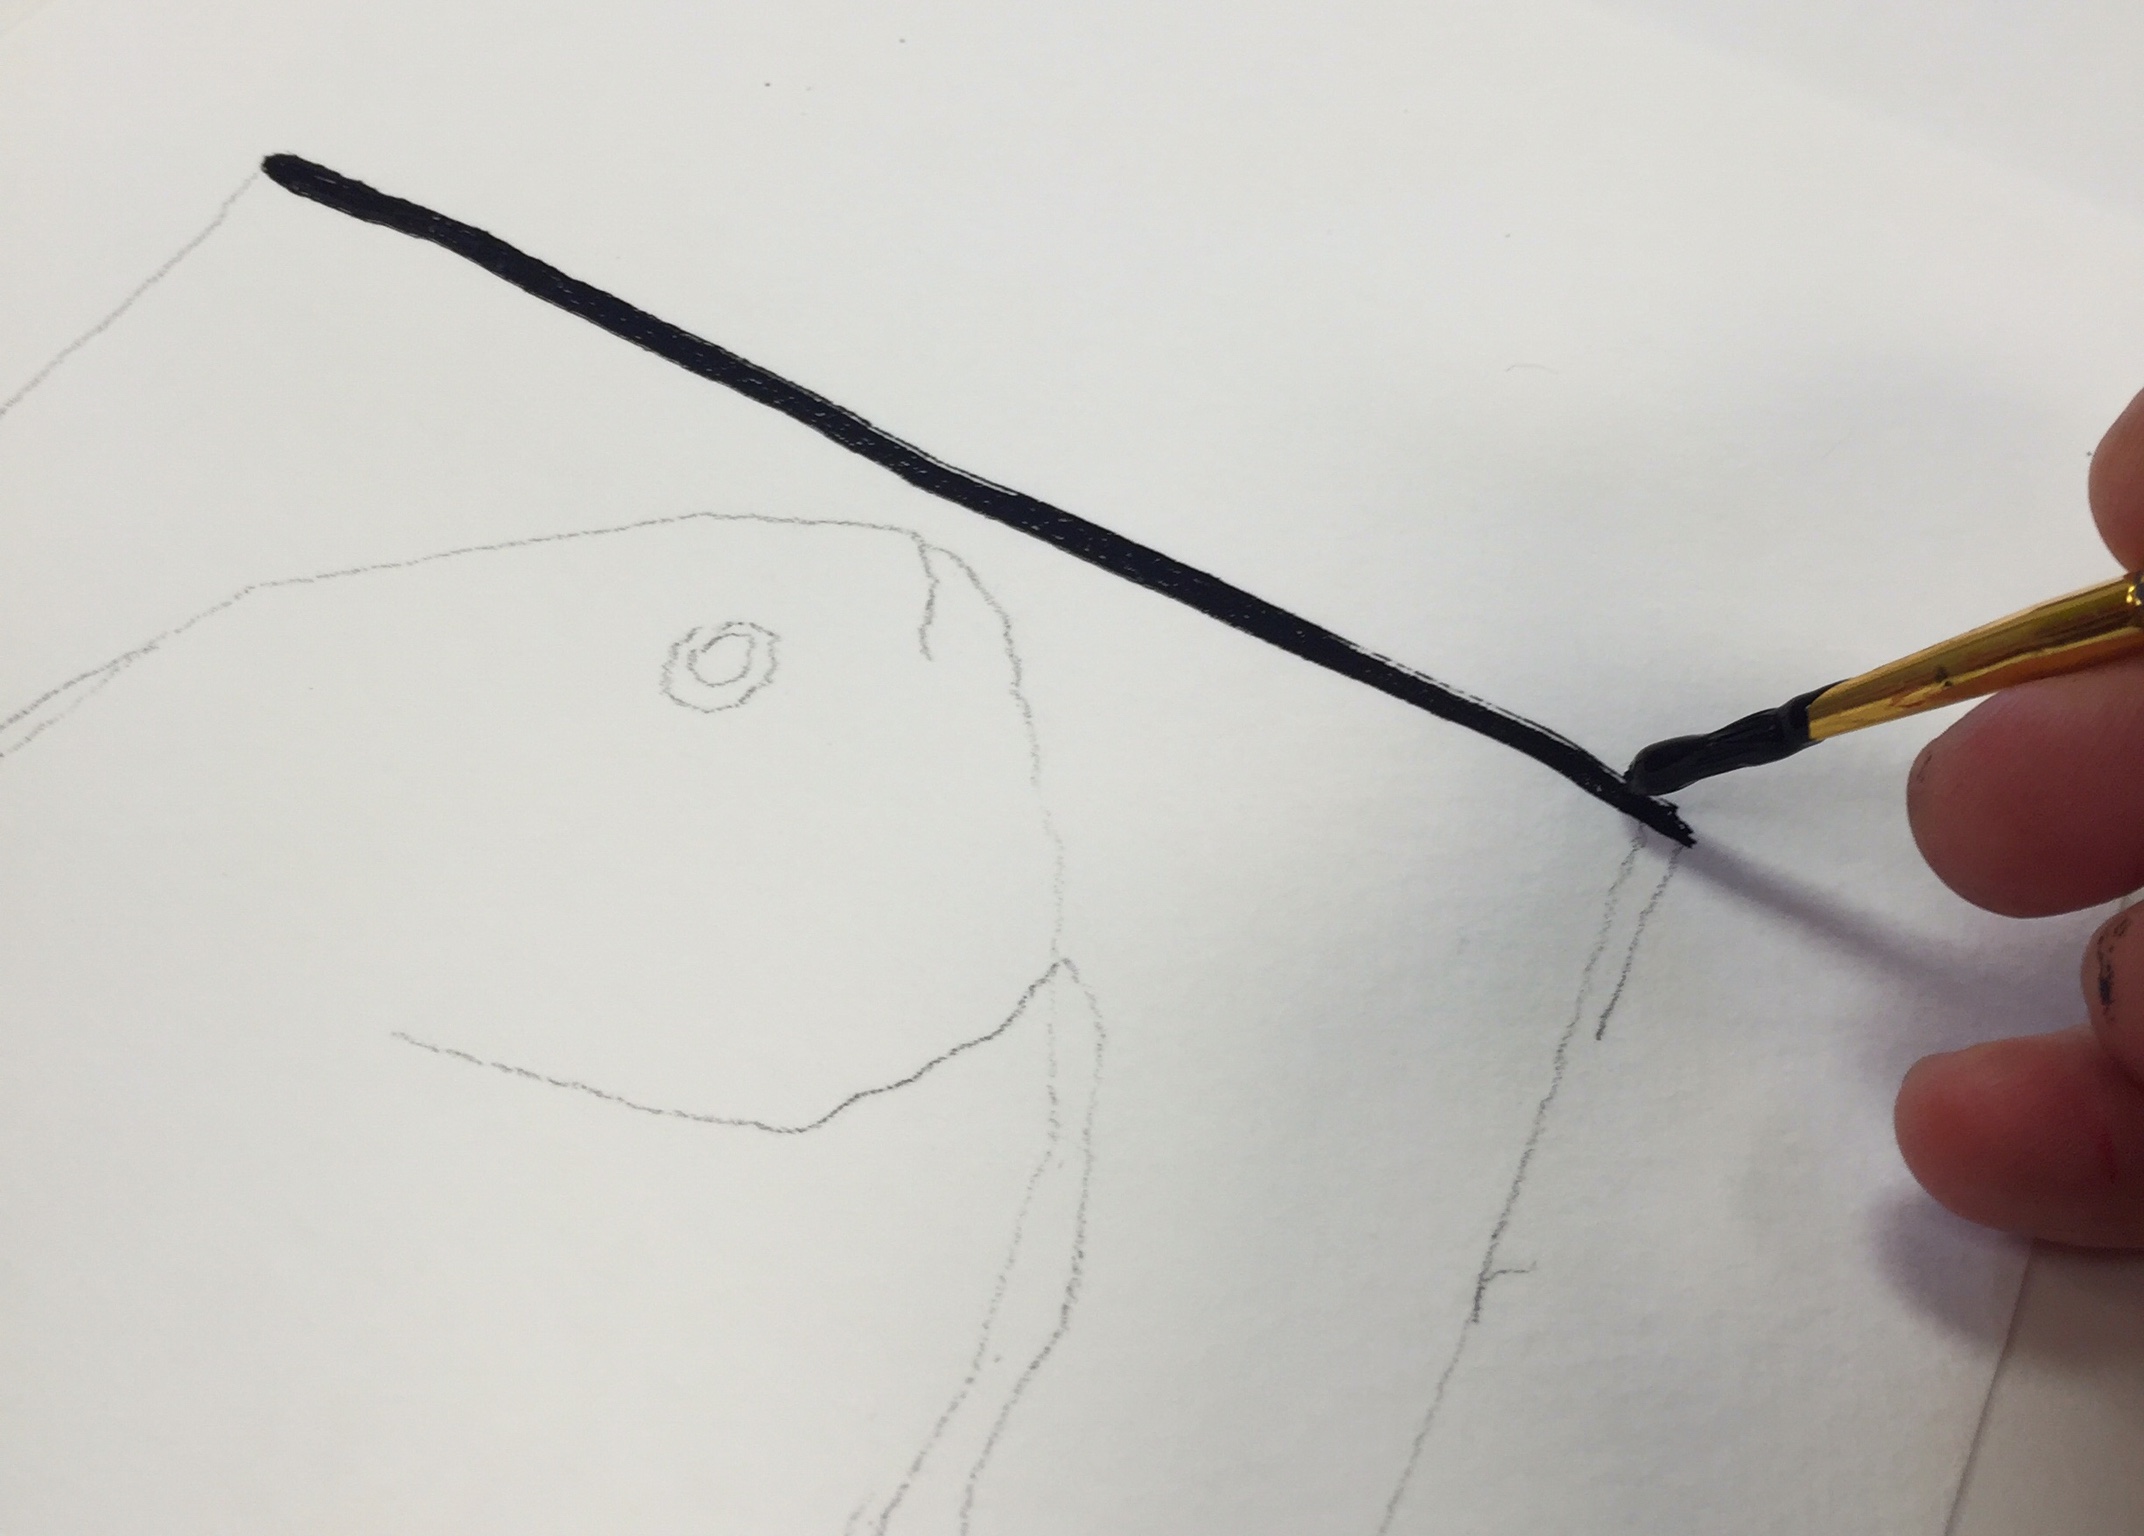
Step 1
Set the paper with your pencil drawing in front of you, but DO NOT LET IT TOUCH the marker drawing on your palette pad. First wipe the drawing with a paper towel to make sure all excess water is removed and it is no longer shiny, just damp. Then paint over all the pencil lines using your best technique.
Step 2
Make sure all the paint is wet. It will look shiny.
Step 3
Carefully place the blank wet paper on top. Make sure that the paper is not so wet that it’s shiny. It should be damp, but dull.
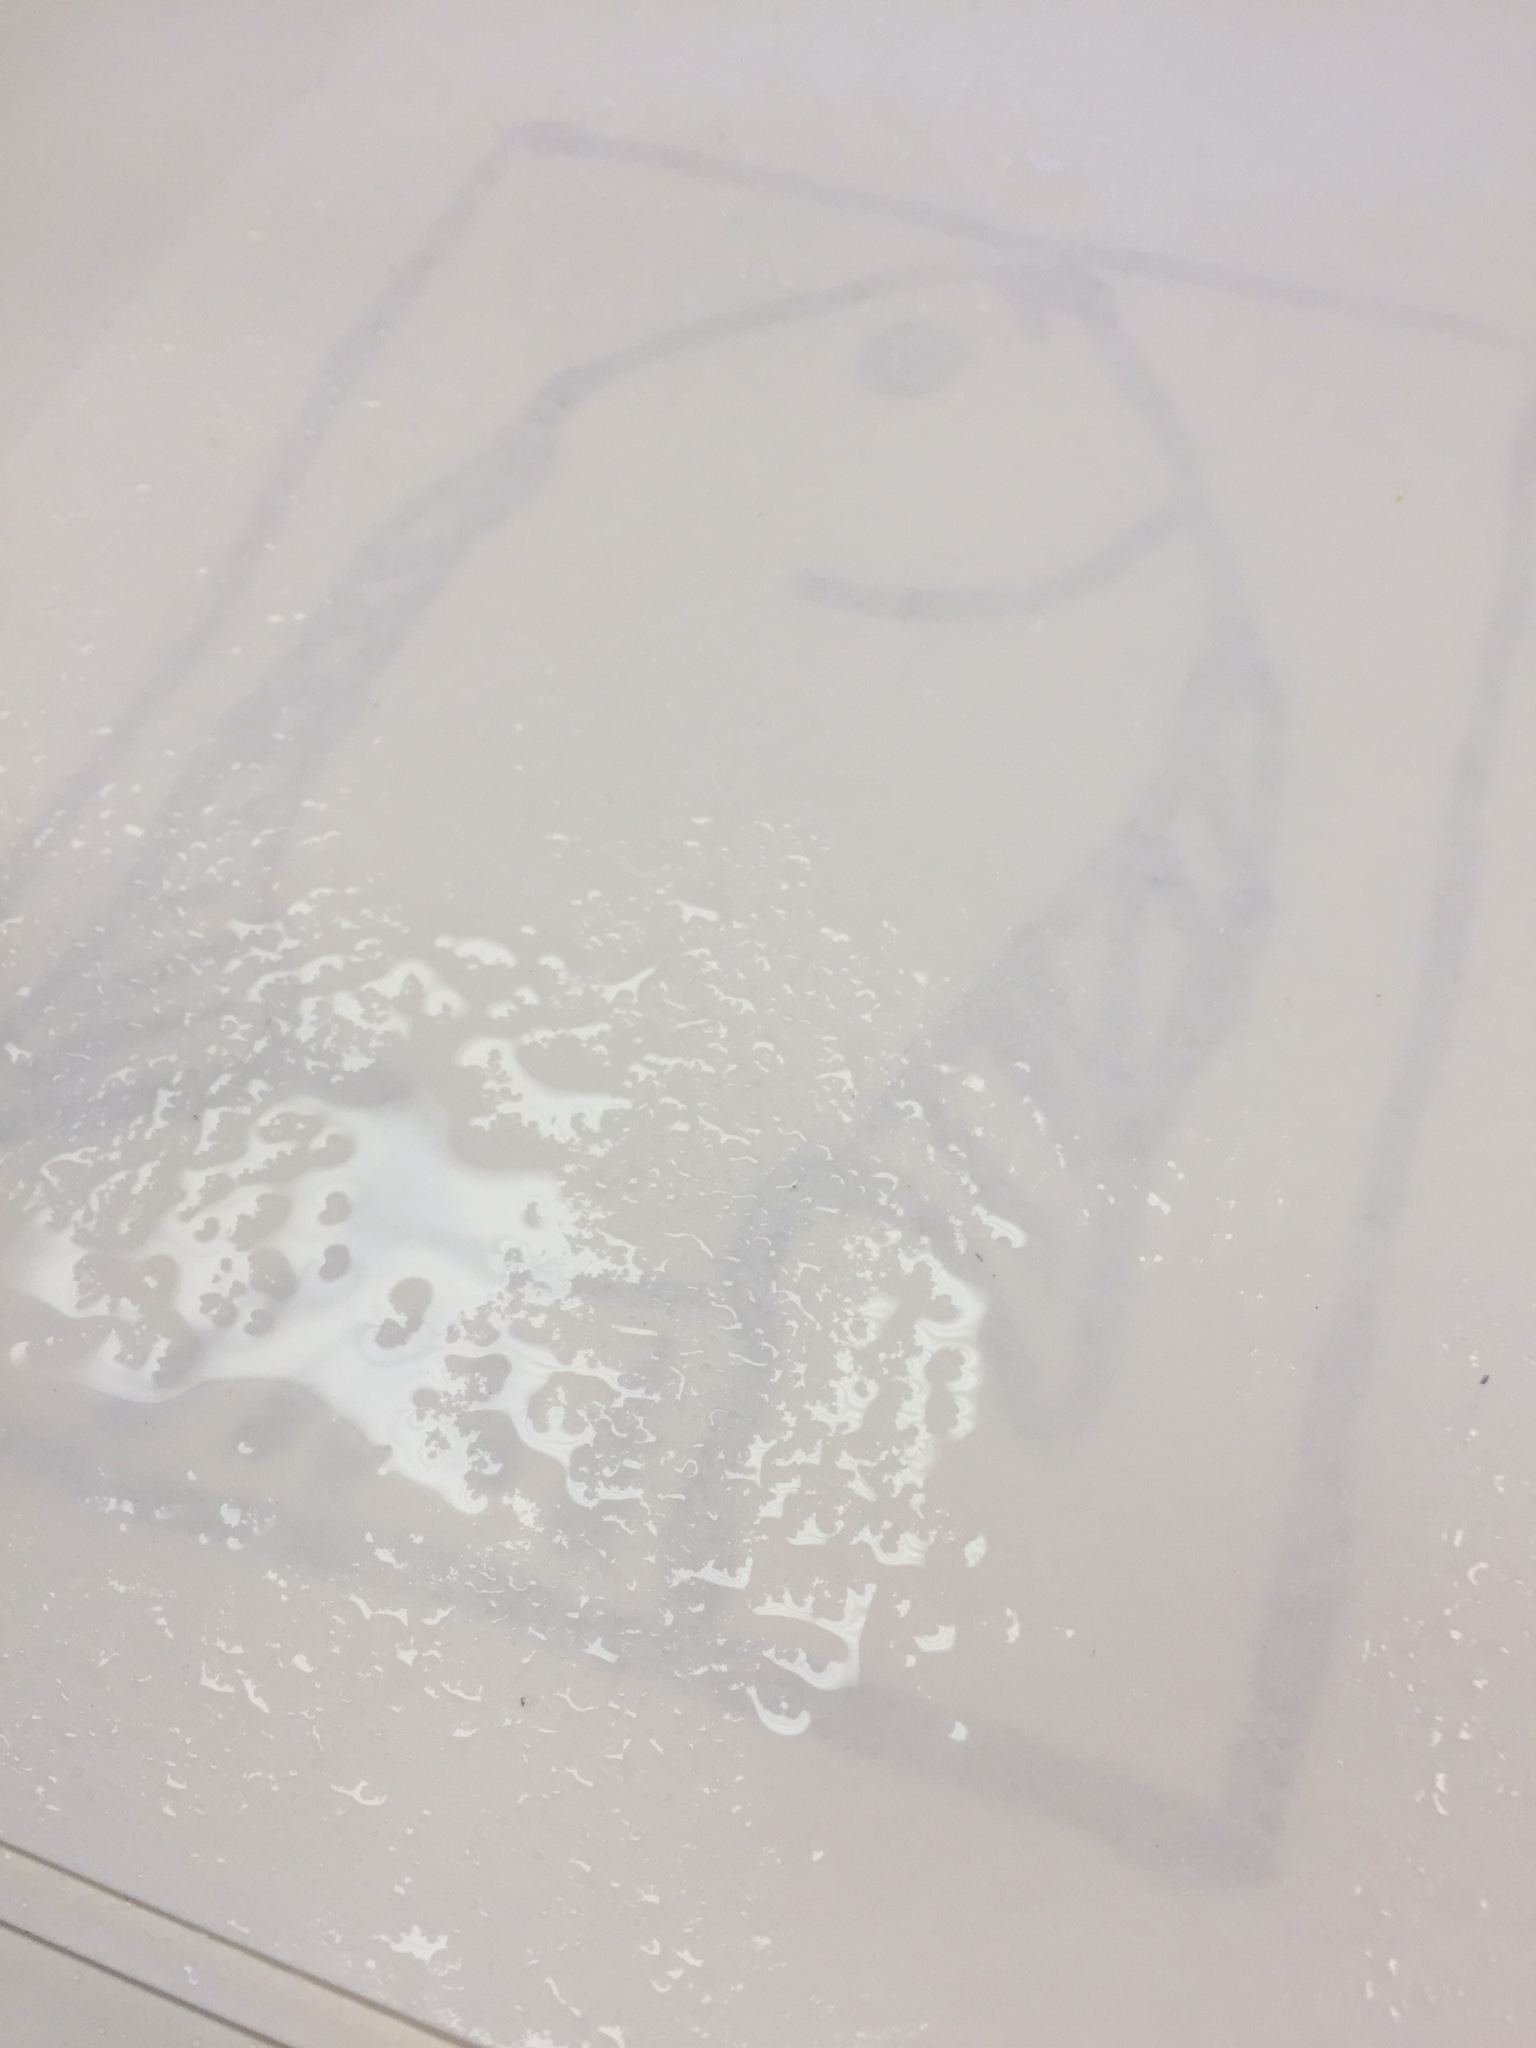
Step 4
Wet the back of the printing paper again and let sit for one minute.
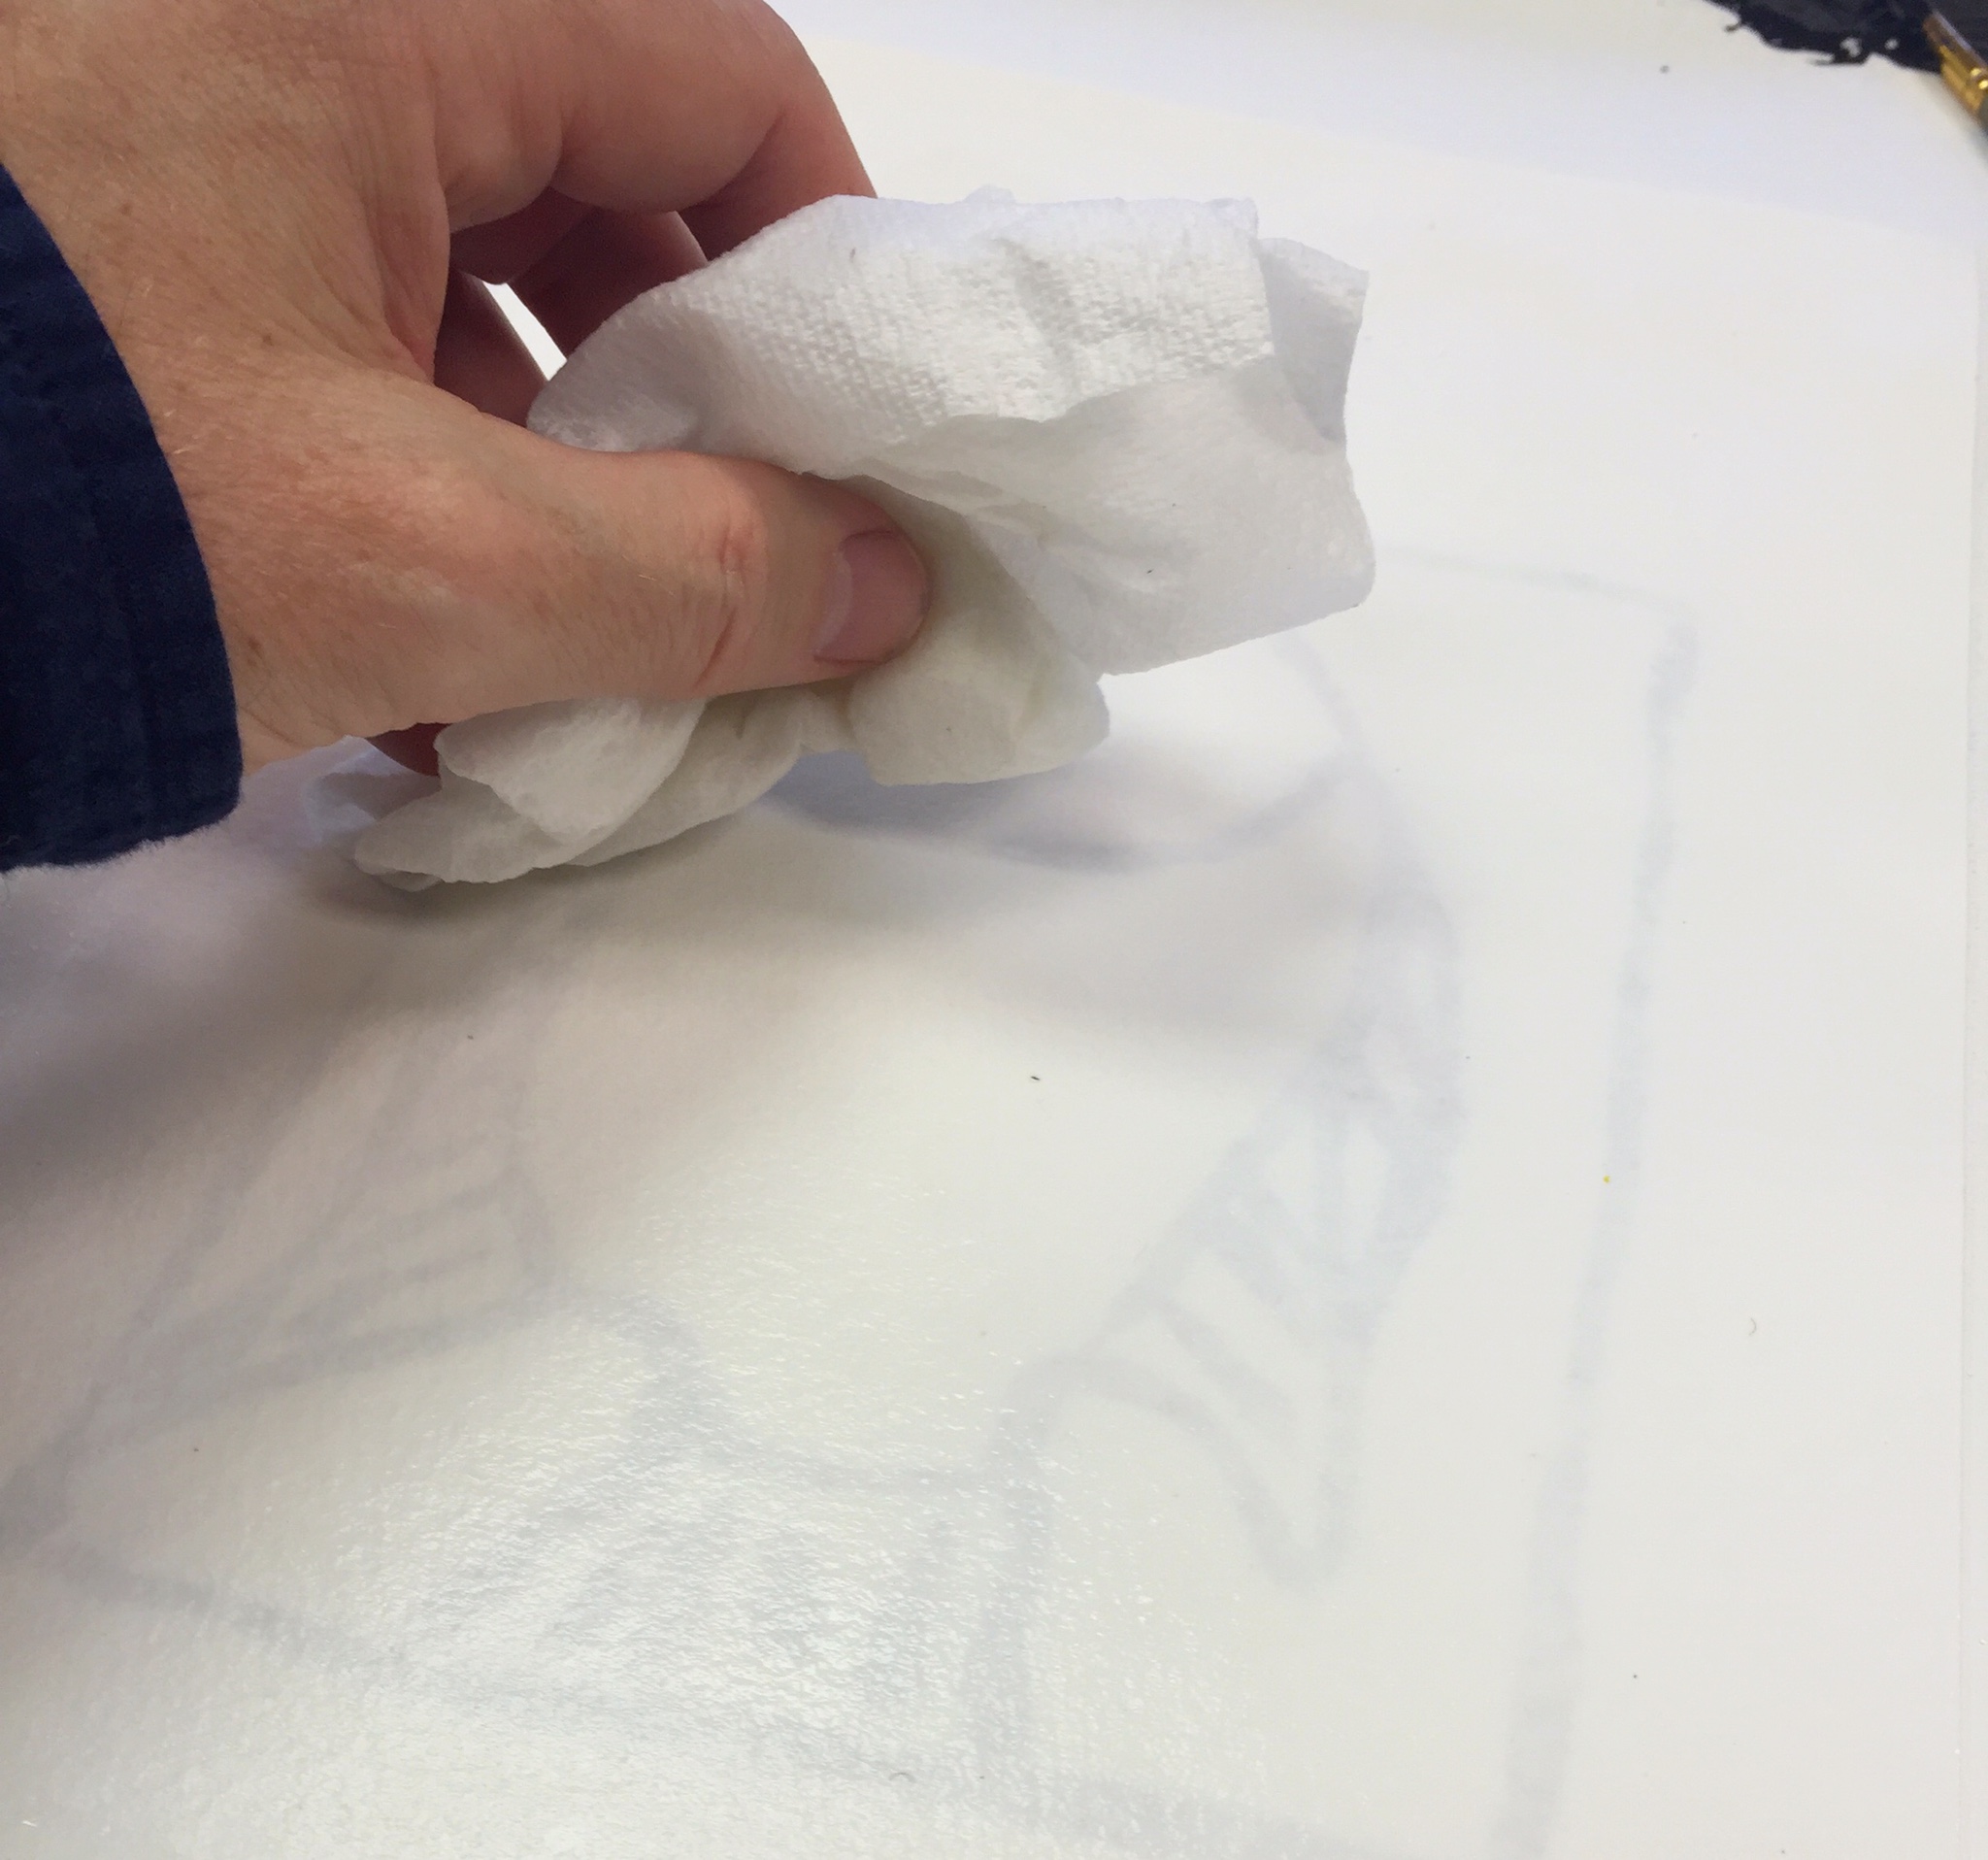
Step 3
Press and wipe all over with a paper towel like you did with the painted print before, however, be more careful about accidental sliding around than with the previous prints, and press gently, NOT hard. The water is mostly what pulls the marker over to the paper; not so much the pressing.
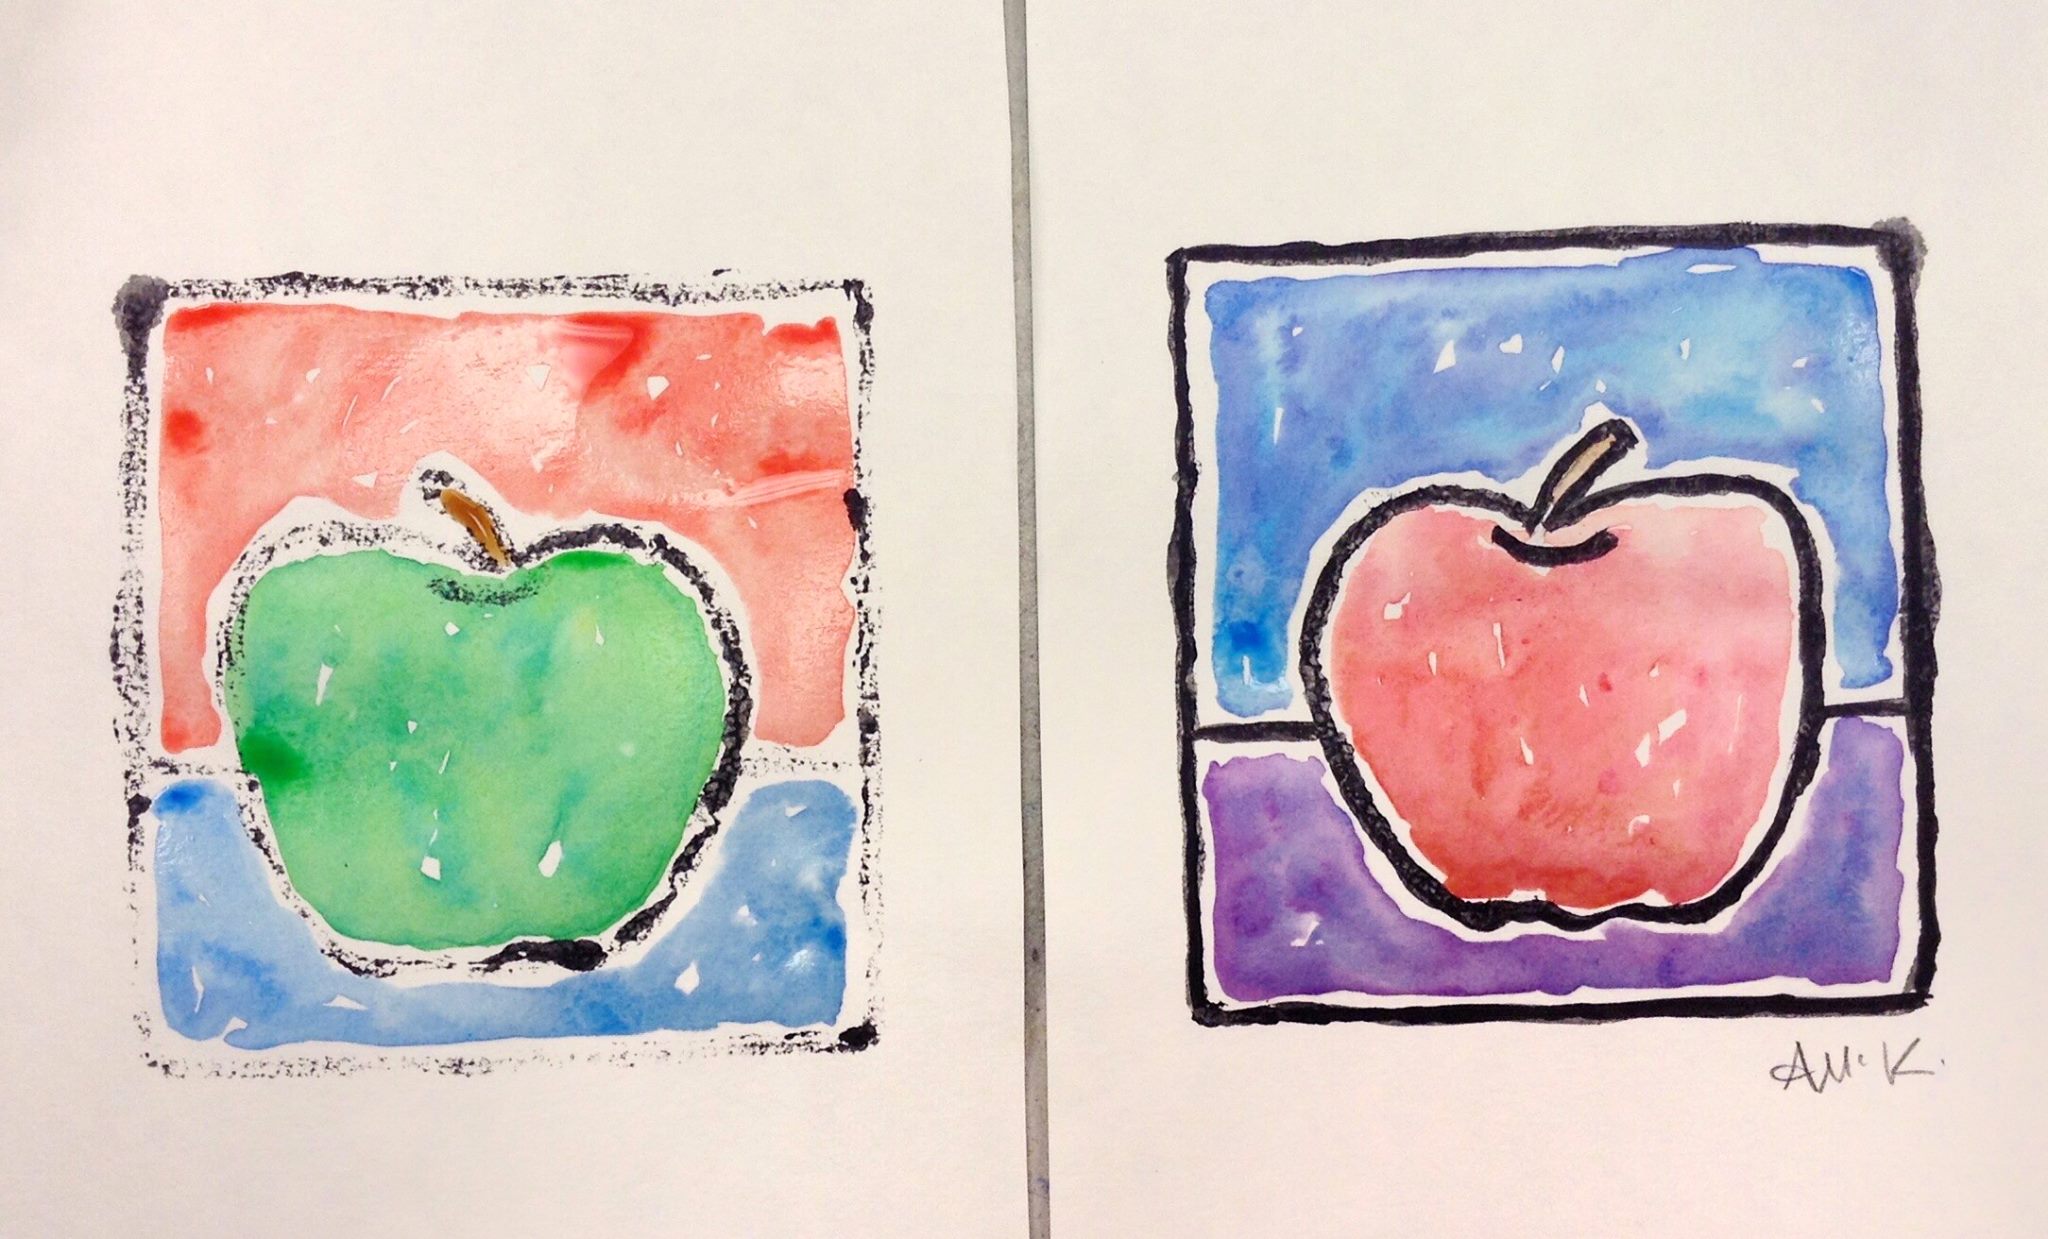
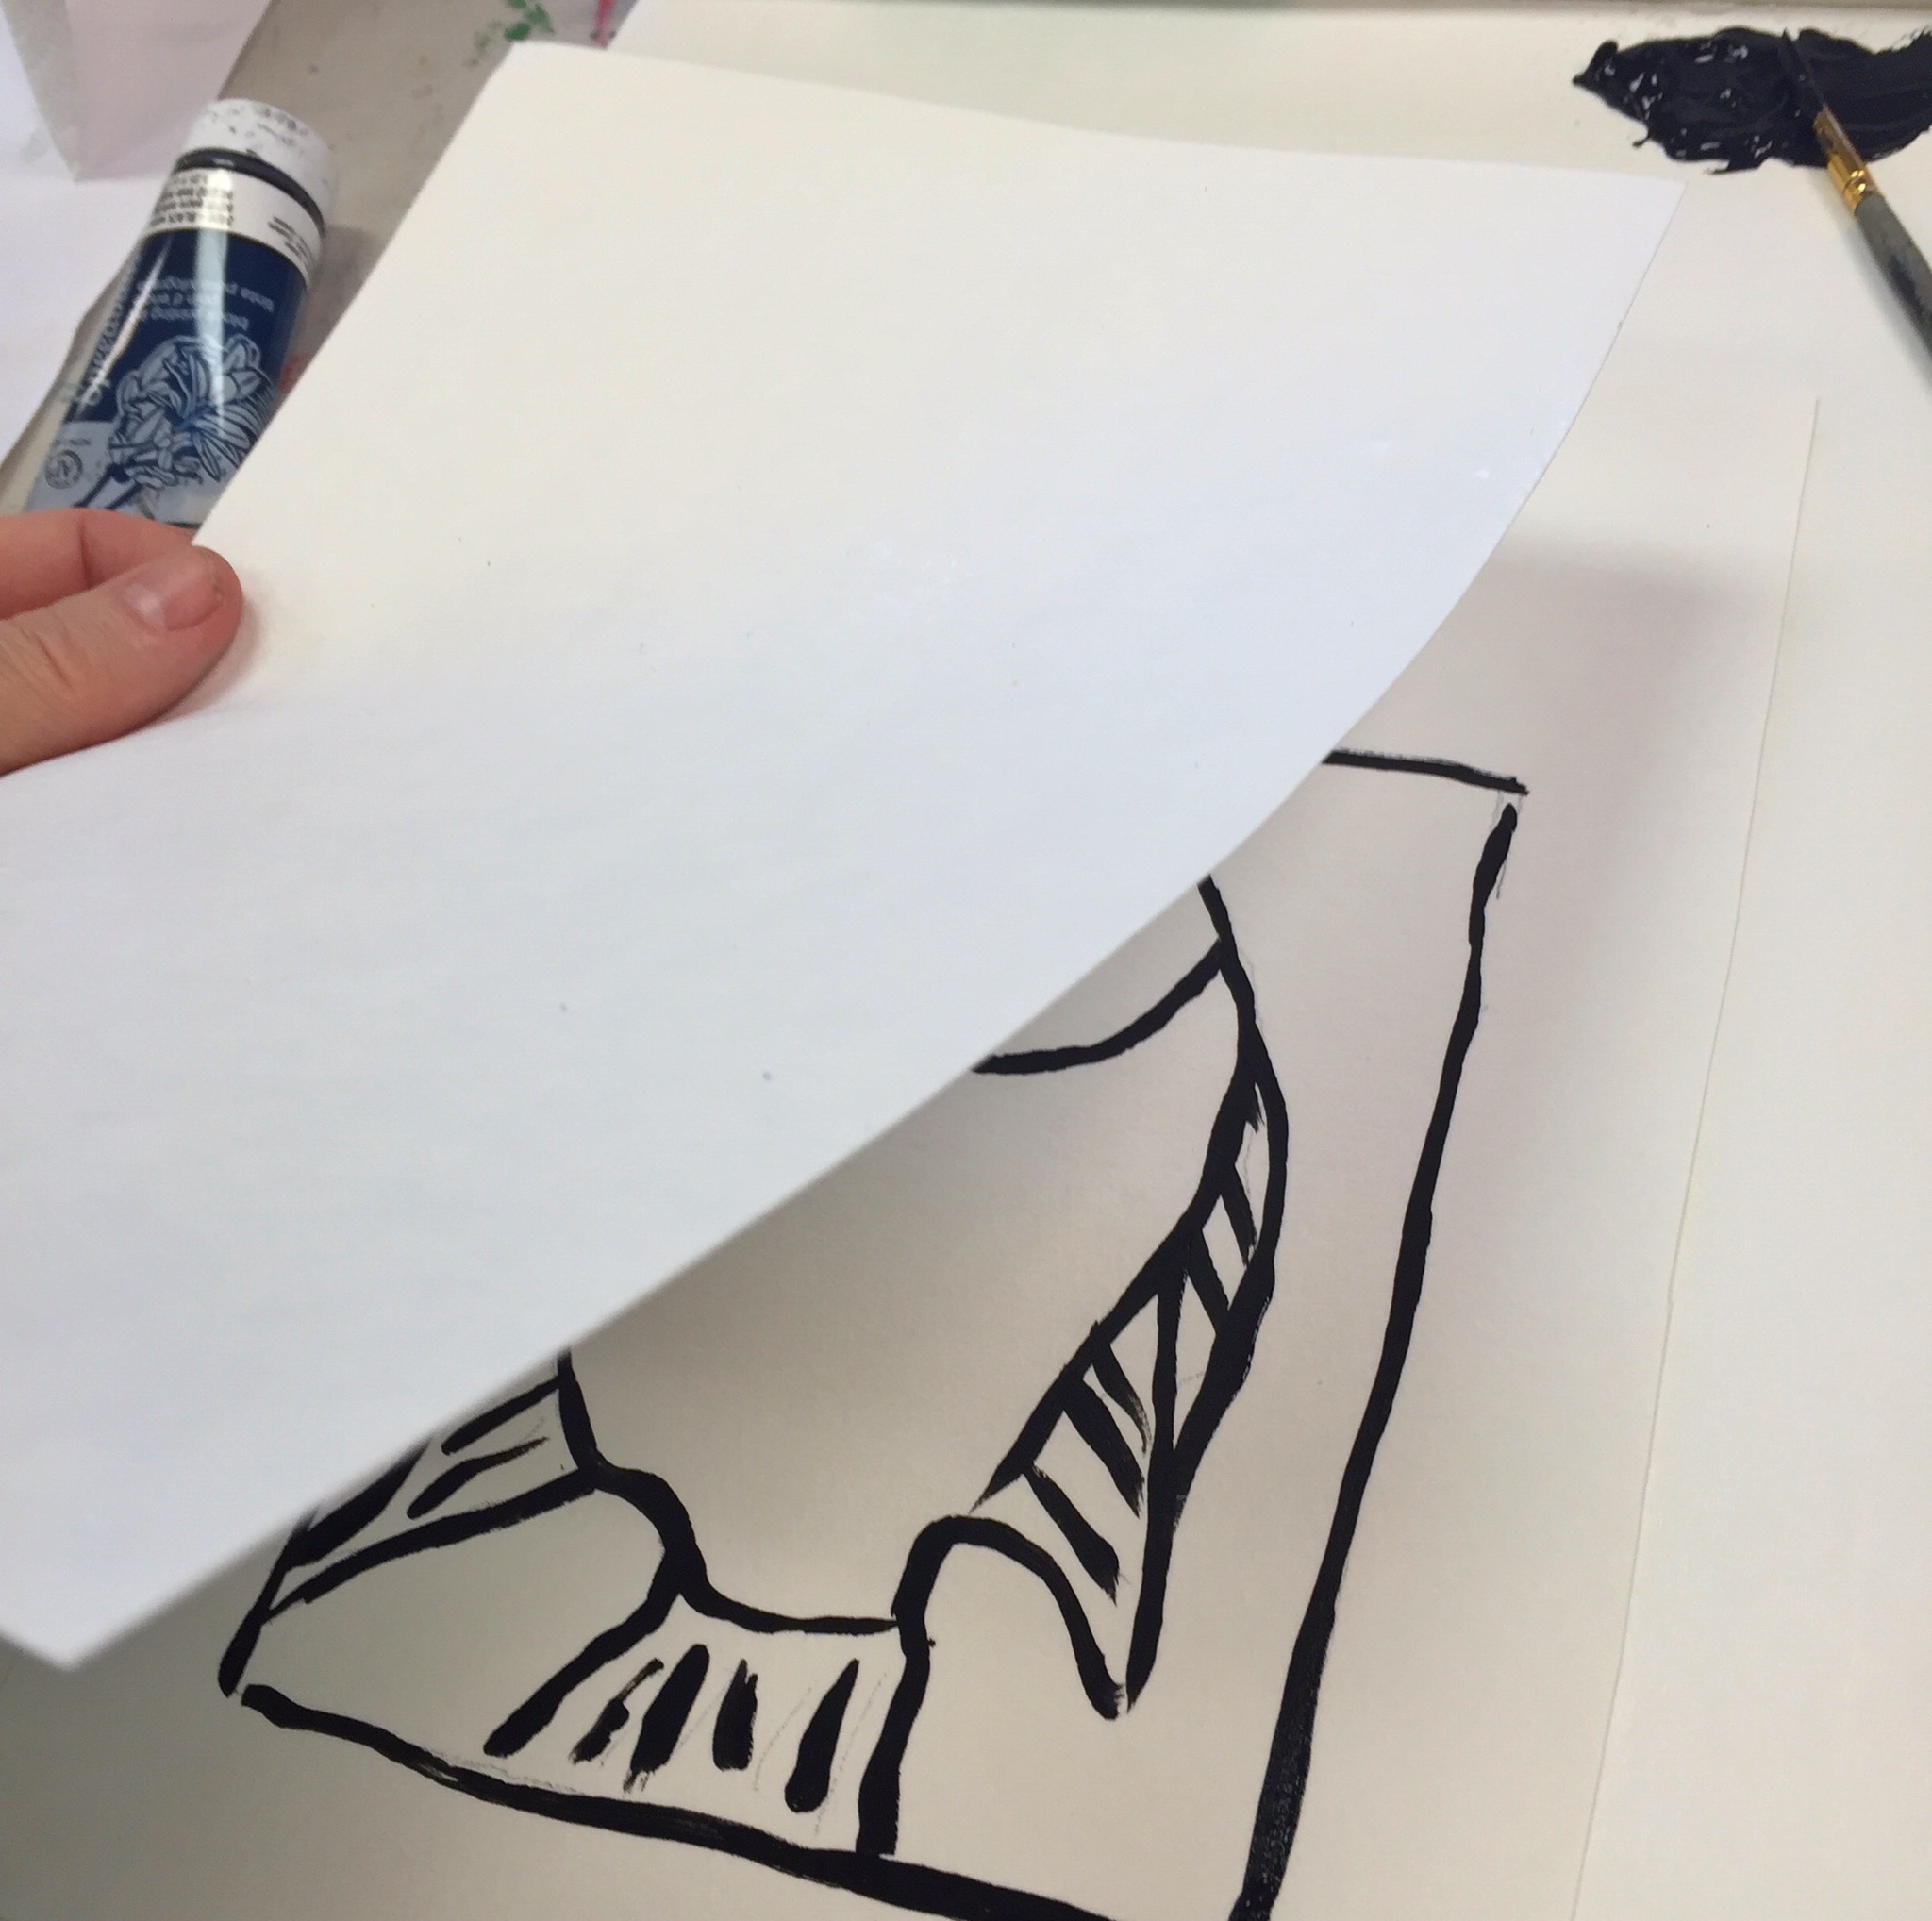
Step 6
Pull the papers apart to reveal 2 prints that mirror each other.
6.2 Printing
Keep the slideshow going while students begin making their lines. Repeat the instructions while the paint the black. Then assist as needed for making prints! Early finishers can start on the next step, making a second print.
Use this button to jump down to the preparation section.
LEARNING TARGETS
Students know how to make a print
M A T E R I A L S
- Watercolor papers
- Palette paper
- Small brush
- Paper towel
- Water container
- Smocks
7.1 WORD
There are several papers because each print will look different, and some may not transfer as well as others. It’s normal to have a learner print or two.
Its ok to spend more time making prints but make sure everyone realizes that there is a watercolor step too.
If a student is really into the printmaking and isn’t interested in using the watercolors, let them experiment with a new print and different colors for the outlines.
Use this button to jump down to the preparation section.
LEARNING TARGETS
Students know how to paint over a print
M A T E R I A L S
- Watercolor papers
- Palette paper
- Acrylics
- Small brush
- Paper towel
- Water container
- Smocks
Paint pigment list:
- Napthol or Pyrrol Red
- Hansa or Light Yellow
- Pthalo Green (blue shade)
- Cyan or Cerulean Blue
- Ultramarine Blue
- Dioxazine Purple
- Magenta
- Burnt Umber
- Raw Sienna
- Titanium White (professional grade only)
8.1 paint
Paint each print to make several different works that can be given as gifts. You can just paint one, or as many as you have.
Use this button to jump down to the preparation section.
LEARNING TARGETS
Students know how to create a print
M A T E R I A L S
- Watercolor papers
- Palette paper
- Acrylics
- Small brush
- Paper towel
- Water container
- Smocks
9.1 print
In a long class, some young artists will finish early. Have them create a new work to make mono prints of. Try using another color instead of black for the outlines.
Use this button to jump down to the preparation section.
LEARNING TARGETS
Students know the importance of cleaning up.
M A T E R I A L S
- Paper Towels
- Cleaning wipes
- Sink
- Waste baskets
- Well-lit spot for photos
- Camera or phone-camera
10.1 clean
- Wash hands
- Super-wash brushes if used
- Put art supplies away
- Wipe tables & toss trash
- Remove any smocks (last)
- Check for items on floors and tables
10.3 connect
Use this button to jump down to the preparation section.
OBJECTIVES
- Practice and improvement in planning several works
- Understanding how the printmaking process works
- Accomplishment in in creating an edition of prints
- Fulfillment in self expression of several individual works
TROUBLESPOTS
Too much detail – Making the print number ONE uses a painted line, which is then mashed down and will spread the lines to be a bit thicker. Make sure that students realize this and use the charcoal to make a version with heavy thick lines so they can see how it will work.
Soaked paper – Paper should not be shiny with water at all, just damp. It can soak up a lot of water, but the surface should be wiped until all excess water is removed. It will have a dull surface if done properly.
Confusion with shininess – Ink should be wet, and since we’re using paint, that means shiny in the light. Paper, on the other hand, should be just damp, but not wet, so it should not be shiny in the light.
ART WORDS
Print – A transfer of paint or ink from a printing plate to a surface, most often paper. A plate will only create one color in a print, which will have areas of solid ink, and areas that are not inked. Multiple plates can create more colors on one
Printing Plate – An object that transfers an image in ink onto another object. Many things may be used as a plate, to create prints. We call very small plates, stamps. Plates can be made in several ways. Here are some common plate methods: 1) Adding raised areas, such as glueing yarn or sticks to another surface; 2) Removing areas to leave a raised surface, such as carving in wood, metal, styrofoam, or linoleum; 3) Ink etching, which is drawing right into a layer of ink and makes a single print; 4) Mono-print, which is using wet paint to transfer an image from a smooth surface, usually to a paper surface.
Edition – A series of prints is called an edition. When an artist sets a certain number of prints they intend to make and then destroys the plate, they have created a limited edition. Mono-prints can only be made one time.
CLASSROOM
PREP
What your room needs
Here are your printable lists and room prep instructions.
Opens in new window
CLASSROOM
MATERIALS
- Rulers
- Coverstock cut into 5″ x 7″ rectangles – enough for every student, or half that many so 2 students can share.
- Painter’s tape (if students don’t have their own)
- Paper towels
- Spray bottles with water
- Scissors
STUDENT’S
MATERIALS
- 14″ x 17″ Sketch pad
- 2B Pencil
- White eraser
- Watercolor pad – 2 sheets
- Water tubs
- Smock
- Brushes – small and pointed
- Acrylic paints
- Palette pad with disposable sheets
PREVIEW
Winter Break
Dec 20 – Jan 3
Week 19: Line and Design
Students will create simple artwork in oil pastels using only colored lines. Then they’ll examine their efforts and learn the 6 design principles. Students will apply principles to modify their work and improve their overall design before finishing it.