
OVERVIEW
After a warm up with artists’ choice, students learn how to make light swords with a glowing technique using oil pastels. The swords do battle with hot and cold colors. Then there is a super-fun table-mural game called, Color Wars, where children will learn more about what happens when hot and cold colors mix.Grades 3 – 5
Week of January 12 – 16
1 Hour & 30 Minutes
Lesson At A Glance
A brief overview of each step. Buttons jump to each section for detailed information.
15 Min – Show picture of lightsaber & create 2 light swords
20 Min – Mix colors in sword battles
20 Min – Butcher paper on table with stripes. Hot vs. cold
5 Min – Everyone helps
LESSONPLAN
Each section is a different color. Read over once and then you can SCROLL & TEACH using any device you like. It’s designed to work best with your phone.
LEARNING TARGETS

Students learn to express themselves through creating from their imagination.
M A T E R I A L S
- Markers
- 8.5″ x 11″ copy paper
- Pencil
- Eraser
1.1 greet
Kneel down so that you are on their level. Bending over emphasizes the differences in your height, while kneeling makes them feel more important.
Students will have 15 minutes of artists choice. Use this time to talk about the break and ask students what they did, where they went, what they got for Christmas, etc. This is also a good time to review a few simple classroom rules, especially if you have new students.
Use this button to jump down to the preparation section.
LEARNING TARGETS
Students know how to blend oil pastels
M A T E R I A L S
- 8.5″ x 11″ copy paper
- 4B pencil
- Oil Pastels: colors & white
- Eraser
2.1 Print
template
Light Swords
Print on COVER STOCK.
Cut apart in half or thirds so each student can get 2 or 3 sword outlines.
Hand out outline prints. Make sure everyone gets at least 2 swords to color.
If you have time, let each student have a whole page of their own.
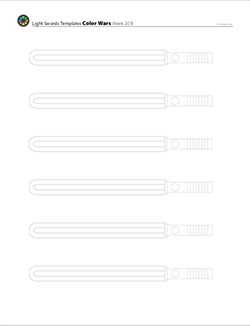
1 Page – Opens in new window
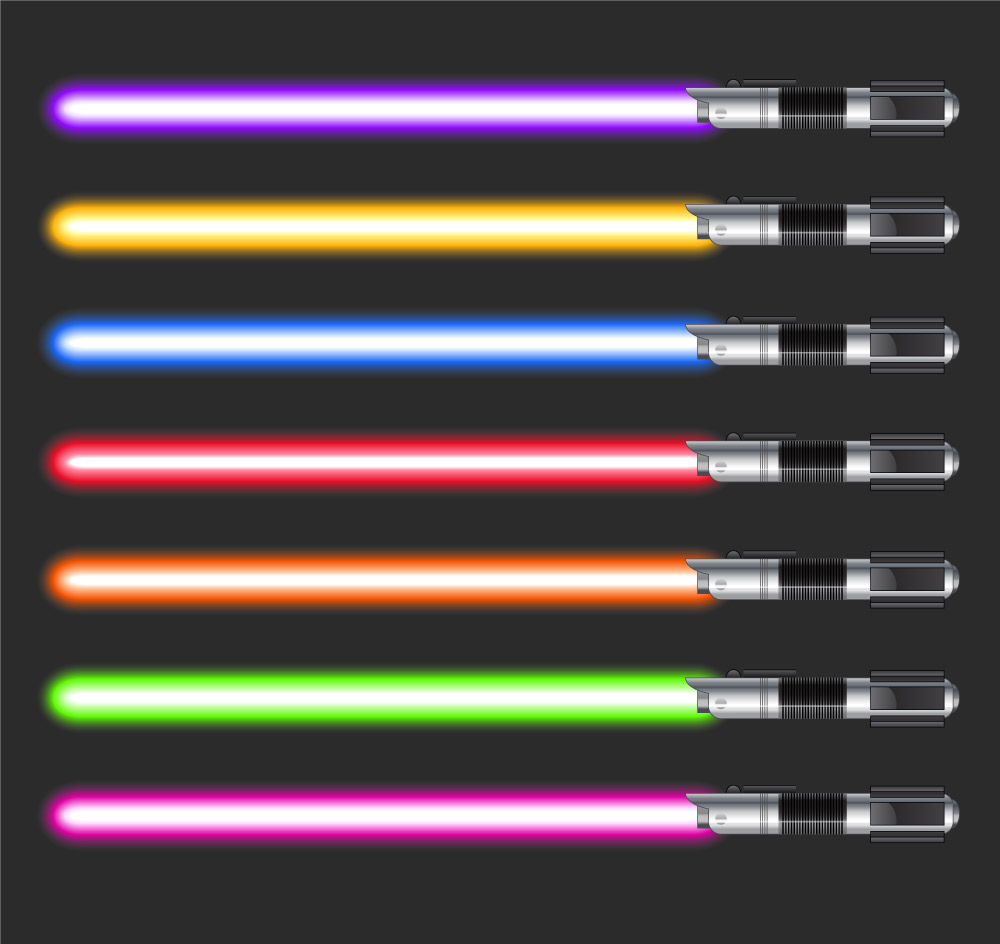
2.2 display
2.3 color
Once you show the class the light swords picture, give each student a light sword handout.
Each student should get at least 2 outlines to fill in.
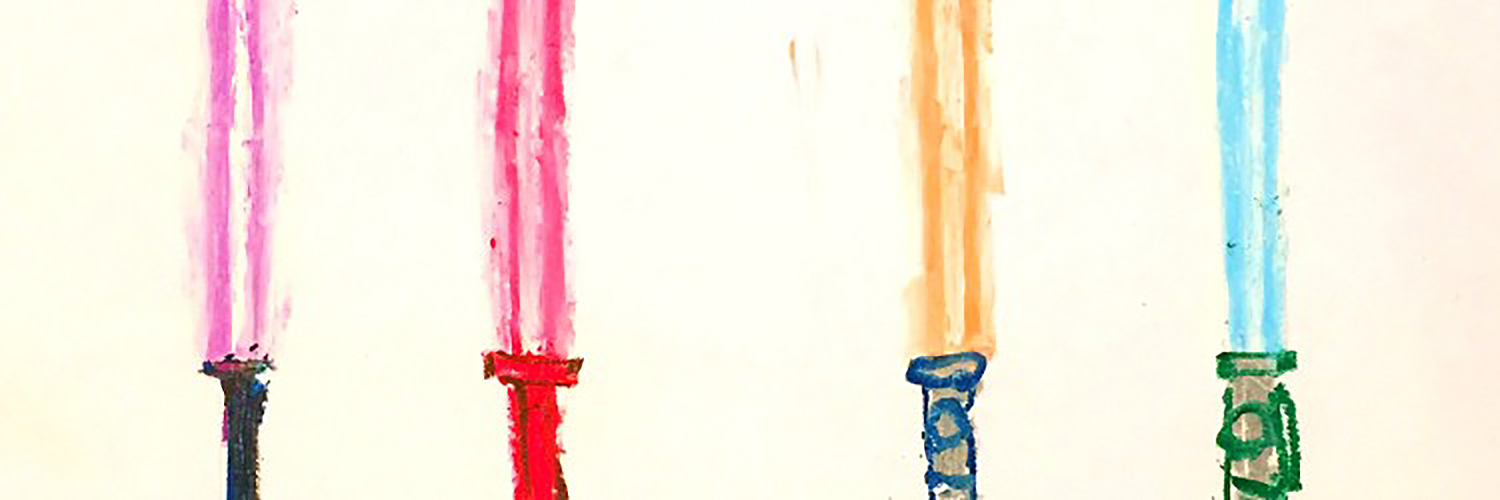
Point out how it is lightest in the center of the “blade”. Then you can switch your display to the slideshow below, or you can demo the process for them yourself. Everyone will begin with the light sword “blade” and wait until that’s finished to make the handle.
- Choose a cool color for the first lightsaber and pick out a pastel for it. blue, green, or purple.
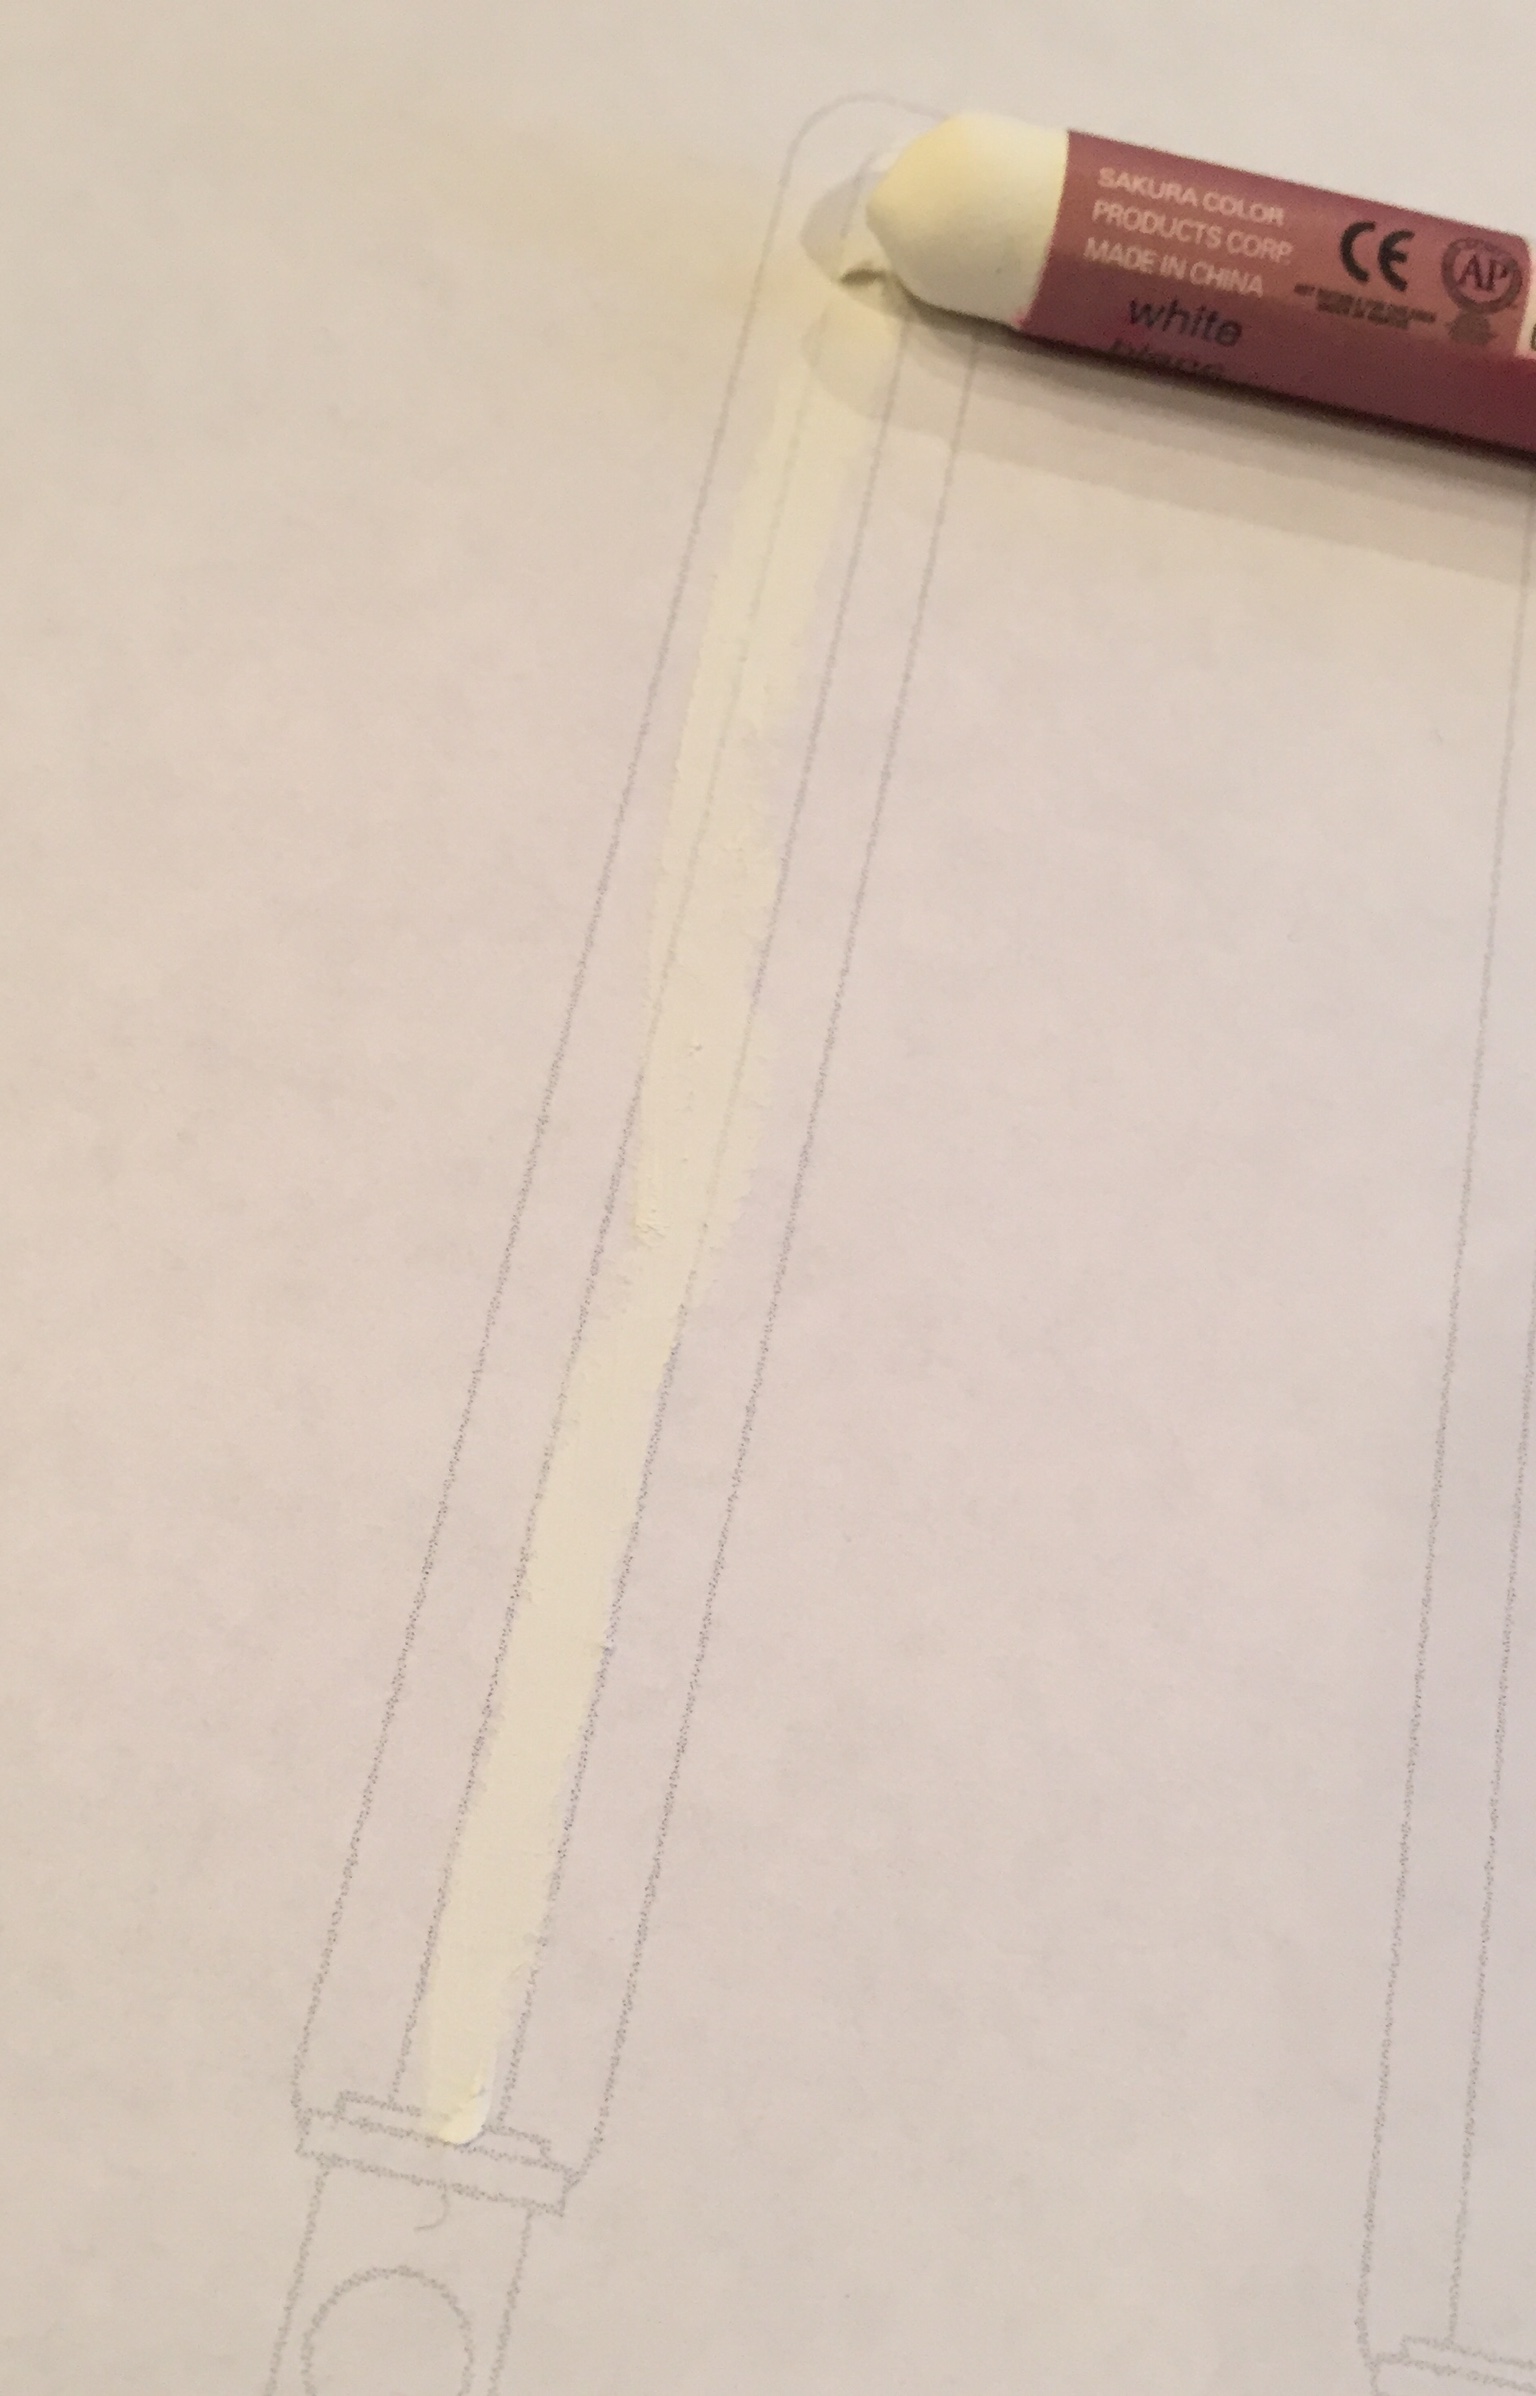
- Fill the very center part of the “blade” with a thick layer of white pastel all along the length.
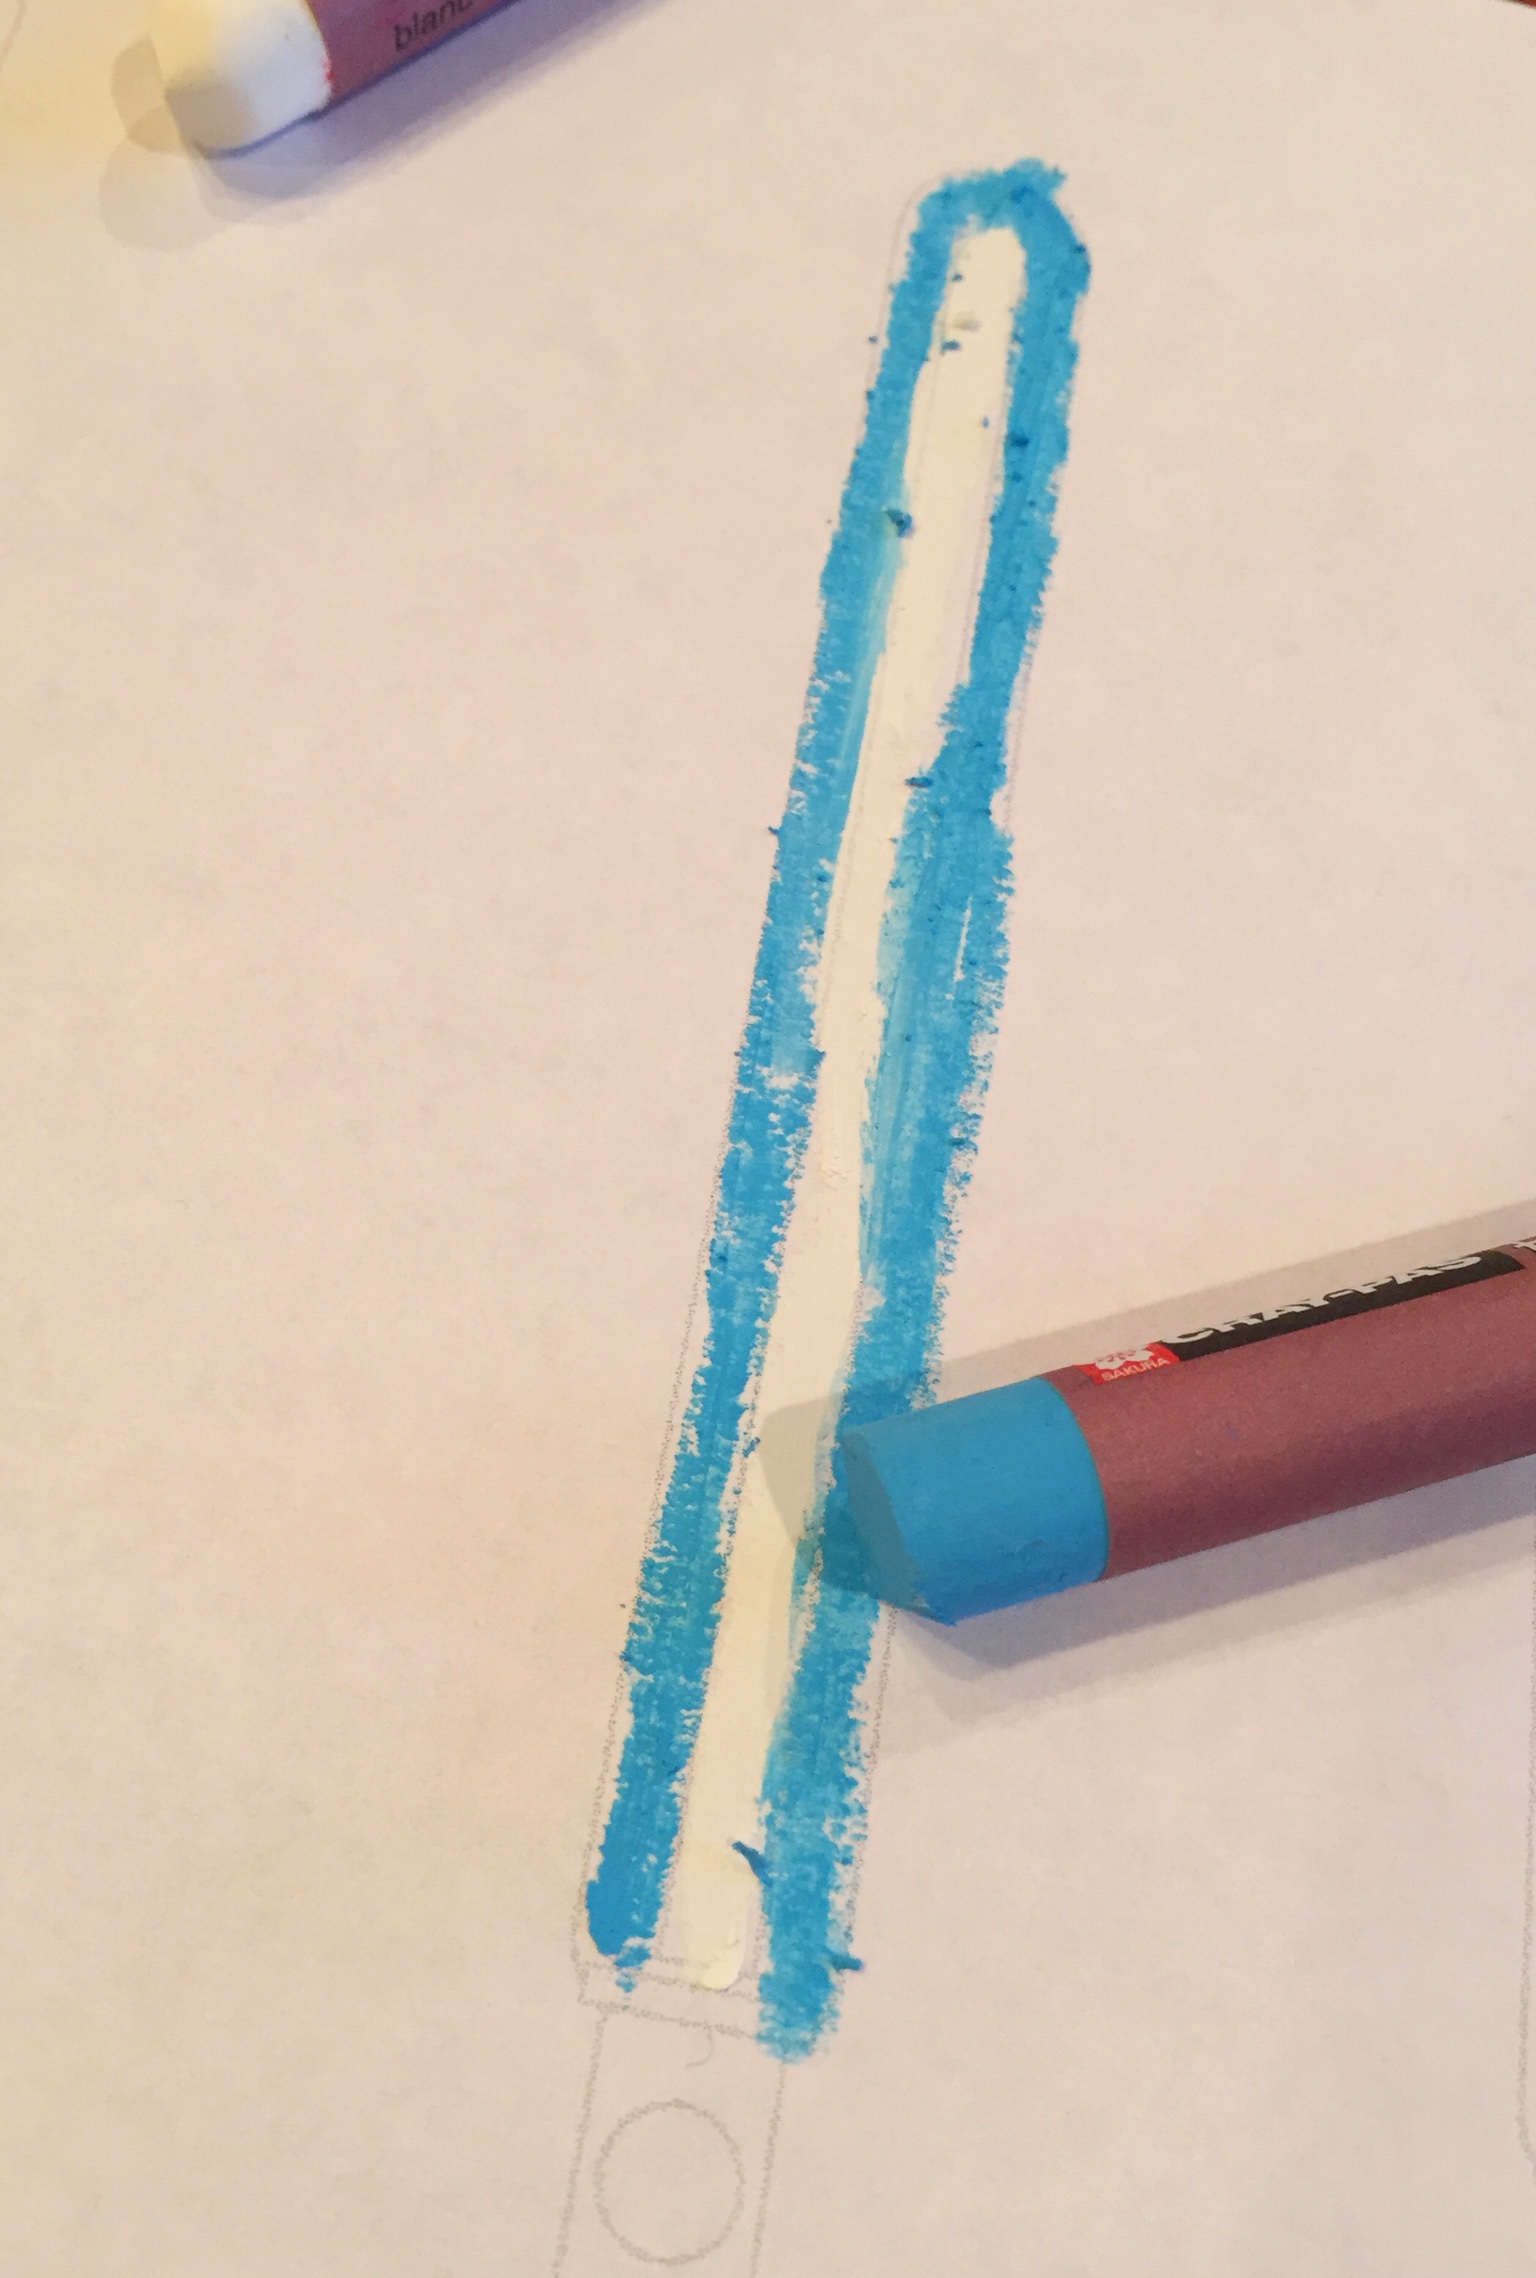
- Use the colored pastel to fill the outer area all around the edges, and surrounding the middle white part. Be careful not to get color on the white center.
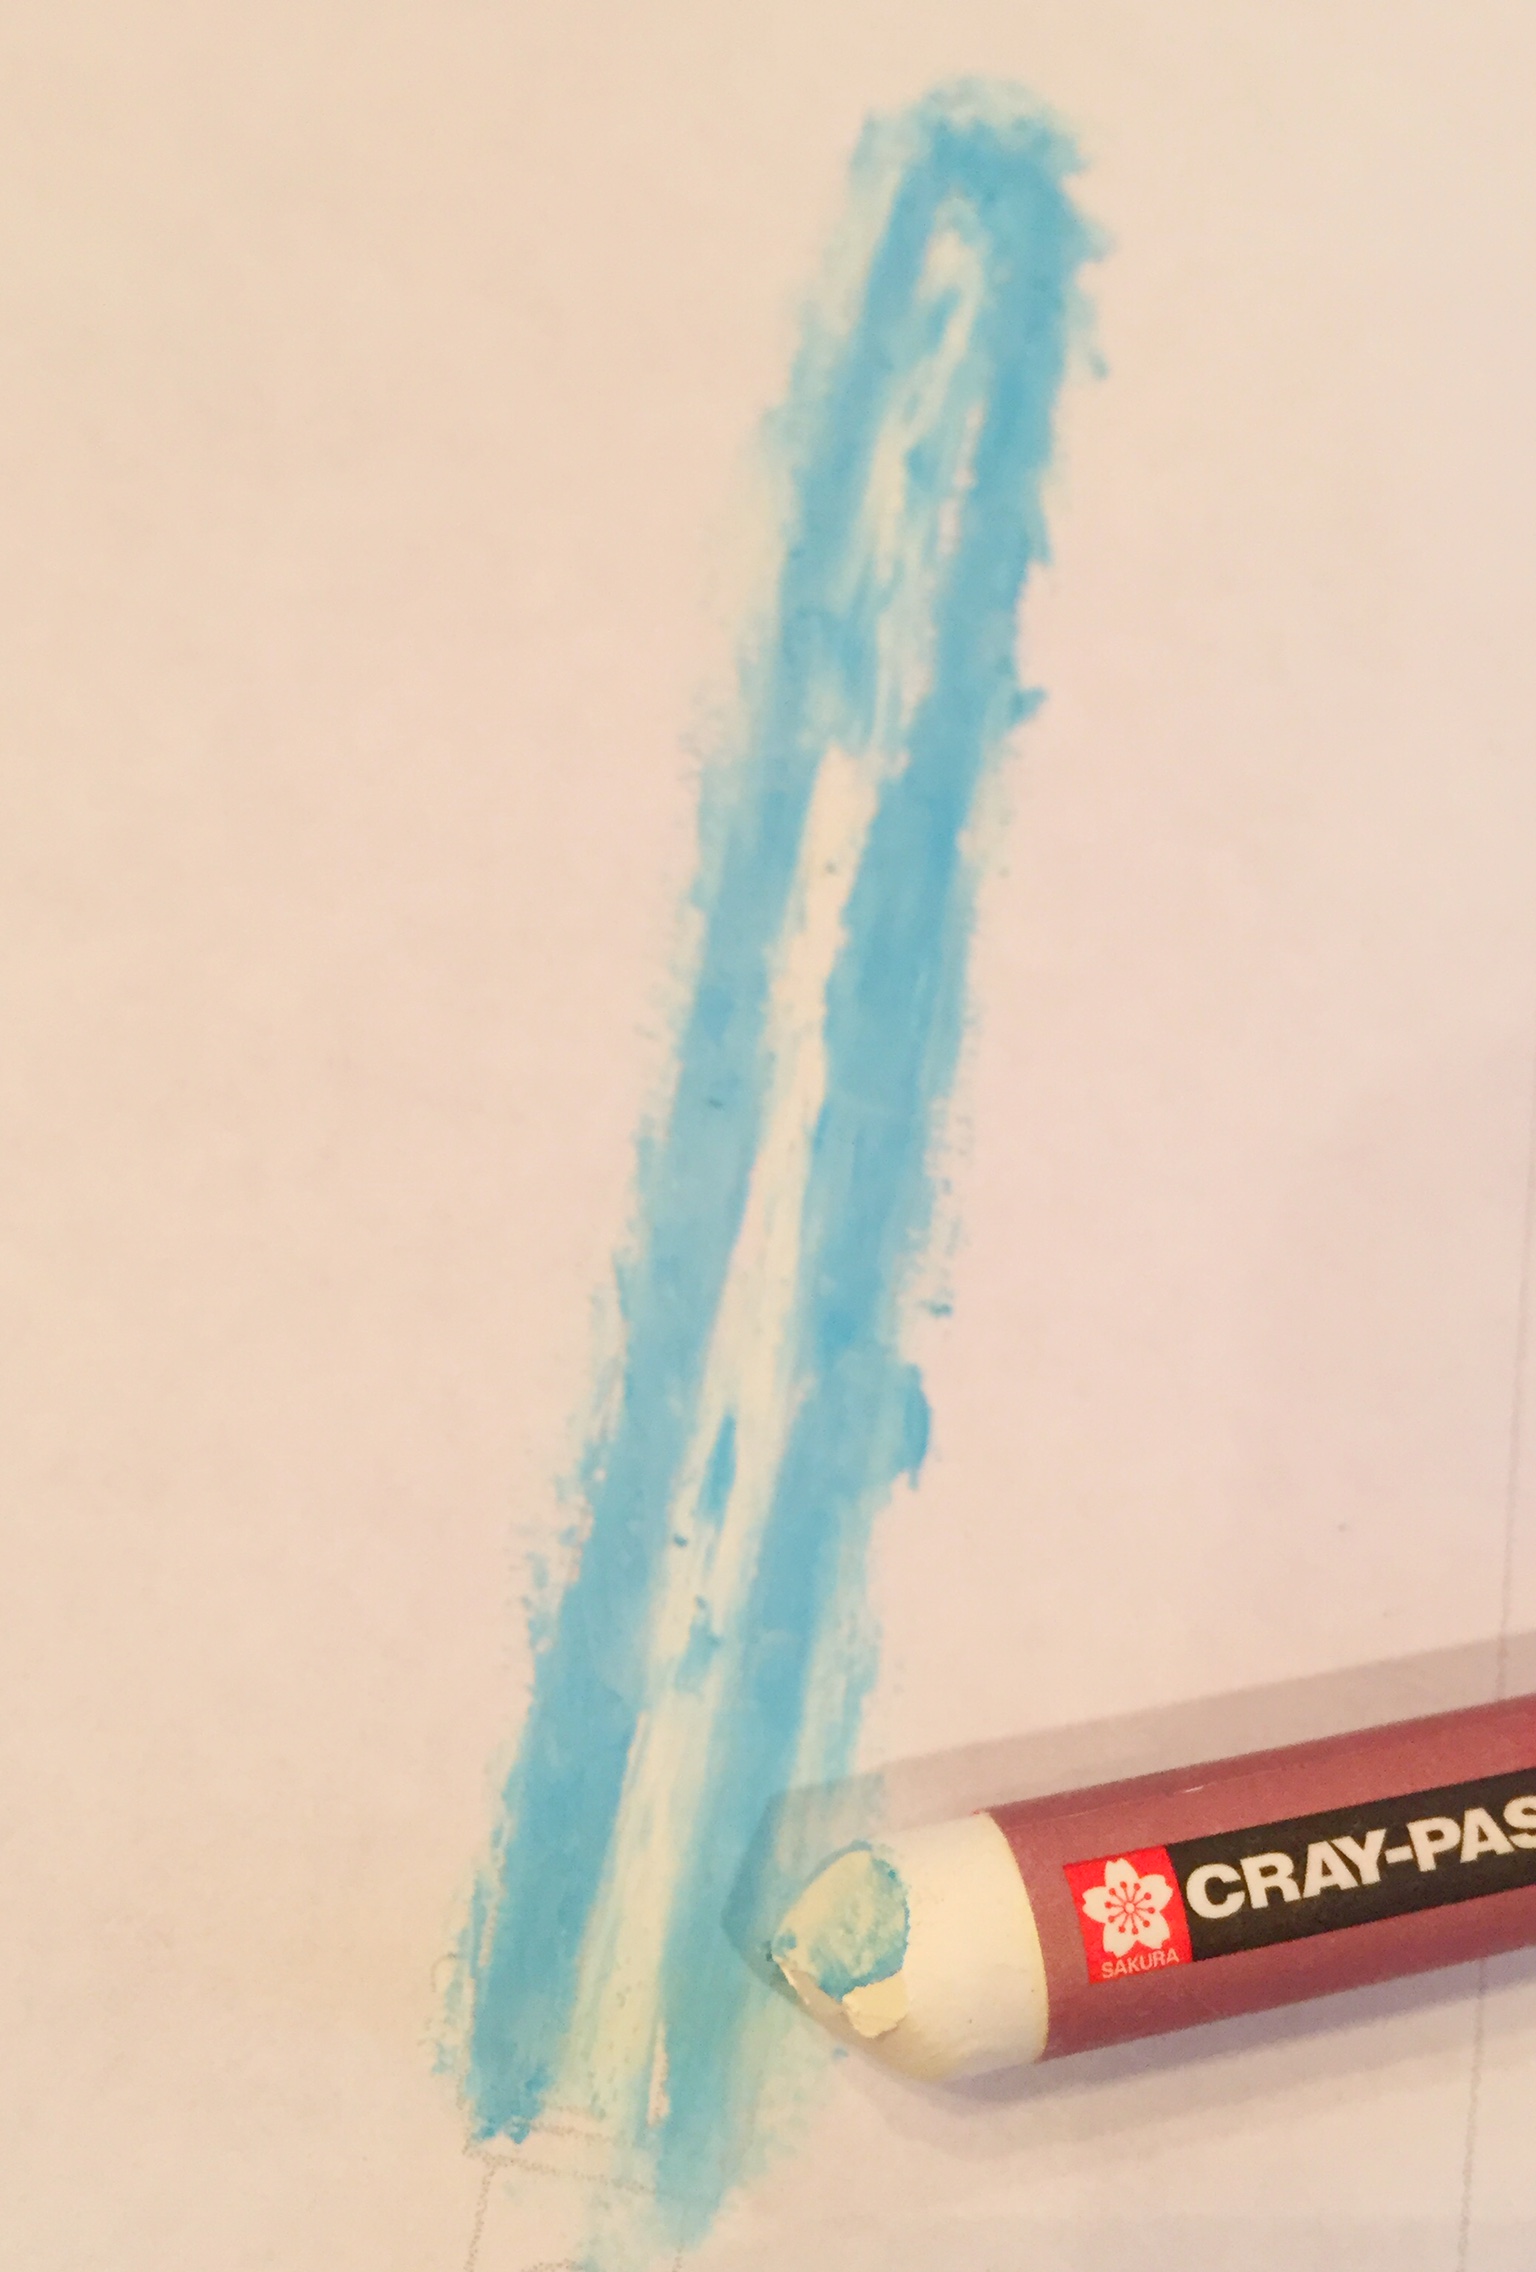
- Now use the white pastel to make it glow: go over the color part, blending the white gently into it.
- Small children will already have done this next part simply by being a little sloppy, but if you have older kids and they are being very neat: Let a little of the color and white get outside the edges and fade away so it glows. Just a tiny bit of glow looks best.
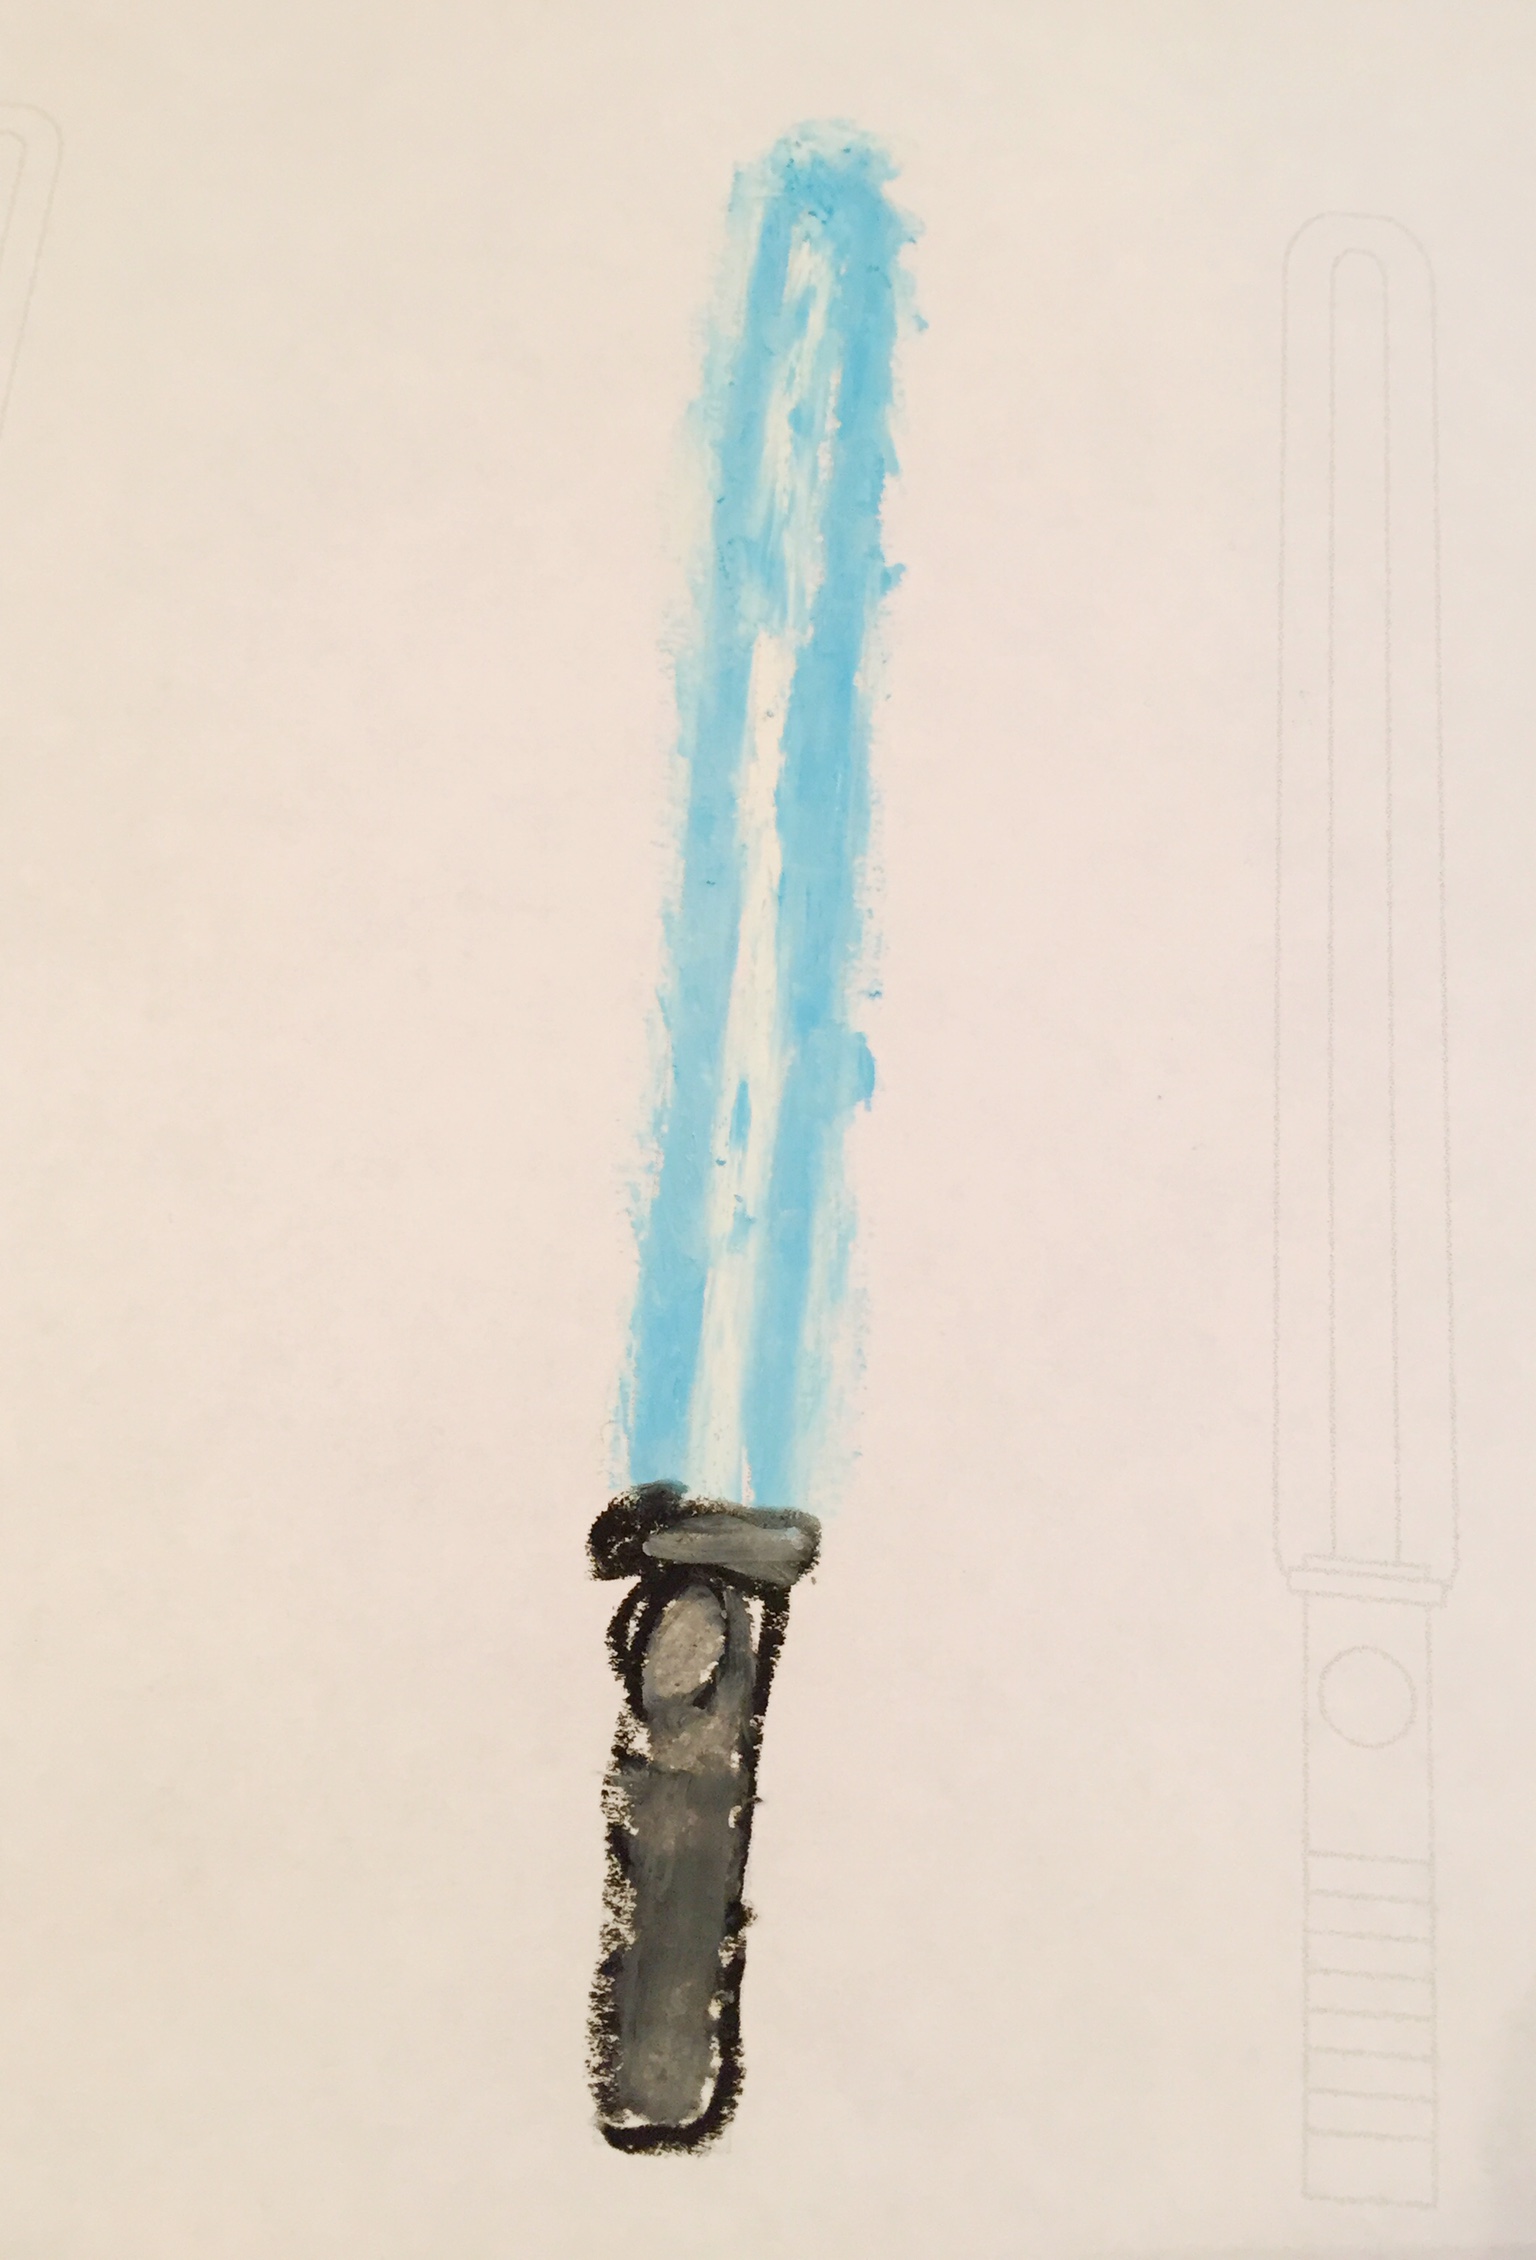
- Color the handle of the light saber any way you want, to finish the sword.
- Choose a warm color for another light saber. Follow the same steps in the same order.
1
fill the thin area that’s the center of the light sword “blade” with pure white oil pastel.
2
Fill the surrounding area with a bright color pastel.
3
Use the white oil pastel and go over all of the color, letting some of it get outside the outer edge, and also a little bit in the center white area too. Keep the center bright white though. Think about how lights glow as you work.
4
Draw a handle for your sword to finish.
Use this button to jump down to the preparation section.
LEARNING TARGETS
Students know how to rough cut an image from paper
M A T E R I A L S
- 8.5″ x 11″ cover stock paper
- 8.5″ x 11″ copy paper
- scissors
- glue sticks
- Pencils
3.1 cut
Help students cut their light swords apart.
Rough cut the light sabers as a rectangle for each, leaving room around the glowing “blade”.
Note that these are not strong enough for playing with, like a toy, so let’s not do that. Instead, we will have a color battle on the table in our next step.
3.2 Prep
Have students use copy paper and draw 4 circles that are the size of a ping pong ball or an orange (give or take – not too important). Have them be far apart on the paper. Write names on the paper.
Use this button to jump down to the preparation section.
LEARNING TARGETS
Students know what happens when hot and cold colors combine
M A T E R I A L S
- Oil Pastels – colors & white
- Blender sticks
4.1 blend
Help students blend oil pastels in a “battle”
Before the color mixing “battle”, give each student oil pastels to color and blend with.
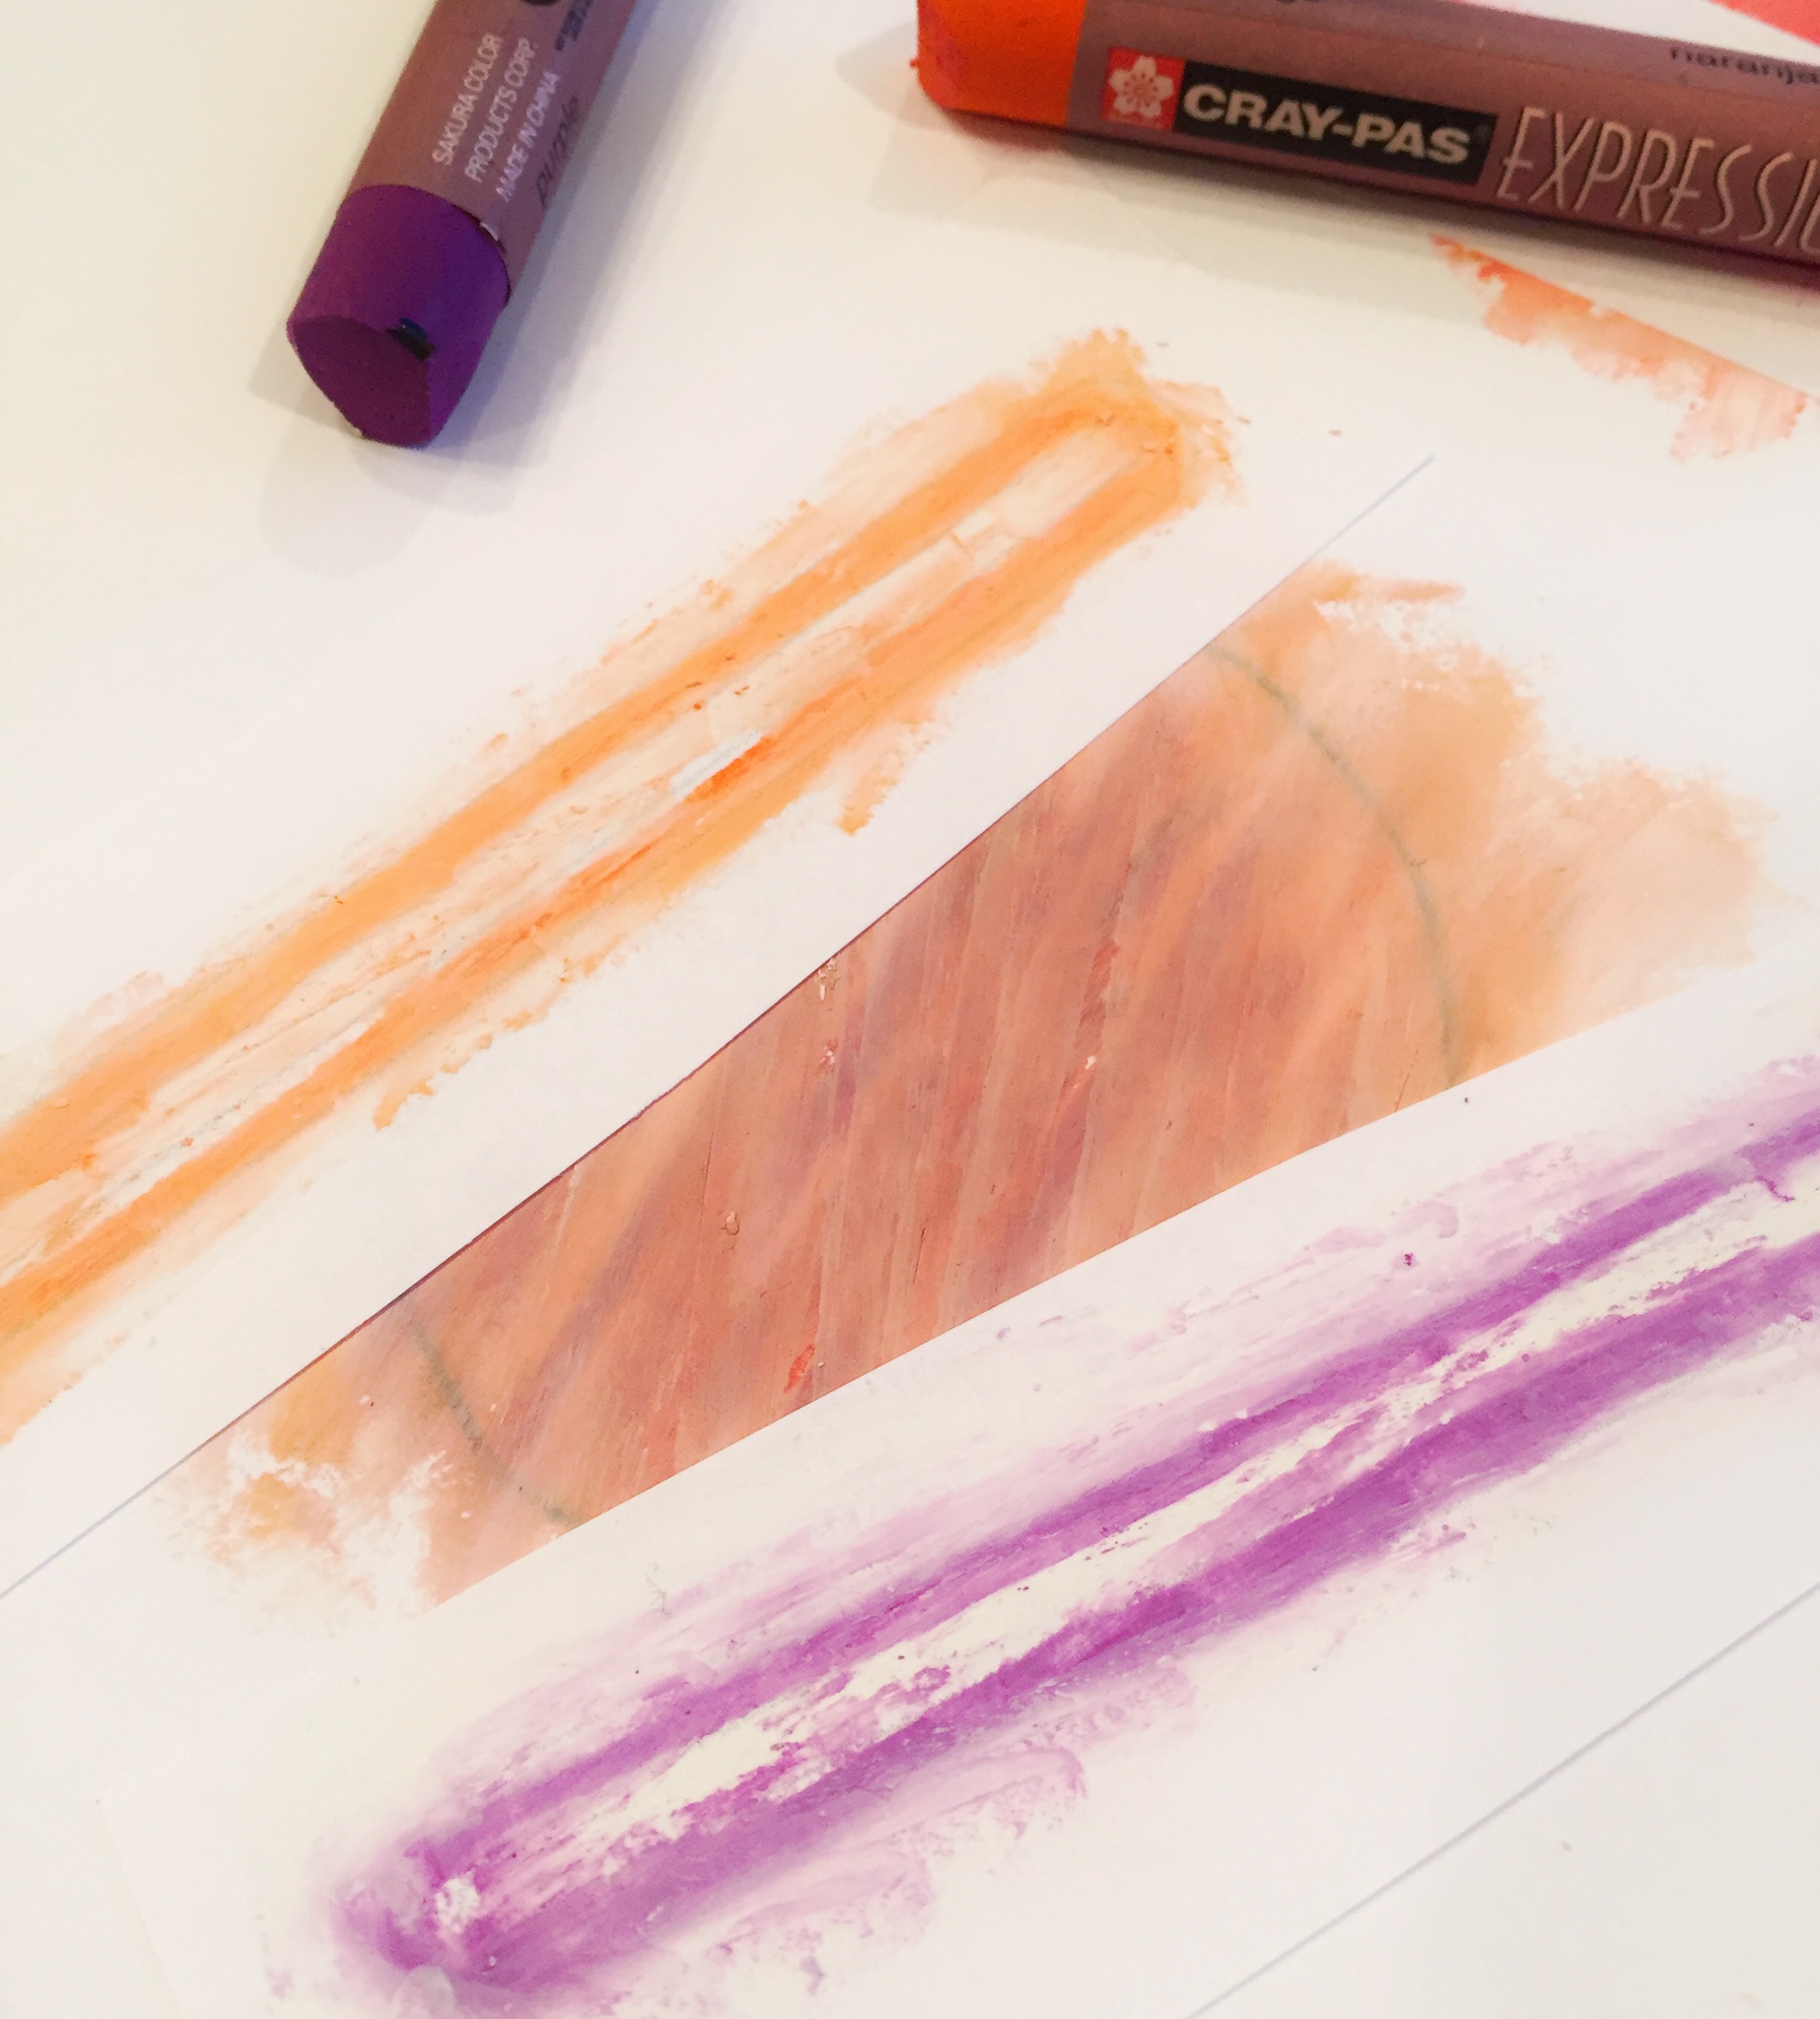
Take your light swords and lay them flat on the table. Zap! Kazzoot! Zat! In the movies they make noise, but our light sabers are going to make colors when they touch.
After blending two colors, use a white pastel to smear and mix the colors together.
- In one of the circles, use your pastels to make a color that you think the two light swords should make when they mix together. Use white to blend them.
- In the second circle, use the actual two pastels that you used to make the light swords and mix them together to make the color these two will really make. It might be different than you think but that’s ok. We are having fun and learning.
- Everyone should be paired with another art student to trade swords.
- Trade a light sword with your partner so that one of you has two cool colors, and the other has two warm colors.
- What color will be created if you mix these together? Use those 2 original pastels to mix and fill in your 3rd circle.
- Trade both of your swords with your partner so you have their colors and they have yours. Then use these 2 pastels to fill in your last circle.
Set your swords against the circles and see how they battle to create the new colors.
Use this button to jump down to the preparation section.
LEARNING TARGETS
Students know what happens when hot and cold colors combine
M A T E R I A L S
- Butcher paper
- Oil Pastels
- Pencil and eraser
You can continue to trade, mix, and blend light sword colors from the last step.
5.1 print
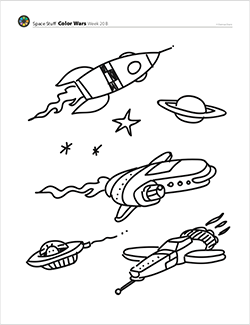
Reference
Space Stuff!
Print enough for each student to view one while they work.
1 Page – Opens in new window
5.2 Prep
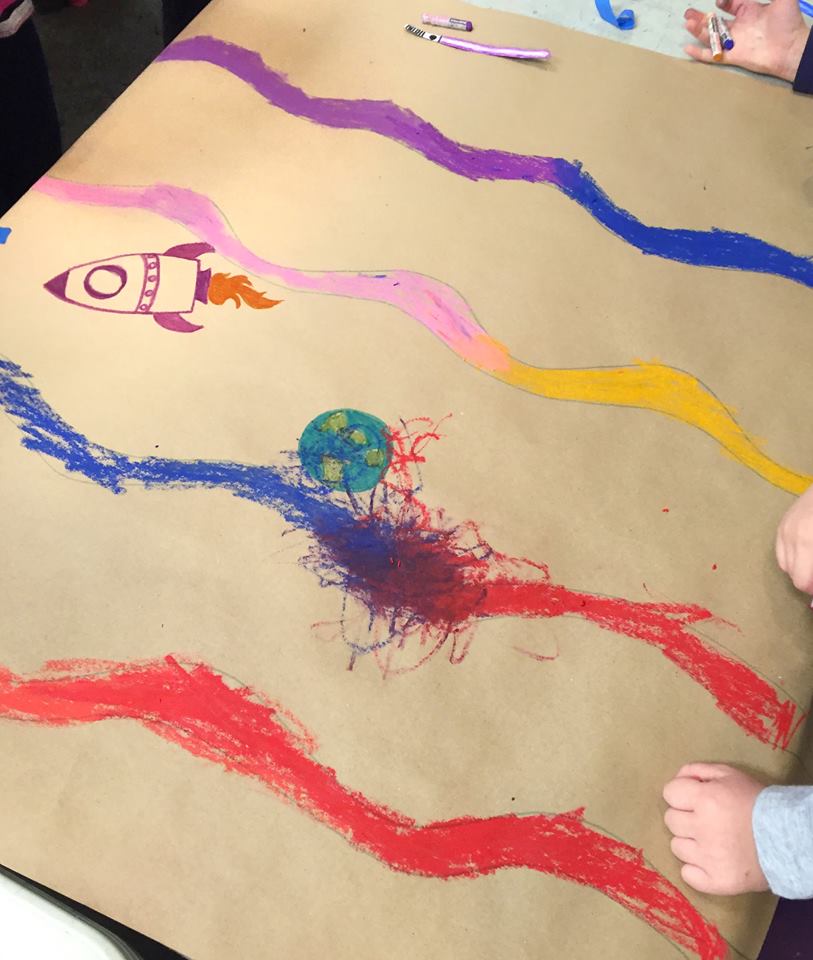
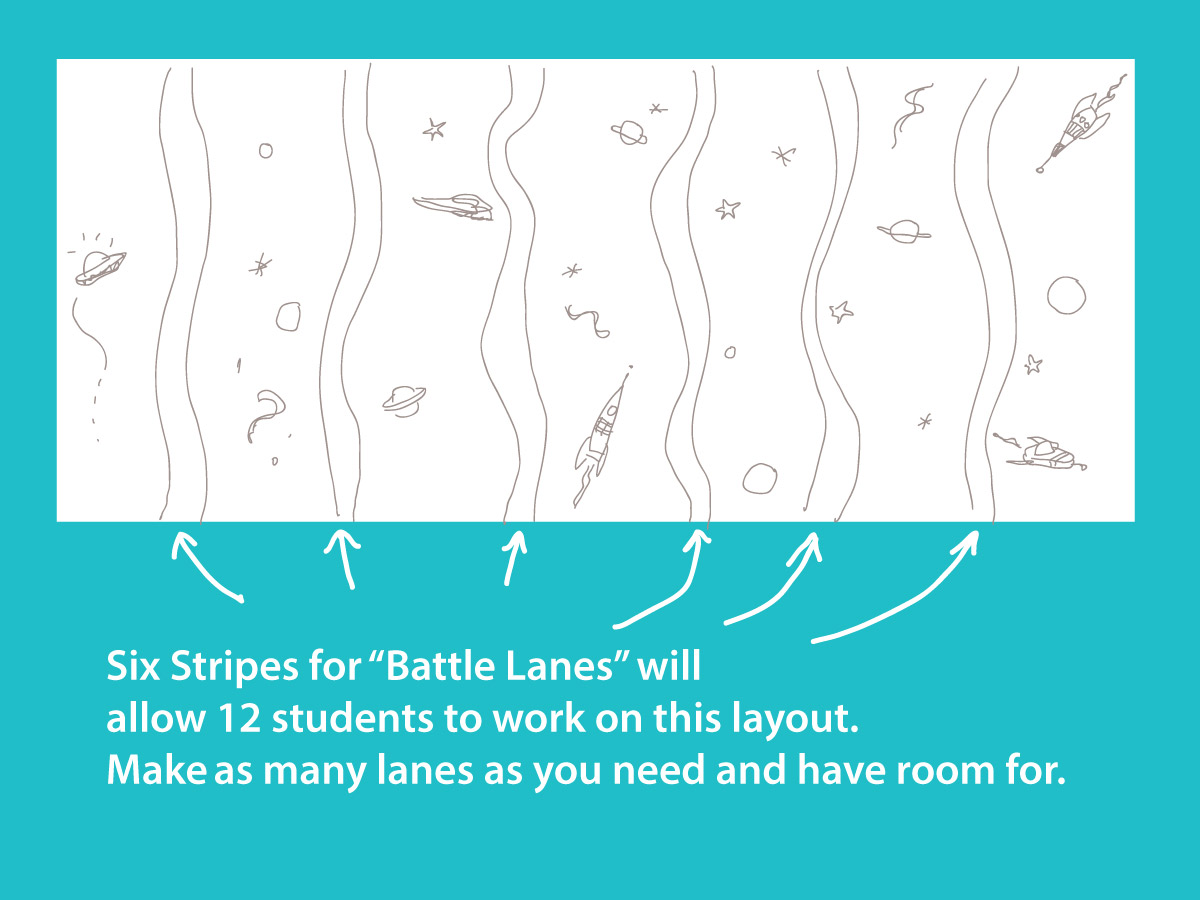
Cover a table with butcher roll paper and using a pencil, quickly divide into stripes that go across the paper sideways, from one side of the table to the other (not the ends). Make the stripes about 2 to 4 inches wide and have them wave back and forth just a bit but not too much.
Students can fill the areas in-between the battle stripes with space ships, planets, and stars after they finish the color battle.
Print the reference handout for ideas. Try to get some space movie music going!
If you can draw some space ships, stars, and planets before-hand on the butcher paper poster, this can be easier for the students because they’ll just color them in after the battle.
Divide kids into two groups – warm and cool colors. have each pick 3 alike pastels for their warm or cool colors. Make sure they’re quite close together on the color wheel. Pink and light yellow are too far apart, for instance. So are green and purple.
Put cool kids on one side of the table and warm on the other.
5.3 Game
Divide your kids into two groups – warm and cool colors. have each pick 2 alike pastels for their warm or for their cool colors. Make sure they’re very close together on the color wheel. Pink and light yellow are way too far apart, for instance. Green and purple are also too far apart.
Put cool kids on one side of the table and warm on the other.
If anyone finishes the battle area, they can begin to color and draw around the “space” areas outside the battles.
Sometimes it’s good to have neutral colors.”
5.4 Rules
Use the music to keep things from getting out of control. Stopping and freezing breaks the frenzy, and they think it’s fun. If anyone finishes the battle area, they can begin to color and draw around the “space” areas outside the battles.
You must stay in your stripe for the whole game. This is your battle area. This is a gentle battle though. Can you agree to that? This is a battle of color, not hands, and not the actual pastels. Please do not begin to play battle with your art materials or hands. Thank you!
Use your pastels to fill in your stripe, beginning at the edge and working towards the middle. You can make your color bold and strong, or do it light and sketchy. The colors you have can mix and blend all you want. You do need to fill the stripe up as best you can. Once you meet your opponent in the middle somewhere, you can do a little scribble battle, TAKING TURNS and being gentle with each other’s hands. NO hitting smashing or pushing each other’s pastels or hands. It’s the color that is battling.
If I have to make you stop, then you must quit immediately, and you won’t be able to do any more battling.”
Use this button to jump down to the preparation section.
LEARNING TARGETS
Students know the importance of cleaning up.
M A T E R I A L S
- Paper Towels
- Cleaning wipes
- Sink
- Waste baskets
- Well-lit spot for photos
- Camera or phone-camera
6.1 Clean
- Wash hands
- Super-wash brushes if used
- Put art supplies away
- Wipe tables & toss trash
- Remove any smocks (last)
- Check for items on floors and tables
6.2 photo
6.3 connect
OBJECTIVES
- Practice and improvement using and mixing oil pastels
- Understanding what colors do when mixed together
- Accomplishment from blending colors to create new ones
- Fulfillment by having a lot of fun
TROUBLESPOTS
Crossing over the line into playing – Keep your students in their artistic mode by reminding them often that the colors are what engage in battle, not hands or materials. Tell them that artists can play during playtime, but artists don’t play during art time or with art materials. It’s important to refer to your students as artists.
Cool & warm confusion – Young students often associate colors differently than we think they will. When they say a warm color is cool, use examples like a hot fireplace or stovetop, and cool green grass on your bare feet
ART WORDS
Neutral Colors – Colors that are not hot or cold. Like browns and grays. Sometimes people call them dull colors
Cool Colors – Purples, Blues and Greens.
Warm Colors – Reds, Pinks, Oranges, and Yellows.
CLASSROOM
PREP
Print all of your PDFs from the lesson plan and cut any references apart as needed.
What your room needs
Here are your printable lists and room prep instructions.
Opens in new window
CLASSROOM
MATERIALS
- Markers
- 8.5” x 11” Copy paper
- 8.5” x 11” Cover stock paper
- Pencil
- Eraser
- Oil Pastels
- 4B Pencil
- Scissors
- Glue stick
- Butcher paper
- Tape
PREVIEW
Week 19: Bird Day
Using some simple shapes and line, artists will draw and paint 2 projects with a bird as the subject. One is in oil pastels, and reviews some of the color lesson from this week, and the other is done with tempera paints. It also has a simple foil bird sculpture project at the end if there is time.
Week 20: Balance
Balance in real life is understandable, but what about visual balance? Students learn that people like to see things that look balanced so they don’t feel like they might fall over if they were real. Several exercises, a slideshow, and projects help with understanding and practicing using balance in artwork.