
OVERVIEW
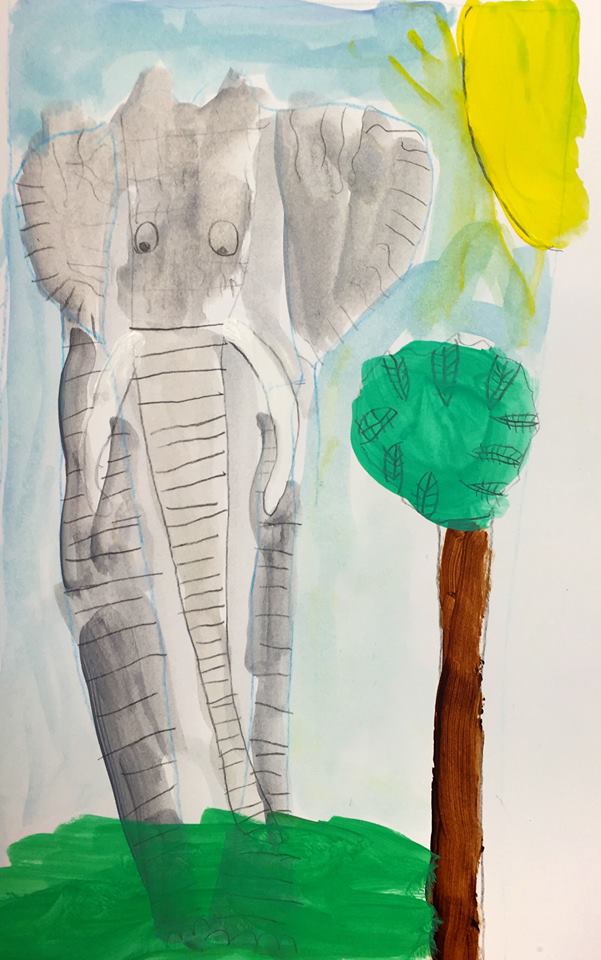
Everyone loves elephants! Artists learn how to draw a cartoon version, which also helps them learn how to simplify. Then they will have a chance to draw and paint more realistically, and in the process learn how to mix blacks and grays.– – –
Grades 1 – 2
Week of February 9 – 13
1 Hour & 30 Minutes
OVERVIEW
Everyone loves elephants! Artists learn how to draw a cartoon version, which also helps them learn how to simplify. Then they will have a chance to draw and paint more realistically, and in the process learn how to mix blacks and grays.– – –
Grades 1 – 2
Week of February 5 – 9
1 Hour & 30 Minutes
Lesson At A Glance
A brief overview of each step. Buttons jump to each section for detailed information.
10 Min – Video DEMO
10 Min – Video DEMO of cartoon elephant
5 Min – Set up for acrylic painting
10 Min – demo mixing
15 Min – Mix in white to make grey
5 Min – Clean paint, wash brushes
8 Min – Draw cartoon elephant
2 Min – Everyone helps
SCROLL & TEACH
LESSONPLAN
Each section is a different color. Read over once and then you can SCROLL & TEACH using any device you like. It’s designed to work best with your phone.
LEARNING TARGETS

Students learn to express themselves through creating from their imagination.
M A T E R I A L S
- 11″ x 17″ Copy Paper
- 4B pencil
- Eraser
- Markers and/or oil pastels
- Blenders (stumps)
- Paper Towels
1.1 greet
Kneel down so that you are on their level. Bending over emphasizes the differences in your height, while kneeling makes them feel more important.
1.2 create
Ask them to work with one piece of paper for a while. If someone uses the phrase, “free draw”, explain that artists’ choice is something only artists can do, while free-draw is something anyone can do. You want to use the phrase to elevate the students’ expectations of their work.
Everyone should take their time with the work and make a finished piece of art. Limiting the paper can also help kids focus on the work. If someone finishes in super-fast time, ask them what more they can do to the existing paper. Ask again several times – unless they appear overly frustrated; then you can allow them to move on to a new work.
LEARNING TARGETS
Students know how to draw from reference.
M A T E R I A L S
- iPad or Screen to watch demo
4.1 DEMO
Project the video onto a screen or through a computer to a larger tv monitor. Dim lights in your classroom to make it easier to see the screen. Be sure all your students can see and hear the video clearly.
Tap the 4 arrows icon to enlarge the video to full screen.
LEARNING TARGETS
Students know how to draw using a reference.
M A T E R I A L S
- 14″ x 17″ Sketch Paper
- Cover Stock Paper or watercolor paper
- Cheasels
- 2B Pencils
- Colored Pencil in a very light color if you can find enough of them.
- Black marker
- White Eraser
Alternatively, you can use light markers, like yellow or pink.
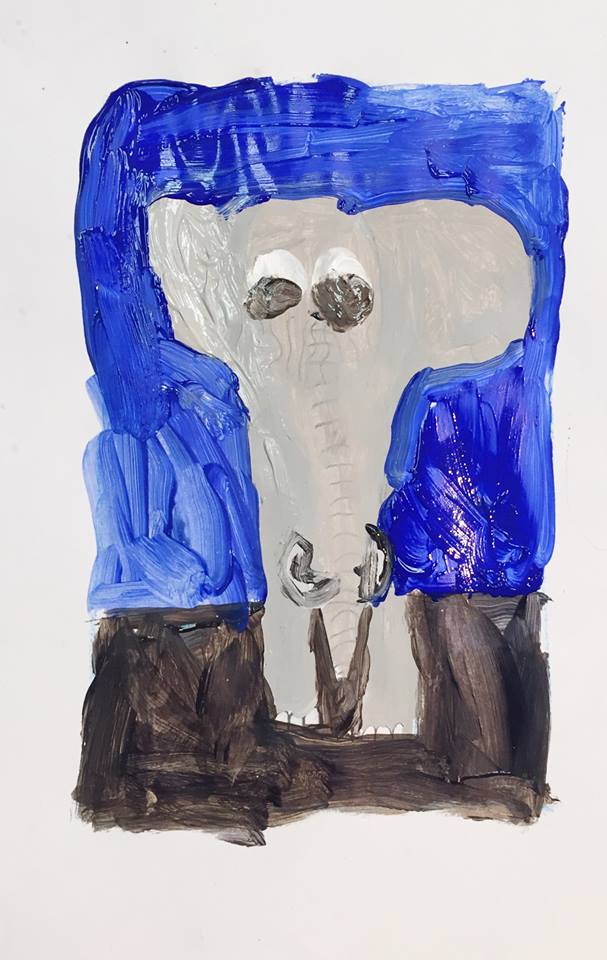
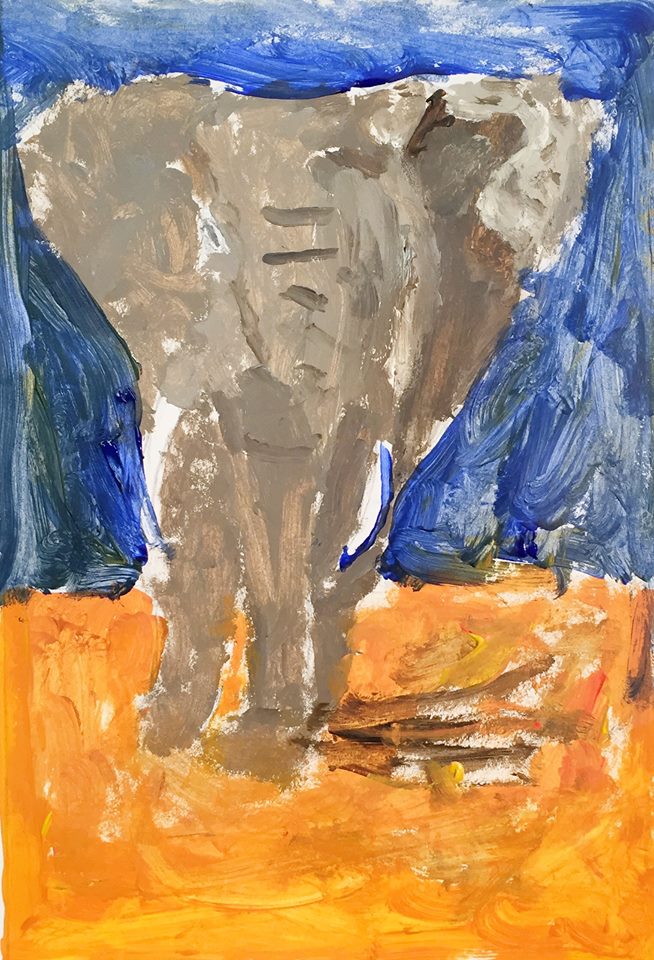
3.1 Print
Reference
Elephant Reference
Cut images apart and print enough for each student.

1 Page – Opens in new window
3.2 draw
Students will begin by writing their name on the back of their heavy cover stock or watercolor paper. Set up photo references of elephant on cheasels (stands).
- Draw the rectangle or Frame
- Underdrawing: Draw the big shapes in light, “tickle line” pencil, or use a light colored pencil or even a marker.
- Final drawing with details using a regular pencil or black marker
LEARNING TARGETS
Students know how to simplify shapes to create a cartoon
M A T E R I A L S
- iPad or Screen to watch demo
4.1 DEMO
Project the video onto a screen or through a computer to a larger tv monitor. Dim lights in your classroom to make it easier to see the screen. Be sure all your students can see and hear the video clearly.
Tap the 4 arrows icon to enlarge the video to full screen.
We are going to wait to do the cartoons so we can paint our realistic elephants first.”
LEARNING TARGETS
Students know how to set up their work area for painting with acrylics.
M A T E R I A L S
- Acrylic Paints (or other types of paint)
- Brushes large and small
- Mixing trays
- Water containers
- Paper towels
- Smocks
The paint colors you use can just be Ultramarine Blue, Burnt Umber, and White, if you want to keep everyone’s paintings monochromatic with only grays and blacks.
Brushes should be nylon for springiness and durability. Round brushes are the most versatile.
Paint pigment list:
- Napthol or Pyrrol Red
- Hansa or Light Yellow
- Pthalo Green (blue shade)
- Cyan or Cerulean Blue
- Ultramarine Blue
- Dioxazine Purple
- Magenta
- Burnt Umber
- Raw Sienna
- Titanium White (professional grade only)
5.1 Set Up
Acrylics are not washable! Smocks and rolled up sleeves are essential. Make sure that any jackets or sweaters are placed away from the art areas so they don’t get ruined.
You can use tempera or watercolors instead if you like, but learning how to do this with acrylics is very helpful as students are reaching 3rd grade level and higher.
LEARNING TARGETS
Students know how to mix black paint
M A T E R I A L S
- Acrylic Paints
- Brushes – small
- Mixing trays
- Water containers
- Paper towels
- Smocks
6.1 mix
Black and gray colors are much more fun, vibrant, and mixable if created by using Perfect Pigment Opposites instead of a black pigment. Ultramarine blue and burnt umber are perfect pigment opposites!
Each student will need a “blob” of burnt umber and ultramarine blue acrylic paint. Put a small amount of each color on the getting trays.
Using acrylic paints, have students use about 1 part burnt umber to 1 and 1/2 or 2 parts ultramarine blue (test your paints before-hand so you know a good ratio for black). The blobs should be large enough to fill the brush and still have enough left to see and use the black paint for both outlines and to mix gray for the body (all together the two colors should equal the size of a couple of hershey’s kiss chocolates). You should squeeze the paint out for them onto their mixing tray. Explain that they don’t have to practice mix themselves, because you already know the formula for black and can do it for them. Have them look at the amounts before picking up a brush, and note that it is dark brown and dark blue. Then they use their SMALL brush to mix these together to see it change to black. It’s like art magic!
Take a pencil or a palette knife and go around “drawing” a line down the middle of their black paint to divide it into 2 parts.
LEARNING TARGETS
Students know how to paint using a reference
M A T E R I A L S
- Acrylic Paints
- Brushes large and small
- Mixing trays
- Water containers
- Paper towels
- Smocks
7.1 paint
Mix more colors first. Give students white paint on their getting tray and have them add to ONE SIDE of the black to make some shades of grays. Keep the other half of the black clean and do not mix any white paint into it (if they accidentally do, just make some more black for them).
Fill in the elephant with light and dark gray colors. Encourage dipping their brushes into the water just a bit, (not cleaning the brush out). This will add water to the paint and make the paint flow easily, and cover more paper using less paint. Thick or thin paint is fine. Let them enjoy whatever they get going with.
Then use the black paint & small brush to paint outlines of the elephant and any details like wrinkles.
LEARNING TARGETS
Students know the importance of cleaning up.
M A T E R I A L S
- Paper Towels
- Cleaning wipes
- Sink
- Waste baskets
8.1 clean
- Wash hands
- Super-wash brushes
- Put paint away
- Wipe tables & toss trash
LEARNING TARGETS
Students know how to draw a cartoon elephant
M A T E R I A L S
- 11″ x 17″ Copy Paper
- 2B Pencil
- White Eraser
- Markers
- Oil Pastels
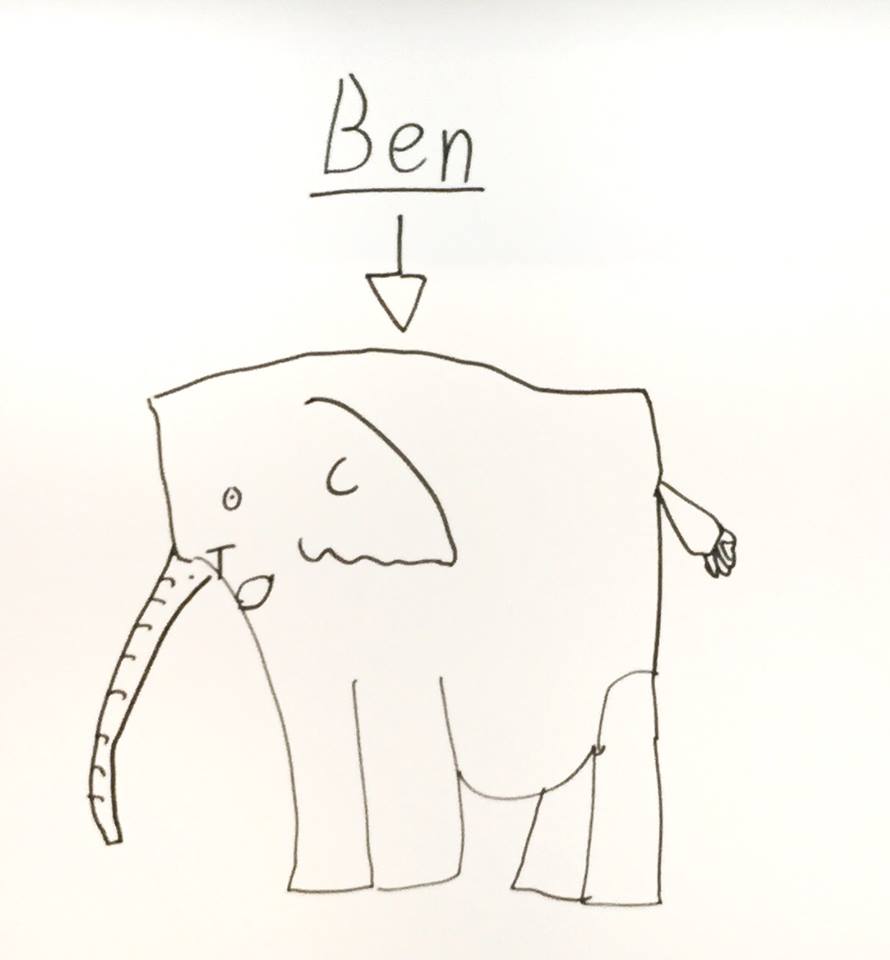
9.1 Print
Reference
Cartoon Elephant
Print enough for each student
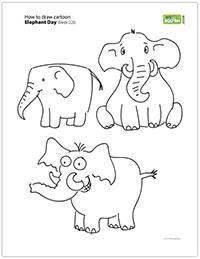
1 Page – Opens in new window
9.2 draw
Shade wih gray, or If there is still time left over, they can color in the elephant and background with markers or oil pastels.
LEARNING TARGETS
Students know the importance of cleaning up.
M A T E R I A L S
- Paper Towels
- Cleaning wipes
- Sink
- Waste baskets
- Well-lit spot for photos
- Camera or phone-camera
10.1 clean
- Wash hands
- Put art supplies away
- Wipe tables & toss trash
- Remove any smocks (last)
- Check for items on floors and tables
10.2 photo
Find a good spot for quick lighting without highlights or shadows from your hands and device. Ideally in-between two strong lights on each side.
OBJECTIVES
- Practice and improvement drawing accurately
- Understanding how to mix black
- Accomplishment in finishing an elephant painting
- Fulfillment by creating a cartoon
TROUBLESPOTS
Drawing frames – Even older students have difficulties in taking the time to draw a geometric shape. Most circles become squashed blobs, and rectangles become… squashed blobs. See if you can slow them down before they do this part that is in step 3. If you know you have some impatient kids, you might want to demonstrate making a rectangular FRAME before they do it.
Dark guide lines – Don’t sweat it. This age group cannot really make light lines. Our purpose is to get them to identify that there are such things. If you can, get a bunch of very light gray colored pencils and have kids use these just for making guidelines.
ART WORDS
Cheasel – An inexpensive cardboard stand that we use with a clip to hold reference photos. You can also get paper copy holders at office stores.
Guide lines – Artists do better work when they do a guide line drawing underneath the real drawing. It should be lighter so that it doesn’t get in the way, but it helps you know where to draw things.
CLASSROOM
PREP
Print all of your PDFs from the lesson plan and cut any references apart as needed.
What your room needs
Here are your printable lists and room prep instructions.
Opens in new window
CLASSROOM
MATERIALS
- 11″ x 17″ Copy Paper
- 4B Pencil
- Eraser
- Markers
- Oil Pastels
- Blenders
- Paper towels
- Colored pencils
- Acrylic paints
- Brushes
- Mixing trays
- Water containers
- Smocks
PREVIEW
Week 24: Printmaking
Please purchase some water-based printing ink. Here’s a link for Speedball inks.
Students watch a quick demo of printmaking and then move on to creating their own prints using foam packaging for the printing plates.
Week 25: Snakes & Sculpture
Students will have fun making bouncy spiral snakes with their own designs by drawing on our spiral printed pdf snake templates. Then everyone is introduced to clay with playdough for a warmup, before moving into an air-dry clay project of an animal that they’ll be able to take home next week.