
OVERVIEW
Students have fun with a playful subject, underscoring the idea that “the joy of an artist will be evident in their finished art”. The concept of Air Shapes is revisited. Students learn to draw on “both sides of the line“, and draw the air inside a vase handle. Oil pastels are used to finish in color, and there is a dance break too!– – –
Grades K – 2
Week of September 16 – 20
1 Hour & 30 Minutes

Lesson At A Glance
A brief overview of each step. Buttons jump to each section for detailed information.
12 Min – Play shapes game
12 Min – paint lines for chicken art over pencil. Sign name.
4 Min – use hamster dance, or chicken dance tune
5 Min – use fingers in the air to pretend draw.
15 Min – vases and flowers on table.
15 Min – Color chicken line art or Flower & vase drawing.
5 Min – Everyone helps
5 Min – Chicken house ideas (for early finishers)
SCROLL & TEACH
LESSONPLAN
Each section is a different color. Read over once and then you can SCROLL & TEACH using any device you like. It’s designed to work best with your phone.
LEARNING TARGETS

Students know how to use their imagination to make art
M A T E R I A L S
- 11″ x 17″ Copy Paper
- 4B Pencil
- White Eraser
- Markers
- Oil Pastels
1.1 draw
Warmup is only 5 minutes today. Help kids move on by explaining that we have a game next and a fun dance later on. Mention the balloon and fence from the past 2 weeks, and also the idea of drawing air.
Artists’ Choice
Encourage students to work with one piece of paper for a while. If someone uses the phrase, “free draw”, explain that artists’ choice is something only artists can do, while free-draw is something anyone can do. You want to use the phrase to elevate the students’ expectations and self-worth.
Students should take their time with the work and make a finished piece of art. Limiting the paper can also help kids focus on the work. If someone finishes in super-fast time, ask them what more they can do to the existing work. Ask again several times – unless they appear overly frustrated; then you can allow them to move on to a new work.
LEARNING TARGETS
Students know how to identify big shapes
M A T E R I A L S
- Black Marker
- Oil Pastels
2.1 Print
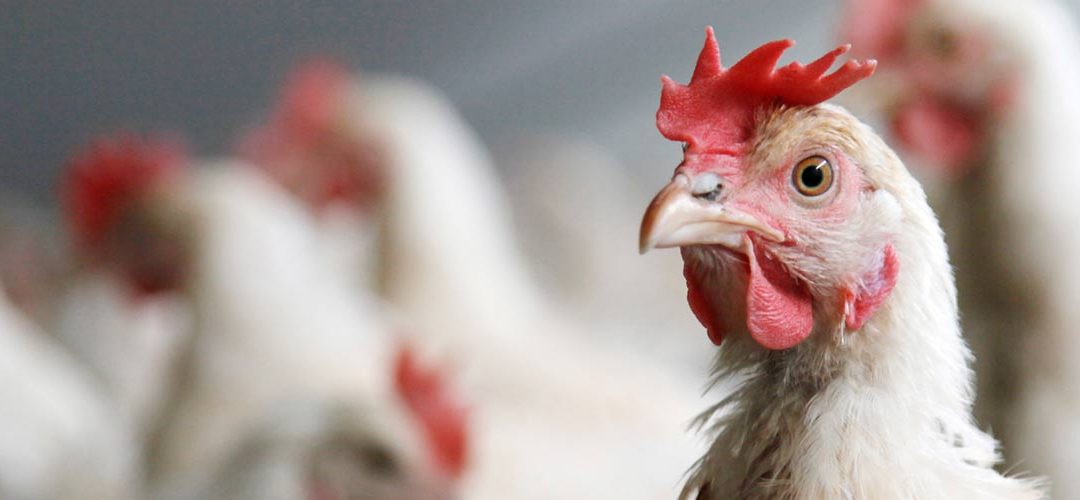
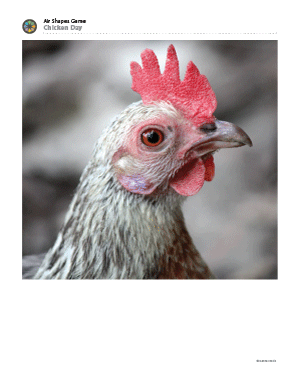
GAME
Find The Shapes
The first page is the chicken photo, and the second page has 4 air shapes that fit around the chicken’s head.
Three ways to play:
- Visually match and draw – most challenging
- Trace and slide around
- Cut the colored shapes out ahead of time, and let the kids fit like a puzzle. This is really easy though, and only for very young children.
2 Pages – Opens in new window
2.2 play
Make sure to have and extra printout of the pdf. It’s a great idea to cut out at least the bird shape so you can use it to show students how it fits into the space behind the chicken’s head.
Have students choose shapes one at a time, and then find where they are in the air around the chicken head. The edges of the funny colored shapes will match the edges of the chicken like pieces of a puzzle. They can draw the familiar cartoonish shape into the air around the Chicken using their markers or oil pastels. Finish by drawing the rest of the chicken head itself.
Draw the chicken shape too, and then you will be drawing on both sides of the lines. The shapes in any artwork all fit together like a puzzle, just like these shapes do.”
LEARNING TARGETS
Students know how to make an outline
M A T E R I A L S
- 14″ x 17″ Sketch Paper
- 2B Pencil
- White Eraser
3.1 Print
Reference
Chicken Line Art
Cut images apart and print enough for each student to choose from several.
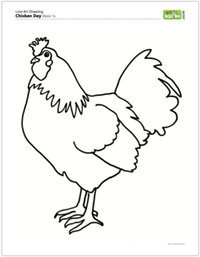
1 Page – Opens in new window
3.2 draw
Every student should have a pencil & eraser, and a sheet of 14″ x 17″ sketch paper. Have students use their paper and slide it around on top of their marker line art to decide where they want their chicken to be. Once they do, stick a couple of bits of tape on it to hold it in place while they trace it with their pencil.
Next, students should draw the chicken in pencil and add some fun backgrounds or scenery. Anything is good, as long as it’s simple enough to paint with a brush.
While they’re doing this, set out black paint, small brushes, paper towels, smocks, and water tubs for the next step. Early finishers can help and put on their smocks.
When we draw this, we’ll use a pencil at first, but that’s just to get ready. We’re going to use a brush and black paint.”
LEARNING TARGETS
Students know how to make a lineart painting
M A T E R I A L S
- Pencil Chicken drawing from the last step
- Black Paint
- Small Brushes
- Smocks
- Paper towels
- Cheasels
- Tray or bowl to hold black paint
4.1 paint
Kids should “draw” over their pencil lines using a brush and black paint. Don’t bend the brush; just use the tip of the bristles instead of pressing down, and dip often for more paint.
LEARNING TARGETS
Students know that having fun is good for creativity
M A T E R I A L S
- iPad or Computer to play music
5.1 dance
LEARNING TARGETS
Students know how to use their imagination
M A T E R I A L S
- Pencil
6.1 learn
Then have the kids draw in the air just using their finger at first.
Draw a flower, and then a smiley face. This is using imagination to draw. Now pick up a pencil and pretend to draw in the air again. Try drawing a spiral shape.
LEARNING TARGETS
Students know how to draw a still life object
M A T E R I A L S
- 8.5″ x 11″ Copy Paper
- 2B Pencil
- White Eraser
- Real or Fake Flowers
- Vase or Mug with a handle and an air shape inside
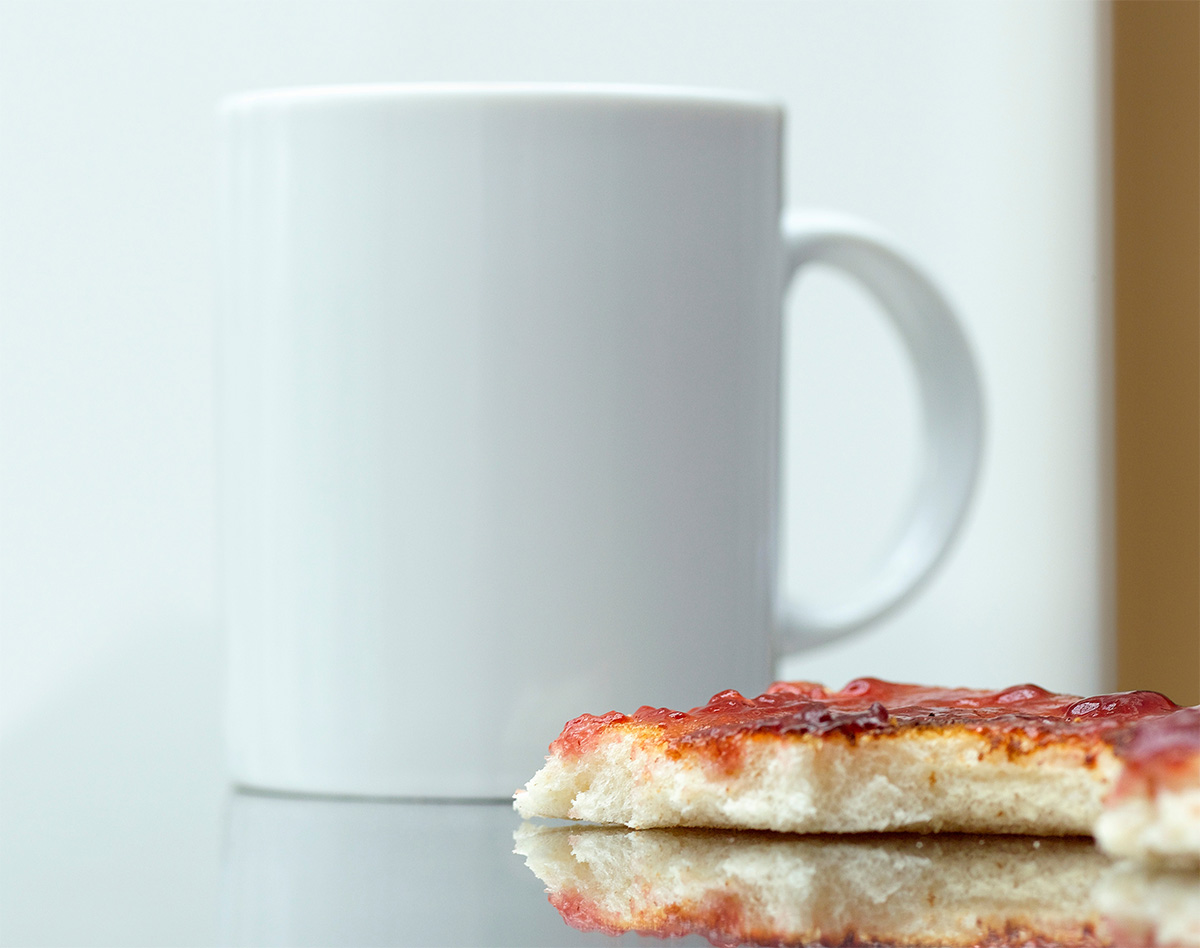
7.1 draw
Have several simple objects, like one flower in a vase or a couple of coffee mugs, that have handles on them. It’s very important that everyone can see a hole in a handle for this step.
Explain how you can close or cover one eye to view one of the objects, and see the shapes easier with one eye.
Make sure they write their names in the corner and then try to draw the shapes they see, making sure everyone identifies the air shape inside the handle.
Now look at the hole in the handle. That’s an air shape! Trace that air shape with your finger.
Ok, everyone pick up your pencil, and draw the flower shape, the vase or mug shape, and also the air shape inside the handle. Take your time and have some fun drawing this still life in front of you using lines.”
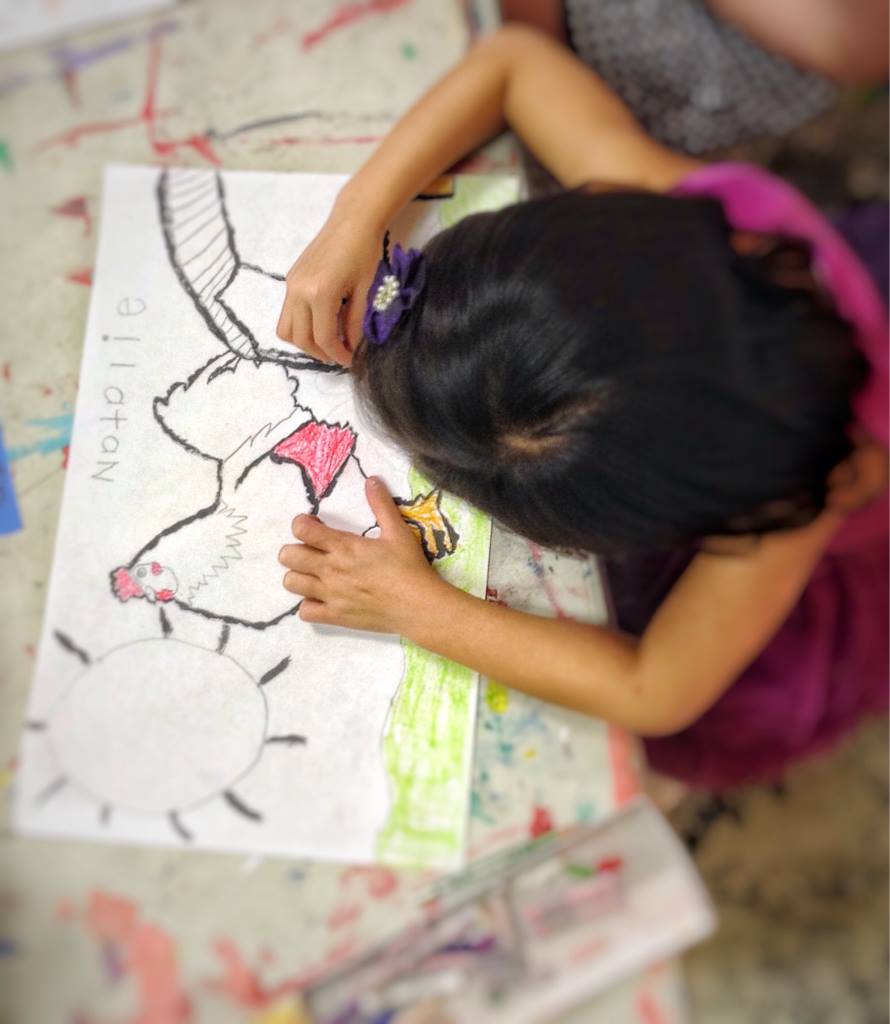
STEP 8. Colors With Pastels
Students will color in their chicken or flower still life with oil pastels 15MinutesLEARNING TARGETS
Students know how to color in a sketch or lineart
M A T E R I A L S
- Oil Pastels
- Blender sticks
- Paper towels
8.1 color
Use oil pastels with blenders or paper towels, and have students color their artwork in either realistic colors or in crazy colors and designs, like pink polka dots and stripes. Encourage mixing colors and blending them together for a smeary effect. If you have blender sticks (paper stumps), you can mix the colors with them and also with paper towels. Blend gently, or all the pastel will come off the paper.
Early finishers can start coloring in the other artwork, or adding background colors to the one they’ve been working on. Have students sign their work and set aside to take home.
LEARNING TARGETS
Students know the importance of cleaning up.
M A T E R I A L S
- Paper Towels
- Cleaning wipes
- Sink
- Waste baskets
- Well-lit spot for photos
- Camera or phone-camera
9.1 CLEAN
- Wash hands
- Super-wash brushes if used
- Put art supplies away
- Wipe tables & toss trash
- Remove any smocks (last)
- Check for items on floors and tables
LEARNING TARGETS
Students know how to use their imagination when drawing
M A T E R I A L S
- 11″ x 17″ Sketch Paper
- 2B Pencil
- White Eraser
10.1 draw
Have students draw a house that they think a chicken would like! Start with the interior and if there’s time, draw the outside of the house. Remind them to put names on their work.
OBJECTIVES
- Practice and improvement in handling & controlling materials
- Understanding that spaces between and inside objects are important shapes
- Accomplishment in creating accurate & interesting artwork
- Fulfillment by enjoying the creative process and encouragement
TROUBLESPOTS
Drawing the air shapes on the chicken – Some kids will not get the air shape idea, so be ready to spot them before they go too far. See the Preparation section for instructions on cutting out some of the colored air shapes from an extra copy of the Chicken Air Shapes PDF. Use these to show students how these are silly shapes that we can see in the shapes around other objects. It’s kind of like trying to see familiar shapes in clouds.
ART WORDS
Guide lines – The lines we draw in pencil that help us know where to paint. These lines are not the actual art. They just help us make the art.
Air Shapes – A concrete way to describe negative spaces, or the shapes that you can see in-between and around objects.
CLASSROOM
PREP
Print all of your PDFs from the lesson plan and cut any references apart as needed.
What your room needs
Here are your printable lists and room prep instructions.
Opens in new window
CLASSROOM
MATERIALS
- 11×17” Copy Paper
- 14” x 17” Sketch Paper
- 8.5 x 11” Copy paper
- 4B pencils
- Erasers
- Markers
- Oil pastels
- Blender sticks (stumps)
- Clipboards
- Paper towels
- Black Markers
- Black paint
- Small brushes
- Smocks
- Cheasels
- Tray or bowl to hold black paint
- iPad or computer to play music
- Real or fake flowers
- Vase or mug with a handle
PREVIEW
Week 6: Cut Flowers
Students use drawing skills to create a large vase and flower collage with mixed media: Oil pastels, kraft paper, cutting, and gluing. They work on composition as they apply the shapes they’ve drawn and cut.
Week 7: Artists’ Choice Day
Students have a day full of fun and choosing their own subject matter. This encourages artists, who often say they don’t get to do what they want to. There are also 2 stations for learning-art activities.
Use this button to view our parent’s blog. Share the link: http://parentart.org, with your student’s parents so your they can read about the lesson each week.