

Painting
Each lesson Plan focuses primarily on one of the 4 Cornerstones of Art:
Drawing | Painting | Color | Style
OVERVIEW
Artists will continue to work on their portraits from last week. The focus should be on the technique, but also to re-work areas that are not looking the way they want them to. Early finishers have Artists’ Choice.– – –
Grades 6 – 12
Week of March 31 – April 4
1 Hour & 45 Minutes
Student Work


Lesson At A Glance
Here’s a brief overview of the complete lesson. It’s also on your prep page in the Ready, Set, Go! section (below the lesson).
Colored buttons jump to each section in the full lesson plan below.
10 Minutes – Artists’ choice from reference
5 min – Setup for acrylic painting
10 min – Slideshow
27 min – Continue with portrait
40 min – Finish portrait
10 min – Use leftover paints or dry medium
2 min – Everyone helps
Use this button to jump down to the preparation section.
SCROLL & TEACH
LESSONPLAN
Each section is a different color. Read over once and then you can SCROLL & TEACH using any device you like. It’s designed to work well with your phone.
LEARNING TARGETS

Students know how to warmup before drawing or painting
M A T E R I A L S
- 14″ x 17″ sketch pad
- 4B pencil
- White and kneaded erasers
- Cheasel reference stand & clip
All materials are suggestions and may be modified as you see fit. We have tried many items, and these seem to allow the most versatility for the cost.
1.1 sketch
Students should look around and quickly settle on something to sketch from life or photo reference.
If anyone wants to skip this step and rush into their painting, that’s ok, but taking even a couple of minutes for a quick life sketch is a great way to start. It builds confidence and promotes the discipline of life sketching, which is essential for artists.
Advanced Student Lesson
CREATIONS - tap here to open
Our Creations lessons are for students who have completed the two years of Foundations and are ready to begin using all that they have learned to create new work. These more challenging versions of the same concepts and techniques are easily taught along-side students in the Foundations course. This allows for excellent review, and is encouraging for students to see progress from each viewpoint.
Use the Student Instructions printout below to distribute to your Creations students. Tap the image to open the PDF in a new window.
Continue Portrait Painting
Students are in their 3rd week of portrait work, which is good since advanced students are usually more inclined to work on details and rework areas than beginning students.
If anyone is finished, they can enjoy artists’ choice. Encourage your students to develop ideas for a one-day project using any medium they like. Have them come up with a few ideas and then present them to you for review. Help them choose something that they will enjoy but is also challenging.
No prints needed today.
Use this button to jump down to the preparation section.
LEARNING TARGETS
Students know how to set up their work area for painting with acrylics.
M A T E R I A L S
- Acrylic portrait painting
- Acrylic paints
- Brushes – various sizes
- Water tubs
- Paper towels
- Smocks
- Cheasel reference stand & clip
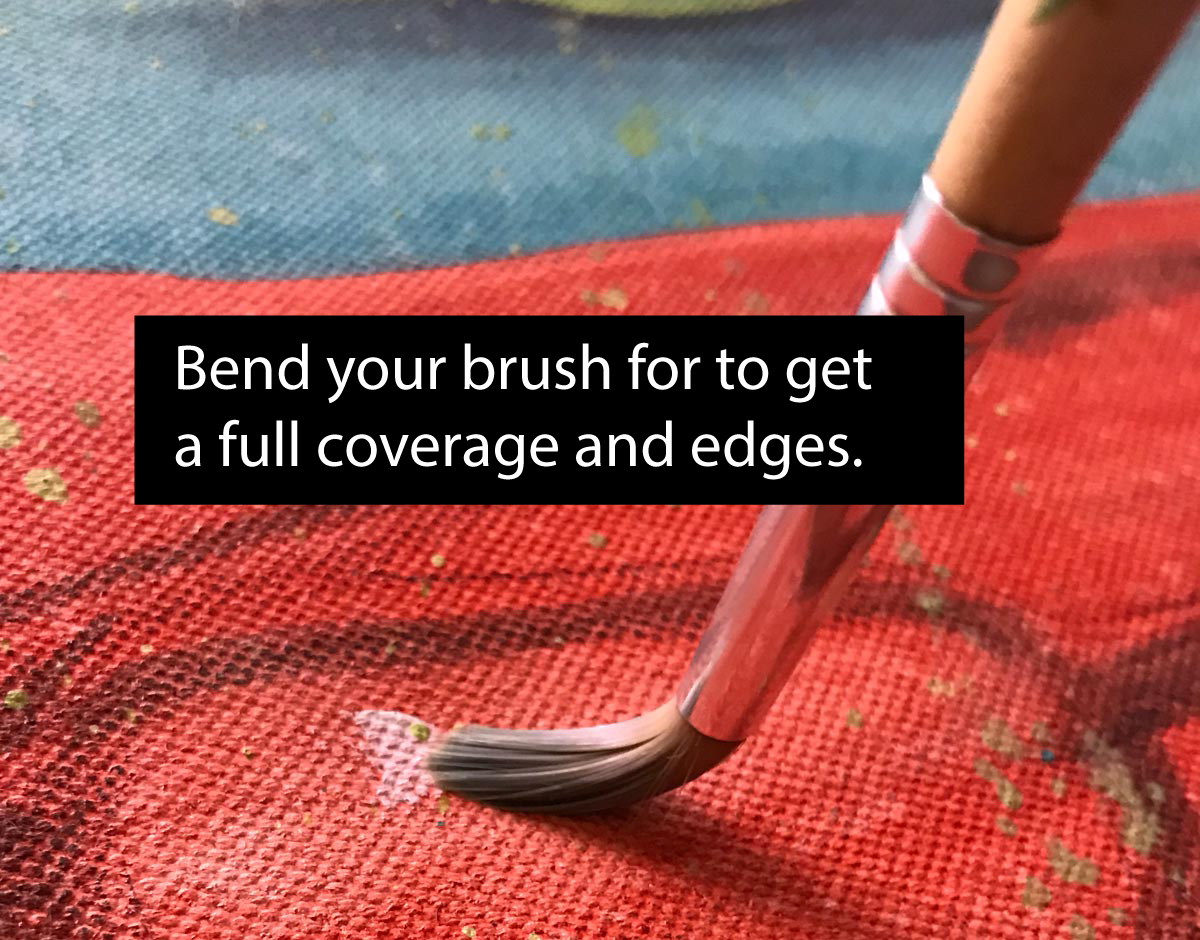
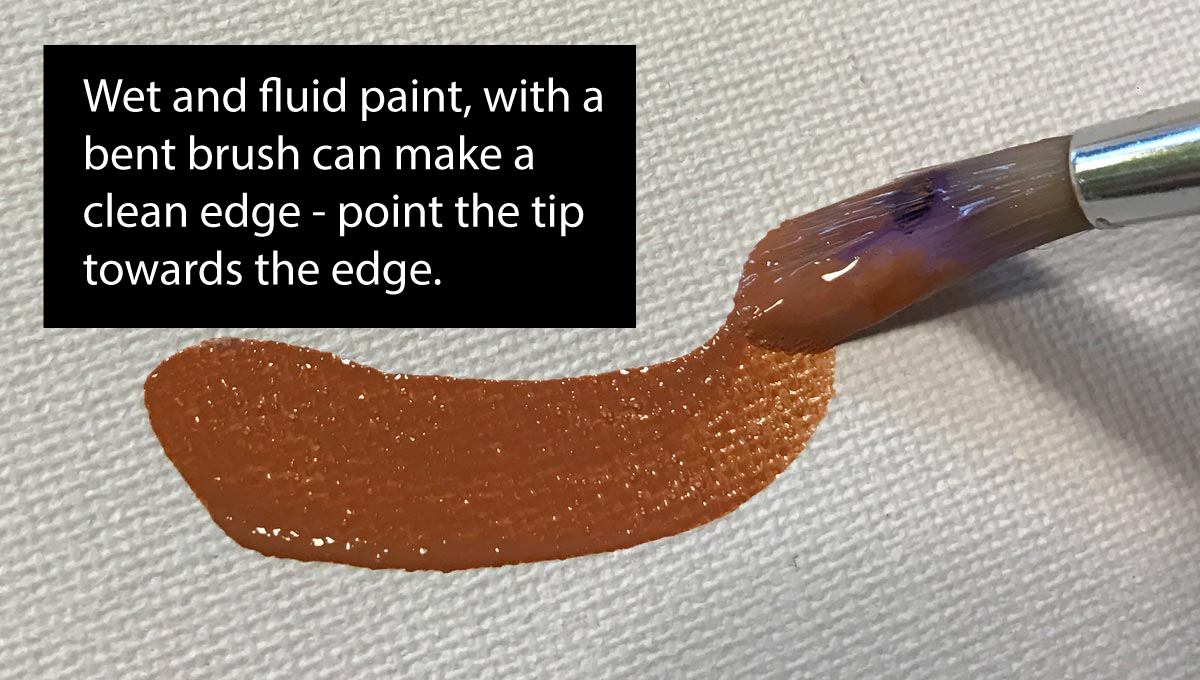
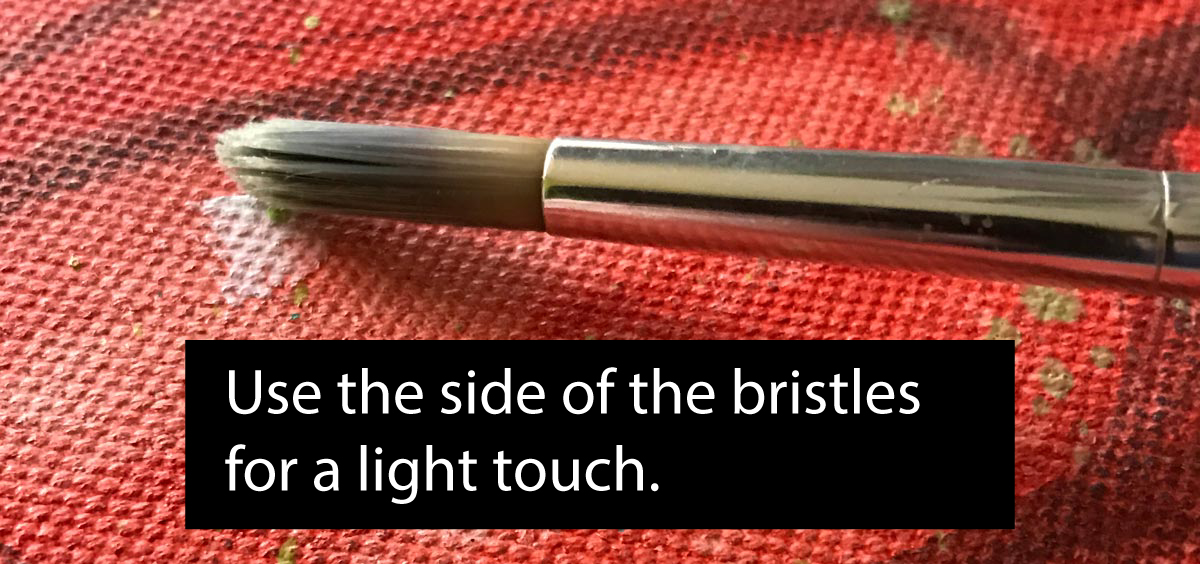
Brushes should be nylon for springiness and durability. Round brushes are the most versatile.
Paint pigment list:
- Napthol or Pyrrol Red
- Hansa or Light Yellow
- Pthalo Green (blue shade)
- Cyan or Cerulean Blue
- Ultramarine Blue
- Dioxazine Purple
- Magenta
- Burnt Umber
- Raw Sienna
- Titanium White (professional grade only)
2.1 setup

Use this button to jump down to the preparation section.
LEARNING TARGETS
Students know how to create an acrylic portrait
M A T E R I A L S
- Acrylic portrait painting
- Acrylic paints
- Brushes – various sizes
- Water tubs
- Paper towels
- Smocks
- Cheasel reference stand & clip
Review and Learn Portrait Techniques (tap any image to open viewer)


Use this button to jump down to the preparation section.
LEARNING TARGETS
Students know how to paint with acrylics
M A T E R I A L S
- Acrylic portrait painting
- Acrylic paints
- Brushes – various sizes
- Water tubs
- Paper towels
- Smocks
- Cheasel reference stand & clip
4.1 set up
TIP
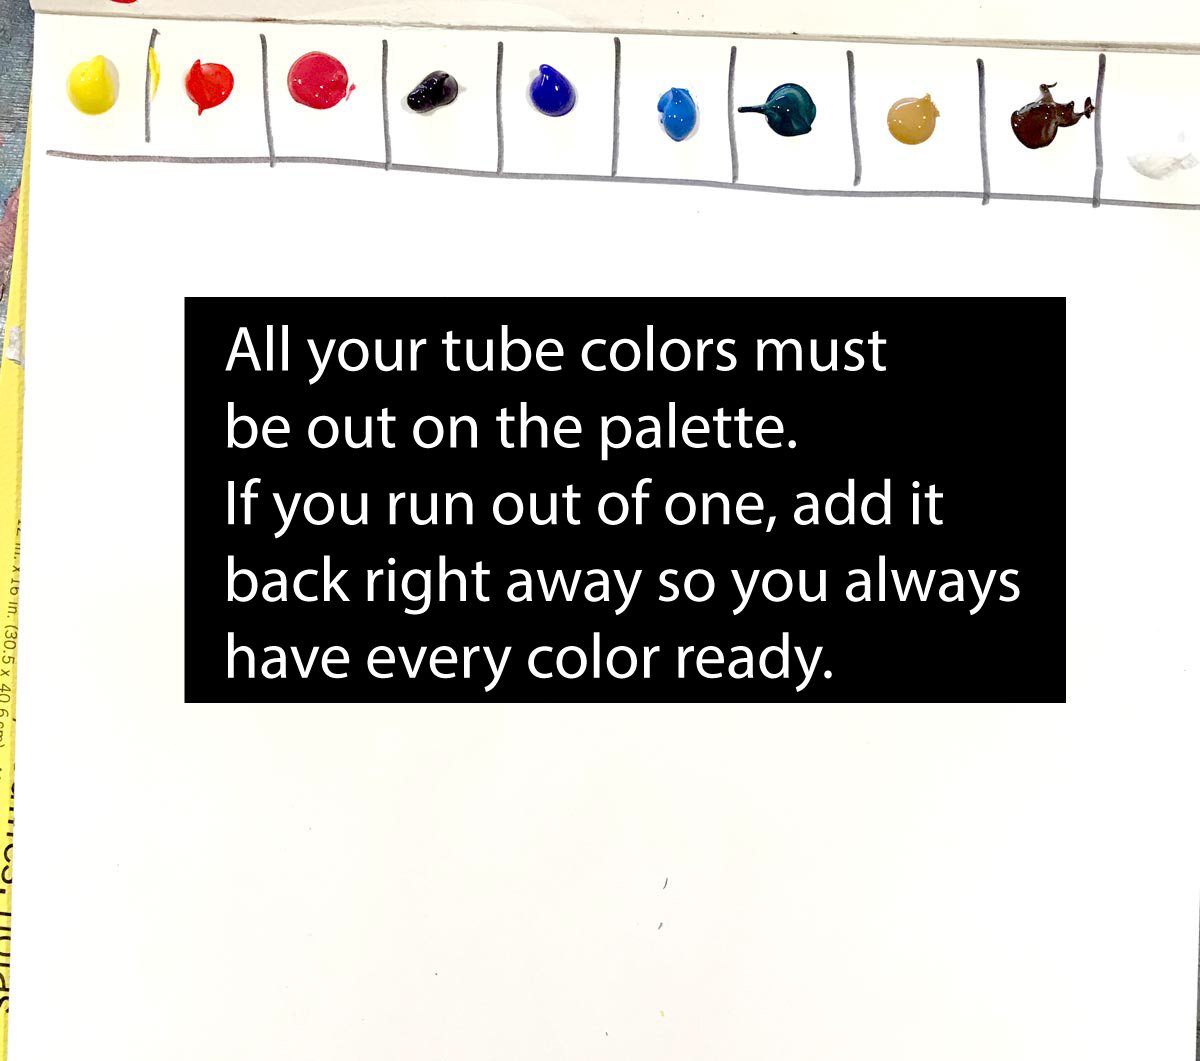
Sometimes we’ll tell a student that their colors all need a faucet (source), so if they run out of a color, they’re working without a source of that color. It handicaps your ability to make colors. Always put out color right when you run out of one so all the faucets are ON. You wouldn’t think about taking a shower if one of your faucets was broken!
Use this button to jump down to the preparation section.
LEARNING TARGETS
Students know how to paint a portrait
M A T E R I A L S
- Acrylic portrait painting
- Acrylic paints
- Brushes – various sizes
- Water tubs
- Paper towels
- Smocks
- Cheasel reference stand & clip
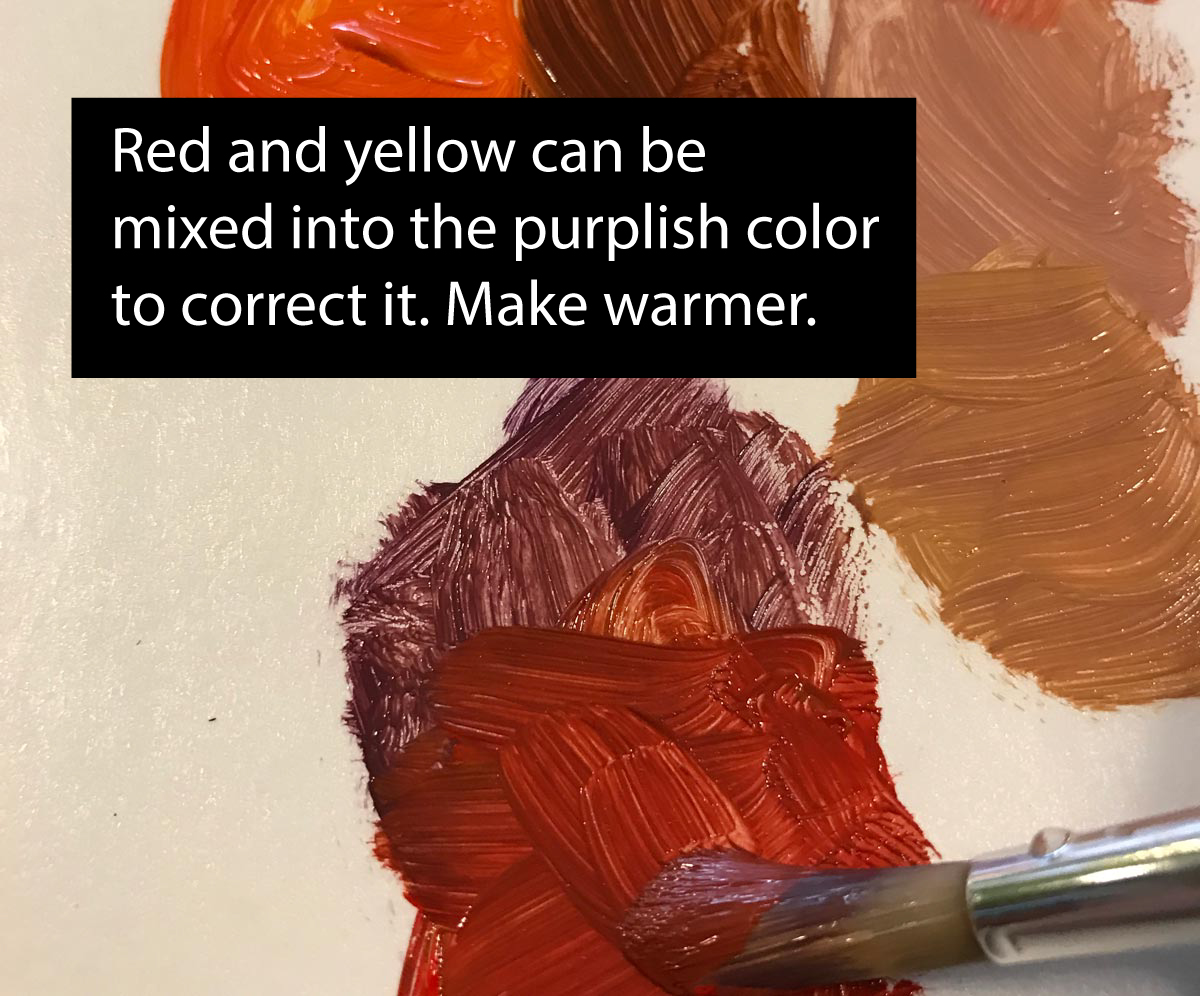
Final touches are a lot like jewelry. If you overdo it, you can look silly. But just a few jewels of highlights, carefully placed, can take a painting to another level.Many times, highlights are lighter almost white versions of the color they are over. Sometimes a highlight can be magenta pink on lips, even though the lips are more red.Small highlights in the eyes are important. Sometimes they are not pure white, but gray or blue-gray.
Use this button to jump down to the preparation section.
LEARNING TARGETS
Students know how to create artwork independently
M A T E R I A L S
- Acrylic paints
- Brushes – various sizes
- Water tubs
- Paper towels
- Smocks
- Cheasel reference stand & clip
- 2B and 4B pencils
- Erasers
- Sketchpad
- Oil Pastels
6.1 create
Use this button to jump down to the preparation section.
LEARNING TARGETS
Students know the importance of cleaning up.
M A T E R I A L S
- Paper Towels
- Cleaning wipes
- Sink
- Waste baskets
- Well-lit spot for photos
- Camera or phone-camera
7.1 CLEAN
Students set up their work area.
- Wash hands
- Super-wash brushes if used
- Put art supplies away
- Wipe tables & toss trash
- Remove any smocks (last)
- Check for items on floors and tables
7.2 PHOTO
Try to get photos of your student’s artwork. Find a good spot for quick lighting without highlights or shadows from your hands and device. Ideally in-between two strong lights on each side.
OBJECTIVES
- Practice and improvement in using, mixing, and applying acrylic paints
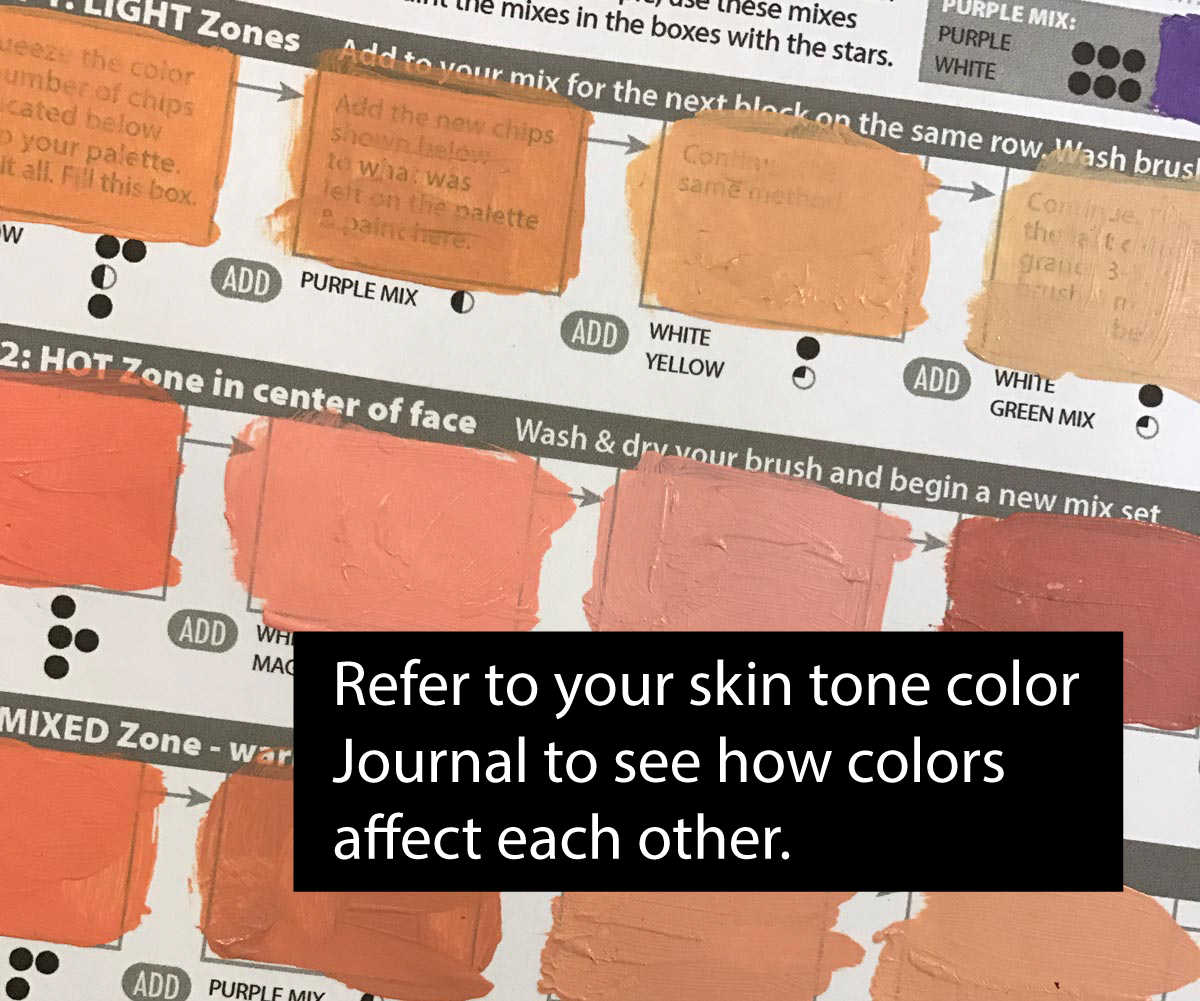
- Understanding how to mix skin tones and create different values
- Accomplishment from painting a portrait
- Fulfillment from learning from a master by copying their work
TROUBLESPOTS
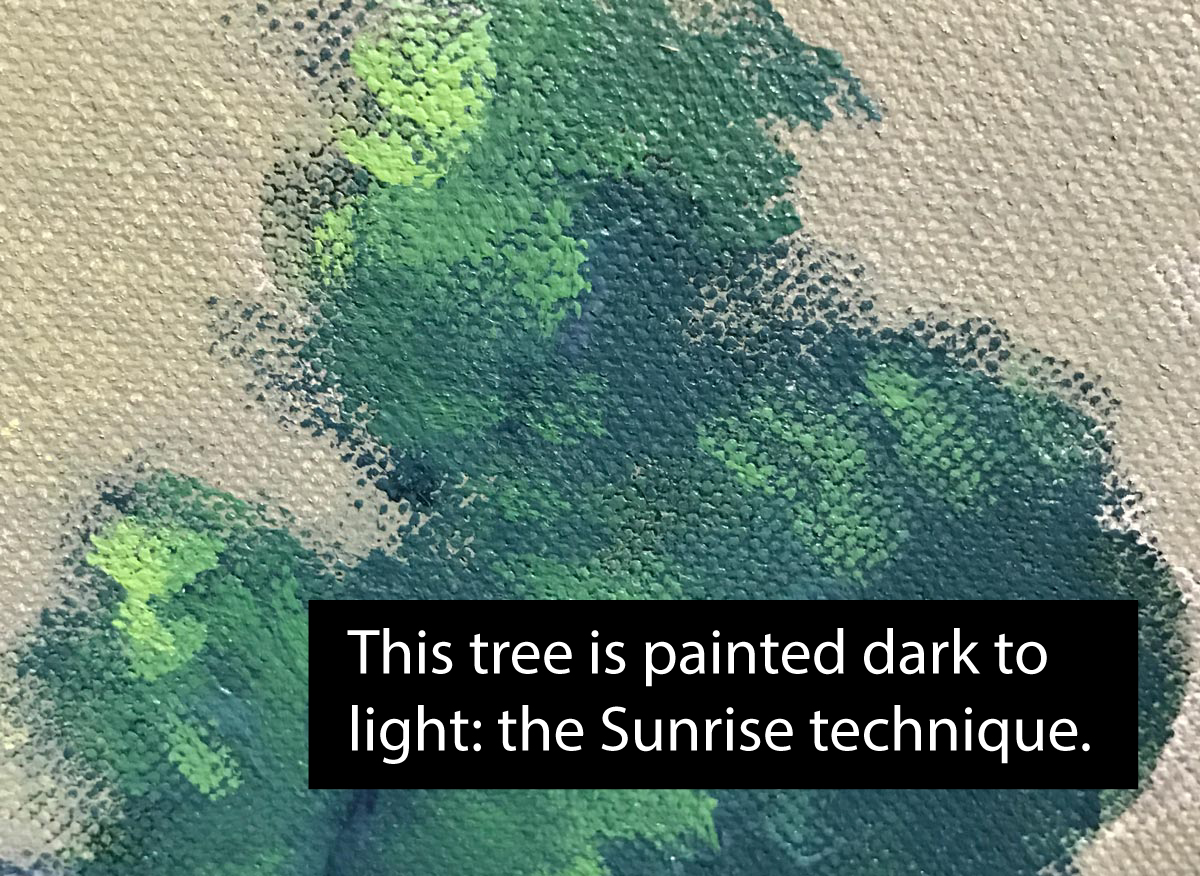
Washes – Semi-transparent layer of color on the canvas, using water to lighten the color instead of adding white. Avoid washes in acrylic for this project.
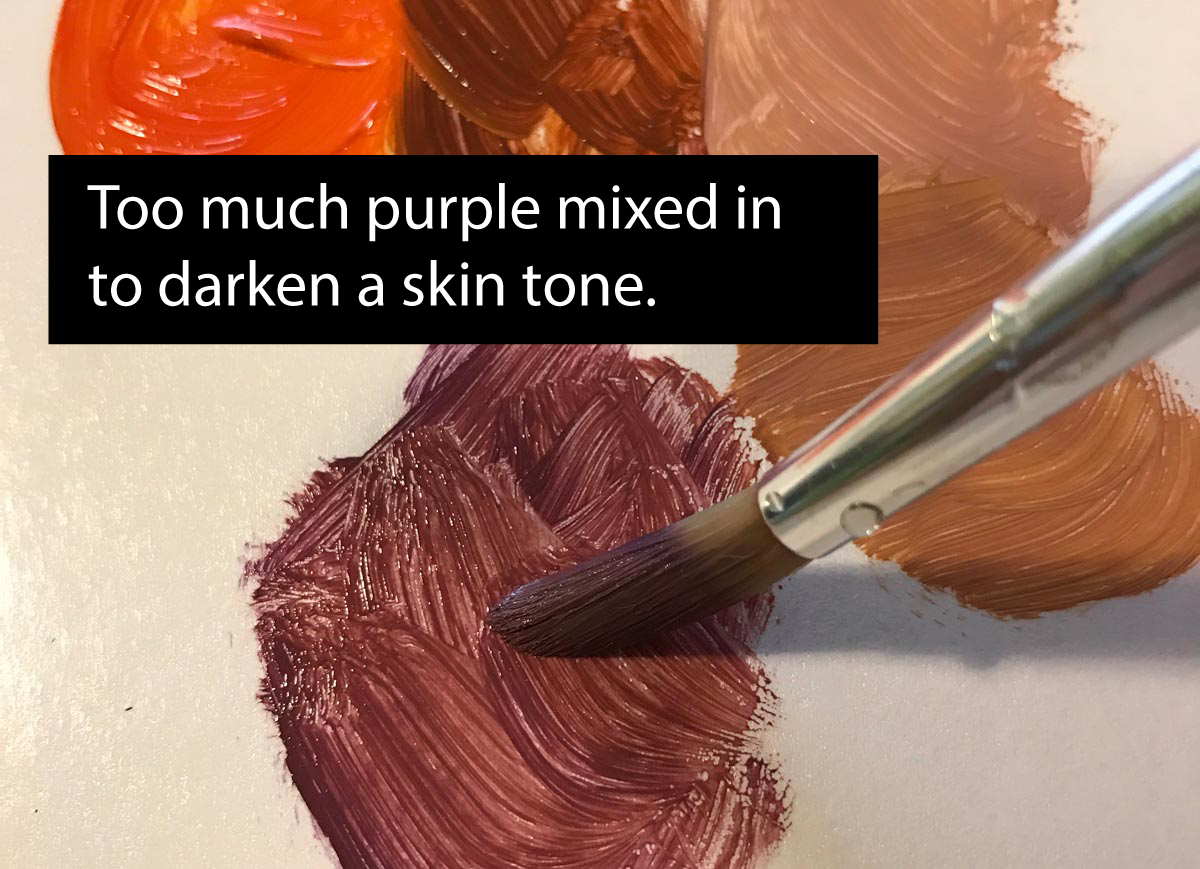
Dry lightening – Using a dry brush with very little paint can lighten a color. This does not work well if you are lightening a dark color. This ONLY looks good on an acrylic (opaque) painting if you are DARKENING a light color by decreasing the amount of the light paint with the dry brush technique. Hence the Light-to-Dark method.
ART WORDS
Opaque– Paint that does not allow you to see through it to layers below. All of the colors we use are translucent, but we need opaque colors for this painting. Add white even to dark tones to make them opaque.
CLASSROOM
PREP
Print all of your PDFs from the lesson plan and cut any references apart as needed.
What your room needs
Here are your printable lists and room prep instructions.
Opens in new window
CLASSROOM
MATERIALS
- Cheasel reference stand & clip
- Water tubs
- Paper towels
- Smocks
- Camera or camera phone
STUDENT’S
MATERIALS
- 14” x 17” Sketch pad
- 4B Pencil
- White and kneaded erasers
- Acrylic paints
- Brushes
- Oil pastels
PREVIEW
Week 34: Fun and Expressive Animal Art
This is a great expressive project that students really enjoy. Animals drawings are practiced and then drawn in bold expressive ink using a brush. After drying, the students add watercolor to the animals for a striking piece of artwork.
Week 35: 1,2,3,4
1 project; 2 weeks, 3-dimensional, 4 You! Artists must design and create a painted sculpture made of 3 or 4 panels of corrugated cardboard.