
OVERVIEW
Students are introduced to an important design element, The Most Important Spot, (emphasis). We hunt for shapes, using tracing paper to capture them from photos. Students will also work with warm vs. cool colors using oil pastels.Grades 1 – 2
1 Hour & 30 Minutes, or two 45-minute sessions
SCROLL & TEACH LESSON PLAN
Don’t worry about rewriting anything. Just spend a few minutes reading the lesson plan and printing out your PDFs. Then check out the READY, SET, GO! section and print your prep-page, which includes checklists and an “at a glance” outline of the lesson so you can stay on track when you’re teaching. Set out the materials from the list on your prep page and you’re ready.
That’s all you need to know. Use your smartphone to Scroll & Teach!
Art Supplies Are Needed
Our lessons are designed to work with very specific supplies (see our supplies page using the button below). We recommend ordering what you need for home delivery. However, you can try and make do with what you have on hand during the health crisis.
Lesson At A Glance
A brief overview of each step. Buttons jump to each section for detailed information.
10 Min – Discuss simple shapes
15 Min – Shape Game
15 Min – Sort warm & cool colors
20 Min – Make circle shapes on paper
5 Min – Most Important Spot
5 Min – Everyone helps!
SCROLL & TEACH
LESSONPLAN
Each section is a different color. Read over once and then you can SCROLL & TEACH using any device you like. It’s designed to work best with your phone.
LEARNING TARGETS

Students learn to express themselves through creating from their imagination.
M A T E R I A L S
- 11″ x 17″ Copy Paper
- 4B pencil
- Eraser
- Markers and/or oil pastels
- Blenders (stumps)
- Paper Towels
1.1 greet
Kneel down so that you are on their level. Bending over emphasizes the differences in your height, while kneeling makes them feel more important. Have tape and marker ready so you can stick some tape on the table by each student and write their name on it as they sit down.
1.2 choice
Everyone should take their time with the work and make a finished piece of art. Limiting the paper can also help kids focus on the work. If someone finishes in super-fast time, ask them what more they can do to the existing paper. Ask again several times – unless they appear overly frustrated; then you can allow them to move on to a new work.
LEARNING TARGETS
Students know how to identify simple shapes
M A T E R I A L S
- Device or TV to display slideshow
2.1 game
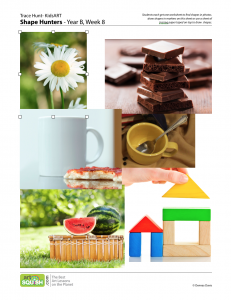
The last one is the trickiest! The oval plums are easy, but there is a triangle in the bottom corner made by the knife and the edges of the photo. The background boards make a rectangle. The handles are D-shapes, and the colander is a circle.

The solid blocks are easy shapes to see

The space inside these blocks makes a rectangle. Looking at the proportions of the rectangle is important.
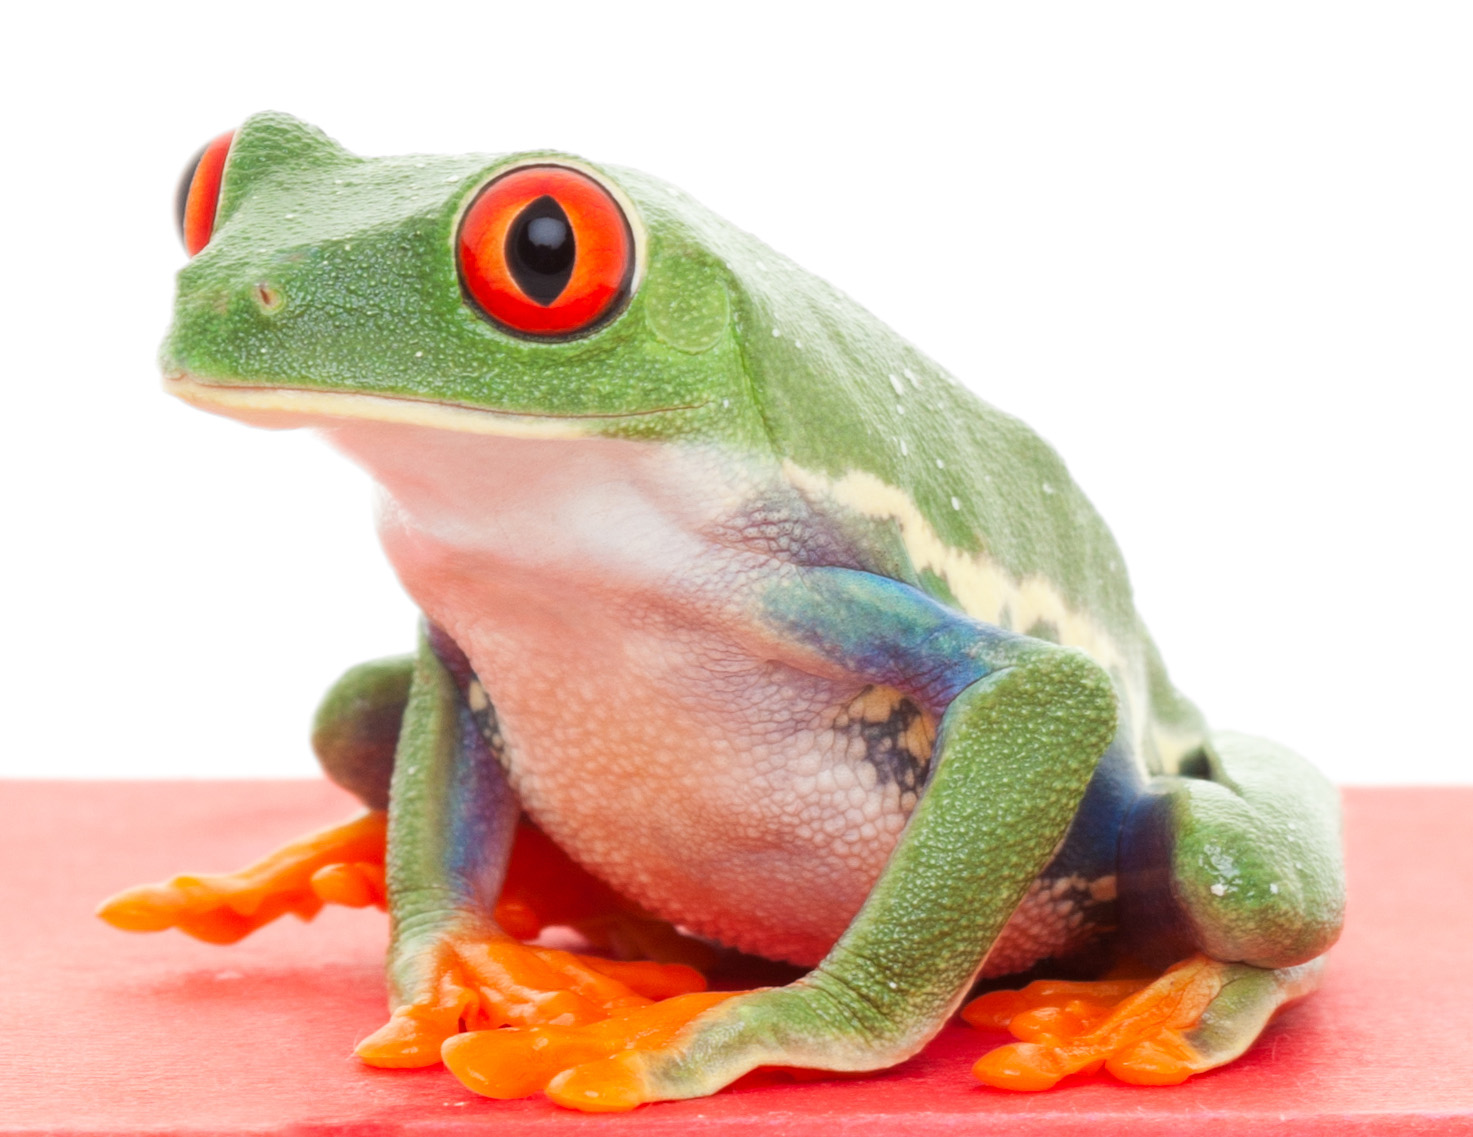
Frog
Here’s a circle. It’s the eye!
See a triangle?

There’s a teardrop shape here.

What air shape do you see?
This one is hard to see!

The space under the claw reminds us of a house shape.

It makes it easier and more fun to see familiar shapes like this.
LEARNING TARGETS
Students know how to identify big shapes.
M A T E R I A L S
- Oil Pastel or black marker
- Tracing paper
- Big Shapes PDF
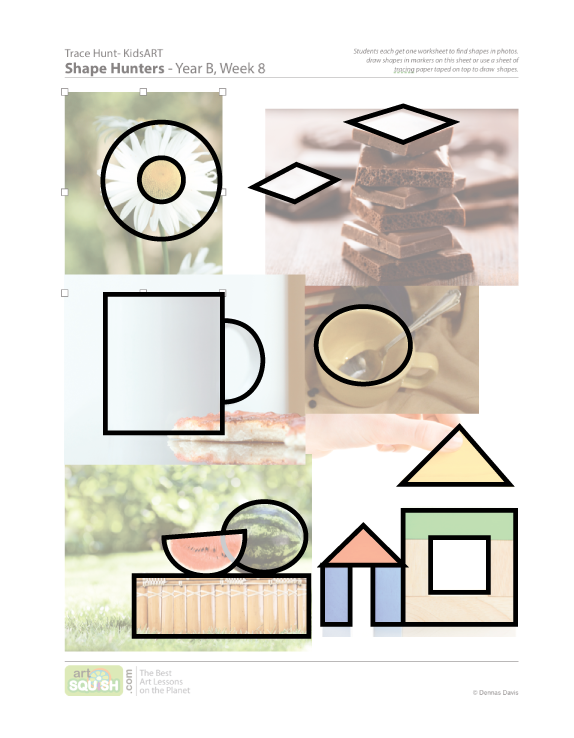
3.1 Prints
prints
Big Shapes
Print out enough for each student.
1 Page – Opens in new window
3.2 Shapes
Here are the simple shapes they can find.
LEARNING TARGETS
Students know how to identify big shapes around the room.
M A T E R I A L S
- 8.5″ x 11″ copy paper
- Clipboard
- 2B pencil or pen
4.1 prints
Badges
Shape Hunters
A page full of circular badges to print on card stock.
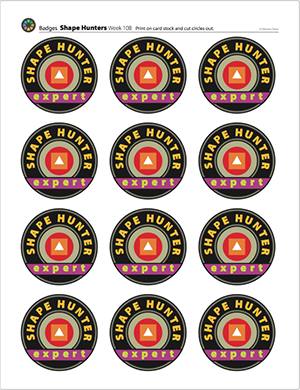
1 Page – Opens in new window
4.2 Game
The shapes are simple, so it should be easy for you to set them up by just looking around the room and/or bringing some items from home. There are suggestions below. You can also use photographs from magazines for some of the shapes.
Shapes and objects. Each team gets one easy shape and one harder shape. You can provide a clipboard for each team, and draw the two shapes at the top of the page. Have them draw each shape they identify.
T E A M 1
- Circle shape: Cup, jar, lid, roll of tape, etc.
- Triangle shape: in between any straight objects, you can create a triangle air shape 3 books, for instance, or use 2 pencils and a ruler, etc.
T E A M 2
- Square shape: Look for squares, but if you can’t find enough, you can make them using rectangles and any other straight object. Rectangles are everywhere!
- D shape: the handle of a mug or gift bag, basket, a half-covered circle, etc.
T E A M 3
- Rectangle shape: ruler, bookmark, piece of tape, hole in chair, light switch or plug plate.
- Diamond shape: Make these like you make triangles.
Have students pretend to be on a shape safari, and they have to hunt for the shapes in the wild! Divide group into 2 or 3 teams and give each team a starting place in your room. Choosing a corner for each team is a great starting place. Teams may come up with names if you want to take the time.
Expert Shape Hunter Badges!
4 teams can begin in 4 corners and move slowly clockwise, to the right if you look at the wall. Hide all of the shapes before-hand, as pictures or actual objects – or both. Each team can tell you their shapes as they find them but don’t move or disturb them. Encourage and congratulate! Tell your teams to find 2 to 4 instances of each of their two shapes, depending on time and resources.
Teams cannot help each other. Keep your team secret. Be sneaky, and creep up on the shapes slowly, like you are hunters! Shhhhh! Teams can wave the teacher over when they find a shape, and whisper about it.
Everyone gets a shape hunter badge at the end. Print your badges and cut them out before-hand. They hold up best if printed on cover or card stock paper.
BREAK
This is the end of part one if you are dividing into two, 45-minute sessions.
LEARNING TARGETS
Students know how to label warm and cool colors.
M A T E R I A L S
- Oil pastels
5.1 Sort!
- Colors that seem warm, or hot
- Colors that seem cool, or cold
- Colors that don’t fit and don’t seem especially cool or warm.
Help students sort their colors, because they may have trouble. Colors that aren’t bright will be neutral, except for orangish browns or golden browns, which can be called warm.
LEARNING TARGETS
Students know how to identify warm and cool colors in their artwork.
M A T E R I A L S
- 14″ x 17″ Sketch Paper
- Oil Pastels
- Paper towels
6.1 setup
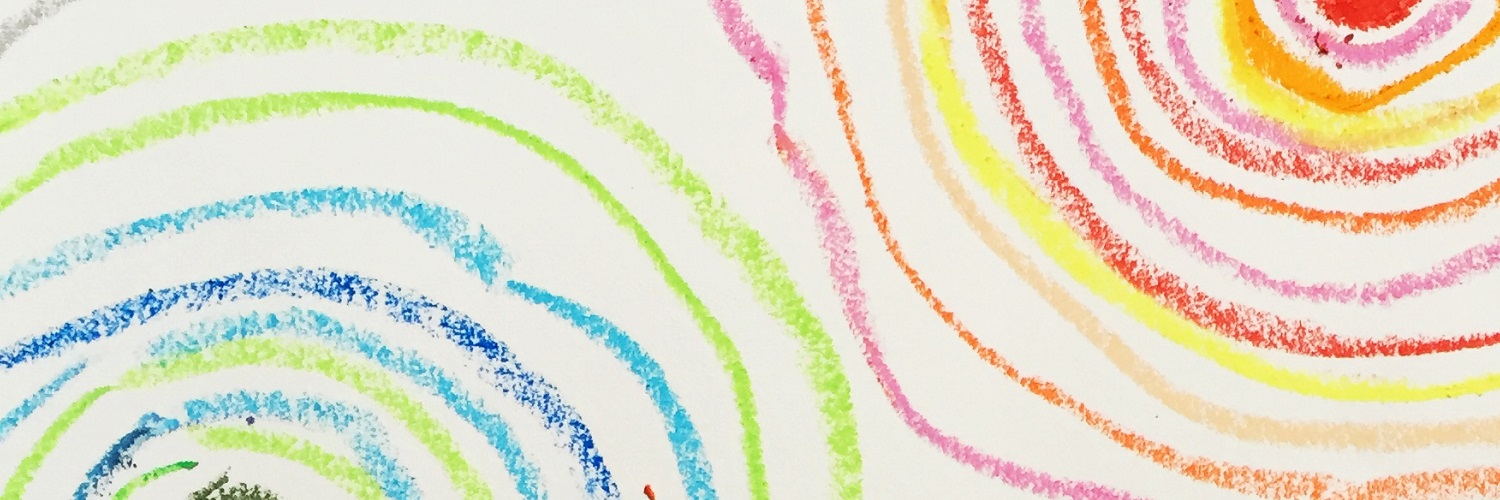
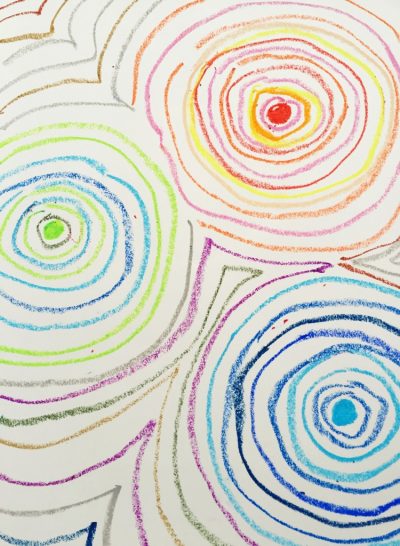
Now use the 3 groups of colors to create a shape painting. Begin with 3 small dots, 2 cool colors, like green and blue, and 1 red one. Fill each dot in with color.
Make sure that the dots are spread out; not very close to each other, or the edges of the paper. One way to do this is to have the students follow along:
- Place paper in bathtub position
- Place pencil in up and down position in center, diving into 2 halves
- Put a dot almost in the center of each half, but a little higher
- Remove the pencil and make a 3rd dot anywhere near the center where the pencil was. It should be lower than the other 2 dots
6.2 draw
Early finishers can fill in a few spaces between rings, expanding the lines so that they touch. Blending can be done as well.
LEARNING TARGETS
Students know how to identify emphasis in artwork.
7.1 Spot
Use this time to have the students hold up their drawings and find what shape stands out the most (the most important spot). It should be the warm original dot.
LEARNING TARGETS
Students know how to keep their work space tidy.
M A T E R I A L S
- Sink
- Waste baskets
- Well-lit spot for photos
- Camera or phone-camera
- Paper towels
- Cleaning wipes
8.1 clean
- Empty water containters
- Super-wash brushes if used
- Put art supplies away (sop up runny paint before disposing of palette paper)
- Wipe tables & toss trash
- Remove any smocks (last)
- Check for items on floors and tables
8.2 Photo
- Try to get photos of your student’s artwork. Find a good spot for quick lighting without highlights or shadows from your hands and device. Ideally in-between two strong lights on each side.
8.3 connect
- Make sure you see the kids connect with parents and tell them about the class if you can!
%
Insights
This lesson provides understanding
%
Technique
This lesson shows application and movement
%
Self Expression
This lesson allows personal freedom
OBJECTIVES
- Practice and improvement using colors and design
- Understanding how alike colors can help create the “most important spot” (emphasis)
- Accomplishment in making art based on smart choices
- Fulfillment by playing a fun game & showing abilities
TROUBLESPOTS
ART WORDS
Most Important Spot – One of the 6 elements of good design is emphasis. We call it by an easier, more concrete name, The Most Important Spot.
Alike colors – Any 2 or 3 colors that are right next to each other on a color wheel.
Neutral colors – Muted colors become grayish, with gray, black and white being considered the most neutral colors – along with many of the brownish colors.
CLASSROOM
PREP
Print all of your PDFs from the lesson plan and cut any references apart as needed.
What your room needs
Here are your printable lists and room prep instructions.
Opens in new window
CLASSROOM
MATERIALS
- 11×17” Copy Paper
- 4B Pencil
- Eraser
- Markers
- Oil pastels
- Blenders(stumps)
- Paper towels
- Device or TV to display slideshow
- Tracing paper
- Big Shapes PDF
- Clipboard