

OVERVIEW
Students enjoy working with two fun ways to create stars. Realistic star patterns are made by splattering white paint on a dark paper background, and expressive stars are made with thick paint and by copying Van Gogh’s Starry Night. If time, early finishers get to make a star logo for themselves.– – –
Grades K – 2
1 Hour & 30 Minutes, or two 45-minute sessions


SCROLL & TEACH LESSON PLAN
Don’t worry about rewriting anything. Just spend a few minutes reading the lesson plan and printing out your PDFs. Then check out the READY, SET, GO! section and print your prep-page, which includes checklists and an “at a glance” outline of the lesson so you can stay on track when you’re teaching. Set out the materials from the list on your prep page and you’re ready.
That’s all you need to know. Use your smartphone to Scroll & Teach!
Lesson At A Glance
A brief overview of each step. Buttons jump to each section for detailed information.
15 Min – Make realistic stars
30 Min – Paint Van Gough swirls on paper
10 Min – Everyone makes their own name and star logo!
5 Min – Everyone helps
SCROLL & TEACH
LESSONPLAN
Each section is a different color. Read over once and then you can SCROLL & TEACH using any device you like. It’s designed to work best with your phone.
LEARNING TARGETS

Students learn to express themselves through creating from their imagination.
M A T E R I A L S
- 11″ x 17″ Copy Paper
- 4B pencil
- Eraser
- Markers and/or oil pastels
- Blenders (stumps)
- Paper Towels
1.1 greet
Kneel down so that you are on their level. Bending over emphasizes the differences in your height, while kneeling makes them feel more important. Have tape and marker ready so you can stick some tape on the table by each student and write their name on it as they sit down.
1.2 choice
Everyone should take their time with the work and make a finished piece of art. Limiting the paper can also help kids focus on the work. If someone finishes in super-fast time, ask them what more they can do to the existing paper. Ask again several times – unless they appear overly frustrated; then you can allow them to move on to a new work.
1.3 view
Read the Teacher Talk below.
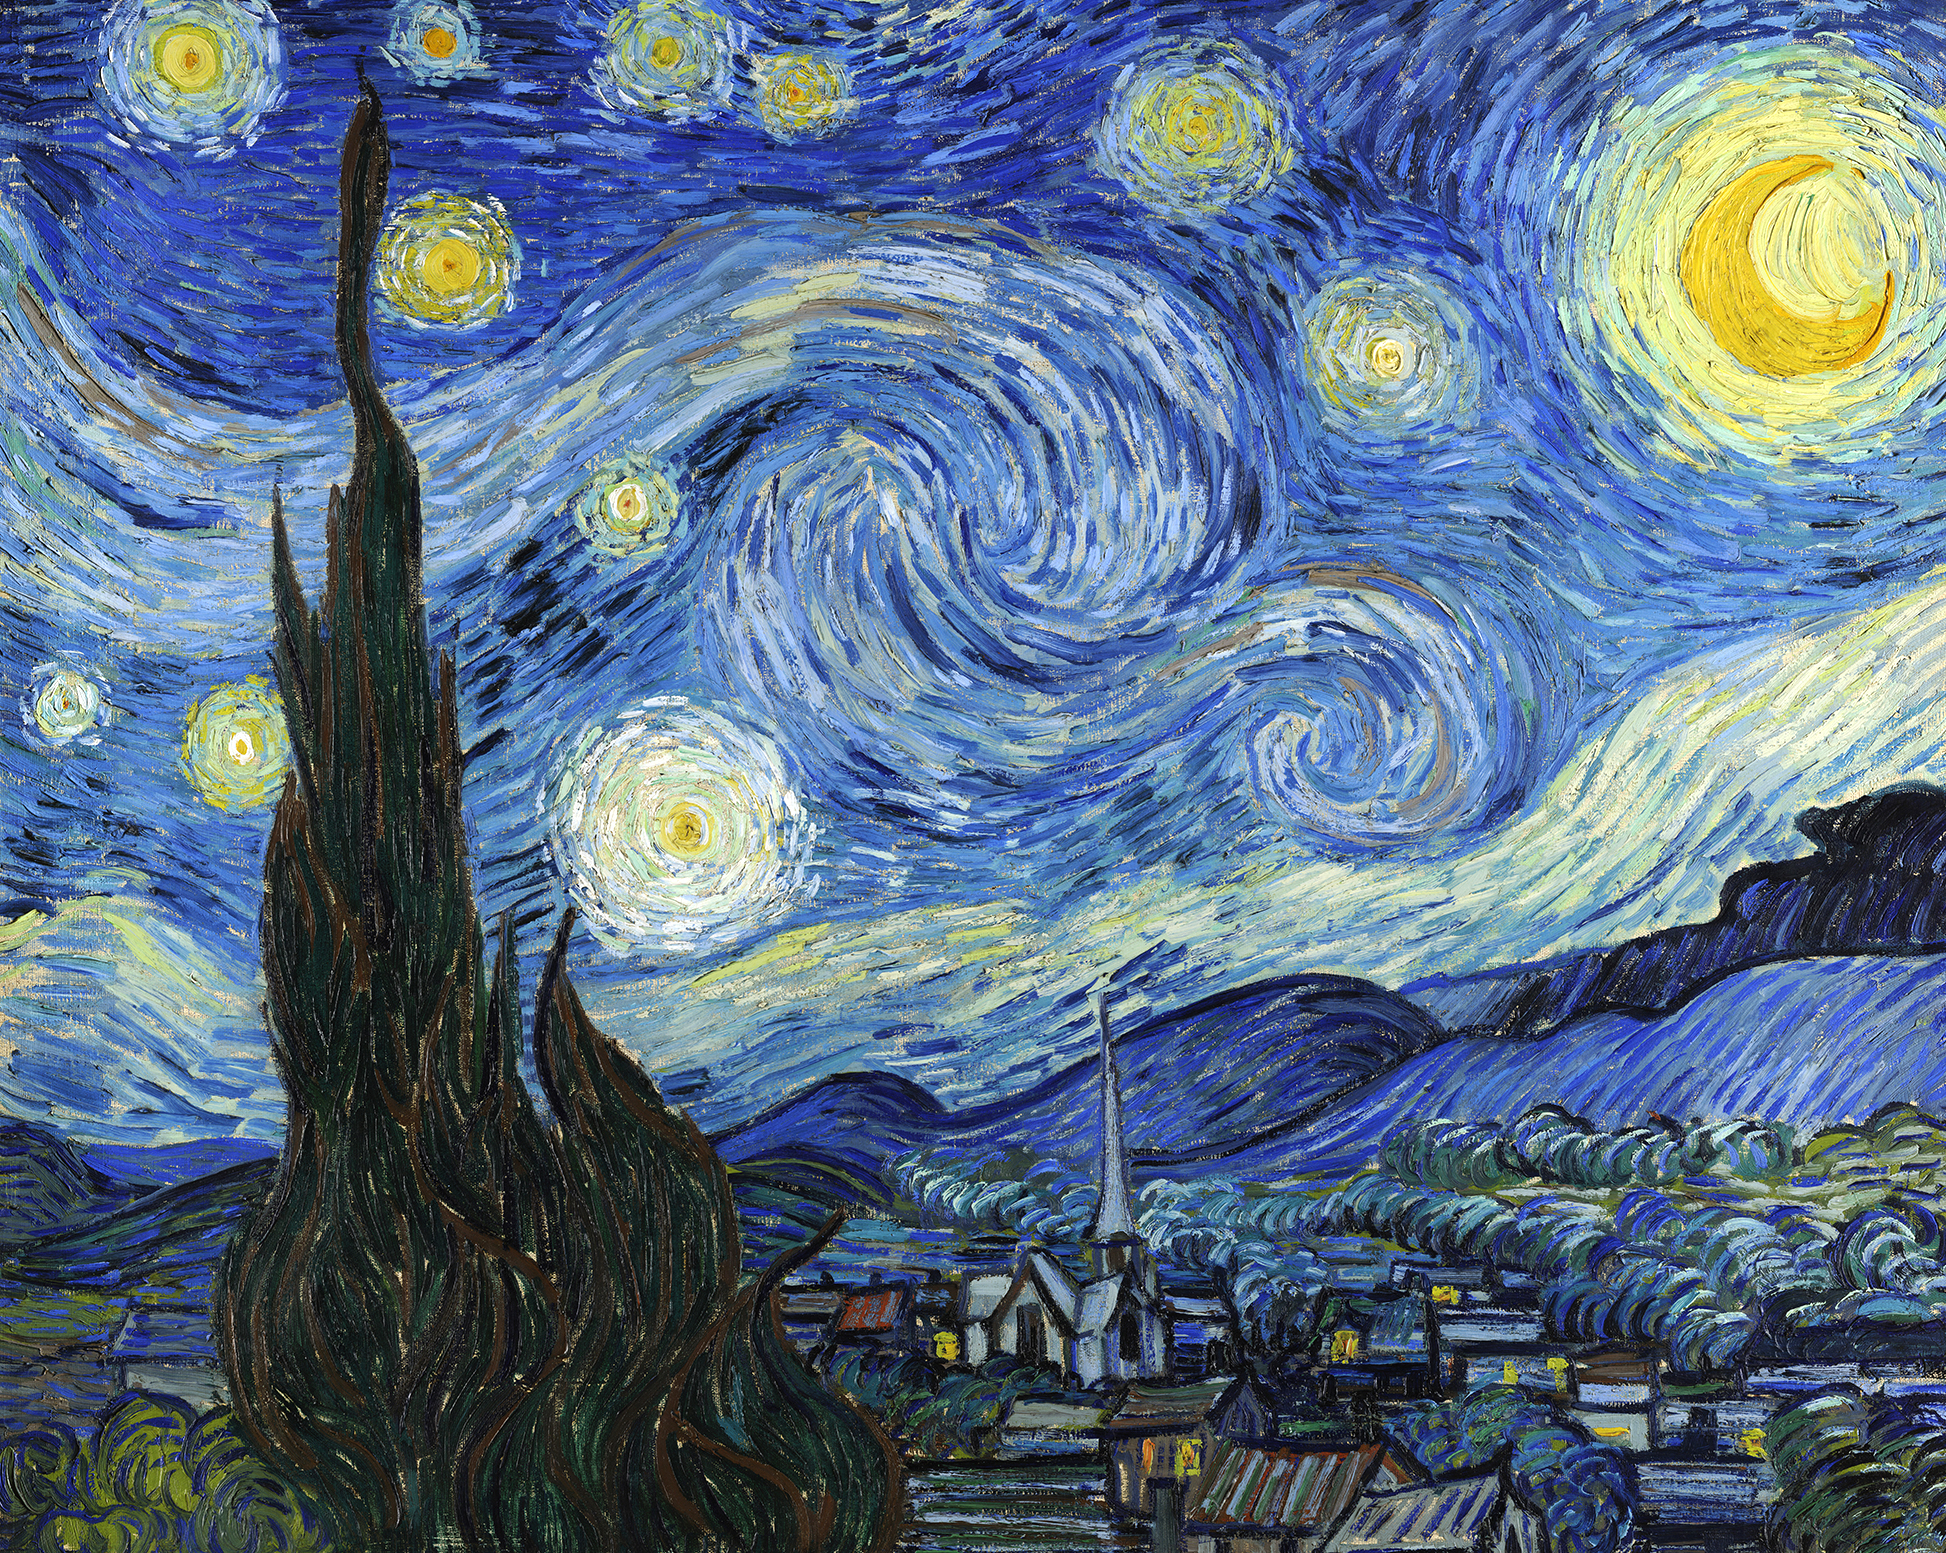
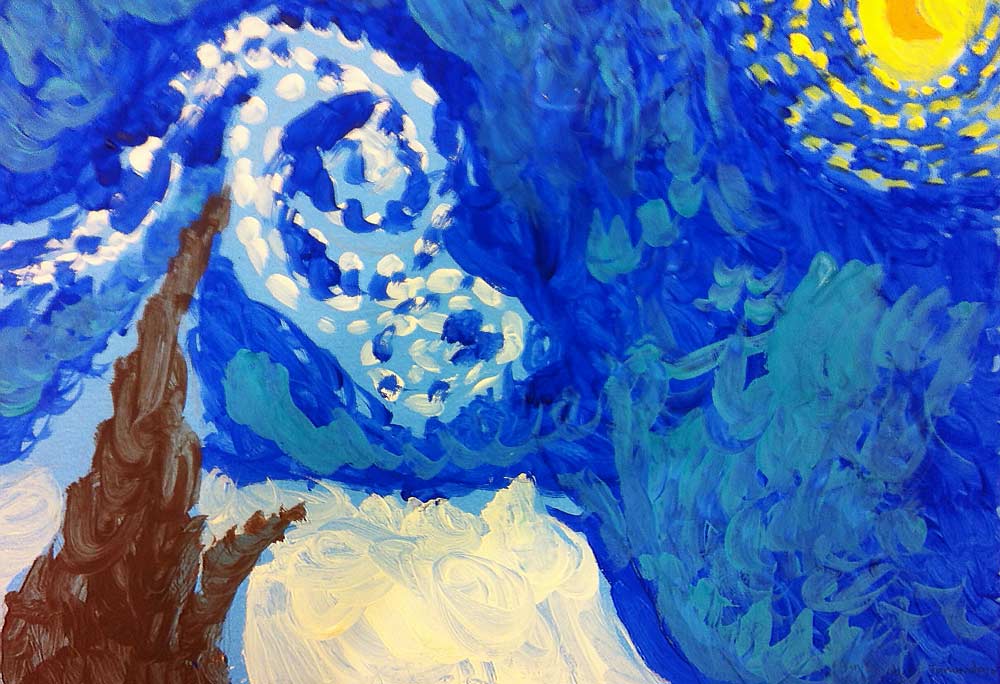
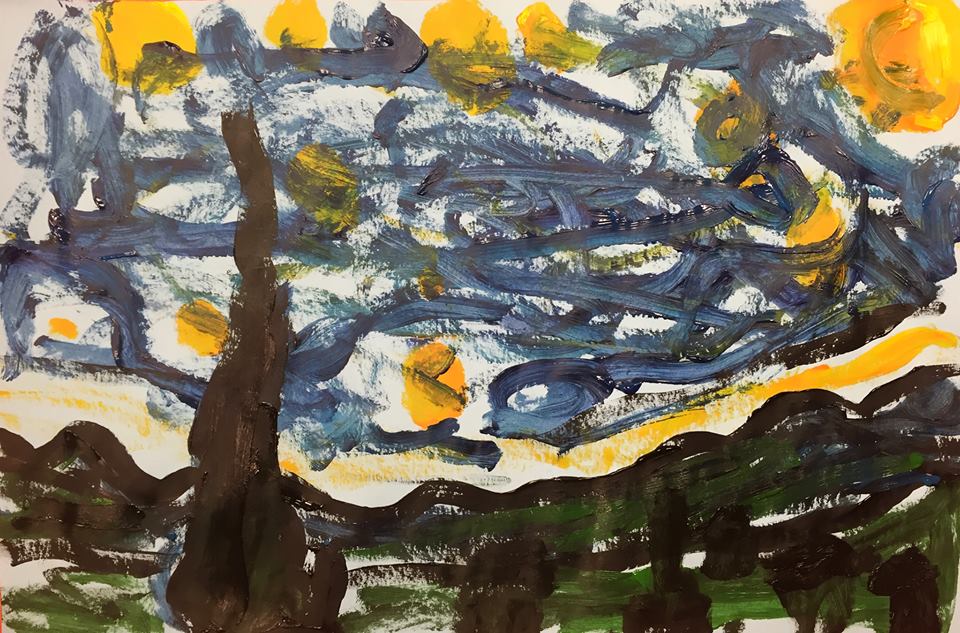
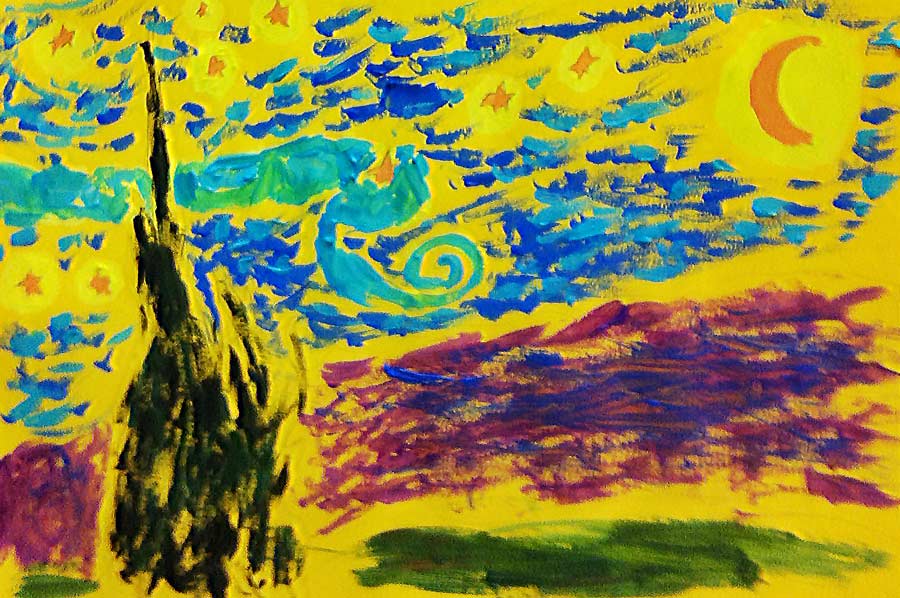
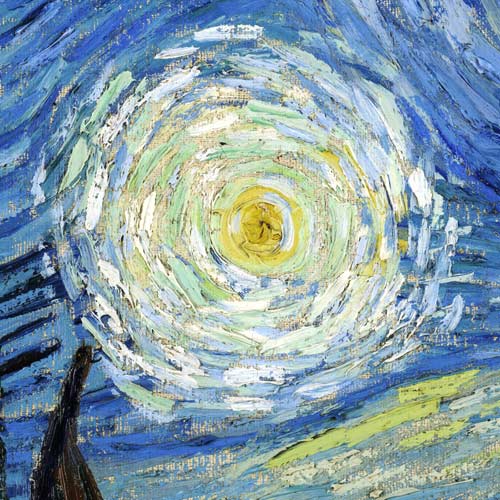
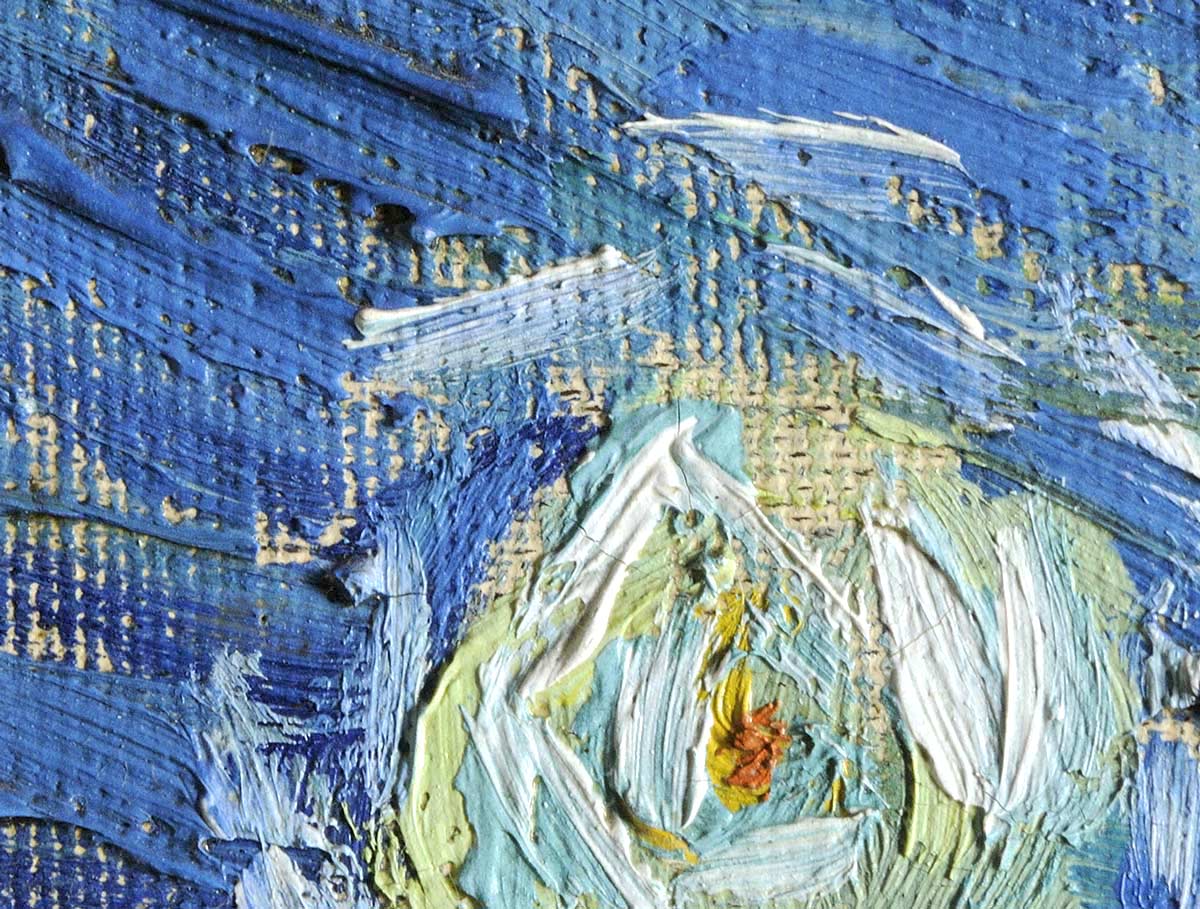
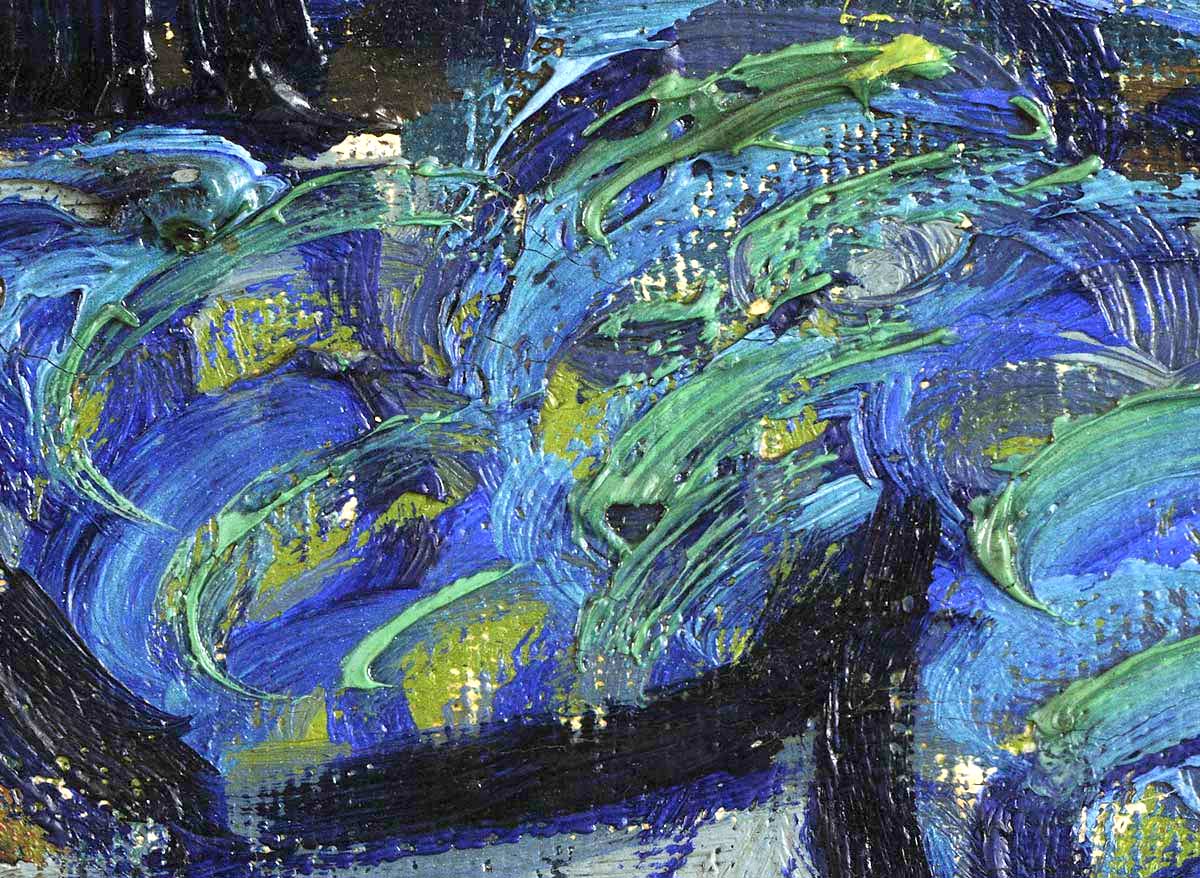
The most amazing thing about this painting is how it doesn’t really look like the night sky and stars the way we see it. Instead of small points of light, the stars are almost like the sun, and so is the moon. You might look at this sky and think it was water, the way it swirls and seems to almost move.
The unusual way Mr. Van Gogh painted is one reason why this is such a popular picture. We call this type of painting, expressive. The artist isn’t trying to make the picture look exactly like we see it. The artist is doing something different, so we too might see the world a little bit differently. The artist is expressing his or her own way of looking at things.”
LEARNING TARGETS
Students know how to make stars using a splatter-paint technique
M A T E R I A L S
- 14″ x 17″ Sketch Paper
- White tempera paint
- Flour to thicken (if needed)
- Medium-sized brushes
- Water container
- Cardboard box to prevent splattering clothes and furniture
- Safety goggles
- Smocks
- Paper towels
2.1 paint
- Place a sheet of dark colored paper in the bottom of the open box (purple, blue, or black works best because it mimics a night sky color)
- Use some tempera white paint. You’ll need to experiment with the amount of water needed to make the paint splattery but still able to remain opaque. “Syrupy” is the word we like to use to describe the consistency. Acrylic can also be used but it’s not recommended. It is not washable after it dries, and may get into student’s hair.
- Have each student put on the safety goggles to protect their eyes, and take turns tapping a loaded brush gently onto the handle of another brush. Hold them both down inside the box to do this and it will catch more of the splatters.
- Set aside to dry with names on them
We’re going to splatter to scatter! We’ll have to use a box so we don’t get paint on everyone and everything. Everyone will get a turn so please be patient!”
LEARNING TARGETS
Students know how to use an impasto painting technique
M A T E R I A L S
- Small brushes
- Thick acrylic paint in bowls: White, Light Yellow, and Light Yellow-Orange.
- Heavy card stock paper (8.5″ x 11″) – any color other than white.
- Medium/small sized Brushes – Round
- Paper towels
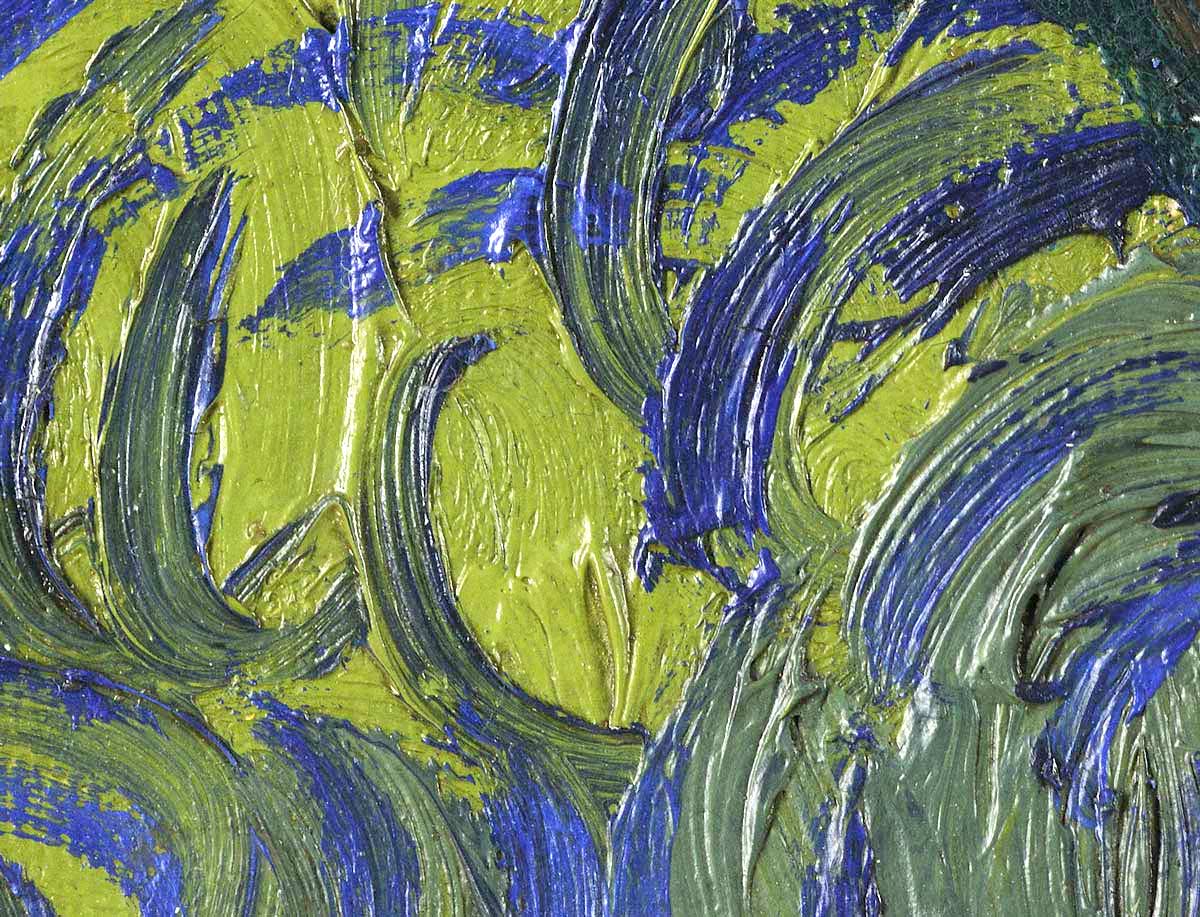
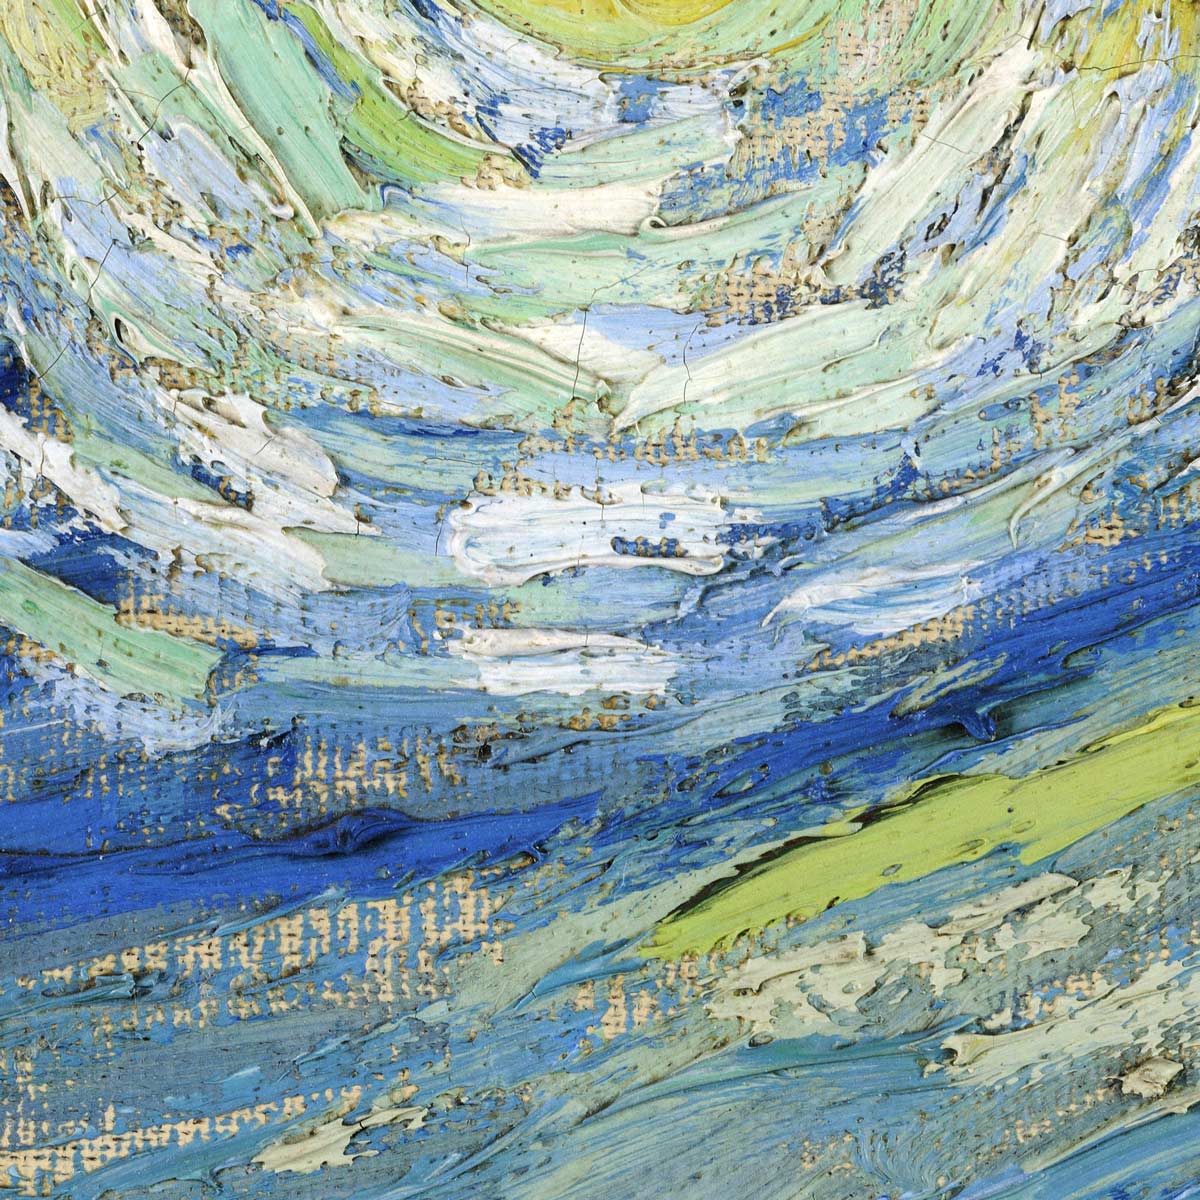
BRUSH TYPES
Tap image to enlarge

3.1 explain
Begin with the Slideshow (below.) Talk about Van Gogh and how he painted using smaller brushes, short brush strokes, lots of colors, and the impasto technique.
Do not provide water to rinse brushes. Instead, have paper towels to wipe paint off.
Have bowls set out with paint that is thick and NOT watered down at all. If the paint settles in a flat puddle, then it’s too thin for impasto techniques. Acrylic paints are sometimes too runny right out of the tube, and kids paint is almost always too liquid as well. You can thicken water based paints by adding flour (or powdered paint if you have that) to make it thick and pasty.
End by showing the first slide that shows an entire circle of light. Explain that they’re going to paint a star like this.
Circle of Light
3.2 Paint
Have students begin painting by taking their first color and making a dashed line around the edge of the circle.
You’ll notice and need to explain that the paint runs out pretty fast. You need to get more paint often to keep it thick.
Then have them make dashes, tracing around the circle. Continue adding lines inside the circle and even outside, tracing around the existing lines. It’s great if you have a different paint color set in between every student. You can switch them around or just have two colors and alternate. The goal is just to learn and practice the technique, but it’s nice if the result looks good so they’ll want to show it off later to their parents.
Read the teacher talk to explain the technique and you might want to show a little demo.
Trace the pencil line with short dashes. You make a short stroke and then lift the brush to skip a little before you make the next one.“
BREAK
This is the end of part one if you are dividing into two, 45-minute sessions.
LEARNING TARGETS
Students know how to paint using an impasto painting technique
M A T E R I A L S
- Small brushes
- Thick tempera paint in bowls. Use colors from STEP 3 and the colors mentioned below in STEP 4.2.
- Flour if needed to thicken
- Large Heavy card stock paper 11″ x 17″ in deep sky colors like purple, blue, or even black.
- Water tub – keep away from students until they need it and then dry the brush off
- Paper towels
You can find colored card stock at office supply stores or online.
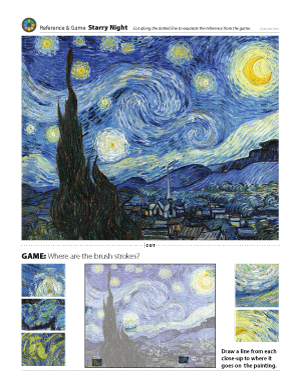
4.1 print
Reference
Van Gogh Reference & Game
Print one for each student.
1 Page – Opens in new window
4.2 paint
You will need to have some paint pre-mixed for this step. Again, use flour to thicken it if needed.
If you have time, you can link to and show this fun video of a 5-year old girl explaining how she paints Van Gogh’s moon. (There’s a long intro, and the actual video starts at 30 seconds into it.)
Hand out the PDF with the picture of Van Gogh’s Starry Night painting. There’s a little game to play at the bottom, which you should cut off (before handing out the top) and save for the next step.
These paintings look best when using blue or purple colored paper.
- Have orange and yellow to make the center of the stars and the moon first.
- Then have two blue colors for the start of the sky.
- Finish the sky and stars with a light yellow/cream and a little bit of white.
- Now use dark green, dark blue, brown and black to paint the landscape and tree.
- Add some of the orange or yellow in the windows of the village for lights.
- Encourage your students! Help them make short strokes like dashes and keep going back for paint more often than normal to keep it thick. Try to not mix the paints on the paper.
LEARNING TARGETS
Students know how to design a logo
M A T E R I A L S
- 11″ x 17″ Copy Paper
- Markers
- Pencils
- White Erasers
5.1 game
Everyone should get their own game sheet.
This is pretty fun and easy. Draw a line from each close up in the smaller boxes to the place on the painting you think it belongs. There are highlighted areas to help.
You can add more fun by asking students to circle their favorite part of the painting. You can then ask why they like their part and have some discussion.
5.2 design
Display these Star Types to help them get started.
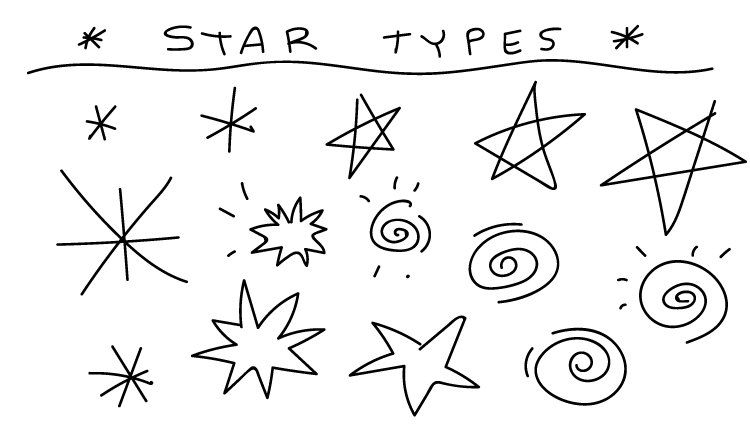
Logos are the symbols you see for companies and sports teams. Starbucks sometimes uses a star, and Walmart has a star-like logo too. Everyone should use their imagination to make your own name with a star for your personal logo.”
LEARNING TARGETS
Students know the importance of cleaning up.
M A T E R I A L S
- Paper Towels
- Cleaning wipes
- Sink
- Waste baskets
- Well-lit spot for photos
- Camera or phone-camera
6.1 CLEAN
- Wash hands
- Super-wash brushes if used
- Put art supplies away
- Wipe tables & toss trash
- Remove any smocks (last)
- Check for items on floors and tables
6.2 PHOTO
6.3 CONNECT
%
Insights
This lesson provides understanding
%
Technique
This lesson shows application and movement
%
Self Expression
This lesson allows personal freedom
OBJECTIVES
- Practice and improvement painting with deliberate brush strokes and control
- Understanding what impasto means and how to use thick paint
- Accomplishment by creating a finished work of colorful art
- Fulfillment with artist’s choice and fun splattering
TROUBLESPOTS
Playing in the paint – It’s ok to stir the paint, and it’s a lot of fun to mess around with goopy stuff, like thick paint. It’s really hard though, to stop playing when you apply it to the painting. Explain that the painting technique today, needs one short stroke at a time, and that smashing it all around and enjoying the goopiness, is what we do with play dough, not paint.
You can have a stir-and-play time before you paint, so everyone gets a chance to get that out of their system, and ensures that you keep the play-time in the bowl, not on the painting.
Wild splattering – Gentle, gentle, gentle. The way to tap the brush against another brush handle to make a splatter, is gently. You can tap harder if the paint doesn’t come off enough, but keep the brush down in the cardboard box the whole time. See step 2.
ART WORDS
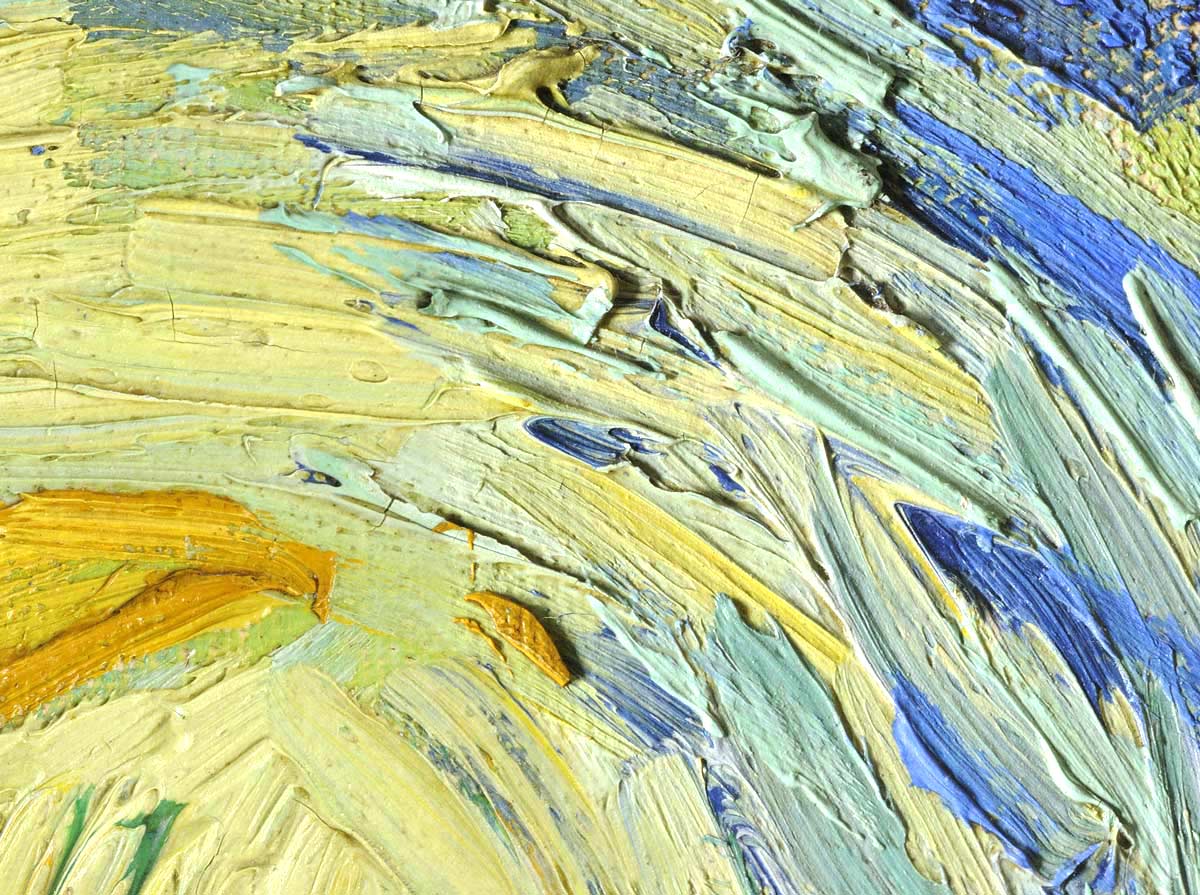
Impasto – Paint that is left thick and pasty on the painting so that you see ridges, globs and brush strokes. You can hear the same kind of word sounds in pasty and impasto.
Technique – The way you move and work when creating art is what makes an artistic technique. Using a lot of paint and not pressing down with your brush, will leave thick stokes and will create an impasto technique. Using many short brush strokes is a technique that Vincent Van Gogh used.
CLASSROOM
PREP
What your room needs
Here are your printable lists and room prep instructions.
Opens in new window
CLASSROOM
MATERIALS
- 11×17” Copy Paper
- 8.5” x 11” Card Stock
- 4B Pencil
- Eraser
- Markers
- Oil Pastels
- Blenders(stumps)
- Paper towels
- White tempera paint
- Flour to thicken paint (if needed)
- Brushes
- Water container
- Cardboard box
- Safety Goggles
- Smocks
- Acrylic paint
- Sink
- Cleaning wipes
- Waste Baskets
- Camera or camera-phone
STANDARDS For Teachers and Tutorials
SUBMIT YOUR SUMMARY
Copy and paste the text below to send your abbreviated lesson plan with national standards and learning targets to your supervisors and colleagues. Or access the WORD doc by using the blue button below.
– – – – – – – – – – – – – – – – –
Week of April 27 – May 1
OVERVIEW:
Students enjoy working with two fun ways to create stars. Realistic star patterns are made by splattering white paint on a dark paper background, and expressive stars are made with thick paint and by copying Van Gogh’s Starry Night. If time, early finishers get to make a star logo for themselves.
NATIONAL STANDARDS:
Grade K
Grade 1
Engage collaboratively in exploration and imaginative play with materials.
Grade 2
LEARNING TARGETS:
Students know how to make stars using a splatter-paint technique
Students know how to paint using an impasto painting technique
LESSON PLAN:
1. Warmup (15 minutes)- Artists’ Choice
2. Splatter Scatter (15 min) – Make Realistic Stars
3. Thick Paint (15) – Teach talk on impasto technique
– – – – – –
Break – end of part one if dividing into 2 sessions
4. Painted Swirls (30) – Paint Van Gough swirls on paper
5. Star Logo (10) – Everyone makes their own name and star logo!
6. Clean Up (5) – Everyone helps
Tap the Plus Icon (above right) to open STANDARDS information, including an Overview, Learning Targets and a Syllabus. Copy and paste to send to your Administrators or use the button below to download a Word document with the same information that you can add your info to and email to them as an attachment.
PREVIEW
Week 36: Big Box Painting
May 4 – 8
Students will cover a large cardboard box with butcher paper and masking tape, and then they paint it as a group, making up things along the way but collaborating so the box has a theme. Then we finish with artists’ choice in watercolors or oil pastels.
Week 37: Party Animals
May 11 – 15
Our last class of the year has students going to an animal party. Using blank masks to pretend they are animals, then everyone finds reference and paints their mask to match a chosen animal. Pretend play and a game take the middle of the class time, and then there is a marker drawing project of animals having a Summertime party.