
OVERVIEW
After learning about cartoon Big Shapes and Symbols, students enjoy being silly by combining different ideas into a character and then painting the final cartoon.
– – –
Grades 1 – 2
1 Hour & 30 Minutes
SCROLL & TEACH LESSON PLAN
Don’t worry about anything. Just spend a few minutes reading the lesson plan and printing out your PDFs. Then check out the READY, SET, GO! section and print your prep-page, which includes checklists and an “at a glance” outline of the lesson so you can stay on track when you’re teaching. Set out the materials from the list on your prep page and you’re ready.
That’s all you need to know. Every Step is a different color. Just use your device to Scroll & Teach!
Art Supplies Are Needed
Our lessons are designed to work with very specific supplies (see our supplies page using the button below). We recommend ordering what you need for home delivery. However, you can try and make do with what you have on hand during the health crisis.
Lesson At A Glance
A brief overview of each step. Buttons jump to each section for detailed information.
Optional – Greetings and artists’ choice with markers
15 Min – 3 cartoon shapes
15 Min – Cartoon symbols
15 Min – Mix up different ideas into one
25 Min – Watercolor your cartoon
5 Min – Everybody helps clean the room
SCROLL & TEACH
LESSONPLAN
Each section is a different color. Read over once and then you can SCROLL & TEACH using any device you like. It’s designed to work best with your phone.
STEP 1. Warm Up - Optional
A quick drawing can help students move into a lesson in a relaxing wayTap the button below to start a timer in a new tab/window.
draw
M A T E R I A L S
- 14″ x 17″ Sketch Paper
- Ebony Pencil OR
- Compressed Charcoal
- Stretchy Eraser OR
- White Eraser
Have several large and medium sized objects set out and available to sketch. You can use items such as:
- A suitcase
- A chair or stool
- Basketballs
- A cooler
- Toys
- Kitchen items
Students should be standing and drawing in their large sketch pad (we use 14″ x 17″ ones). Remind them to use arm movements rather than just their wrist. Sketches should be fast, loose, and fun, but students should be observing carefully, and working towards accuracy, instead of just playing around.
M A T E R I A L S
- 8.5″ x 11″ copy paper
- 2B Pencil
- White erasers
2.1 Print
Reference
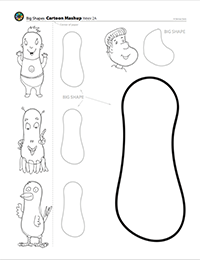
3 Big Shapes
print one for each student
Hand out reference prints. Explain that these are not for drawing on.
1 Page – Opens in new window
Look
Students trace with their fingers. Ask everyone to use their finger, not their pencil, and trace around the light gray lines. First trace the open shapes, and then trace one of them that is “underneath” one of the cartoons, such as the bird.
“These light gray lines are the Big Shapes of each cartoon. Sometimes there is one big shape, and sometimes there are 2 or 3.
Big Shapes are not the cartoon. They just help you know how to draw it before you think about the details. If you were going to draw a basketball, you wouldn’t think about a leaf shape. You would imagine a circle before you drew it. However, if you were going to draw a football, you would think about a leaf shape!
Notice that our peanut shape can be the big shape of 3 totally different cartoons.”
2.1 action
Students draw a cartoon using the Big Shape. Use a sheet of copy paper and place over the handout so that the left side of the paper with the small cartoons can be seen, but the Big Shape on the right is underneath the new sheet. They should be able to see the Big Shape through the paper just enough to use it as a guideline.
The handout has a dashed guideline for the left edge, and an arrow showing where the top left corner should go. See the graphic below.
Have everyone draw one of the cartoon ideas as shown on the left, but larger, using the Big Shape as their guide for the size and shape of the body. Use a pencil, and erase if needed.
Trying some of their own ideas is a great approach. Drawing exactly like they see it is fine too. Most kids will trace the shape exactly, and then add to it.
Prepare
M A T E R I A L S
-
- Cartoon Drawing from STEP 2
- 2B Pencil
- White erasers
- Drawing display*
* A display for drawing as you talk, such as
- Whiteboard
- Chalkboard
- Large paper pad on an easel (hard to make changes).
- Traditional overhead projector
- Digital drawing display using a device and maybe a special app.
Talk
Draw ideas as you explain how symbols are used. You should look over the slides below so you have an idea how to do this. In a pinch, you can display the slideshow as you talk, but drawing it yourself is much more engaging.
“Here is a cartoon character. What if I want to make him look confused? With cartoons, it is very common to see the artist place a symbol over the head of a character. Well, when someone is confused, they usually have questions, so I can put a question mark over its head, like this. I also need to take his smile away, because confused people are not usually smiling.
Now my cartoon looks confused. Another symbol for confusion is to add worried eyebrows, like this.
If I want to make a character look surprised, I need large open eyes and a symbol over the head. I can use an exclamation point, like this, and I can also use lines around the head like this.
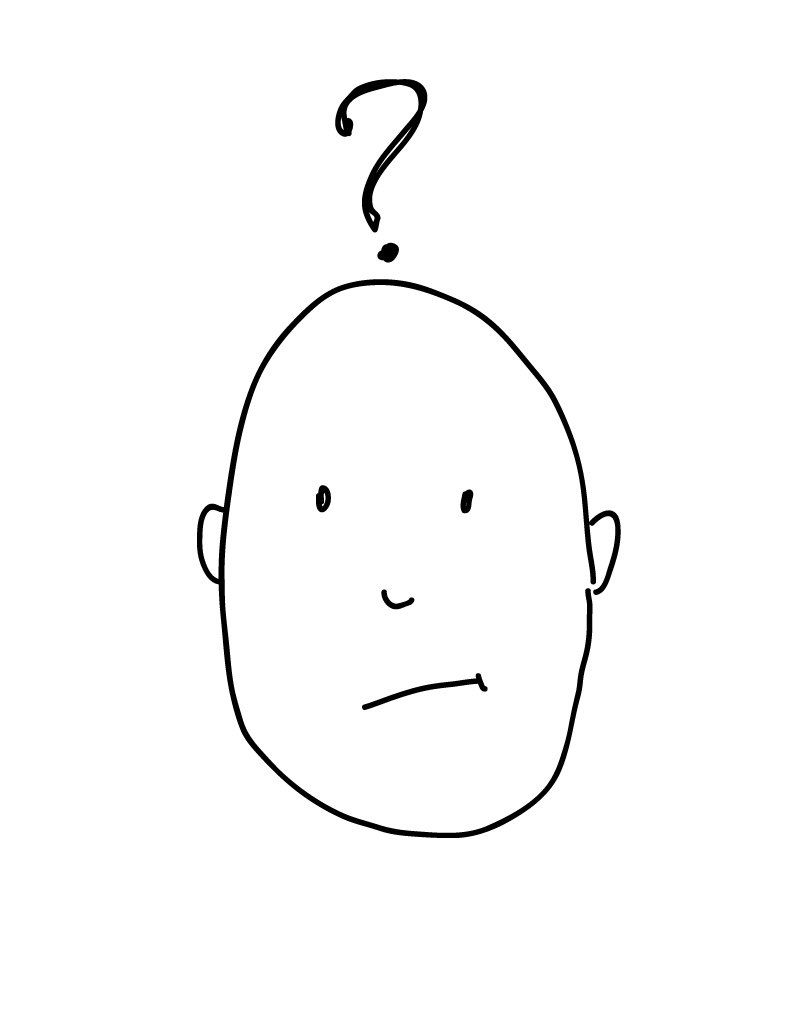
Symbols add action and meaning to your cartoons. Now make your cartoon look confused with the question mark and the worried eyes.
Adding symbols to cartoons (tap any image to open viewer)

A basic cartoon face
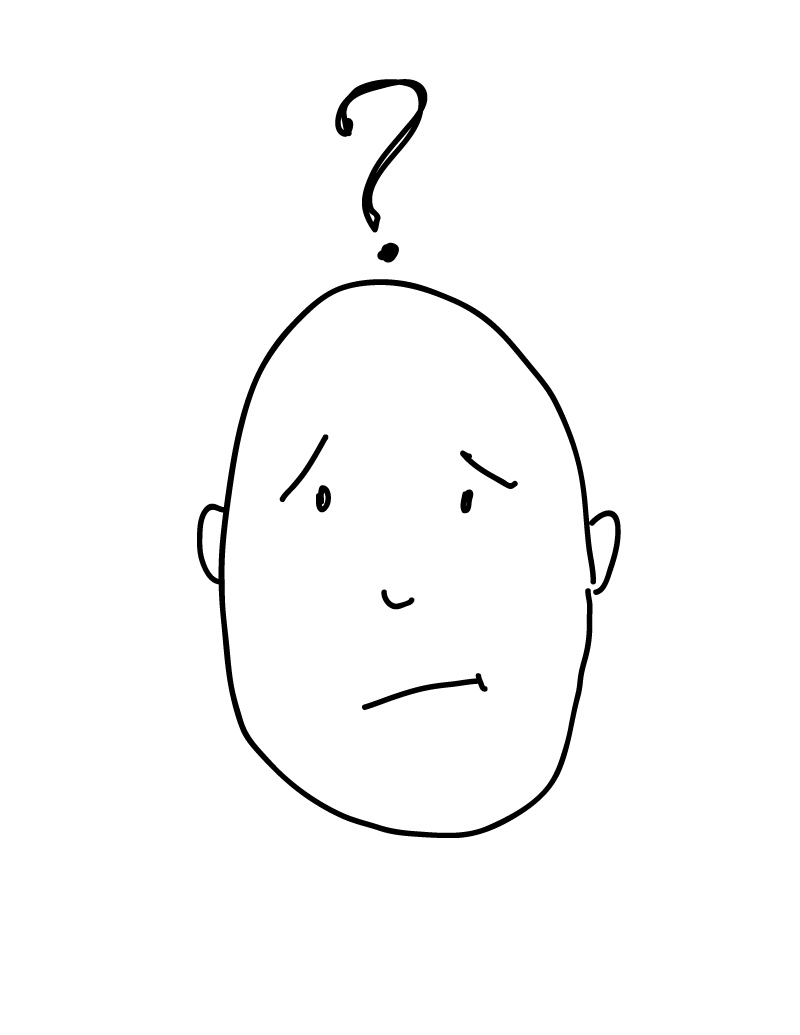
Worried eyes are another symbol that adds confusion
Adding a question mark symbol (and changing the mouth), makes it look confused
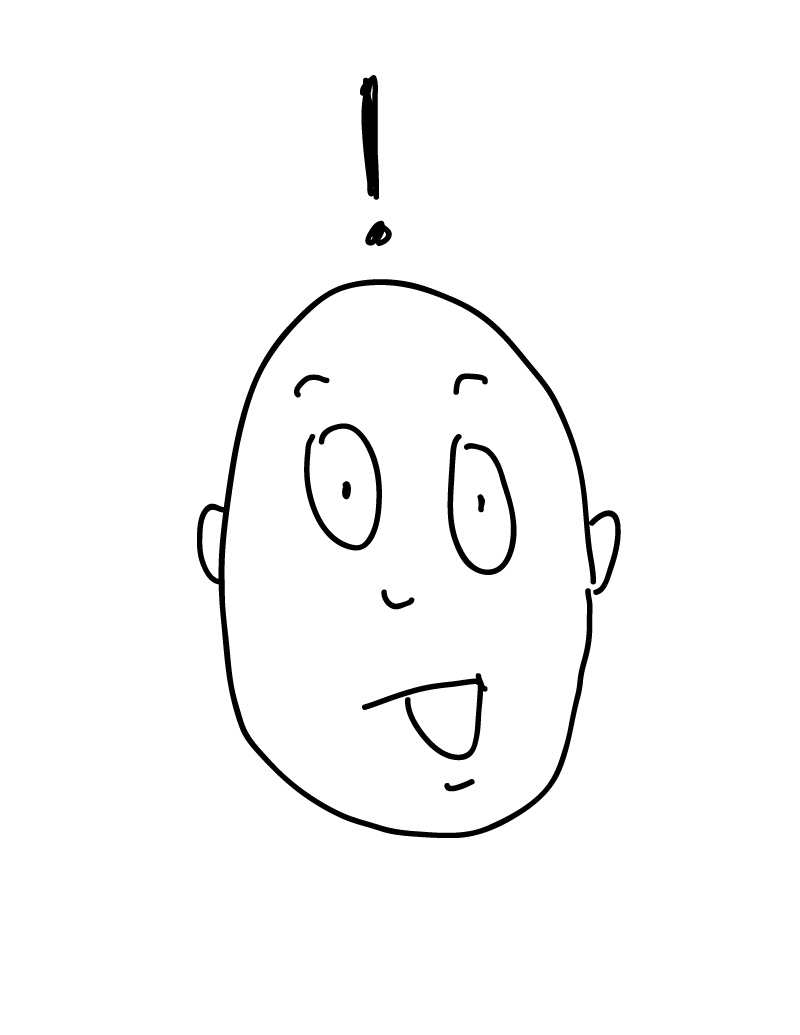
Open eyes and mouth, along with the symbol of an exlamation point, makes the character look surprised now
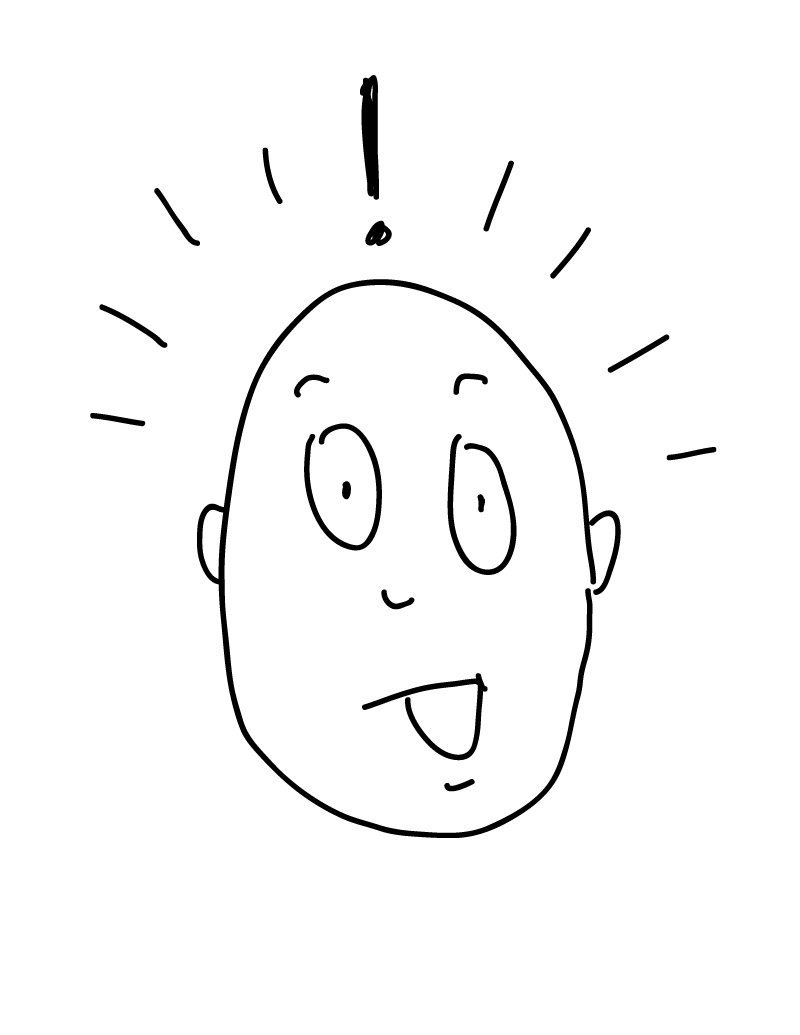
Glowing lines are another symbol that makes it look even more surprised
M A T E R I A L S
-
- 11″ x 15″ watercolor paper
- 2B Pencil
- White erasers (try not to have too much erasing on the special paper)
Watercolor paper has a special coating on it that allows the paint to stay on the surface before sinking in. It makes watercolor more fun to use, and it looks much better when finished.
You can substitute heavy paper such as card stock, but it won’t have this coating, and will show some streaks and overlapping colors.
REference
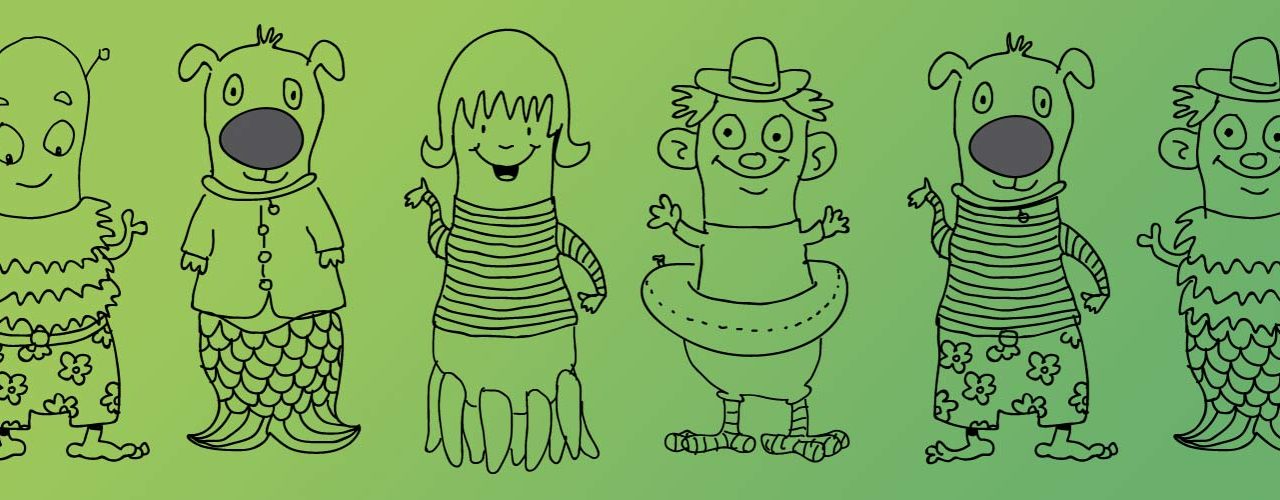
Cartoon Mashup!
print enough so each student can have one or for two studenst to share

1 Page – Opens in new window
Shape
Start by drawing the Big Shape much, much bigger than shown and very lightly. We’re using the same Big Shape that looks like a tall peanut, that we traced over before. This cartoon should fill the page.
Tell your students that a Big Shape should be light, like when we saw through the paper. See if they can try drawing the big shape with light lines, but don’t worry about it. At this age they probably cannot. It’s just good to get them thinking about it.
Choose an idea for the top part of the character. Draw their chosen idea. Students can draw one of the examples as is, or they can make up their own drawings.
Explain to them that as we go down the character, we can mix the character parts! It’s a Cartoon Mashup!
Choose an idea for the middle part. It can be any one of them for a Cartoon Mashup! Students draw the one they like. This should be really fun and silly.
Choose an idea for the bottom. Draw any one of the ideas.
Choose extras to add to the character. Draw more funny ideas as time allows.
Early finishers should draw some background.
M A T E R I A L S
- 11″ x 15″ watercolor paper
- Pans of watercolors
- Disposable trays/plates
- Brushes – All sizes
- Water containers
- Water droppers
- Paper towels
- Smocks
paint
Enjoy the painting time! Help students hold their brush at an angle and to be gentle with it if needed, and show them how to get paint by adding lots of water and rubbing the brush gently over the cake.
Mix new colors using warm colors together, or cool colors together. Use a divided disposable tray or plate to mix new colors.
Wipe and wash brushes before moving to a new color to keep them from getting muddy (young students don’t usually like dull colors). Dull colors are made by mixing a hot color with a cool color, so help your students be careful to keep the brush clean in-between these colors.
CLEAN
- Wash hands
- Super-wash brushes if used
- Put art supplies away
- Wipe tables & toss trash
- Remove any smocks (last)
- Check for items on floors and tables
%
Insights
This lesson provides understanding
%
Technique
This lesson shows application and movement
%
Self Expression
This lesson allows personal freedom
OBJECTIVES
- Practice and improvement in visualization
- Understanding how Big Shapes are used in artwork
- Accomplishment in drawing and painting a cartoon
- Fulfillment by creating ideas, choosing ideas, and painting their own colors
TROUBLESPOTS
Mixing colors without washing in-between will darken and dull colors. It will also make the color cakes in the watercolor pans dirty or muddy-looking.
ART WORDS
Watercolor Paper – special paper with a coating that temporarily repels water just a bit.
Big Shapes – The large simple shapes that help an artist know how to draw cartoons and objects better.
ROOMPREP
Have all the supplies ready, and look over the demo in STEP 2 so you can show your students how to hold a brush and apply paint in different techniques.
Print all of your PDFs from the lesson plan as needed.
What your room needs
Here are your printable lists and room prep instructions.

Opens in new window
CLASSROOM
MATERIALS
-
- 11″ x 17″ copy paper
- 2B Pencil
- Markers
- Smocks
- 8.5″ x 11″ copy paper
- White erasers
- Drawing display*
- 11″ x 15″ watercolor paper
- Pans of watercolors
- Disposable trays/plates
- Brushes – All sizes
- Water containers
- Water droppers
- Paper towels
- Spray bottles
* A display for drawing as you talk, such as
- Whiteboard
- Chalkboard
- Large paper pad on an easel (hard to make changes).
- Traditional overhead projector
- Digital drawing display using a device and maybe a special app