
[su_panel background=”#dbddcd” color=”#000000″ border=”1px none #cccccc” shadow=”0px 0px 0px #eeeeee” radius=”1″]Slideshows and videos are in many of our lessons, but we also publish each one separately so you can find them without wandering through old posts aimlessly. Just enter text into the “search the site” field over to the right, for something you remember. It can be something that was in the photos or written in the text.
Slideshows are presented as a vertical stack of photos with captions, which are easy to zoom in on using your fingers to pinch on a touch screen or touchpad. Just scroll down to advance.[/su_panel]
Description
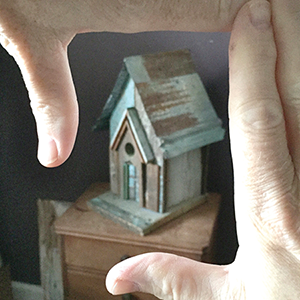
Using two hands and closing one eye, you can quickly see how a live subject can fit into the rectangle of your paper or canvas. This slideshow gives you the view from the artist’s eye so you can do this classic technique.
[su_panel color=”#6db406″ border=”2px dotted #cccccc” shadow=”0px 0px 0px #eeeeee”]
[su_icon icon=”https://homeschoolingart.com/wp-content/uploads/2015/11/Slideshowicon.png” background=”#373732″ color=”#6db406″ text_color=”#373732″ size=”60″ shape_size=”0″ margin=”0px 0px 0px 0px”][/su_icon] S L I D E S H O W
[toggle title=”Hand Framing • Tap to open – Scroll to view – Pinch to zoom” state=”closed”]
1. Use your two hands in L-shape to make a frame around your subject
[su_divider top=”no” divider_color=”#373732″ size=”1″ margin=”5″]
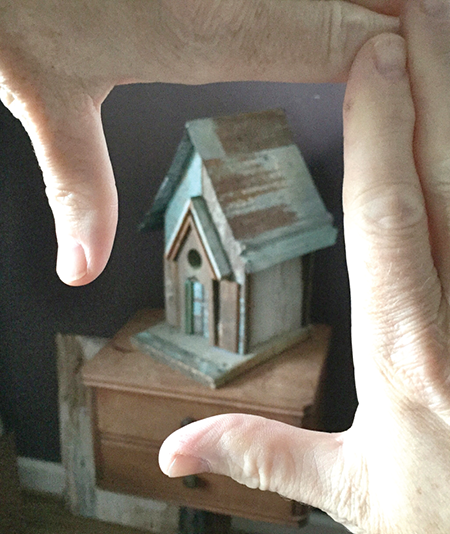
2. Visualize the rectangle. Is it the same proportions as your paper?
[su_divider top=”no” divider_color=”#373732″ size=”1″ margin=”5″]

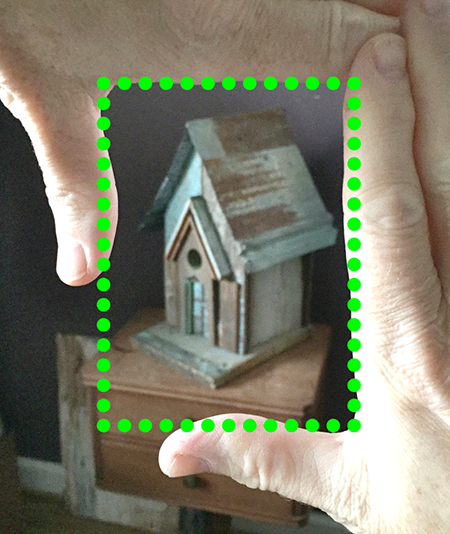
3. Look to see where the subject interacts with the frame
[su_divider top=”no” divider_color=”#373732″ size=”1″ margin=”5″]
[/toggle]
[/su_panel]