
Color
Each lesson Plan focuses primarily on one of the 4 Cornerstones of Art:
Drawing | Painting | Color | Style
OVERVIEW
Students begin with a quick warmup sketch of some fall gourds. Then we have our first Color Journal of the year, with purples. This will leave some time at the end to begin planning our next project, Little Patches Watercolors. Students choose a grid pattern and start thinking of ideas for what to draw and paint in each small box of the grid. We'll paint these over the next two weeks.
Grades 3 – 5
Week of November 3 – 7
1 Hour & 45 Minutes
Lesson At A Glance
A brief overview of each step. Buttons jump to each section for detailed information.
60 Min – Demo & Do Color Journals
5 Min – Show samples of project
12 Min – Draw grid layout on watercolor paper
15 Min – Design thumbnails, watch DEMO
3 Min – Check for personal items
Key Points
- Understand how pigments change when combined, and how to push your color mixes towards many different kinds of purples. Save all your COLORJournals for reference.
- Learn about a new project, how to plan for it, & have a week to think about your ideas.
SCROLL & TEACH
LESSONPLAN
Each section is a different color. Read over once and then you can SCROLL & TEACH using any device you like. It’s designed to work best with your phone.
LEARNING TARGETS

Students know that quick sketching as a warm-up is important
M A T E R I A L S
- 14″ x 17″ Sketch Paper
- Pencil
- Pastel
- Charcoal
Usually there are bags of small decorative gourds in the stores this time of year that are not too expensive. Use ambient lighting instead of overheads.
1.1 draw
Use black only at the end. Early finishers can use the gourd shapes to draw funny cartoon faces and/or body shapes.
1.2 display


CREATIONS - tap here to open
Use the Student Instructions printout below to distribute to your Creations students. Tap the image to open the PDF in a new window.
Watercolor Painting
Overview: Advanced students have a choice of re-doing the grid design like you did 2 years ago, or to move up to a more advanced version of the technique, with the project below.
Watercolor Project
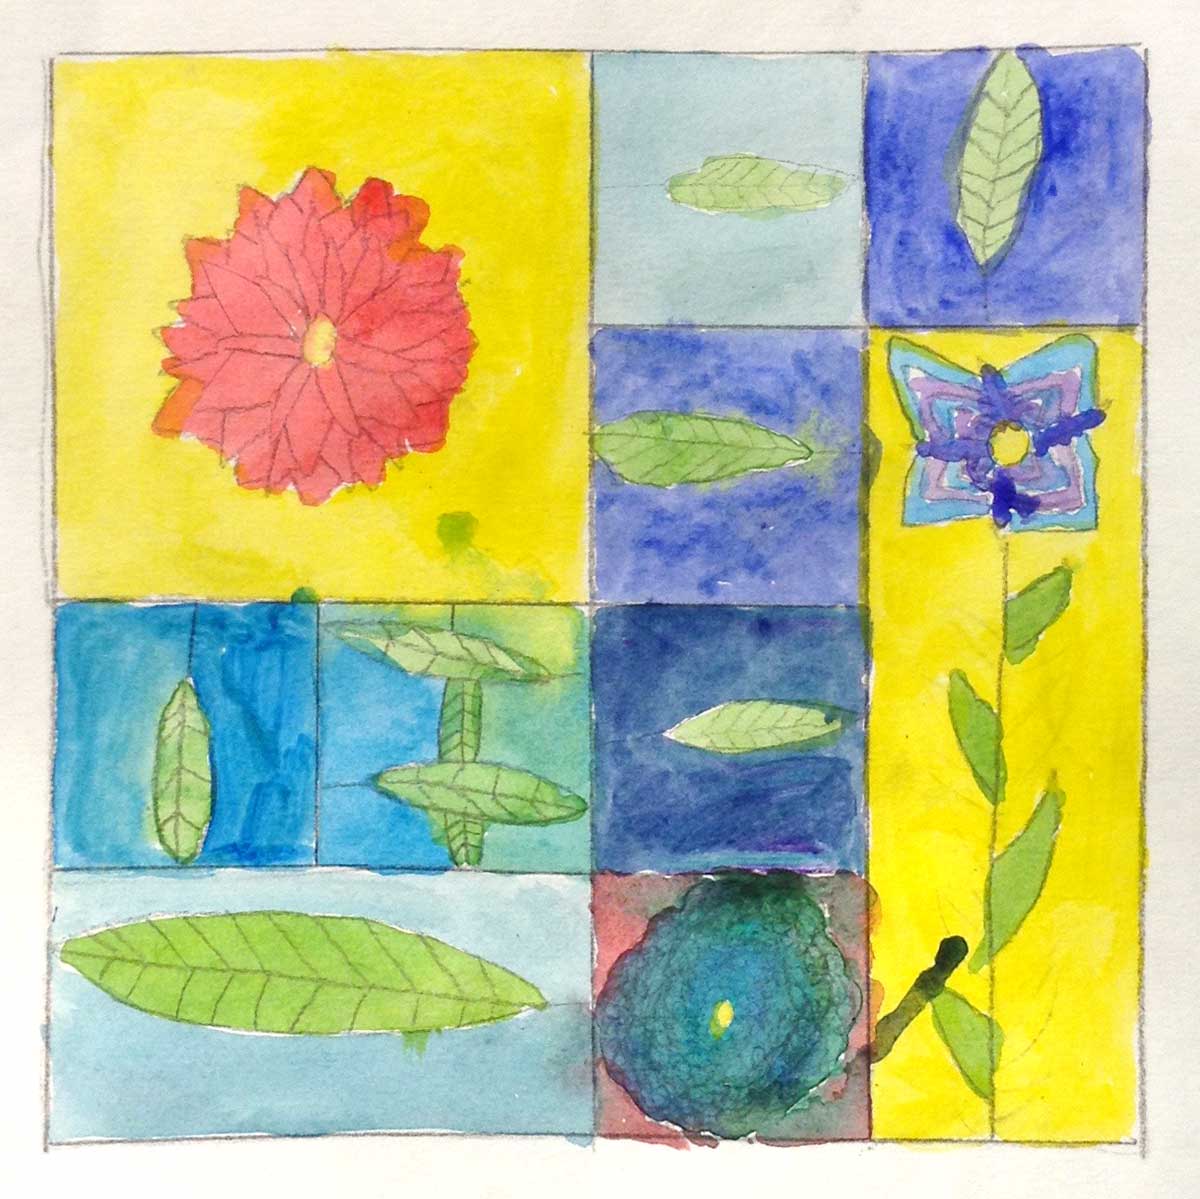
Select a single subject matter for a small patches (glazes) technique. This doesn’t need to be in a grid, but will be a regular painting. It should have small areas of color and shape, and not have any large background areas (such as a sky, a wall, or a table). A close up is good for this.
The subject should “float” on the white paper. Flowers, still life, or small intricate architecture works well. There is a reference sheet to print below, if you need it.
Once the subject is chosen, 3 to 6 thumbnails should be drawn for composing the work. Create an obvious emphasis – the Most Important Spot.
Choices: Frame shape & orientation, Natural vs expressive colors, realism vs expressionism. These are up to you to choose how you want, but the work should retain the small shapes so that it is painted using many small patches of watercolors. There will be several weeks to design, draw, and paint the work.
Tap images to open Creations Student Instructions and Reference Materials in new windows

Use this button to jump down to the preparation section.
LEARNING TARGETS
Students will know how to mix towards purple colors.
M A T E R I A L S
- Palette pad
- Medium sized brush
- Acrylic paints – unopened
- Water tub
- Paper towel
- Palette knife (optional)
2.1 Print
Journal
Purples
Print on card stock.

1 Page – Opens in new window
2.2 DEMO
Go slowly, and emphasize these points:
- Very Important: Do not squeeze out paints like when you are doing regular painting.
- Mix only on your palette pad.
- Squeeze chocolate chip sized paint dots.
- Make the number of dots shown, do not estimate, ie; make one big blob instead of 2 or 3 chips.
- Squeeze chips NEXT to each other, never on top of each other. NEVER!
- For partial chips, squeeze it out in another area, and then use a brush or palette knife to divide it, and bring the portion over to your mix.
- Mix the entire set of chips together.
- Keep the mixing area small to prevent drying out.
- Use a medium-sized brush
Then demo, following these steps:
- Look under first box on first row, and prepare your paint mix as indicated by the dots.
- After fully mixing, paint in the first square, and do not wipe or wash the paint off your brush. You will be using that paint.
- Look under the next box in the row, and squeeze out the number of chips indicated, NEXT to your first mix. Pull that paint into the first and combine thoroughly.
- Continue, emphasizing to not wash brush until the entire row is finished. Then WIPE, WASH, WIPE, and begin the next row. You don’t have to do more than one row.
- The last row is optional if you want to do one more row and you finish up the first 4 quickly.
2.3 Set up
Remember, do not squeeze out any paints at all!
If you do something different than shown, either wait until it dries, and go over it, or just write down what you did. It’s just a journal.
2.4 Journal
“Each row mimicks the way an artist creates a color on their palette and then modifies it over and over to get several variations. Most variations will lighten, or dull the colors. Sometimes they’ll be darkened.
This means you can’t use these as formula sheets to mix an exact color. They’re designed to help you know what direction to push a color, in order to change it towards a desired hue. This allows you to know how to experiment with educated guesses, instead of wandering aimlessly, and you will be able to find tens of thousands of colors this way.”
Use this button to jump down to the preparation section.
LEARNING TARGETS
Students know how to change the frame of their paper.
M A T E R I A L S
- 11″ x 15″ watercolor paper
- 2B Pencil
- Scissors
- White Eraser
3.1 prep
After you do the steps, have students follow along with these same steps.
- Pull one sheet of Watercolor paper out of the pad, pulling from the open corner and at an angle.
- Set paper on table in bathtub position.
- Set the pad on top of the paper, perpendicular to it, and line it up at the top and left edges. Do not let it move.
- Use a 2B pencil to carefully make a line on the paper using the right edge of the pad as a straight edge.
- Put the pad away, and use scissors to cut the leftover strip off of the right side of the paper.
This scrap is important to save, so have students write “TESTING” on the top, and their name, and keep it for next week. It can be saved by placing into the watercolor pad at the very back, between the papers and the cardboard.
Use this button to jump down to the preparation section.
LEARNING TARGETS
Students know how to plan their artwork.
M A T E R I A L S
- Tablet or TV to show past project examples
4.1 discuss
Head up to the top of the page (using the little gray arrow icon to the lower right), and use the “Student Work” section to display past examples.
This project is your choice; Artists’ Choice.
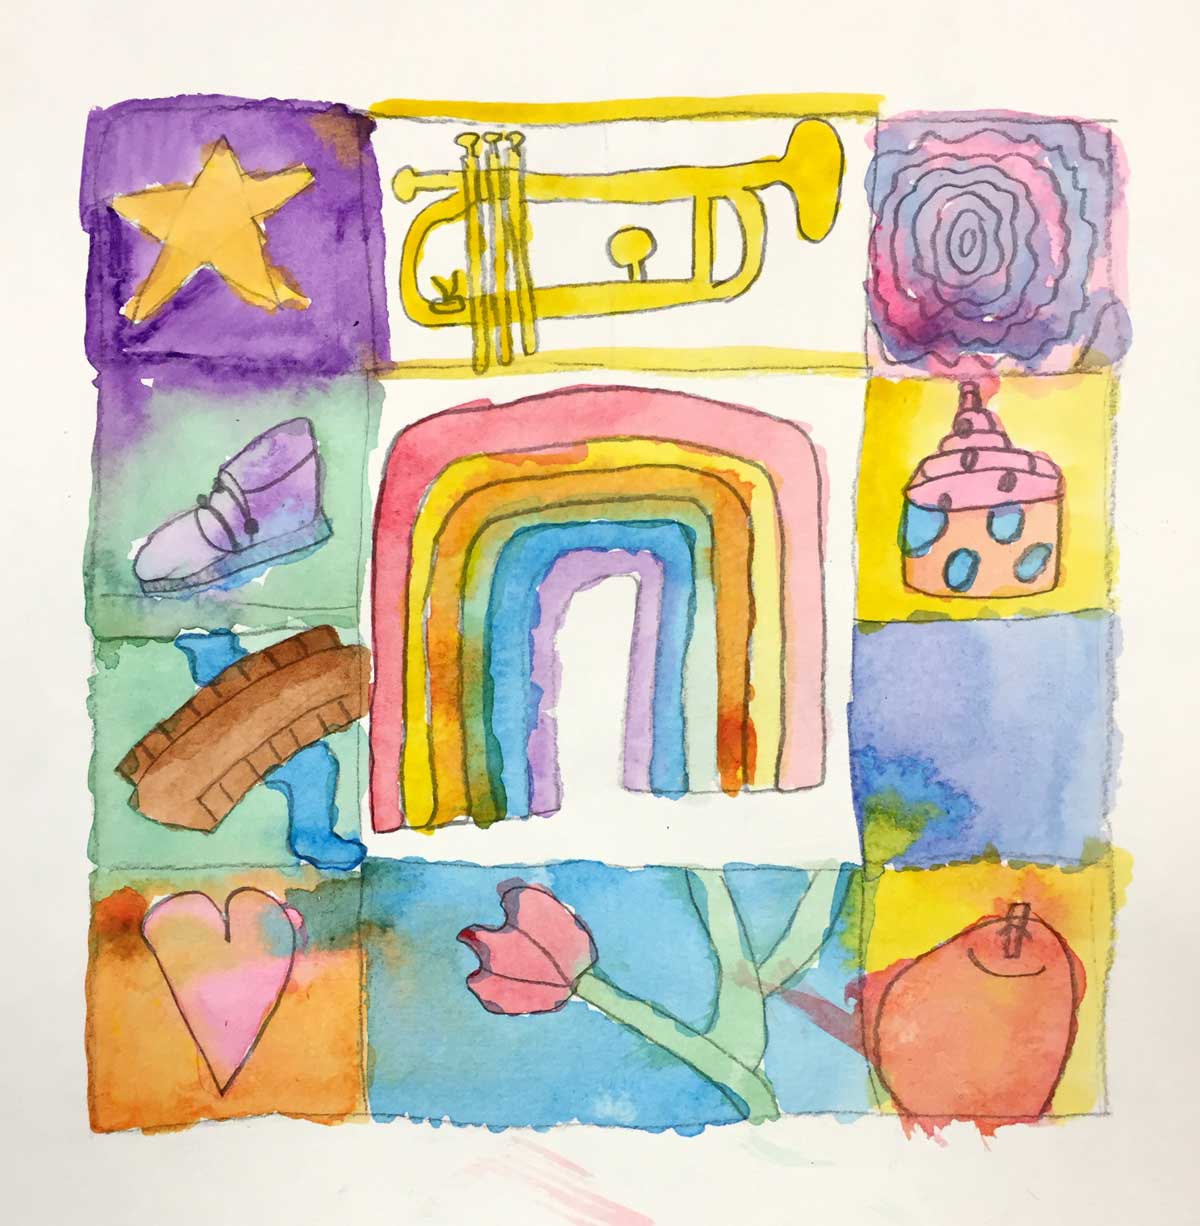
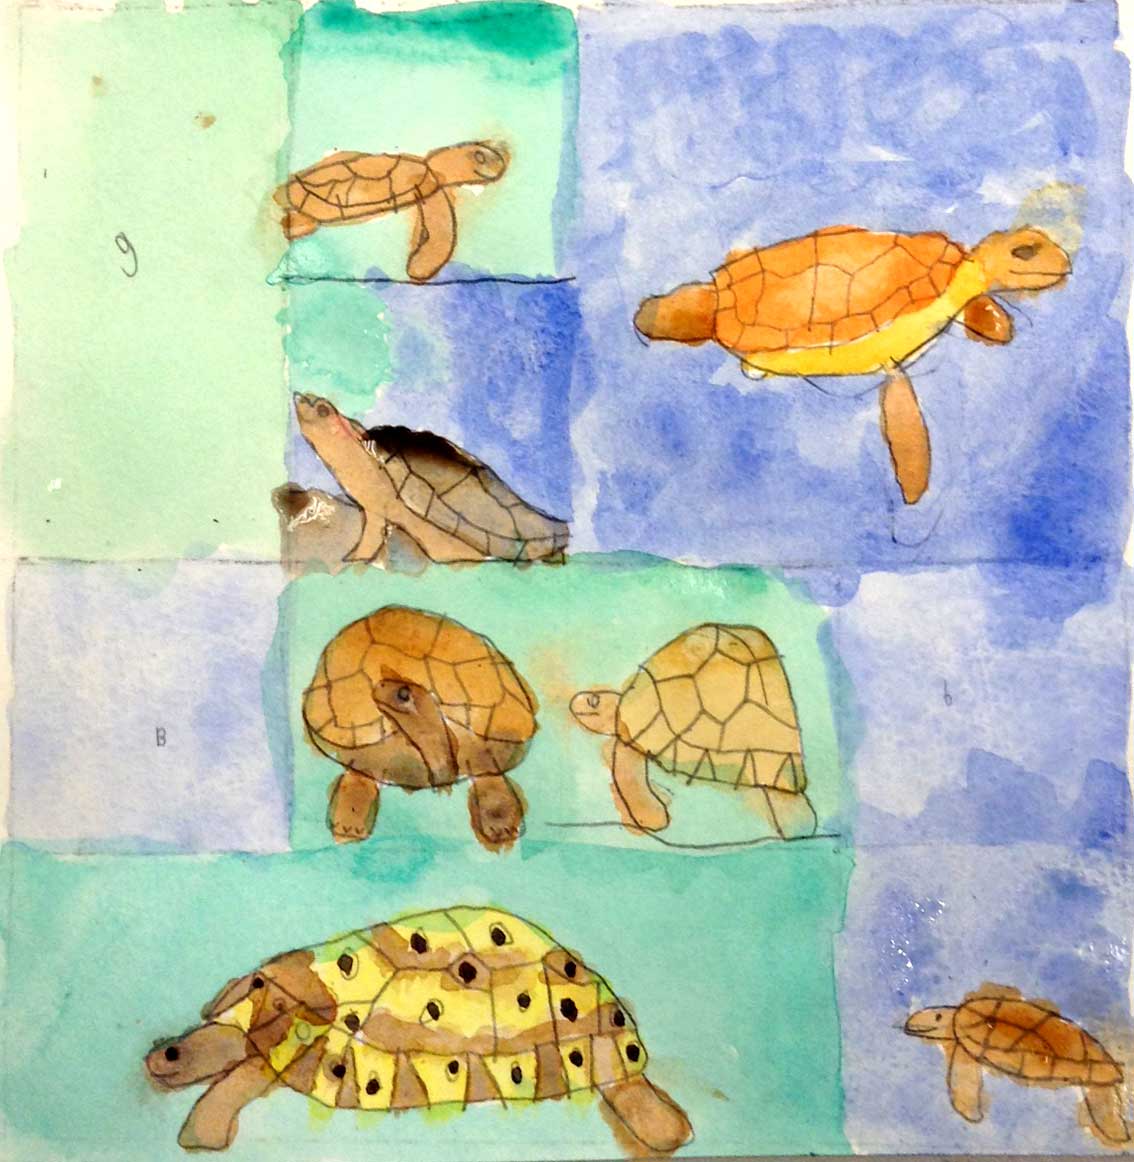
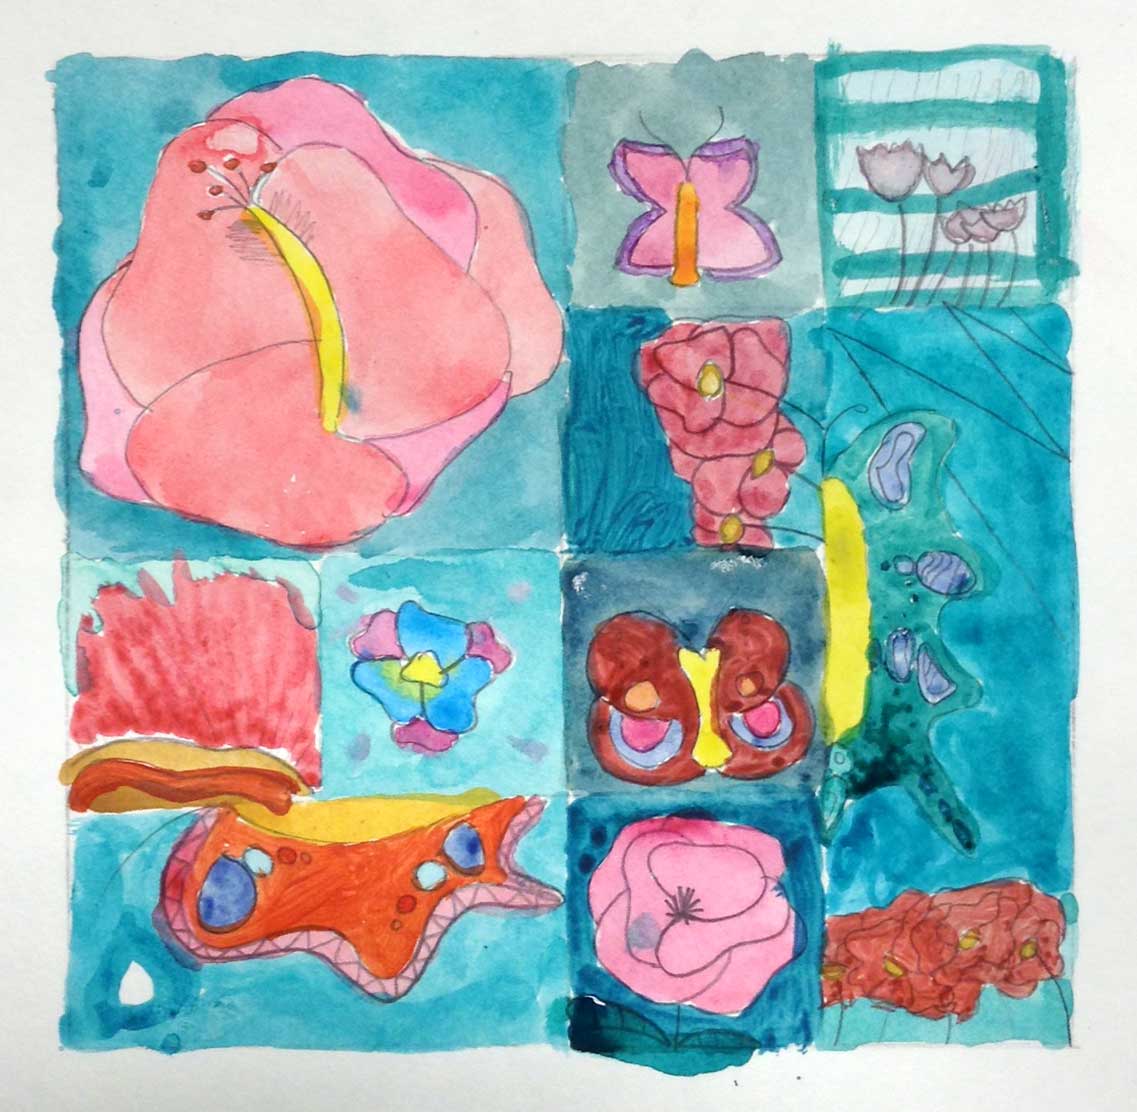
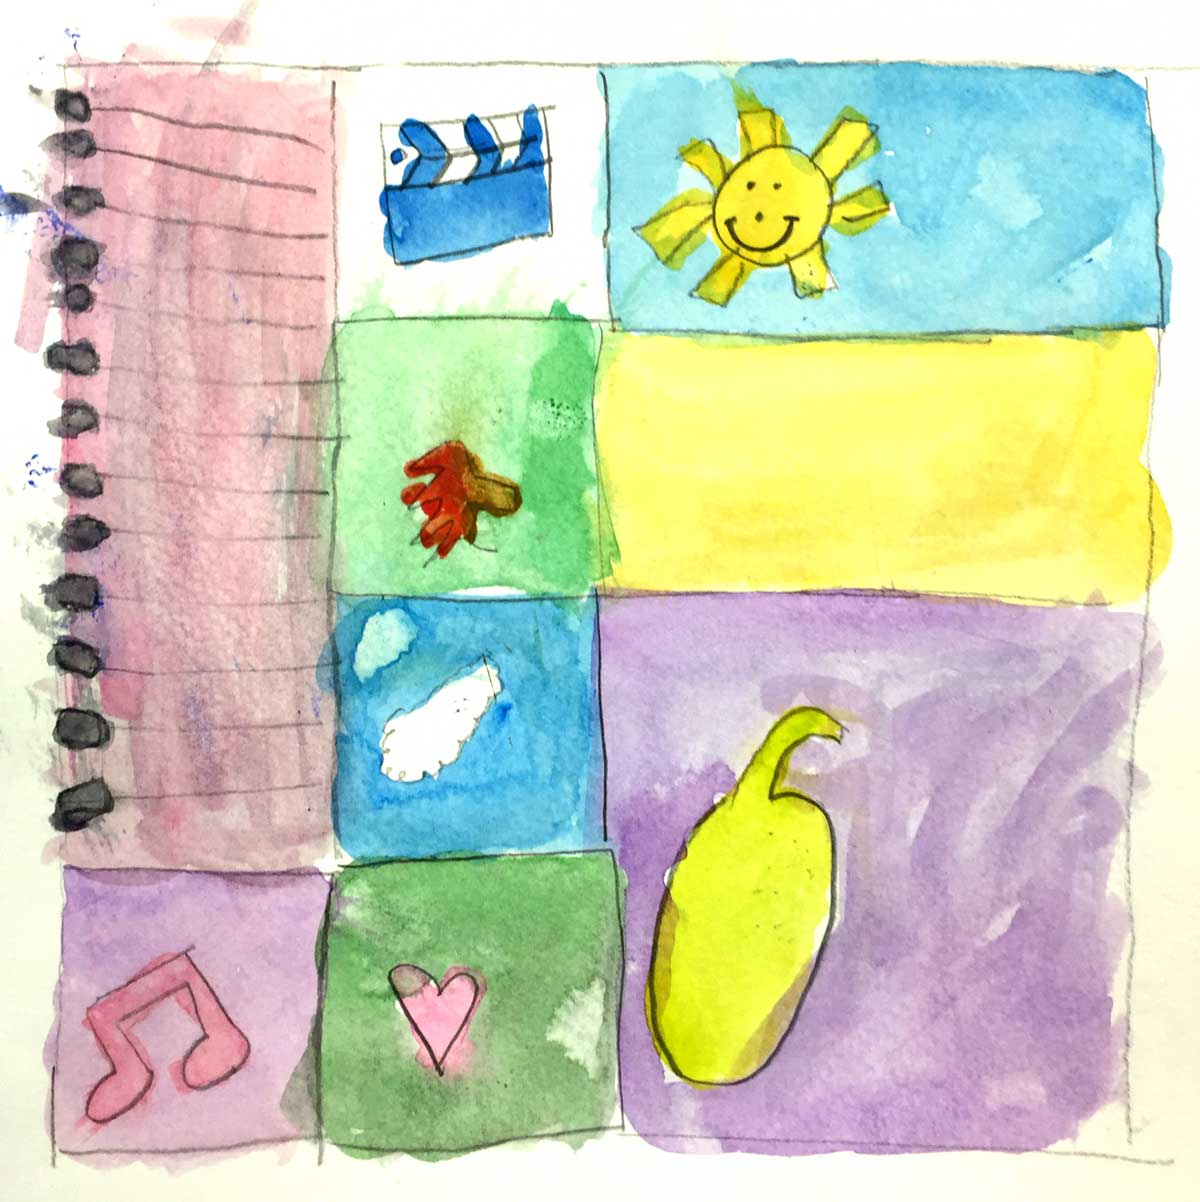
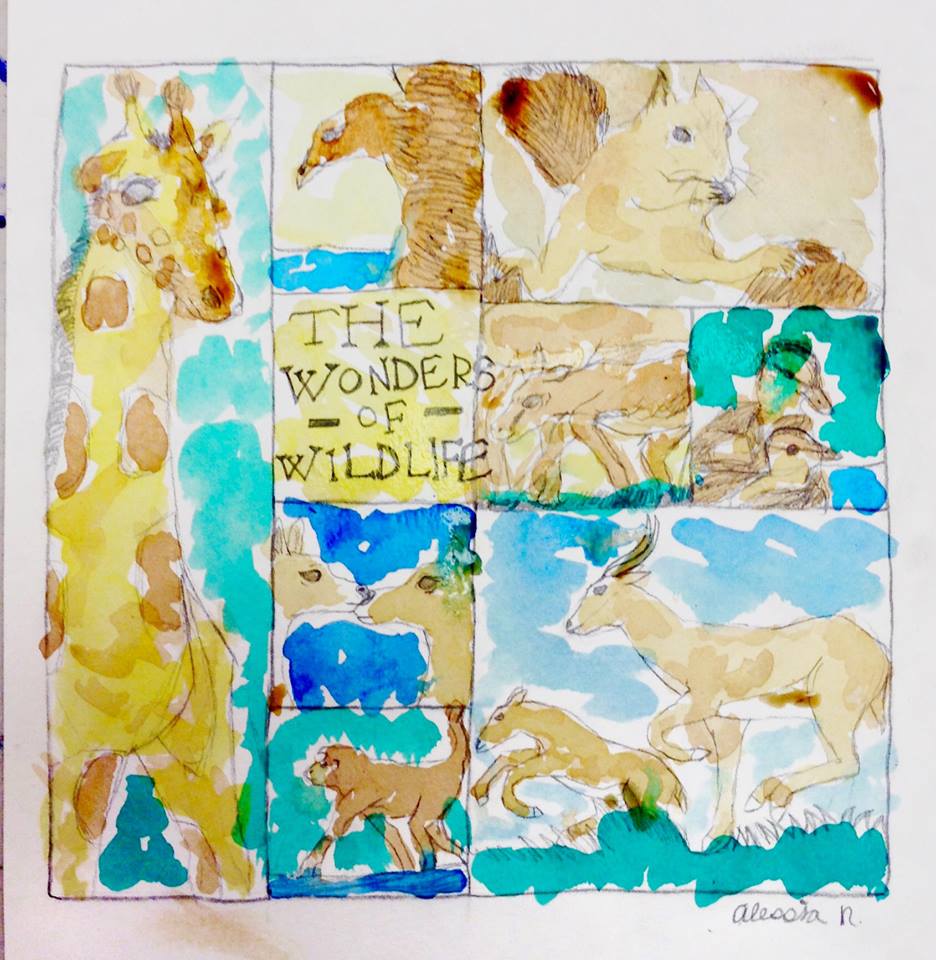
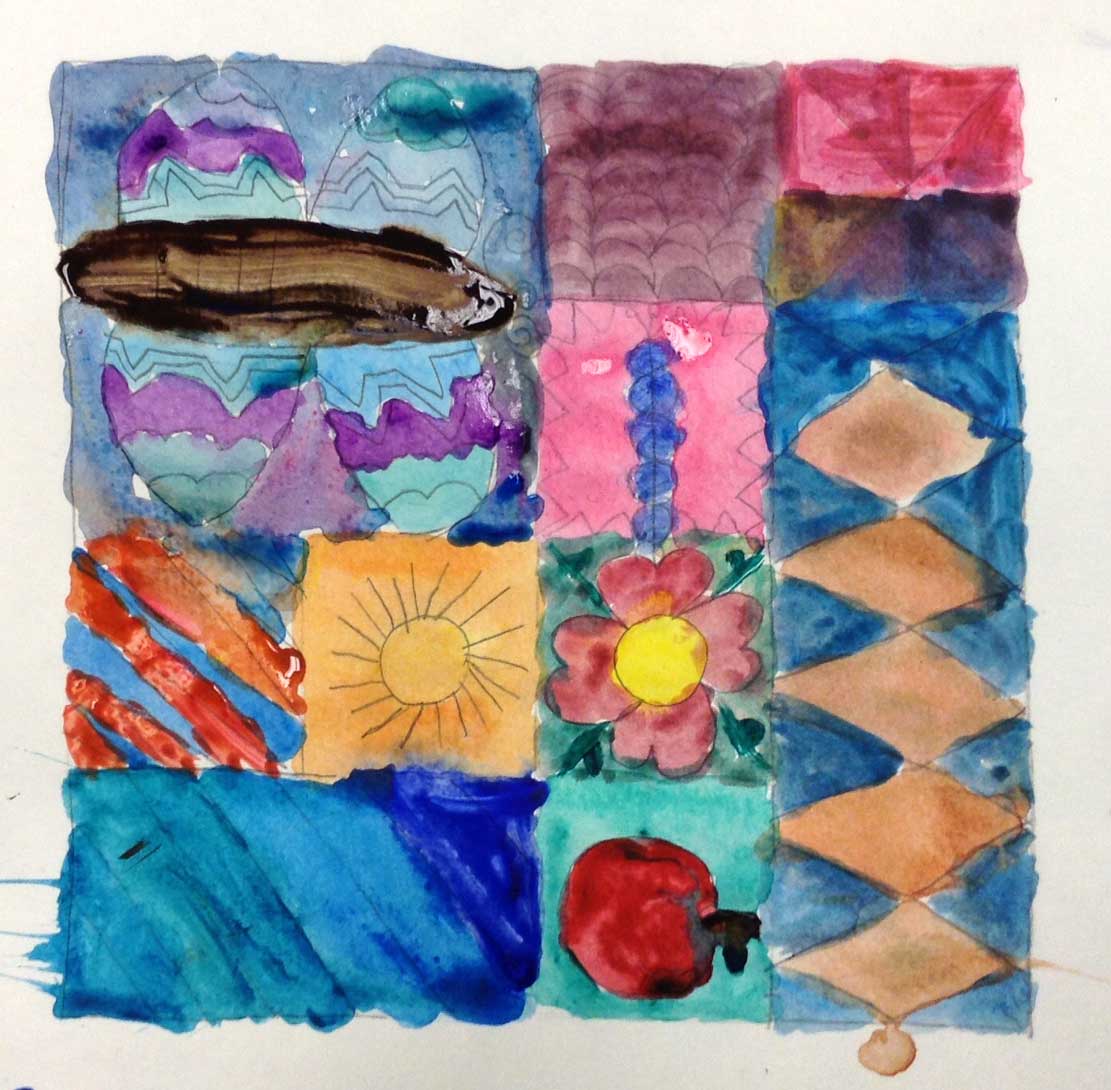
What should you do? This can be hard to figure out, but you can take a few minutes to plan your ideas. You can draw something you see in the room, in some or all of the areas, such as the gourds we drew, or a flower.
One great idea is to make this about your favorite food, or favorite thing you like to paint.
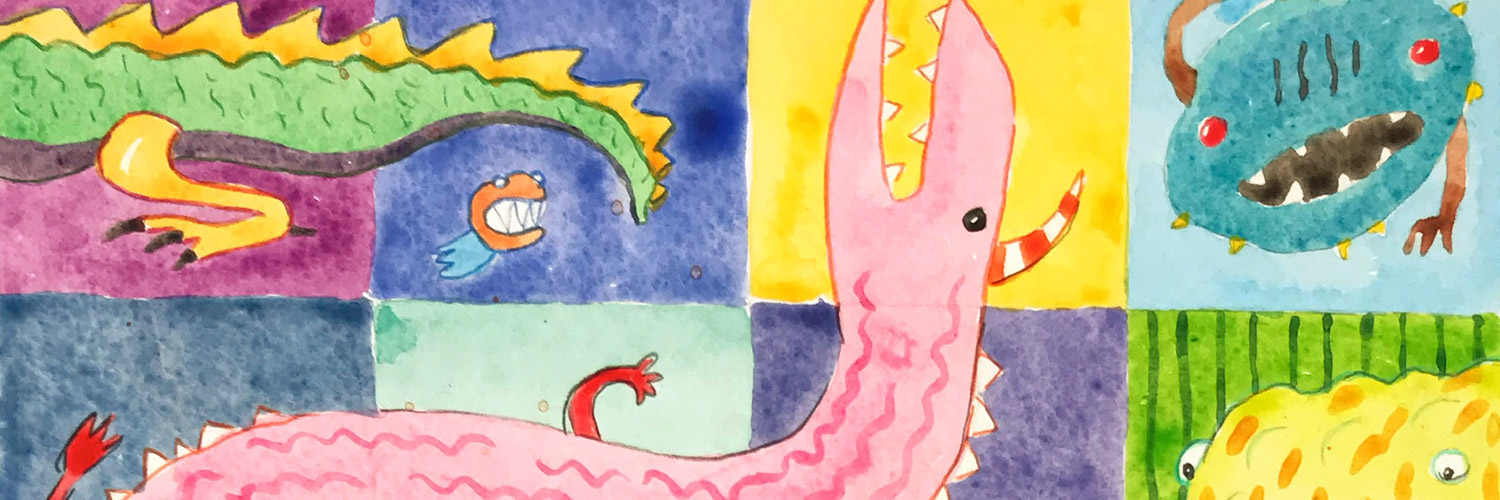
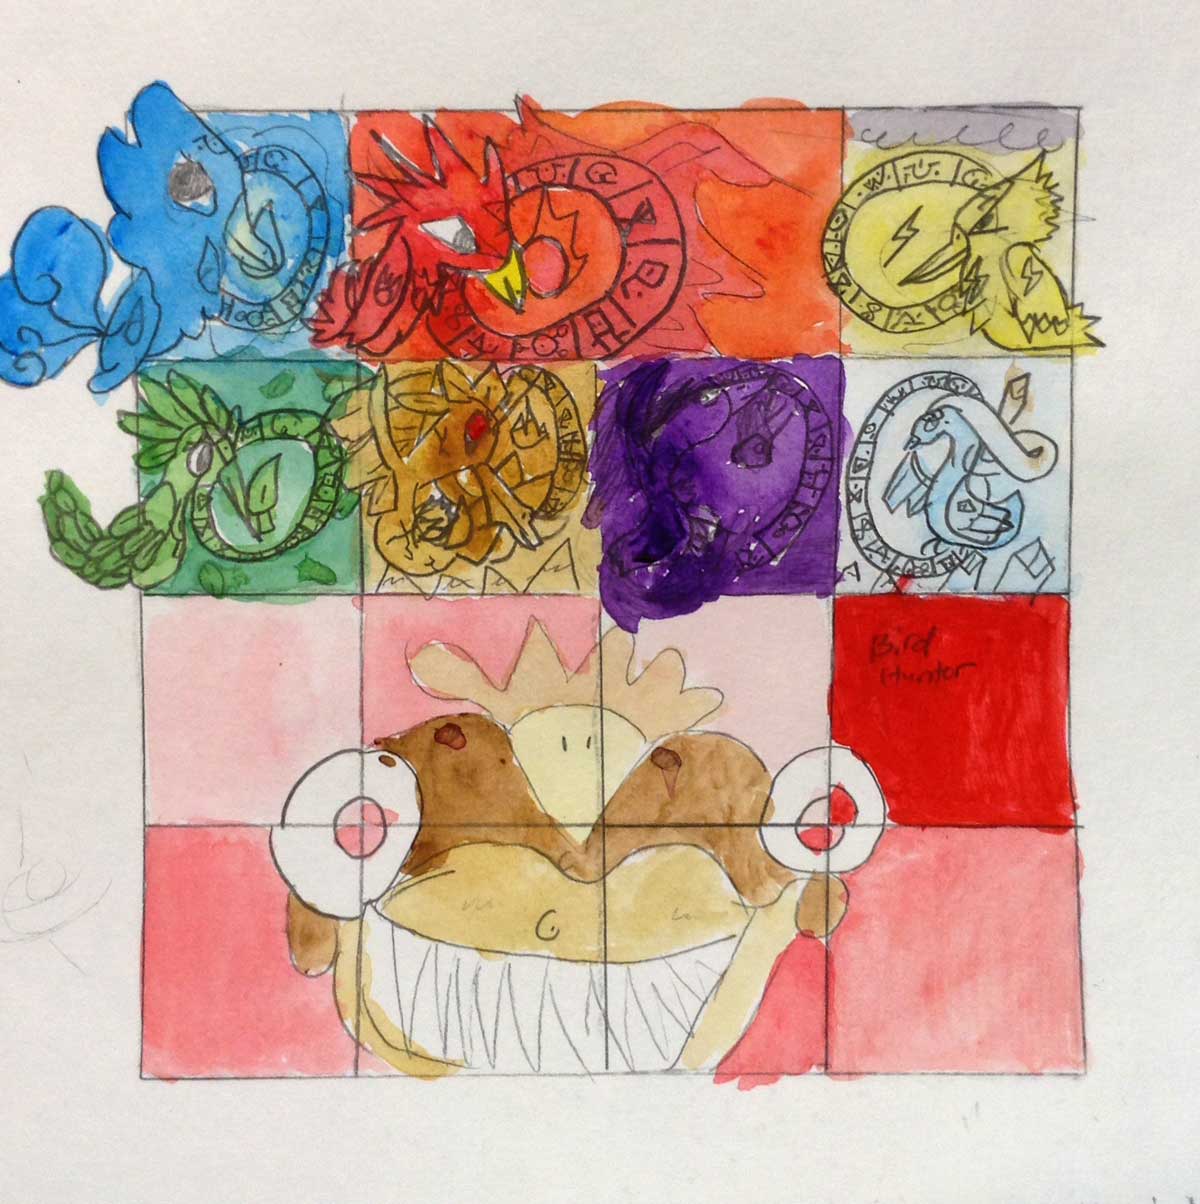
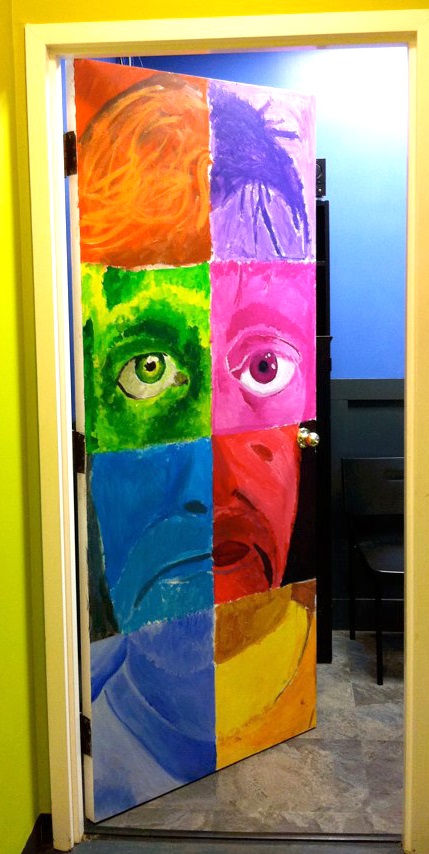
You can zoom in on an item too, so it’s not as complex. You could add some simple shapes, like stars, clouds, hearts, or raindrops to a few of the smallest areas. You could make cartoons, or butterflies, or trees, or could even use one big picture that is cut up into differently painted pieces like a puzzle. This door (*pictured below) with a portrait is a good example of the puzzle idea.
Start thinking of things you’d like to do on your patch painting. You can draw from memory, your imagination, the things you see around the room, or from photos and books. We’ll invent, design, and draw this week, and paint in watercolors next week. If you still don’t finish, we have an artists choice day, the week afterwards, so you can continue the project until you are done.
Start thinking of things you’d like to do on your patch painting. The best way to get started is to make a list of 5 possibilities, and then stop. Choose from those 5.
You can draw from memory, your imagination, the things you see around the room, or from photos and books. We’ll take 2 (3 for teens/adults) weeks for this project.”


Use this button to jump down to the preparation section.
LEARNING TARGETS
Students know how to plan and draw a grid design.
M A T E R I A L S
- 11″ x 15″ watercolor paper
- 2B Pencil
- White Eraser
- Rulers
5.1 print
Helper
Tracing Grids
Print enough for each student to choose from both grids.
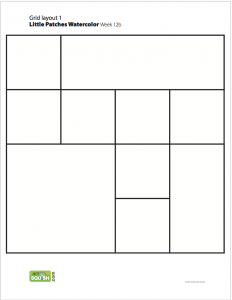
2 Pages – Opens in new window
5.2 design
Use the PDF to transfer a grid layout to the watercolor paper.
- Choose one of the two different layouts provided. You can decide which way to turn it. There are several different variations you can make since any side can be the top.
- Place the print upside down on an open sketch pad.
- Use your Ebony pencil but instead of using the tip, use the side of the lead. Rub to apply graphite on the back of the sheet. Try to place graphite everywhere there are lines. Don’t miss a spot.
- Move the grid aside and set watercolor paper onto sketch pad.
- Place the grid print on the watercolor paper, face up (graphite down), being careful to not smear the graphite. Square up the edges so that the grid is in the center of the paper and secure with a couple of pieces of tape so it does not move.
- Trace the grid using your 2B pencil. Make sure you get all of the lines!
- Remove the grid. Your class may want to save these for other classes to use, and/or for re-making a grid if someone wants to start over (only within the first 15 minutes or so).
5.3 Teach
You could make one square red, and all the others greens and blues, so that the red square would become the most important spot, but that is a very simple solution. Another way to have a most important spot is to make it bigger. That’s why we have all of these layouts with a large 2 x 2 square. Whatever you decide to put in that big square will become the most important thing on your painting.”
Use this button to jump down to the preparation section.
LEARNING TARGETS
Students know how to design and plan their artwork
M A T E R I A L S
- 14″ x 17″ Sketch Paper
- 2B Pencil
- White Eraser
6.1 sketch
After you get a good idea of your design, you can refine the way you want it look. Make a rough sketch that’s about the same size as the artwork or a bit smaller. Hand-draw a practice grid and make some rough sketches in the grid areas to figure out how you want to do it. Erase as needed to change and improve your ideas and images.
Have fun! Ask for help when you need it.”
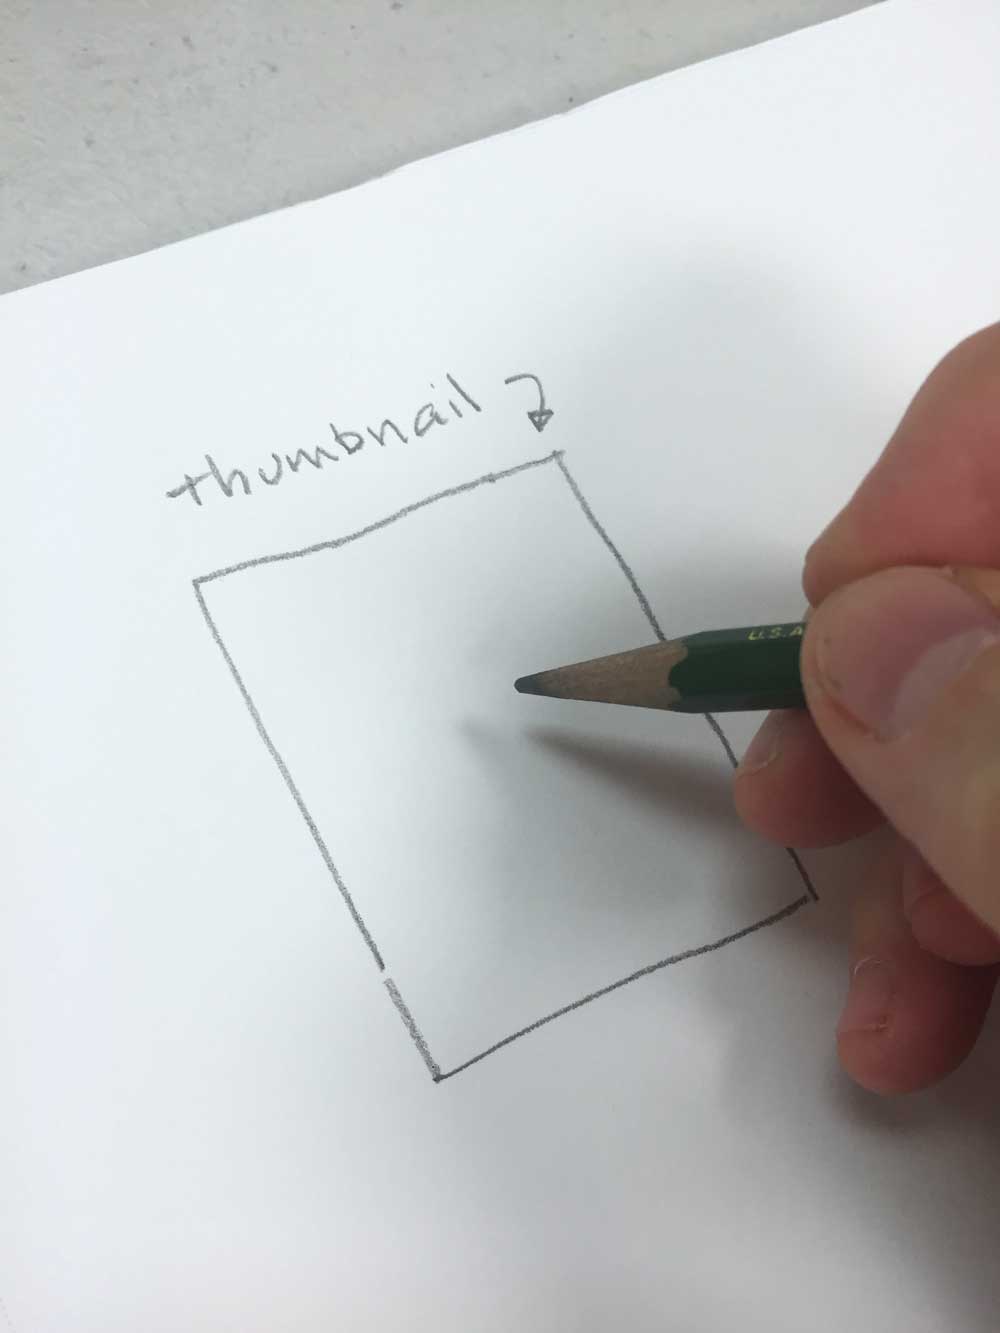
Start with a 1″ or 2″ frame
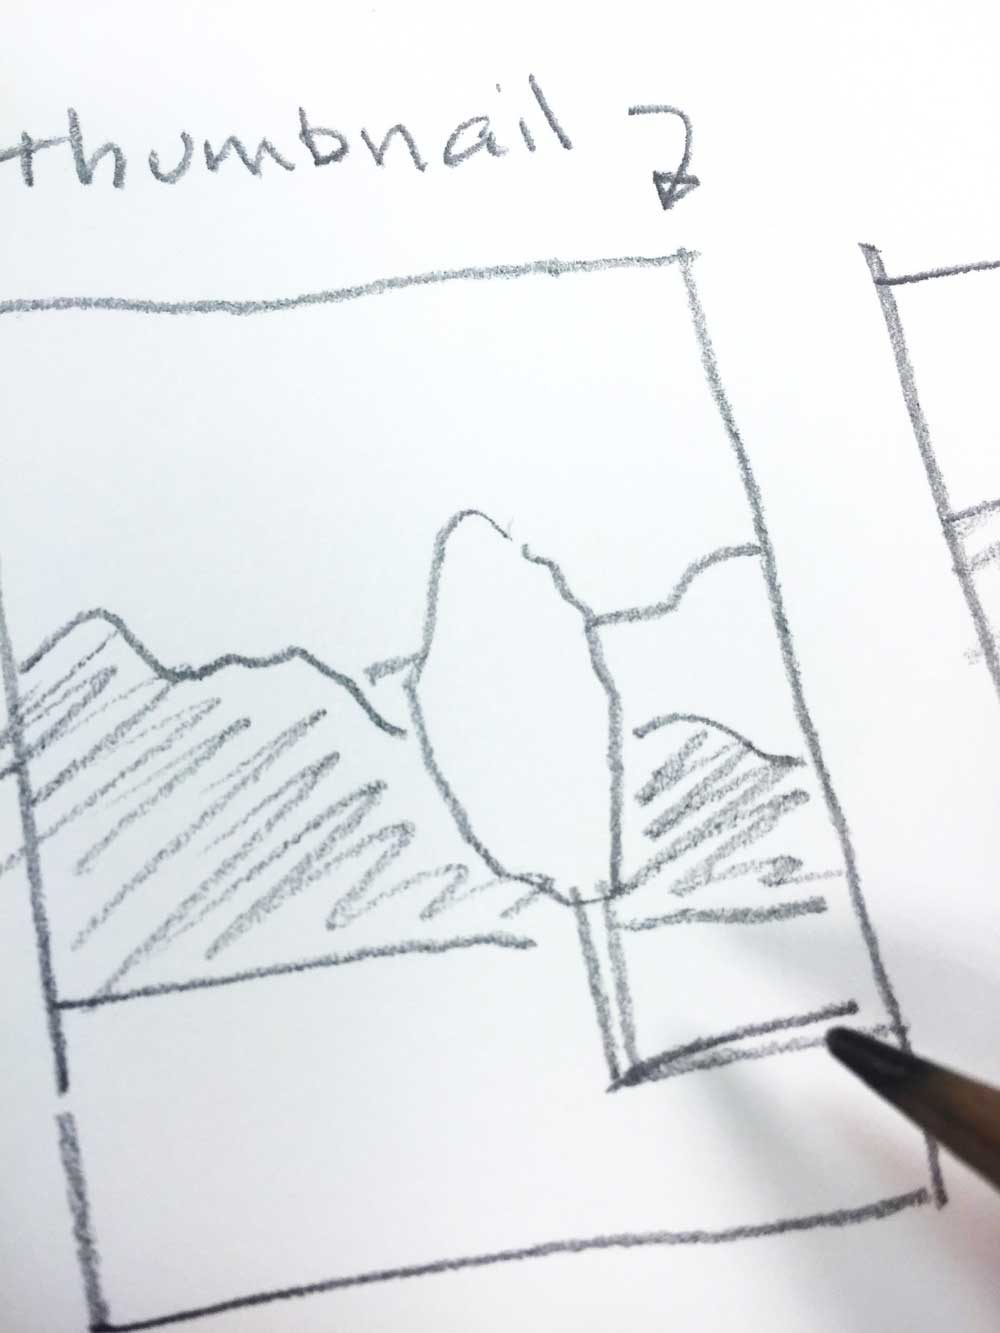
A thumbnail is small enough to be done very fast
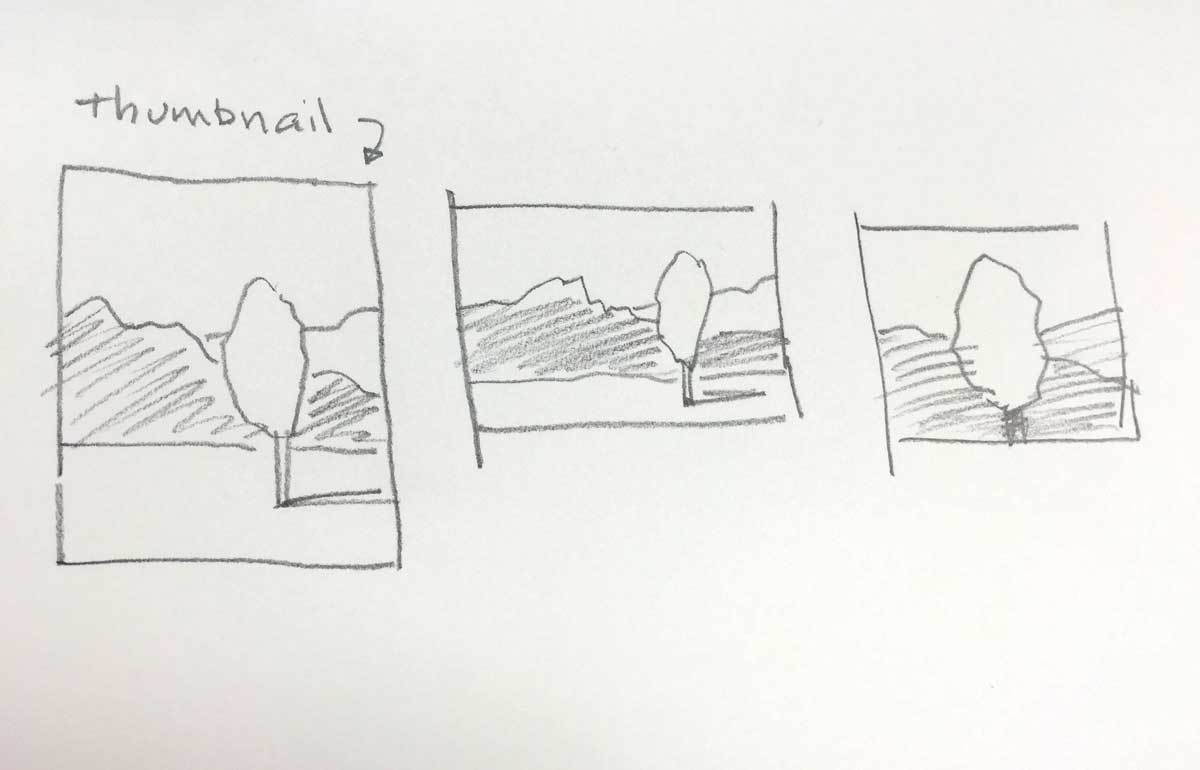
Several thumbnails with variations

A quick sketch is very different
Key Points
- Understand how pigments change when combined, and how to push your color mixes towards many different kinds of purples. Save all your COLORJournals for reference.
- Learn about a new project, how to plan for it, & have a week to think about your ideas.
During the week, you can put as much effort into planning as you want. You can find references, make practice sketches, or just let your mind ponder all week. It will work in the background while you do other things.
Use this button to jump down to the preparation section.
LEARNING TARGETS
Students know the importance of cleaning up.
M A T E R I A L S
- Paper Towels
- Cleaning wipes
- Sink
- Waste baskets
- Well-lit spot for photos
- Camera or phone-camera
7.1 clean
- Wash hands
- Put art supplies away
- Wipe tables & toss trash
- Remove any smocks (last)
- Check for items on floors and tables
7.2 photo
OBJECTIVES
- Practice and improvement in planning and composition (older students: & using rulers)
- Understanding emphasis (the most important spot)
- Accomplishment from seeing a design come together
- Fulfillment with self-expression in subject and composition
TROUBLESPOTS
Mis-marked measurements – Kids get in a hurry and make marks in the wrong spots. This will show up with angled lines in the frame and the grid. Help them understand that it’s normal (Norm says, “measure twice, cut once”), and just to erase and try again.
Heavy guide lines – When making the grid, it is more important than ever to create light lines so you can erase to create different shapes in the design.
Free hand straight edges – The frame and all of the grid must be made using a straight edge. Many students will begin to forget this after a couple of lines and start to draw them free-hand.
ART WORDS
CLASSROOM
PREP
Print all of your PDFs from the lesson plan and cut any references apart as needed.
What your room needs
Here are your printable lists and room prep instructions.
Opens in new window
CLASSROOM
MATERIALS
- Paper towels
- Scissors
- Tablet or TV to show past projects
- Rulers
- Sink
- Waste Baskets
- Well-lit spot for photos
- Camera or phone-camera
STUDENT’S
MATERIALS
- 14” x 17” Sketch Paper
- 11” x 15” Watercolor paper
- 2B Pencil
- 4B Pencil
- White eraser
- Charcoal
- Kneaded Eraser
PREVIEW
Week 15: Patching up & Charcoal
Students will finish the little patches watercolor they began last week. As students finish, they’ll begin work in charcoal, warming up with quick sketches and using several photo references. Oil pastels are introduced to create a black and white mixed media, and then color is added for a monochromatic work. There is an in-depth charcoal demo too. Older students will most likely not get to the charcoal work, since they will enjoy working on their watercolors.
Week 16: Freedom to Express
Every artist loves the chance to express, and to choose the medium, the subject, and the style that they work in. Our last week before Thanksgiving allows artists the room to enjoy their work and see what they can do. However, we do have work-flow training, to facilitate creating artwork keepers, as opposed to having play time. Total freedom creates overwhelmed students and/or chaos.