
Style
Each lesson Plan focuses primarily on one of the 4 Cornerstones of Art:
Drawing | Painting | Color | Style
OVERVIEW
Because this is a continuation of last week’s artists’ choice, the lessonplan is brief. Students should enjoy the creative process!– – –
Grades 6 – 12
Week of November 7 – 11
1 Hour & 45 Minutes
Lesson At A Glance
Here’s a brief overview of the complete lesson. It’s also on your prep page in the Ready, Set, Go! section (below the lesson).
Colored buttons jump to each section in the full lesson plan below.
10 Minutes – Students do warmup sketches with charcoal
10 Minutes – Students set up for painting or drawing
32 Min – Students continue their artwork
47 Min – Students finish their artwork
5 Min – Everyone helps
Use this button to jump down to the preparation section.
LEARNING TARGETS

Students know how to warm up when making art
M A T E R I A L S
- 14″ x 17″ sketch pad
- Pencil
- Charcoal
- Kneaded eraser
All materials are suggestions and may be modified as you see fit. We have tried many items, and these seem to allow the most versatility for the cost.
Brushes should be nylon for springiness and durability. Round brushes are the most versatile.
Paint pigment list:
- Napthol or Pyrrol Red
- Hansa or Light Yellow
- Pthalo Green (blue shade)
- Cyan or Cerulean Blue
- Ultramarine Blue
- Dioxazine Purple
- Magenta
- Burnt Umber
- Raw Sienna
- Titanium White (professional grade only)
1.1 Sketch
Students warmup using life objects from around the room or their supplies.
Warmup sketches should be in charcoal but pencil will work too. Encourage working from ordinary life instead of special still life objects.
Advanced Student Lesson
CREATIONS - tap here to open
Our Creations lessons are for students who have completed the two years of Foundations and are ready to begin using all that they have learned to create new work. These more challenging versions of the same concepts and techniques are easily taught along-side students in the Foundations course. This allows for excellent review, and is encouraging for students to see progress from each viewpoint.
Use the Student Instructions printout below to distribute to your Creations students. Tap the image to open the PDF in a new window.
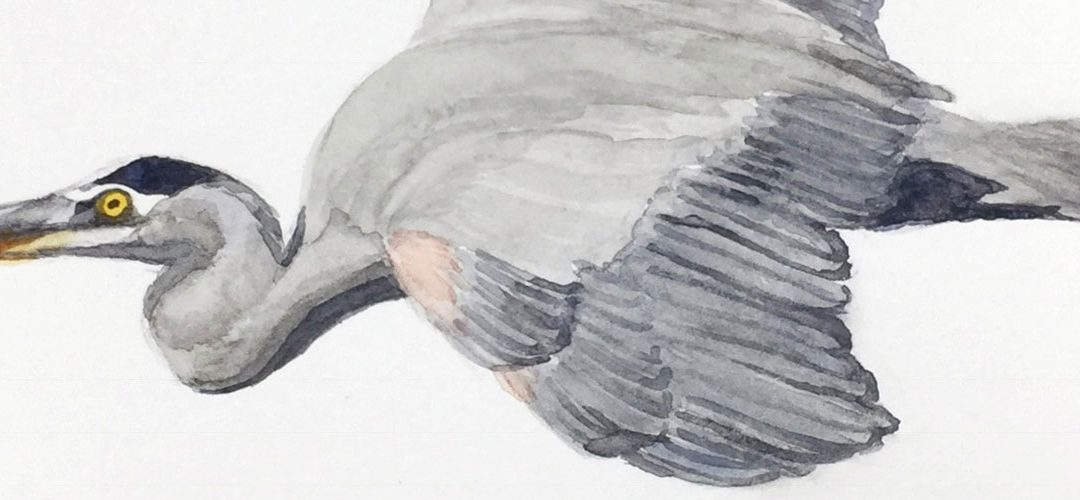
Abstract Painting
Overview: Students will create a background using colors they choose, and then create an abstract line painting using photographic reference as their source.
Use a canvas board, a sheet of taped canvas, or a stretched canvas if available.
Step 1. (15 minutes) Set up for painting in acrylic, and cover the canvas with a thin coat of any colors of your choosing. Brilliant colors work well. Colors may be mixed with water instead of white, for a glaze effect, or white can be mixed in for opacity – colors that look more solid. Set aside to dry.
Step 2. (20 min) Choose a reference source from any book or use the provided PDF photographs below. Use a pencil and sketchpad to create an abstract line drawing based on the photo. You should try to make it different enough so that it’s hard to recognize the subject.
Step 3. (5) Write down some ideas for how color will be used as line and filling in areas. The original underpainting may be covered a lot, or it may show through and be an important element in the painting.
Note: colorful lines and pattern can add a lot of visual interest to this painting.
Step 4. Resume painting, using a variety of Brushes for different effects. Clean edges and lines are much easier to create when the paint is a very fluid.
Tap images to open Creations Student Instructions and Reference Materials in new windows


Use this button to jump down to the preparation section.
LEARNING TARGETS
Students know how to set up their work area for painting or drawing
M A T E R I A L S
- Artists’ Choice supplies
2.1 setup
Students set up their work area.
Set up to accommodate the chosen media for the project each individual student has been working on.
Use this button to jump down to the preparation section.
LEARNING TARGETS
Students know how to work independently on artwork
M A T E R I A L S
- Artists’ Choice Materials
3.1 create
Students continue to work on their projects.
Walk around the room, stopping at every student’s work. Make comments that encourage and that you believe to be true. You can look for things you like in just about any kind of artwork, and speak positively about it.
Be alert for discouragement. If someone seems even slightly unhappy, ask how they feel about their work. Then ask if you can make a suggestion, if you see something. Make sure they understand that it’s only a suggestion.
It’s always good to remind artists about several things:
- The 3 steps to accuracy
- An artist can see what is troubling them, and if they are seeing things, that means they have a good eye.
- It takes time to figure out how to improve
- Practice is essential
- All artwork can be re-worked or re-drawn if it is a learner
Use this button to jump down to the preparation section.
LEARNING TARGETS
Students know how to work independently on artwork
M A T E R I A L S
- Artists’ Choice materials
4.1 create
Artists continue their work until finished.
If someone finishes a large project, you can suggest that they do something fun and easy. Some ideas:
- Cartoons
- Oil pastels
- Charcoal
Try experimenting, and mixing media that sounds interesting. White oil pastel with black charcoal, for instance.
Use this button to jump down to the preparation section.
LEARNING TARGETS
Students know the importance of cleaning up.
M A T E R I A L S
- Paper Towels
- Cleaning wipes
- Sink
- Waste baskets
- Well-lit spot for photos
- Camera or phone-camera
5.1 CLEAN
Students set up their work area.
- Wash hands
- Super-wash brushes if used
- Put art supplies away
- Wipe tables & toss trash
- Remove any smocks (last)
- Check for items on floors and tables
5.2 PHOTO
Try to get photos of your student’s artwork. Find a good spot for quick lighting without highlights or shadows from your hands and device. Ideally in-between two strong lights on each side.
Use this button to jump down to the preparation section.
OBJECTIVES
- Practice and improvement in different media
- Understanding how to manage working on personal projects
- Accomplishment in creating artwork
- Fulfillment in getting to “do what I want!”
TROUBLESPOTS
Discouragement – Always ask for permission before making suggestions, but if a student is unhappy, saying you love it, or that they should like what they’ve done, only makes them feel worse. Instead, find out what is troubling them, and work towards a solution.
Overwhelmed and/or disinterested students – The 2 lessons (last week and this week) help students learn about narrowing the overwhelming number of directions an artist can choose. Use the handouts and be on the lookout for students who still don’t know how to get to the first step. The solution is very much the same if you have a student is not motivated. Here’s a great way to help make the artwork get going:
- Ask if they want one of two choices for basic direction, as in “do you prefer a landscape or an animal today?” If the answer is, “I don’t know”, then you say…
- “Awesome, because that means either one will be good for you. Let’s choose [select what you think will be good for them].”
- If they balk, then they really want the other one, or something else. If they are ok with the other one proceed to 2. If not…
- “Let’s choose between [new ideas] Still life, or architectural. Which do you like best?”
- If they balk, then they really want the other one, or something else. If they are ok with the other one proceed to 2. If not…
- “Awesome, because that means either one will be good for you. Let’s choose [select what you think will be good for them].”
- Ask a narrowing down question, such as, “farm animal or African animal?”
- Continue narrowing down with simple two-choice questions, and if you’re still getting resistance, say, “Since you want to do lots of things, you need to follow my direction today or choose something yourself, but you only have 3 minutes to make you final decision or I’ll assign your project today.”
ART WORDS
Media – The pliable material used to apply to a surface or platform, that is manipulated to create visual art. Graphite, Acrylic, Watercolor, Clay, etc.
CLASSROOM
PREP
Print all of your PDFs from the lesson plan and cut any references apart as needed.
What your room needs
Here are your printable lists and room prep instructions.
Opens in new window
CLASSROOM
MATERIALS
- Paper towels
- Cleaning Wipes
- Camera or phone-Camera
STUDENT’S
MATERIALS
- 14×17” Sketch Paper
- Pencil
- Charcoal
- Kneaded Eraser
- Artists’ Choice Supplies
PREVIEW
Week 16: Color Journals: Black & Blue
Students learn how colors change by making a row of colors, adding more pigments as they progress, to make several variations. They end up with a page of either 16 colors (grades 3 – 5) or 25 colors (grades 6 – 12) in different variations of blues. The lesson continues with the Darks Color Journal using black, grays, and browns in the same manner. Specific amounts of pigments from the Art Instructor program, produce colors that artists often need to use when actually painting. There is an extra expressive paint-sketch for early finishers, and advanced students create a dark and expressive acrylic painting on canvas from provided reference.
Week 17: Color-wrapped Presents
Using color in shadows is essential to good artwork. In keeping with the holiday season, we paint a red-wrapped cube-shaped gift with a green ribbon and bow. Students learn the basics of cube shapes and accuracy, as well as using opposites to create shadow colors.
Use this button to view our parent’s blog. Share the link: http://parentart.org, with your student’s parents so your they can read about the lesson each week.