
Style
Each lesson Plan focuses primarily on one of the 4 Cornerstones of Art:
Drawing | Painting | Color | Style
OVERVIEW
Students will learn about design, illustration and lettering in a light-hearted magazine project. Older students use watercolors, and will not finish this week, but will continue with final line art outlines next week after the color has dried.– – –
Grades 3 – 5
Week of December 16 – December 20
1 Hour & 45 Minutes
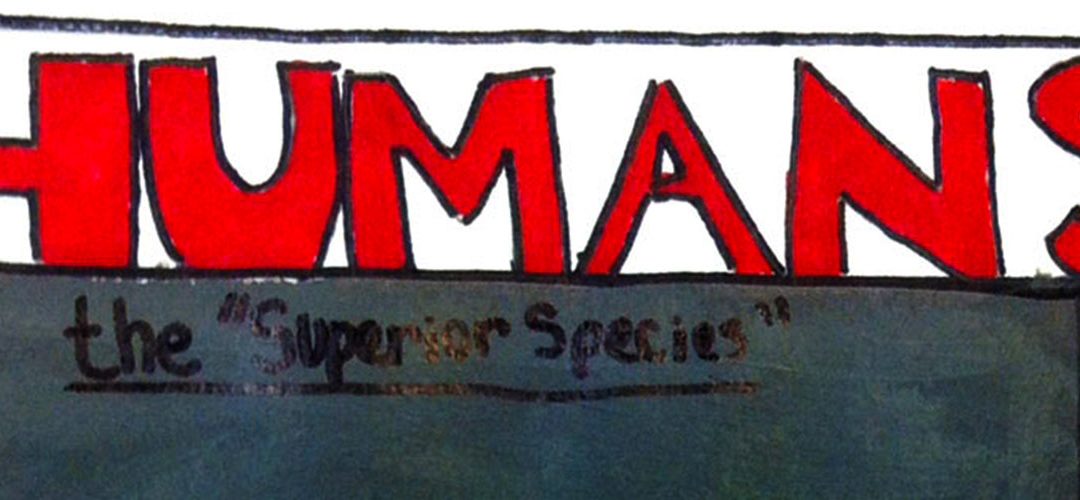
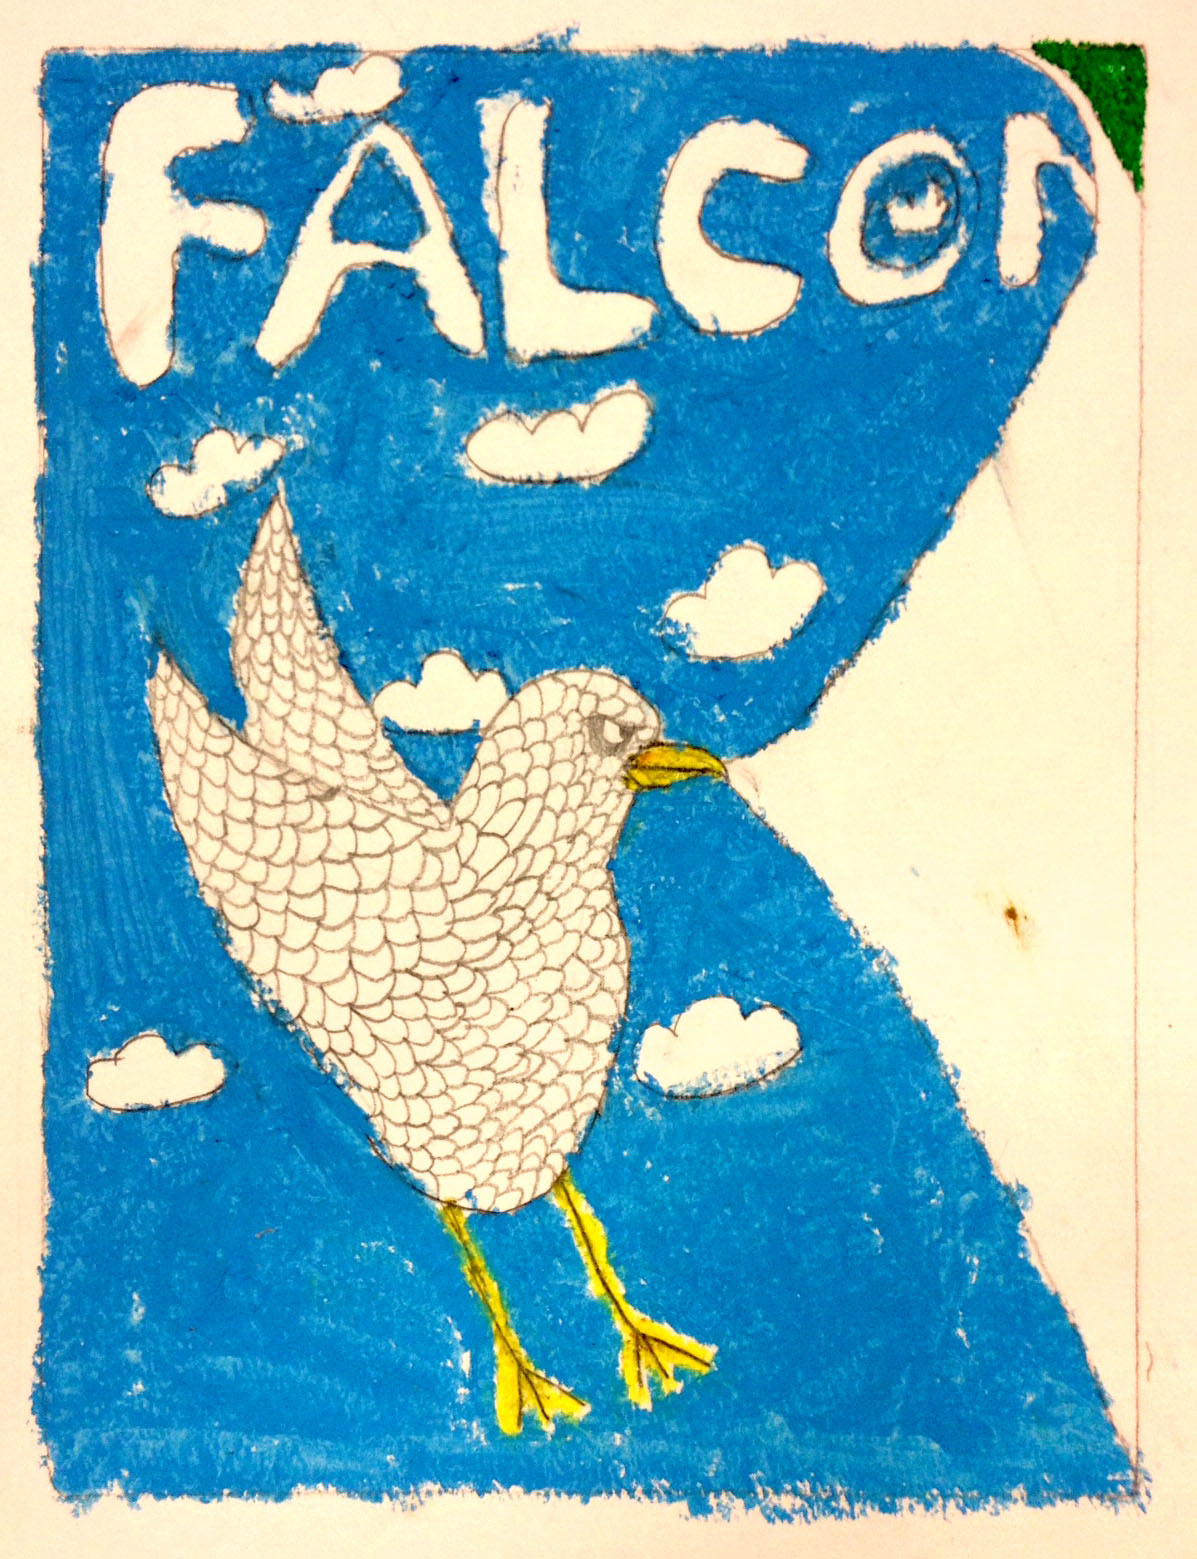
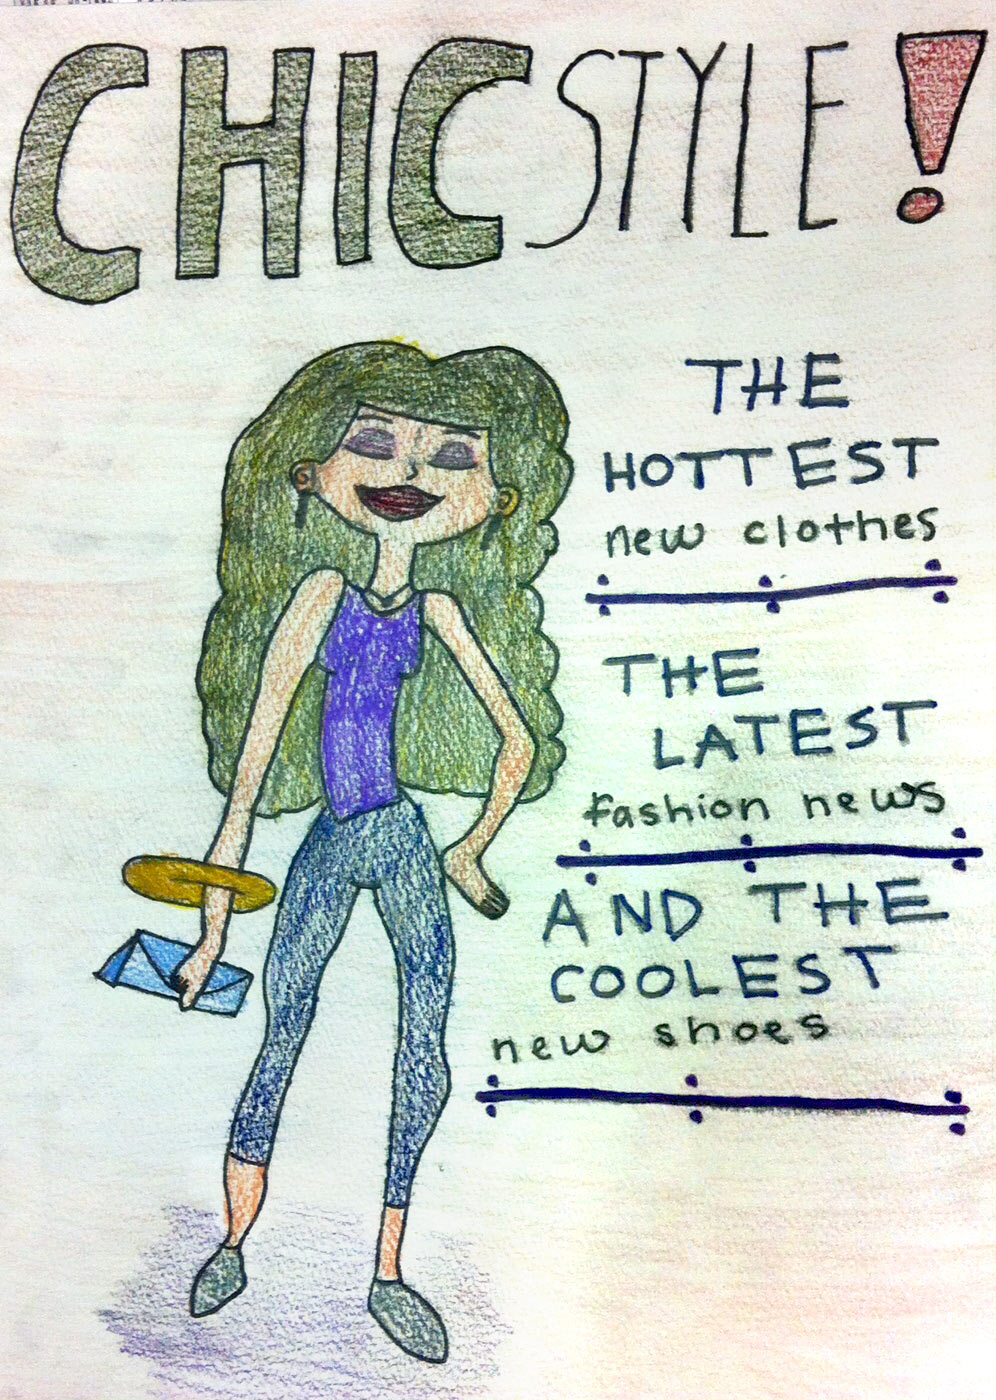
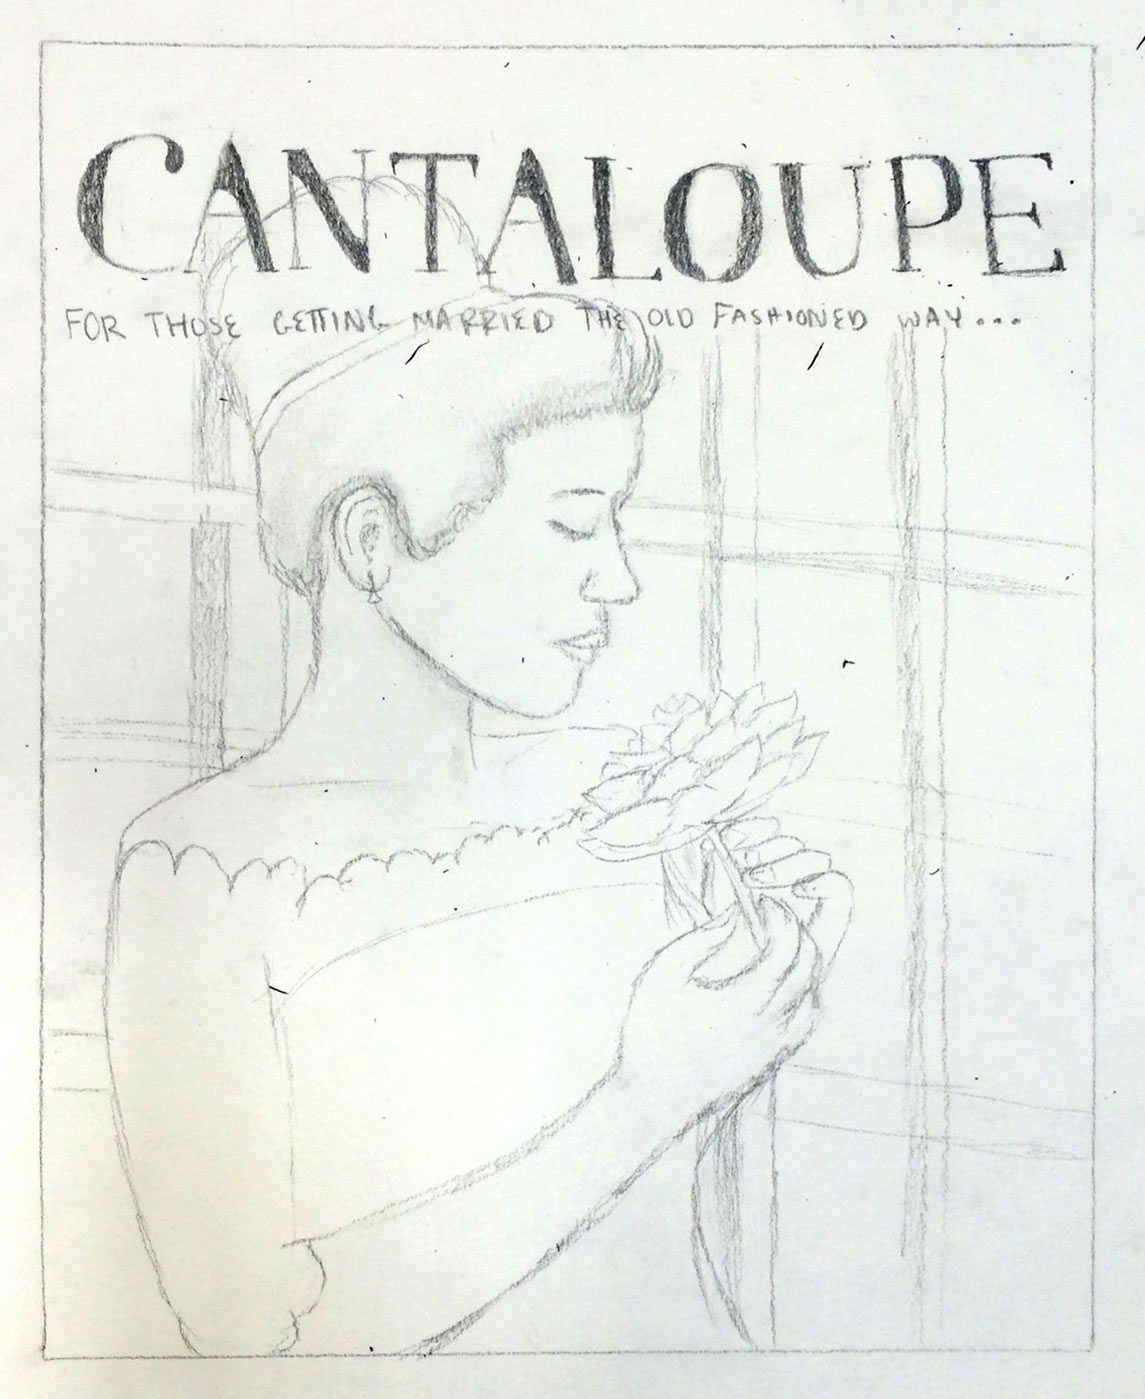
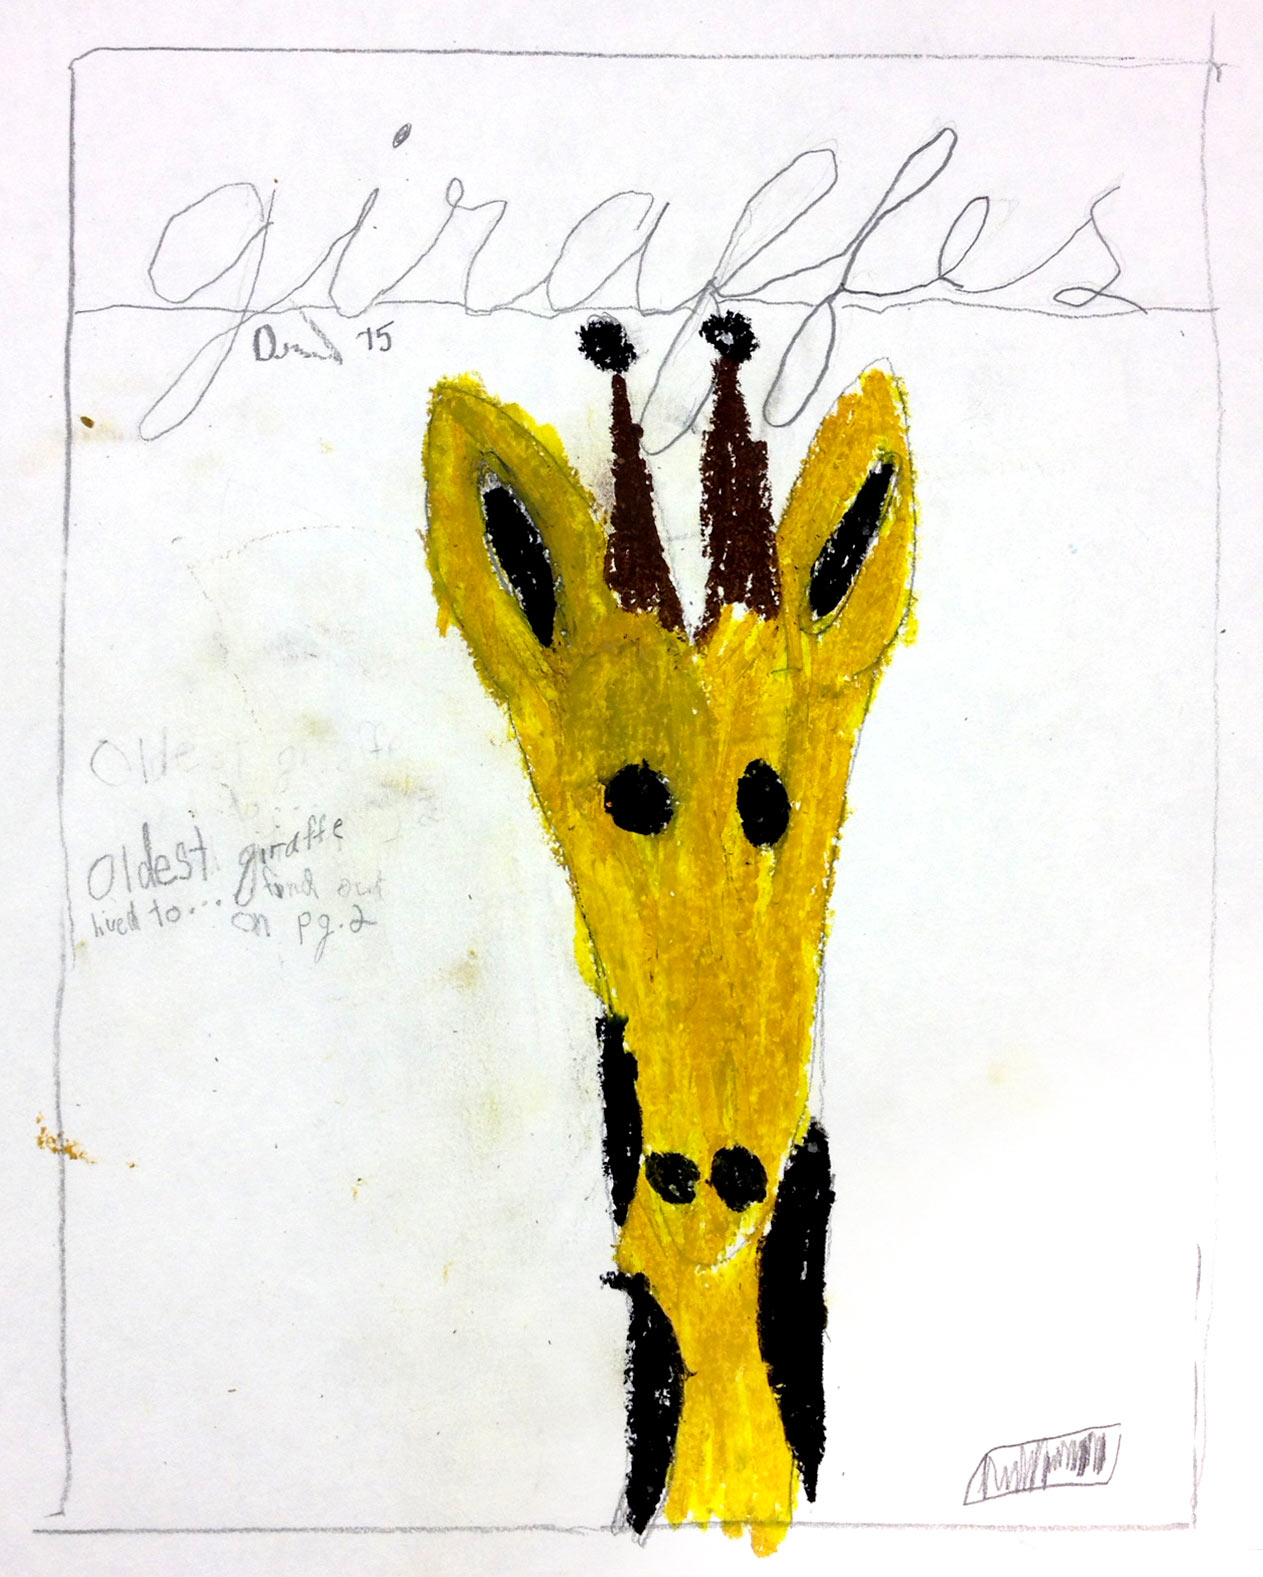
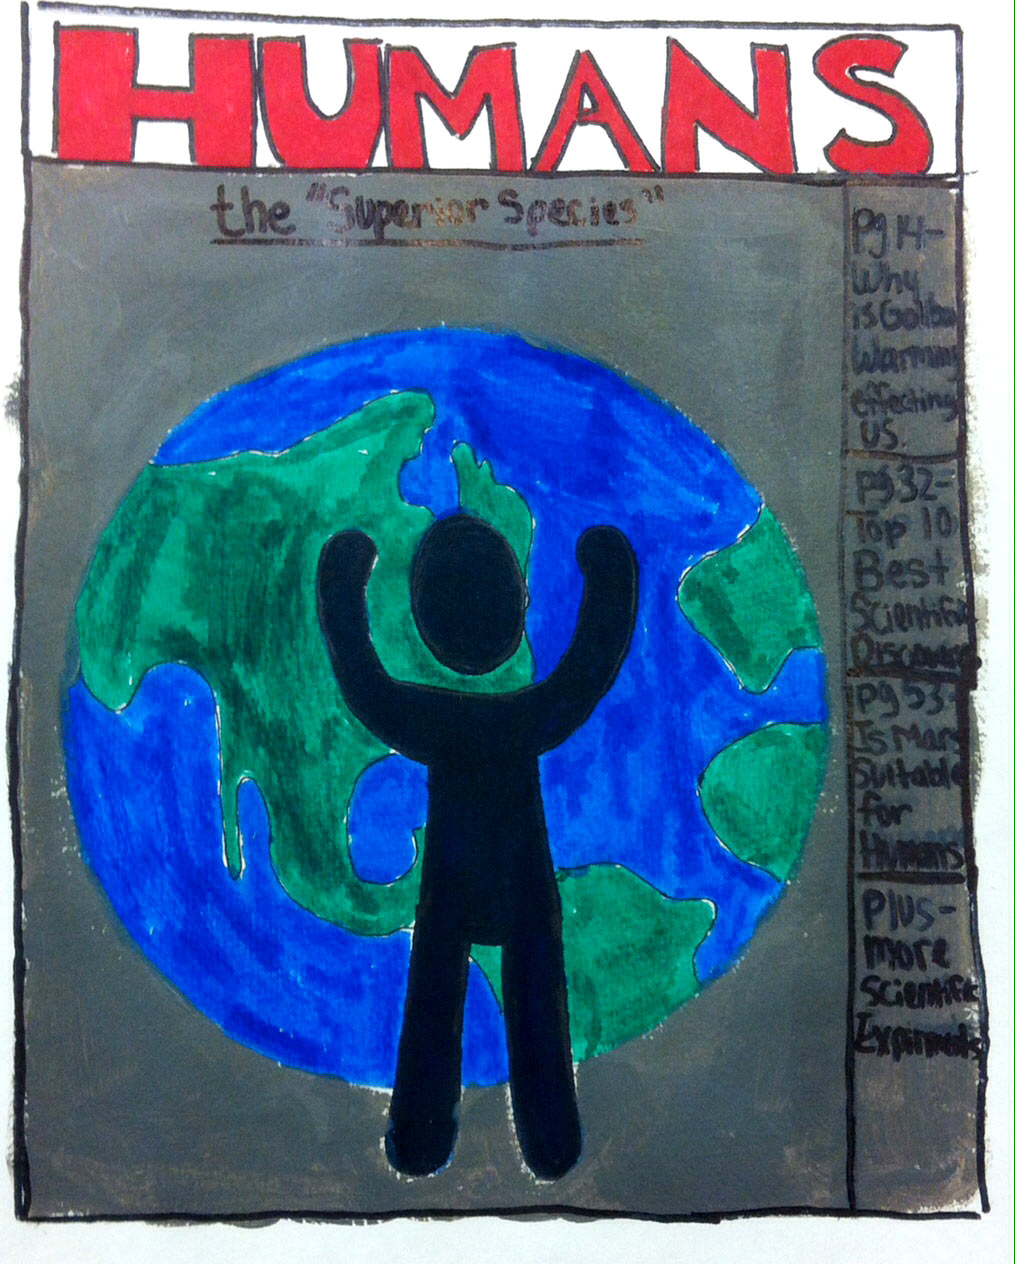
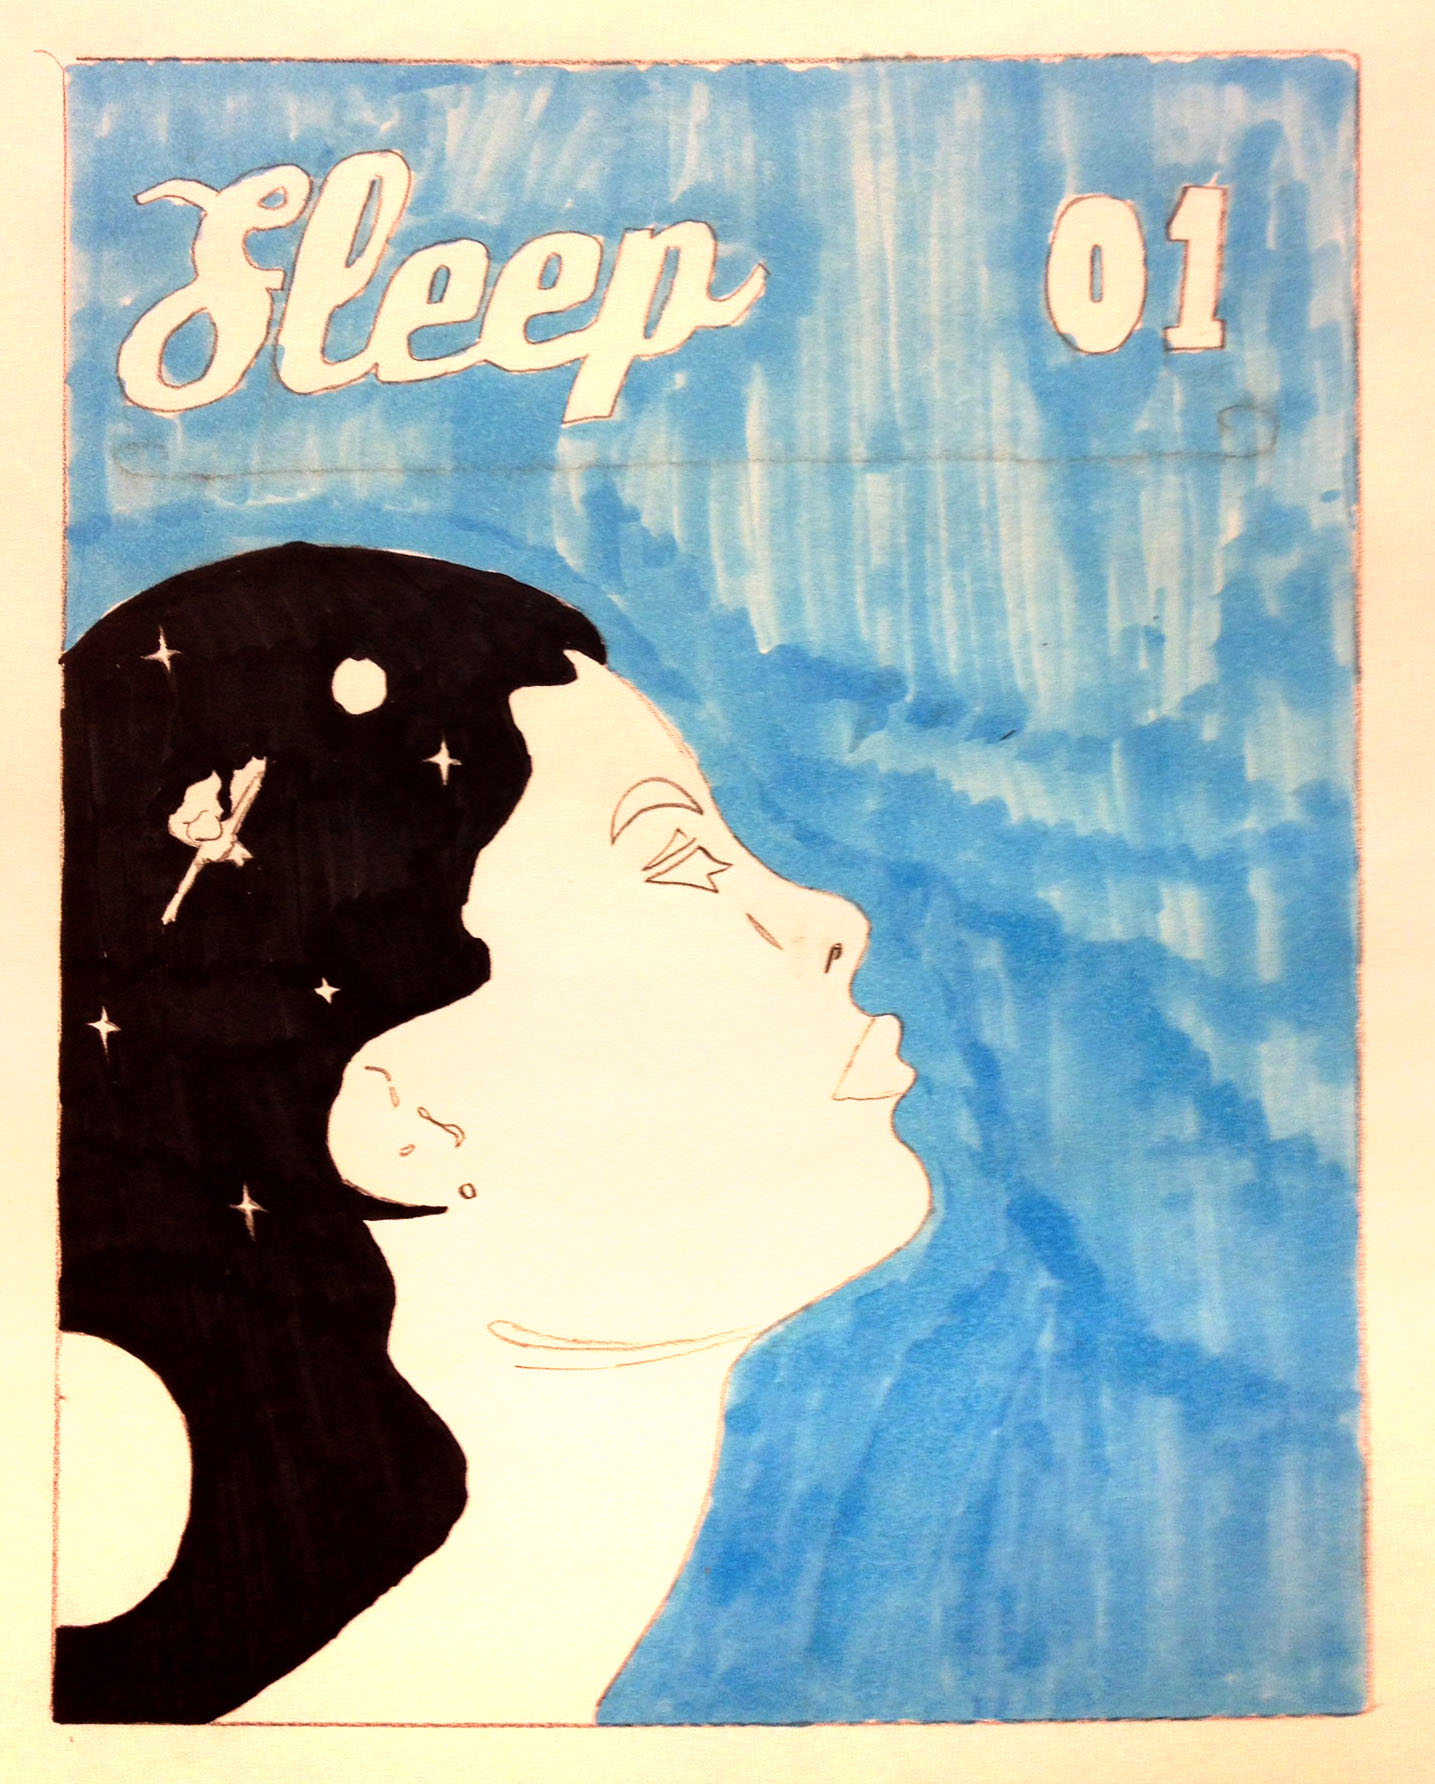
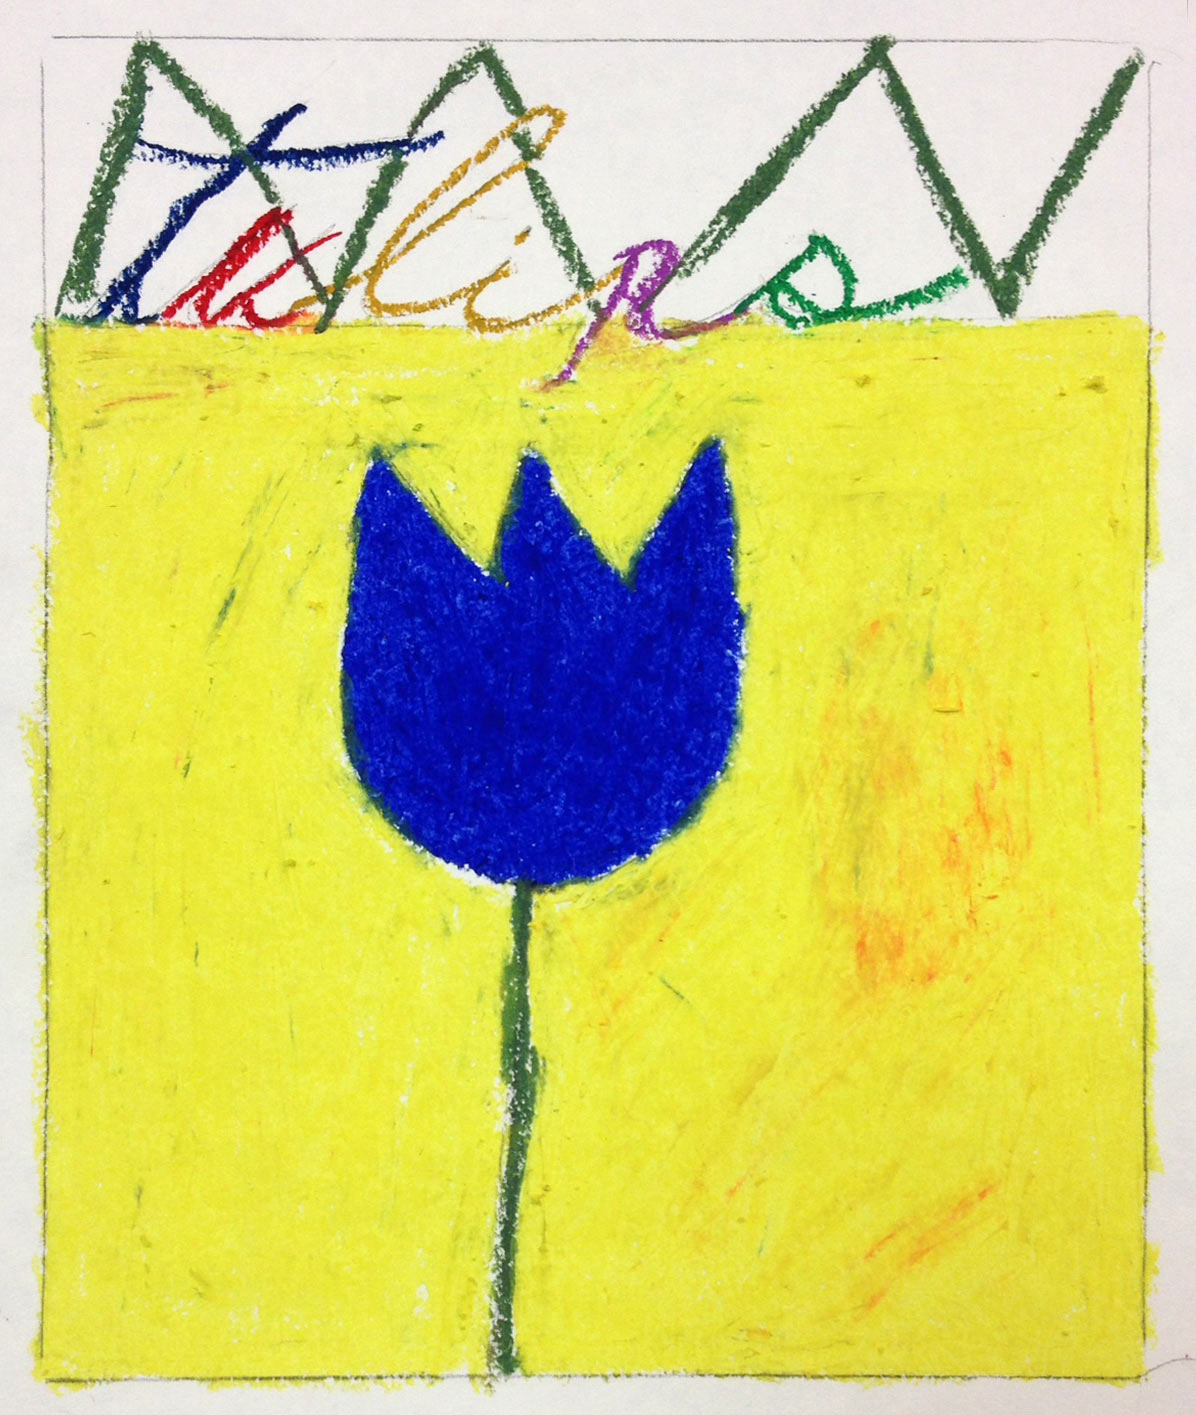
Student Work
Lesson At A Glance
Here’s a brief overview of the complete lesson. It’s also on your prep page in the Ready, Set, Go! section (below the lesson).
Colored buttons jump to each section in the full lesson plan below.
15 Minutes – Draw favorite subject & view magazines
20 Min – Learn cover elements – draw layout ideas
5 Min – Use pencil & straight edge
12 Min – Practice masthead font design
15 Min – Light pencil – big shapes, then details
20 Min – Add watercolor OR oil pastels
15 Min – Ink and/or black oil pastel
2 Min – Everyone helps
Use this button to jump down to the preparation section.
SCROLL & TEACH
LESSONPLAN
Each section is a different color. Read over once and then you can SCROLL & TEACH using any device you like. It’s designed to work well with your phone.
LEARNING TARGETS

Students know how to warm up by sketching.
M A T E R I A L S
- 14″ x 17″ sketch pad
- 4B pencil
- White erasers
- Reference PDFs (below)
- Cheasel reference stand & clip
All materials are suggestions and may be modified as you see fit. We have tried many items, and these seem to allow the most versatility for the cost.
1.1 Print
Provide reference prints.
Set all of the images out on a table or counter in the 4 categories, and let groups of students come choose what they want..
Reference
4 Categories of Photos
Cut images apart and print enough for each student to choose from several.
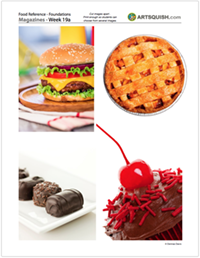
Food
2 Pages – Opens in new window
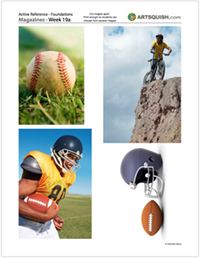
Activities
2 Pages – Opens in new window
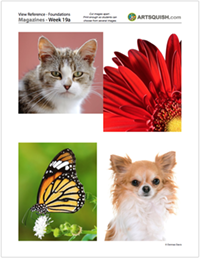
Viewing
2 Pages – Opens in new window
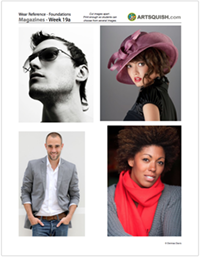
Apparel
2 Pages – Opens in new window
1.2 Intro
Ask student to choose something they enjoy.
Pose the question: “How would you draw something you enjoy?” Then encourage students to find something using the 4 categories and the photo reference provided.
You can also look up reference on the web and print for students who have very specific ideas and are excited about them. Don’t allow students to watch the results of the search though.
- Eating – Food: reference photos of various dishes
- Doing – Activities: sports and lifestyle activities reference
- Seeing – Viewing: animals, flowers, boats, reference
- Wearing – Apparel: people/jewelry, shoes, hats, reference
1.3 Display
Show examples of magazine covers.
Use the Pinterest link below to show your students examples on a display screen. Talk about the different parts of the covers and how the designers and illustrators utilized their ideas in creative ways. (See the Print PDF in the next section for the different parts of a magazine cover).
- Masthead
- Cover image
- Teasers
- Space

Pinterest Gallery – Name
Tap the icon to the left to open our special Pinboard showing examples of artwork to display to your class. See our Article for making Pinterest work on larger displays. You can also use a laptop or large tablet and gather everyone around like you’re using a book.
Advanced Student Lesson
CREATIONS - tap here to open
Our Creations lessons are for students who have completed the two years of Foundations and are ready to begin using all that they have learned to create new work. These more challenging versions of the same concepts and techniques are easily taught along-side students in the Foundations course. This allows for excellent review, and is encouraging for students to see progress from each viewpoint.
Use the Student Instructions printout below to distribute to your Creations students. Tap the image to open the PDF in a new window.
Commercial Art Project
Overview: Creations students should choose from 3 projects. The first is the same project using their new skills, but the second two divide the project into design and illustration, allowing the student to choose and concentrate more time on one or the other. Use the same PDF reference or find something from another source.
- Same project. Make a new magazine cover just like Foundations students are doing. Use improved skills to create better work.
- Design project. Concentrate on the design only and ignore the image artwork.
- The layout should be done first, and students should create at least 3 or 4 distinct designs in the small layouts.
- Choose one of the fonts from the Font PDF (in STEP 4) to create a detailed lettering design for the masthead.
- Use a ruler to create parallel lines for baseline, “x” height (all the lower case letters), and the descenders (‘tails’ that extend below the baseline)
- Draw each letter carefully, erasing often and looking closely at the font examples. Take time to think about the relationships between the letters. The space between them should be roughly equal, if it were filled with sand and then you measured it out. Also, the shape of the letters is important, but so is the shape of the spaces in-between them.
- Trace and re-draw the design (in light pencil) onto another paper for the final version. TIP: taping the first draft paper with clean paper over it, onto a window makes it easy to re-draw and improve the final version.
- Illustration project. Concentrate on the image art only, and ignore the design. For this, create a watercolor illustration of the chosen subject.
Tap images to open Creations Student Instructions and Reference Materials in new windows

Use this button to jump down to the preparation section.
LEARNING TARGETS
Students know The different elements that make up a magazine cover.
M A T E R I A L S
- 14″ x 17″ sketch pad
- Pencil
- White eraser
- Layout PDF (below)
2.1 Print
Worksheet
Magazine Parts
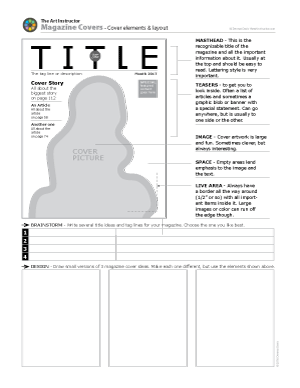
Worksheet for learning and planning the different elements of a magazine cover.
Provide prints.
Every student should have one of their own to work on.
1 Page – Opens in new window
2.2 Read
Read the descriptions of the different cover elements.
You can read the descriptions aloud or let older students read for themselves. Important points to emphasize:
- Title should be very large and readable
- Too much other text can be messy-looking – keep it simple, and all in one area.
- The illustration is the most important thing. It should be simple too, because it becomes one element among many others.
- Magazines are first seen from a distance on a shelf, or as small pictures online. So it should be simple overall.
- Don’t worry as much about the articles right now. These can be added later.
We’re pretty sure that rules are made to be broken specifically by artists, so let your students enjoy the project. Don’t worry if they deviate from these ideas, especially if they are happy with what they’re doing. If someone is struggling and unhappy, however, then the rules can really help.
2.3 Brain-
storm
Brainstorm ideas and write them down in the 4 lines provided.
A tag line is either a description, and/or a qualification, such as, “the best art lessons on the planet”.
If anyone needs more room, write in the margins or use the back. Choose one magazine title and one tag line.
2.4 sketch
Draw 3 cover ideas in the small thumbnail boxes.
Use the one title and tag for all 3 ideas. Try to come up with 3 completely different designs. Things you can change:
- The position of the title – Try it vertical! What about an arch?
- The font for the title (examples are coming in the next steps)
- The illustration subject
- The size of the illustration
- small and centered
- large and going off the page
- covering a small part of the title
- Everything centered OR everything to one side or the other
2.5 Adjust
Students erase and adjust their ideas to improve them.
2.6 Choose
Students choose the best cover idea.
Use this button to jump down to the preparation section.
LEARNING TARGETS
Students know how to make graphic guidelines.
M A T E R I A L S
- Watercolor paper – 11″ x 15″ or so – should be vertical like a magazine
- use the smoothest side (sometimes the back is smoother)
- 2B pencil
- Kneaded eraser (better for watercolor paper)
- Rulers or the edge of a pad
3.1 Draw
Students draw light BORDER guidelines.
Younger students can make their borders with a straight edge, but they aren’t required to measure the lines. Older students should be encouraged to make the border lines the same measurement all around. 1/2″ to 3/4″ is good.
This must be drawn very lightly. The pencil should barely touch to the paper, like it’s tickling the paper. See who can make the lightest lines! Sometimes a challenge will help students concentrate on making these light. Just make sure no one makes lines you actually cannot see.
3.2 Explain
Remind students what the live area means.
Nothing important, and no text at all should be outside the invisible live area border. Students should make a live area border inside the first one, but only if they are able to draw it super lightly, so it can be completely erased.
“Design elements like the text and the Masthead look best when they are lined up on the live area invisible border – right up against that guideline.”
3.3 Draw
Students draw light BORDER guidelines.
Use the straight edge to draw a baseline and top line that the title and tagline will be drawn on. Again, these should be as light as possible.
Use this button to jump down to the preparation section.
LEARNING TARGETS
Students know how to work with font lettering.
M A T E R I A L S
- 14″ x 17″ Sketch pad
- Watercolor paper – 11″ x 15″ or so
- Fonts PDF (below)
- 2B pencil
- Kneaded eraser
4.1 print
Reference
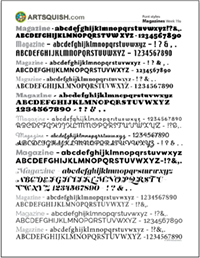
Font Examples
A list of several popular magazine fonts with all the characters of each one. Use for designing mastheads.
Hand out prints. Make sure each student can see one or share with one other student.
1 Page – Opens in new window
4.2 draw
Students work on masthead lettering on a scratch page in pad (start a new one or use part of an old page). Make it simple and easy to read, yet distinctive. Once you get a version you like, use a ruler to draw baseline, x-height line, and cap height line.
Show lettering graphic on screen or hand outs. Students should draw a final version in pencil.
Teachers, younger students will make very rough lettering and may have a lot of fun coming up with silly “stories” headlines like real magazines have. Just let the lettering go, but if you can get them to create some baselines, remind them how their notebooks at school have lines to write on. They need to make their own so it will look good.
“Draw your lettering for your title, looking at these fonts for how each letter is shaped. You can try a couple of different fonts, but work quickly. This is just practice and to see how it looks.”
4.3 draw
Use this button to jump down to the preparation section.
LEARNING TARGETS
Students know how to make final guidelines
M A T E R I A L S
- Watercolor paper with layout lines
- Reference photo on stand
- All practice sketches from previous steps
- 2B and 4B pencil
- Kneaded eraser
5.1 draw
If lines are drawn by barely touching the paper, then they can be erased. It’s like tickling the surface with the tip of the pencil. If you try to make dark lines light by erasing, they never disappear, so they always are a part of the artwork. Encourage your students to draw super-light the FIRST time.
Then you can erase and adjust as needed. No one will ever know you drew those light guidelines. This is art magic. Practice your magic lines.
Use this button to jump down to the preparation section.
LEARNING TARGETS
Students know how to add color to artwork
M A T E R I A L S
- Watercolor paper with drawing
- Reference on stand
- Water tubs (2 of them)
- Brushes – smaller, pointy
- Palette or plate
- Acrylic paints (no white), or watercolor paints OR
- Oil pastels and blenders
- Smocks
- Paper towels
6.1 color
Older Students in grades 6 and up, can begin to add color using watercolors made from their acrylics. Don’t let them rush at this point. Explain that the final line work can be done after the color, and it’s easy to do that during other Artists’ Choice times or at home. Lines may be done in pencil, fine markers, or ink.
Young student classes should use oil pastels. DO NOT USE A BLACK PASTEL at all, until the very last step.
6.2 teach
The best encouragement is to notice how your student is responding to their work. If they’re happy, point out something you really like about it. Always ask how they feel and if they have any problems or unhappiness about the work, see if you can help them figure that one problem out.
It’s good to isolate the one problem from the student’s abilities or even the rest of the work. Remind students that all artists must experiment and struggle with their work to get it to look the way they want. Artists also learn to go with what happens, even if it doesn’t look exactly the way they envisioned.
Use this button to jump down to the preparation section.
LEARNING TARGETS
Students know how to add final details to their work
M A T E R I A L S
- Ink
- Pen and nib
- Paper towels
- Water tubs
- Smocks
- Oil pastels
- Canvas pencils
- Fine-line markers (technical markers are great)
7.1 draw
“You can work on this more later. It is always better to wait than to mess up something you like.”
Use this button to jump down to the preparation section.
LEARNING TARGETS
Students know the importance of cleaning up.
M A T E R I A L S
- Paper Towels
- Cleaning wipes
- Sink
- Waste baskets
- Well-lit spot for photos
- Camera or phone-camera
8.1 clean
Students clean up their work area.
- Wash hands
- Super-wash brushes if used
- Put art supplies away
- Wipe tables & toss trash
- Remove any smocks (last)
- Check for items on floors and tables
8.2 photo
Try to get photos of your student’s artwork. Find a good spot for quick lighting without highlights or shadows from your hands and device. Ideally in-between two strong lights on each side.
OBJECTIVES
- Practice and improvement in organizing a layout and design
- Understanding what goes into a magazine cover
- Accomplishment in creating a finished cover
- Fulfillment in designing and inventing a magazine about a favorite subject
TROUBLESPOTS
Be on the lookout for
Gigantic ideas – this needs to be mostly or completely finished today. Some students will want to spend more time dreaming than doing, and will come up with plans that would take weeks to create. Help these students stay on track by sticking to the timers.
ART WORDS
Masthead – The top area of a magazine where you see the title, a tag line, and often the date.
Illustration – A work of art that represents and enhances a product or article. Illustration often helps people visualize something they have not yet experienced.
X-Height – The height of the lower-case letters in a font is easily defined by the letter x, so it is termed, the x-height.
Cap Height – the height of the upper-case, or title letters in a font.
CLASSROOM
PREP
Print all of your PDFs from the lesson plan and cut any references apart as needed.
What your room needs
Here are your printable lists and room prep instructions.
Opens in new window
CLASSROOM
MATERIALS
- All reference photos printed out and cut apart for students
- Cheasels and clips to hold reference photos
- Water tubs
- Plastic plates or watercolor palettes if you want
- Paper towels
- Rulers or other straight edge
- Smocks
STUDENT’S
MATERIALS
- Sketch pad
- 2B & 4B pencils
- Kneaded eraser
- Canvas pencil
- Watercolor pad – 1 sheet removed
- Water tub – 2 per student
- brushes – small & medium pointed – supple but springy – white nylon is good.
- Translucent acrylic paints or watercolors (no white paint)
- Palette pad if not using plastic plate or palette.
- Oil pastels
- blenders
- Fine-line markers (technical markers are great)
PREVIEW
Week 19: Balancing Act
Students will see how balance affects composition by using a drawn object and moving location and sizes. They will finish a color practice composition using acrylic paint over a drawing on paper. There will be a preview of next week’s cylinder lesson, and we will tap into students’ recent memories in creating magazine covers as well.
Week 20: The Secret Plate
Students will learn how to draw one of the most fundamental forms, a cylinder, much more accurately, by learning how to think about it differently. There is a fun way to teach and remember this important concept. Then they’ll apply the information to a still life; creating a line-drawing of bottles and striped fabric.
Use this button to view our parent’s blog. Share the link: http://parentart.org, with your student’s parents so your they can read about the lesson each week.