
Painting
Each lesson Plan focuses primarily on one of the 4 Cornerstones of Art:
Drawing | Painting | Color | Style
OVERVIEW
Students continue from last week’s drawing and preparations. They’ll get set up right away for painting, and review several insights as well as techniques. There are 3 techniques to use for this project, and a set of art terms is provided and discussed while students begin working. At the end of the lesson, there is a demo for creating a signature in paint.– – –
Grades 3 – 5
Week of February 3 – 7
1 Hour & 45 Minutes
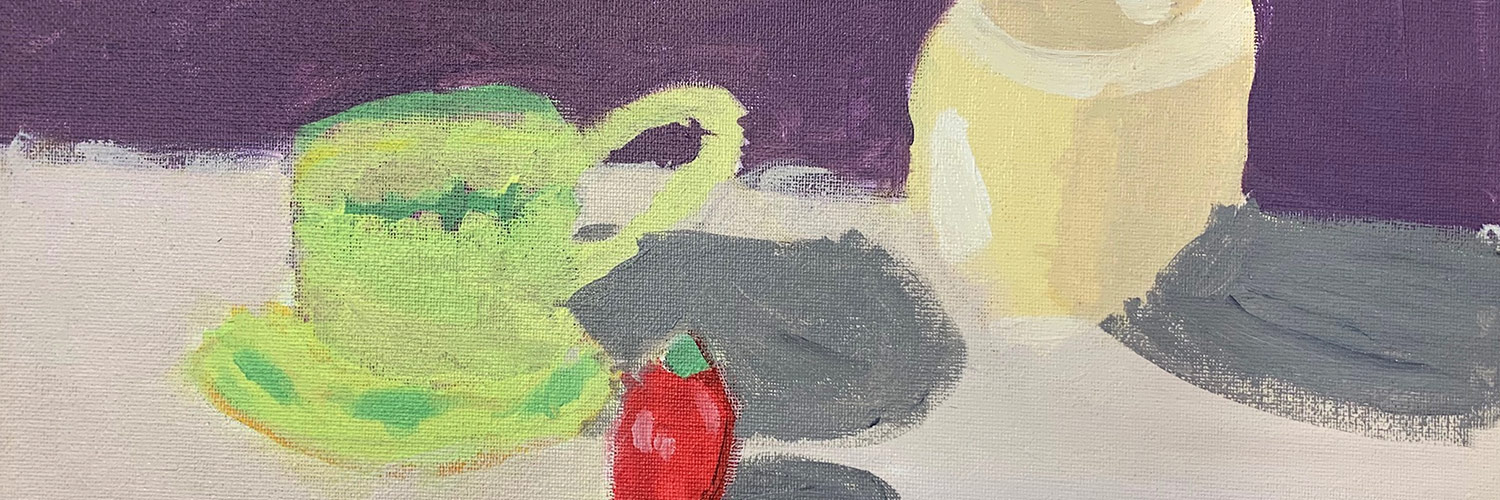
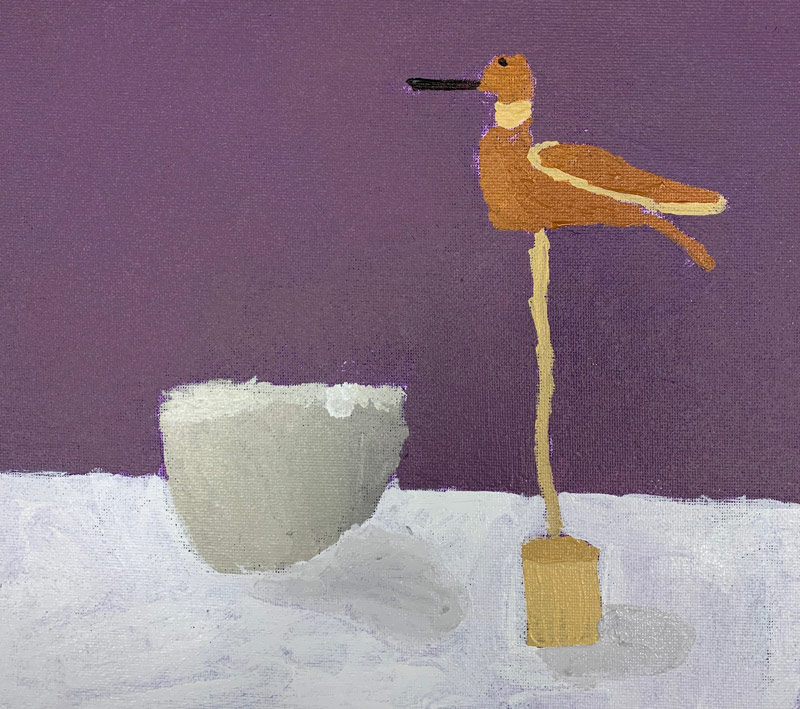
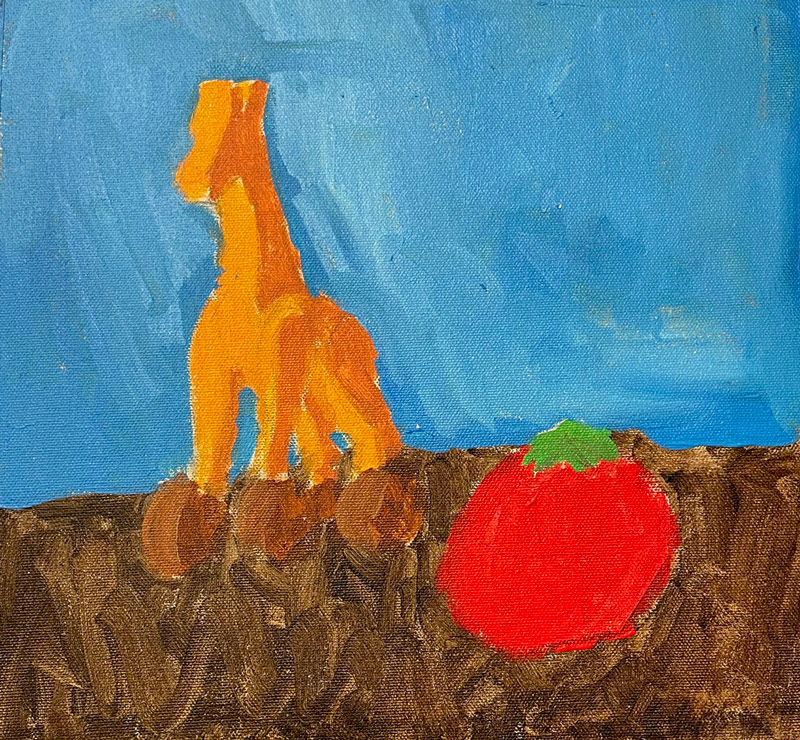
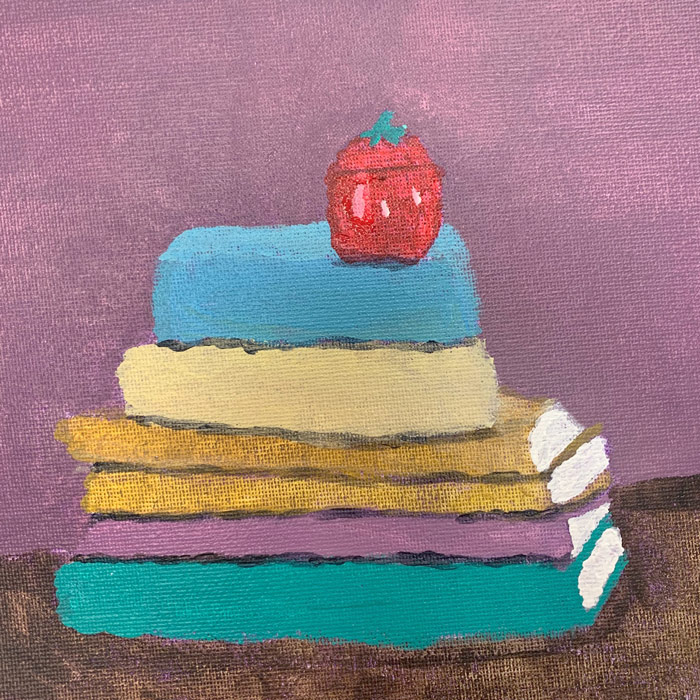
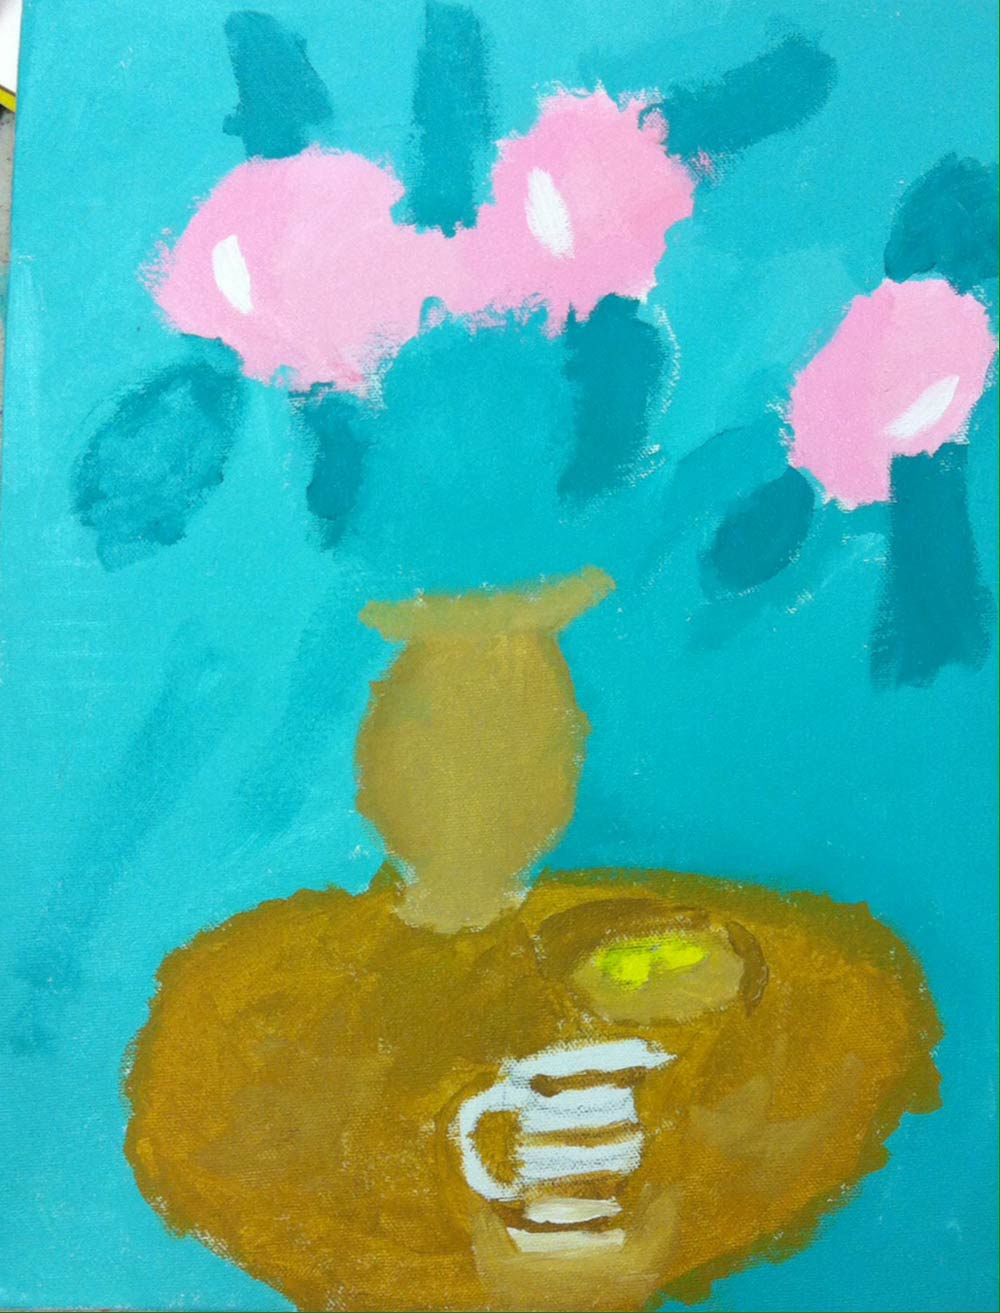
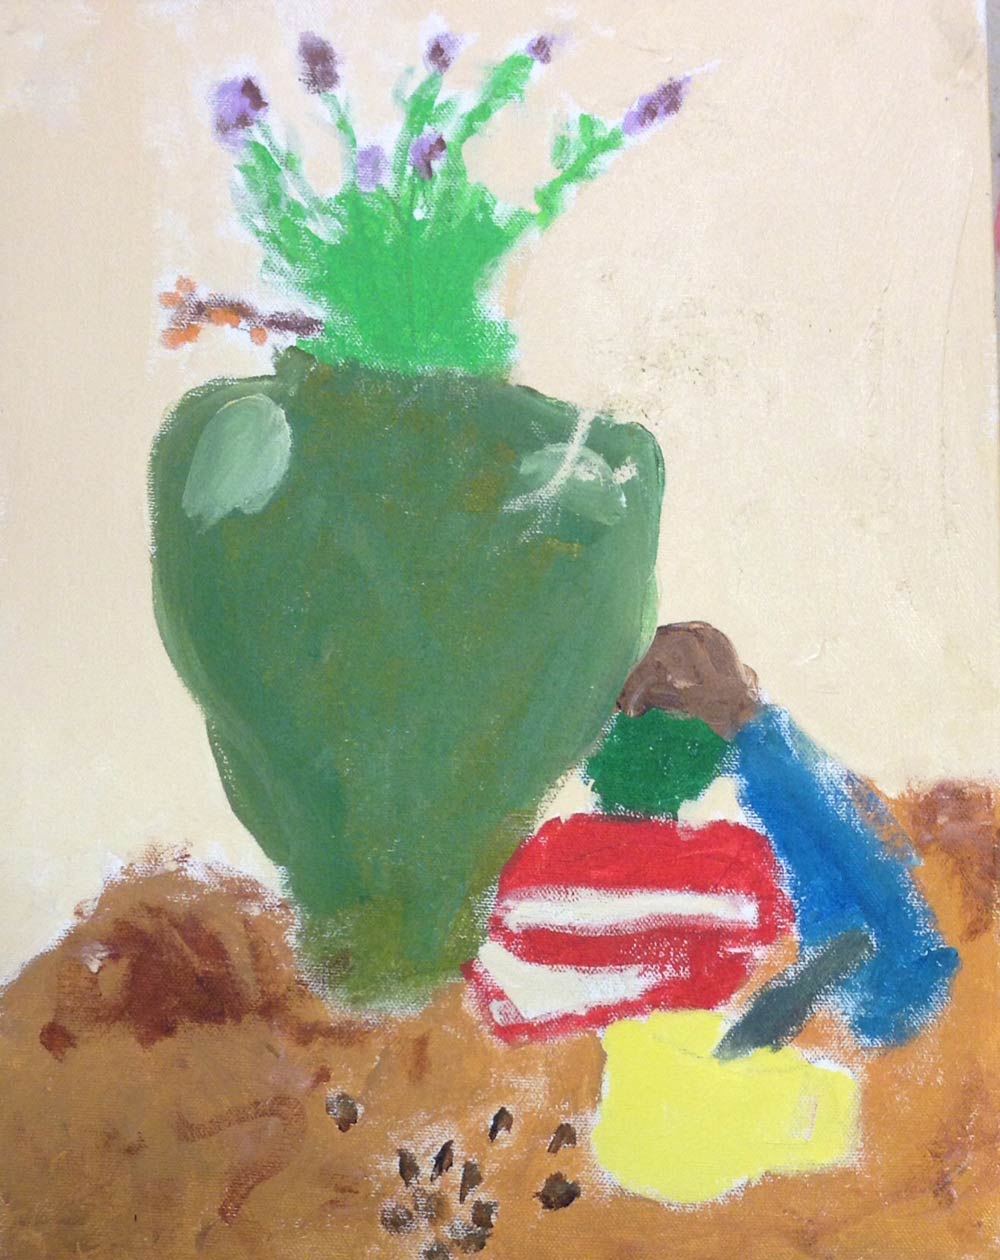
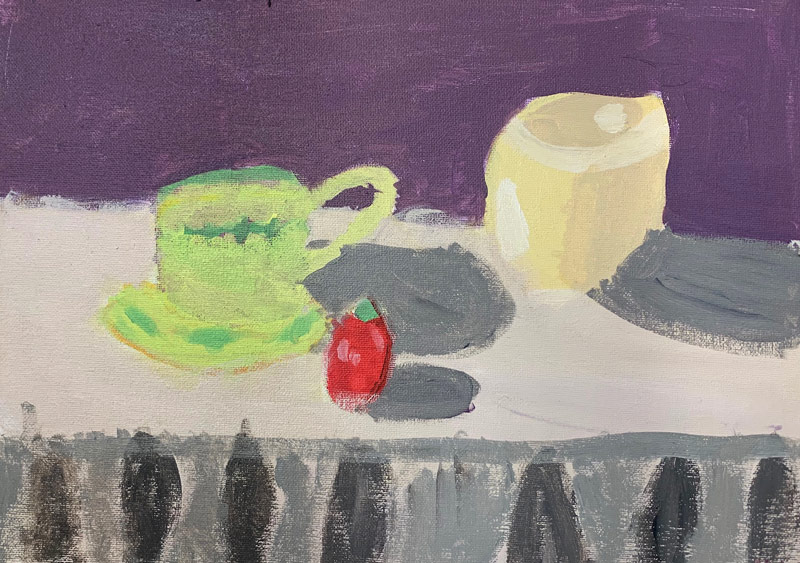
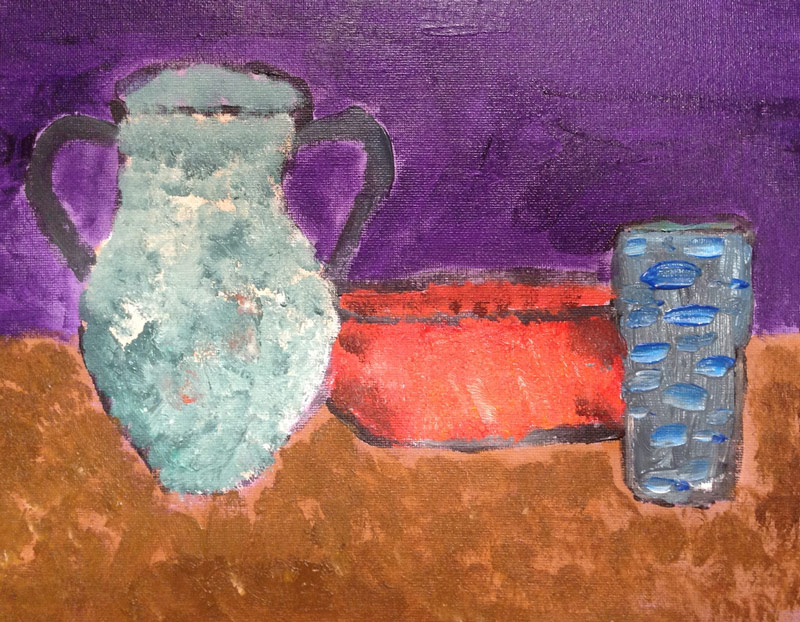
Student Work

Lesson At A Glance
Here’s a brief overview of the complete lesson. It’s also on your prep page in the Ready, Set, Go! section (below the lesson).
Colored buttons jump to each section in the full lesson plan below.
5 Minutes – Students set up for acrylic painting
5 Min – review Secret Plate technique & adjust guidelines
42 min – Mixing paint review & begin painting.
40 min – Encourage students & add Most Important Spot.
10 min – Teacher DEMO on signatures
2 min – Set aside paintings to dry
Use this button to jump down to the preparation section.
SCROLL & TEACH
LESSONPLAN
Each section is a different color. Read over once and then you can SCROLL & TEACH using any device you like. It’s designed to work well with your phone.
LEARNING TARGETS

Students know how to set up their work area for painting with acrylics.
M A T E R I A L S
- Water tubs
- Small to medium brushes
- Palette pads
- Acrylic paints
- Paper towels
- Canvas board with guideline drawing from previous lesson
All materials are suggestions and may be modified as you see fit. We have tried many items, and these seem to allow the most versatility for the cost.
Brushes should be nylon for springiness and durability. Round brushes are the most versatile.
Paint pigment list:
- Napthol or Pyrrol Red
- Hansa or Light Yellow
- Pthalo Green (blue shade)
- Cyan or Cerulean Blue
- Ultramarine Blue
- Dioxazine Purple
- Magenta
- Burnt Umber
- Raw Sienna
- Titanium White (professional grade only)
1.1 Print
Guide
Acrylic Pigment List
Print enough for each student to have one.
Hand out reference prints.

1 Page – Opens in new window
1.2 setup
Students set up their work area. Ask several people to go get water tubs filled, and others to find smocks. That way you have two or three groups in different areas so you don’t get backed up with lines.

Advanced Student Lesson
CREATIONS - tap here to open
Our Creations lessons are for students who have completed the two years of Foundations and are ready to begin using all that they have learned to create new work. These more challenging versions of the same concepts and techniques are easily taught along-side students in the Foundations course. This allows for excellent review, and is encouraging for students to see progress from each viewpoint.
Use the Student Instructions printout below to distribute to your Creations students. Tap the image to open the PDF in a new window.
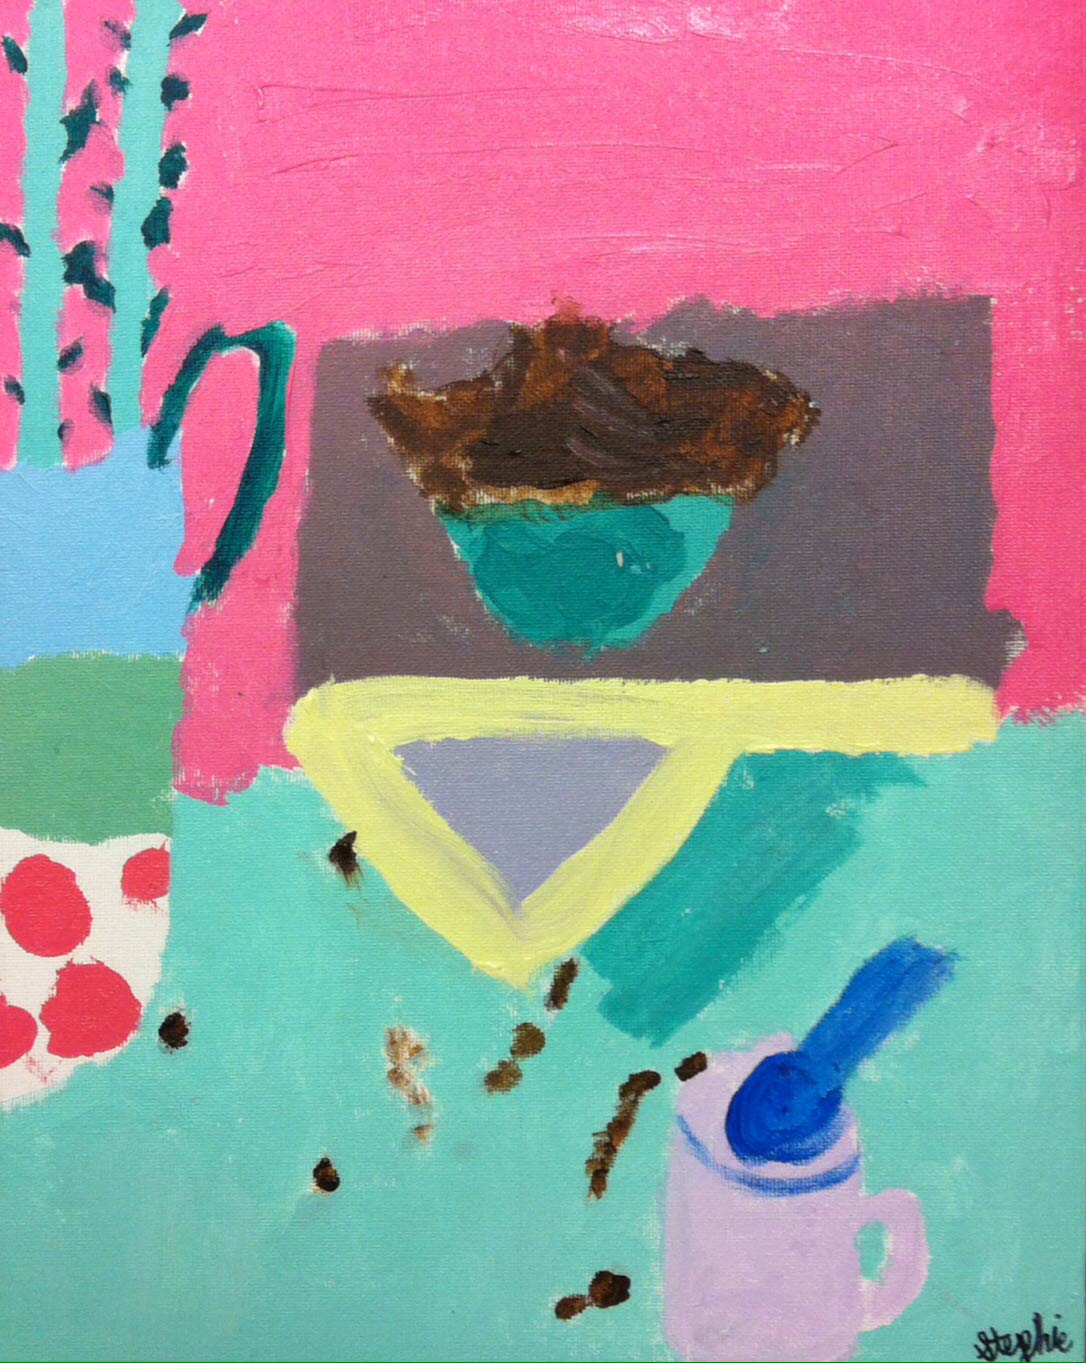
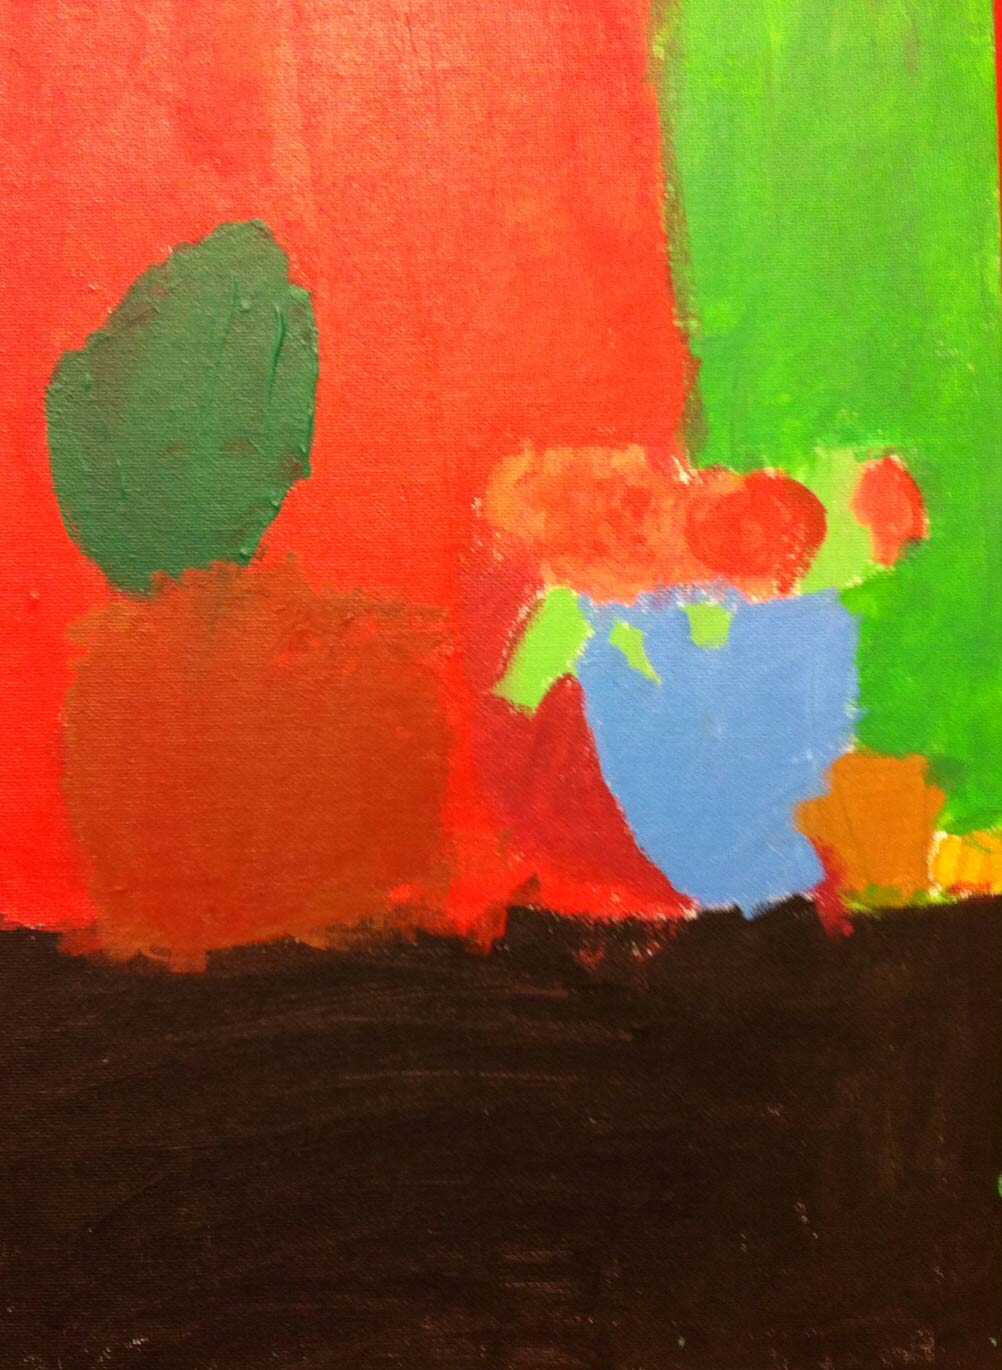
Abstract Painting
Overview: Students will create a background using colors they choose, and then create an abstract line painting using photographic reference as their source.
Use a canvas board, a sheet of taped canvas, or a stretched canvas if available.
Step 1. (15 minutes) Set up for painting in acrylic, and cover the canvas with a thin coat of any colors of your choosing. Brilliant colors work well. Colors may be mixed with water instead of white, for a glaze effect, or white can be mixed in for opacity – colors that look more solid. Set aside to dry.
Step 2. (20 min) Choose a reference source from any book or use the provided PDF photographs below. Use a pencil and sketchpad to create an abstract line drawing based on the photo. You should try to make it different enough so that it’s hard to recognize the subject.
Step 3. (5) Write down some ideas for how color will be used as line and filling in areas. The original underpainting may be covered a lot, or it may show through and be an important element in the painting.
Note: colorful lines and pattern can add a lot of visual interest to this painting.
Step 4. Resume painting, using a variety of Brushes for different effects. Clean edges and lines are much easier to create when the paint is a very fluid.
Tap images to open Creations Student Instructions and Reference Materials in new windows


Use this button to jump down to the preparation section.
LEARNING TARGETS
Students know how to adjust their drawings
M A T E R I A L S
- Canvas pencil
- White eraser
2.1 review
Show graphic & review The Secret Plate
“Artists always draw the entire secret plate for every ellipse that they see. You simply must draw the invisible part or you cannot accurately depict the visible part. It’s a mistake to think that once you understand it, that you no longer have to use this plate technique. Professional artists use it every time they draw.”
2.2 adjust
Use this button to jump down to the preparation section.
STEP 3. Begin Painting
Students will view video on mixing paint and begin painting their still life. 42 MinutesLEARNING TARGETS
Students know how to paint with acrylic
M A T E R I A L S
- Water tubs
- Small to medium brushes
- Palette pads
- Acrylic paints
- Paper towels
- Canvas board with guideline drawing from previous lesson
3.1 paint
Anyone not finished or who has not begun their underpainting should do that first. At this point, the easiest underpainting color is a quick wash of Raw Sienna or Orange over the entire canvas. Make the following important points to these students. You might want them to gather in a group so they hear it all. Repeat as necessary!
- Underpaintings will be painted OVER. It’s like doing an oil pastel on colored paper instead of white paper. Not much shows through but it changes the feel of the painting and makes it easier too.
- Use water, NOT WHITE, to lighten the color. White cannot be used at all for the underpainting.
- Make sure it’s light enough to see the drawing.
- Don’t over-brush it. You can accidentally scrub up the drawing.
- Don’t worry about streaks! They will not show at all after you paint over this.
Dry the underpaintings with a hair dryer so students can move forward.
3.2 watch
3.3 DEMO
The Basics For Setting Up and Painting Acrylics
Tap the 4 arrows icon to enlarge the video to full screen.
Review the demo video and demonstrate to your students, or you can simply display the video on a larger screen for them to watch.
TIP
Make sure that all of the wet items (brushes, water, paint, and palette) are on the same side as the dominant hand of each artist. This prevents spills and drips on the artwork.
3.4 teach
Everyone who is ready to paint may begin at any place on the canvas they like. A good start is usually one of the objects.
IMPORTANT!
Make sure you tell your students to mix some white into every single color. It makes the paint opaque, so that the underpainting is not bleeding through. It will show through gaps in the paint, but bleeding through a transparent layer of thin paint will not look as good with the basic techniques below.
Easy Technique
Local Color technique is where the artist paints the object the main, or “locoal” color, such as a solid red for a red tomato. Then you paint the shadows with a darker red, and finish with light areas last. Highlights are the very last thing you do.
Painting from dark to light is a better technique, but may be too hard for this age group. You can encourage them to paint however you like.
To paint from dark to light, you fill in the darkest shadows first. Mix up some shadow colors using opposites (see color journal from last year if you have one). Paint the shadows (a little larger than they are), over the entire canvas first. Then move to brighter local colors. You can use a dry brush technique as long as all of your colors are lighter than what has already been painted. This is called painting dark-to-light, or the “sunrise” technique. Finish by waiting until the very end to add highlights and fill in the lightest areas.
3.5 Paint
As you walk around the room:
- Take a moment with every student on each round, even if it’s simply saying “looks good so far!”
- Continue rounds throughout the class time.
- Ask students if there is anything causing frustration or if they have a question about anything
- Ask what they like and/or dislike about the work so far
- Have a clipboard or pad and pencil with you. Write and draw any solutions you have, and then give the paper to the student. If you’re not an artist, discuss ideas they have to improve their own work.
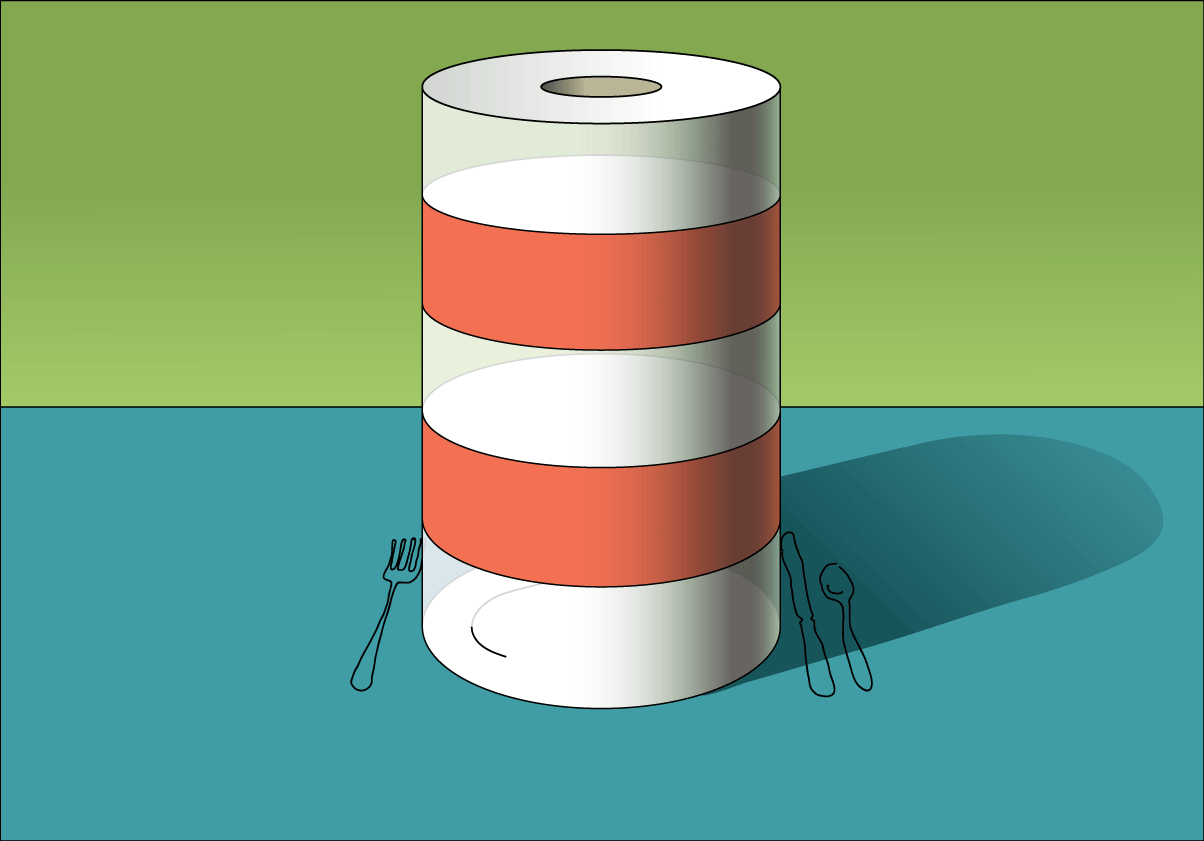
- The focus is on
- cylinder shapes
- fun
- finishing a painting
- being happy with technique – switch to another technique if there is frustration
TIP
Tell your artists that shadows are full of color and not gray. Dark reds for red objects, and browns for yellow or orange objects. Green and blue objects often get more blue as they get darker.
Use this button to jump down to the preparation section.
LEARNING TARGETS
Students know how to paint with acrylics
M A T E R I A L S
- Water tubs
- Small to medium brushes
- Palette pads
- Acrylic paints
- Paper towels
- Canvas board with guideline drawing from previous lesson
4.2 paint
TIP
Something that looks great in one or two places will not look good if placed all over a painting, ie: an awesome highlight. Too many of a good thing makes it dissapear.

Pinterest Gallery – Henk Helmantel
Tap the icon to the left to open our special Pinboard showing examples of artwork to display to your class. See our Article for making Pinterest work on larger displays. You can also use a laptop or large tablet and gather everyone around like you’re using a book. Below is the artist’s website, which is in dutch but most browsers will translate for you.
Here’s another PINBOARD with more still life examples in several different styles.
“Henk Helmantel is a renowned Dutch painter who has been very successful as a still life artist, as well as painting serene and simple interior architecture.
He is somewhat controversial in his artistic diretion and outspoken beliefs. His work is deeply moving in person, yet still comes across in reproductions online and in books. He has a mastery of form, painting cylindrical shapes accurately and with beautiful light and shadow.”
Use this button to jump down to the preparation section.
LEARNING TARGETS
Students know how to sign their painting
M A T E R I A L S
- Scrap of painted canvas to demo on (light and/or dark areas)
- Small long-haired skinny pointed brush. A liner brush is best
- Acrylic paints
- Mixing surface
- Water tub
5.1 DEMO
Signature Demo
Tap the 4 arrows icon to enlarge the video to full screen.
Review the demo video and demonstrate to your students, or you can simply display the video on a larger screen for them to watch.
5.2 paint
Use this button to jump down to the preparation section.
LEARNING TARGETS
Students know the importance of cleaning up.
M A T E R I A L S
- Paper Towels
- Cleaning wipes
- Sink
- Waste baskets
- Well-lit spot for photos
- Camera or phone-camera
6.1 CLEAN
Acrylic paint takes 24 to 48 hours to completely cure. Until then anything touching it will adhere to it like glue if left in contact for very long. A drying rack is great, but if you don’t have one, use all the flat surfaces you can to store drying paintings. Wax paper between them can help but only after overnight drying at least.
Students set up their work area.
- Wash hands
- Super-wash brushes if used
- Put art supplies away
- Wipe tables & toss trash
- Remove any smocks (last)
- Check for items on floors and tables
6.2 PHOTO
Try to get photos of your student’s artwork. Find a good spot for quick lighting without highlights or shadows from your hands and device. Ideally in-between two strong lights on each side.
OBJECTIVES
- Practice and improvement painting with acrylics
- Understanding how to finish a painting
- Accomplishment in finishing a still life on canvas
- Fulfillment in discovering a personal painting technique
TROUBLESPOTS
Overload from frustration
- If you have a crisis going on, allow the student to make a graphic painting like the bottles a few weeks ago, with flat colors and sharp edges. If even that is not working, switch to oil pastels on paper and artists’ choice to take a quick break of 5-10 minutes.
- Students sometimes do things their own way and ignore every single thing you’ve asked them to do. They are convinced that their own way will protect them from embarrassing themselves so they insist that their way is better for them. When it doesn’t work, the stress can be overwhelming, but as a teacher you will be very frustrated too! Take a break. Then have a discussion about trusting you and taking a chance that the lesson will help them be less frustrated. Remember that art and performance are connected to identity, so this is a sensitive issue.
ART WORDS
Perspective – A term that is used to refer to the general illusion of depth in artwork.
3D drawing – When any artwork gives the illusion of being viewable at more than one angle, and the nature of the work changes when viewed from those different angles, it is a 3D form of artwork. 3D work utilizes the different viewpoints to maximum effect and sometimes creates an environment.
CLASSROOM
PREP
Print all of your PDFs from the lesson plan and cut any references apart as needed.
What your room needs
Here are your printable lists and room prep instructions.
Opens in new window
CLASSROOM
MATERIALS
- Water tubs
- Paper towels
STUDENT’S
MATERIALS
- Small to medium brushes
- Palette pads
- Acrylic paints
- Canvas board with drawing from previous lesson
- Canvas pencil
- White eraser
PREVIEW
Week 24: Architecture Watercolor
Students will enjoy an easy drawing of architecture shapes that don’t involve perspective, from photo reference. A review or intro to watercolor techniques is next, and then they spend the rest of the lesson painting.
Week 25: The Eye
This week is the beginning of our winter anatomy lessons on the parts of the face. Students will sculpt a human eye as they follow along with a video. They’ll learn to draw accurate eyes by understanding the form and structure of the eyeball and the skin around it. Lighting is demonstrated so that shadows are also understood. There is a “before” and “after” version of their work so they can see the progress from today’s instructions.