
Drawing
Each lesson Plan focuses primarily on one of the 4 Cornerstones of Art:
Drawing | Painting | Color | Style
OVERVIEW
Warmup today begins with cartoon faces. Then artists will draw a pencil self portrait using mirrors to observe themselves. First, though, there is a lesson about shadows, reflected light, and practice drawings with soft edges using an egg.– – –
Grades 3 – 5
Week of February 23 – 27
1 Hour & 45 Minutes
Lesson At A Glance
A brief overview of each step. Buttons jump to each section for detailed information.
10 Minutes – Cartoon Faces in pencil
10 Min – Show how light bounces & reflects
10 Min – Make, draw, & shade clay egg
5 Min – Go over PDF
10 Min – Mirrors – & talk about 2 kinds of art
10 Min – Lightly sketch realistic self portrait
45 Min – Students draw expressive self portraits
5 Min – Everyone helps
SCROLL & TEACH
LESSONPLAN
Each section is a different color. Read over once and then you can SCROLL & TEACH using any device you like. It’s designed to work best with your phone.
LEARNING TARGETS

Students know how to draw a cartoon illustration
M A T E R I A L S
- 14″ x 17″ Sketch Paper
- White eraser
- 4B Pencil
- Oil Pastels
1.1 Print
Worksheet
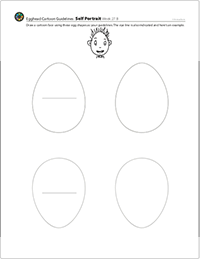
Egghead Guidelines
Give a worksheet to every student if you want them to use a printout instead of drawing their own guidelines.
1 Page – Opens in new window
1.2 Guides
If drawing their own guidelines, remind everyone to make the line of the egg shape as light as possible. Then they can draw over the guidelines.
1.3 draw
If they are using oil pastels to color, make sure they use black last. Otherwise, this is simply a lot of fun and anything they do with it is fine.
CREATIONS - tap here to open
Use the Student Instructions printout below to distribute to your Creations students. Tap the image to open the PDF in a new window.
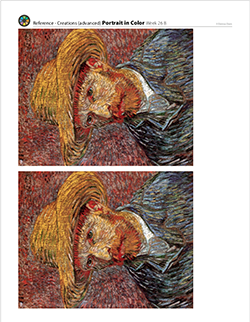
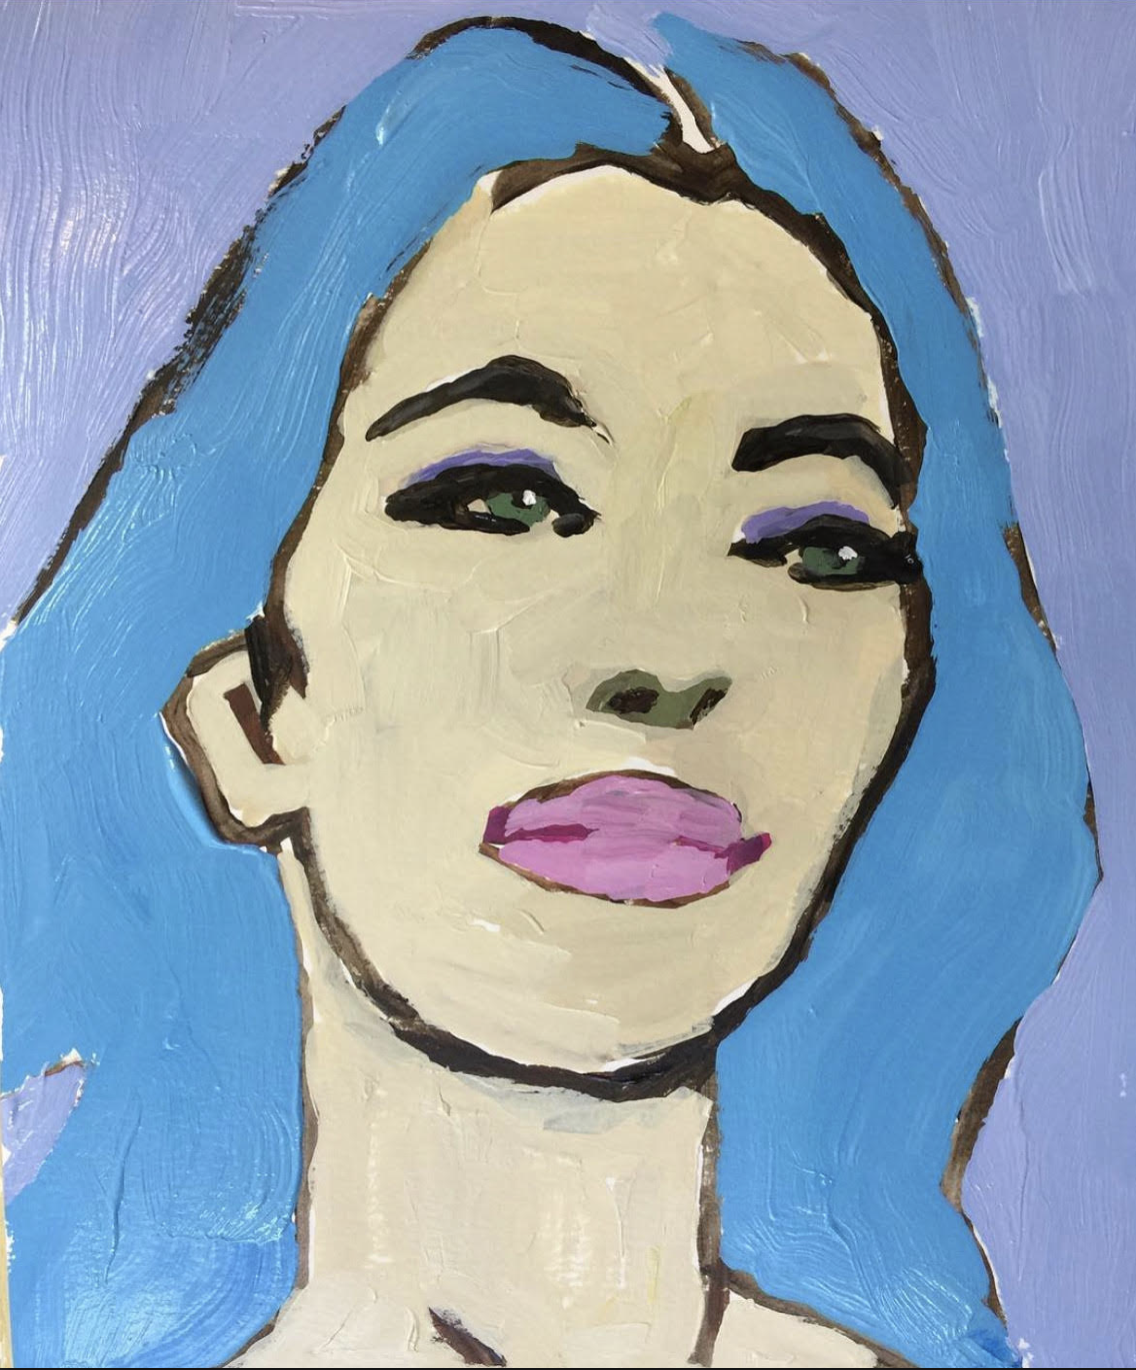
Creative Portrait Painting in Acrylic –
Week Two, of a Two-Week Project
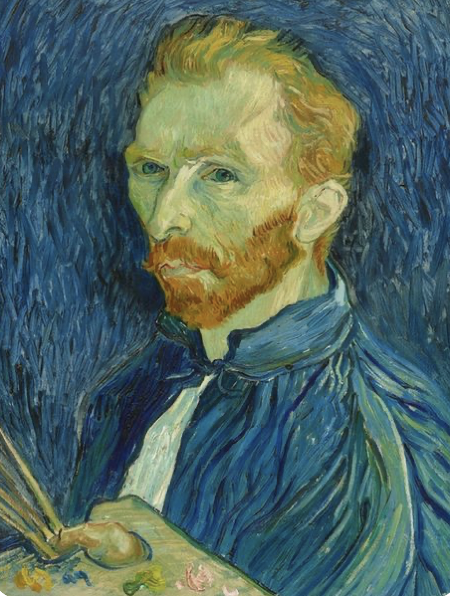
Overview: Students have the option of copying a Van Gogh self portrait (reference below), or using the style and techniques of Van Gogh to do their own self portrait.
Goal 1: To manage a painting project from start to finish without too much oversight. Students should attempt to move through the Seven Steps of Painting. Remind students as you see them working. The instructions (PDF below) have these listed.
- Inspiration – choose self portrait or Van Gogh’s.
- Reference – use mirror or printout.
- Practice – 3 kinds of sketches help: Quick Gestures in charcoal for Big Shapes / Thumbnailsfor composition / Pencil Studies for details.
- Set Up – Workspace should be organized and comfortable. Canvas should be taped to a board, not loose or still in a pad.
- Guidelines – use a canvas pencil to draw the main features.
- Create with paint. Encourage students to be creative with thier color.
- Clean up – Super-wash brushes and check work area.
Goal 2: Practice painting techniques: 1) dark to light or sunrise; 2) color splitting and using lots of color variations; 3) underpainting if desired 4) layers of opaque paints 5) brush strokes
Goal 3: Accuracy in portrait – Not necessarily realism, but getting a reasonable proportion and placement of features accurately, makes a creative portrait look great.
Tap images to open Creations Student Instructions and Reference Materials in new windows

Use this button to jump down to the preparation section.
LEARNING TARGETS
Students know how to see shadows on objects
M A T E R I A L S
- 2B Pencil
- 2 sheets of brightly colored Paper in warm and cool colors
- Egg or white clay shaped into an egg
- Spotlight Lamp
2.1 display
Have students gather around for a demo using one of the eggs sitting on a sheet of white paper with a lamp right above it so that there is a good light and dark on the egg and good reflected light. Have a sheet of brightly colored paper available for the demo. It’s even better to have 2 different colors; a hot and a cold color.
Use a pencil or a small brush as a pointer. Everyone must be on the same side of the egg as you, so you may have to shift places at times during the demo so they can all see well. If you have a large class, use the slideshow if you want.
First, I want to review shadows. There are two kinds of shadows here, both of which are being created by the egg. One shadow is on the dark side of the egg, and I call that the ON shadow. The other shadow is touching the egg, and underneath it. It is the OFF shadow, or cast shadow.
The light is coming from above, so the top of the egg is very light and bright. But where is the darkest part of the ON shadow? There is a tiny little dark spot sometimes where the egg touches the paper, and the OFF shadow is darkest there too, but look at the ON shadow. Squint your eyes if you want to, and you’ll see it even more. There is a light area on the bottom of the egg, so the shadow is darker in … the MIDDLE of the shadow. The light from the lamp is not hitting the egg there, so where does that light area come from?
That is right, it’s bouncing and reflecting off of the paper and coming back up to hit the bottom of the ON shadow. This happens in almost all shadows and is called bounced light. Bounced light is very important for making things look rounded. You’ll see it on chins or bottoms of noses – and eggs!
What do you think will happen if I move this bright paper under the egg? Let’s try now. Wow! That’s amazing how the color is in the bounced light. It shows just how much the egg is like a mirror. (move the paper in and out, and stop half way so they can really see how the color is reflected).”
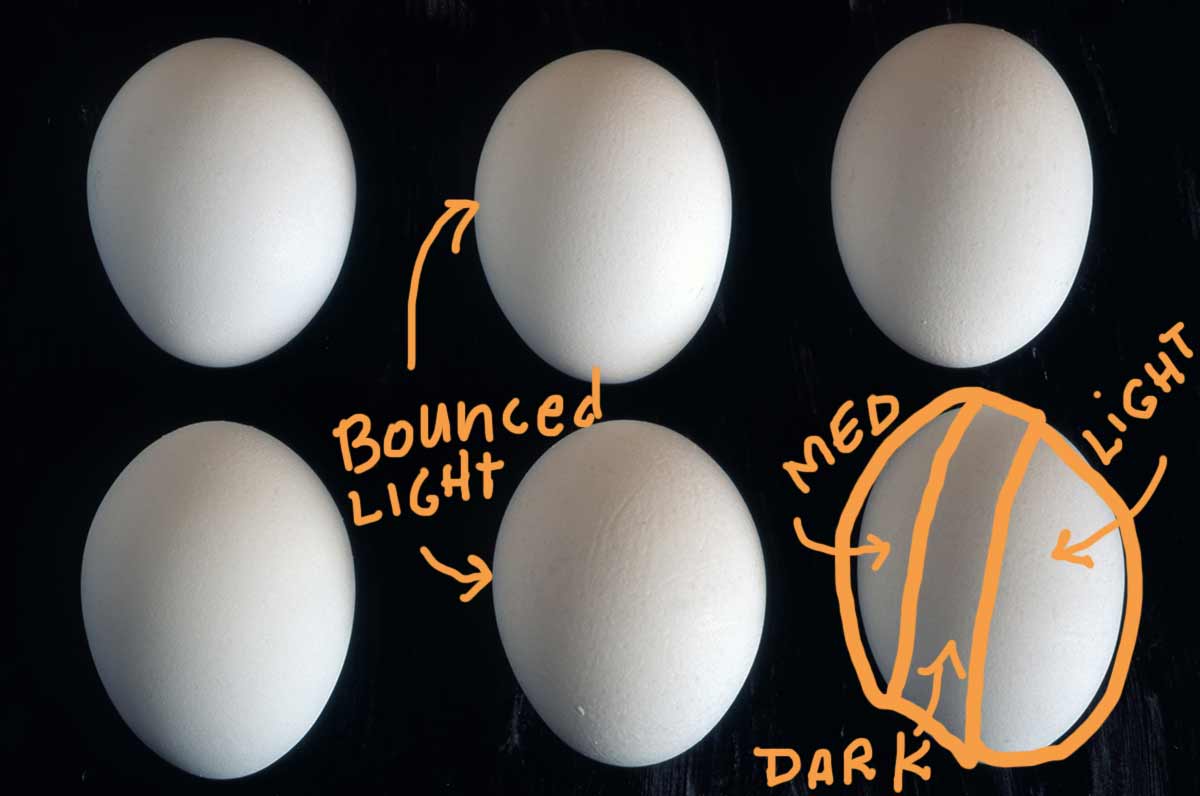
Most objects reflect light from around them. All of these eggs have 3 shades on them. The light side, and then the ON shadow has a darker area … in the middle. There is a glow of bounced light on the left side of each egg.
The egg on top shows a reflection of the egg just beneath it. That’s why it’s so light inside the ON shadow.
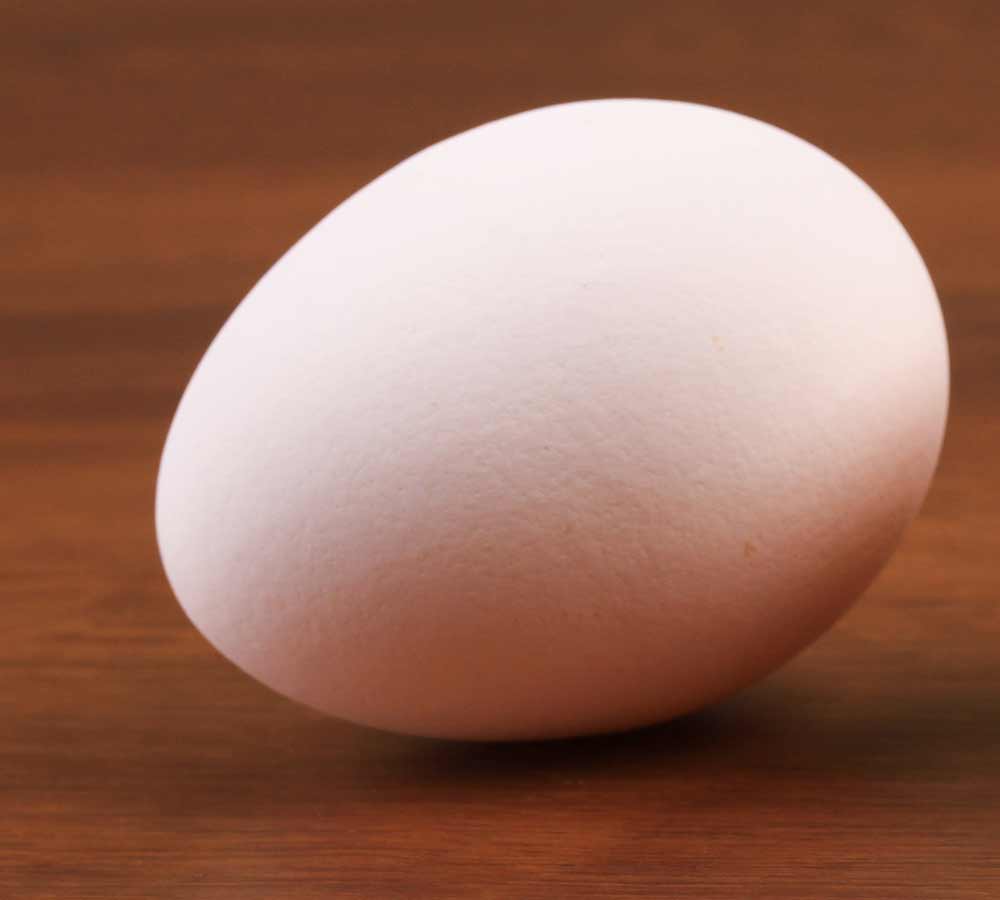
This white egg looks brown on the bottom because the wood reflects up onto it.
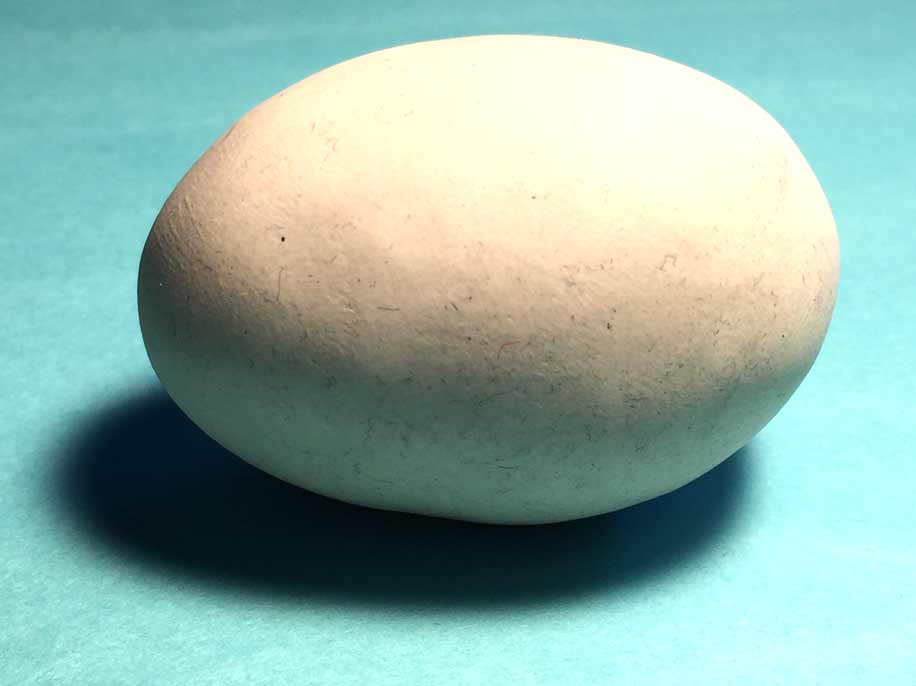
You can see the bounced light on the bottom of this egg, with the darkest part of the shadow in the middle of the shadow area. What color is in the bounced light area?
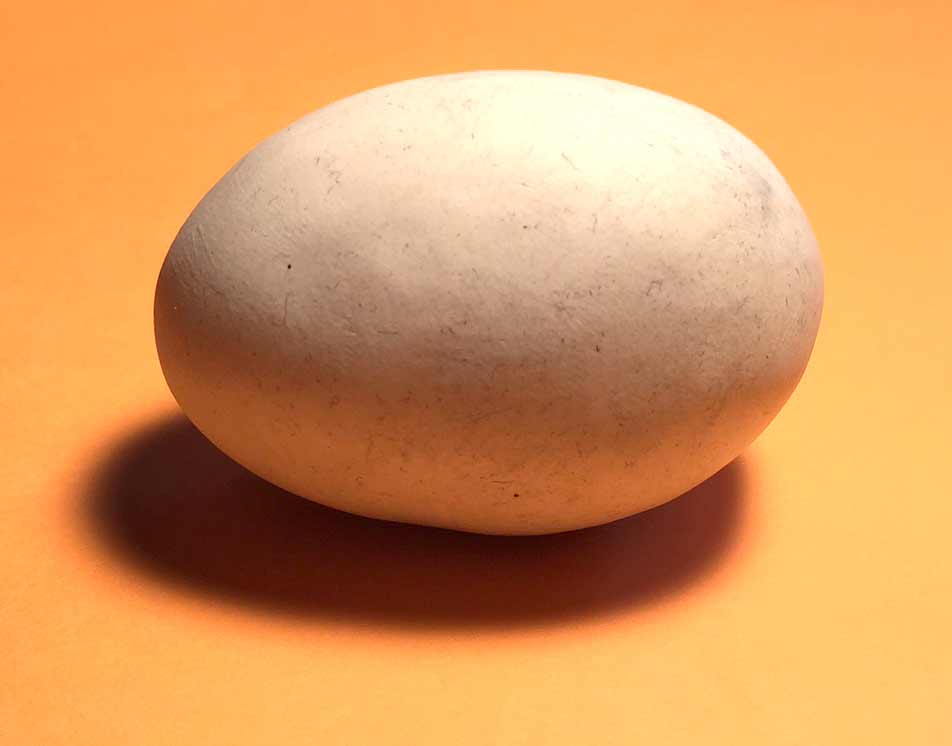
It’s a little easier to see how the bounced light is full of color on this orange surface. That’s because most shadows are blue, and we just don’t think about the color being there.
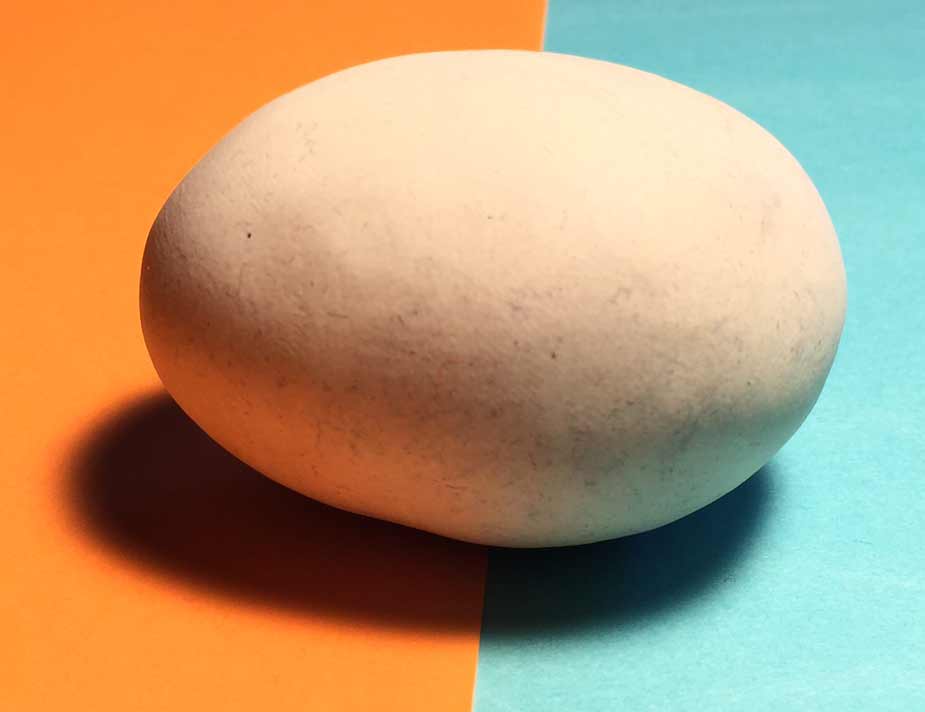
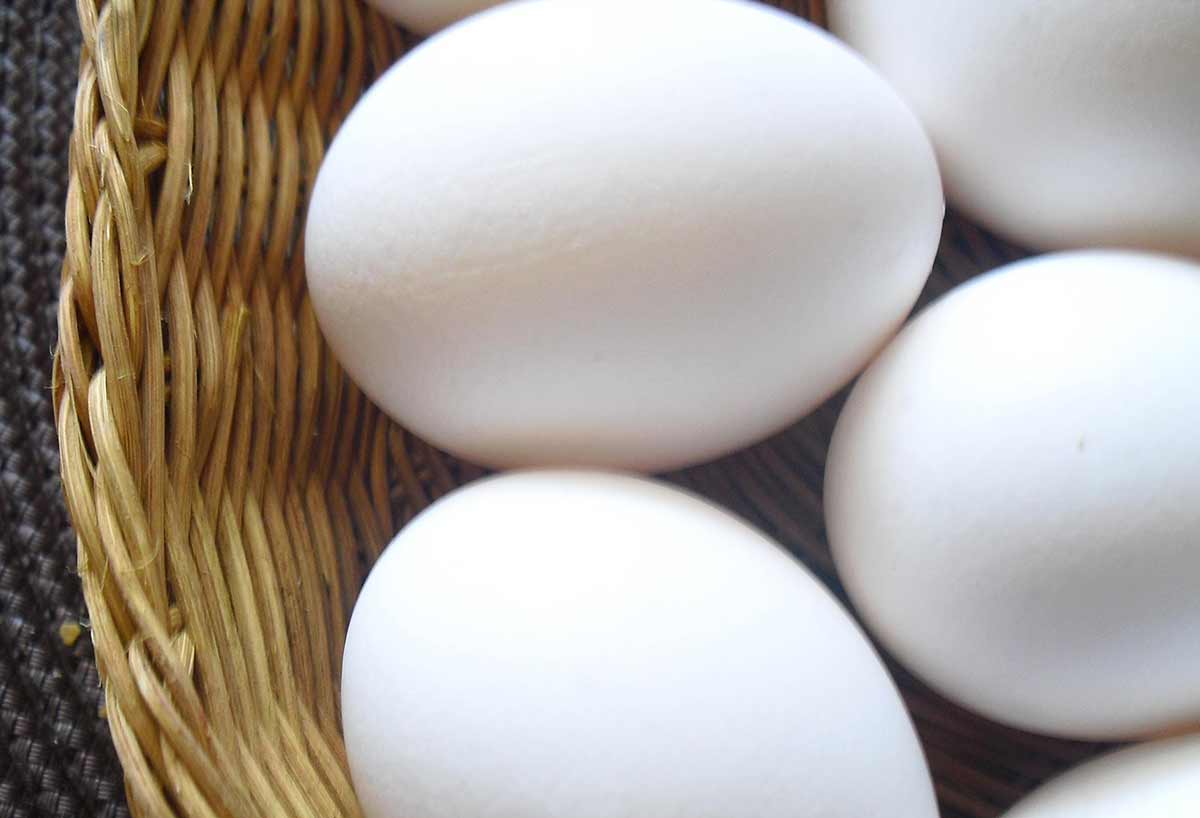
Wow! Placing the egg half on each color makes it so clear, just how much color is reflected up into the ON shadow. All objects reflect the colors around them like this.

We don’t easily see colors inside shadows unless we look closely. This is a close up of the same photo!
Use this button to jump down to the preparation section.
LEARNING TARGETS
Students know how to shade a drawing
M A T E R I A L S
- 14″ x 17″ Sketch Paper
- 2B Pencils
- Kneaded Eraser
- Modeling clay or real eggs
- White copy paper
3.1 shade
Make & place clay egg on white paper. Let students draw and shade the egg in front of them. Be sure everyone is sitting where they can see the egg display easily.
Draw the egg and shade using hatch shading and the side of the pencil lead. Use kneaded erasers to press and lighten areas, and you can smudge with stump or finger. The goal here is not to improve on technique, but to see and depict the shadows accurately. Even the shape of the egg is not very important.
Use this button to jump down to the preparation section.
LEARNING TARGETS
Students know how to create different levels of shading
M A T E R I A L S
- Printed Tips sheet
4.1 print
Reference
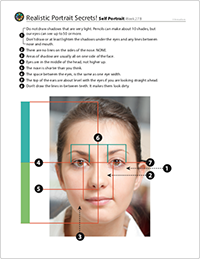
Portrait Secrets
Cut images apart and print enough for each student to choose from several.
1 Page – Opens in new window
4.2 intro
Start by reading the Teacher Talk below to make it fun. You can begin introducing this while they’re still drawing the gradual shading in step 4. You can use the PDF to print and use for handouts, as a poster, or both.
4.3 teach
- You cannot draw everything you see on the face. Why? People do not notice certain things on faces. If you look, you’ll see these things, but if you draw them, you call attention to something that people never think about, and it looks odd to them. Here’s what not to draw:
- Do not draw shadows that are very light. Pencils can make about 10 shades, but our eyes can see up to 50 or more.
- Don’t draw or at least lighten the shadows under the eyes and many deeper shadows or lines between the nose and mouth.
- There are no lines on the sides of the nose. NONE. We tend to try and make the nose have depth by emphasising the shadows on each side, but the shadows underneath the nose are what do that.
- Areas of shadow are usually all on one side of the face. There is a light side, and a dark side. The lightest areas in the shadow areas, will not be as light as the light side.
- Eyes are right in the center of the head height, not higher up. We include the eyebrows when we remember where eyes should be, and then we tend to draw them too high
- The nose is often shorter than you think. Look closely.
- The space between the eyes, is the same as one eye width.
- The top of the ears are about level with the eyes if you are looking straight ahead.
- Never draw the lines in-between teeth. It makes them look dirty.
Use this button to jump down to the preparation section.
LEARNING TARGETS
Students know key tips and tricks to drawing a portrait
M A T E R I A L S
- Mirrors or mirror tiles
- Stands and clips
- Books to raise mirror height
- Good lighting
Clip your tiles to a Cheasel or other stand.
5.1 Setup
Set up for drawing portraits while explaining about realism vs expressive art forms.
Set up mirrors. Raise these onto books if you have small mirrors so they’re closer to eye level. Clip mirror tiles to cheasels or other stands if you have them. The angle of the mirror can help with the viewpoint.
Try to have the angle of viewpoint from slightly above the face, looking down just a bit, or eye to eye at least. This is more flattering than looking up at a face.
Have students turn so their face is in the best light, and draw with pad in their lap.
5.2 Teach
“Some artists remember what they see more accurately than others, and that’s ok. Remember that there are different kinds of art. To make art look realistic, you must be looking at real life while you draw it, or a photo of real life. Some people like to draw realistically, so they will always use reference. Art that is expressive, though, is usually made from memory and imagination.
Neither kind of art is better than the other. Many artists do both, but some artists like one or the other.
One thing to remember is that you shouldn’t mix the two types. If you want realistic art, never use your memory to change it. That would be like mixing two kinds of music. Never play country music at the same time as classical! Or you might think of it as mixing foods that don’t go together, like mashed potatoes with cookies.
First, we’re going to practice with a realistic sketch while you look at your face in the mirror. Afterwards, you have a choice! You can do another more detailed and finished realistic sketch, or you can make one or more expressive self portraits. I’ll explain more in a minute.”
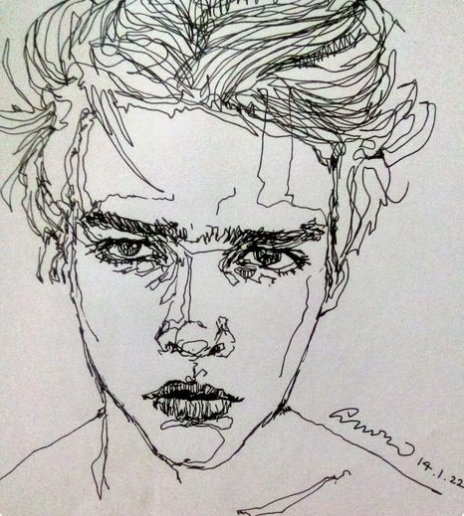
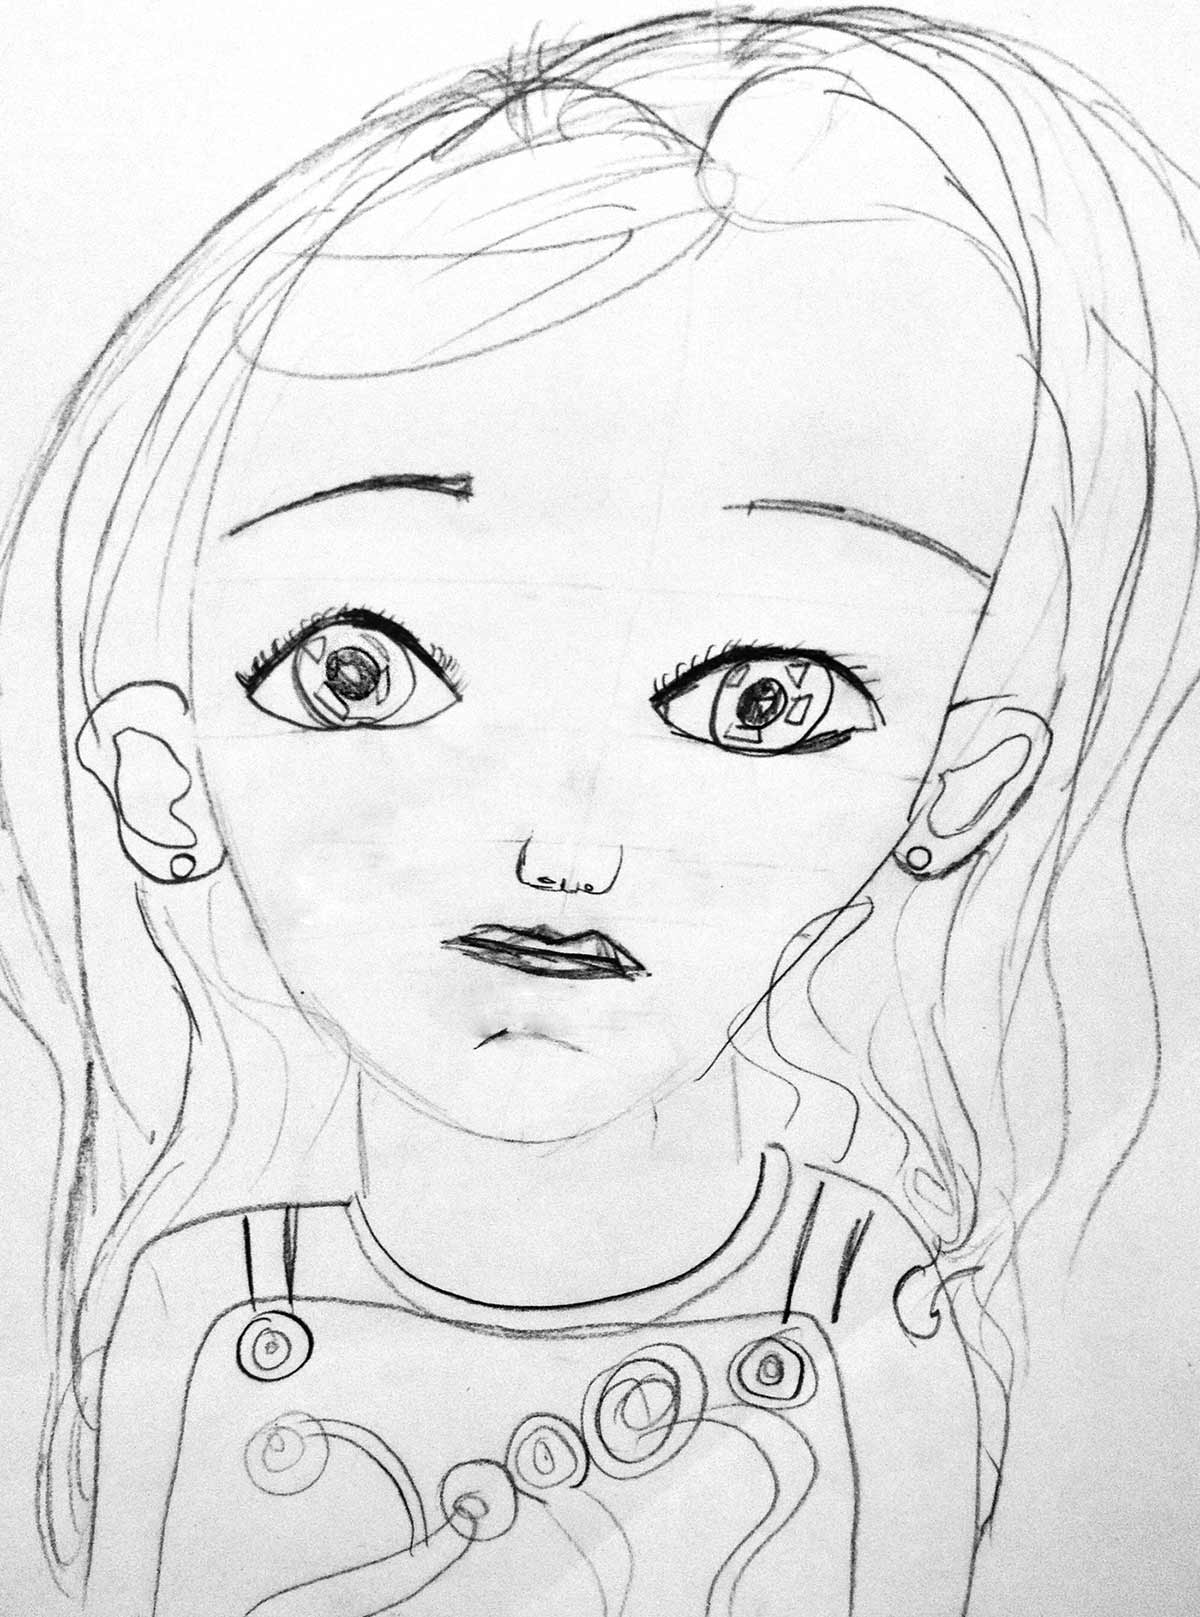
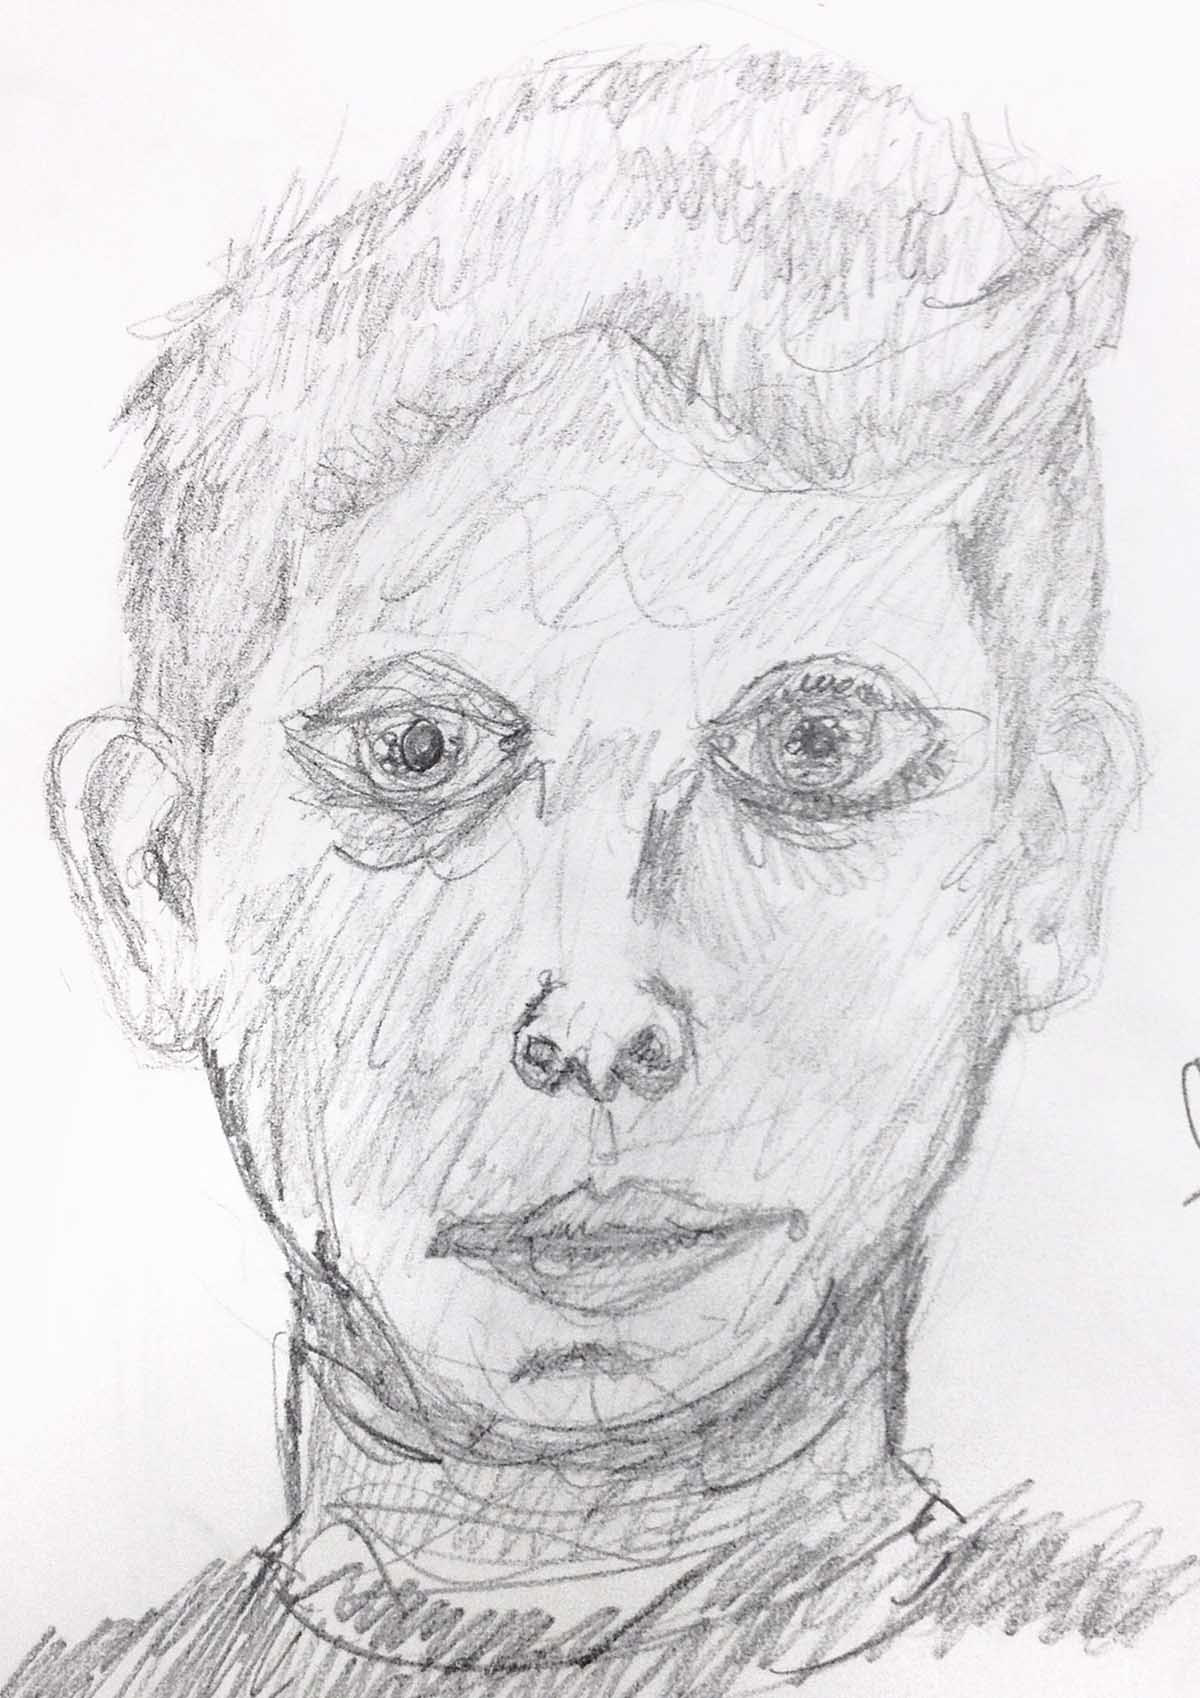
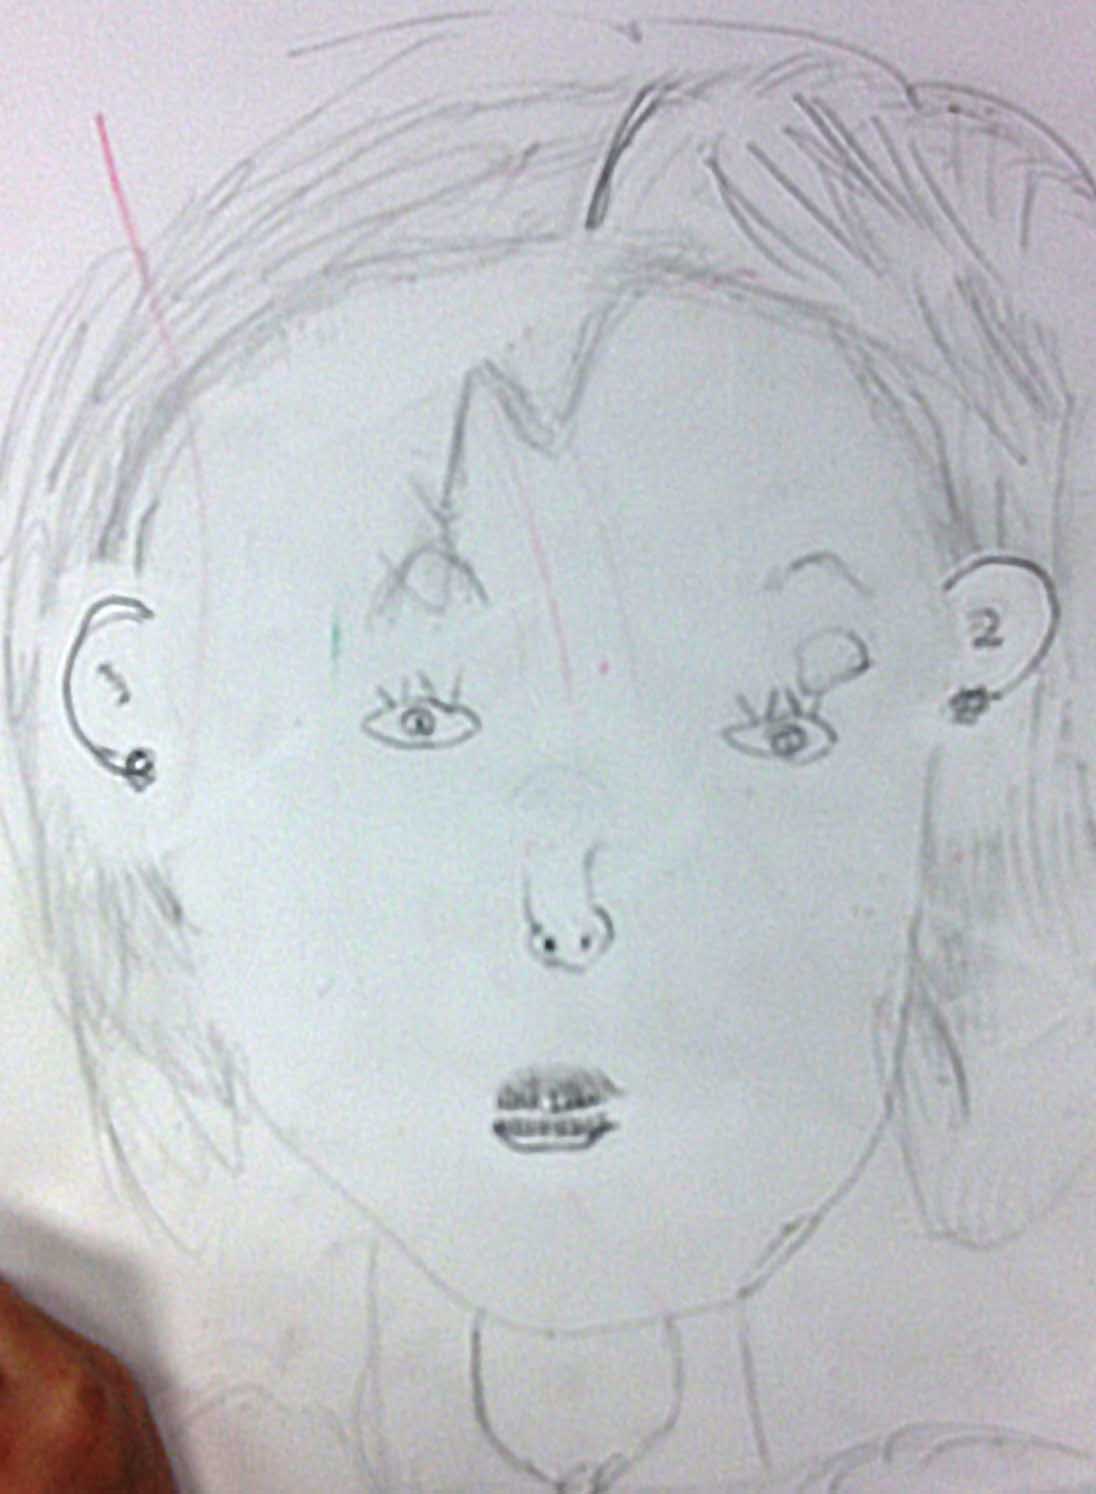
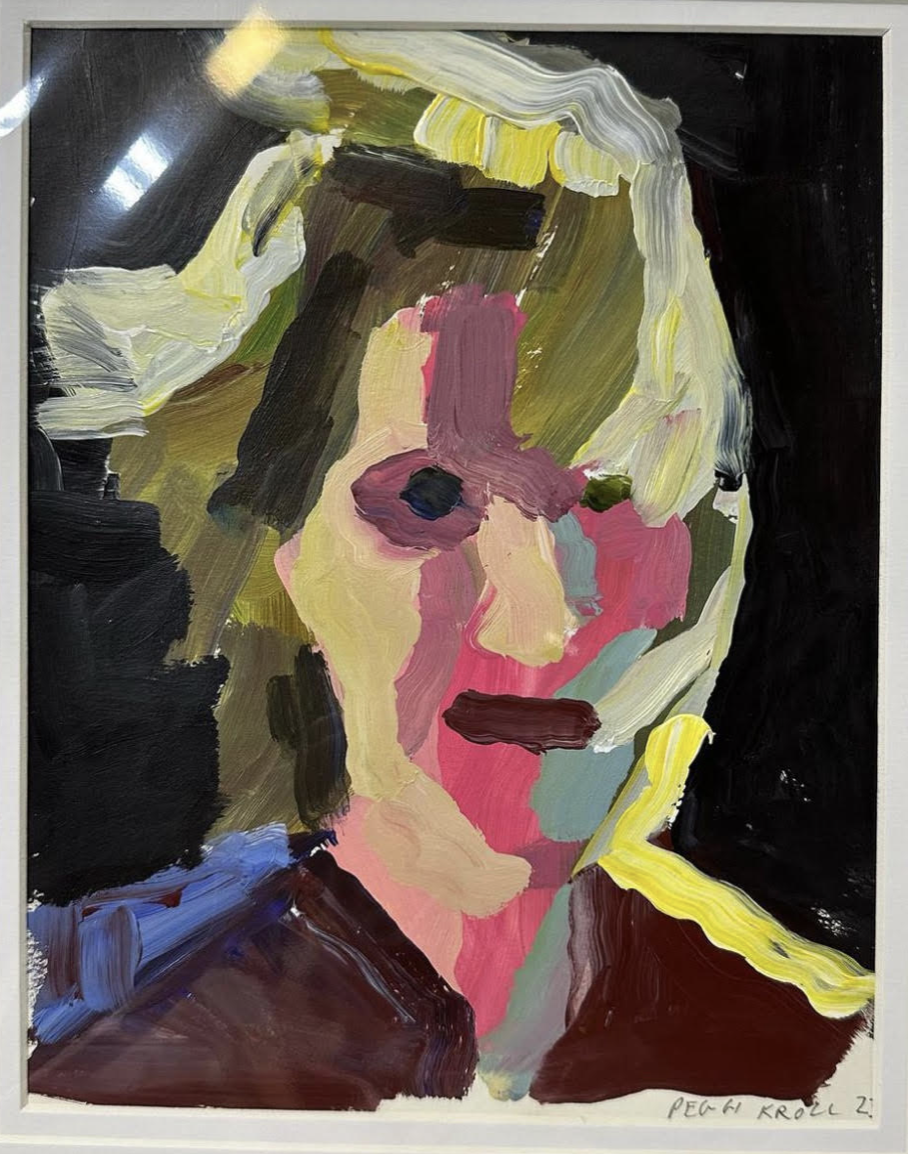
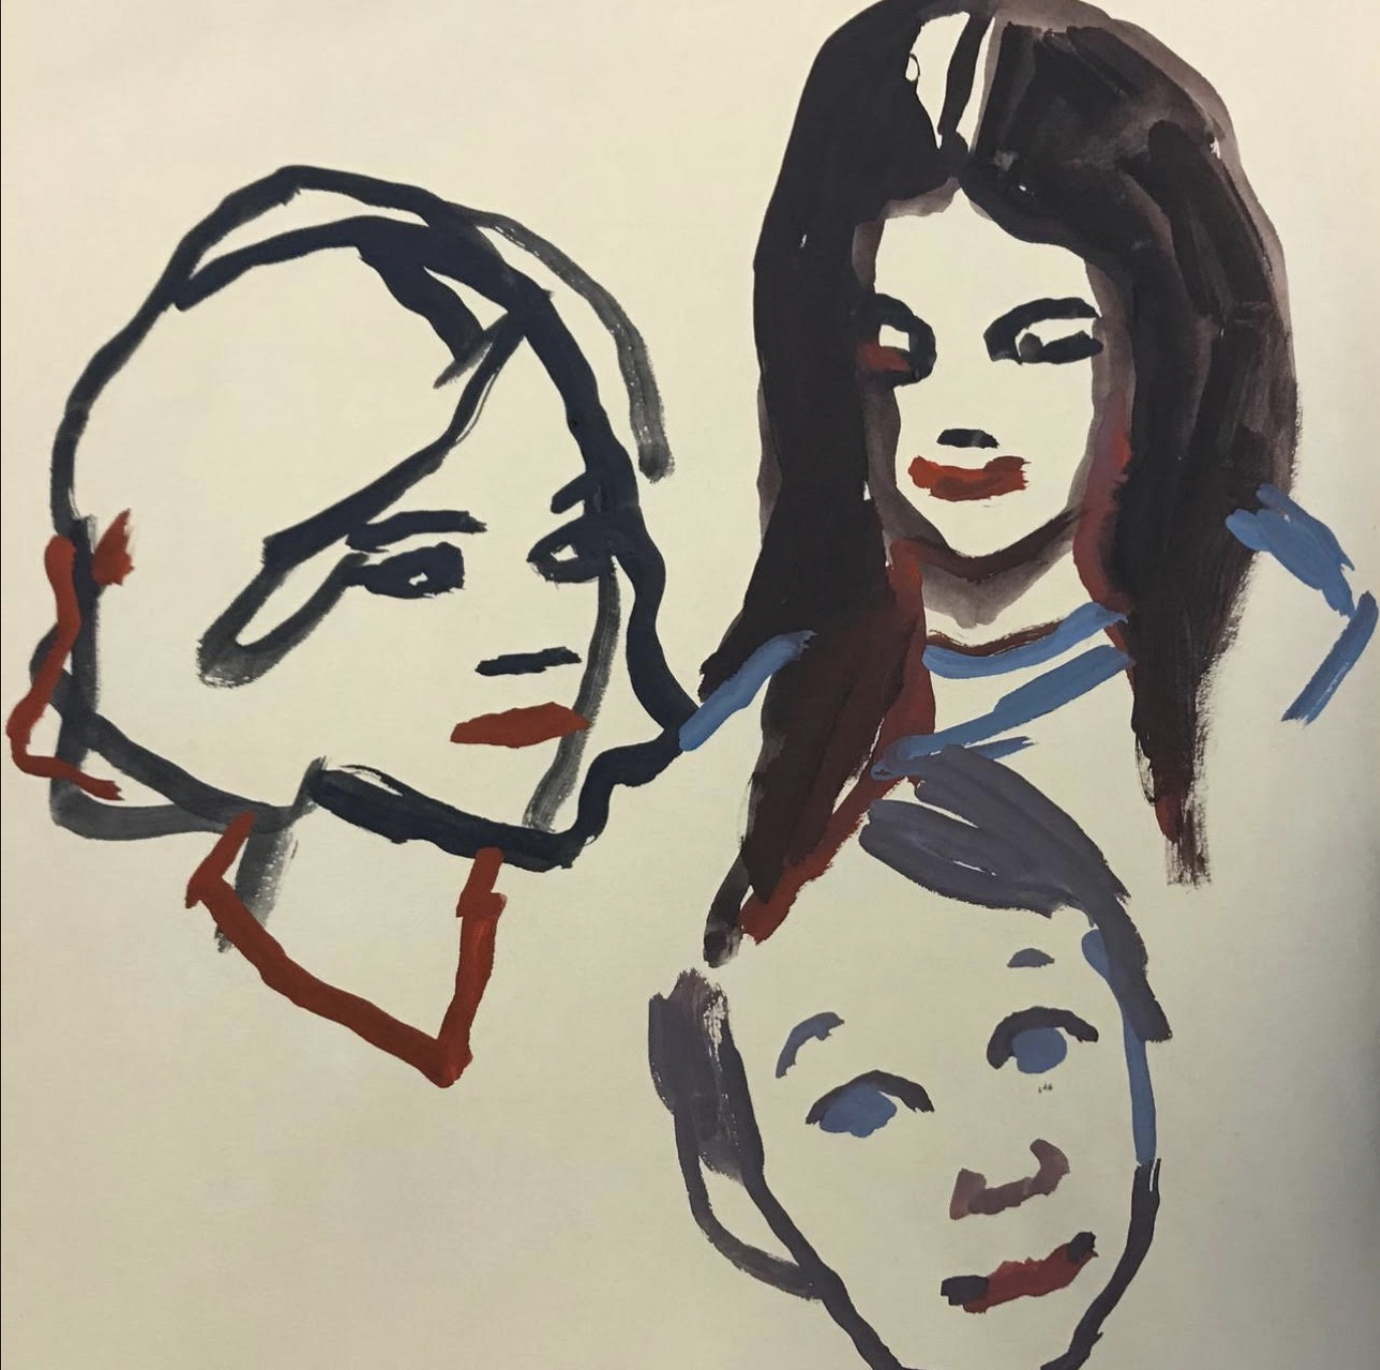
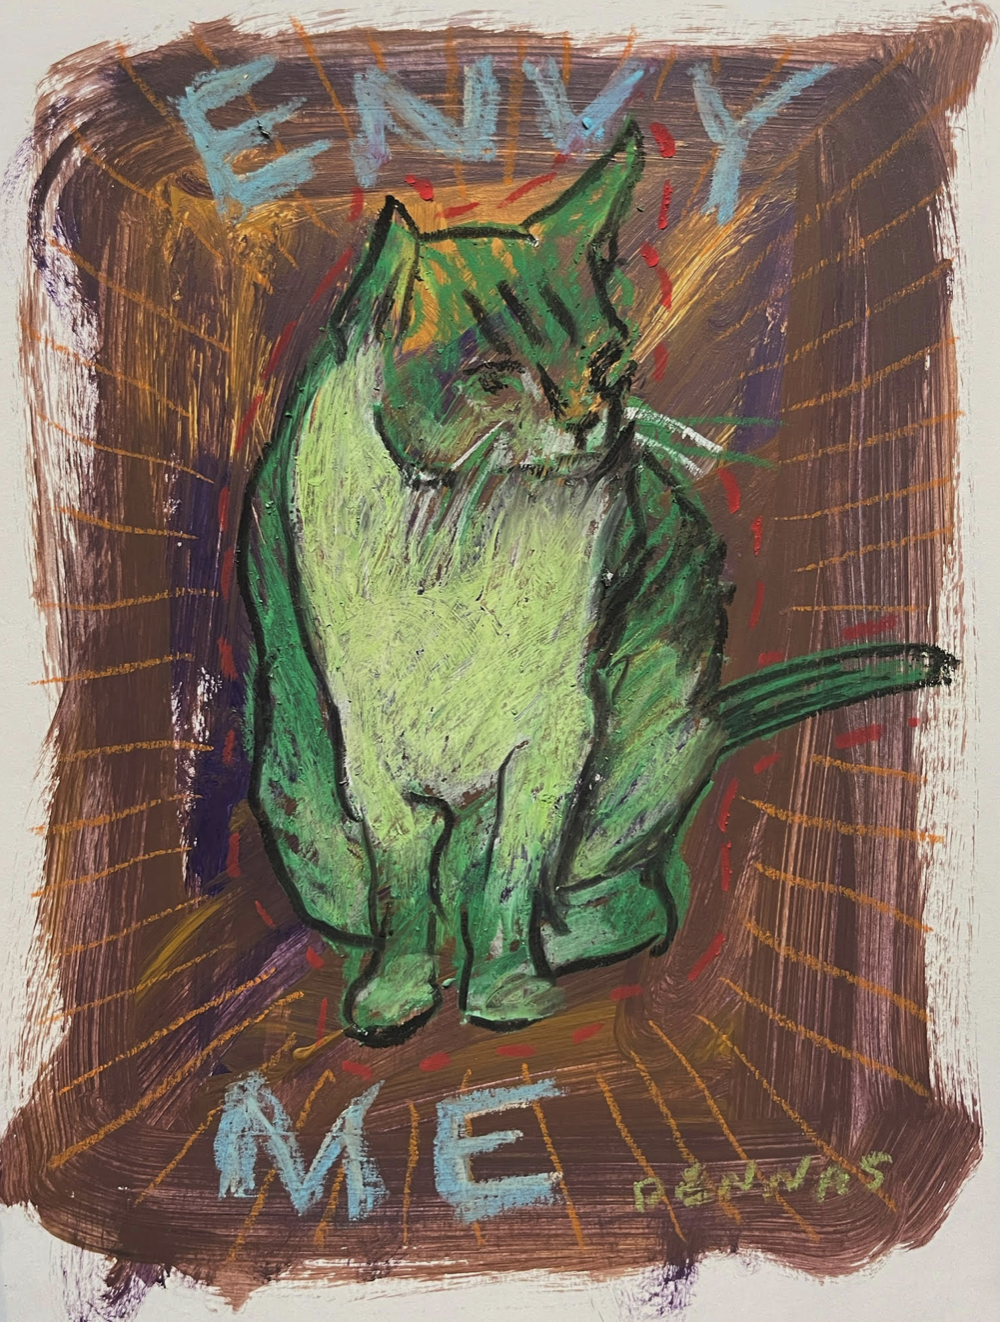
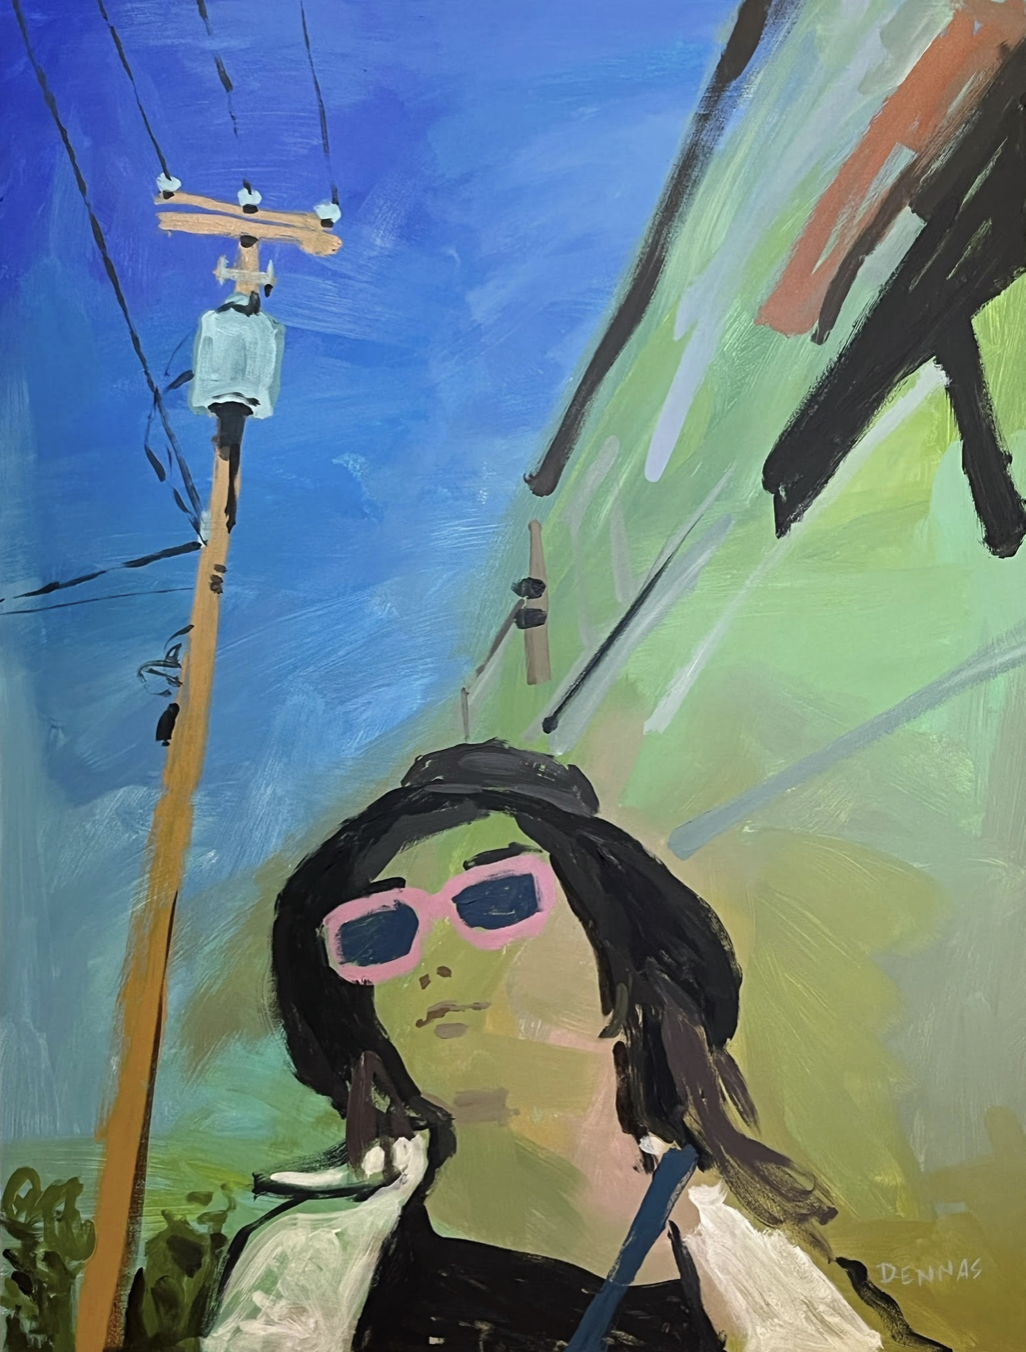
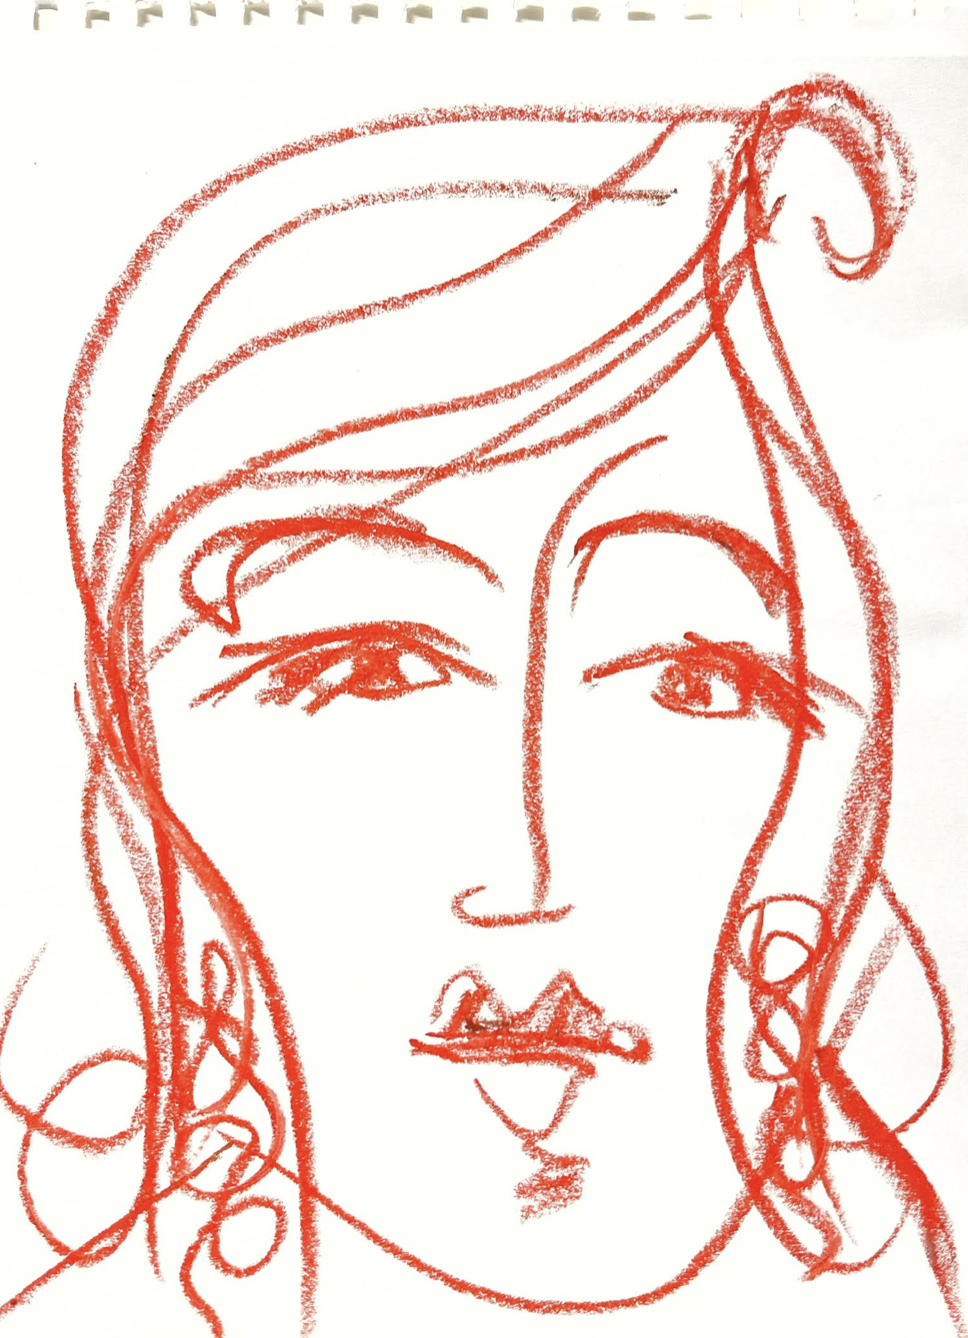
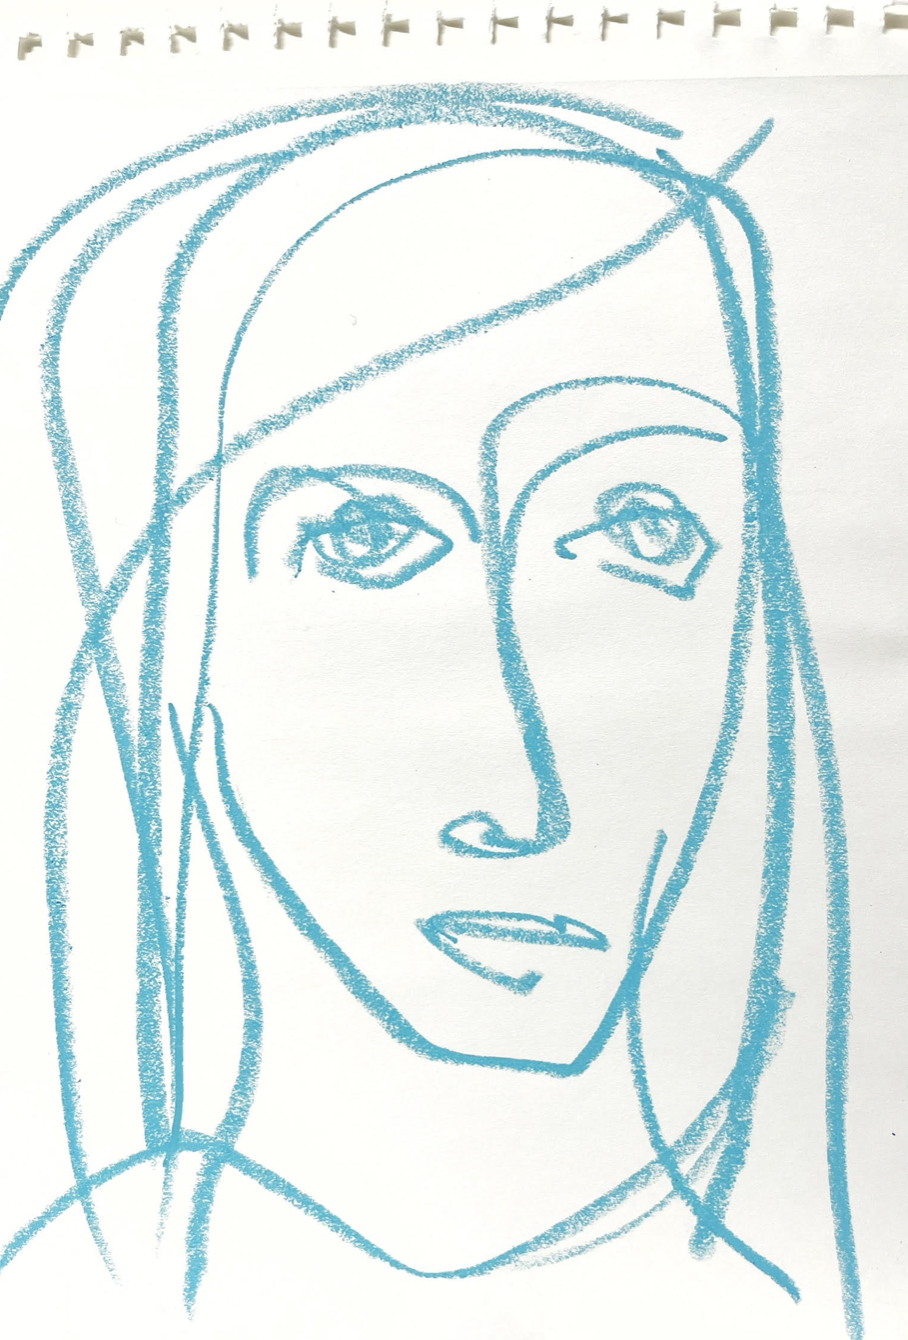
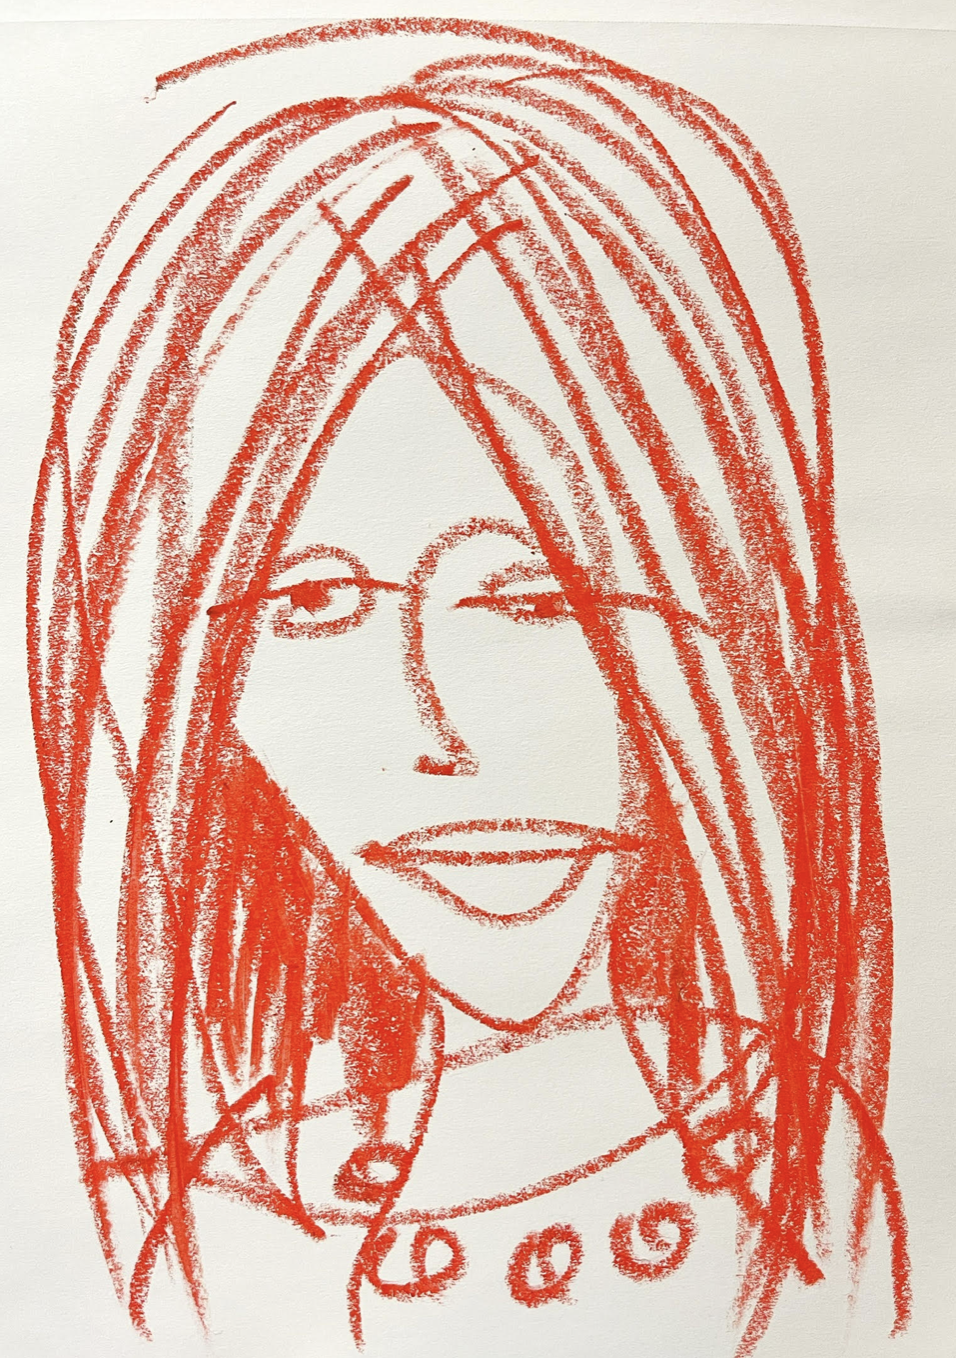
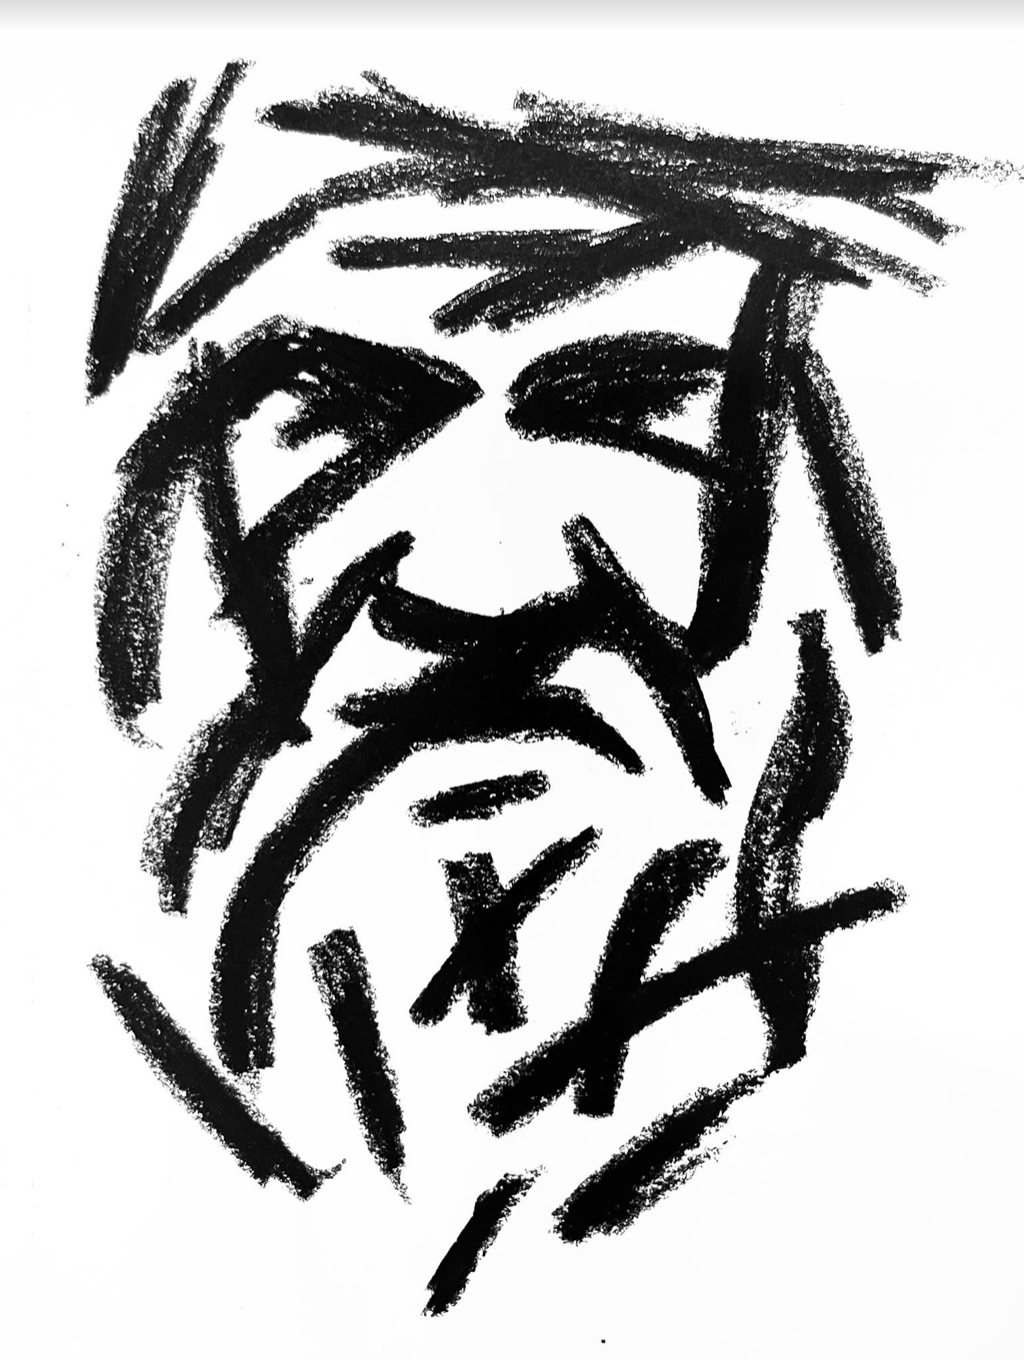
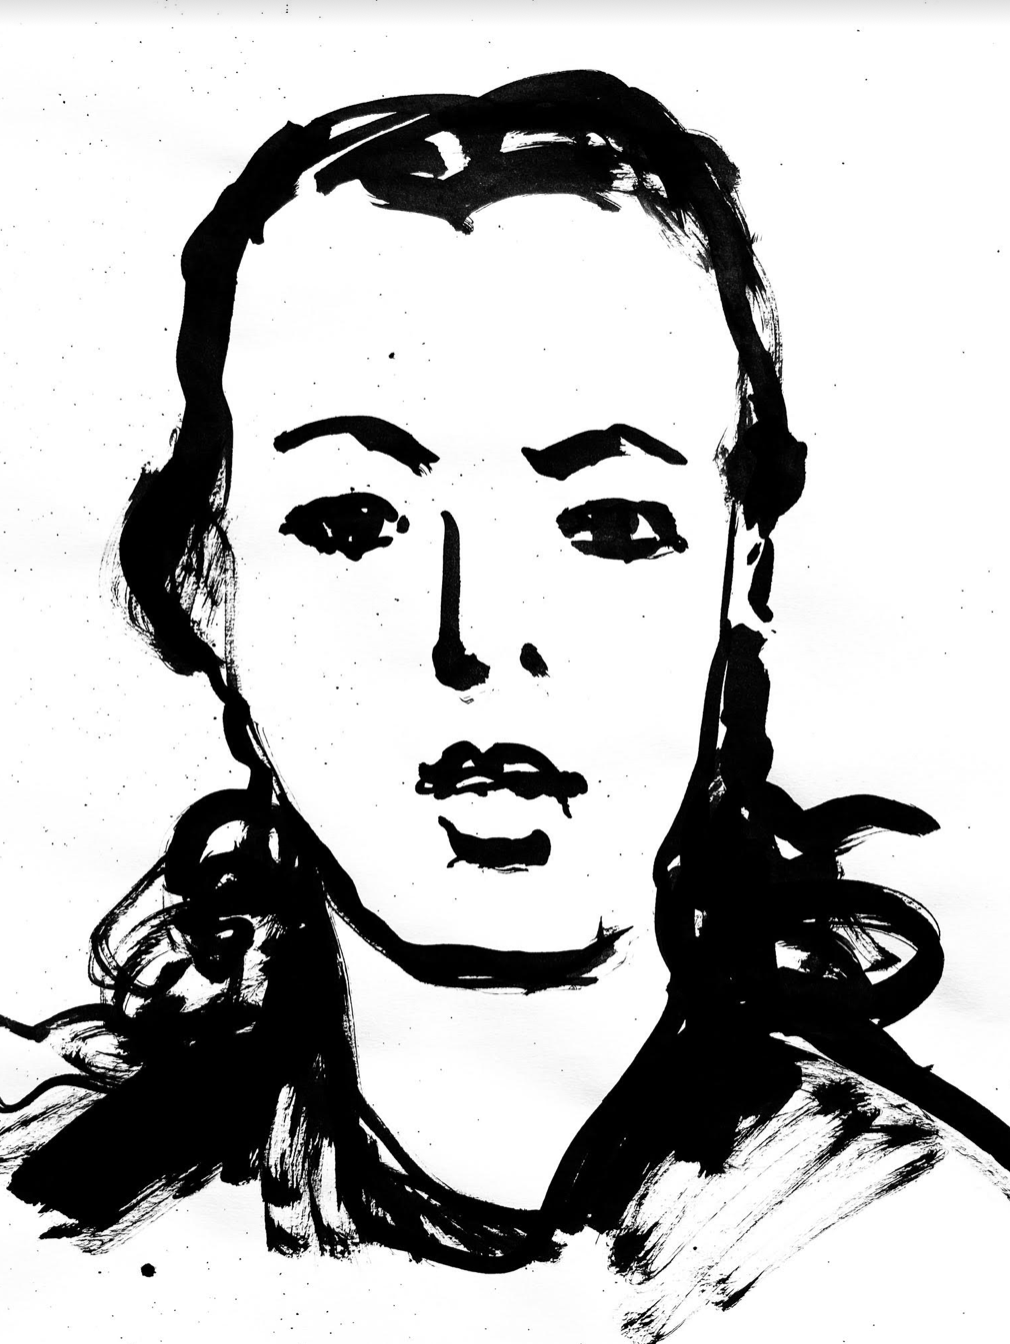
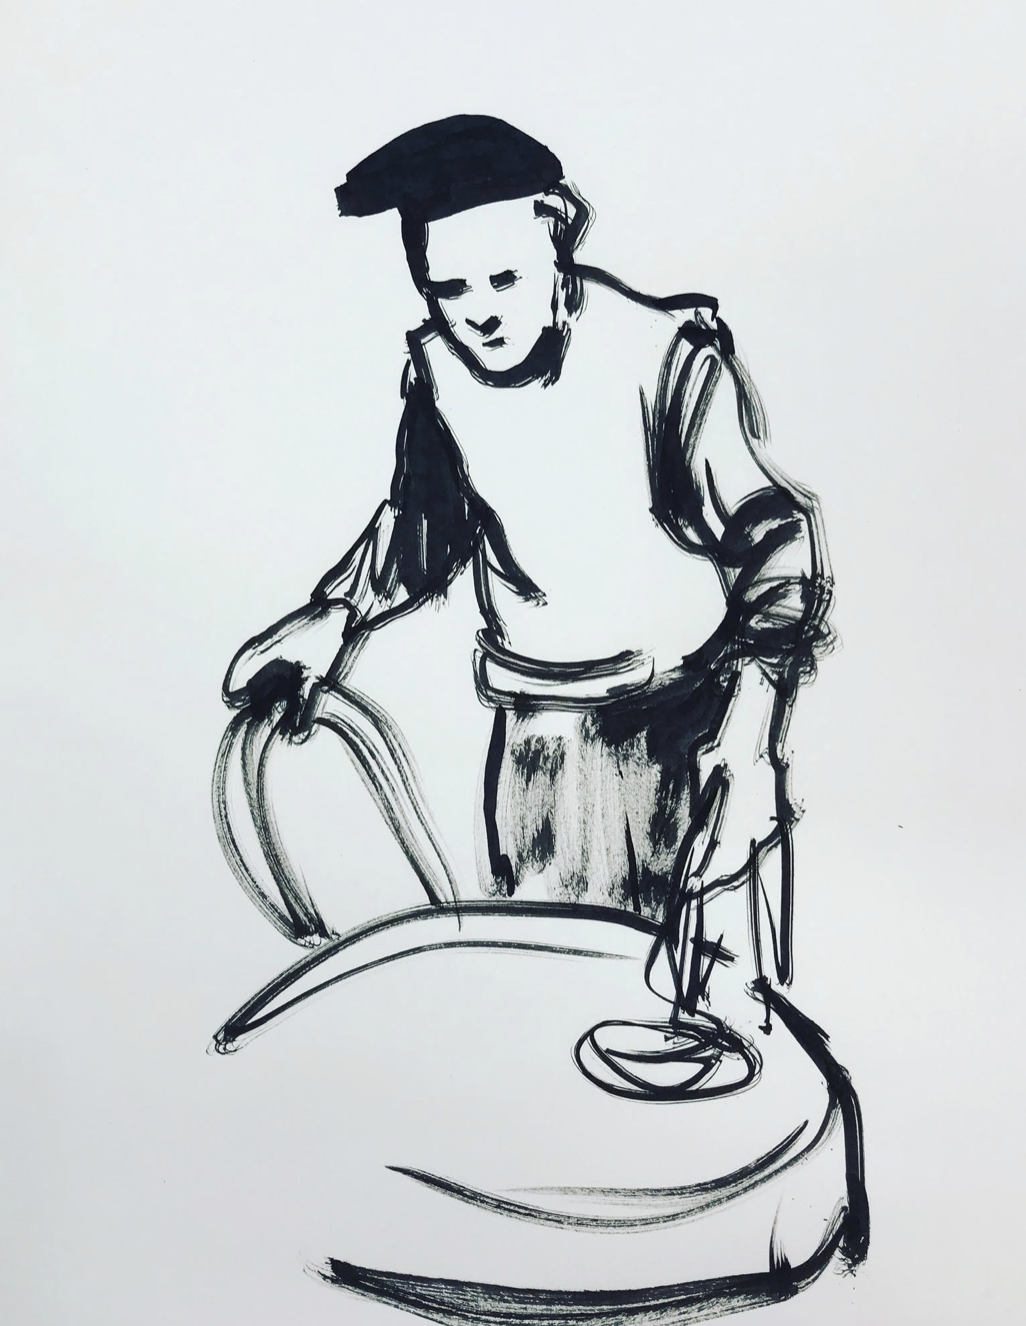
Expressive Portraits (tap any image to open viewer)


Use this button to jump down to the preparation section.
LEARNING TARGETS
Students know how to sketch realistically from life
M A T E R I A L S
- 14″ x 17″ Sketch Paper
- 2B Pencils
- Kneaded Eraser
6.1 sketch
Help students draw lightly and erase to correct. This is only a light sketch, and doesn’t have to be finished looking. Just work on getting the placement of features and shapes to look accurate. There will be only 10 minutes for this!
Realistic portraits are fun if you get the features in the right place before you begin the details. Remember: “big shapes”. Emphasize drawing very lightly, so the lines can be erased if needed.
Help students use 3 steps to accuracy and more:
- The big shapes of the head and neck
- A light guide-line that MUST be erased later, right down the center of the face from top to bottom.
- A horizontal guide line where the eyes are – in the middle
- A couple of small lines to show where the bottom of the nose & mouth are going to be.
- the shape of the eyes, and where the eyebrows are.
Use this button to jump down to the preparation section.
LEARNING TARGETS
Students know how to draw a self-portrait
M A T E R I A L S
- 14″ x 17″ Sketch Paper
- 2B Pencil
- 4B Pencil
- Ebony Pencil
- Kneaded Eraser
7.1 Teach
Expressive portraits can be different in many ways. Explain to your students what some of their options are. Do not do the same idea more than once, but media can be used in any way they want to.
Drawing quickly lends itself to looking more expressive.
Making the drawing tall and skinny is another way, or even bending the face.
Many options are in using different media:
- White, and/or black oil pastel
- Charcoal and white oil pastel
- Ink and brush
- Pen and ink
- Canvas pencil and oil pastels in wild colors
- More! (no paint today)
“You can draw yourself with a long and skinny face, or you could draw yourself very quickly with bold lines. It might look like a cartoon, but it also might look serious instead, and very different than real life.
You can color expressively too, using oil pastels. Try using all cool colors and see how that looks!
You can make as many self-portraits as you want, in as many different media as you have time for.
One of your portraits can be a fantasy portrait, where you make yourself look like a character from a movie or book.
7.2 draw
Move from student to student, helping and encouraging. Display famous artist’s self portraits on our Pinboard.
Encourage artists to be deliberate and purposeful, but also to play and experiment.
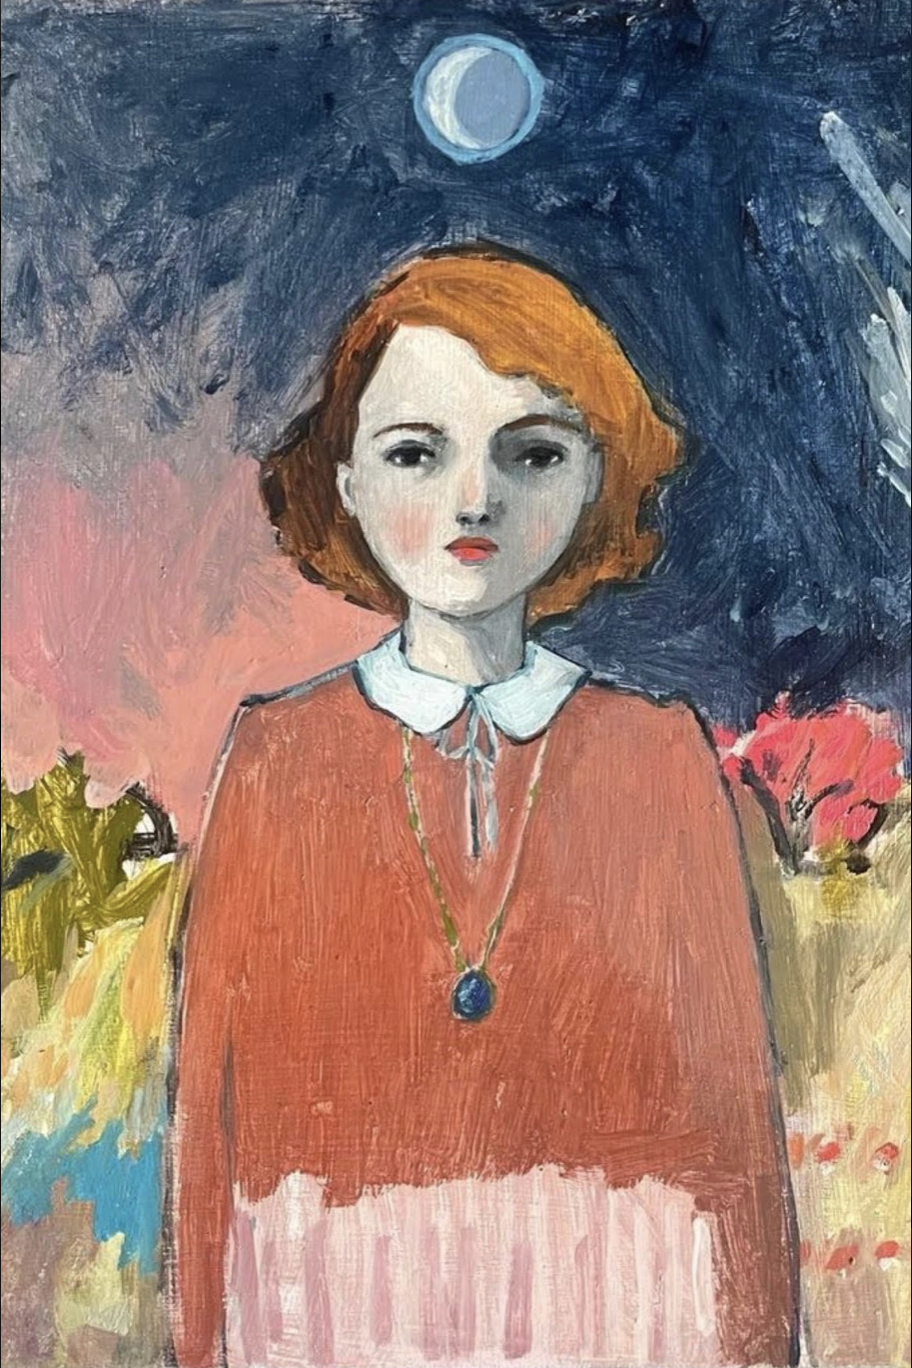
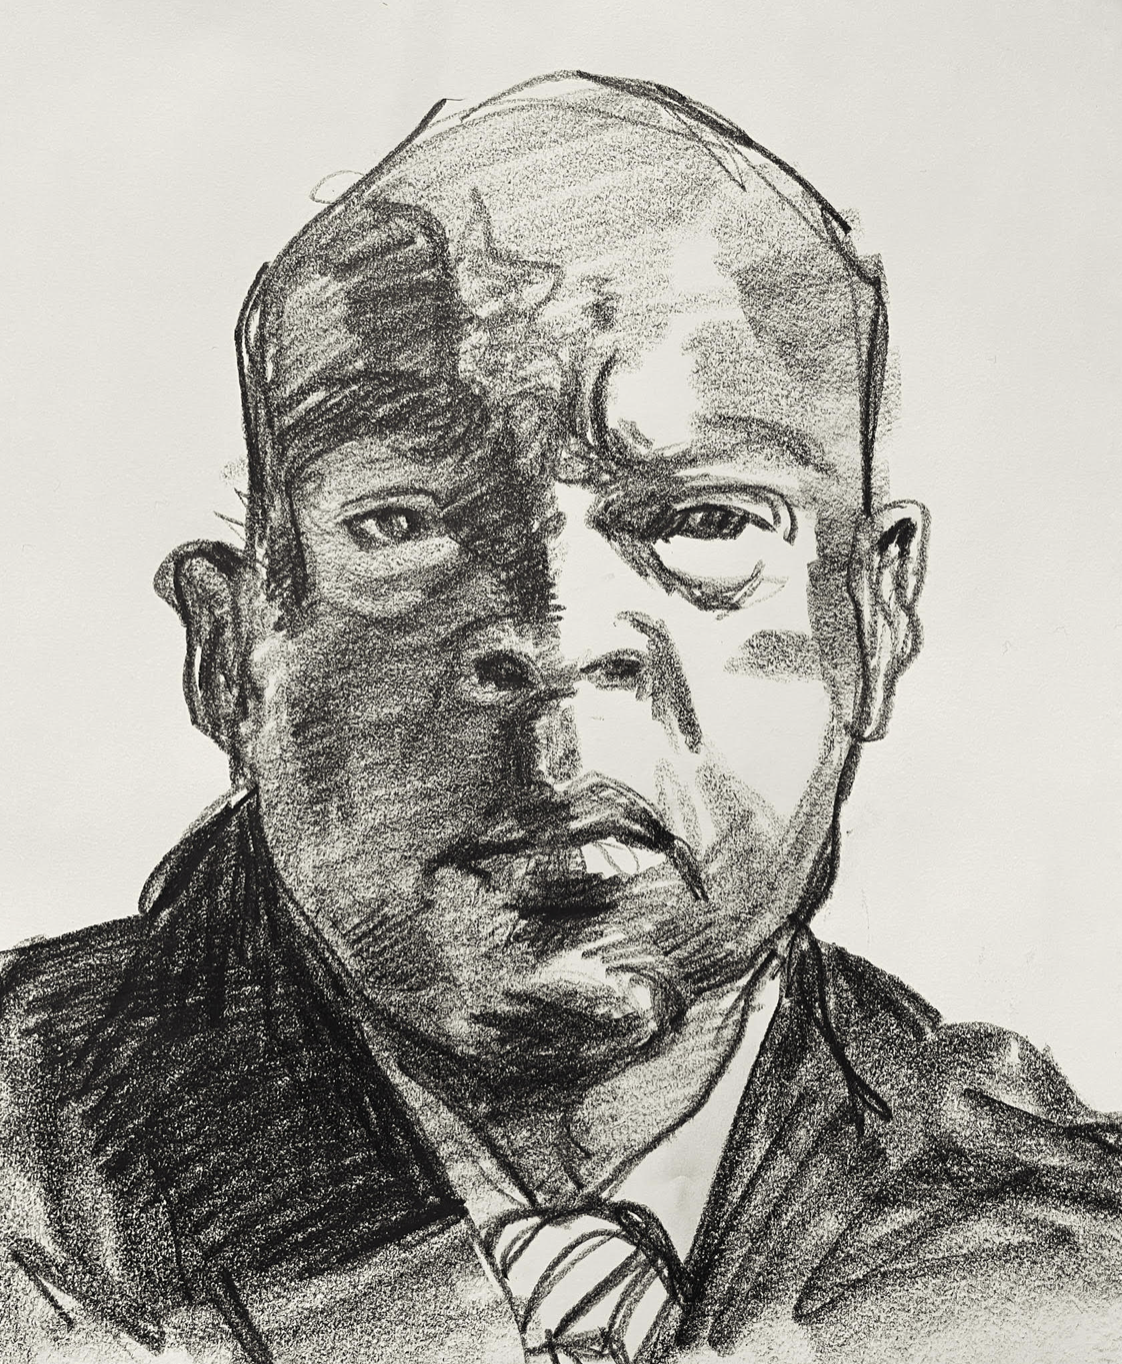
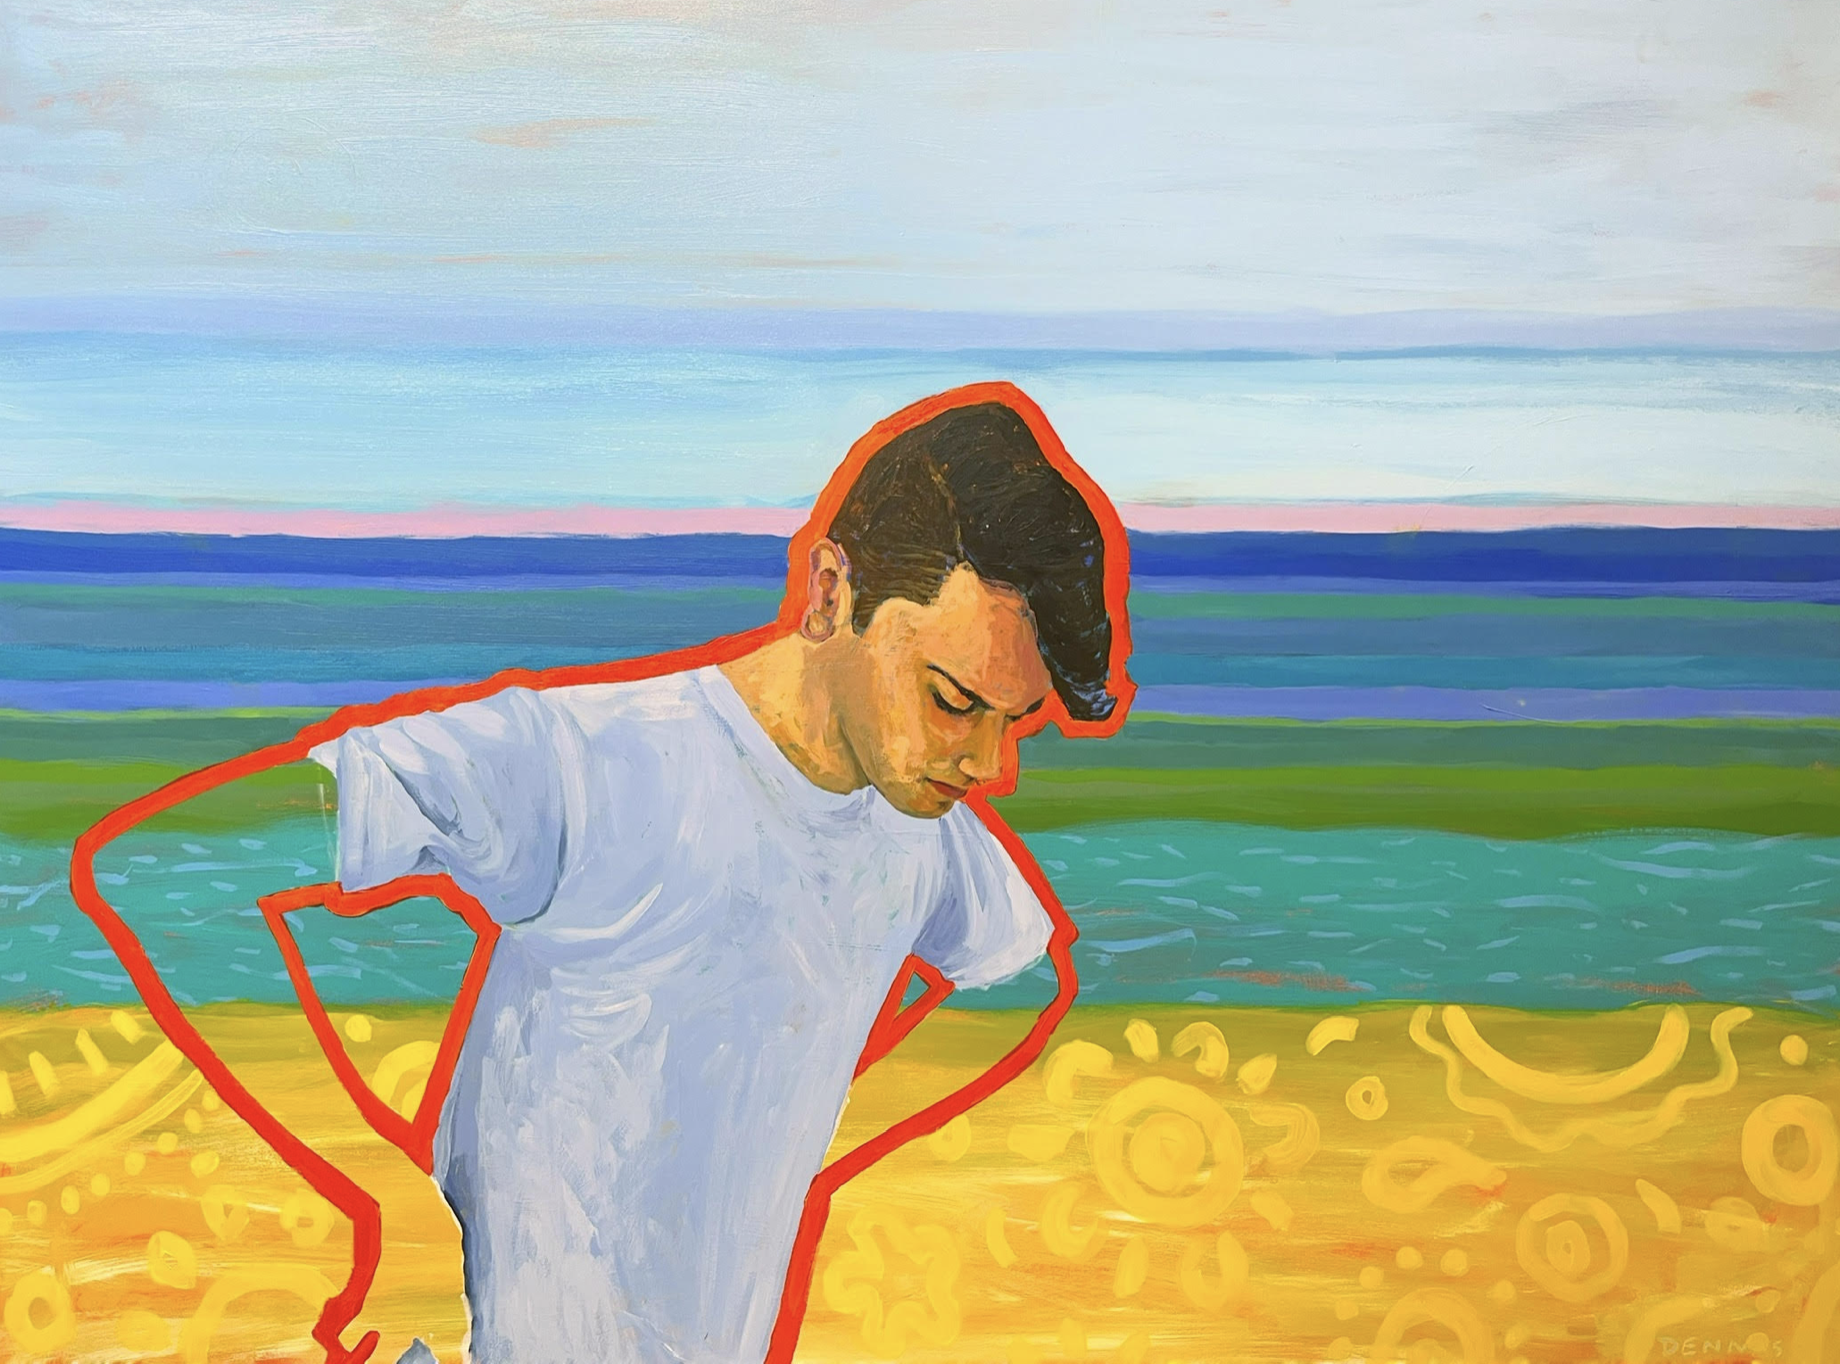
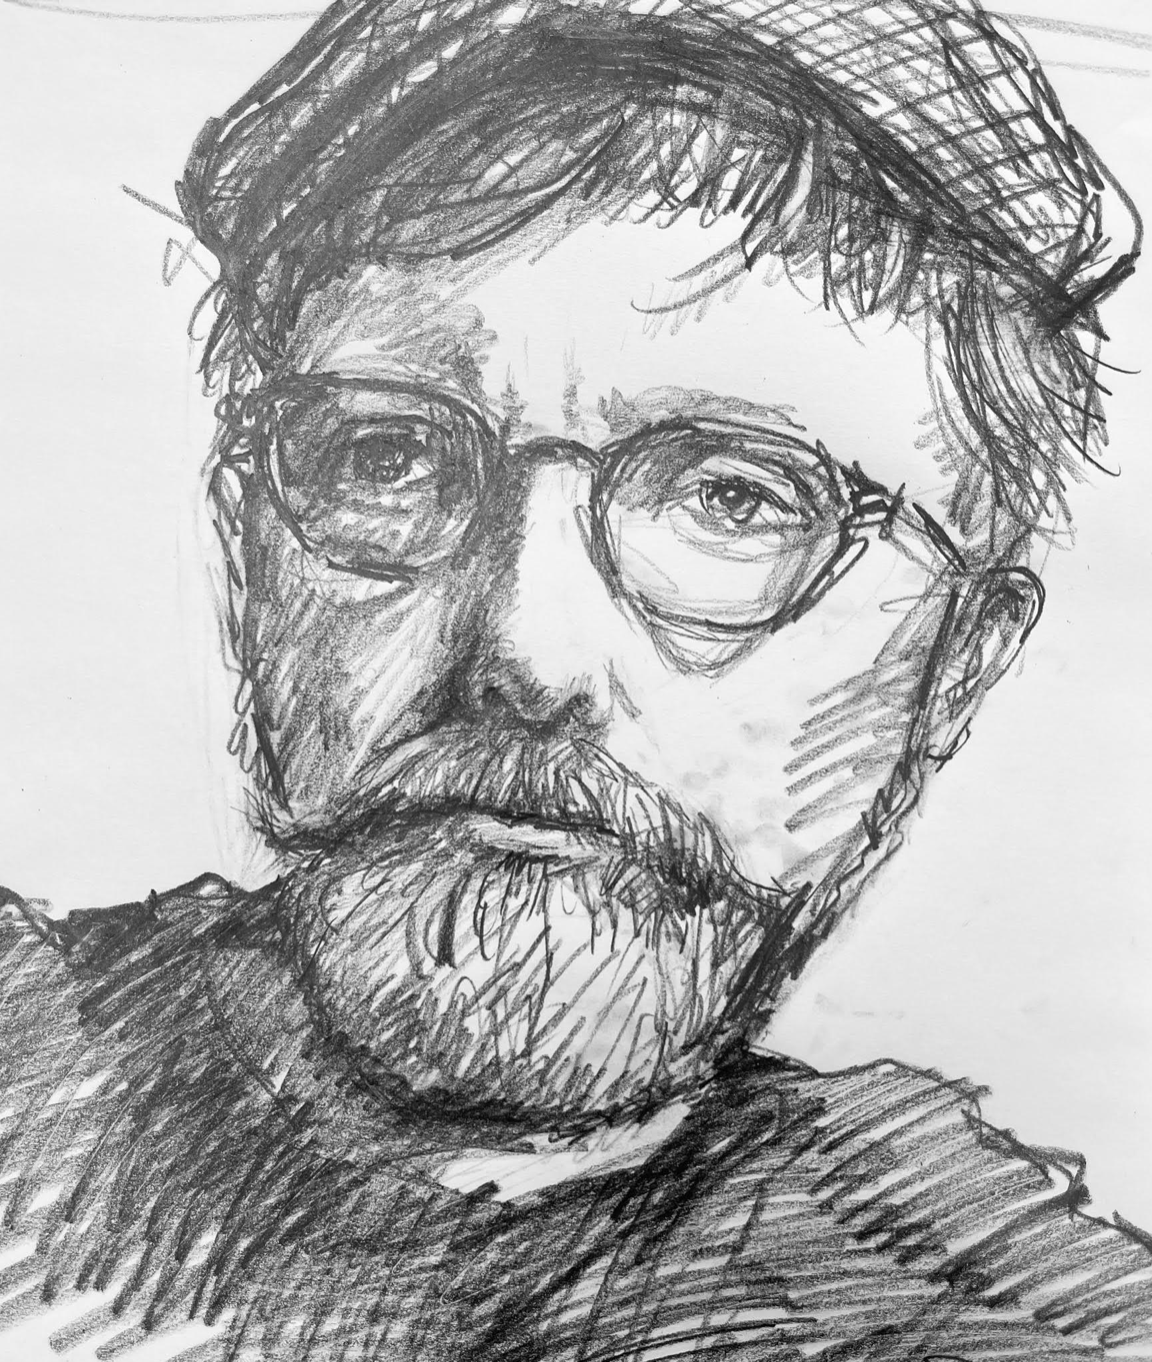
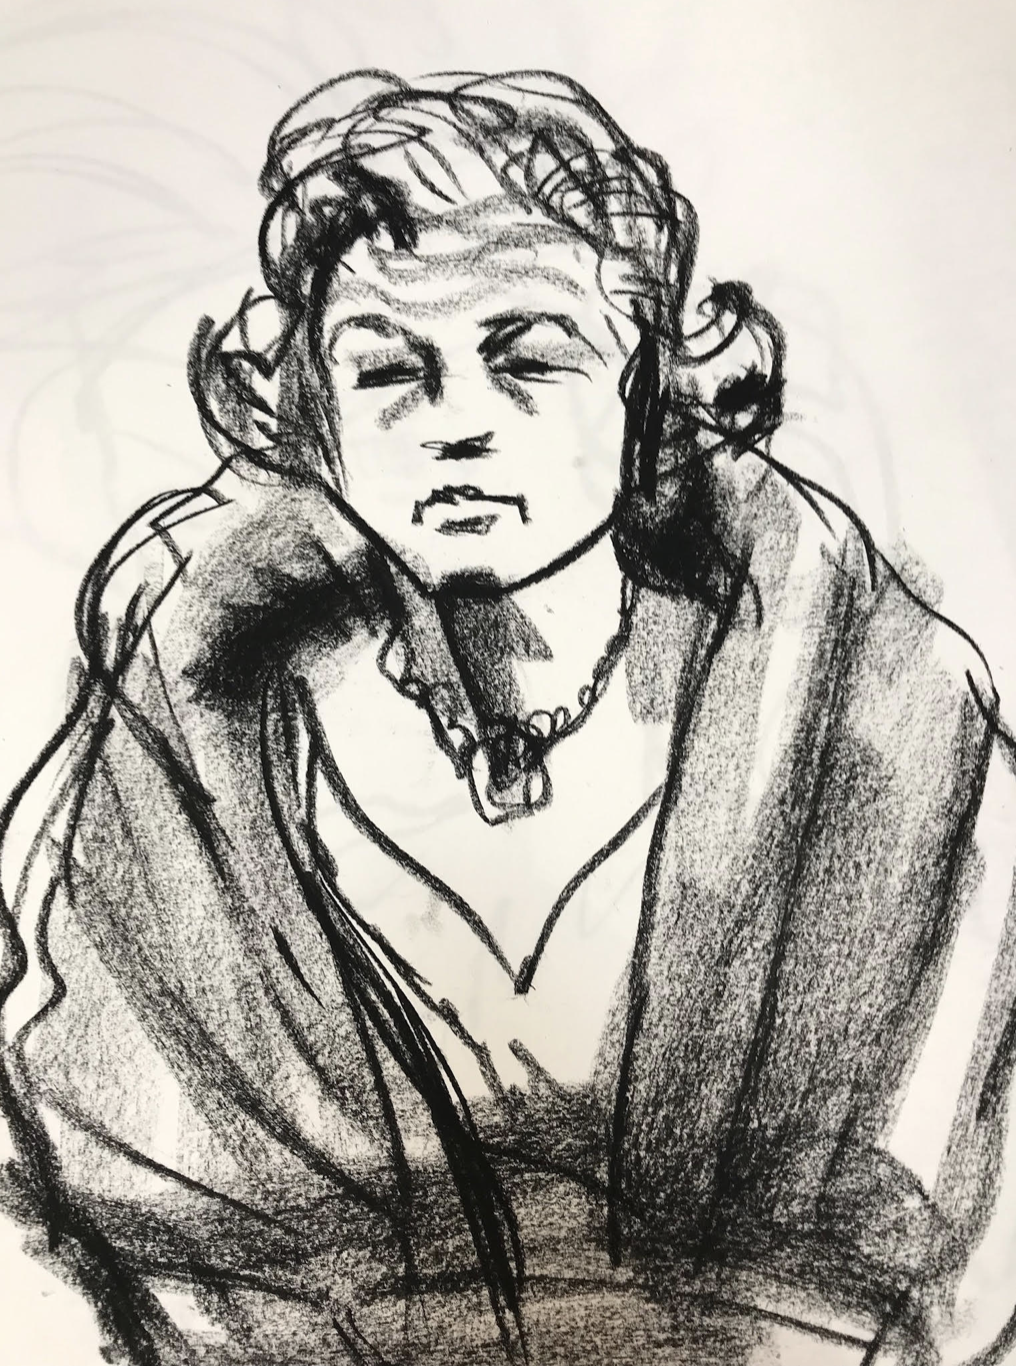
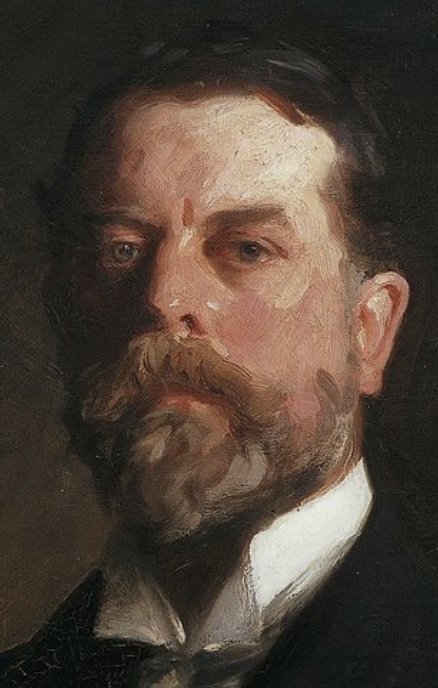
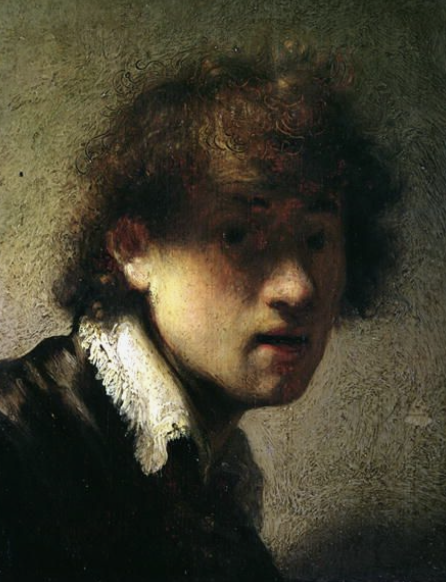
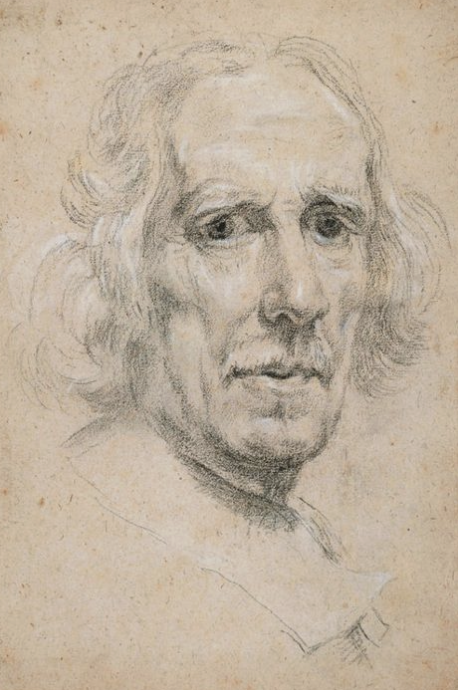
Master Self Portraits (tap any image to open viewer)
Use this button to jump down to the preparation section.
LEARNING TARGETS
Students know the importance of cleaning up.
M A T E R I A L S
- Paper Towels
- Cleaning wipes
- Sink
- Waste baskets
- Well-lit spot for photos
- Camera or phone-camera
8.1 CLEAN
- Wash hands
- Super-wash brushes if used
- Put art supplies away
- Wipe tables & toss trash
- Remove any smocks (last)
- Check for items on floors and tables
8.2 PHOTO
OBJECTIVES
- Practice and improvement with pencil drawing and shading
- Understanding several secrets to portrait drawing
- Accomplishment in applying new information to shade more accurately
- Fulfillment by creating a self portrait
ART WORDS
Self Portrait – When you draw or paint yourself. Looking in a mirror is just like looking at a live model. You can see in full 3D. Many of the most famous artists created many self portraits.
Off Shadow – The shadow an object makes by blocking the light from hitting another object.
TROUBLESPOTS
Basic frustrations – Always tell your young artists that seeing the flaws in their own work is a sign of their good taste in art, and is necessary for any artist to have. Without this good taste and discernment, they would not be an artist at all. Every artist in training creates many learners and must practice, so the better you are at seeing good art, the harder it is to get through your own learners.
“None of the old masters in art are known for the work they did as a child or even a teenager. Think about it.”
This is a real opportunity to speak courage and understanding into their lives. Ask them a few questions instead of contradicting their overwhelming feelings. If you say, “but you are so awesome”, or “you shouldn’t do that”, it implies that they shouldn’t even be feeling the way they do. That will make them feel even worse.
Instead, try something like this: “Why do you not like the drawing?”, or, “what about this is making you so frustrated?”, or, “Would you say something like that to a friend?”
It’s also helpful to say that you’ve felt bad about your work at times too. Take care to differentiate between self and work.
It’s best to not talk down to kids who are in a self-loathing situation, but to speak truth intelligently and not make any demands. You can tell them it’s not all that unusual for someone to feel that way, but that the feelings are not based in truth. You can say that you like him or her as much as all the other students. You can say that it doesn’t help them to say mean things to themselves, but actually hurts as much or more than when another person says it. Don’t make a huge issue of it, or take too much time, but a real nugget of truth will stick. It lays groundwork for more encouragement later.
If you have guidelines in your school and a counselor, you may want to speak to others, depending upon the severity of the feelings you observe.
It’s hard to know exactly what to do, but let the student be top priority, not the project. If it helps to move to something less stressful, you can do that, but it might seem to be better to push on through and find accomplishment with today’s lesson.
CLASSROOM
PREP
Print enough of the 2 PDFs from the lesson plan for everyone to have one of each. Steps 1 and 5.
What your room needs
Here are your printable lists and room prep instructions.
Opens in new window
CLASSROOM
MATERIALS
- Cartoon PDF
- Portrait Secrets PDF
- Cheasel & clips
- Mirror tiles & stands OR
- Mirrors with stands
- Books to raise mirrors higher than the table
- Spotlight/desk lamps
- Egg or white clay shaped into an egg for demo
- Enough hard-boiled eggs that everyone can view one for drawing
- Brightly colored paper in warm and cool colors
STUDENT’S
MATERIALS
- 14″ x 17″ Sketch Paper
- White eraser
- Kneaded eraser
- 2B Pencil
- 4B Pencil
- Ebony Pencil
PREVIEW
Week 28: Colors Under the Knife
Continuing with painting, students will learn how to use the palette knife technique before working on a landscape. There are specific colors that must be mixed and used side by side. This helps artists see how expanding your colors to several variations enhances the final painting.
Week 29: Treasure Hunt