
Style
Each lesson Plan focuses primarily on one of the 4 Cornerstones of Art:
Drawing | Painting | Color | Style
OVERVIEW
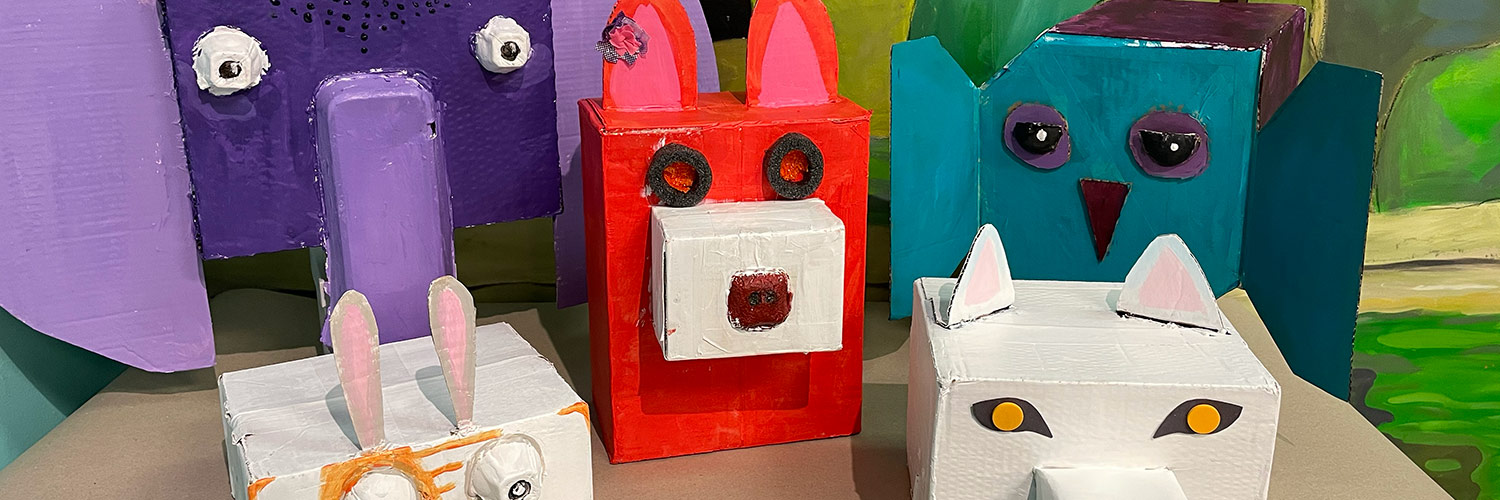
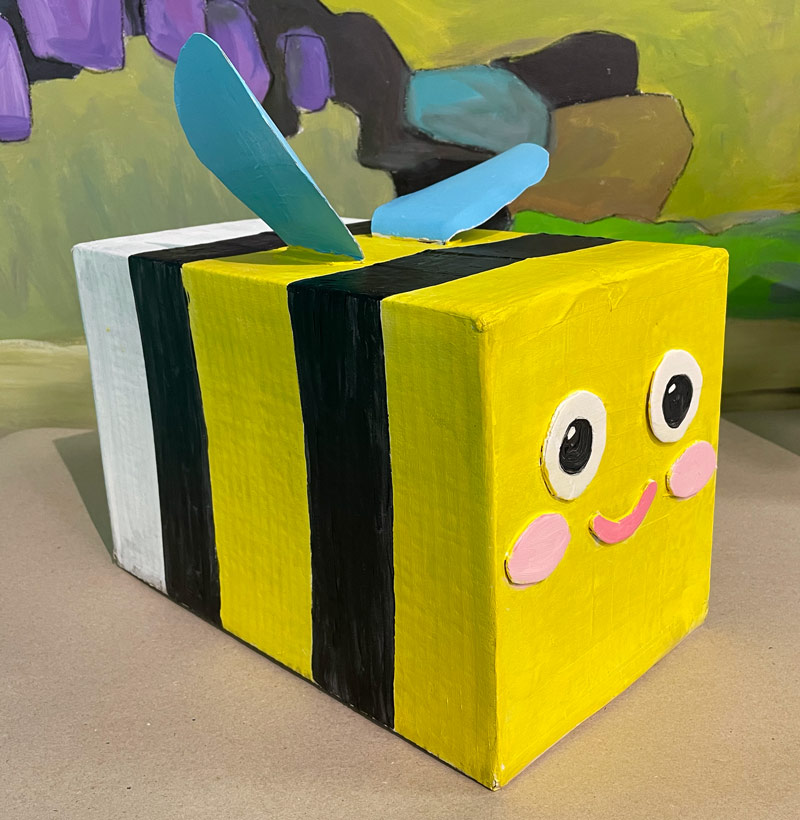
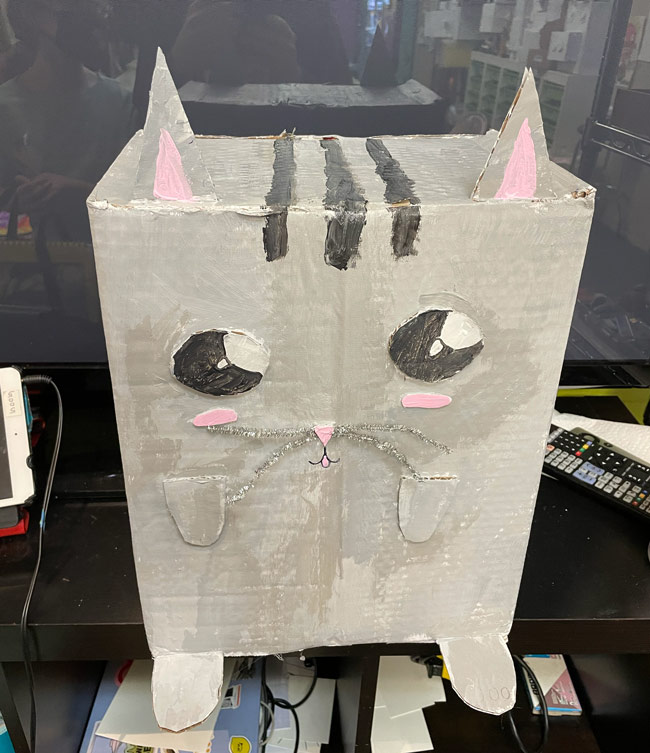
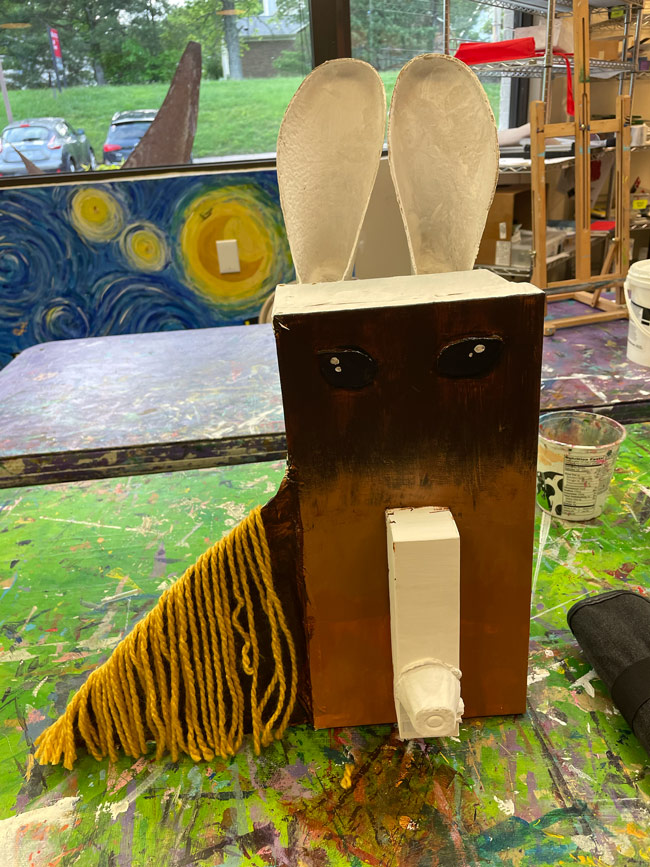
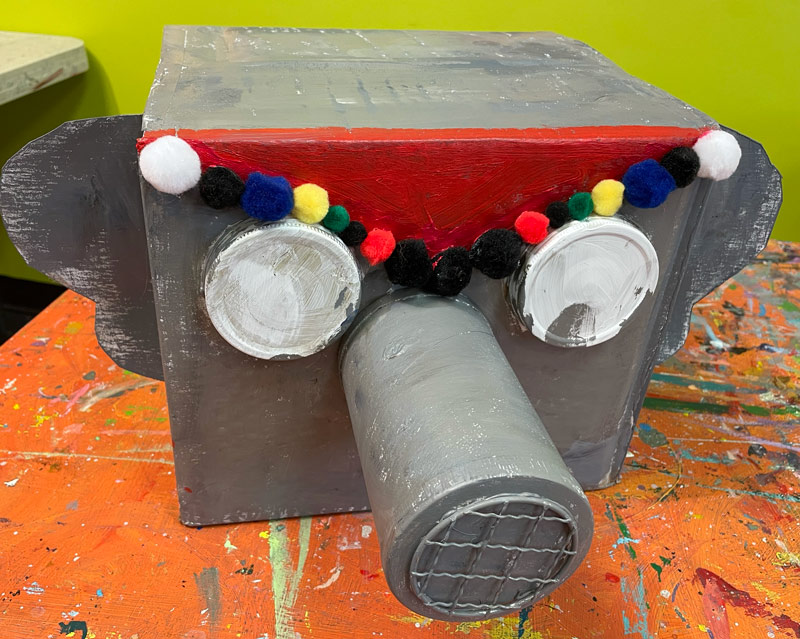
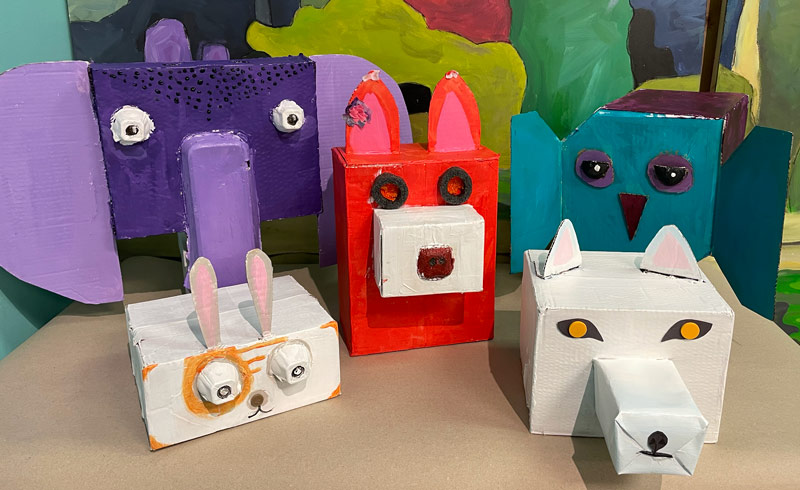
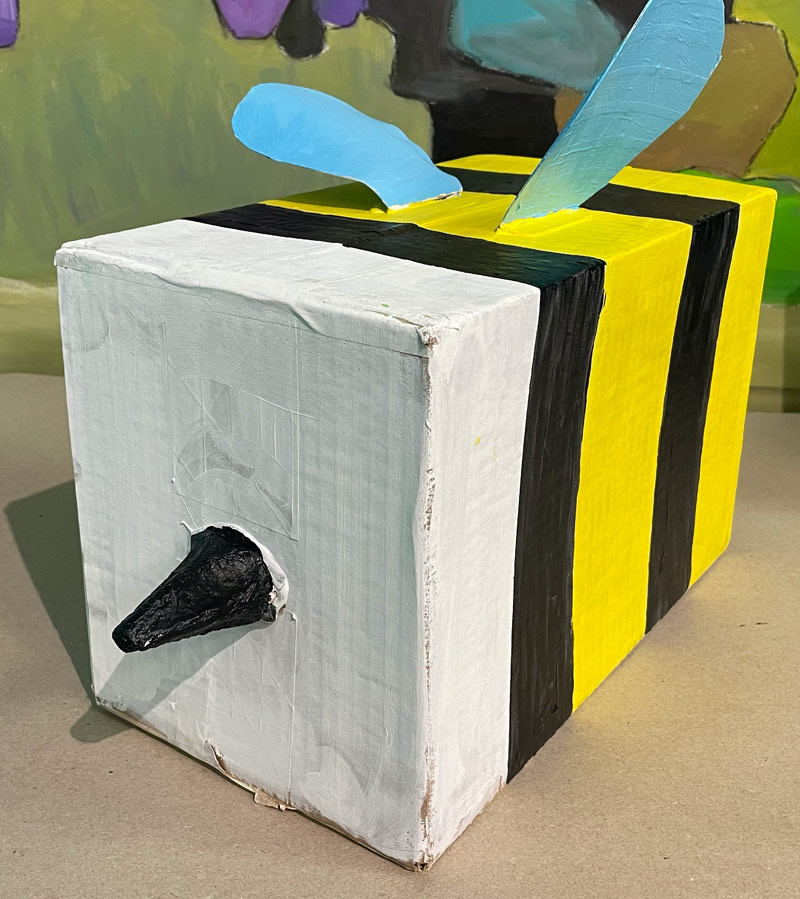
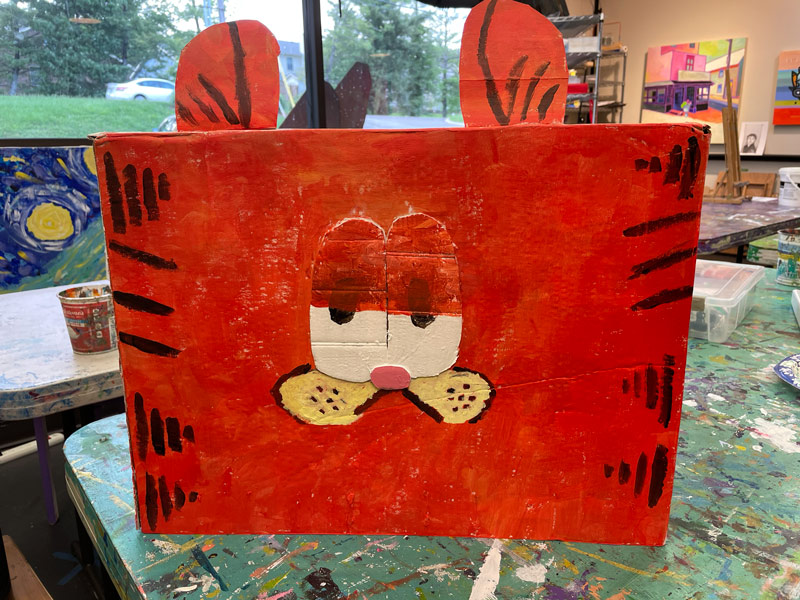
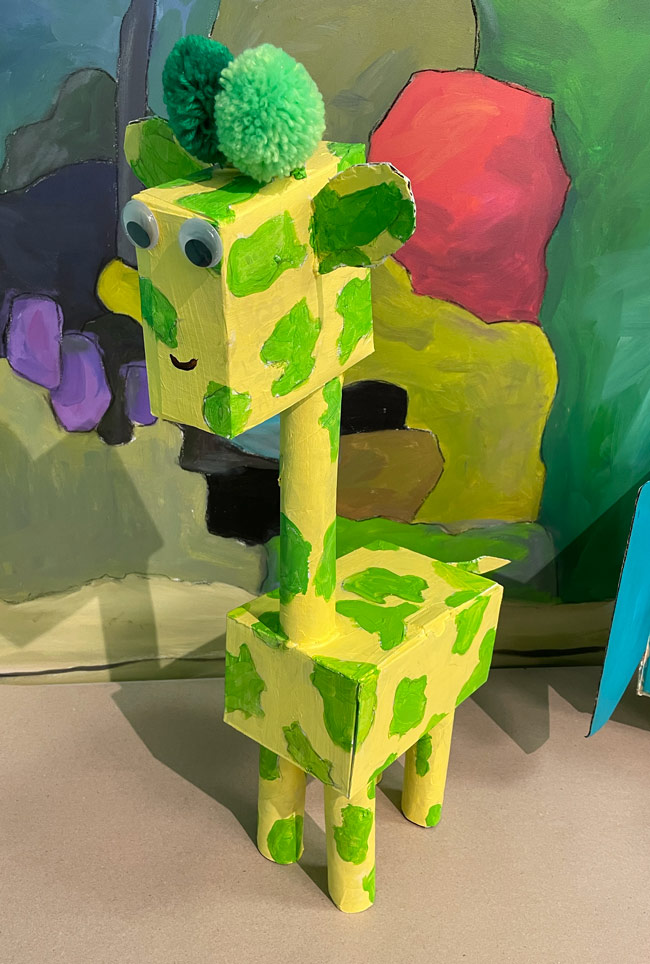
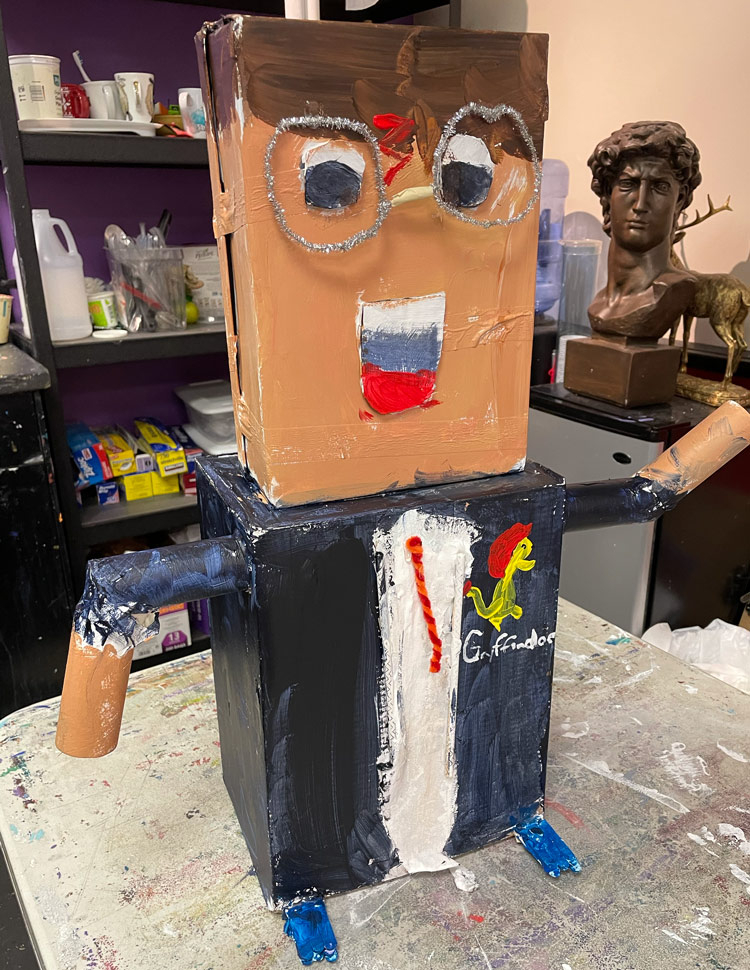
Students continue finishing their head sculpture using boxes. They can add some finishing touches and paint the entire thing as creatively as they want.– – –
Grades 3 – 12
Week of May 10 – 14
1 Hour & 45 Minutes
Student Work
Lesson At A Glance
Here’s a brief overview of the complete lesson. It’s also on your prep page in the Ready, Set, Go! section (below the lesson).
Colored buttons jump to each section in the full lesson plan below.
5 Minutes – Finish gesso/primer first
10 Min – Add final touches if wanted
85 Min – Get creative with color
5 Min – Superwash brushes & tidy up area
Use this button to jump down to the preparation section.
SCROLL & TEACH
LESSONPLAN
Each section is a different color. Read over once and then you can SCROLL & TEACH using any device you like. It’s designed to work well with your phone.
LEARNING TARGETS

Students know how to prepare surfaces for painting.
M A T E R I A L S
- White acrylic paint OR
- Artists gesso
- Large flat paint brush
- Water containers
- Paper towels
- Smocks
1.1 Set up
Students set up their work area.
Get water tub and paper towels ready. Put some gesso (or white paint with some water mixed in) onto your palette pad.
1.2 Prime
Finish covering any bare spots left from last time.
Use a hair dryer if needed, but gesso should dry pretty fast.
1.3 Bookend
A bookend is at the beginning and the end of each lesson.
This is where you go over what the lesson is about and what the main learning points are.
Making this clear, helps students remember what they’ve learned and understand the processes they’re going through.
“It’s time to finish the blockhead sculpture by painting it today. You can also add more details or change a few things if you want to.
As we said last week, you’re main objective for the project is to express yourself. This is all about you and your STYLE. That means you should apply your creativity to the colors. Do you want to follow nature, or do you want to do something unique, that only you might think of? Either way is fine. This is your project.
But remember that you can always go crazy with ideas and really express yourself if you want.
The foundational art concepts that you’ll learn or practice today are these:
- Color visualization of a 3D object
- Thinking creatively and “thinking outside of the box” with color ideas
- Self-expression
Use this button to jump down to the preparation section.
LEARNING TARGETS
Students practice thinking creatively
M A T E R I A L S
- Scissors (adult supervision)
- Off-white masking tape
- Hot glue (adult supervision)
- Boxes
- Flat cardboard
- Box cutter (adult only)
- Extra items
Extra items:
- Buttons
- Jar lids
- Flat cardboard pieces
- Paper TP or towel rolls
- Pipe cleaners
- Feathers
- Egg cartons
- Craft foam
- Anything else you can think of!
2.1 Assemble
Students consider and add ideas and details in 3D.
Anything goes. Remember, this project is about stretching creatively.
Use this button to jump down to the preparation section.
LEARNING TARGETS
Students know how to express themselves and paint on 3D surfaces.
M A T E R I A L S
- Acrylic paints
- All sizes of brushes
- Water containers
- Paper towels
- Smocks
- Hair dryer
3.1 Mix
Make colors instead of using pure pigments.
When painting their blockhead project, many artists are so eager they tend to not want to wait. They’ll often skip over thinking about color, much less taking the time to plan a color scheme or practice mixing. It’s so important to be sure the colors are what they really want.
Color is one of the two most important aspects of this project, right after 3D design.
“Don’t rush into painting without a plan of some sort. Color is critical to your project! The first thing people will notice is the color.
So think about it a bit first, and then make sure you practice small mixes before you make the larger amounts needed to paint.
Most people don’t realize how dark colors can be on 3D objects. Also, the pigments are not colors. You use the pigments to make colors. With the exception of super bright red, none of the tubes of paint are ready right out of the tube. Not only are they dark and concentrated, they’re also translucent. Since you can see through them, they will be super-streaky unless you add some white. So add white to every single color you mix except pure black – and black will need two coats to cover up the streaks.
You have tens of thousands of colors you can make. Where will you go with them?
3.2 Paint
Enjoy painting and self expression.
Use different sized brushes for details and for large areas.
Black will take two coats to cover well.
If paint is streaky, it needs some white in it to be opaque.
Use a hair dryer so the project can be handled as you continue adding colors.
4.3 Bookend
A bookend is at the beginning and the end of each lesson.
This is where you go over what the lesson is about and what the main learning points are.
Making this clear, helps students remember what they’ve learned and understand the processes they’re going through.
“Remember that this project is about expressing your own artistic vision and style. With the painting stage next week, you’ll get even more into that aspect of it. You can also add more extra elements if you think of them.
The foundational art concepts that you worked on today are:
- Visualization of your 3D concept in drawing, arranging boxes, and later on using color pastels
- Making better ideas by giving yourself several good choices
- How to prepare surfaces for painting, with the tape and the primer
- 3D construction of your head project
Use this button to jump down to the preparation section.
LEARNING TARGETS
Students know how to clean up their work area to get ready for different kinds of work.
M A T E R I A L S
- Sink
- Paper towels
- Smocks
5.1 Wash
Acrylic paint must be completely removed from brush.
To Super-wash your brush, first wipe off all the gesso or paint you can, using a paper towel. Then rinse the brush in the sink under running water. Gently but firmly press the brush to the sink bottom right under the water stream, and turn the brush to spread the bristles out as much as possible. keep doing this until no white paint is visible. Then continue for another 20 seconds.
5.2 Tidy up
Get work area ready for oil pastels.
Make sure artists’ name is on the sculpture and set aside to continue drying. Toss all scraps in trash, and tidy up the work area. Wipe down any area that has water or gesso.
OBJECTIVES
- Practice and improvement in mixing colors and painting
- Understanding how to think creatively
- Accomplishment in creating a great 3D project
- Fulfillment in the freedom to go wild or natural with colors
TROUBLESPOTS
Don’t apply color right out of the tube! Most of our paint is created to mix and is far too dark or concentrated for straight painting. These are not “colors” but “pigments” used to make colors.
Use some white in every color except black so the colors will be opaque and not streaky. (Students who object always end up liking it better.)
Black areas will need two coats.
If you use a box cutter to slice some cardboard, make sure you use a sharp blade and cut away from yourself and that no one else is nearby. If you use a ruler, it must be metal edged and double check that your fingers are clear of the edge!
Any time you cut things, remind everyone near, that you cannot anticipate them reaching in to help, and keep in mind that little hands tend to dart in and move or help hold things when you don’t expect it.
Hot glue is pretty hot. Use with an abundance of caution. If there are large globs, it stays hot for a while, so burns can happen afterwards. Also, hot glue will be weakened if it is moved around or wobbled while hardening/cooling.
ART WORDS
Gesso – White primer made just for canvas priming. It is usually acrylic based and water cleanup, but it will stick to hands and clothing more than regular acrylics. It’s made to stick.
Primer – A first coat of thin paint that seals and brightens any surface before painting
Bust – A sculpture of a head, usually including some of the shoulders
CLASSROOM
PREP
This is an easy day. Just continue where you left off last week.
CLASSROOM
MATERIALS
- Scissors
- Box cutter (adult only)
- Hot glue
- Boxes
- Flat cardboard
- Masking tape 2″ & 1/2″
- Gesso if available
- Paper towels
- Hair dryer
EXTRA ITEMS:
- Buttons
- Jar lids
- Flat cardboard pieces
- Paper TP or towel rolls
- Pipe cleaners
- Feathers
- Egg cartons
- Craft foam
- Anything else you can think of!
STUDENT’S
MATERIALS
- Acrylic paints
- All sizes of brushes
- Palette pad
COMING UP!
Week 38 – final school year week
May 17 – 21
Students will learn and practice the 7 steps of making art.