
Lesson At A Glance
A brief overview of each step. Buttons jump to each section for detailed information.
12 Min – Learn analogous colors
20 Min – Demo on acrylic painting
10 Min – Set up for painting
15 Min – Paint background layer
5 Min – Practice sketching design
15 Min – Paint design on canvas
7 Min – Everyone helps
SCROLL & TEACH
LESSONPLAN
Each section is a different color. Read over once and then you can SCROLL & TEACH using any device you like. It’s designed to work best with your phone.
OVERVIEW
Students will learn and work with alike colors (analogous), and practice simple brush techniques using arcylic paints. A colorful background and bold line-based designs are used for their first painting of the year. The rules are reviewed and explained in more detail.Grades 3 – 5
Week of August 25 – 29
1 Hour & 45 Minutes
Student Work
more to come

LEARNING TARGETS

Students know how practicing helps create better finished artwork.
M A T E R I A L S
- 4B pencil
- White and kneaded erasers
- 14″ x 17″ Sketch pad
1.1 FRAMES
Have students get out their sketchbooks and open to a blank page.
Each student should draw 4 rectangles on one sketchbook page. Start by dividing the paper in two with a vertical line from the top to the bottom right in the center.
Then draw a line from side to side, in the center, so that there are 4 similar rectangles that look like a window all together.
Turn the pad so that all the rectangles are wide, or like a bathtub, not a shower.
Then draw a 4-sided rectangle in each section, making sure the edges of these 4 “frames” do not touch the dividing lines or the edges of the paper. Show this diagram so they understand it should look like this:

1.2 DESIGNS
“Today we’re going to practice using our paints, and we’ll create a painting from our imaginations.
This painting will mainly consist of 2 layers. the first layer will cover the entire surface with color, and will be a background layer.
Then we’ll add a design made of lines on top. The lines can be in black, white, colors, or a combination of these.”
1.3 MORE
Try a second and even a third design idea. More is always better. This is especially true for design.
Students should continue to draw designs during STEP 2.
CREATIONS - tap here to open
Our Creations lessons are for students who have completed the two years of Foundations and are ready to begin using all that they have learned to create new work. These more challenging versions of the same concepts and techniques are easily taught along-side students in the Foundations course. This allows for excellent review, and is encouraging for students to see progress from each viewpoint.
Use the Student Instructions printout below to distribute to your Creations students. Tap the image to open the PDF in a new window.
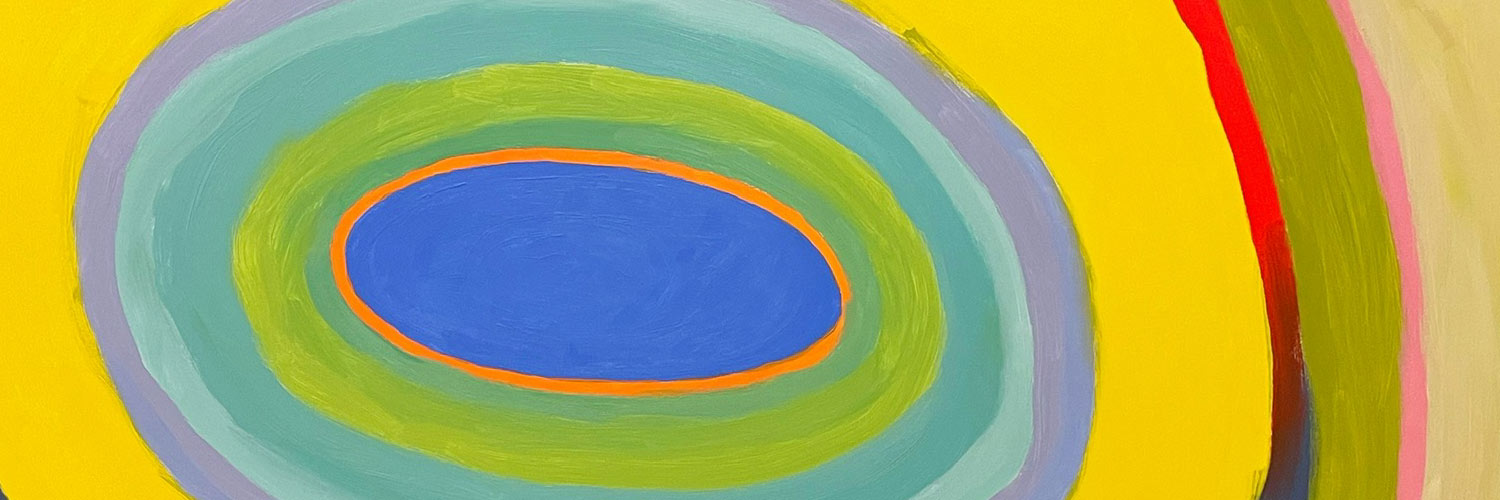
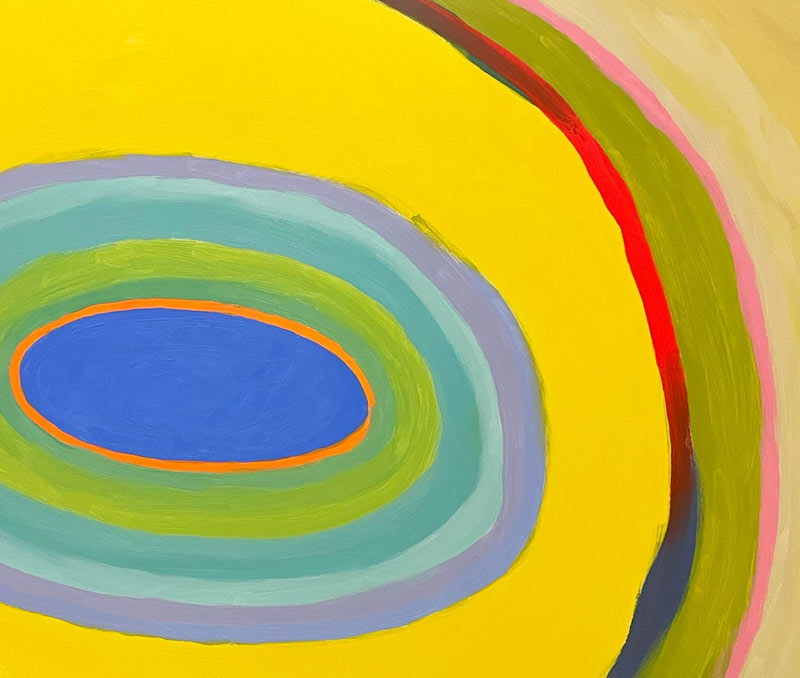
Abstract Painting
Overview: Students will create a background using colors they choose, and then create an abstract line painting using photographic reference as their source.
Use a canvas board, a sheet of taped canvas, or a stretched canvas if available.
Step 1. (15 minutes) Set up for painting in acrylic, and cover the canvas with a thin coat of any colors of your choosing. Brilliant colors work well. Colors may be mixed with water instead of white, for a glaze effect, or white can be mixed in for opacity – colors that look more solid. Set aside to dry.
Step 2. (20 min) Choose a reference source from any book or use the provided PDF photographs below. Use a pencil and sketchpad to create an abstract line drawing based on the photo. You should try to make it different enough so that it’s hard to recognize the subject.
Step 3. (5) Write down some ideas for how color will be used as line and filling in areas. The original underpainting may be covered a lot, or it may show through and be an important element in the painting.
Note: colorful lines and pattern can add a lot of visual interest to this painting.
Step 4. Resume painting, using a variety of Brushes for different effects. Clean edges and lines are much easier to create when the paint is a very fluid.
Tap images to open Creations Student Instructions and Reference Materials in new windows


LEARNING TARGETS
Students know what analogous colors are.
M A T E R I A L S
- Color Wheel PDF
- OR display to show on media device
2.2 PRINT
graphic
Color Wheel
You can print one for every student to keep, or just one to put up on the wall.

1 Page – Opens in new window
2.1 COLOR
“When just a few colors are used for all the most important areas of a painting, that becomes it’s color scheme. Some color schemes are visually loud, because there is a lot of contrast. Red and Green is a “loud” color scheme. Others seem more quiet or calm, because there is not much contrast. These are called analogous colors, or sometimes, alike colors. Alike is easier to remember, and both words begin with the letter A.
Colors that are very close together on a color wheel, color star, spectrum or rainbow, are analogous. Red, red-orange, and orange, for instance. What other analogous color schemes can you come up with using 3 colors?”
2.2 VIEW
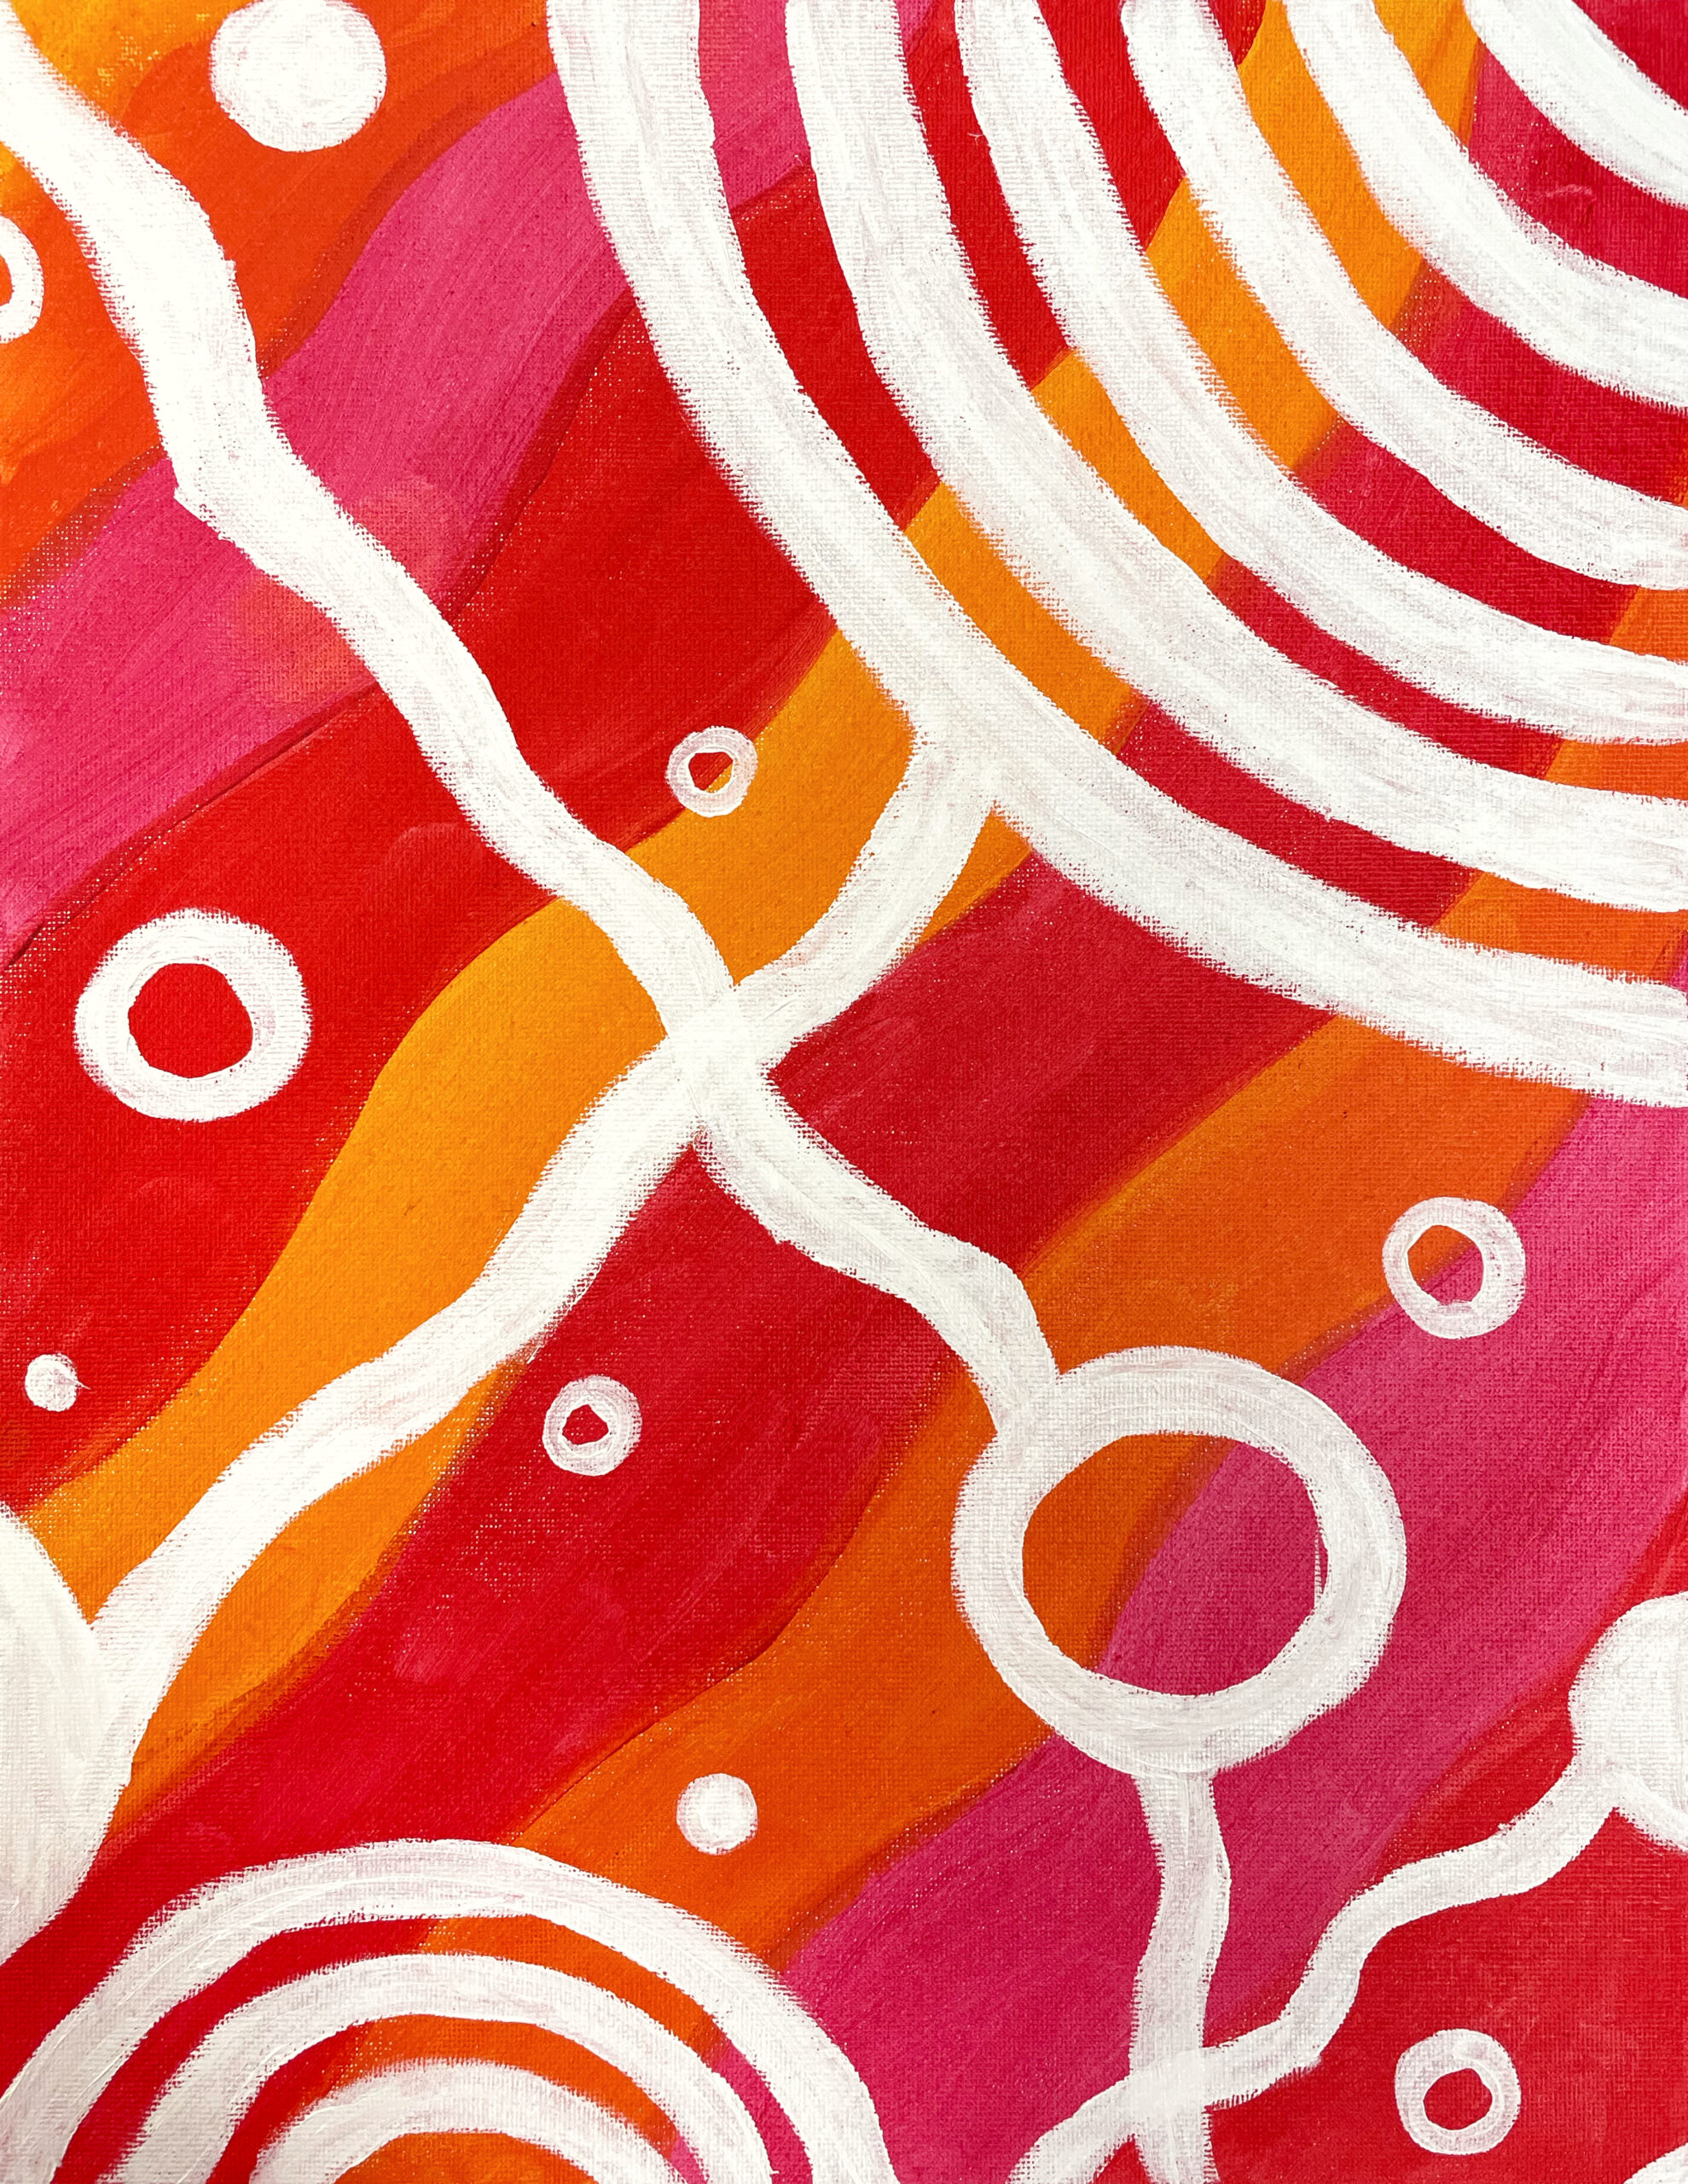
Have students watch the screen while you show work by contemporary artist, Alex Brewer. Use the link below to open the artist’s website in a new window.
He has created very large outdoor works as well as smaller wall paintings and sculptures. show a few from each section if you want.
His work mostly consists of a jumble of blocky shapes in fun bright colors, along with white or black. This should help students visualize a colorful background. Try to point out analagous colors in the work, as well as accent colors.
Limiting a painting to using mostly analogous colors – that are all next to each other on the wheel – makes a strong and pleasant look. To do this, use 3 colors that are all touching each other as a group on the color wheel. Colors within that group can by light or dark, bright or dull. Note that black is a neutral, and does not change the color scheme away from analogous
LEARNING TARGETS
Students know the importance of taking care of others, themselves, and their tools.
Students know they have a mixing palette of paint colors.
M A T E R I A L S
- PDF Printouts
3.1 RULES
POSTER
RULES

1 Page – Opens in new window
3.2 REVIEW
“1. Not… too… many… rules.
This is funny, but it also makes a point. There are not a lot of rules for art. You either like it or you don’t. If you want to invent a new thing, that can sometimes be really cool. Rules are there to keep people safe and have a good time. Making art is usually pretty fun and safe, so our rules are easy.
2. Be nice!
Everyone knows this rule. But did you know we have 3 ways this rule works?
- Others – this is what most people think when they hear this rule, and you all know this already.
- Self – you wouldn’t say, ‘hey that art looks horrible!’ to a friend. So never tell yourself bad things about your own art. You can say something more like, ‘hey that art doesn’t look like I wanted it to. I’ll keep improving though’. Be nice to yourself!
- Stuff – your brushes will need to be super washed today. All of your materials and the classroom itself, need to be taken care of. Be nice to your art stuff, and it will last much longer *If you’re not in a controlled setting, see teacher talk below.
3. No mistakes allowed.
Remember what that means? If you weren’t here last week, it means that artists never waste their time. Instead of mistakes, we often create artwork that we aren’t happy with, but that we learn from, and we call them learners.
4. You Must Mix your colors.
That sounds pretty easy, and it is. Our set of colors that come from the tube are actually pure pigments, and are not designed to be used right out of the tube. Only white and bright red look good as actual colors in a painting. All others should be mixed with at least some of another color or white, and even the red is usually mixed to make other colors.”
3.3 SAFETY
LEARNING TARGETS
Students know how to set up their work area for painting with acrylics.
M A T E R I A L S
- Acrylic paints
- Brush – small or medium
- Palette pad
- Water container
- Smock
- Paper towels
- Scrap canvas
Brushes should be nylon for springiness and durability. Round brushes are the most versatile.
We use the heaviest bodied student grade acrylics we can find (Amsterdam brand). None of the regular colors should have any white or titanium listed in the tube pigments. Titanium white is listed as PW 6, and zinc white is PW 4
Paint pigment list:
- Napthol or Pyrrol Red
- Hansa or Light Yellow
- Pthalo Green (blue shade)
- Cyan or Cerulean Blue
- Ultramarine Blue
- Dioxazine Purple
- Magenta
- Burnt Umber
- Raw Sienna
- Titanium White (professional grade only)
4.1 DEMO
Tap the 4 arrows icon to enlarge the video to full screen.
Review the demo video and demonstrate to your students, or you can simply display the video on a larger screen for them to watch.
Important points in the video:
- Double-fold the palette pad cover so it doesn’t pull the glue loose
- Squeeze small amounts – the size of a small chocolate chip
- Place paint chips along one edge of palette – any order is fine
- Today we want just a few bright alike colors but usually you’ll put out all your colors
- Practice mix with tiny amounts before making larger paint mixes
- Wipe your brush with a paper towel to clean most of the paint off. (wipe/wash/wipe)
- Create a string of beads by mixing new colors from half of your current color
- You can see a history of what you’ve done
- Never, ever, ever (except for bright red) use paint from the pigment tubes without mixing with others
- Press down on a brush to bend the bristles for complete coverage of large areas
- Use the tip and just a little bending of bristles for doing details, edges, and lines
- To make clean edges, line must be in front of the brush tip, not underneath the brush. Sneak up on it.
- Never try to write with a brush. Always pull with it. It’s not like a pen or pencil
- Make black using Dark Brown and Dark Blue. They are both dark like black and begin with B like black. Use almost twice as much blue as brown with student grade paints. If it’s too brown, add blue; too blue, add more brown. (This has been corrected. It wrongly said use twice as much brown. That won’t work!)
- Add white to black to make various grays
LEARNING TARGETS
Students know how to set up their work area for painting with acrylics.
M A T E R I A L S
- Acrylic paints
- Brushes
- Palette pad
- Water container
- Smocks
- Paper towels
- 1/2 sheet of watercolor paper
5.1 SETUP

5.2 PLACE
LEARNING TARGETS
Students know how to successfully choose 3 analogous colors.
M A T E R I A L S
- Acrylic paints
- Brushes
- Palette pad
- Water container
- Smocks
- Paper towels
6.1 NAMES
Write name on back of watercolor paper in pencil.
6.2 CHOOSE
Have students choose 3 analogous colors of their own. It helps if they are all warm, or all cool colors. Write down their basic color group.
6.3 PAINT
First layer can be a background. Students mix colors they like and paint sections of the canvas in a design that they want. Designs can be easily changed by adding opaque colors over them, but wait until paint is dry to make significant changes, and add white to the colors, so it will cover up first attempts.
They can be distinct areas with crisp edges, or or be more painterly (loose), but do not blend them very much or the design will be lost.
Techniques:
- Add white to colors to make them opaque.
- Spread paint out, smoothing out globs and ridges so that it dries faster. Use a hair dryer to speed things up.
LEARNING TARGETS
Students know the importance of practicing before making final artwork.
M A T E R I A L S
- Acrylic paints
- Brushes
- Palette pad
- Water container
- Smocks
- Paper towels
- 14″ x 17″ Sketch pad OR
- Card stock copy paper
7.1 PRACTICE
Have each student practice painting their warm-up design on a clean sheet of paper. Only a little bit of the design is needed, just so they can get a feel for how the brush works.
They will use their smallest brush and a black paint mixture with dark blue and dark brown. Be on the lookout for too much brown in the mix. It should be nearly 2 parts blue to 1 part brown, or close to that depending on the brand of paints used. Some paints will need less of the blue, and some will need more.
The amount of water needed will also vary from brand to brand. Many brands have very liquid paint so no water is needed at all.
Move around the room, asking permission to help and encouraging your students.
“Now we’re going to add lines in black, white, or even more colors. This is optional. If you like your background and want it to be done, you can write your name on a new piece of paper and do your design in colorful lines on a white background.
Practice your design first, by painting lines on some sketch paper. This is a good time to simplify the design again, since you’re using the brush.
Add just a tiny bit of water to your paint to make it more flowable if needed.
Once you feel confident, and you think your background is ready, you can start painting lines.”
LEARNING TARGETS
Students know how to finish a painting.
M A T E R I A L S
- Acrylic paints
- Brushes
- Palette pad
- Water container
- Smocks
- Paper towels
8.1 PAINT
Help your students take their time, and create the final design on the dry or nearly dry background.
It is of utmost importance that they understand the need to change their technique from pressing hard, to using a lighter touch, and only the tip of the brush. Also, to use enough paint to not get a streaky dry-brush technique. They’ll need to dip back into the paint a lot.
“Paint your design on top of your background.
Change your technique though. Where a moment ago you pressed hard with your brush, now you need to use the tip, and have a lighter touch. By using the tip, you can create lines and clean edges. If your lines start to streak or break up, you have run out of paint and need to get some more.
It’s ok if things mix up a bit because it’s not quite dry. You can clean any colorful paint from your brush by wiping with a paper towel often. When finished, set aside to dry.”
Acrylic paints can dry to the touch within 15-20 minutes, but will not be fully dry and cured for 24 – 48 hours, depending on the thickness of the paint. Make sure to not let anything touch the painting surface until the next day.
LEARNING TARGETS
Students know the importance of cleaning up.
M A T E R I A L S
- Paper Towels
- Cleaning wipes
- Sink
- Waste baskets
- Well-lit spot for photos
- Camera or phone-camera
9.1 CLEAN
Students set up their work area.
- Wash hands
- Super-wash brushes if used
- Put art supplies away
- Wipe tables & toss trash
- Remove any smocks (last)
- Check for items on floors and tables
9.2 PHOTO
9.3 CONNECT
%
Insights
This lesson provides understanding
%
Technique
This lesson shows application and movement
%
Self Expression
This lesson allows personal freedom
OBJECTIVES
- Practice and improvement with mixing and using acrylic paints
- Understanding painting basics. Also alike (analogous) colors and how to mix them
- Accomplishment in creating a finished canvas
- Fulfillment in creating an original line-art design and color scheme
TROUBLESPOTS
Using white paint – students tend to want to mix white into their paints to lighten them for the background painting. Use water today to create a more brilliant glaze instead.
Not cleaning brushes – This is a critical point, especially for new students. We use the term “Super wash,” and ask students repeatedly, “what will you do when you’re finished painting?” – “Super Wash!”
Missed brushes – Sometimes a student will use more than one brush, and even if they do the brush wipe/wash/wipe and Super Wash at the end of class, they may have missed one or two brushes entirely! Make sure they’ve inventoried all the brushes and take them all for the super wash.
Stray supplies – The last thing every student should do before leaving is to check the work area and the floor for supplies and trash.
ART WORDS
Abstract – When artwork doesn’t look very accurate because the artist has changed the real world to fit his or her personal vision. Stylized paintings are just a little bit abstracted, while very abstract paintings can be hard to figure out what the artist was looking at. There are many ranges of abstract in-between these two extremes. For teens: Non-objective is a term used for art that did not have any reference at all, and does not contain recognizable objects. This is sometimes confused as the meaning of an abstract work, but in reality, is just the upper end of abstraction.
• Alike Colors / Analogous Colors – Any 2 or 3 colors that are very close together on the color wheel, and create vivid, in-between colors when mixed together. See the Pinterest board for examples.
• Super Wash – This is an ArtSquish term that helps students distinguish regular water-tub washing, from more thorough sink-washing of their brushes. Without the super wash, a brush with even a residue of acrylic paint in it, will be crunchy and almost un-usable the next day.
CLASSROOM PREP
Print all of your PDFs from the lesson plan and cut any references apart as needed. If you need a pigment list, use the one below.

What your room needs
Here are your printable lists and room prep instructions.
Opens in new window
CLASSROOM MATERIALS
- Canvas Board
- Color Wheel PDF
- Rules PDF
- Water containers
- Smocks
- Paper towels
- Scrap canvas, for demo
STUDENT’S MATERIALS
- 14″ x 17″ Sketch Paper
- 4B Pencil
- White Erasers
- Oil Pastels
- Acrylic Paints
- Brushes – all sizes
- Palette Pad
PREVIEW
Week 5: Underpainting Landscape 1
September 2 – 6
Students will begin the first of two lessons, where they create a landscape in acrylic paints, using the classic red underpainting technique.
Week 6: Underpainting Landscape 2
September 9 – 13
Students will continue working on their red underpainting landscape in acrylics.