
Style
Each lesson Plan focuses primarily on one of the 4 Cornerstones of Art:
Drawing | Painting | Color | Style
OVERVIEW
Students will continue working on their journal paintings from last week. Early finishers will work on any paintings or color journals that are not yet finished. If all is done, then they’ll have artists’ choice.– – –
Grades 3 – 5
Week of May 4 – 8
1 Hour & 45 Minutes

Lesson At A Glance
A brief overview of each step. Buttons jump to each section for detailed information.
10 Min – Review first 2 stages of project, then demo 3rd stage
If Time – Finish any unfinished color journals first
2 Min – Everyone helps
SCROLL & TEACH
LESSONPLAN
Each section is a different color. Read over once and then you can SCROLL & TEACH using any device you like. It’s designed to work best with your phone.
LEARNING TARGETS

Students know how to set up their work area for painting with acrylics.
M A T E R I A L S
- Acrylic paints
- Brushes
- Palette pad
- Water container
- Smocks
- Paper towels
- Canvas from last week
- Canvas Pencil
IMPORTANT
Last week the white was not used so that all the colors were glazes (translucent). This week, the final layers will be using some white to create light colors that are opaque or partially opaque.
Paint pigment list:
- Napthol or Pyrrol Red
- Hansa or Light Yellow
- Pthalo Green (blue shade)
- Cyan or Cerulean Blue
- Ultramarine Blue
- Dioxazine Purple
- Magenta
- Burnt Umber
- Raw Sienna
- Titanium White
1.1 paint

CREATIONS - tap here to open
Use the Student Instructions printout below to distribute to your Creations students. Tap the image to open the PDF in a new window.
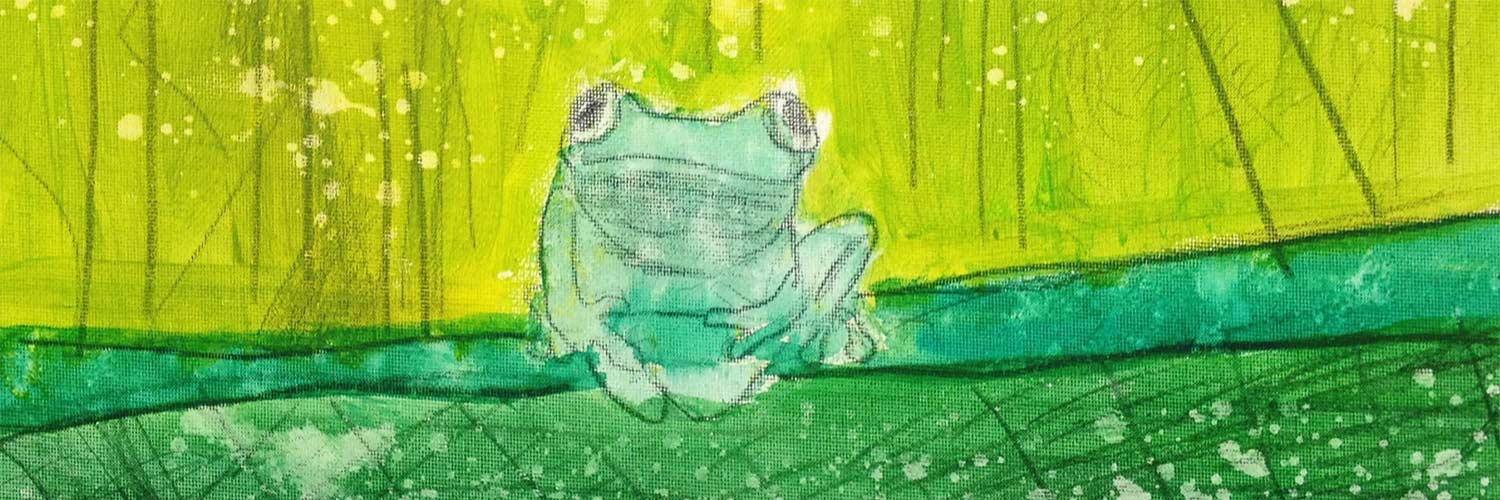
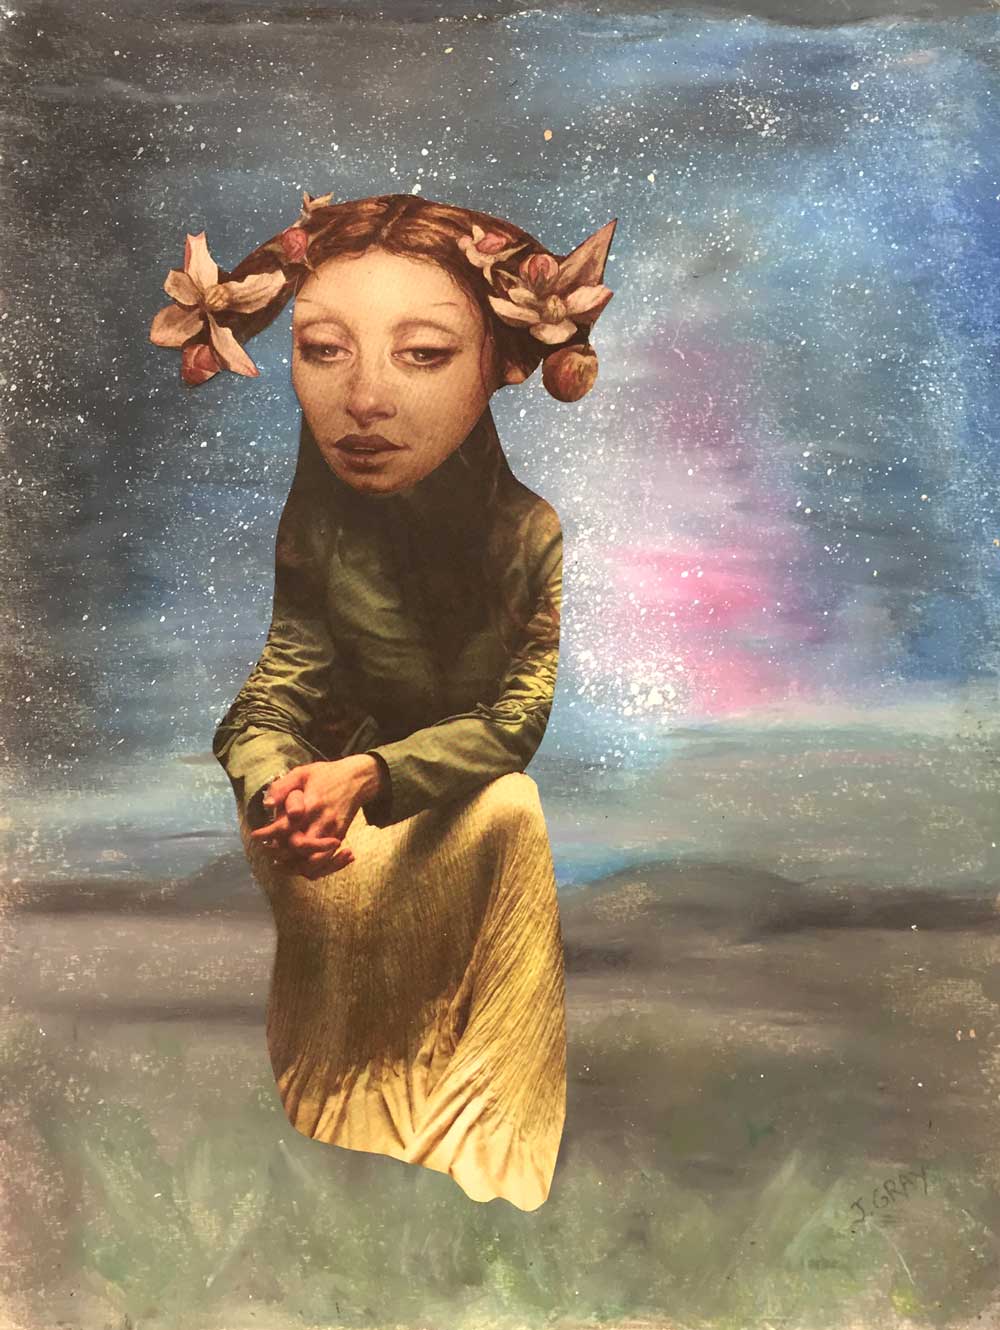
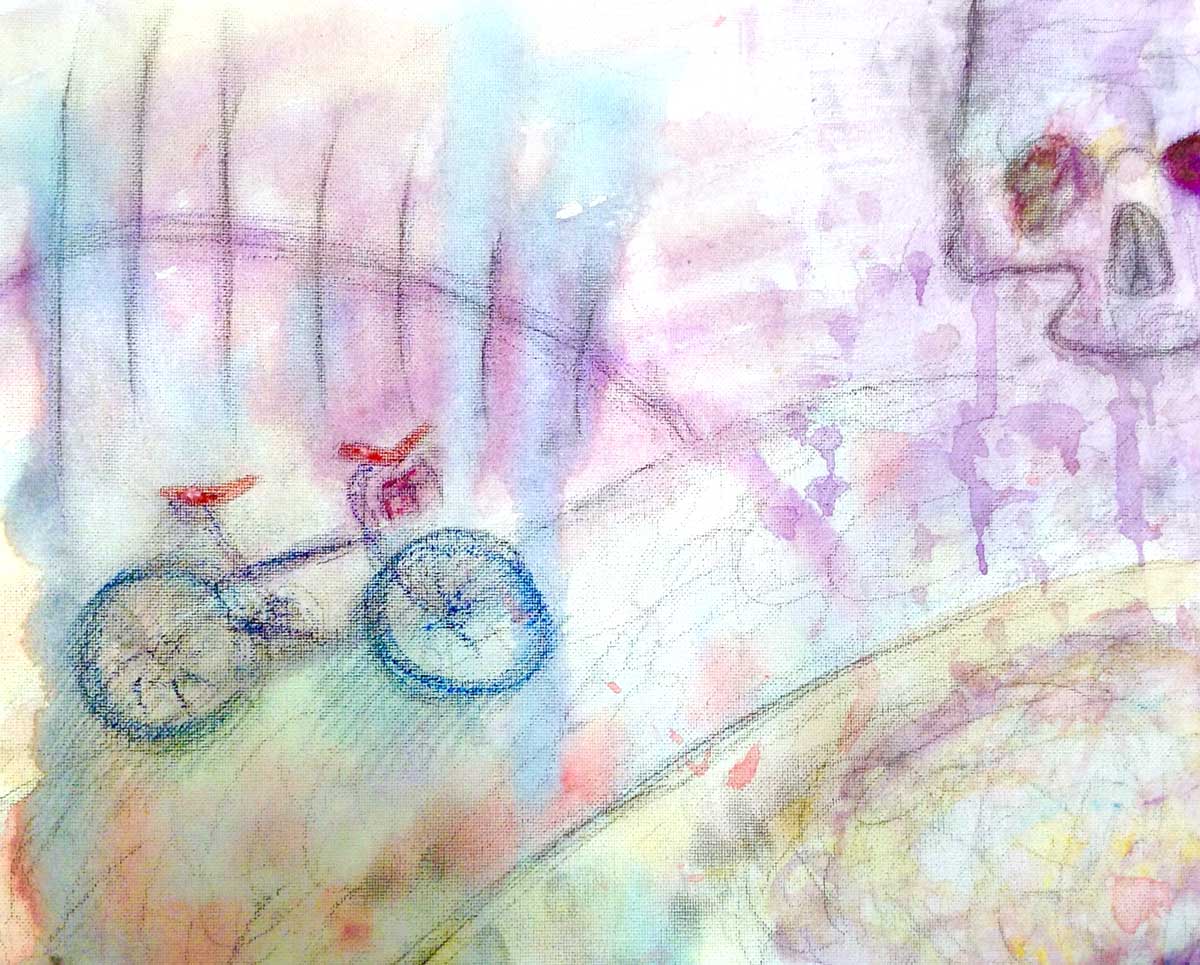
Journal Painting
Overview: Students who have done this project before, can bring a new level of skill and understanding to it. Working on a larger canvas is encouraged if possible.
Alternatively, the same basic direction can be done on watercolor paper and using watercolor technique over regular graphite pencil drawings.
Students can follow along or get started on their project. It will closely follow the Foundations project.
Tap images to open Creations Student Instructions and Reference Materials in new windows

Use this button to jump down to the preparation section.
LEARNING TARGETS
Students know how to make mixed media artwork
M A T E R I A L S
- Acrylic paints
- Brushes
- Palette pad
- Water container
- Smocks
- Paper towels
- Canvas
- Canvas Pencil
- Oil Pastels
- Colored Pencils (optional)
2.1 Review
REVIEW last week’s lesson.
Then demo the 3rd stage (or play the second half of the video) showing how to make semi-opaque glazes using thinned down colors with white paint added. Emphasize how little white you need if you want the underlying image to show through.
Some areas can be completely opaque as well. It’s entirely up to the artist.
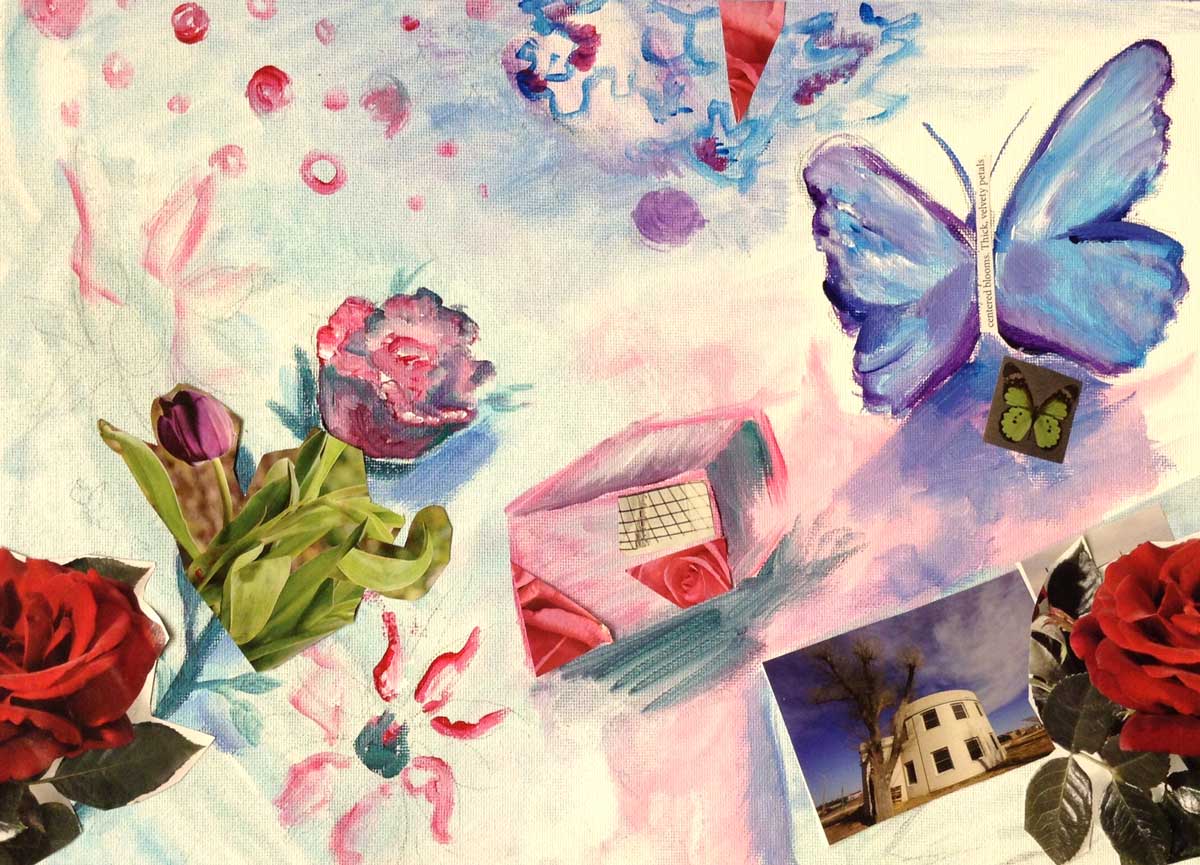
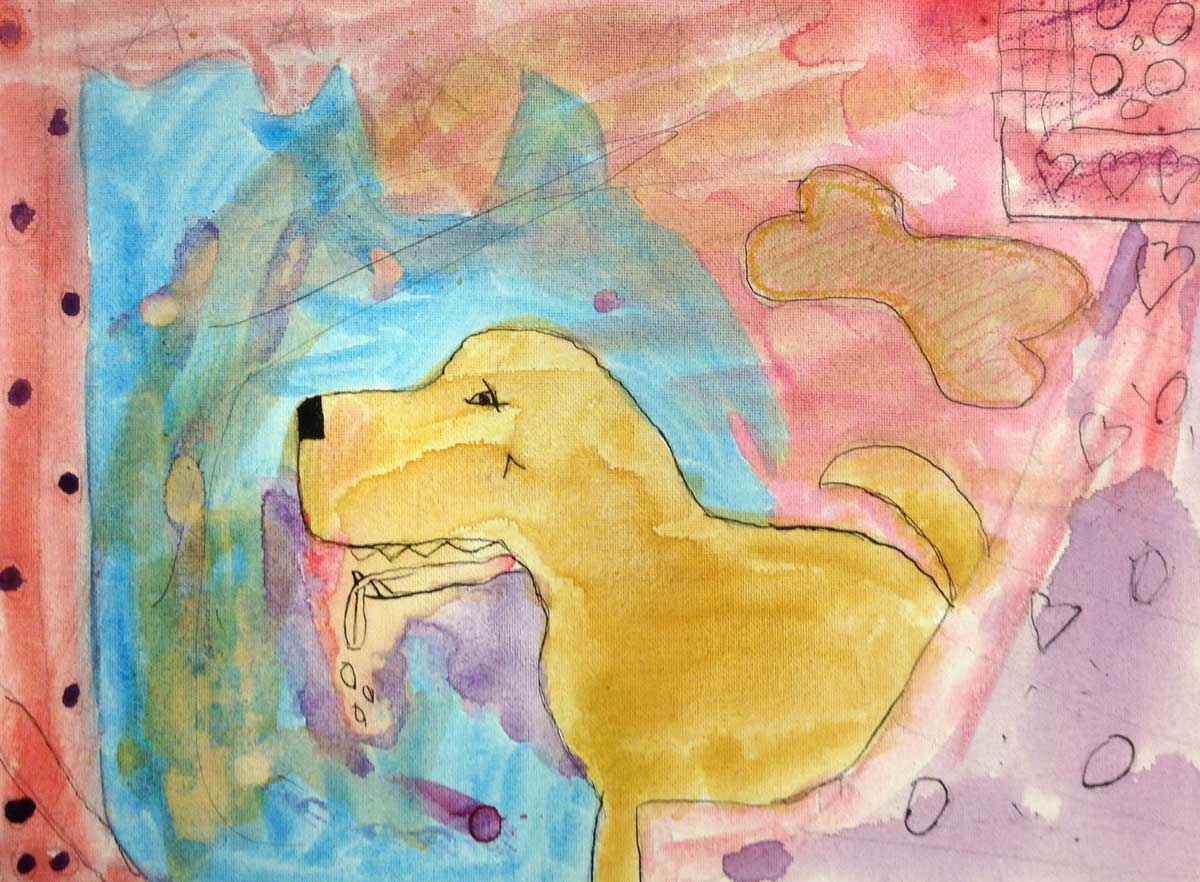
Stage three: painting semi-glaze – white is used
- Visualize areas to obscure somewhat & background areas
- Mix colors with some white in them. Lighter than existing colors
- Water down until syrupy, not runny
- Paint and layer to finish
Mixed Media can be added
Finally, oil pastels and/or more colored pencil can be added – dark colors can be problematic unless the painting has become pretty strong. Usually lighter colors and white work best. Try gray! Lines and blending can be used for great effects.
Have fun!
4. DEMO
Show how you use layers of “creamy” light colors made with opaque white to create a finished-looking surface.
Tap the 4 arrows icon to enlarge the video to full screen.
Review the demo video and demonstrate to your students, or you can simply display the video on a larger screen for them to watch.
Use this button to jump down to the preparation section.
LEARNING TARGETS
Students know how to make mixed media artwork
M A T E R I A L S
- Acrylic paints
- Brushes
- Palette pad
- Water container
- Smocks
- Paper towels
- Canvas in-progress
- Canvas Pencil
- Oil Pastels
- Colored Pencils
3.1 create
Do your best to not make suggestions that haven’t been asked for! If you do see something you think may cause an artist to be disappointed later, say this: “I like, (whatever you like), but I do see something you might want to think about. It’s only a suggestion.” and then wait for a response. Some students will not really want a suggestion, but most will welcome what you have to say.
Gently steering them to add these final layers will help them enjoy their work later on, because it will look better to them.
BREAK
This is the end of part one if you are dividing into two, 52-minute sessions.
Use this button to jump down to the preparation section.
LEARNING TARGETS
Students know how to create mixed media artwork
M A T E R I A L S
- Acrylic paints
- Brushes
- Palette pad
- Water container
- Smocks
- Paper towels
- Canvas in-progress
- Canvas Pencil
- Oil Pastels
- Colored Pencils
4.1 create
Encourage students and make the rounds, helping individuals as needed by asking questions and giving your honest responses.
Use this button to jump down to the preparation section.
LEARNING TARGETS
Students know how to create independently
M A T E R I A L S
- Acrylic paints
- Brushes
- Palette pad
- Water container
- Smocks
- Paper towels
- Canvas – stretched, taped to a board, or a canvas board
- Canvas Pencil
5.1 create
Anyone who gets done early, can complete (and arrange in binder), any unfinished color journals before moving on to artists’ choice.
Use this button to jump down to the preparation section.
LEARNING TARGETS
Students know the importance of cleaning up.
M A T E R I A L S
- Paper Towels
- Cleaning wipes
- Sink
- Waste baskets
- Well-lit spot for photos
- Camera or phone-camera
6.1 CLEAN
- Wash hands
- Super-wash brushes if used
- Put art supplies away
- Wipe tables & toss trash
- Remove any smocks (last)
- Check for items on floors and tables
6.2 PHOTO
Use this button to jump down to the preparation section.
OBJECTIVES
- Practice and improvement using acrylic paints
- Understanding how to work and change a composition in progress
- Accomplishment in finishing a complex work of art
- Fulfillment by by self expression and composition choices
TROUBLESPOTS
Paint accidents – If you catch a painting accident quickly, the acrylic can be washed right off.
Here is a chart showing how to remove acrylics from clothing, and canvas paintings. Click the image to enlarge, and the button to open and print a PDF.

ART WORDS
• Opaque – When a layer of paint completely covers up what is underneath it, it is opaque.
• Glaze – A glaze is a layer of paint that you can see through. Most glazes are made without any white paint, but a semi-opaque glaze has a bit of white in it, and is milky or chalky, obscuring most of what is underneath.
• Font – A lettering “family” that has been made for printing or online display, that has a distinct set of characteristics. A designed font will have every letter, number, and symbol.
CLASSROOM
PREP
Print all of your PDFs from the lesson plan and cut any references apart as needed. Have students’ paintings from last week ready for them.
What your room needs
Here are your printable lists and room prep instructions.
Opens in new window
CLASSROOM
MATERIALS
- Water Container
- Smocks
- Paper towels
- Colored Pencils (optional)
- Cleaning Wipes
- Camera or phone-camera
STUDENT’S
MATERIALS
- Acrylic Paints
- Brushes
- Palette Pad
- Canvas from last week
- Canvas pencil
- Oil Pastels