
OVERVIEW
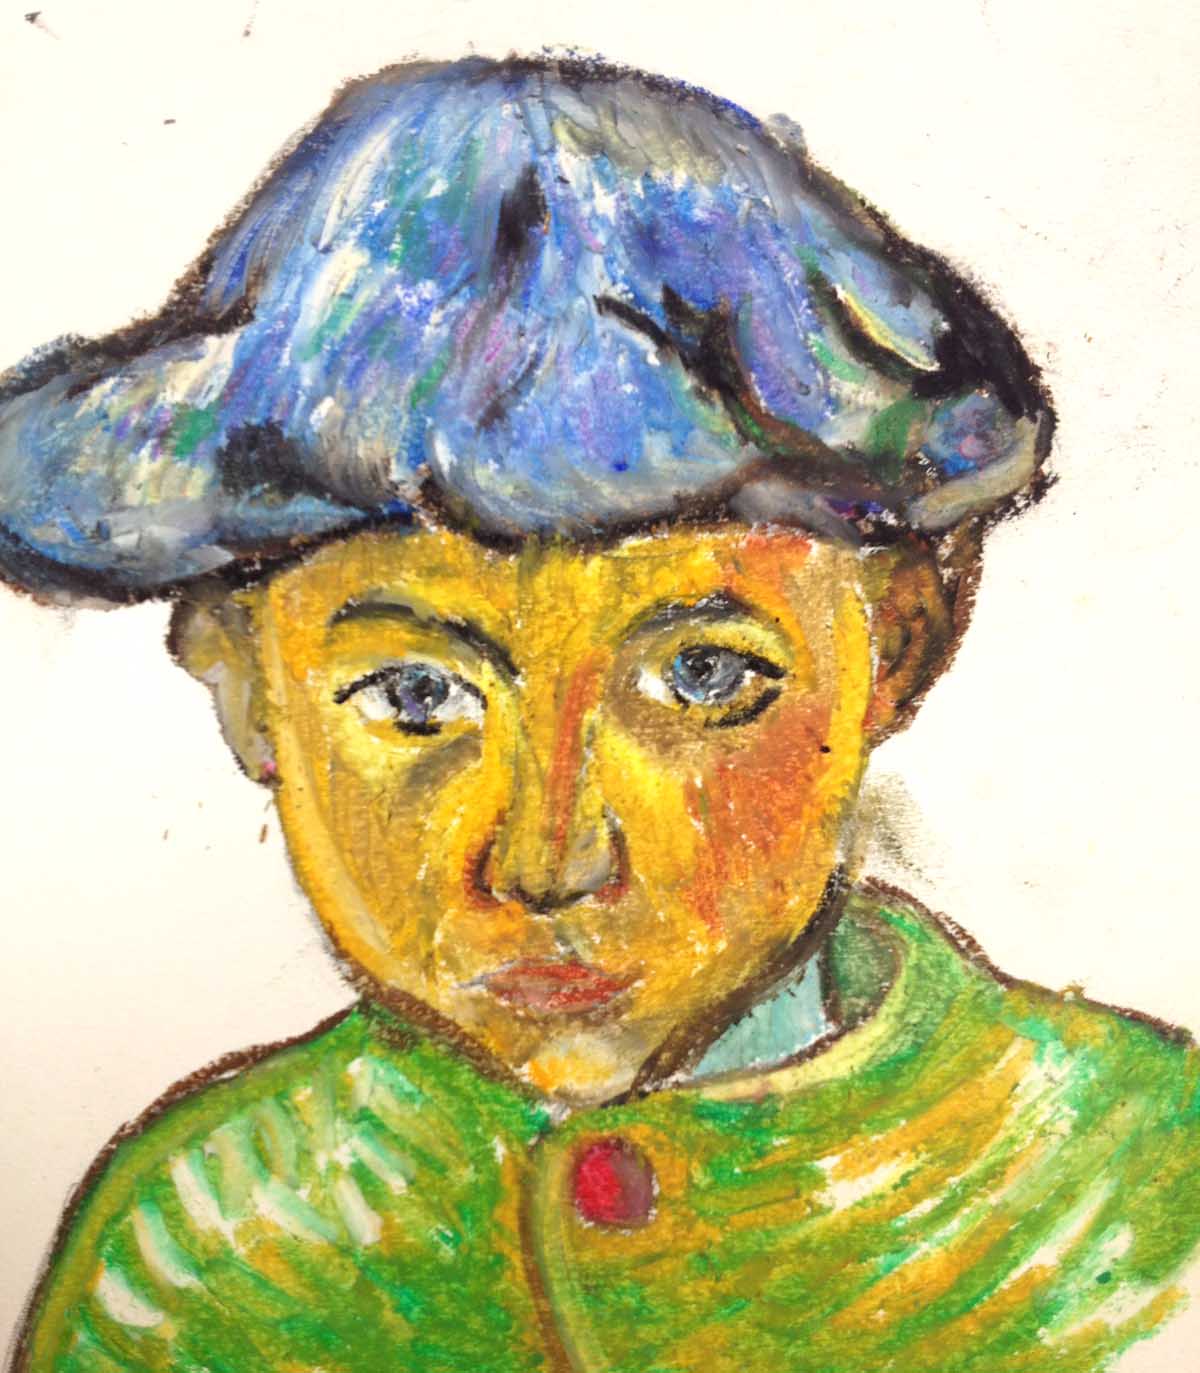
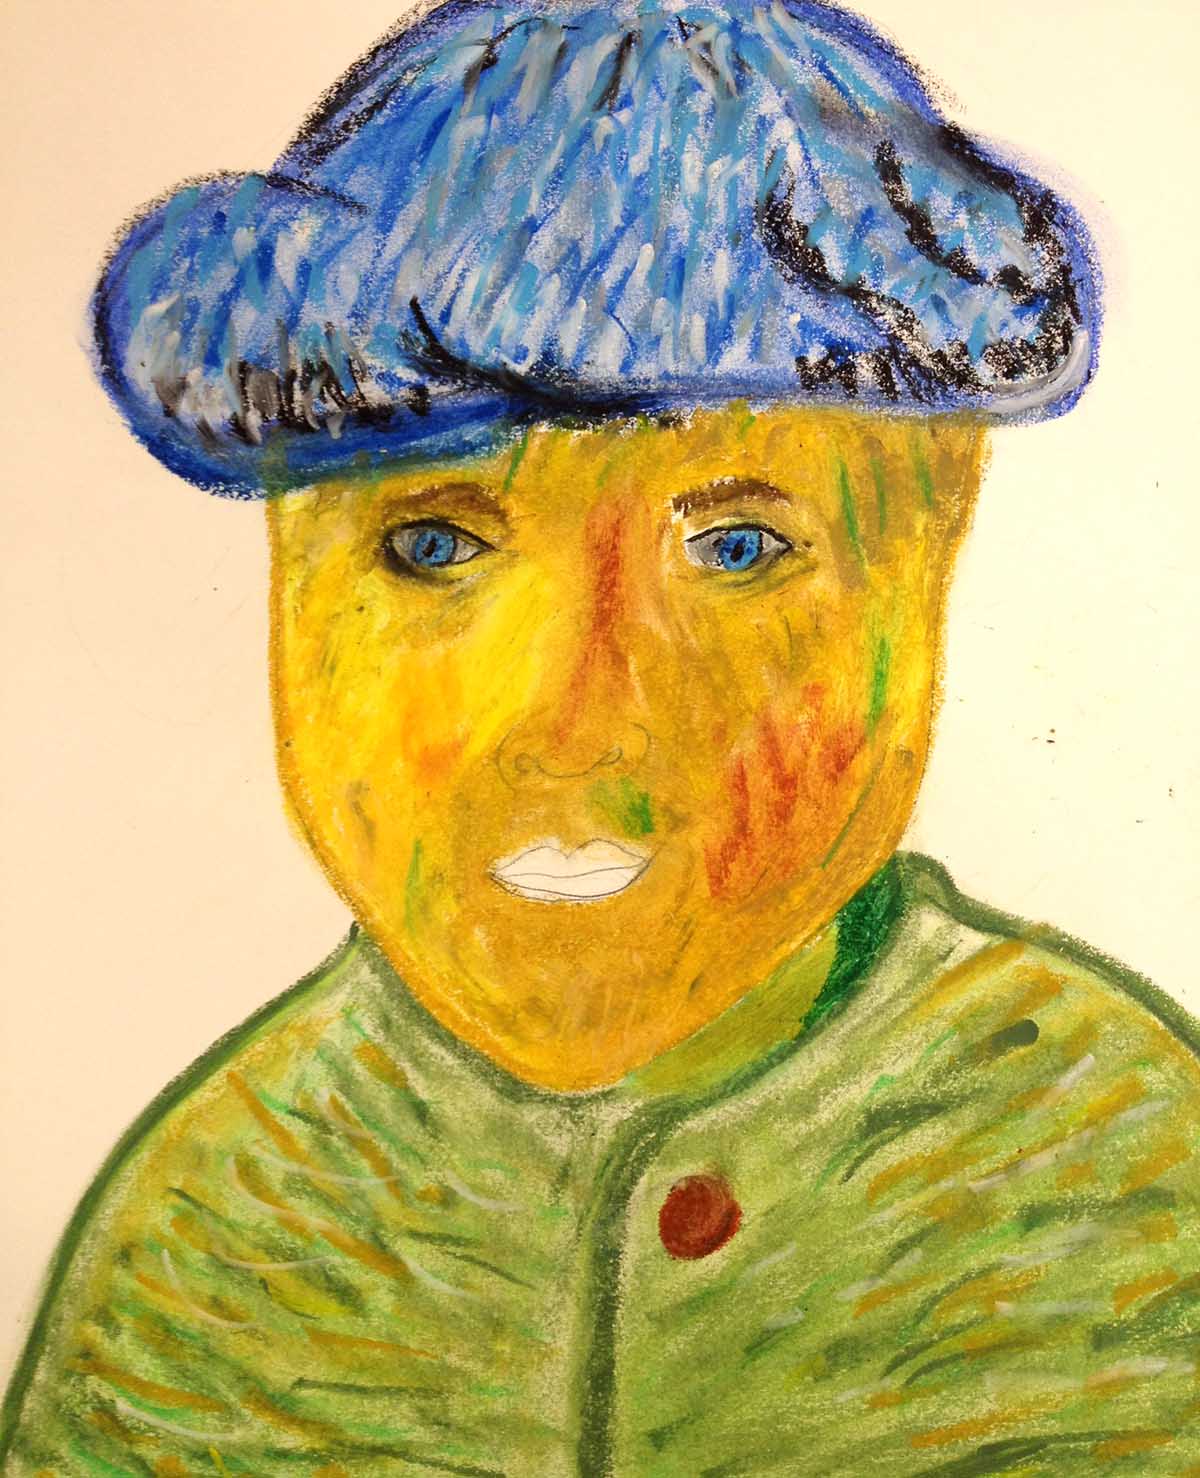
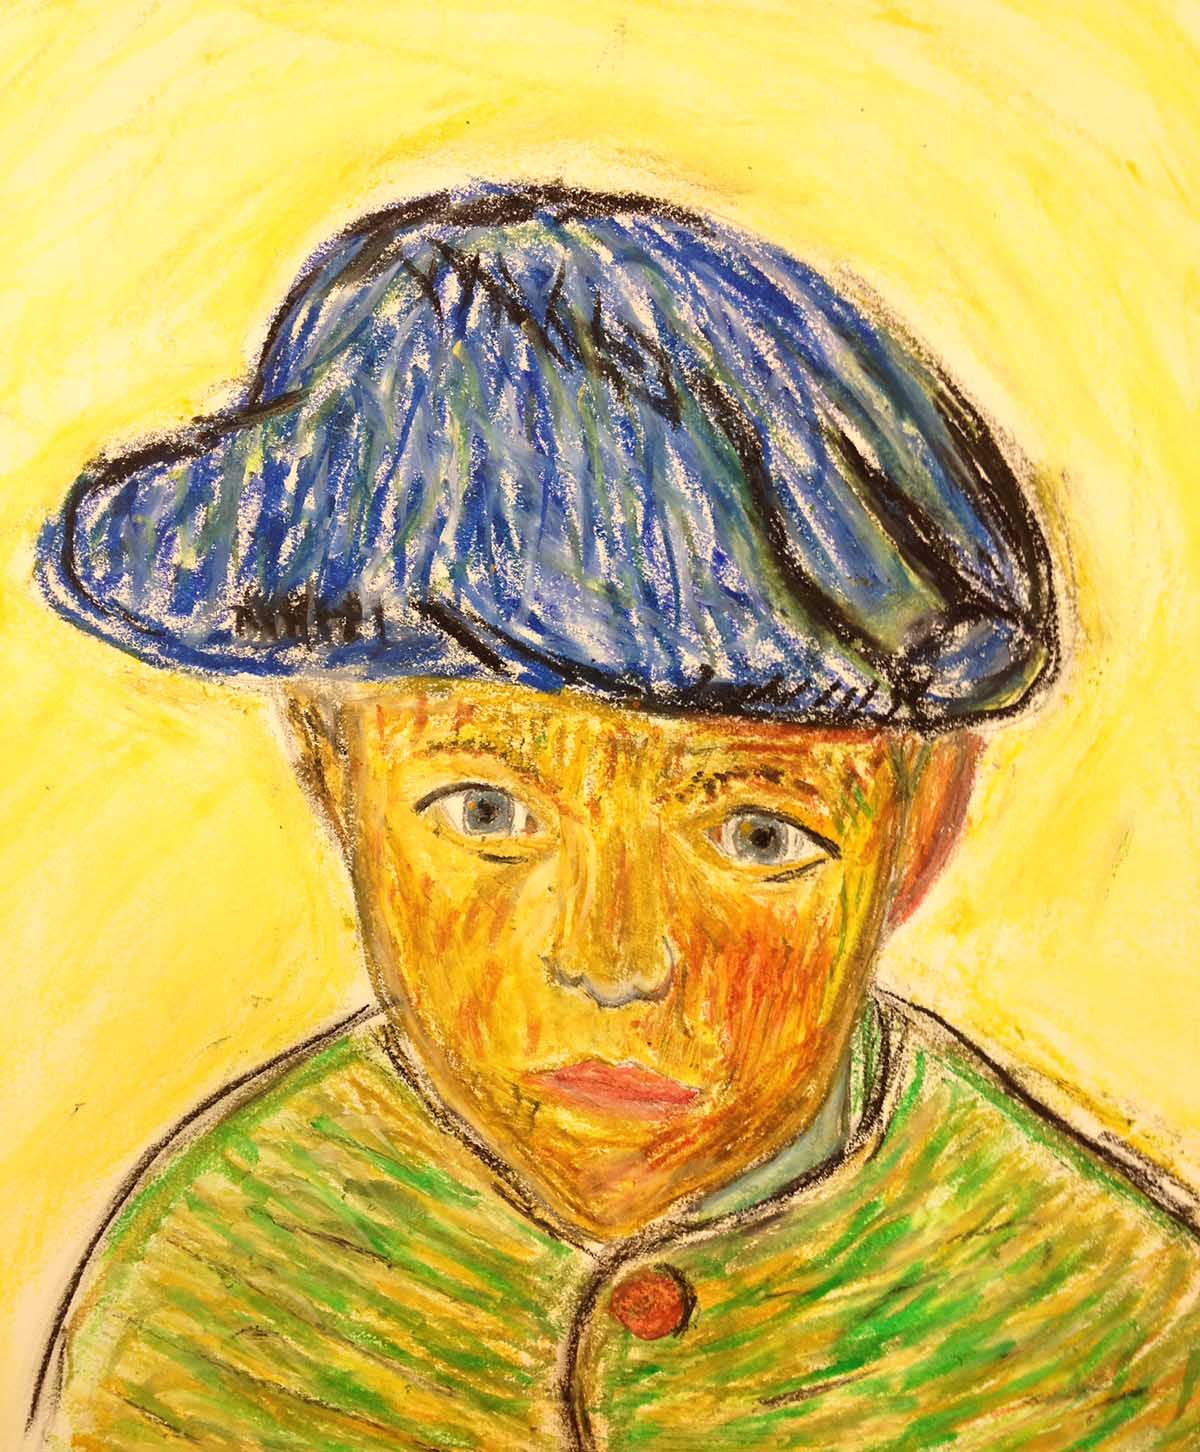
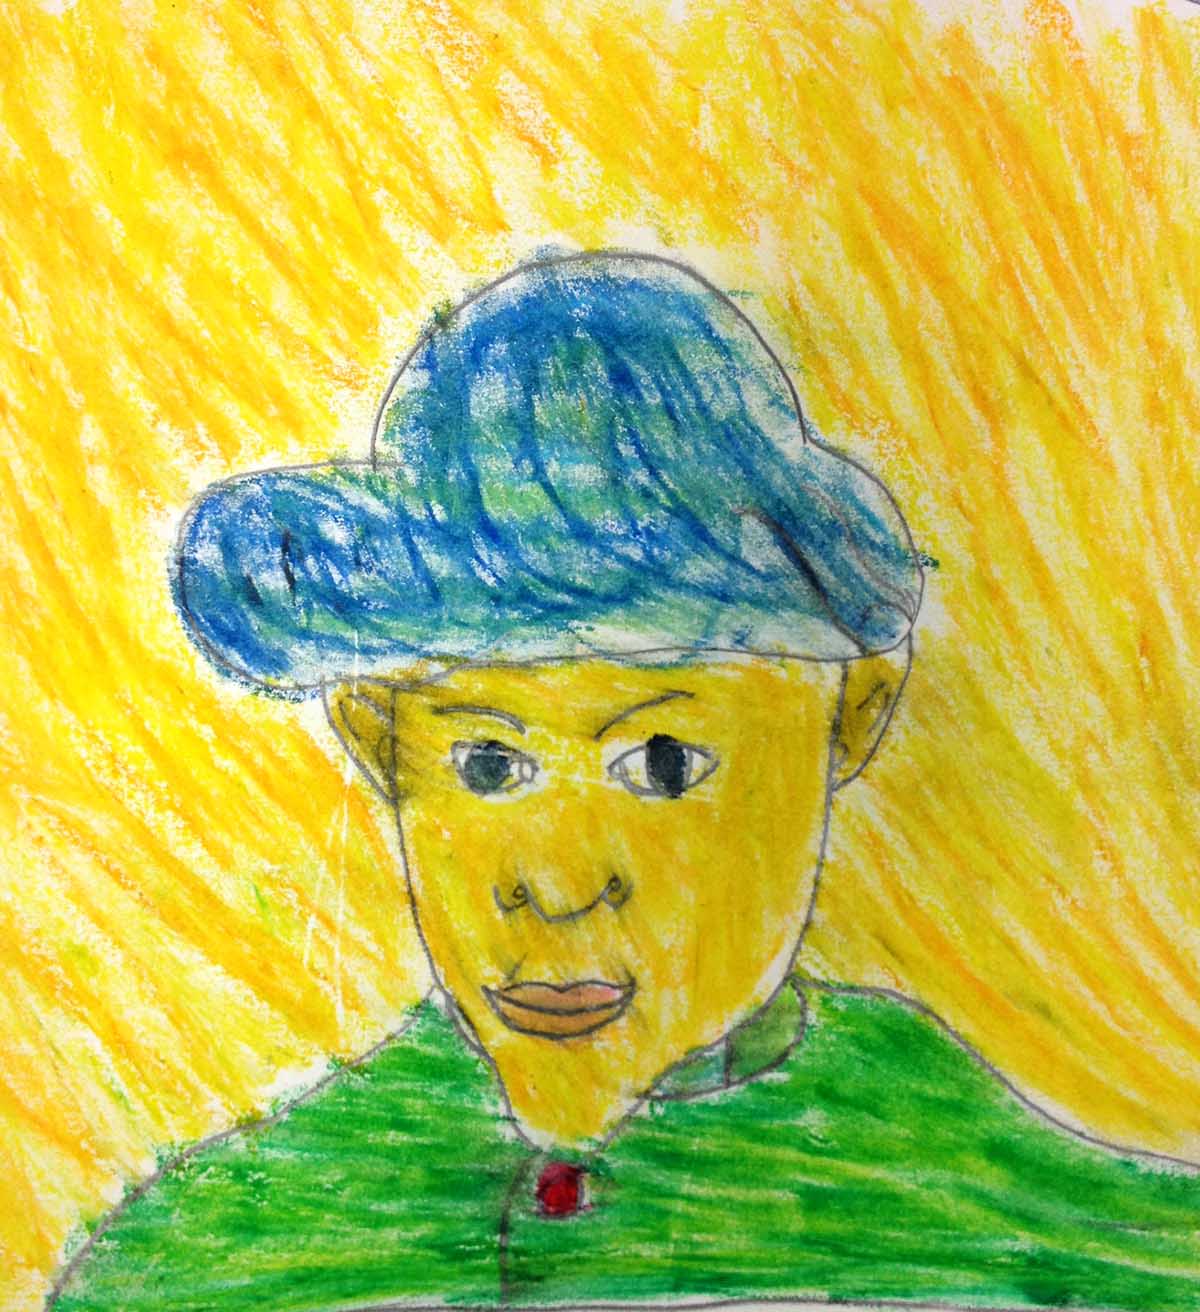
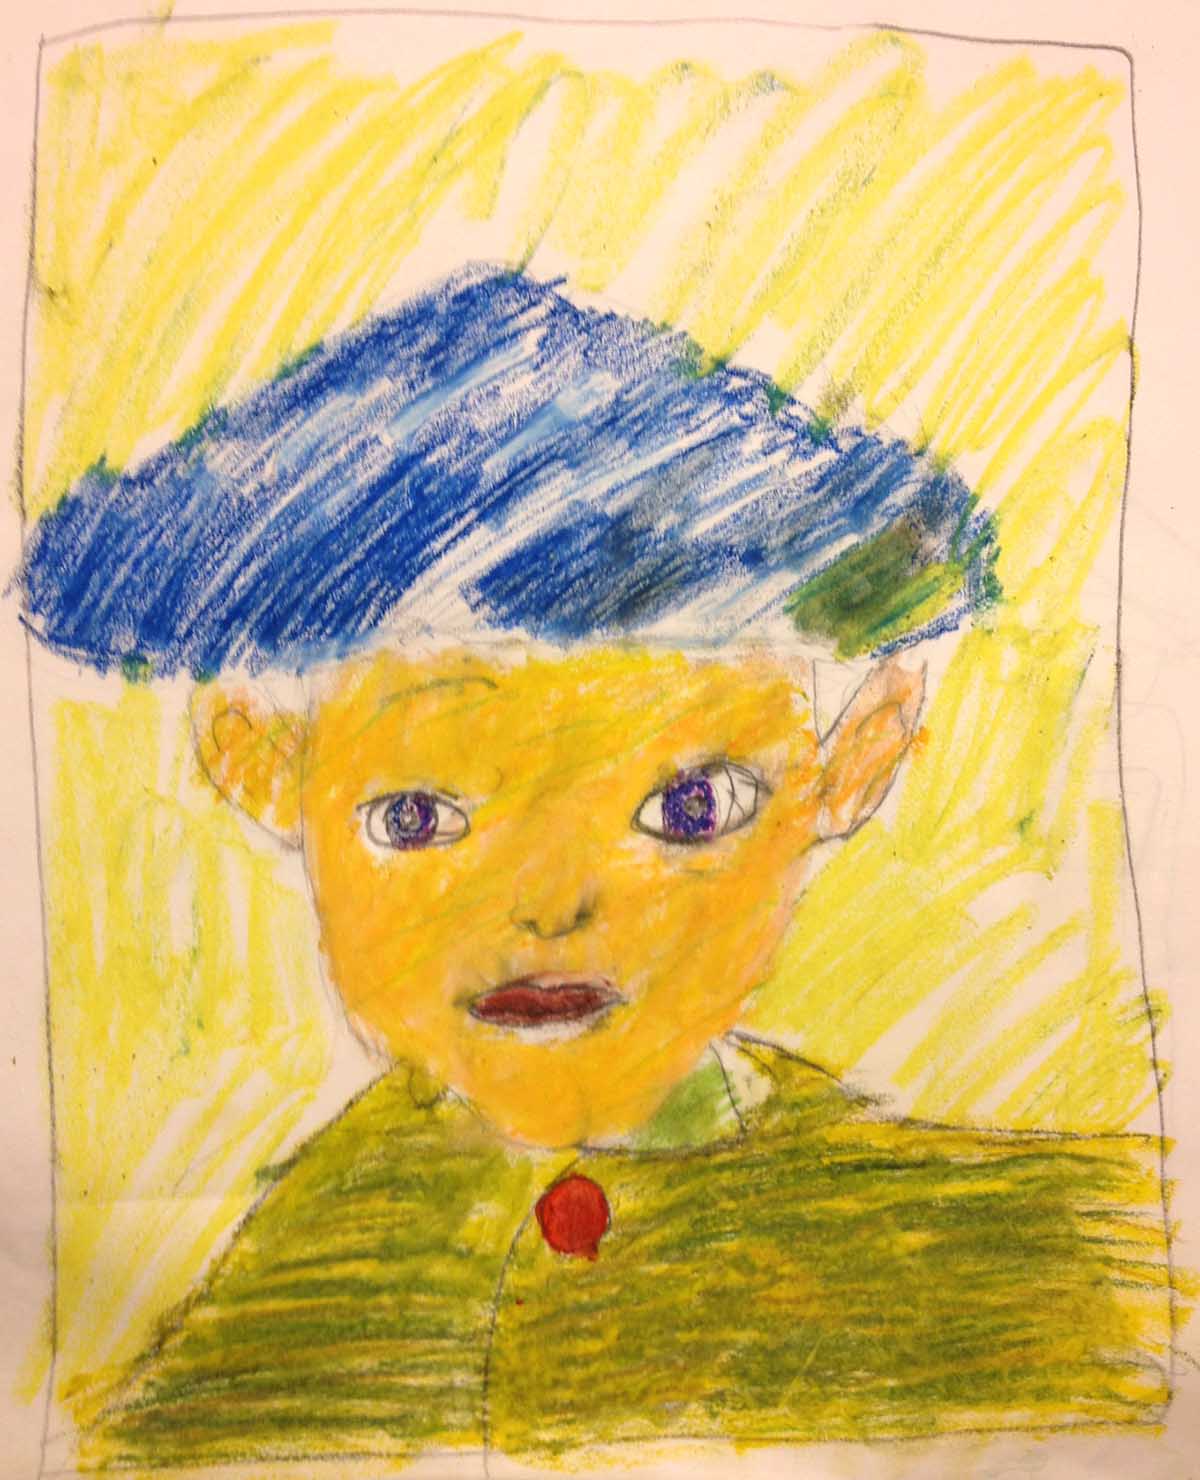
This is one of two lessons about portraits. Today everyone will work on accuracy, while also learning how observation helps accuracy more than anything else. There is a memory drawing game and an oil pastel copy of a Van Gogh portrait.– – –
Grades 3 – 5
Week of February 17 -21
1 Hour & 45 Minutes, or two 52-minute sessions
STANDARDS For This Lesson
SUBMIT YOUR SUMMARY
Copy and paste the text below to send your abbreviated lesson plan with national standards and learning targets to your supervisors and colleagues. Or access the WORD doc by using the blue button below.
– – – – – – – – – – – – – – – – –
Week of Feb 17 – 21
OVERVIEW:
This is one of two lessons about portraits. Today everyone will work on accuracy, while also learning how observation helps accuracy more than anything else. There is a memory drawing game and an oil pastel copy of a Van Gogh portrait.
NATIONAL STANDARDS:
Grade 3
VA:Re7.1.3 – Speculate about processes an artist uses to create a work of art
Grade 4
VA:Cr2.1.4 – Explore and invent art-making techniques and approaches.
Grade 5
VA:Cr1.2.5 – Identify and demonstrate diverse methods of artistic investigation to choose an approach for beginning a work of art.
LEARNING TARGETS:
Students know that portraits need accurate proportions
Students know that there is a difference between drawing from a reference and drawing from memory.
LESSON PLAN:
1. Warm Up (12 minutes)- Artists’ Choice
2. Lesson(10 min) -Show clay model
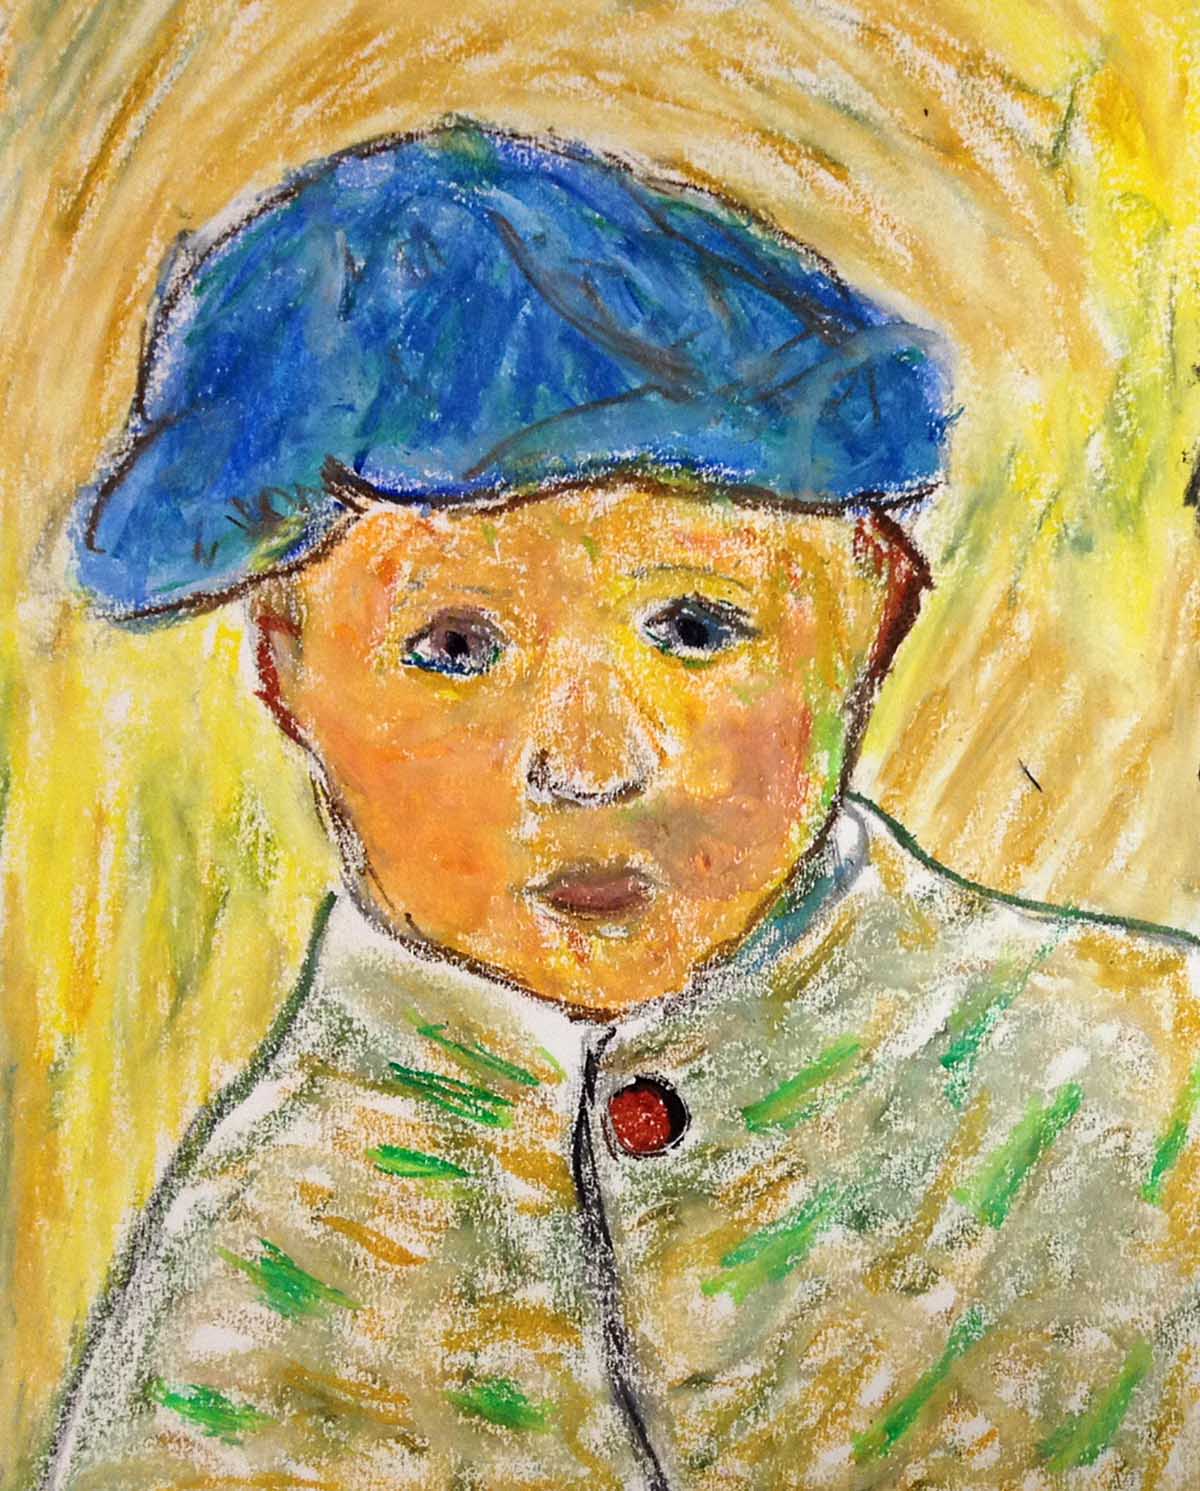
3. Practice (10 min) – Pencil practice sketches of Van Gogh’s blue hat boy
4. Guidelines (10 min)- with 2B Pencil
5. Memory Drawing (10 min) – Draw house from memory
6. Portrait in Pastels (48 min) – Work from top and light to dark in sunset
7. Clean Up (4 min) – Everyone help
Tap the Plus Icon (above right) to open STANDARDS information, including an Overview, Learning Targets and a Syllabus. Copy and paste to send to your Administrators or use the button below to download a Word document with the same information that you can add your info to and email to them as an attachment.


SCROLL & TEACH LESSON PLAN
Don’t worry about rewriting anything. Just spend a few minutes reading the lesson plan and printing out your PDFs. Then check out the READY, SET, GO! section and print your prep-page, which includes checklists and an “at a glance” outline of the lesson so you can stay on track when you’re teaching. Set out the materials from the list on your prep page and you’re ready.
That’s all you need to know. Use your smartphone to Scroll & Teach!
Lesson At A Glance
A brief overview of each step. Buttons jump to each section for detailed information.
12 Minutes – Artists’ choice in pencil.
10 Min – Show the clay model.
10 Min – 2B Pencil
10 Min – Draw house from memory
48 Min – Work from top and light to dark in sunset method
4 Min – Everyone helps
SCROLL & TEACH
LESSONPLAN
Each section is a different color. Read over once and then you can SCROLL & TEACH using any device you like. It’s designed to work best with your phone.
LEARNING TARGETS

Students know how to think creatively
M A T E R I A L S
- 14″ x 17″ Sketch Paper
- 2B Pencils
- White Eraser
- House Drawing Handout
1.1 Print
Reference
Memory House
Cut images apart and print enough for each student.
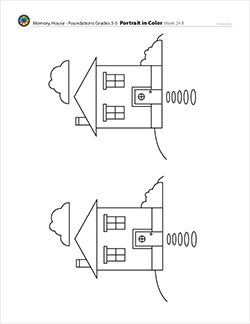
1 Page – Opens in new window
1.2 draw
Anything is ok for this warm up: cartoons, lettering, sketching from life or memory. Let them enjoy themselves. Encourage students to draw smaller sketches and to fill a page with several drawings instead of centering one thing on each large sketch page.
1.3 Observe
Take a moment to have the students stop working and look closely at the house. Explain that you want everyone to remember this house later in the day. They’ll be drawing it from memory, but the demonstration works best if they don’t know this. Make sure to collect the printouts and put them away so they don’t peek later. One minute to study is just right.
Be on the lookout for students who don’t stop working and might miss this observation part.
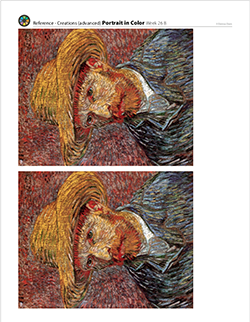
CREATIONS - tap here to open
Use the Student Instructions printout below to distribute to your Creations students. Tap the image to open the PDF in a new window.
Creative Portrait Painting in Acrylic –
Week One of Two Weeks
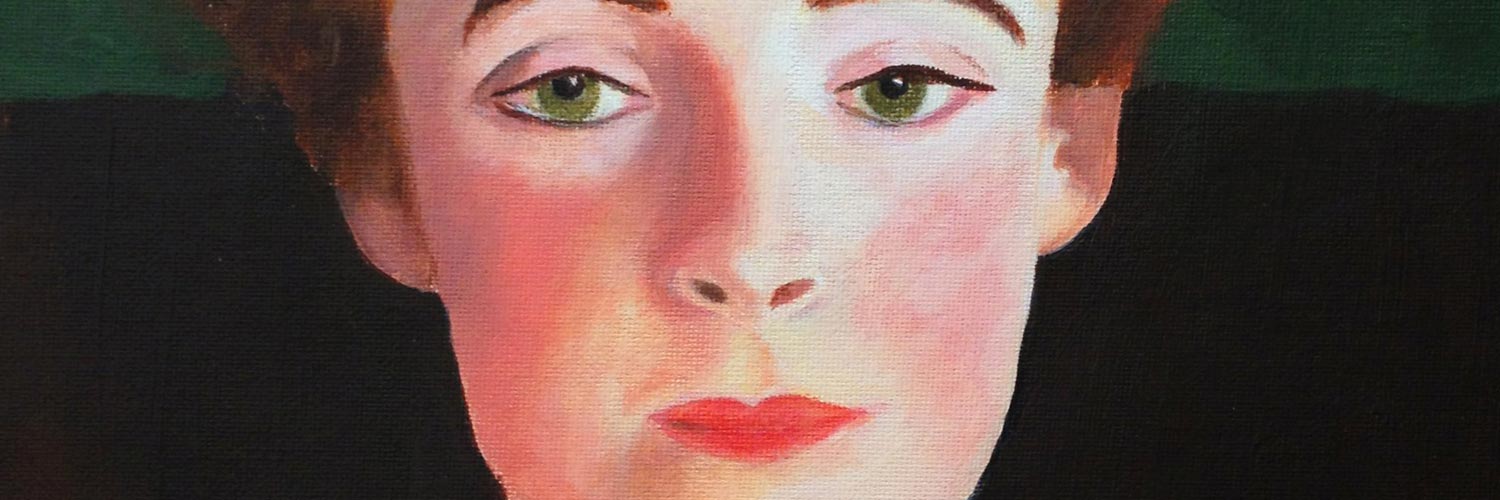
Overview: Students have the option of copying a Van Gogh self portrait (reference below), or using the style and techniques of Van Gogh to do their own self portrait.
Goal 1: To manage a painting project from start to finish without too much oversight. Students should attempt to move through the Seven Steps of Painting. Remind students as you see them working. The instructions (PDF below) have these listed.
- Inspiration – choose self portrait or Van Gogh’s.
- Reference – use mirror or printout.
- Practice – 3 kinds of sketches help: Quick Gestures in charcoal for Big Shapes / Thumbnails for composition / Pencil Studies for details.
- Set Up – Workspace should be organized and comfortable. Canvas should be taped to a board, not loose or still in a pad.
- Guidelines – use a canvas pencil to draw the main features.
- Create with paint. Encourage students to be creative with thier color.
- Clean up – Super-wash brushes and check work area.
Goal 2: Practice painting techniques: 1) dark to light or sunrise; 2) color splitting and using lots of color variations; 3) underpainting if desired 4) layers of opaque paints 5) brush strokes
Goal 3: Accuracy in portrait – Not necessarily realism, but getting a reasonable proportion and placement of features accurately, makes a creative portrait look great.
Tap images to open Creations Student Instructions and Reference Materials in new windows

Use this button to jump down to the preparation section.
LEARNING TARGETS
Students know that portraits need accurate proportions
2.1 discuss

Pinterest Gallery – Portraits
Tap the icon to the left to open our special Pinboard showing examples of artwork to display to your class. See our Article for making Pinterest work on larger displays. You can also use a laptop or large tablet and gather everyone around like you’re using a book.
Look at these portraits. (read captions on first 4 portraits. Show as many as you like)
Lines are also used to create texture. Van Gogh used line like this in ink and in paint.”
Use this button to jump down to the preparation section.
LEARNING TARGETS
Students know how to apply the 3 Steps to Accuracy to their drawings
M A T E R I A L S
- 14″ x 17″ Sketch Paper
- 2B or 4B Pencil
- White Eraser
- Kneaded Eraser
3.1 Print
Reference
Portrait & Practice
Print enough for each student to use one as reference while they work.
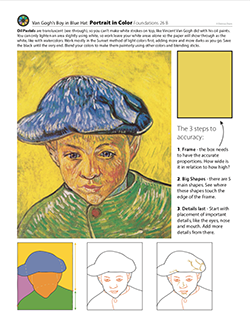
1 Page – Opens in new window
3.2 teach
Students can look at the side and bottom of the PDF reference to review and practice the 3 steps to accuracy and learn the subject before the actual artwork. .
A quick review of the 3 steps to accuracy:
- Frame (rectangular proportions)
- Big shapes (both solid subject matter and negative background, or air)
- Details last (It’s the good part, and like dessert it comes last)
Remind students to look at their reference more often. Accuracy comes from observing the subject more than just a glance every now and then.
3.3 draw
Everyone should follow the directions on the PDF to create a small practice sketch in pencil. Encourage students to do another if they are not satisfied. Practice always improves our work.
Use this button to jump down to the preparation section.
LEARNING TARGETS
Students know how to draw guidelines
M A T E R I A L S
- 14″ x 17″ Sketch Paper
- 2B Pencil
- White Eraser
- Canvas Pencil (optional)
4.1 sketch
They will redraw the Frame, Big Shapes, and a few details for proportion and placement, onto a sheet of sketch paper before adding color with the pastels.
Make sure that there is nothing drawn on the back side of the paper.
Before you begin, take a moment to point out how there is NO line at all on the left side of the face, and only a chunk of shadow on the right. Noses from the front have NO EDGES, and therefore a line, is not neede on the sides of a nose for a front view. Remember that a camera never draws lines on the side of a nose, it simply records the soft edged shadows.
These are only guidelines, so they should be drawn as lightly as possible. Heavy pencil lines should be lightened with a kneaded eraser so that the excess graphite doesn’t mix into the oil pastels.
Draw the frame and simple big shapes on a clean page in sketch book. It should be a comfortable size and not too small, yet not larger than a sheet of copy paper. Add some details but do not shade in at all.
Use this button to jump down to the preparation section.
LEARNING TARGETS
Students know that there is a difference between drawing from a reference and drawing from memory.
M A T E R I A L S
- 14″ x 17″ Sketch Paper
- 2B Pencil
- White Eraser
5.1 draw
This is a memory drawing. You will draw something without looking at it, only using your memory of what it looks like.
Make sure names are on them and compare them to the original house picture. Some will follow closely and some will have lots of differences.
The super-important main point is, that it doesn’t work to combine memory drawings with observation drawings.
If your memory drawing of the house a lot different, or a little, that is fantastic either way. It is your art. This is not a test to see how well you remember, it’s an exercise to make a point. Some artists will remember more details in the drawing, and some will simply not care as much about them. Either way is fine. It is important to remember this, though; that to draw from memory, many things will not turn out the same as a picture them in your head, no matter how well you try to remember them.”
For getting things to look accurate, or close to real life, it is best to be looking at it a lot. However, to do something that is more about you and how you like to do things, it is good to work from memory sometimes. That makes your work expressive. You are saying what you think about how it looks.
Both ways are good and you can choose to do your art either way, but artwork almost always looks best if you don’t combine the two techniques on one drawing or one painting.”
BREAK
This is the end of part one if you are dividing into two, 52-minute sessions.
Use this button to jump down to the preparation section.
LEARNING TARGETS
Students know how to duplicate artistic methods used in a famous drawing.
M A T E R I A L S
- 14″ x 17″ Sketch Paper with guideline drawing
- Oil Pastels
- Blender Sticks (Stumps)
- Sandpaper Board
- Paper Towels
6.1 draw
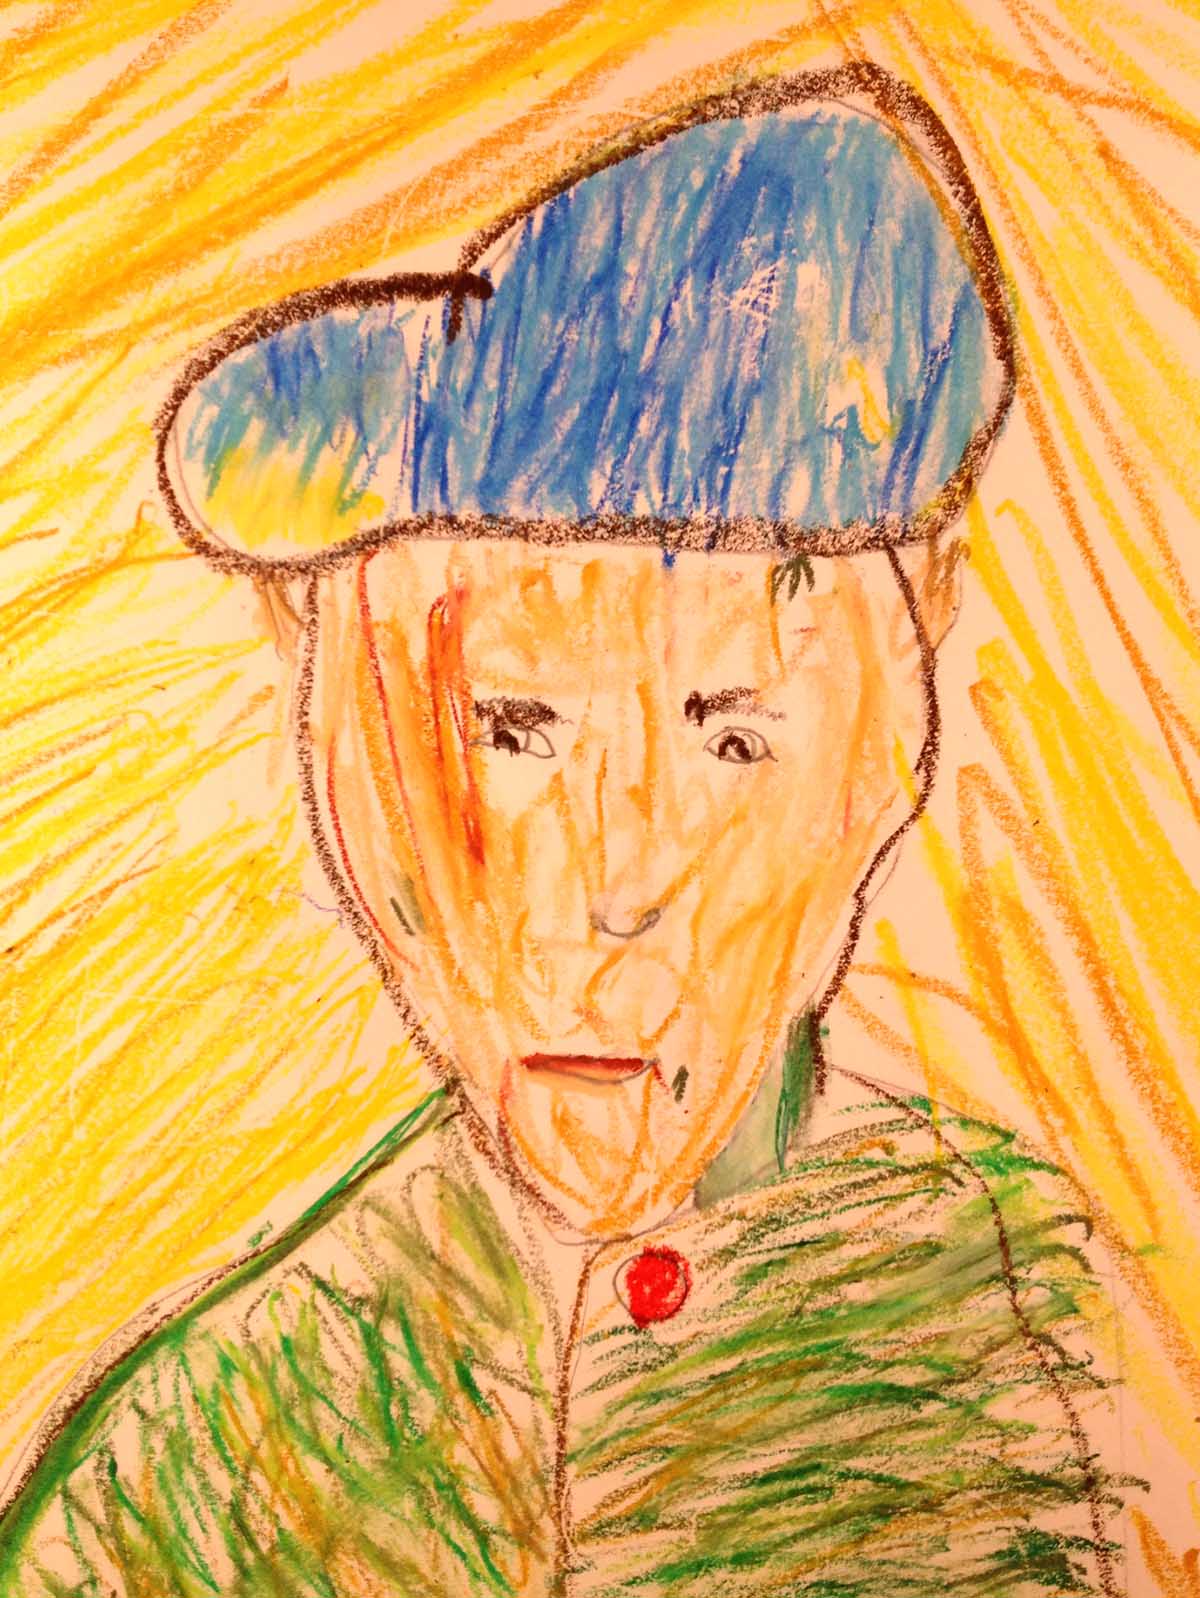
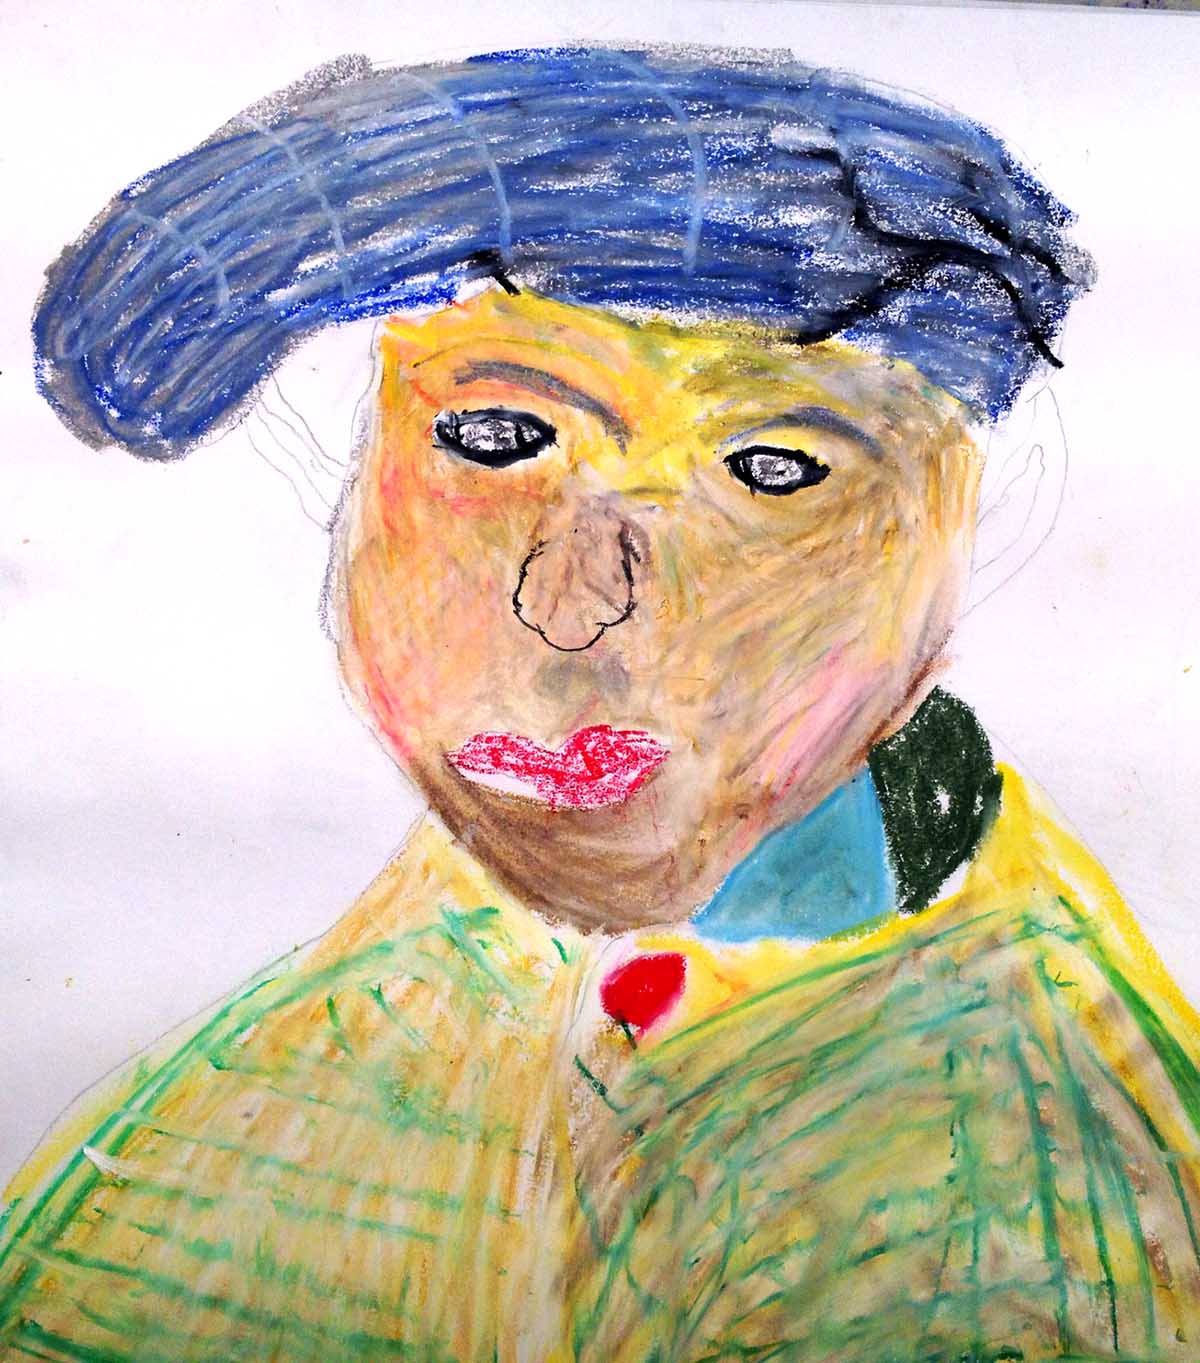
Remind them to work from the top down, applying oil pastels to mimic the style of Van Gogh. Pastels can be layered and blended but they are a different medium than the oil paints Vincent used. The key difference is that you can’t make pastels become much lighter after you apply them. So when doing the white in the hat, for instance, you need to leave white paper instead of relying on the white pastel. Work from light to dark, in the sundown method.
There are instructions on the PDF at the top. You should point these out to students as you repeat them.
Blending with stumps, other pastels, paper towels, and fingers, can make the pastels look like paint instead of crayons.
Clean dirty pastels by wiping with a paper towel. Clean stumps by rubbing them on the sandpaper board.
Use this button to jump down to the preparation section.
LEARNING TARGETS
Students know the importance of cleaning up.
M A T E R I A L S
- Paper Towels
- Cleaning wipes
- Sink
- Waste baskets
- Well-lit spot for photos
- Camera or phone-camera
7.1 CLEAN
- Wash hands
- Super-wash brushes if used
- Put art supplies away
- Wipe tables & toss trash
- Remove any smocks (last)
- Check for items on floors and tables
7.2 PHOTO
7.3 CONNECT
%
Insights
This lesson provides understanding
%
Technique
This lesson shows application and movement
%
Self Expression
This lesson allows personal freedom
OBJECTIVES
- Practice and improvement drawing a portrait with accurate proportions
- Understanding how drawing from memory is different than observation
- Accomplishment in copying a master work by Van Gogh
- Fulfillment in using new skills and techniques
TROUBLESPOTS
Trying to copy oil painting technique – Van Gogh’s method uses opaque paint, so making white areas is easy. With oil pastels, you can mimic his style, but not the technique. To have a white line or area, it needs to stay white so the paper shows through. Use pastels around it. Even so, if you forget and just put some lighter strokes using the white. It’s not as light but it looks pretty great anyway.
Boasting about memory drawings – We don’t like to make people feel bad for the way they are or the way they prefer to look at things. It’s neat if you can remember well visually, and can help with accuracy, but it’s not good to be happy about your abilities at the expense of others who missed more details.
Dark guide lines – We don’t like to use graphite as much on this project, because it mixes with the oil pastels and changes the colors. Using the canvas pencil (gray colored pencil) prevent this because the “lead” is waxy and resistant to mixing. It is much harder to erase though, so encourage students to draw guide lines as light as possible. Calling them, “tickle lines” can help, because you barely touch, or just tickle the paper.
ART WORDS
3 Steps to Accuracy –
1. Frame: the box containing the artwork
2. Big Shapes: the 3 or 4 largest shapes (most will touch 2 or more edges of the frame)
3. Details Last: these are fun, and are most of the creation process, which is why artists tend to do them first instead of last.
Sunrise technique – when you have an opaque medium, such as oil paint that you can’t see through, you need to work with dark colors first and work towards lighter colors the whole time, like the sun rising.
Sunset technique – When you have a translucent medium, such as oil pastels that you can see through, it’s best to work with light colors first, and work towards darker color the whole time, ending with black last, like the sun setting. With oil pastels, you can actually lighten and blend colors with lighter pastels and white, but it is just a little lighter.
CLASSROOM
PREP
You’ll need one clay face model from last week (or make one).
Print all of your PDFs from the lesson plan and cut any references apart as needed.
What your room needs
Here are your printable lists and room prep instructions.
Opens in new window
CLASSROOM
MATERIALS
- Smocks
STUDENT’S
MATERIALS
- 2B Pencil
- White erasers
- Kneaded Eraser
- Canvas Pencil
- Oil Pastels
- Blender sticks
- Sandpaper Board
PREVIEW
Week 27: Self Portrait in Pencil
Feb 24 – 28
Using mirrors to observe themselves, artists will draw a pencil self portrait. First, though, there is a lesson about shadows, reflected light, and soft edges using an egg.
Week 28: Seeing Double
March 2 – 6
Complimentary colors are used for an animal painting in acrylics on canvas. Students will choose an animal, draw it, and will then use expressive double-complimentary colors to paint a bright and unusual work.