
OVERVIEW
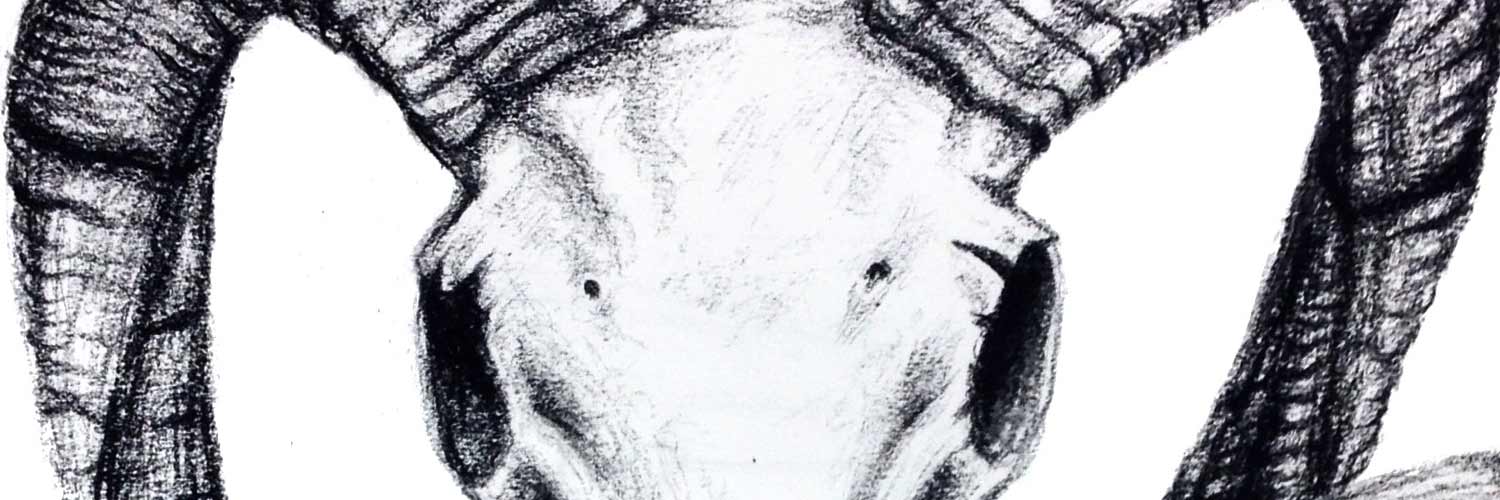
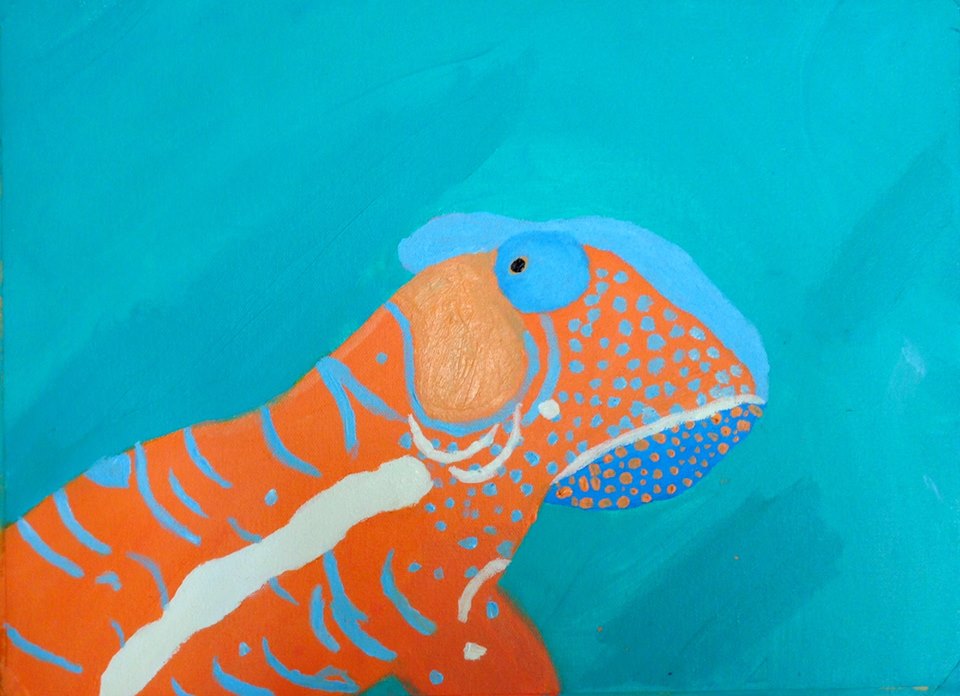
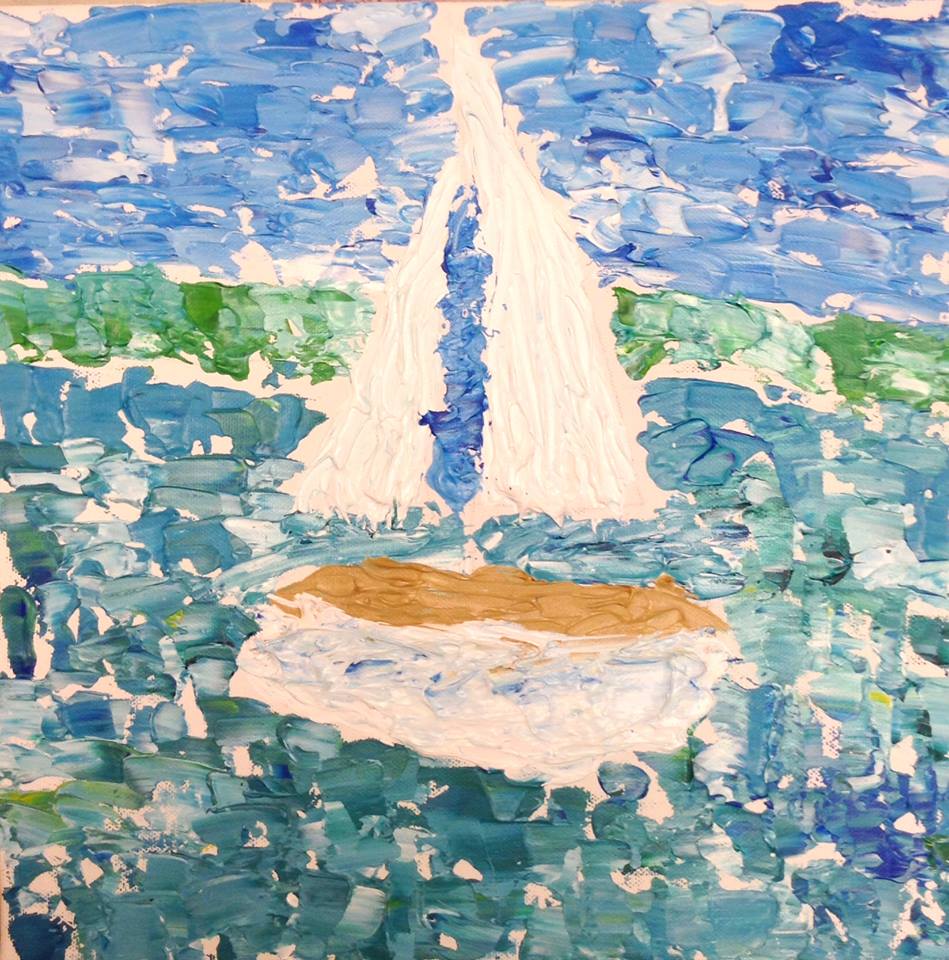
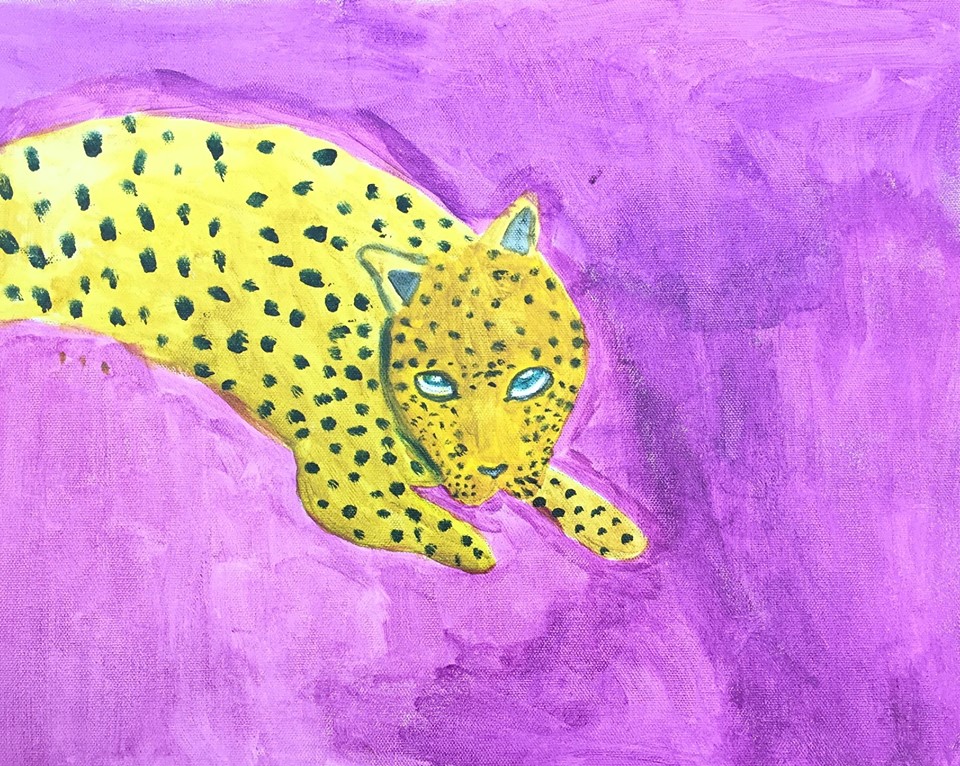
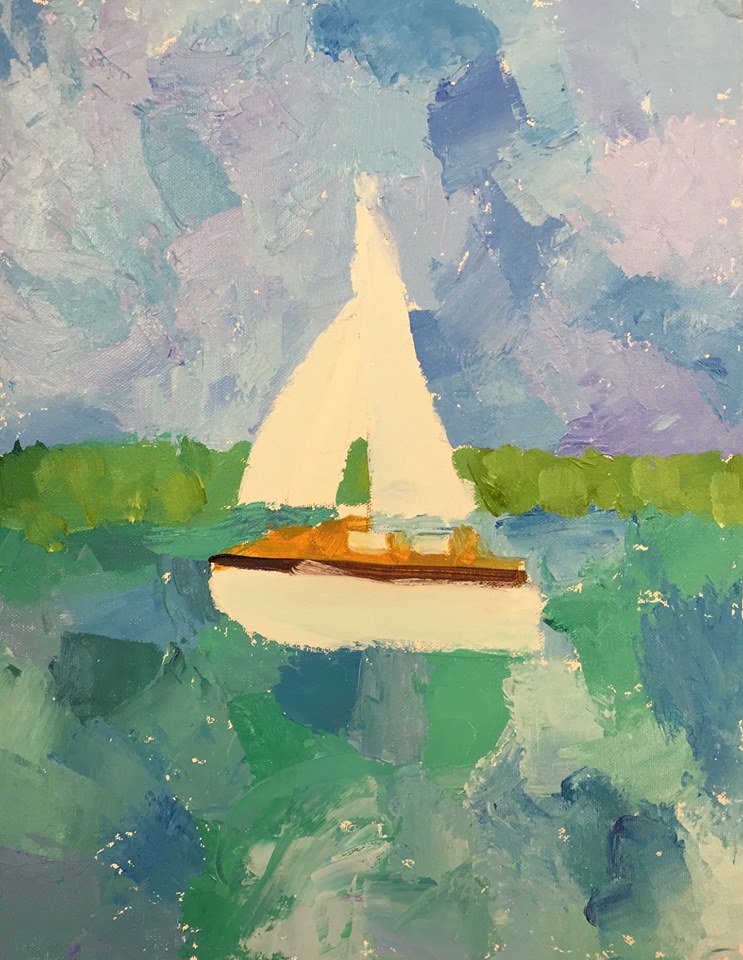
Everyone gets a chance to use learned skills and freedom to choose what to do with an exciting “Treasure Hunt” for different elements of art. It’s also a great day for finishing existing works such as the complimented animals or palette knife paintings.– – –
Grades 3 – 5
1 Hour & 45 Minutes, or two 52-minute sessions
STANDARDS For This Lesson
30SUBMIT YOUR SUMMARY
Copy and paste the text below to send your abbreviated lesson plan with national standards and learning targets to your supervisors and colleagues. Or access the WORD doc by using the blue button below.
– – – – – – – – – – – – – – – – –
Week of March 30 – April 3
OVERVIEW:
Everyone gets a chance to use learned skills and freedom to choose what to do with an exciting “Treasure Hunt” for different elements of art. It’s also a great day for finishing existing works such as the complimented animals or palette knife paintings.
NATIONAL STANDARDS:
Grade 3
Grade 4
VA:Cr1.1.4 – Brainstorm multiple approaches to a creative art or design problem.
Grade 5
VA:Cr1.2.5 -Identify and demonstrate diverse methods of artistic investigation to choose an approach for beginning a work of art.
LEARNING TARGETS:
Students know how to successfully finish artwork they have started
Students know how to create
LESSON PLAN:
1.SetUp(5minutes)-Setup for paint- watercolor or acrylics
2. Work in Progress (45 min) -Finish works in progress, or Artists’ Choice
3. Clean Up (2 min) – Put away finished paintings
BREAK
4. Treasure Hunt (40 min)- Treasure Hunt PDF
5. Expression in word (10 min) – Write small note about their works
6.Clean Up (2 min) – Everyone Helps
Tap the Plus Icon (above right) to open STANDARDS information, including an Overview, Learning Targets and a Syllabus. Copy and paste to send to your Administrators or use the button below to download a Word document with the same information that you can add your info to and email to them as an attachment.
SCROLL & TEACH LESSON PLAN
Don’t worry about rewriting anything. Just spend a few minutes reading the lesson plan and printing out your PDFs. Then check out the READY, SET, GO! section and print your prep-page, which includes checklists and an “at a glance” outline of the lesson so you can stay on track when you’re teaching. Set out the materials from the list on your prep page and you’re ready.
That’s all you need to know. Use your smartphone to Scroll & Teach!
Lesson At A Glance
A brief overview of each step. Buttons jump to each section for detailed information.
NOTE: This lesson can be used in 4 ways.
- For catching up on existing projects. This is the default, shown in the STEPS as usual.
- For Artists’ Choice. You can begin with the game in STEP 4, doing only ONE or TWO treasure hunts, and then have students move into creating their own original artwork. This uses STEP 6, which is optional.
- Planning and Artists’ Choice. You can skip right to STEP 6 as a third option, making planning artwork more important. You can use the treasure hunt game in STEP 4 if needed as a break in the middle, or save it for use on another day.
- Game time. You can jump right into the game in STEP 4 and require that students create a minimum of 4, 5, or even 6 treasure hunt projects to fill the entire time. You can also have prizes, and have a contest to see who can create certain kinds of artwork. See STEP 4 for more details.
45 Min – Finish works in progress, or Artists’ Choice
40 Min – Optional – Treasure Hunt PDF
10 Min – Artists write a small note of one of their works
2 Min – Everyone helps
SCROLL & TEACH
LESSONPLAN
Each section is a different color. Read over once and then you can SCROLL & TEACH using any device you like. It’s designed to work best with your phone.
LEARNING TARGETS

Students know how to set up their work area for painting with acrylics.
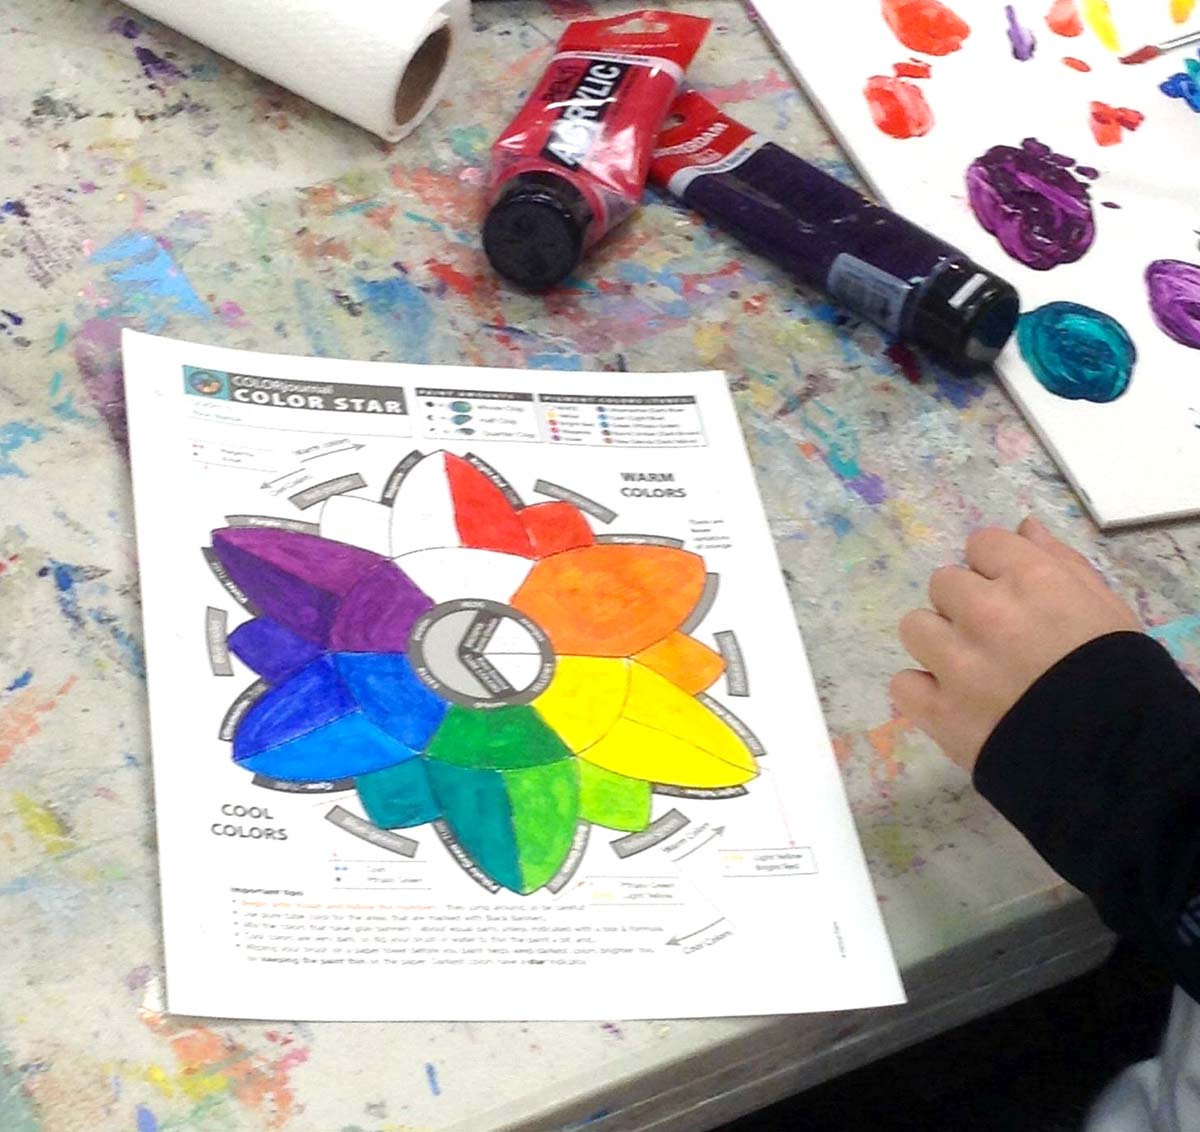
M A T E R I A L S
- Acrylic paints
- Brushes
- Palette pad
- Water container
- Smocks
- Paper towels
- Palette Knife
Brushes should be nylon for springiness and durability. Round brushes are the most versatile.
Paint pigment list:
- Napthol or Pyrrol Red
- Hansa or Light Yellow
- Pthalo Green (blue shade)
- Cyan or Cerulean Blue
- Ultramarine Blue
- Dioxazine Purple
- Magenta
- Burnt Umber
- Raw Sienna
- Titanium White (professional grade only)
1.1 setup
Create a neat work area.
- Water should be near the palette
- Tubes should not be standing up because they fall into your work or palette
- Palette, brushes, water, and paper towel should be on the right if you are right handed.
- Set up your reference so you can see it easily without having to turn your head or stand up.
- Tape your canvas to a board
- Smocks
- A table or floor easel may be used if available

CREATIONS - tap here to open - Coming Soon
Use the Student Instructions printout below to distribute to your Creations students. Tap the image to open the PDF in a new window.
Coming Soon
Tap images to open Creations Student Instructions and Reference Materials in new windows


LEARNING TARGETS
Students know how to successfully finish artwork they have started
M A T E R I A L S
- Acrylic paints
- Brushes
- Palette pad
- Water container
- Smocks
- Paper towels
- Palette Knife
2.1 work
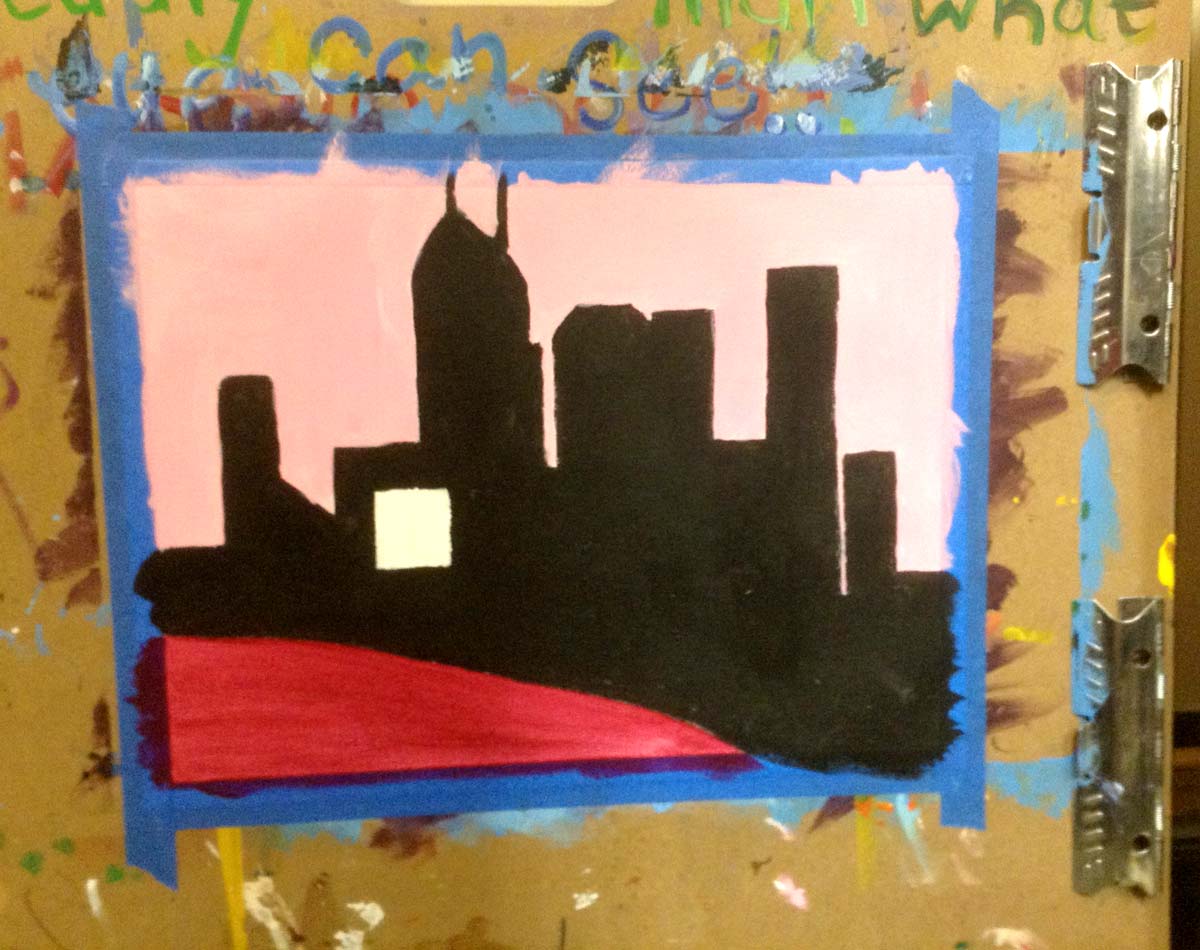
They can continue to work until finished (or the end of the lesson), or switch to the treasure hunt in Step 4 after the half-way break.
If you have anyone who is a fast worker and has finished all their work, let them have artist’s choice to draw or paint anything they like. Use pencil, charcoal, oil pastels, acrylic on canvas, or watercolor.
Artists’ Choice
Encourage students to think about creating a work of art. If someone uses the phrase, “free draw” or “free paint”, explain that artists’ choice is something only artists can do, and that this is freedom, but also opportunity, not just playing. This is especially important with grades 3 – 5. You want to use this phrase to elevate the students’ expectations and self-worth.
It’s always good to get reference and make some practices sketches.
LEARNING TARGETS
Students know how to clean up their work area and set up for the next project.
M A T E R I A L S
- 14″ x 17″ Sketch Paper
- Charcoal
- 2B Pencil
- Oil Pastels
- Ink
- Brushes
- Pen
3.1 clean
LEARNING TARGETS
Students know how to create
M A T E R I A L S
- 14″ x 17″ Sketch Paper
- Canvas
- Watercolor paper
- Charcoal
- 2B Pencil
- Oil Pastels
- Ink
- Brushes
- Pen
4.1 print
Worksheet
Treasure Hunt
A fun game-like activity, that is a guide for making several varying kinds of artwork.
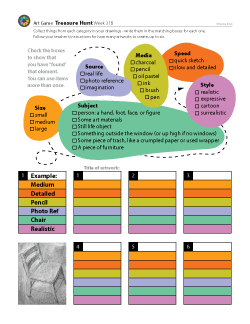
1 Page – Opens in new window
4.2 Make
LARGE
QUICK SKETCH
CHARCOAL
REAL LIFE
EXPRESSIVE
CHAIR.
Students will use several different media for a fun collection of work. Print the Treasure Hunt PDF to give to everyone, so your kids can keep up with their progress and produce a variety of work.
Create sketches and drawings using the Treasure Hunt rules:
Every artist must create at least (insert the number you want for your class today) works of art, but no more than 6. If someone finishes early, they should add to an existing work until the end of class.
Students “Collect” items that dictate how art is made, as if they are treasures, choosing from six different categories and using each one in a work of art. A second work is made using six new items. Try to get as many of these treasures as possible to experiment with variety.
See below for all the treasure options, which are listed on the worksheet itself.
- Size
- Small
- Medium
- Large
- Speed
- Quick – sketch
- Slow – detailed
- Media
- Charcoal
- Pencil
- Oil Pastels
- Ink – brush or pen
- Source
- Real Life
- Photo
- Imagination
- Style
- Realistic
- Expressive
- Cartoon
- Surrealistic
- Subject
- person: a hand, foot, face, or figure
- Some art materials
- Still life object
- Something outside the window (or up high if no windows)
- Some piece of trash, like a crumpled paper or used wrapper
- A piece of furniture
Encourage students and make the rounds, helping individuals as needed by asking questions and giving your honest responses.
LEARNING TARGETS
Students know how to express themselves through writing about their artwork
M A T E R I A L S
- 14″ x 17″ Sketch Paper
- 2B Pencil
5.1 write
This can be a simple title, a short statement, or a poem. Even a cartoon about it is ok. The idea is to get your students to think about what their work communicates to others.
It’s important to think of the writing also as a drawing. How can the lettering be done in an artistic way?
You can also write on a separate piece of paper if you don’t have a place on any of the artworks you’ve made today.
Can you make the lettering look like artwork? How can you make the writing as visually important as the work?”
LEARNING TARGETS
Students know the importance of cleaning up.
M A T E R I A L S
- Paper Towels
- Cleaning wipes
- Sink
- Waste baskets
- Well-lit spot for photos
- Camera or phone-camera
6.1 CLEAN
- Wash hands
- Super-wash brushes if used
- Put art supplies away
- Wipe tables & toss trash
- Remove any smocks (last)
- Check for items on floors and tables
6.2 PHOTO
6.3 CONNECT
%
Insights
This lesson provides understanding
%
Technique
This lesson shows application and movement
%
Self Expression
This lesson allows personal freedom
OBJECTIVES
- Practice and improvement making decisions about artwork
- Understanding how an artist combines media and ideas
- Accomplishment in finishing up old works
- Fulfillment in all kinds of choices today
TROUBLESPOTS
Racers – You know if you have a student who’s main goal is to say, “I’m done!” Since this has two purposes: to feel accomplished, as well as to be able to play on other things, you should speak to each goal. Praise the finish, but require more work on the existing pieces with questions. If you get a total refusal to work, there is really nothing you can do. An artist can only create if they want to, and eventually a student will move to other things or become more interested. If you make this young person feel bad about not working, it will be more likely that he or she will eventually stop doing artwork altogether. So, instead of showing your frustration, speak as you would to an adult (even though this is very immature behavior!). “It surprises me that you would rather be doing nothing than creating more artwork. Most artists look forward to artists’ choice and freedom to make anything they want.”
There are some artists who simply run out of creative steam though. Have patience! Try coloring with markers or colored pencils if you have them.
Sloppy vs quick – Make sure to redirect from scribbles to actual sketching. Quick does not mean hasty or rushed.
ART WORDS
Realistic – When a work of art looks as much like real life as possible – reference and one viewpoint is essential to create a realistic work. The most realistic work usually does not have an evident technique, or call attention to the media being used.
• Surrealistic – When a realistic work shows something that would be impossible in real life.
• Expressive – A work of art where the artist shows off their technique and materials instead of trying to make them invisible.
CLASSROOM
PREP
What your room needs
Here are your printable lists and room prep instructions.
Opens in new window
CLASSROOM
MATERIALS
- Water container
- Smocks
- Paper towels
- Cleaning wipes
- Sink
- Waste Baskets
- Camera or phone-camera
STUDENT’S
MATERIALS
- 14″ x 17″ Sketch Paper
- Acrylic Paints
- Brushes
- Palette Pad
- Palette Knife
- Charcoal
- 2B Pencil
- Oil Pastels
- Ink
- Pen
- Canvas
- Watercolor Paper
PREVIEW
Week 32: Robots & Skeletons
April 6 – 10
Students will learn about the skeletal system and how it affects the way an artist draws people. There is also a fun robot project using pipe cleaners and foil that helps them understand the proportions of the human figure.
Week 33: Mid-tone Still Life
April 13 – 17
Students create a still life painting using an acrylic technique that begins with a mid-tone of a warm neutral color. Then they will paint the dark shadows throughout, before finishing with the light areas. It’s a fast and easy method that yields awesome results!